Tuesday, July 26, 2016

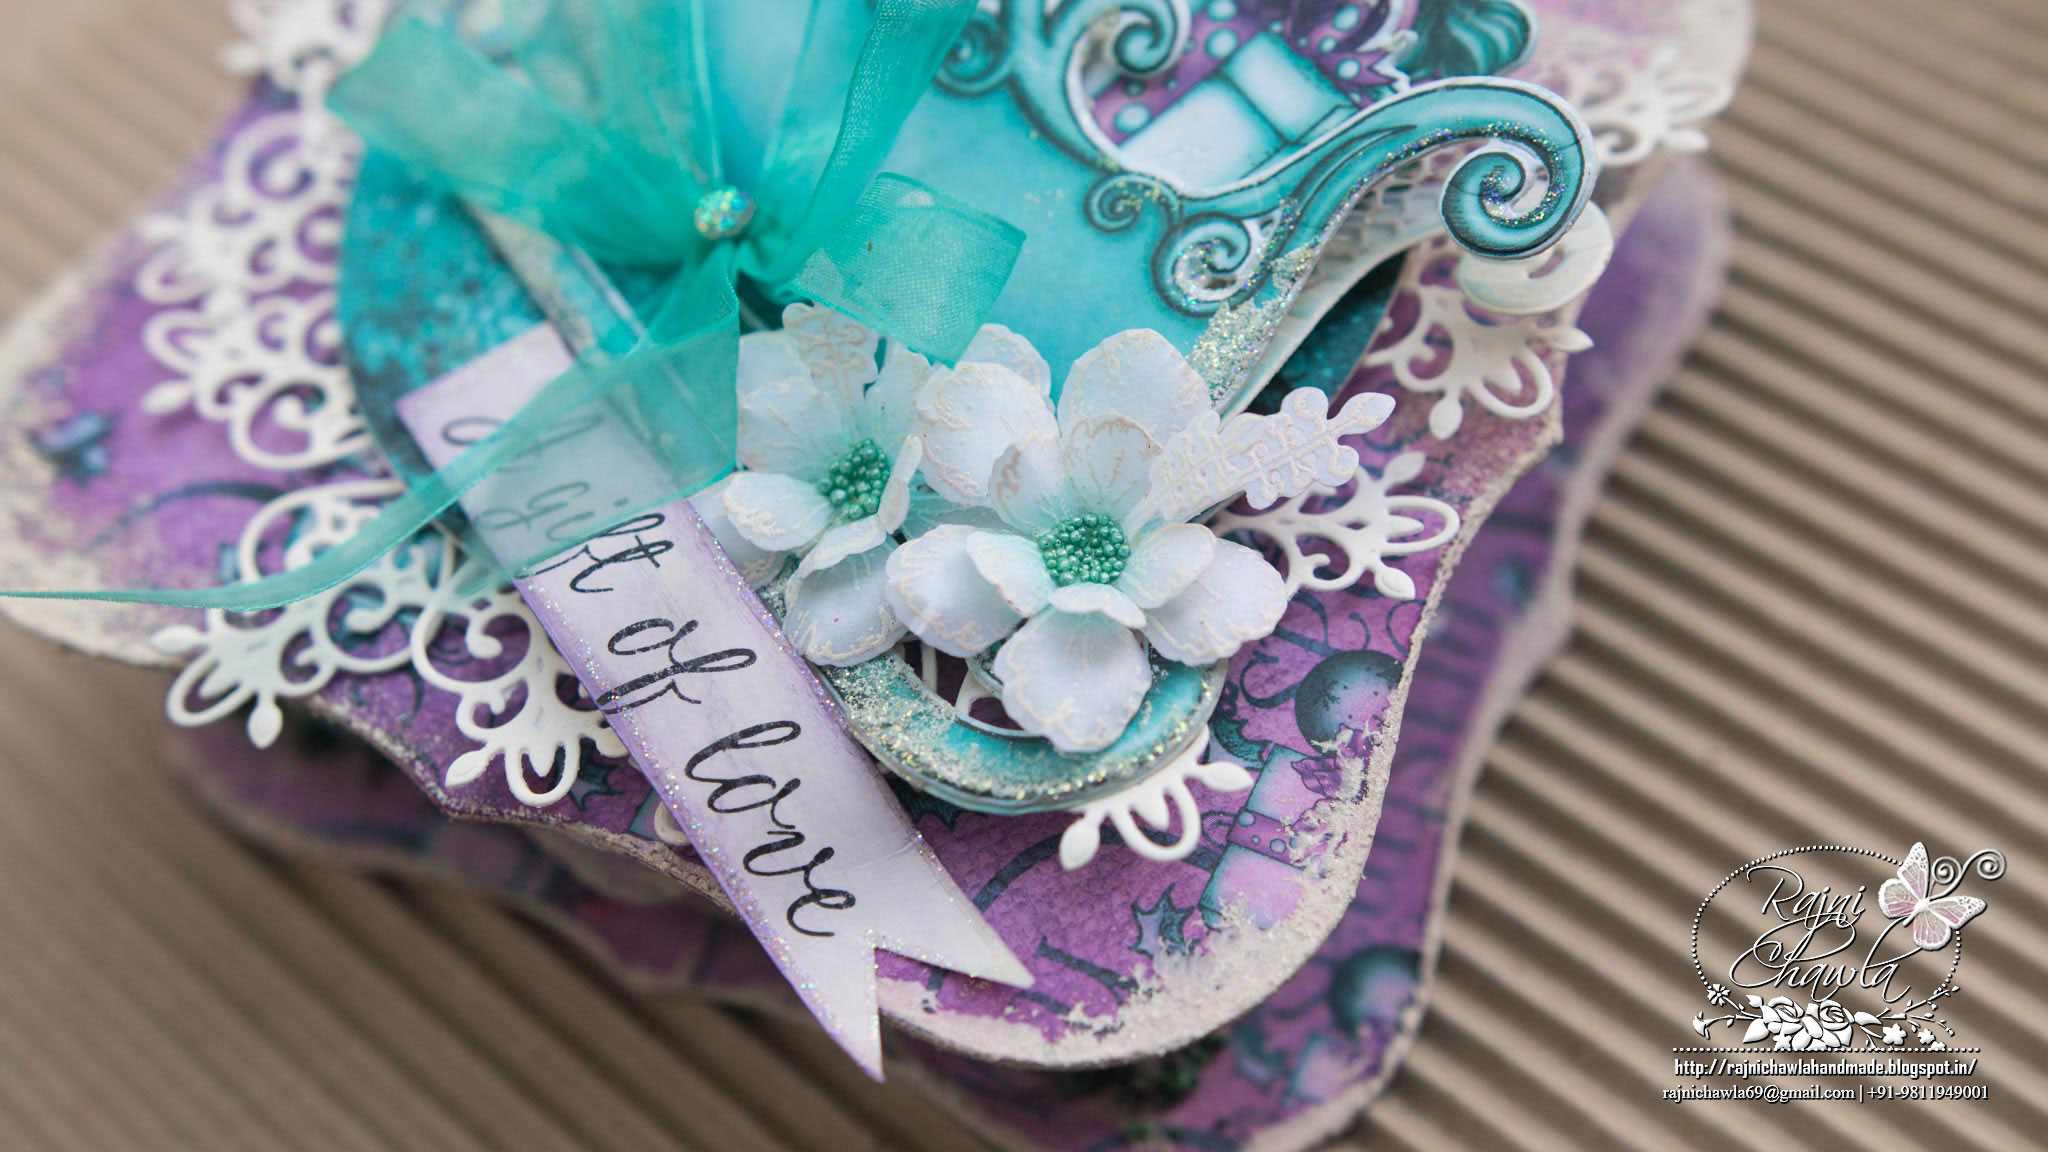
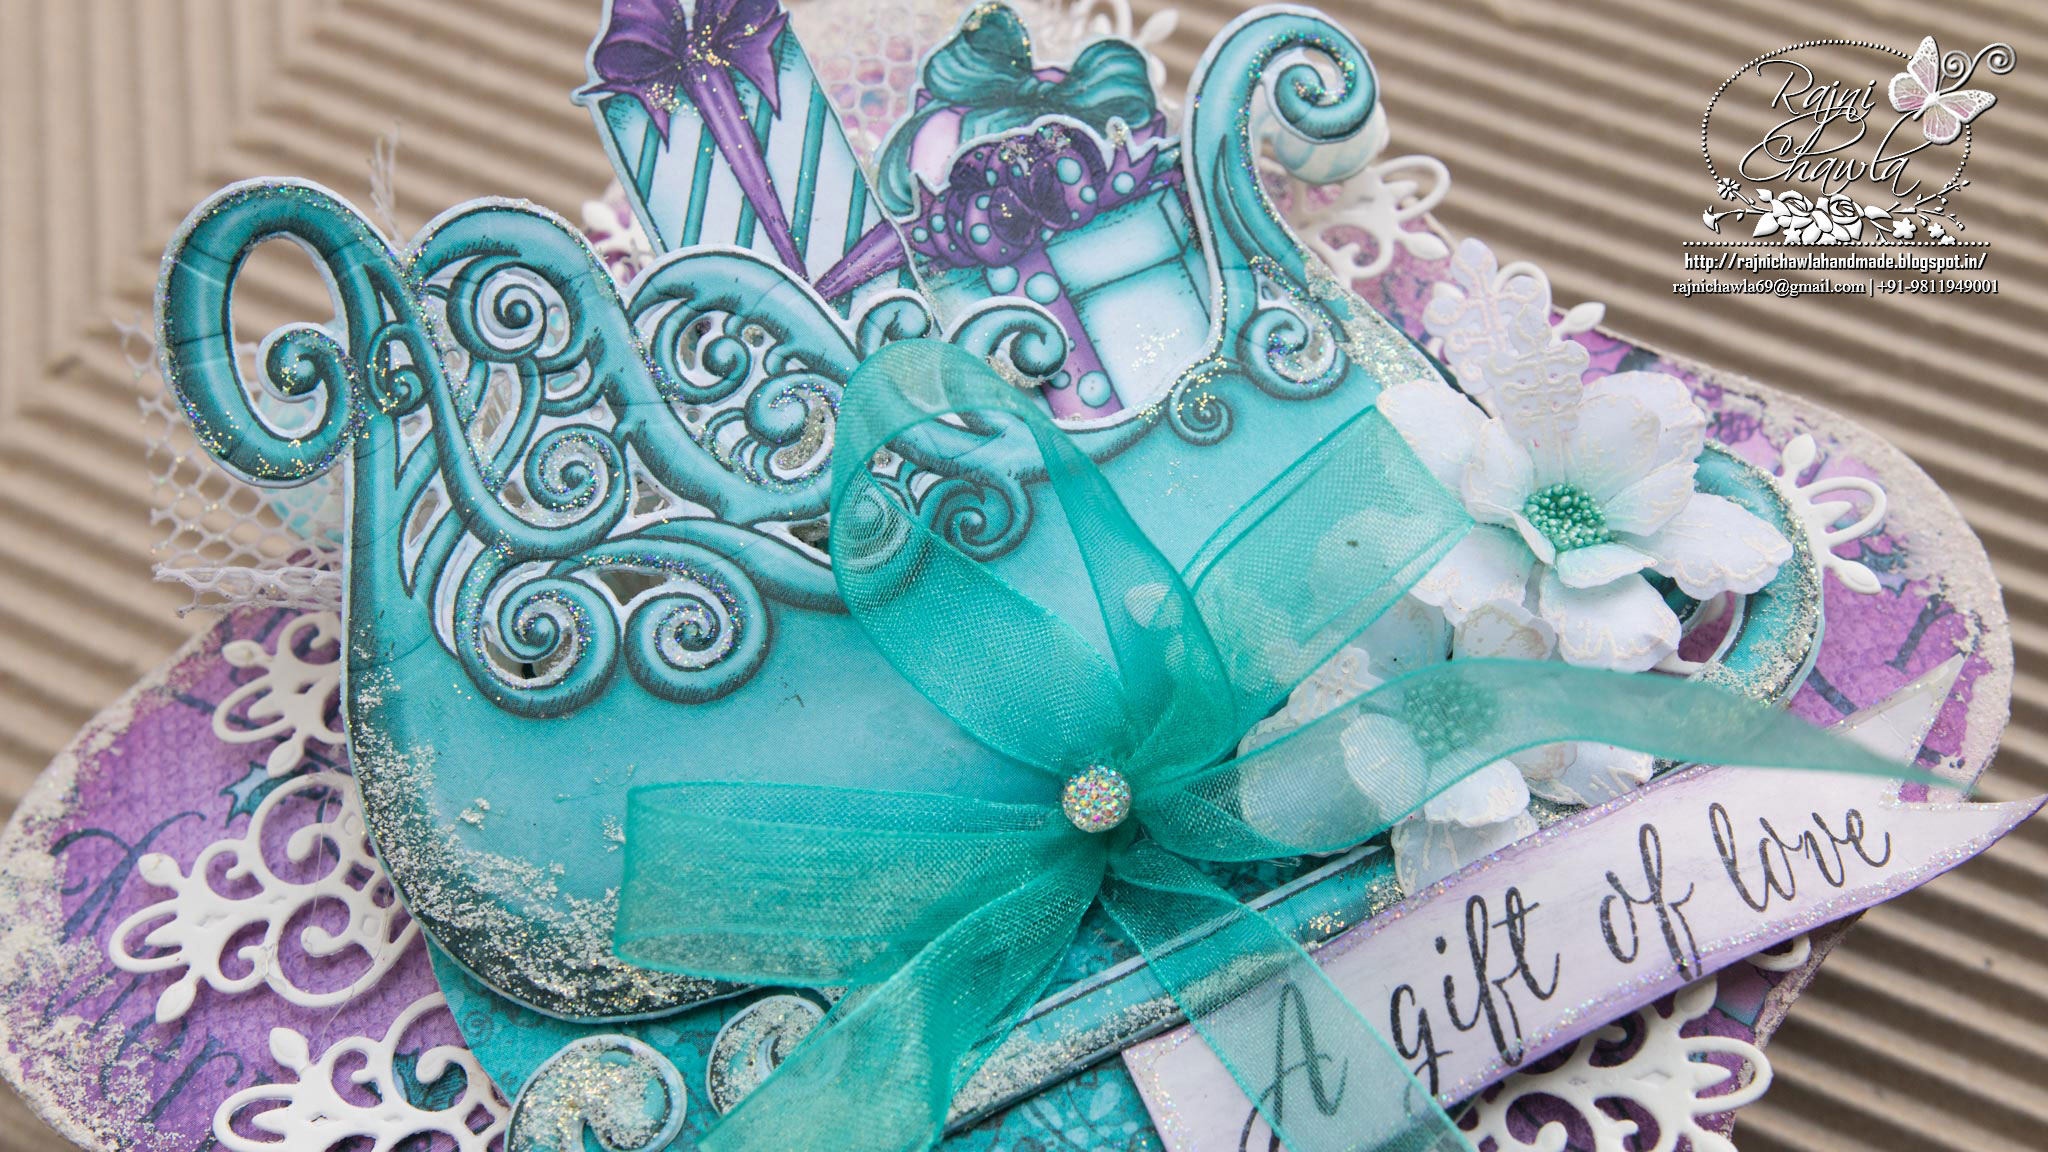
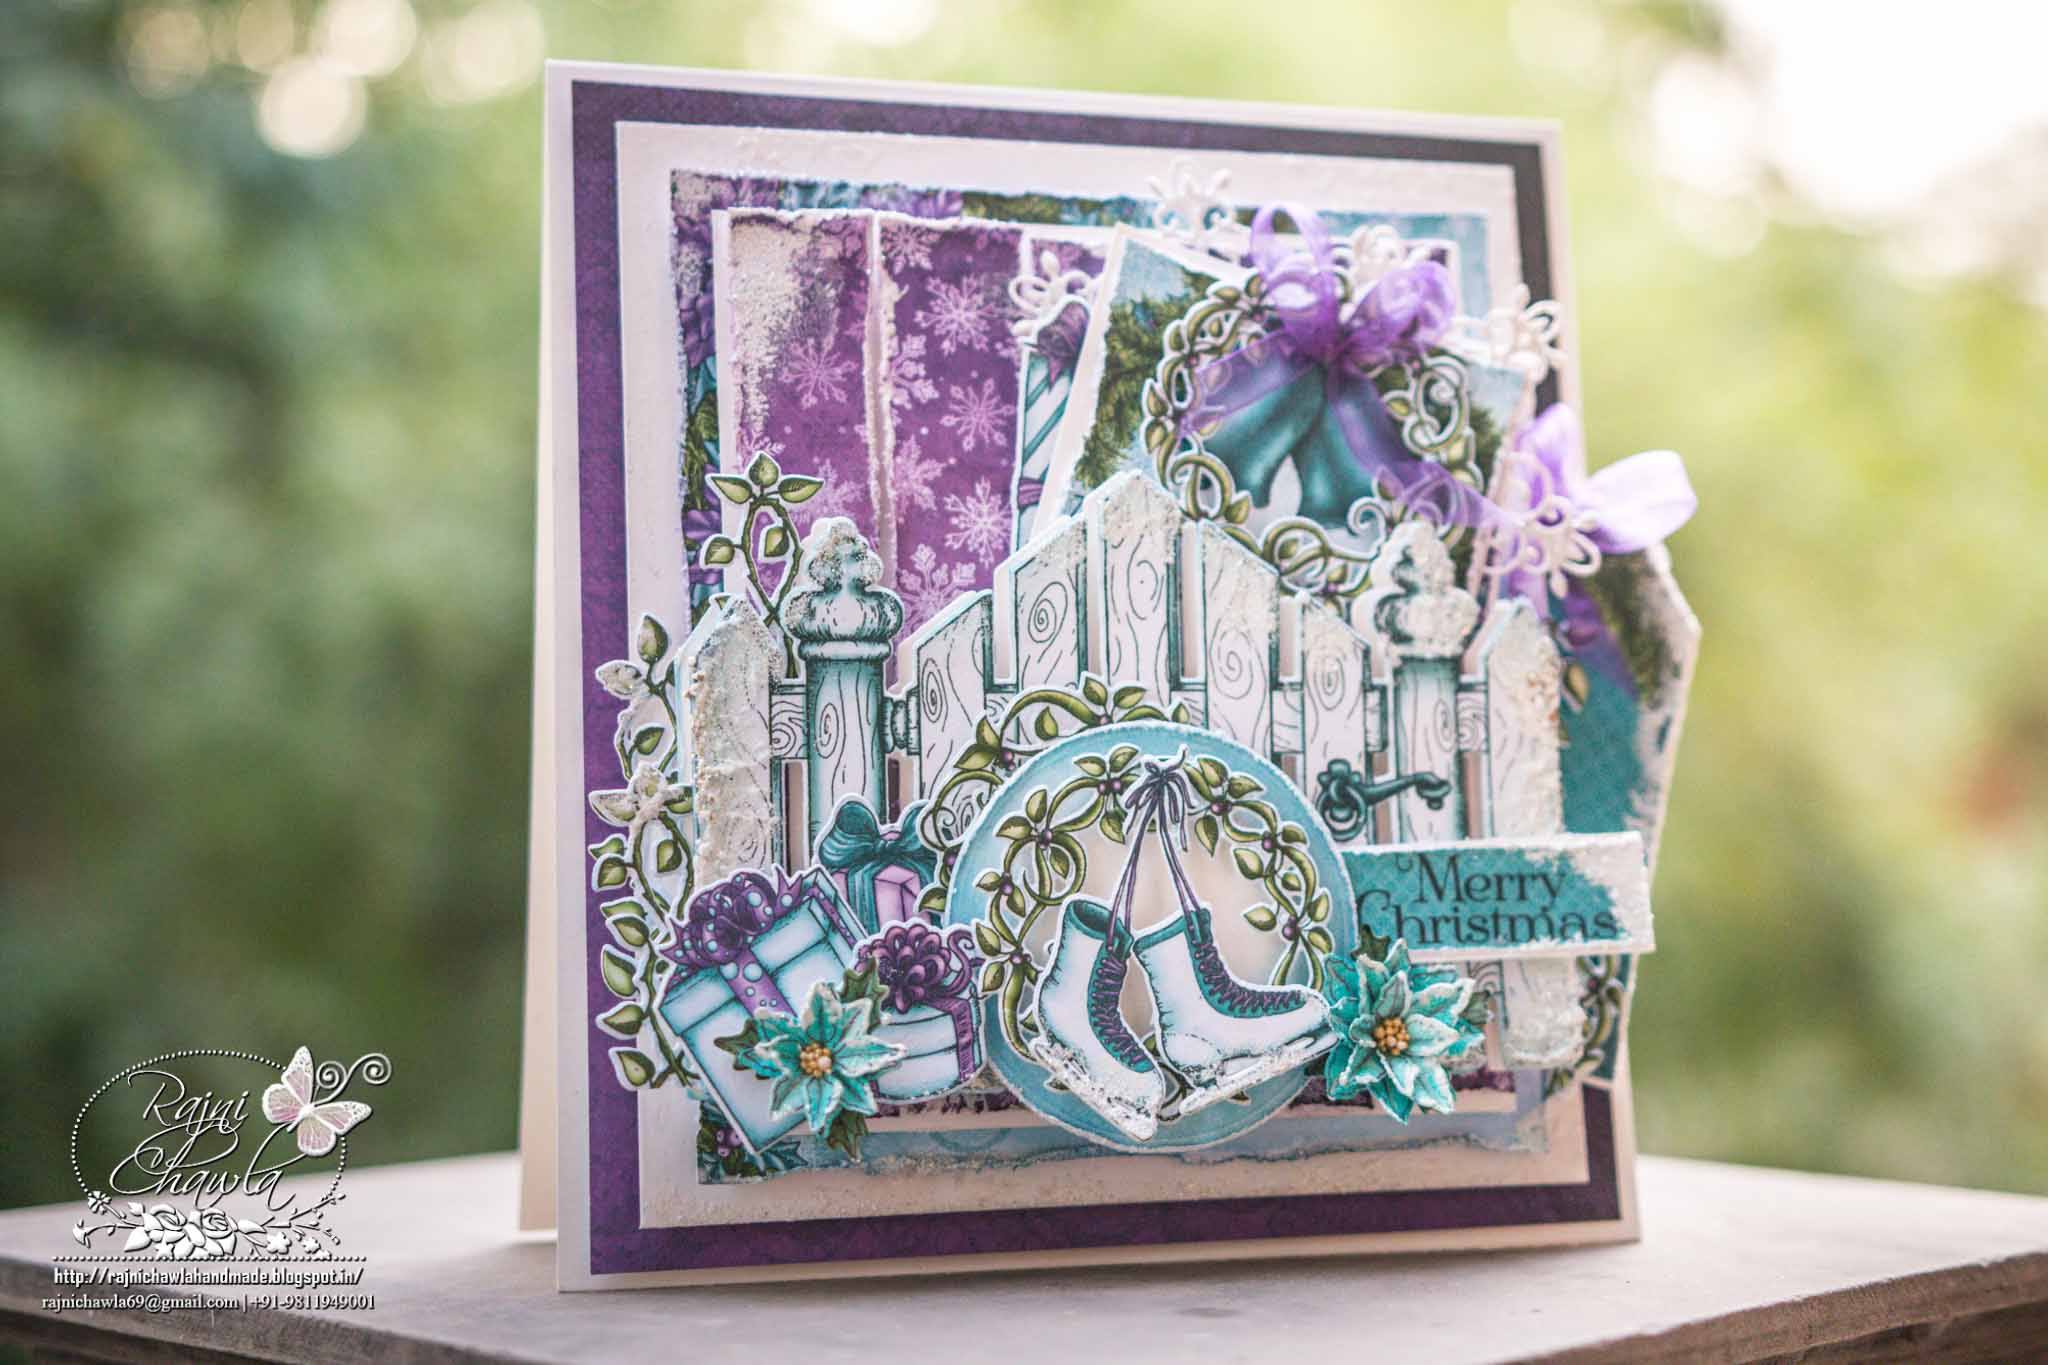
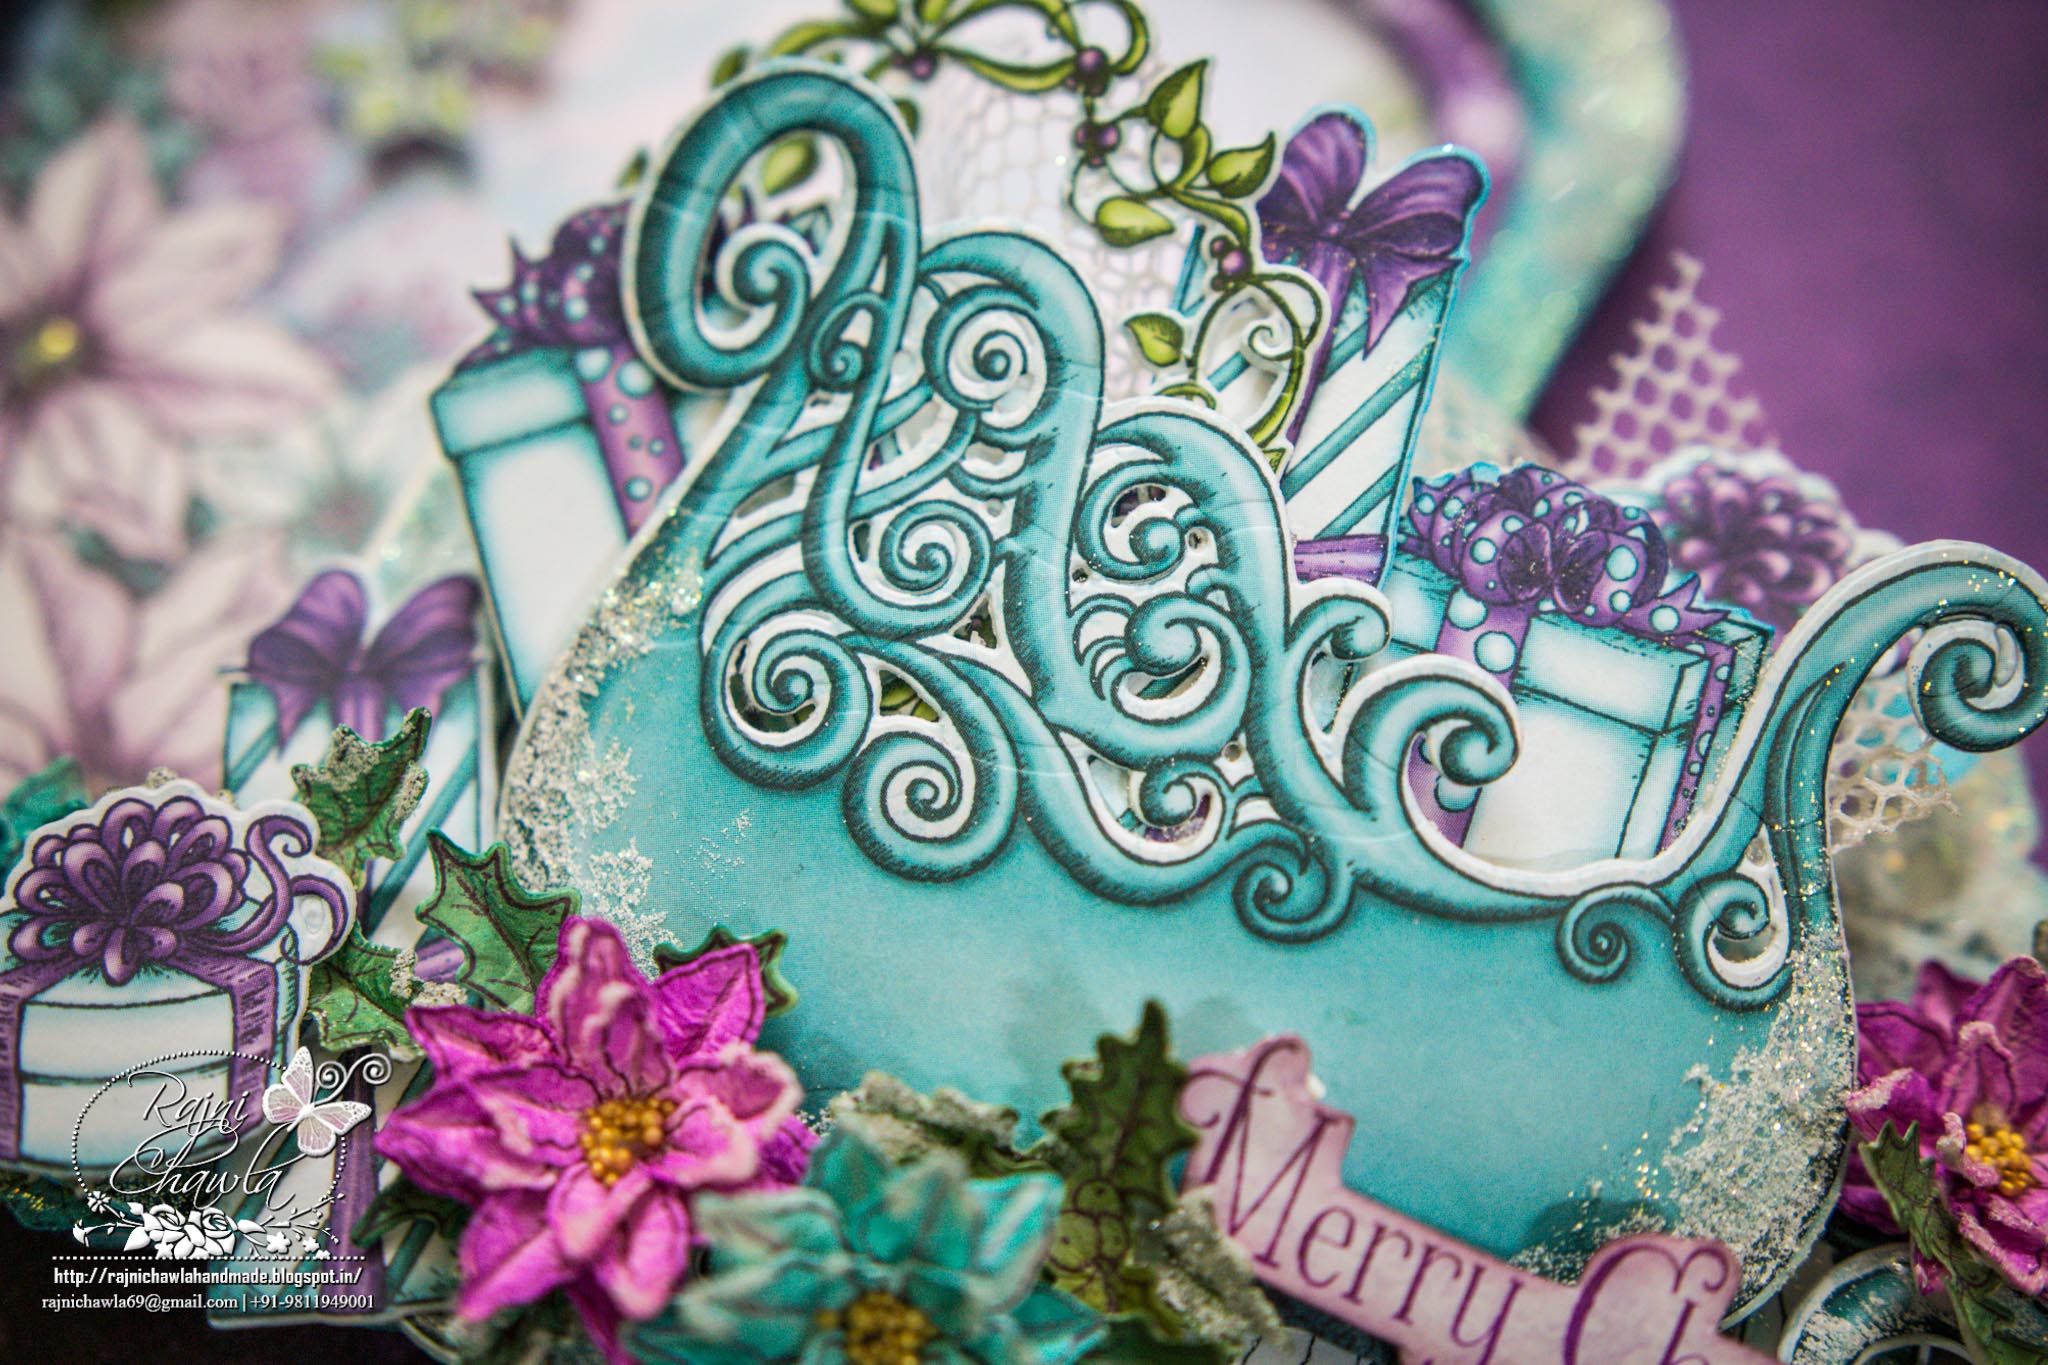
Christmas Sleigh Gift Box

Posted by Rajni Chawla

Good Morning All....

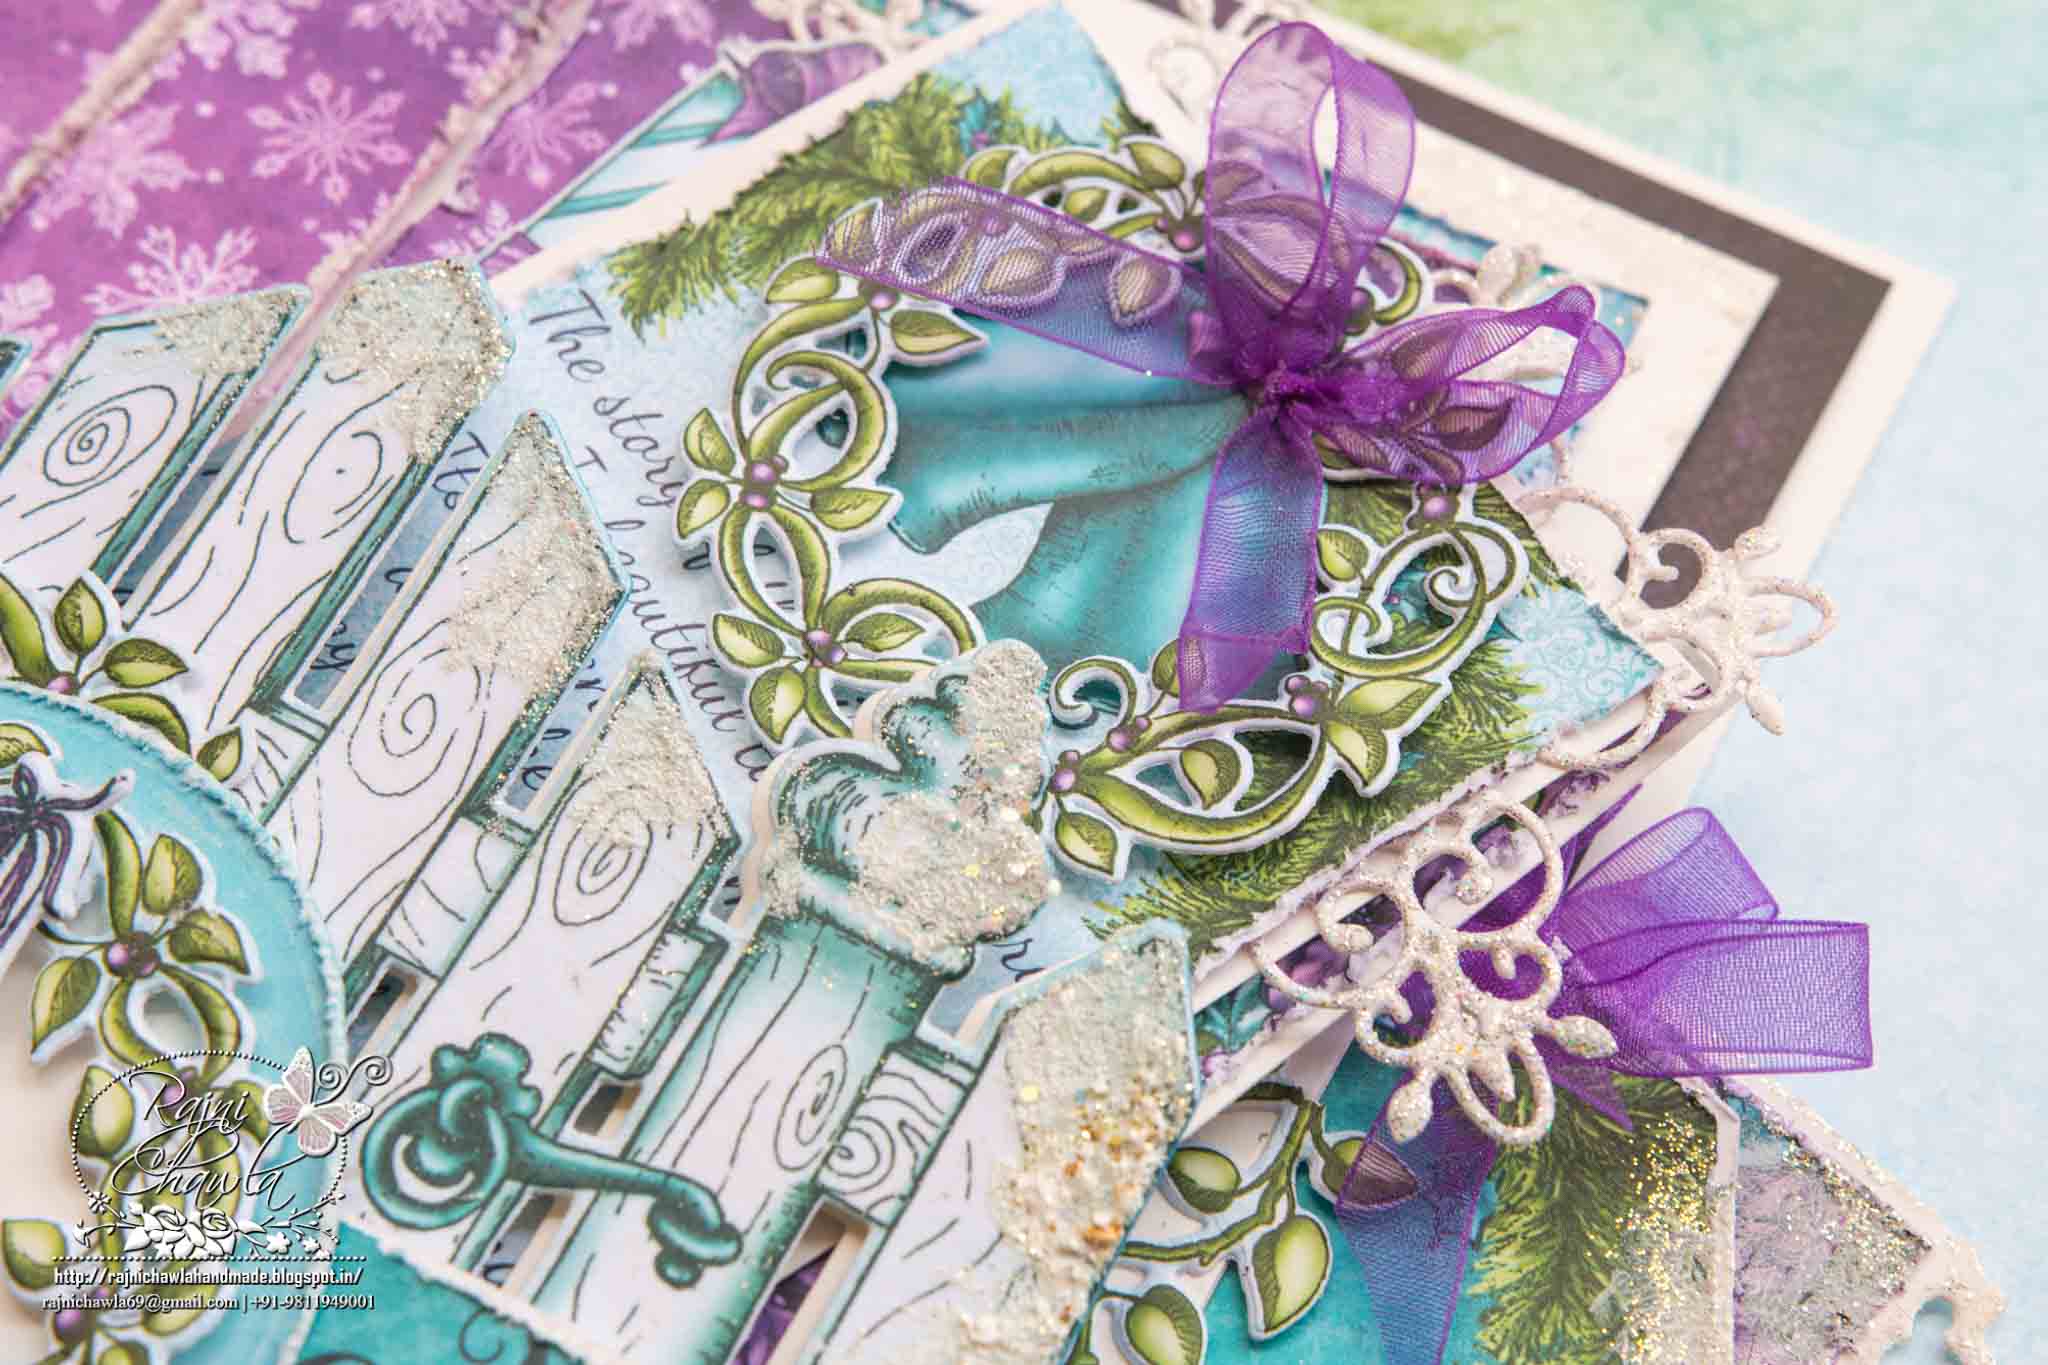
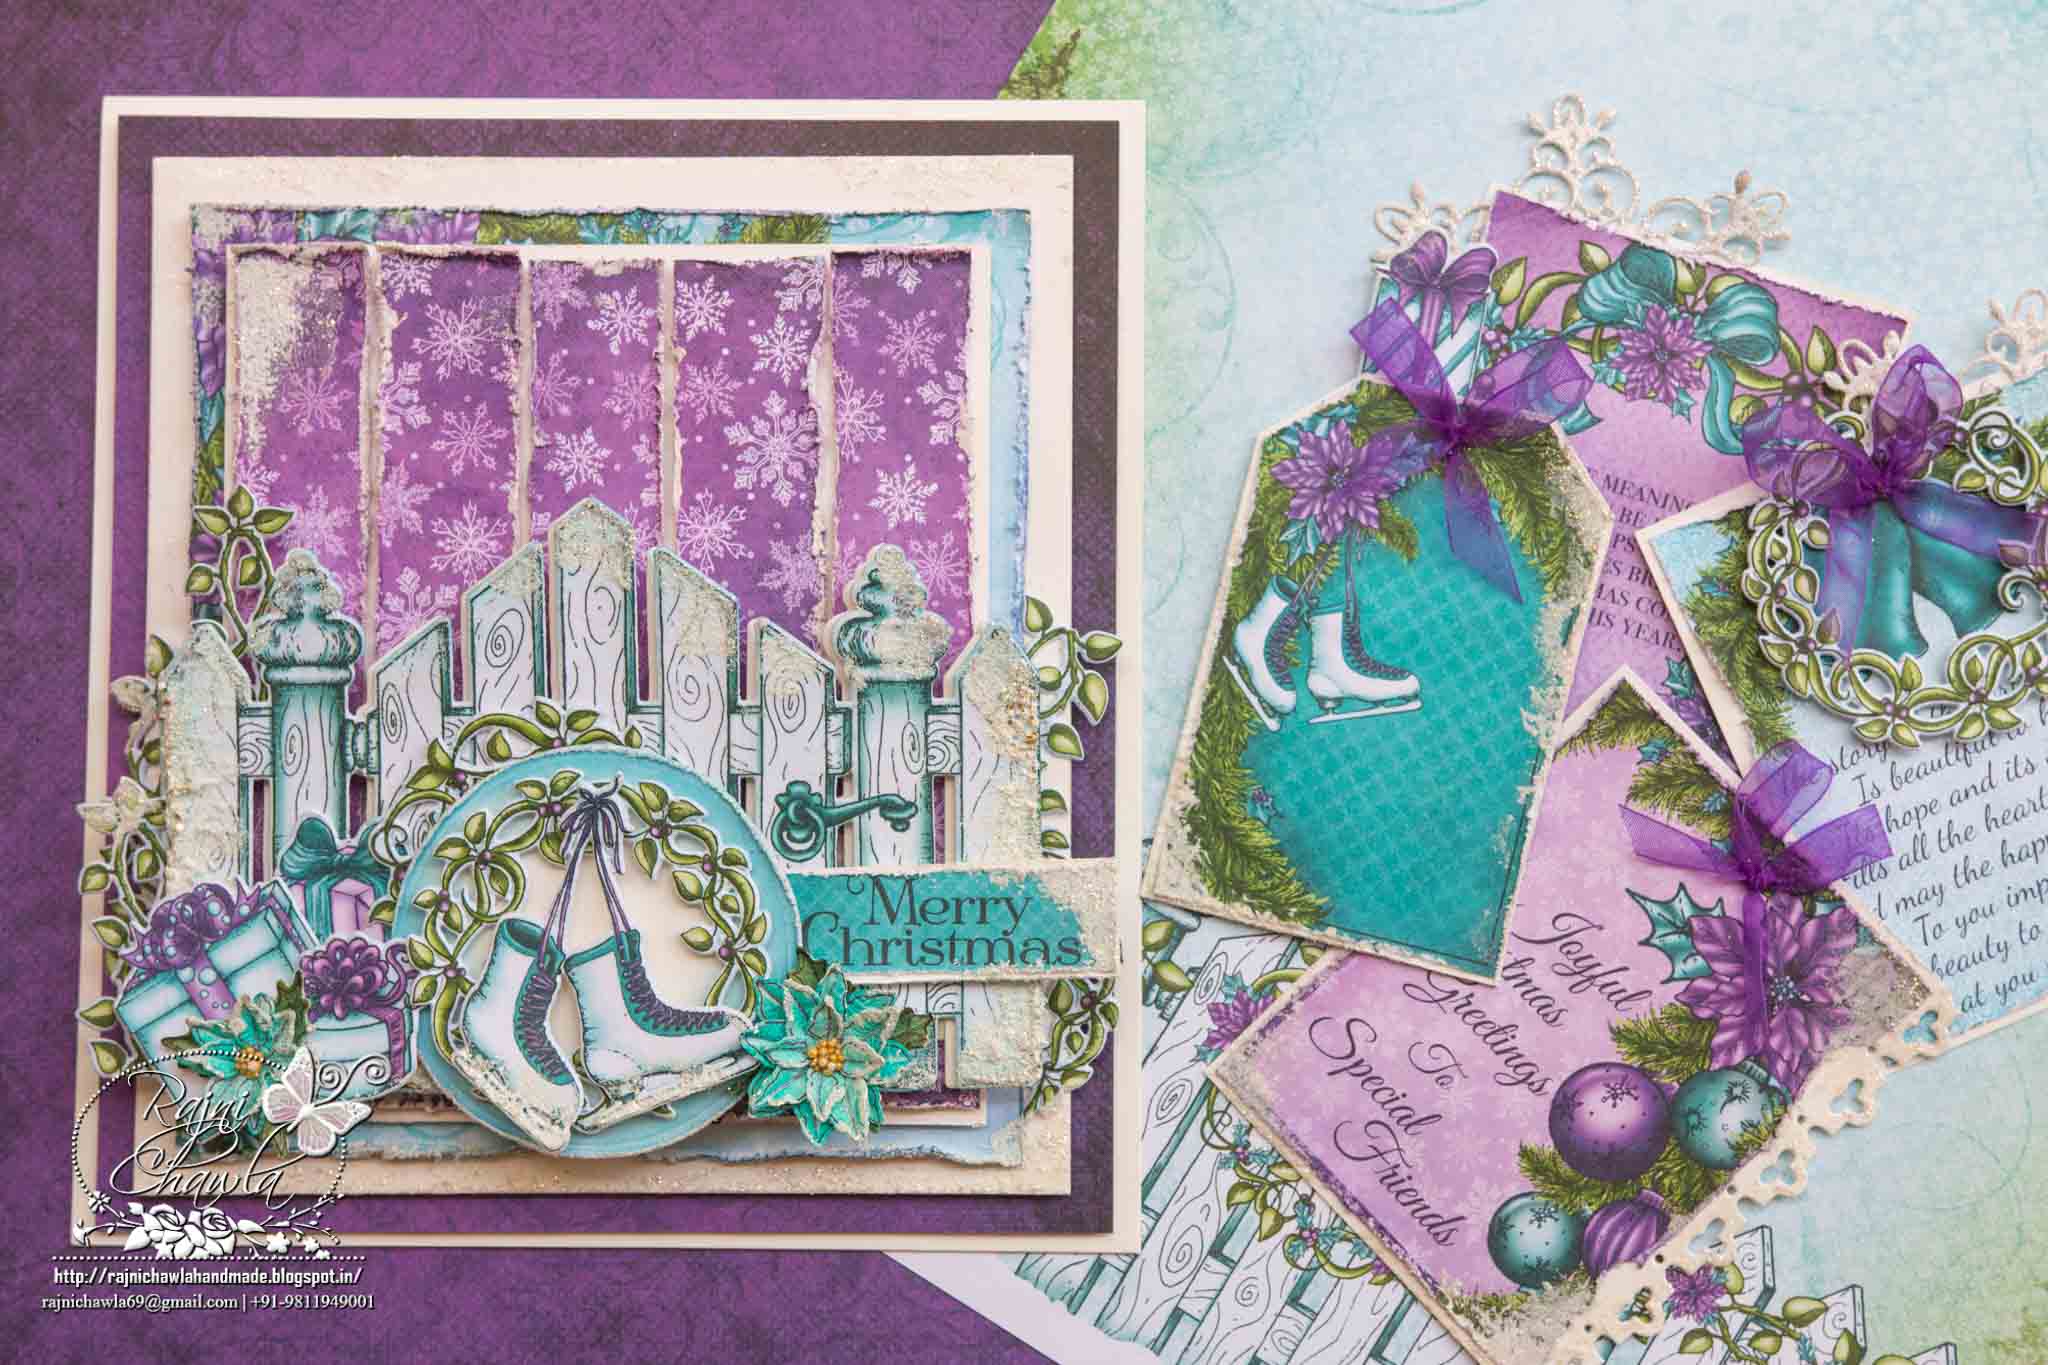
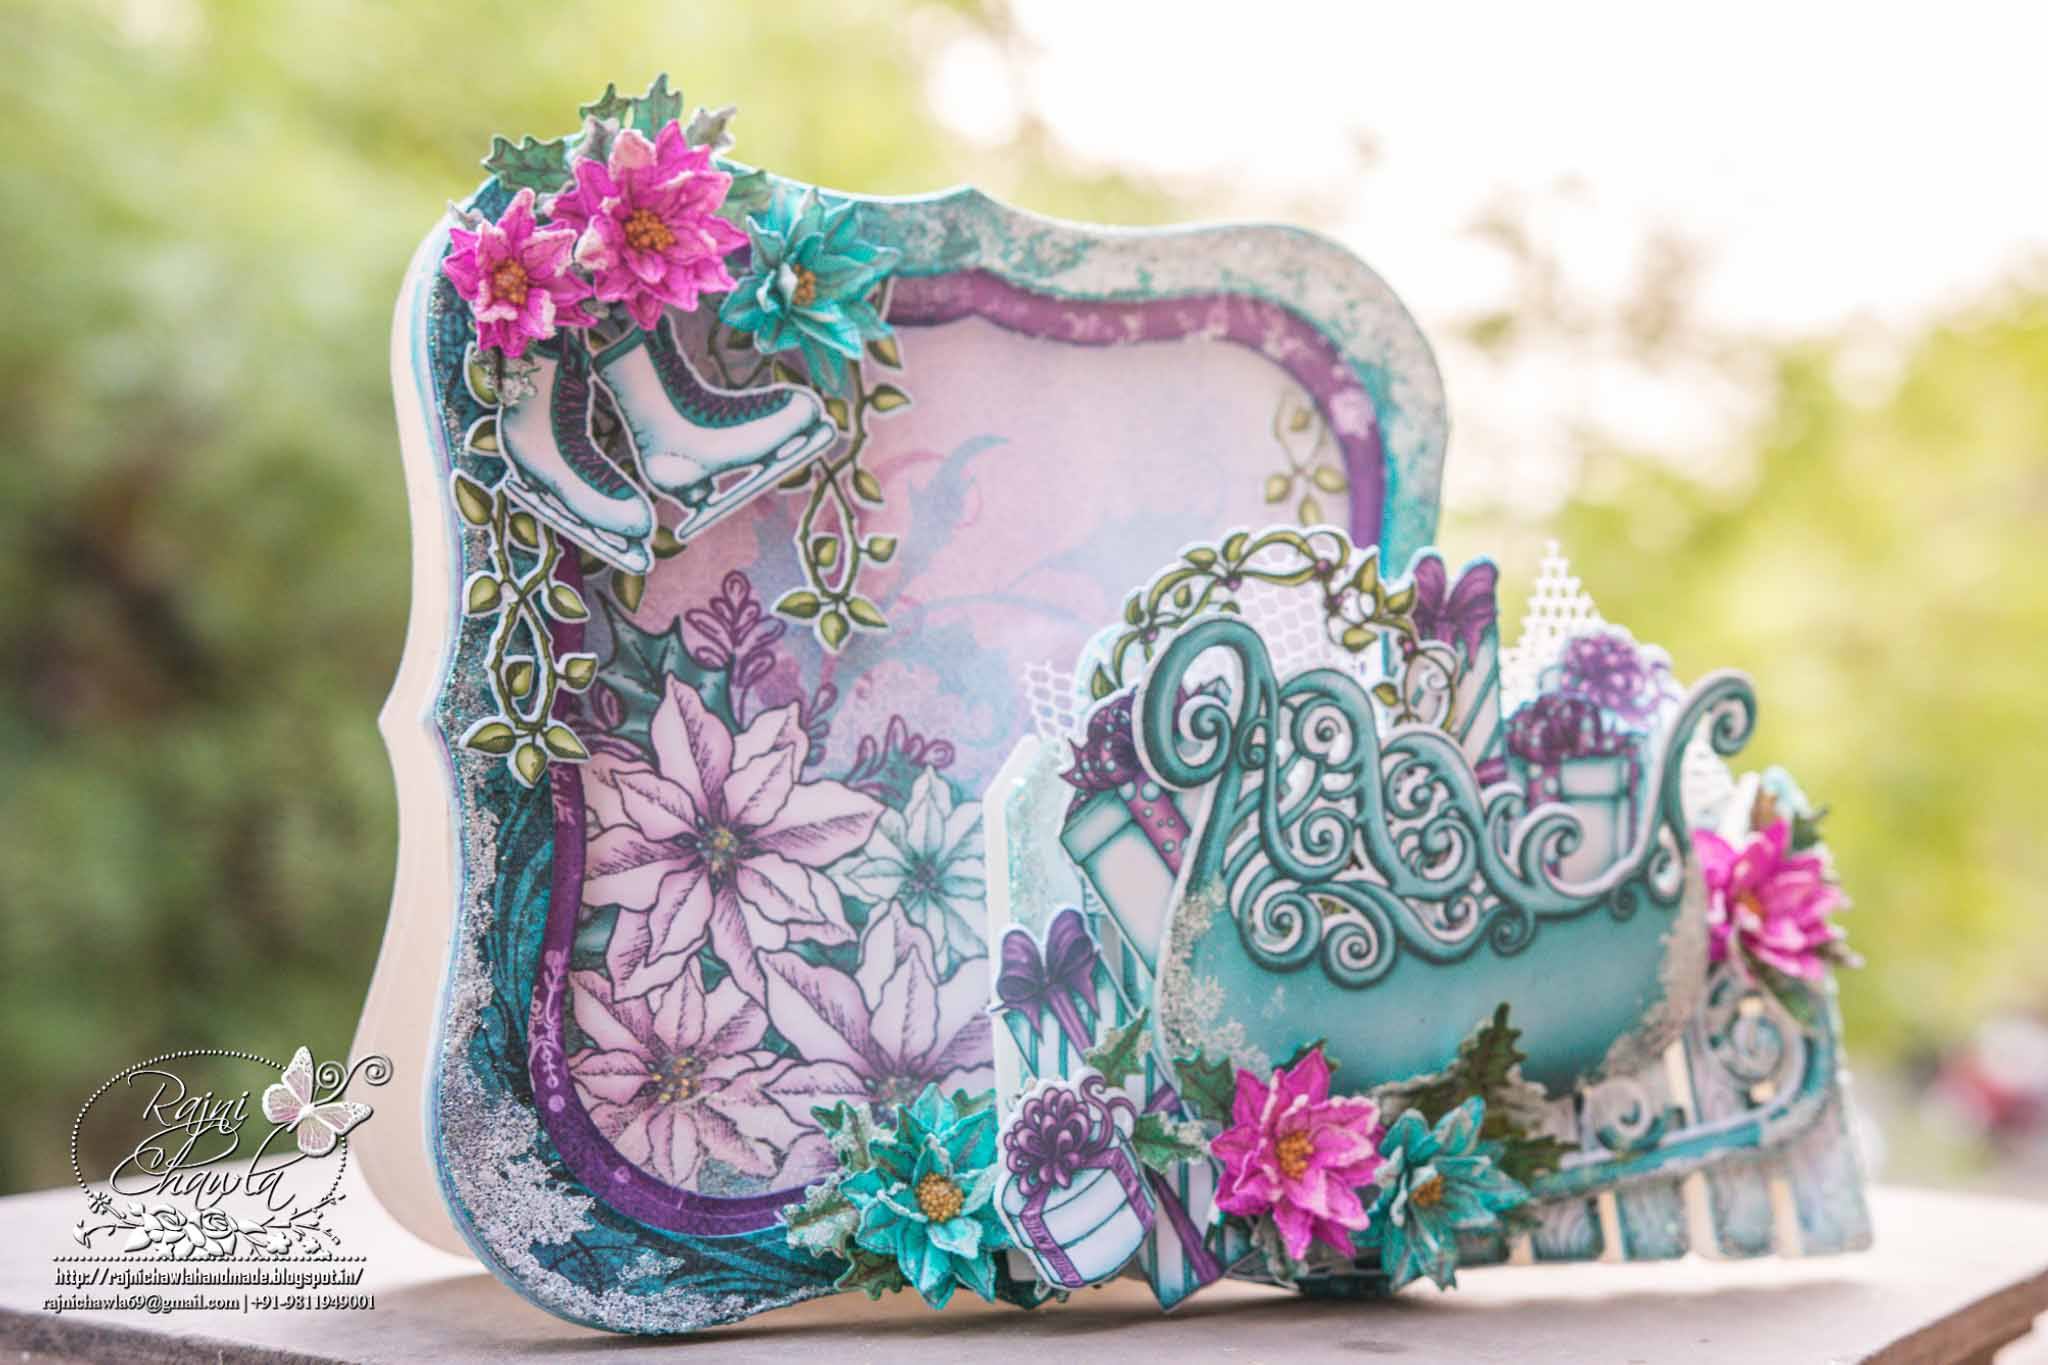
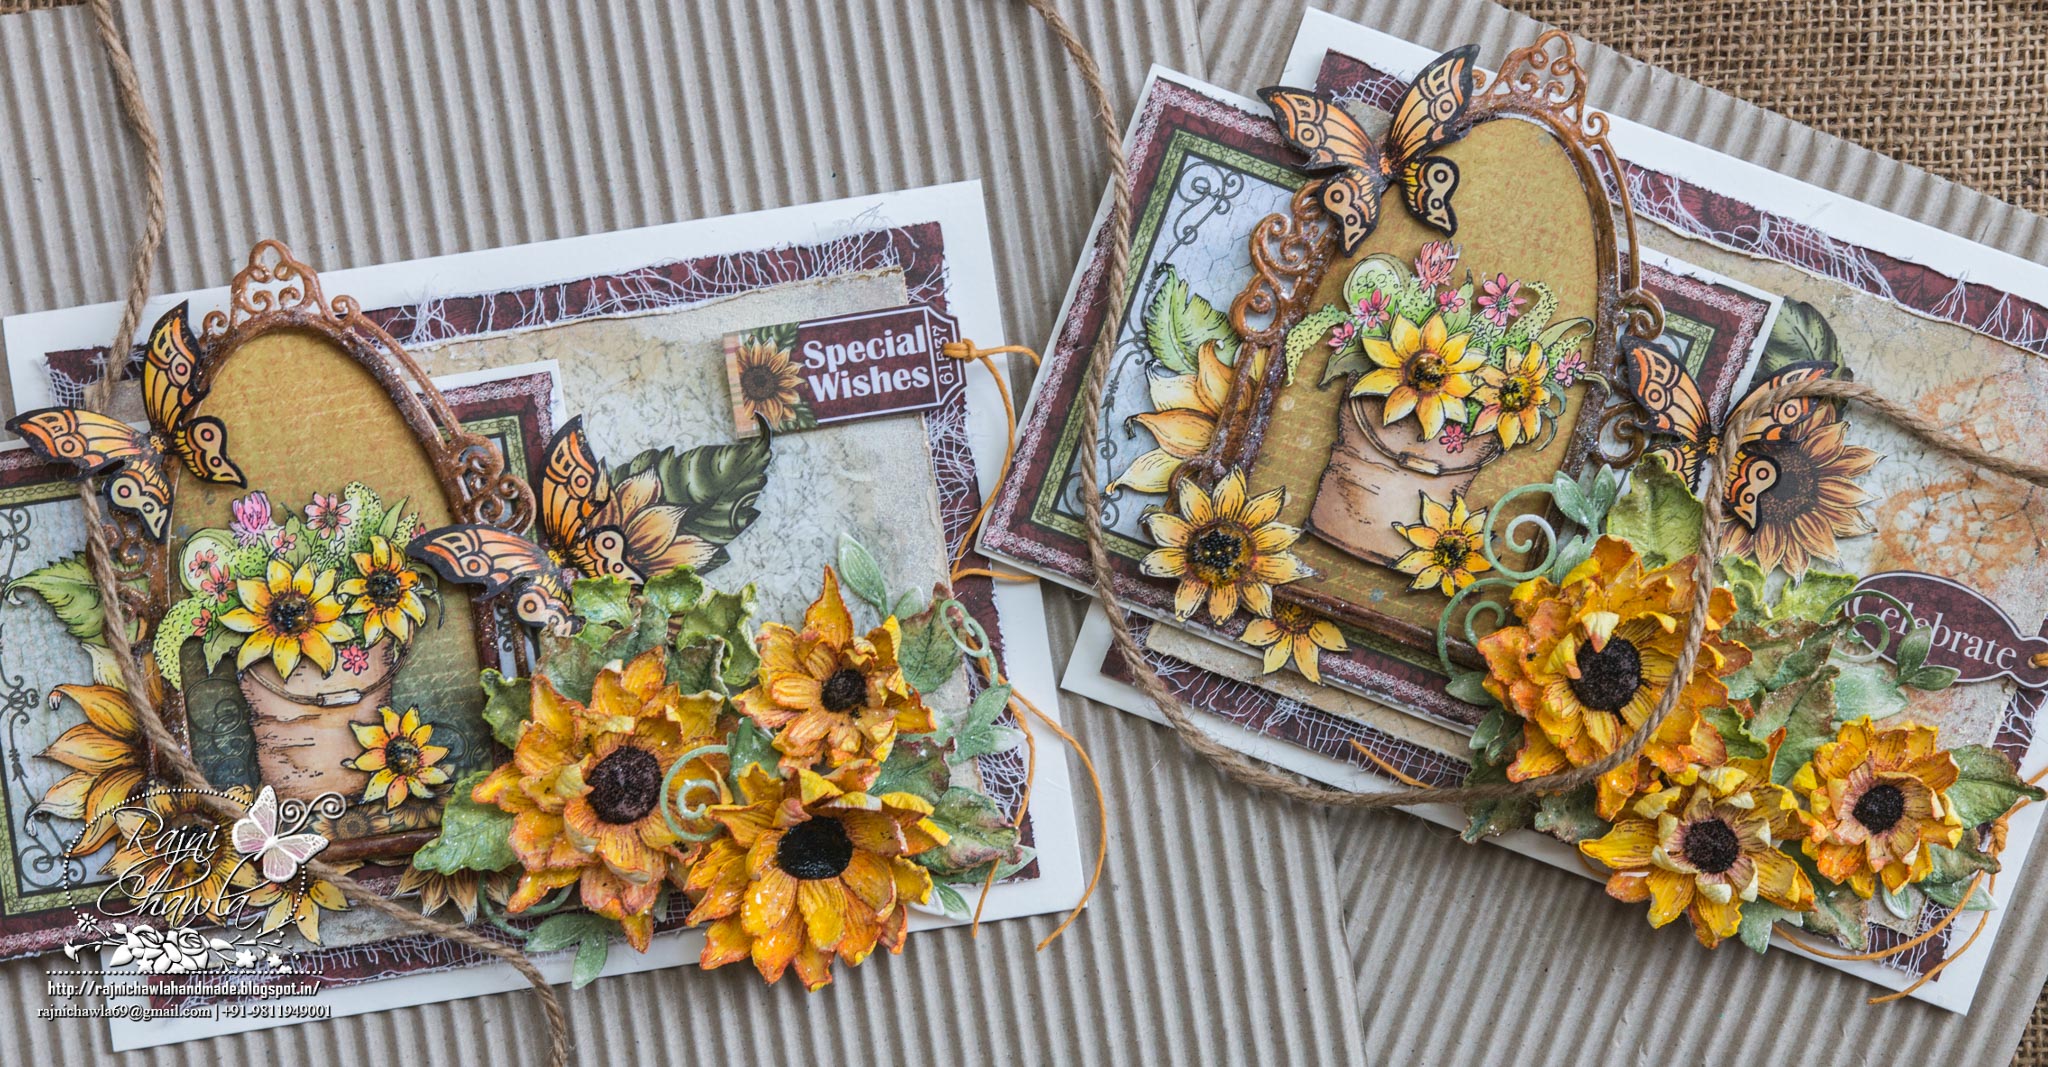
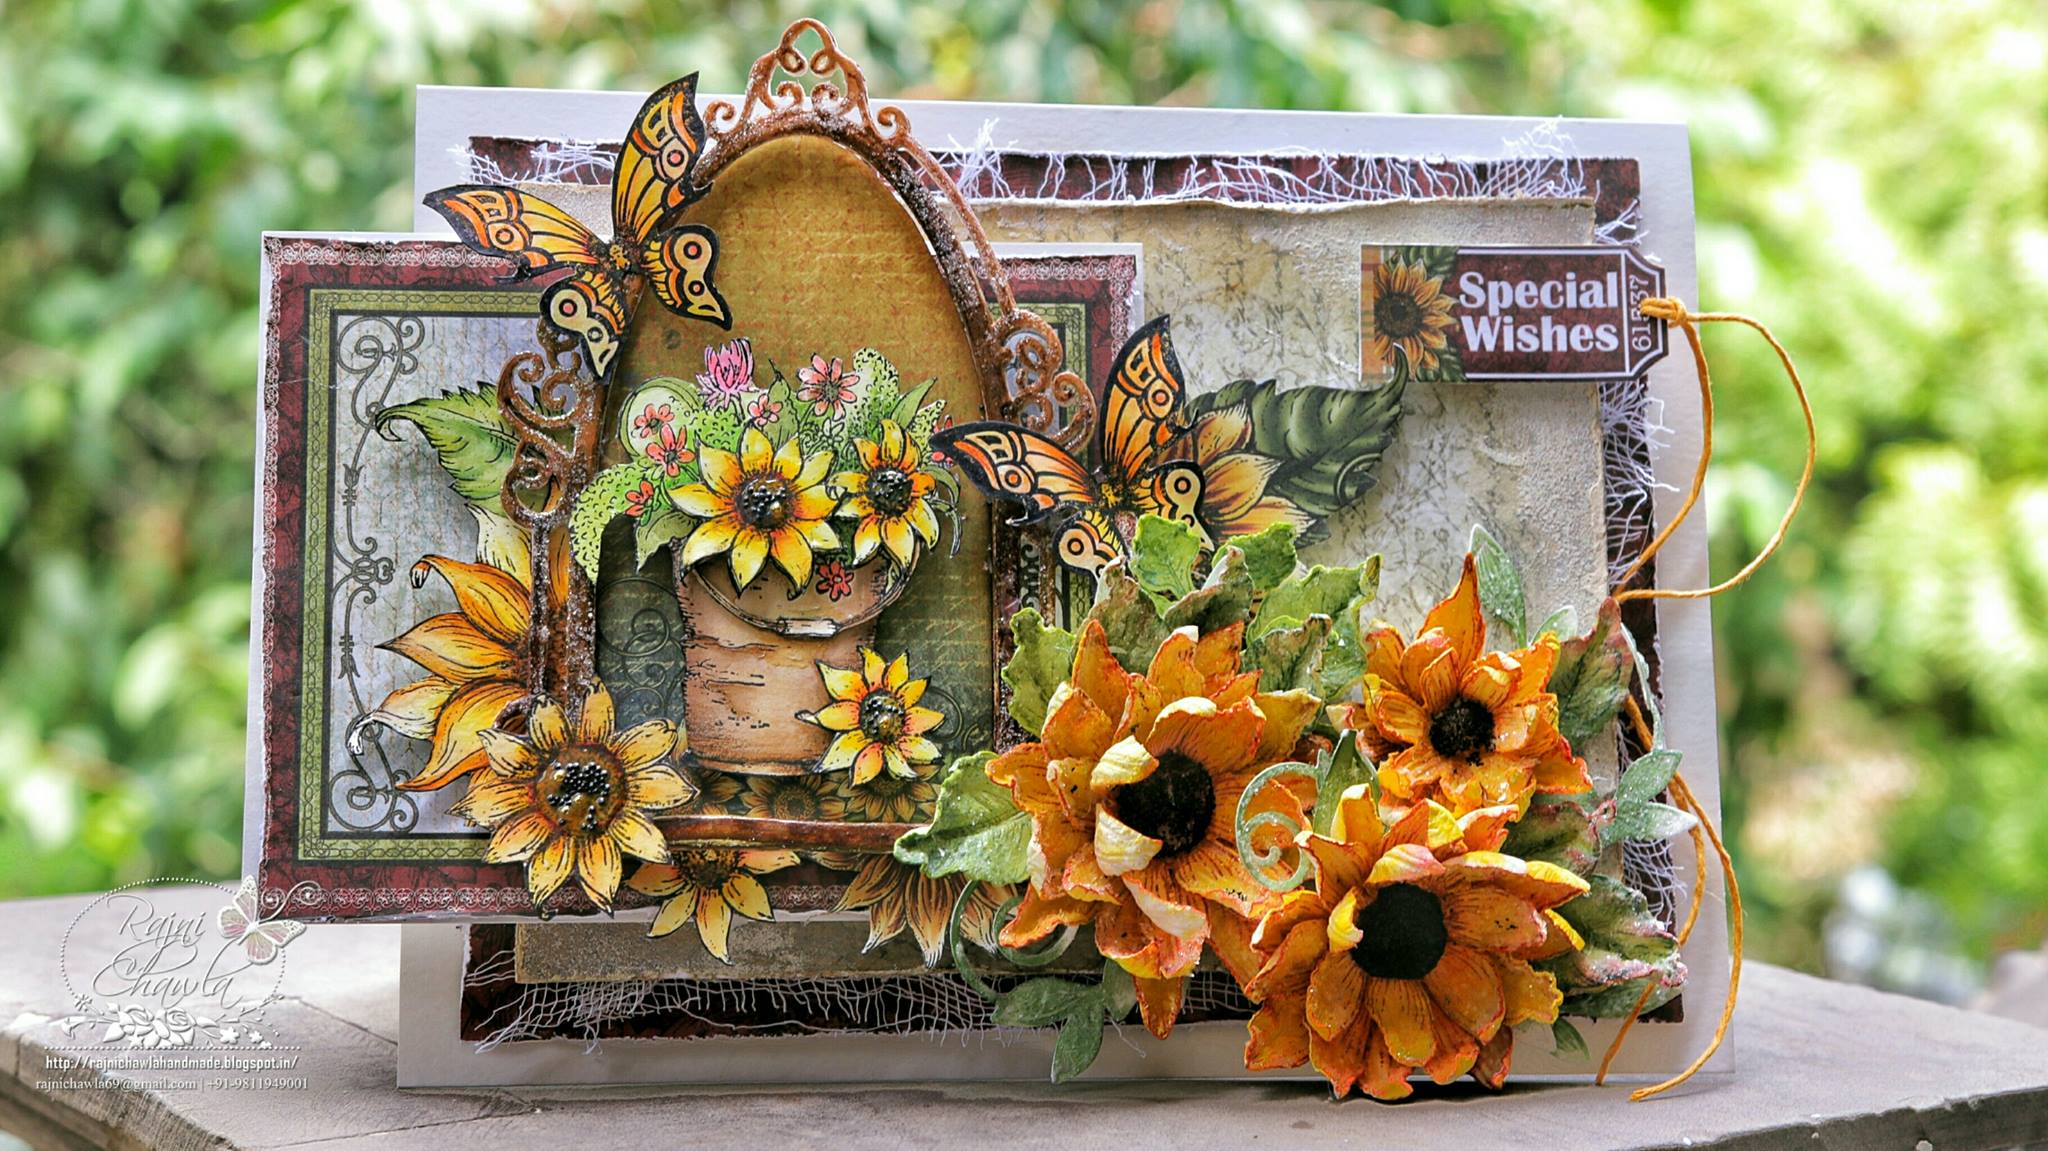
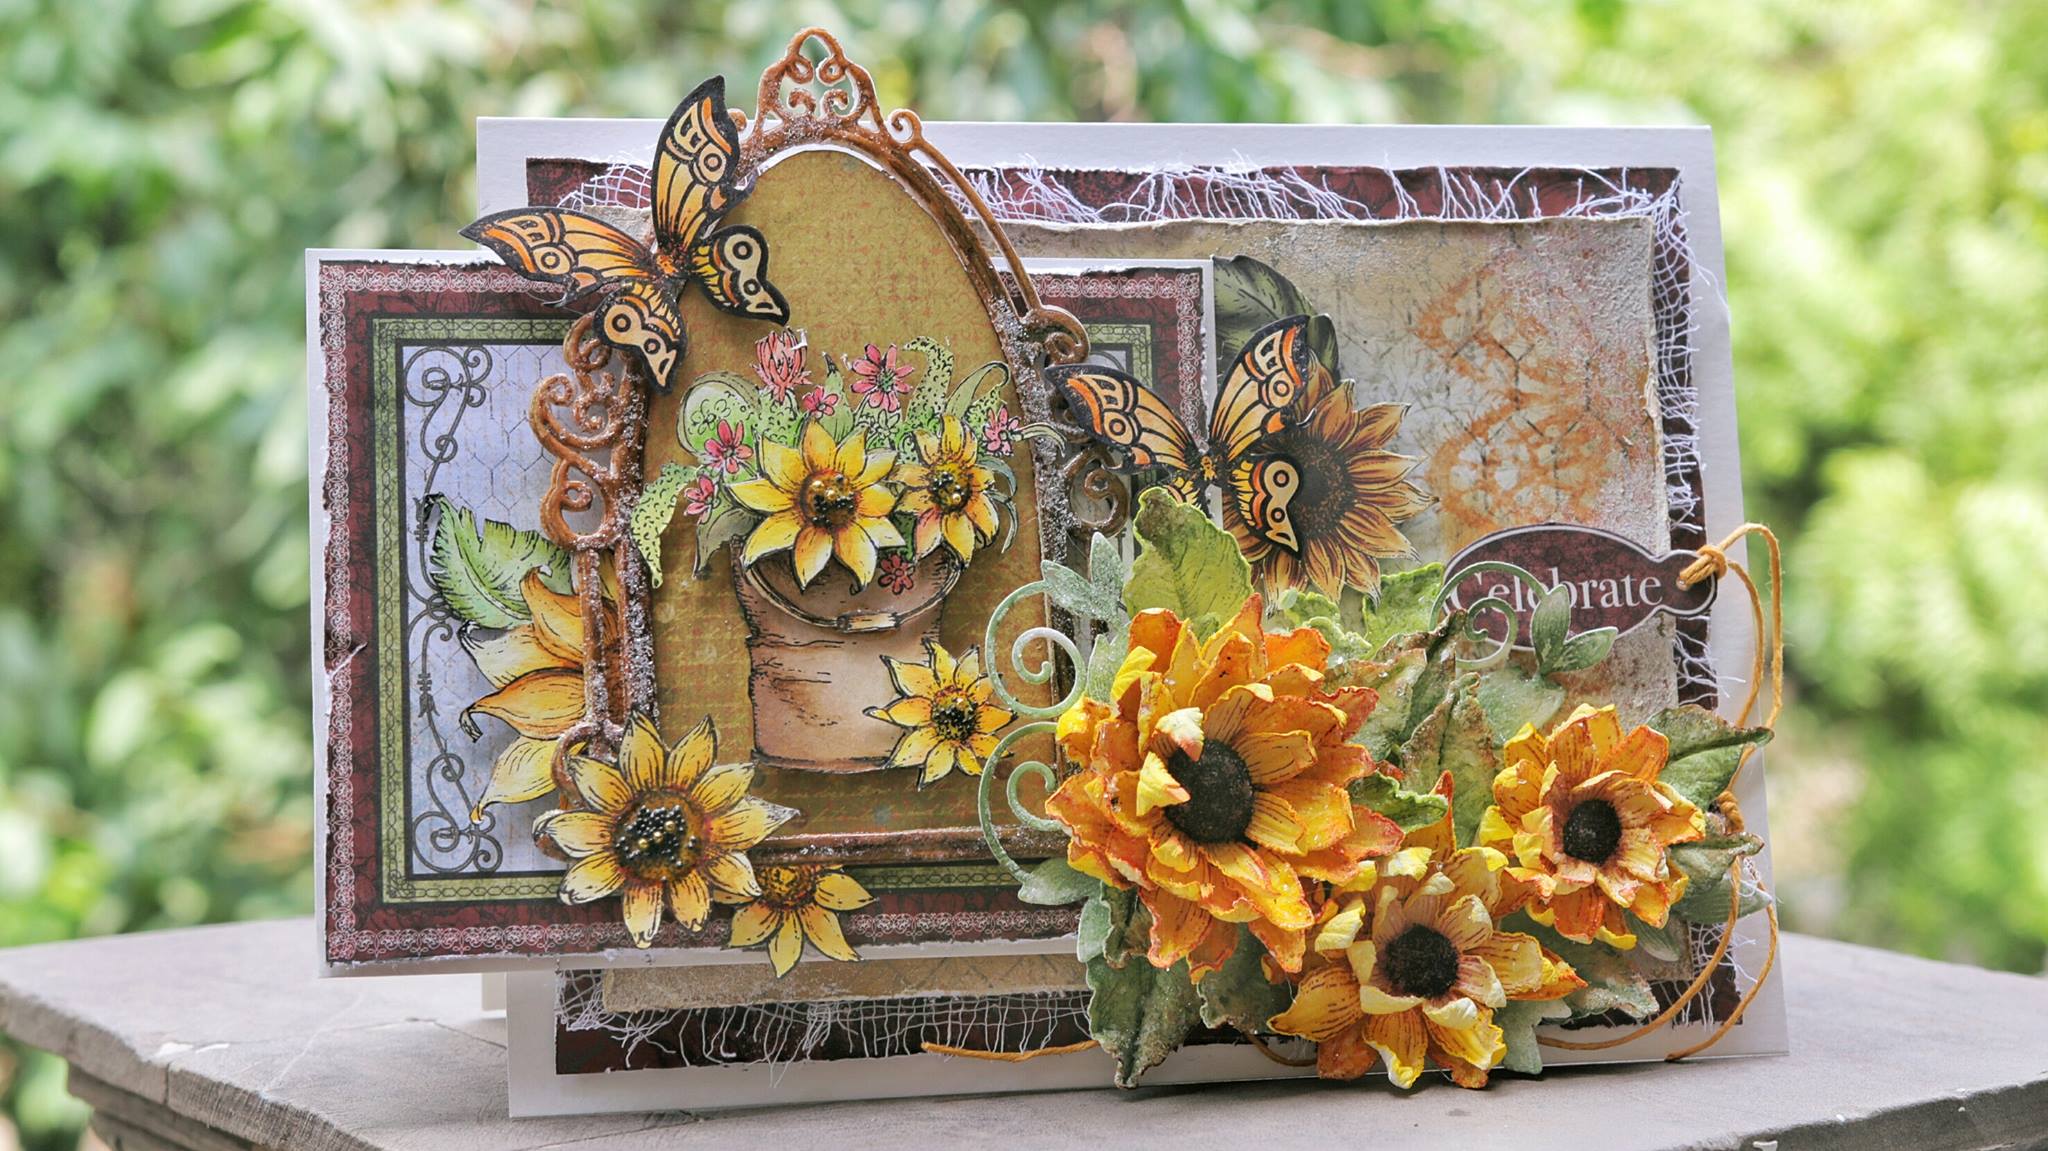
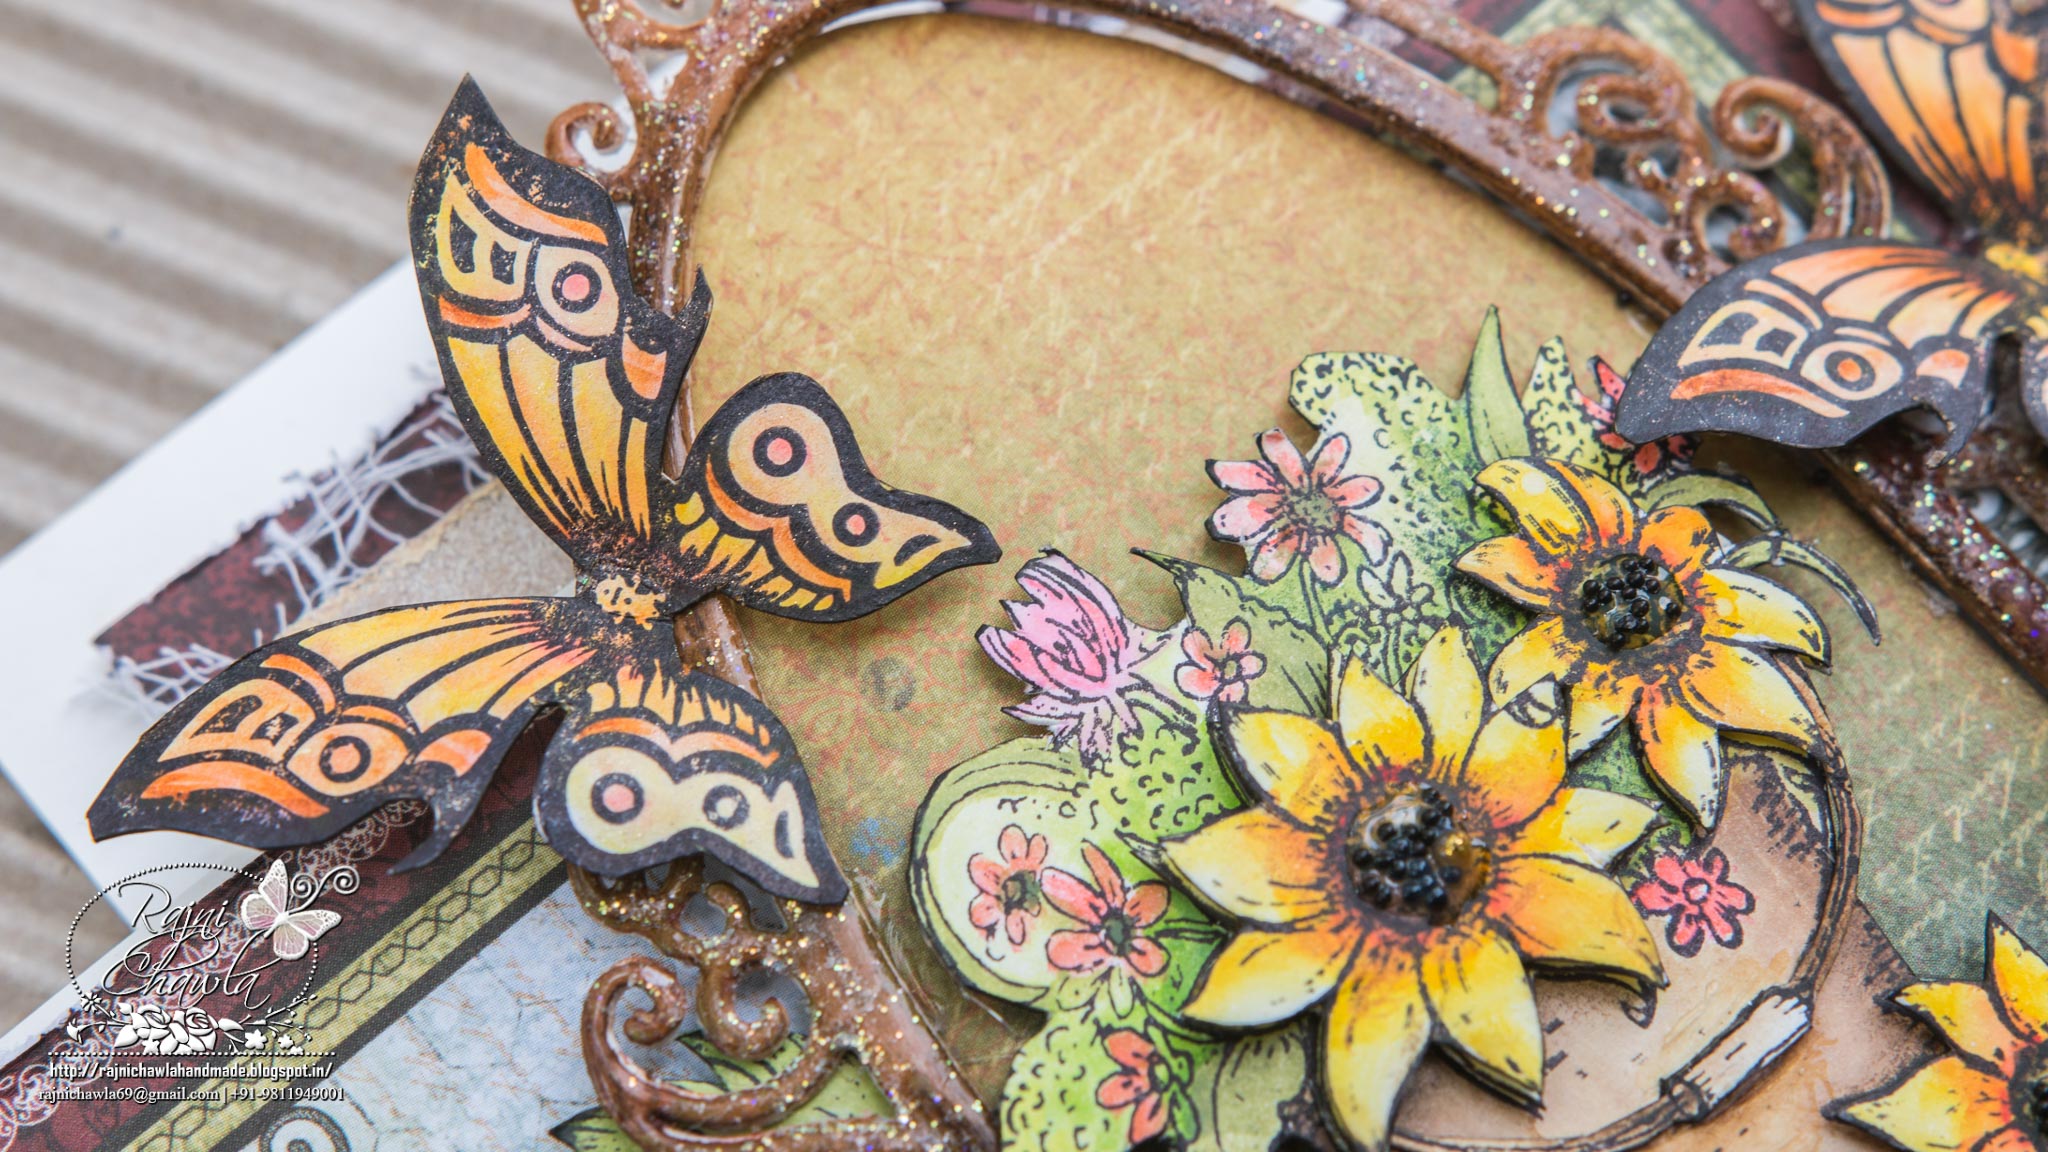
Hope you are all enjoying making Chrismas Cards for the coming season. Here is my another take on Celebrate the Season Collection. I made a Christmas Sleigh Gift box....a perfect gift for chocolates and candies. I m so sorry that I forgot to click the pictures of a side view of the box and the magnetic enclosure I made. I will try to edit the post and will update all the pictures. Thanks for keeping patience. 

Products from Heartfelt Creations:


Other Products Used: Black Archival Ink, Score Board, Cutting Machine, Distress ink Seedless Preserves, Spellbinder's Grand Label 1 die, Red Tacky Tape, White Cardstock

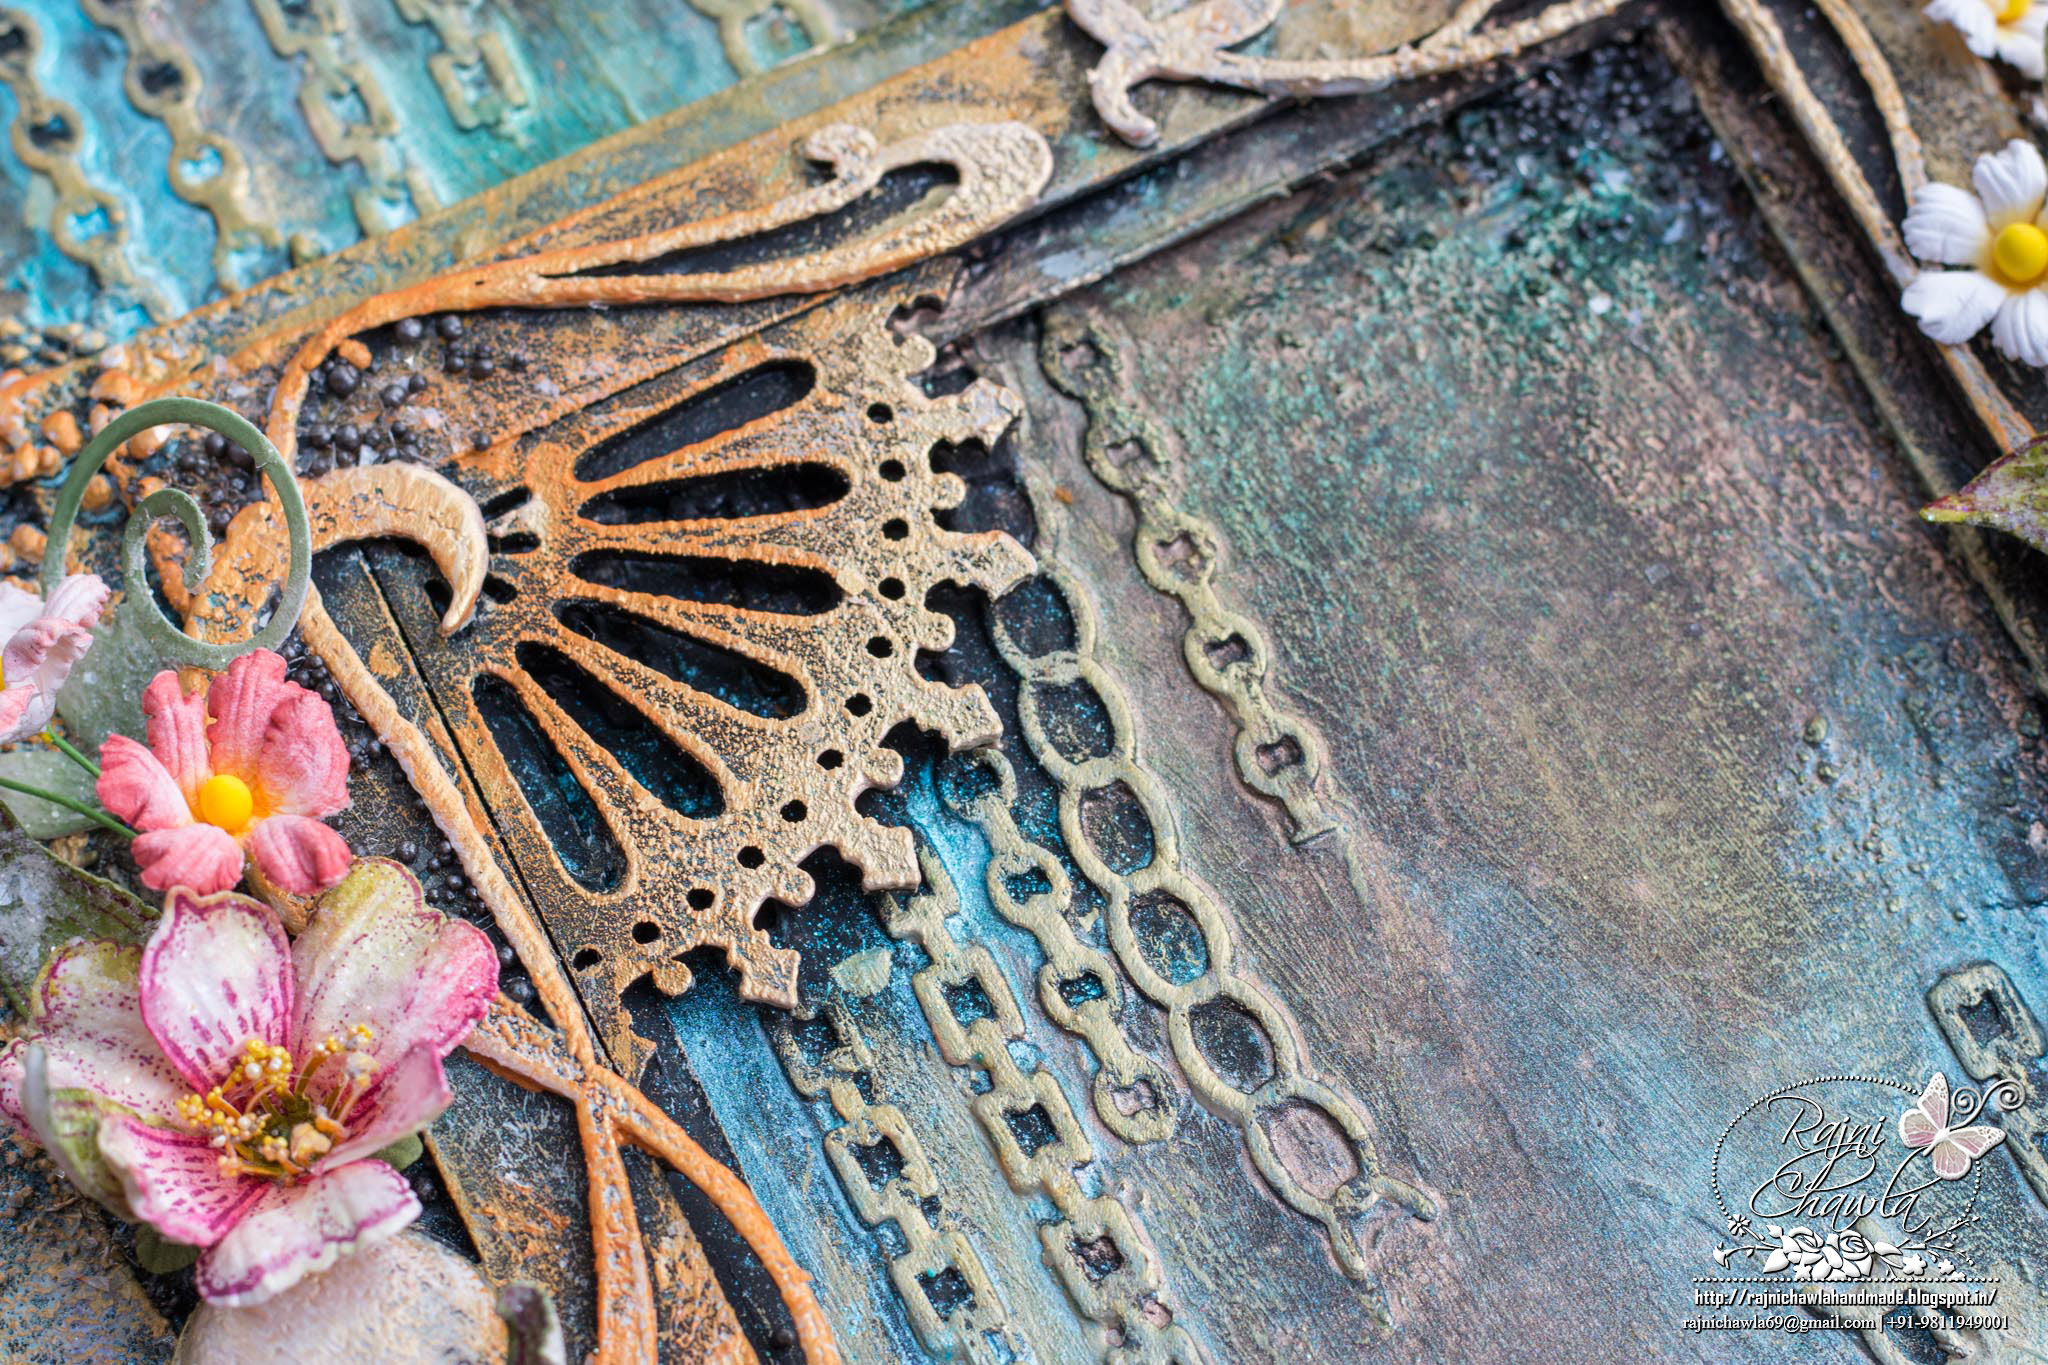
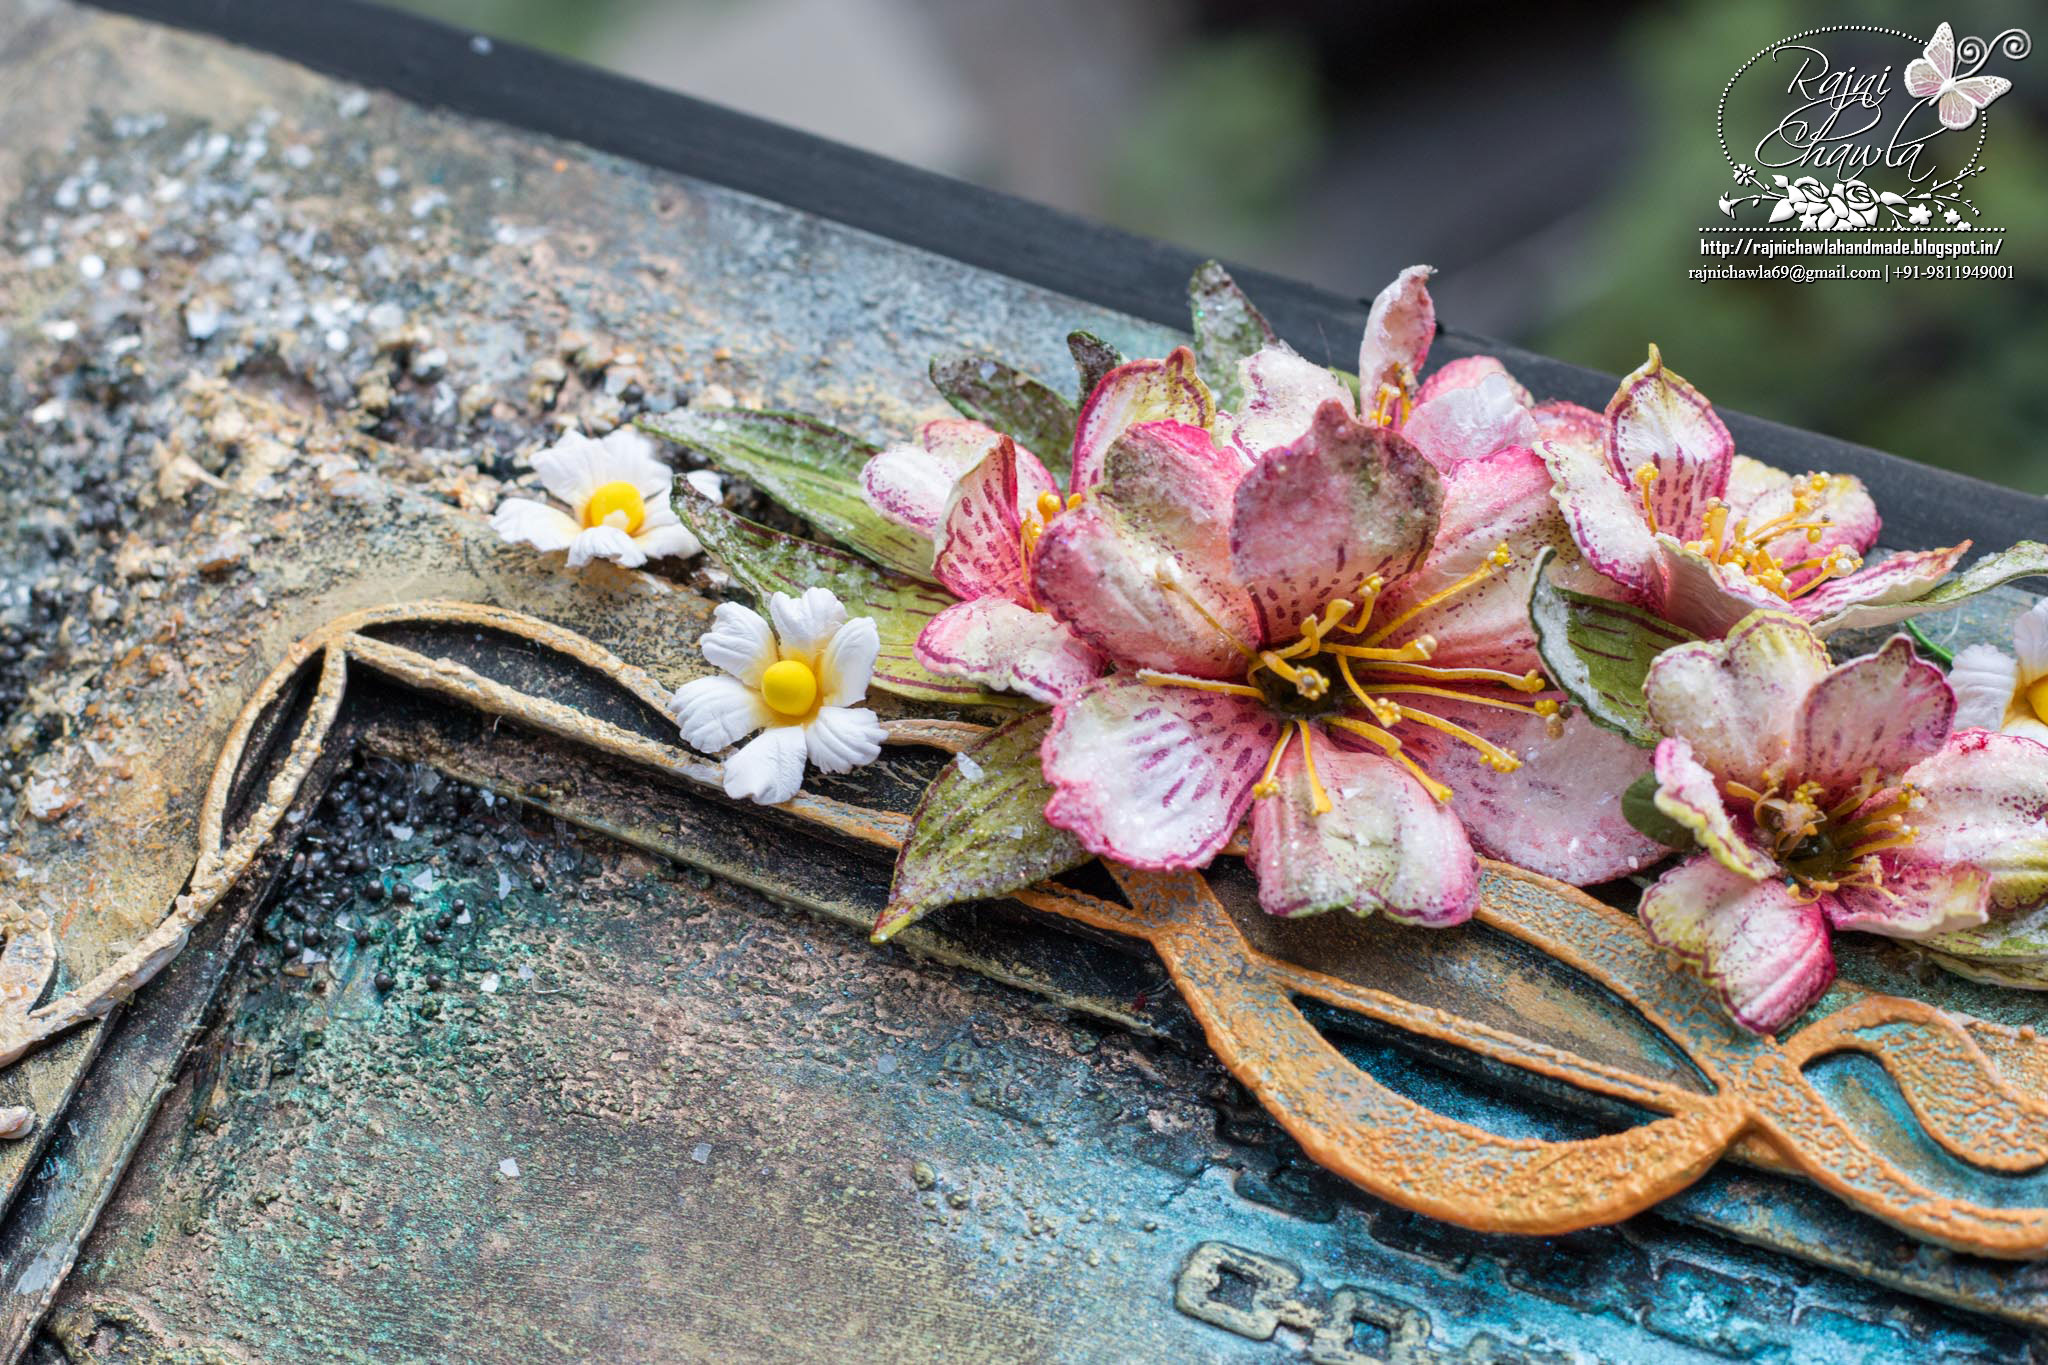
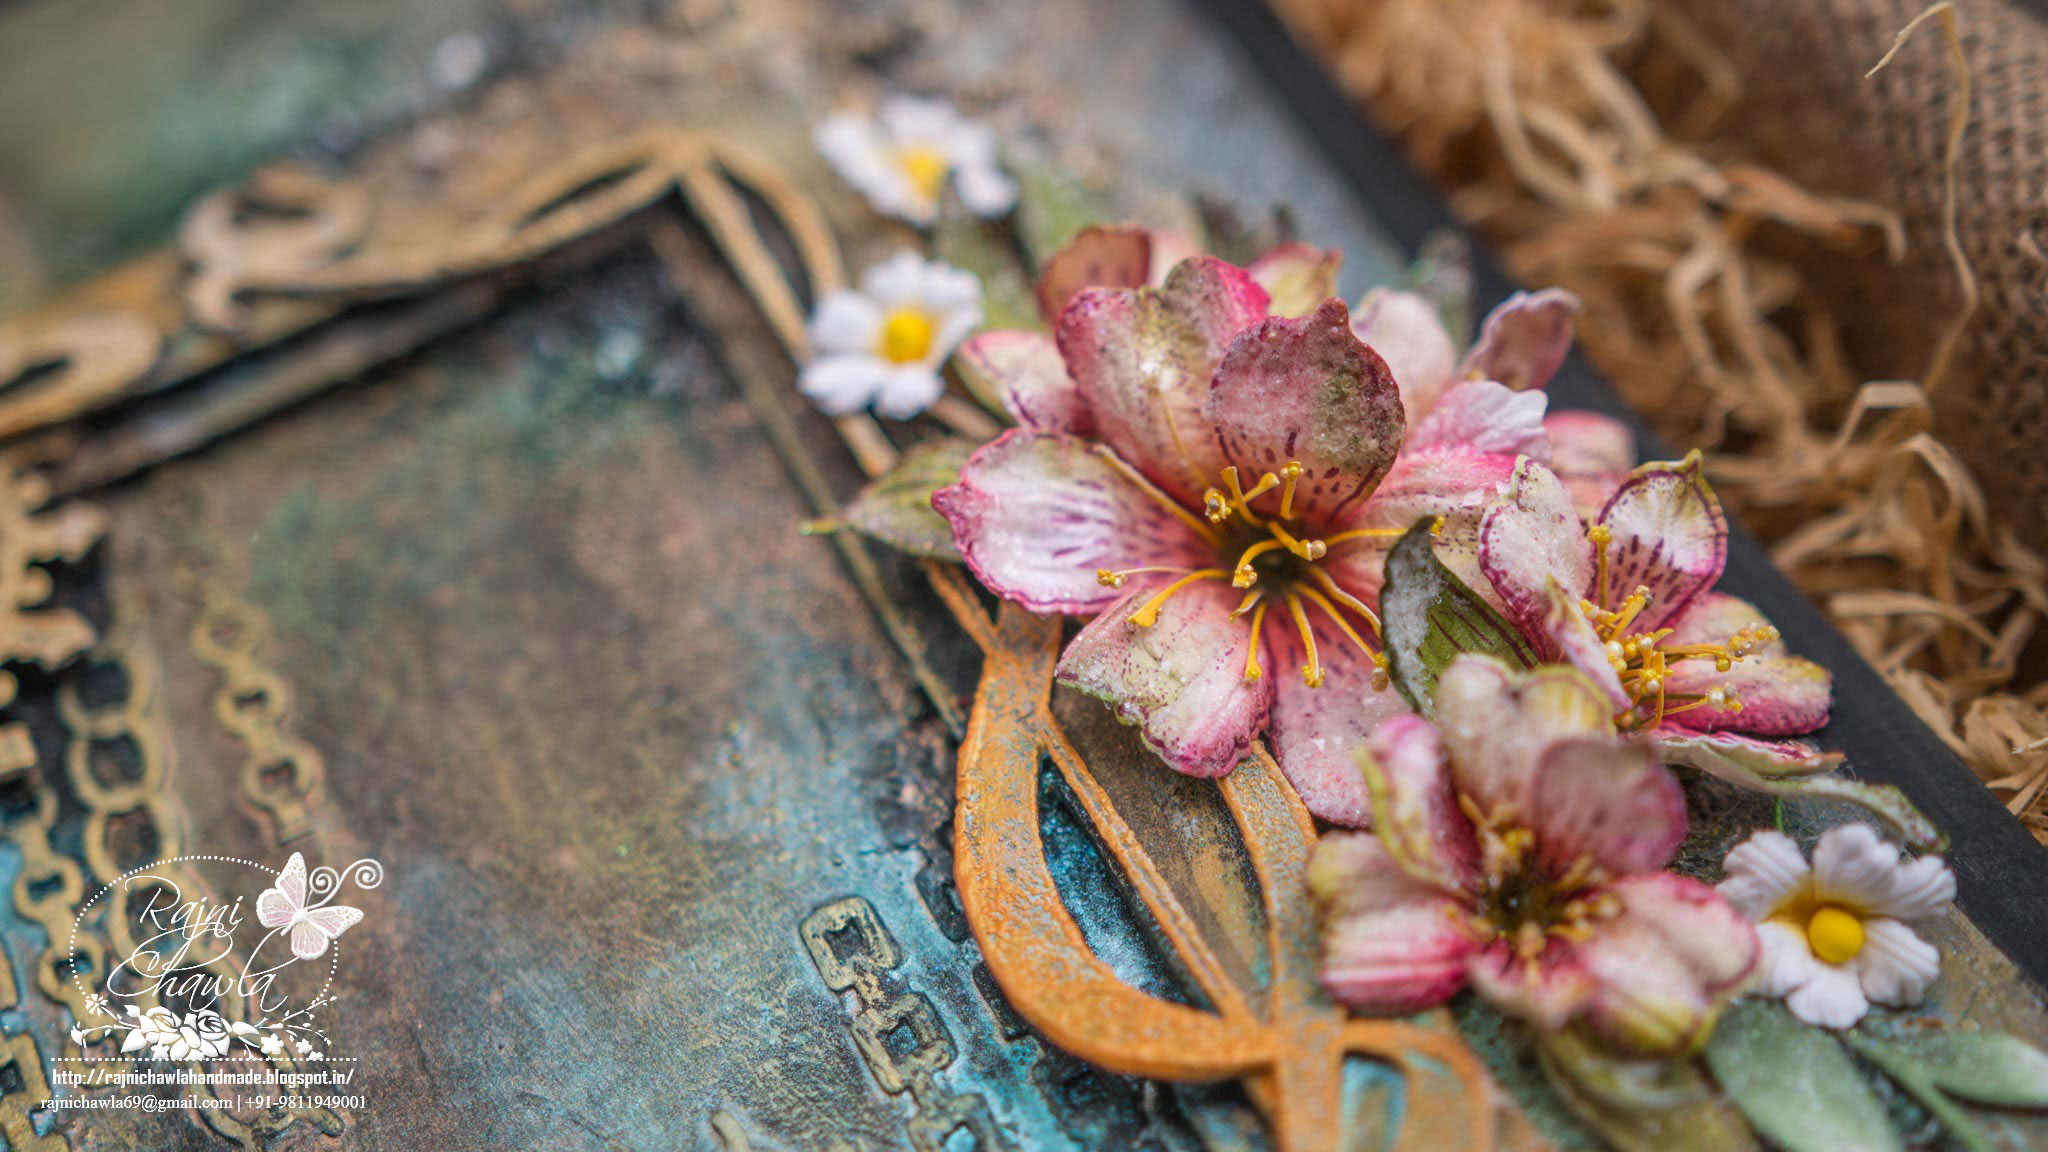
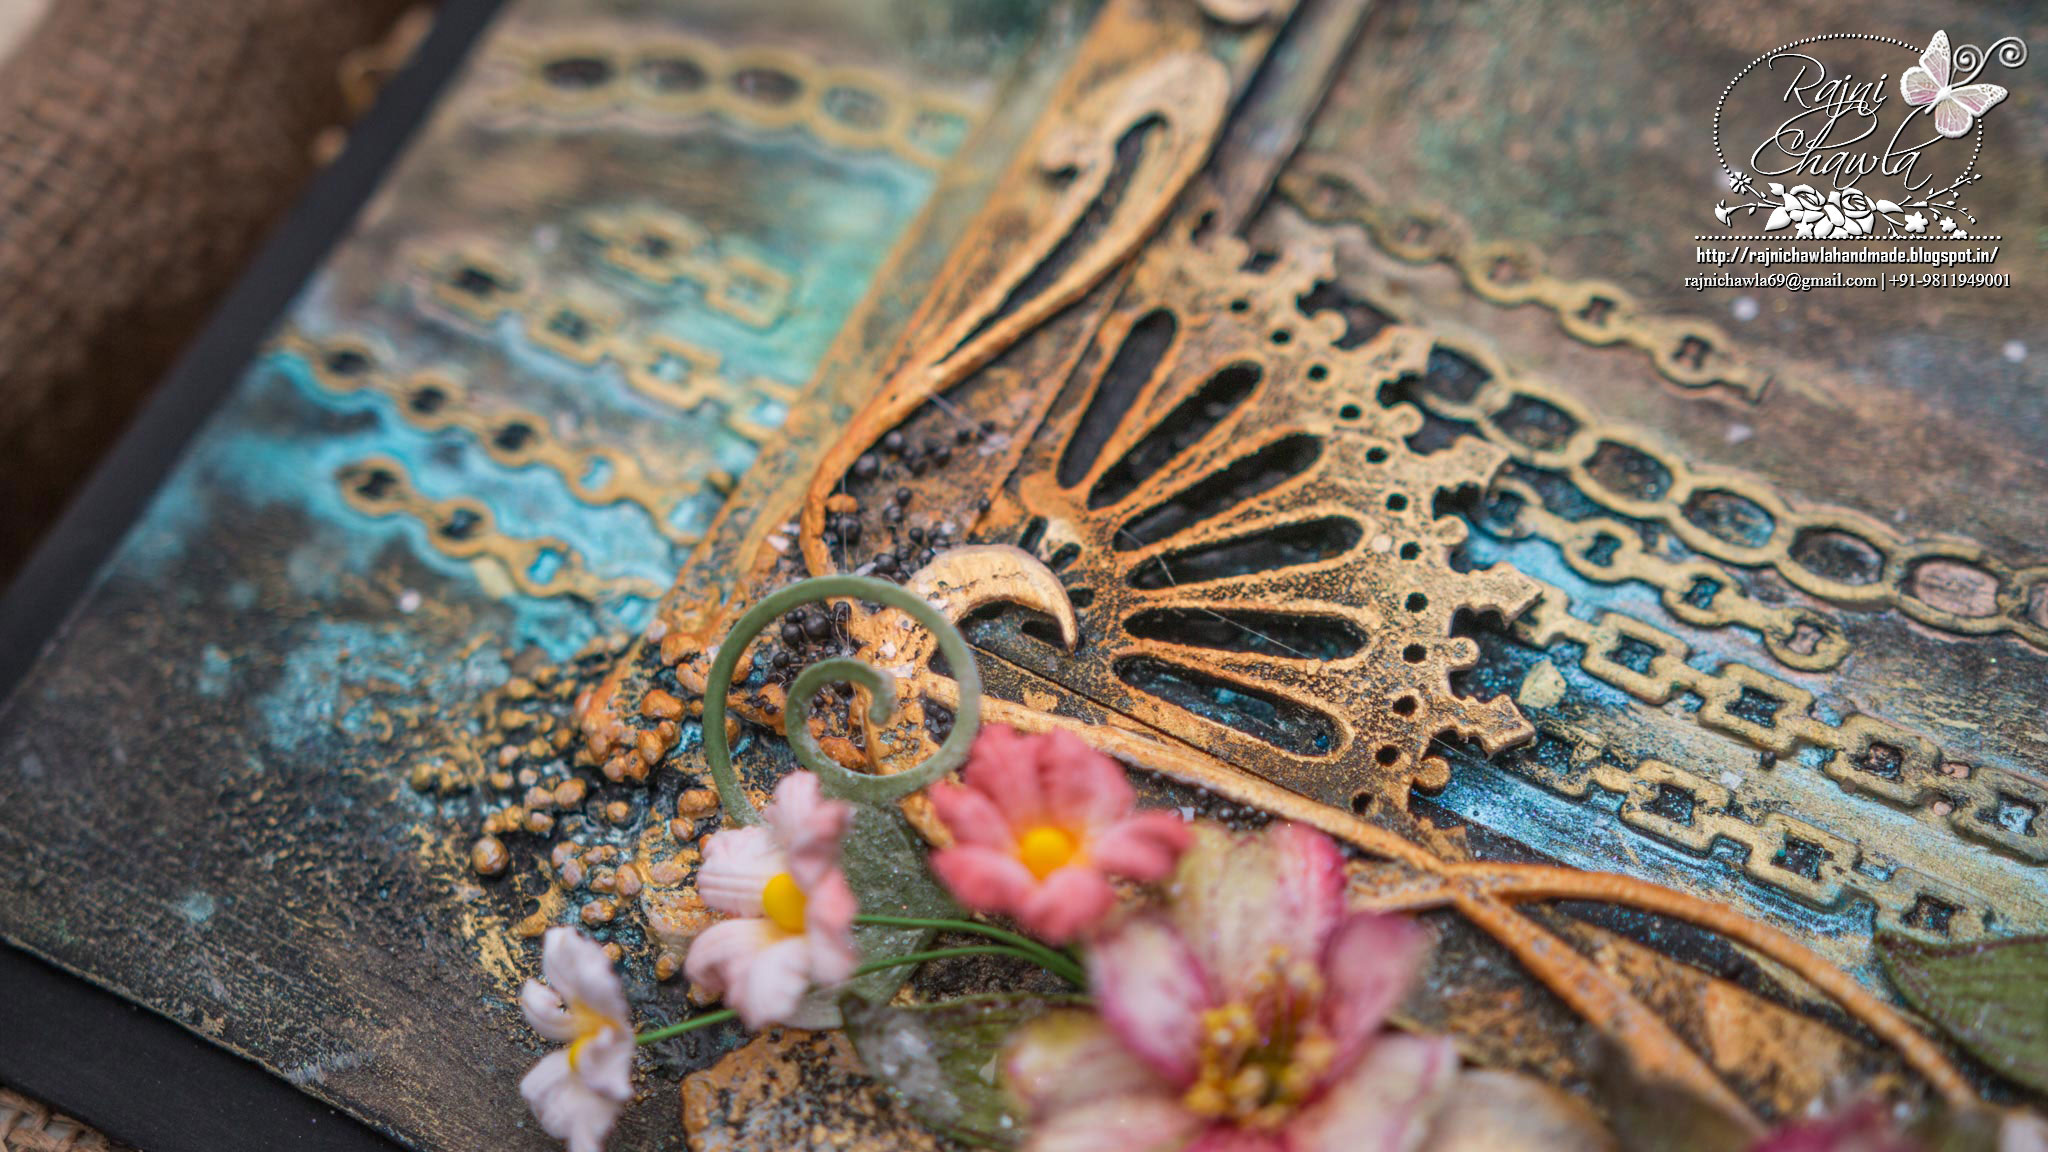
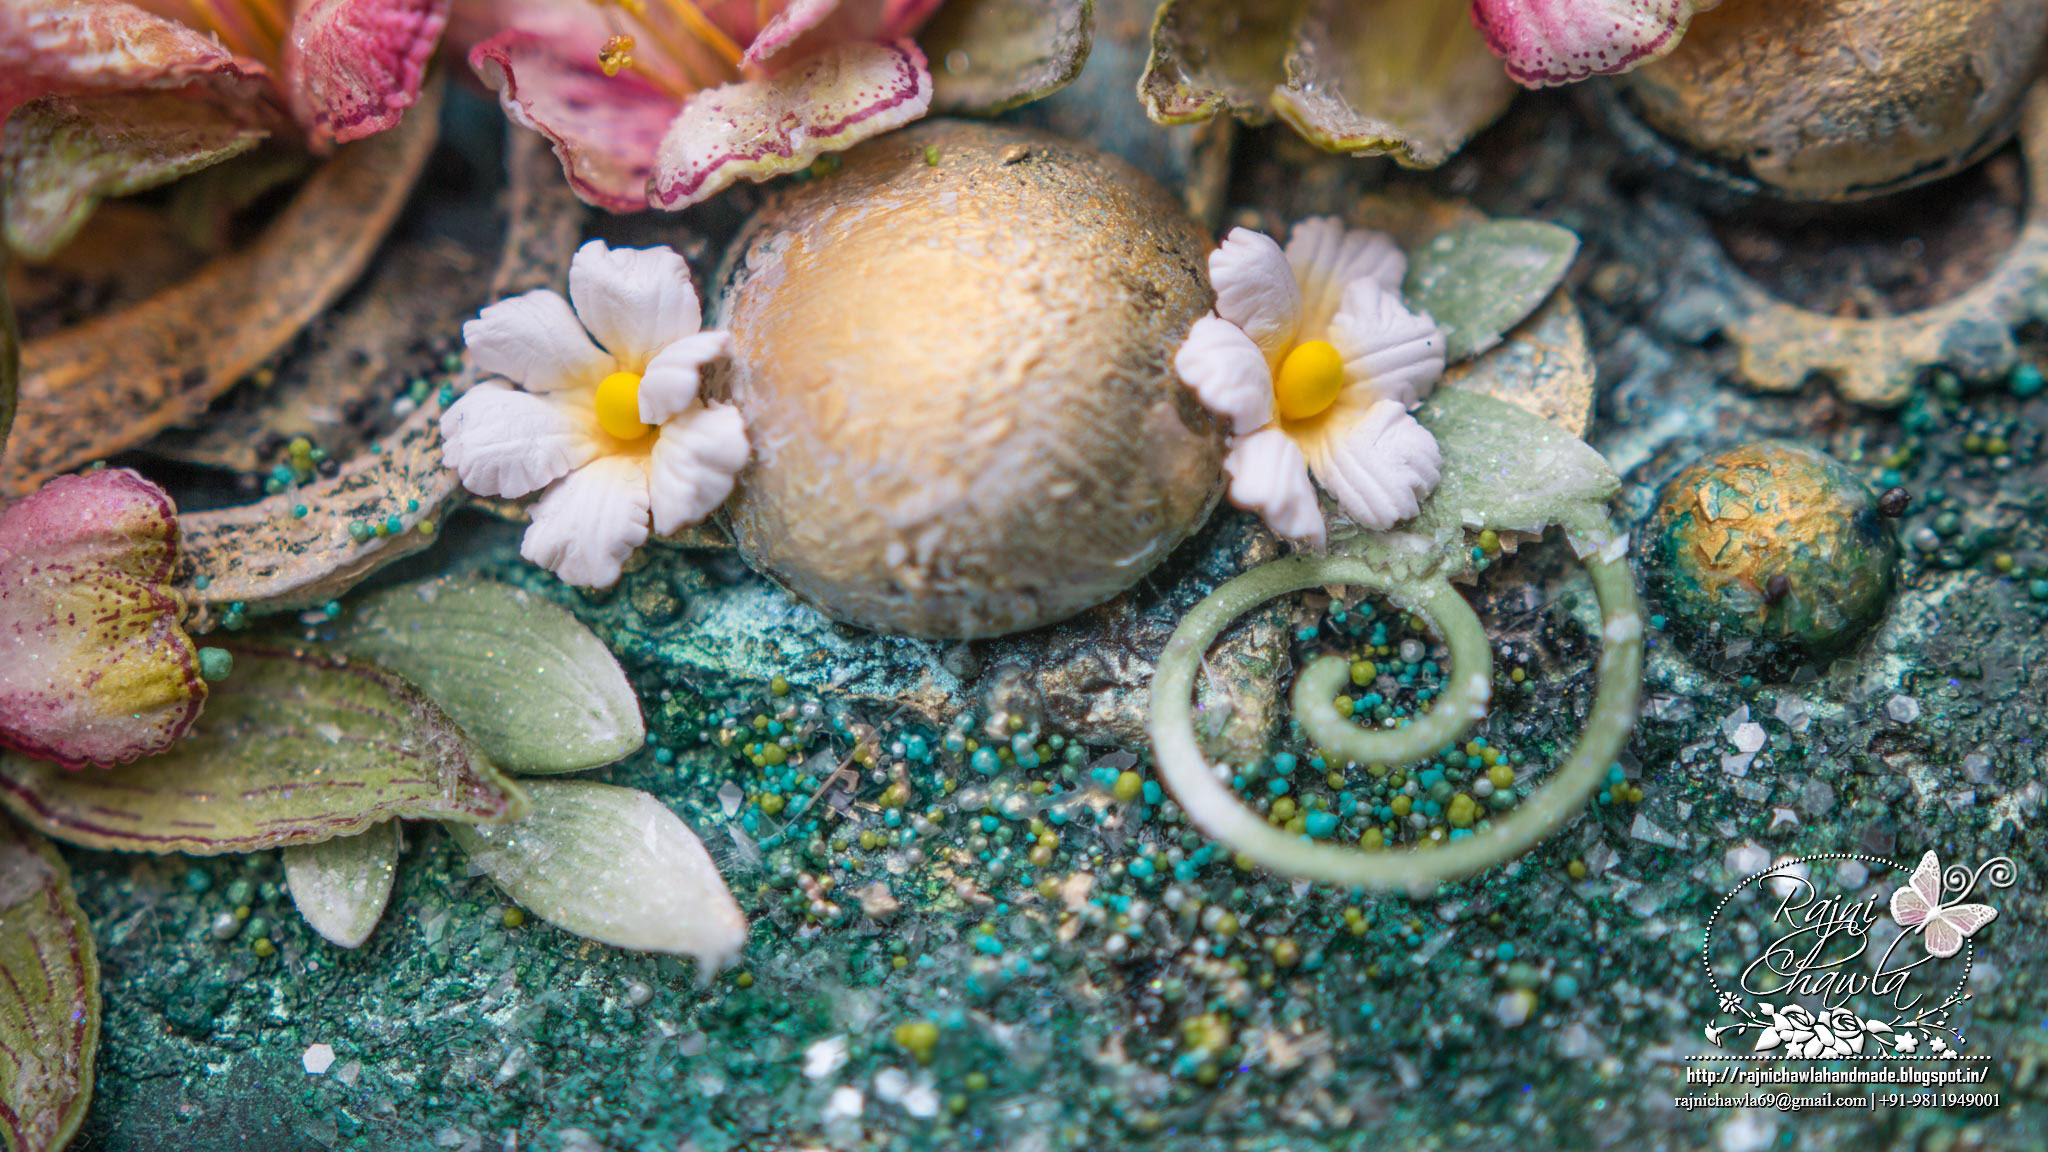
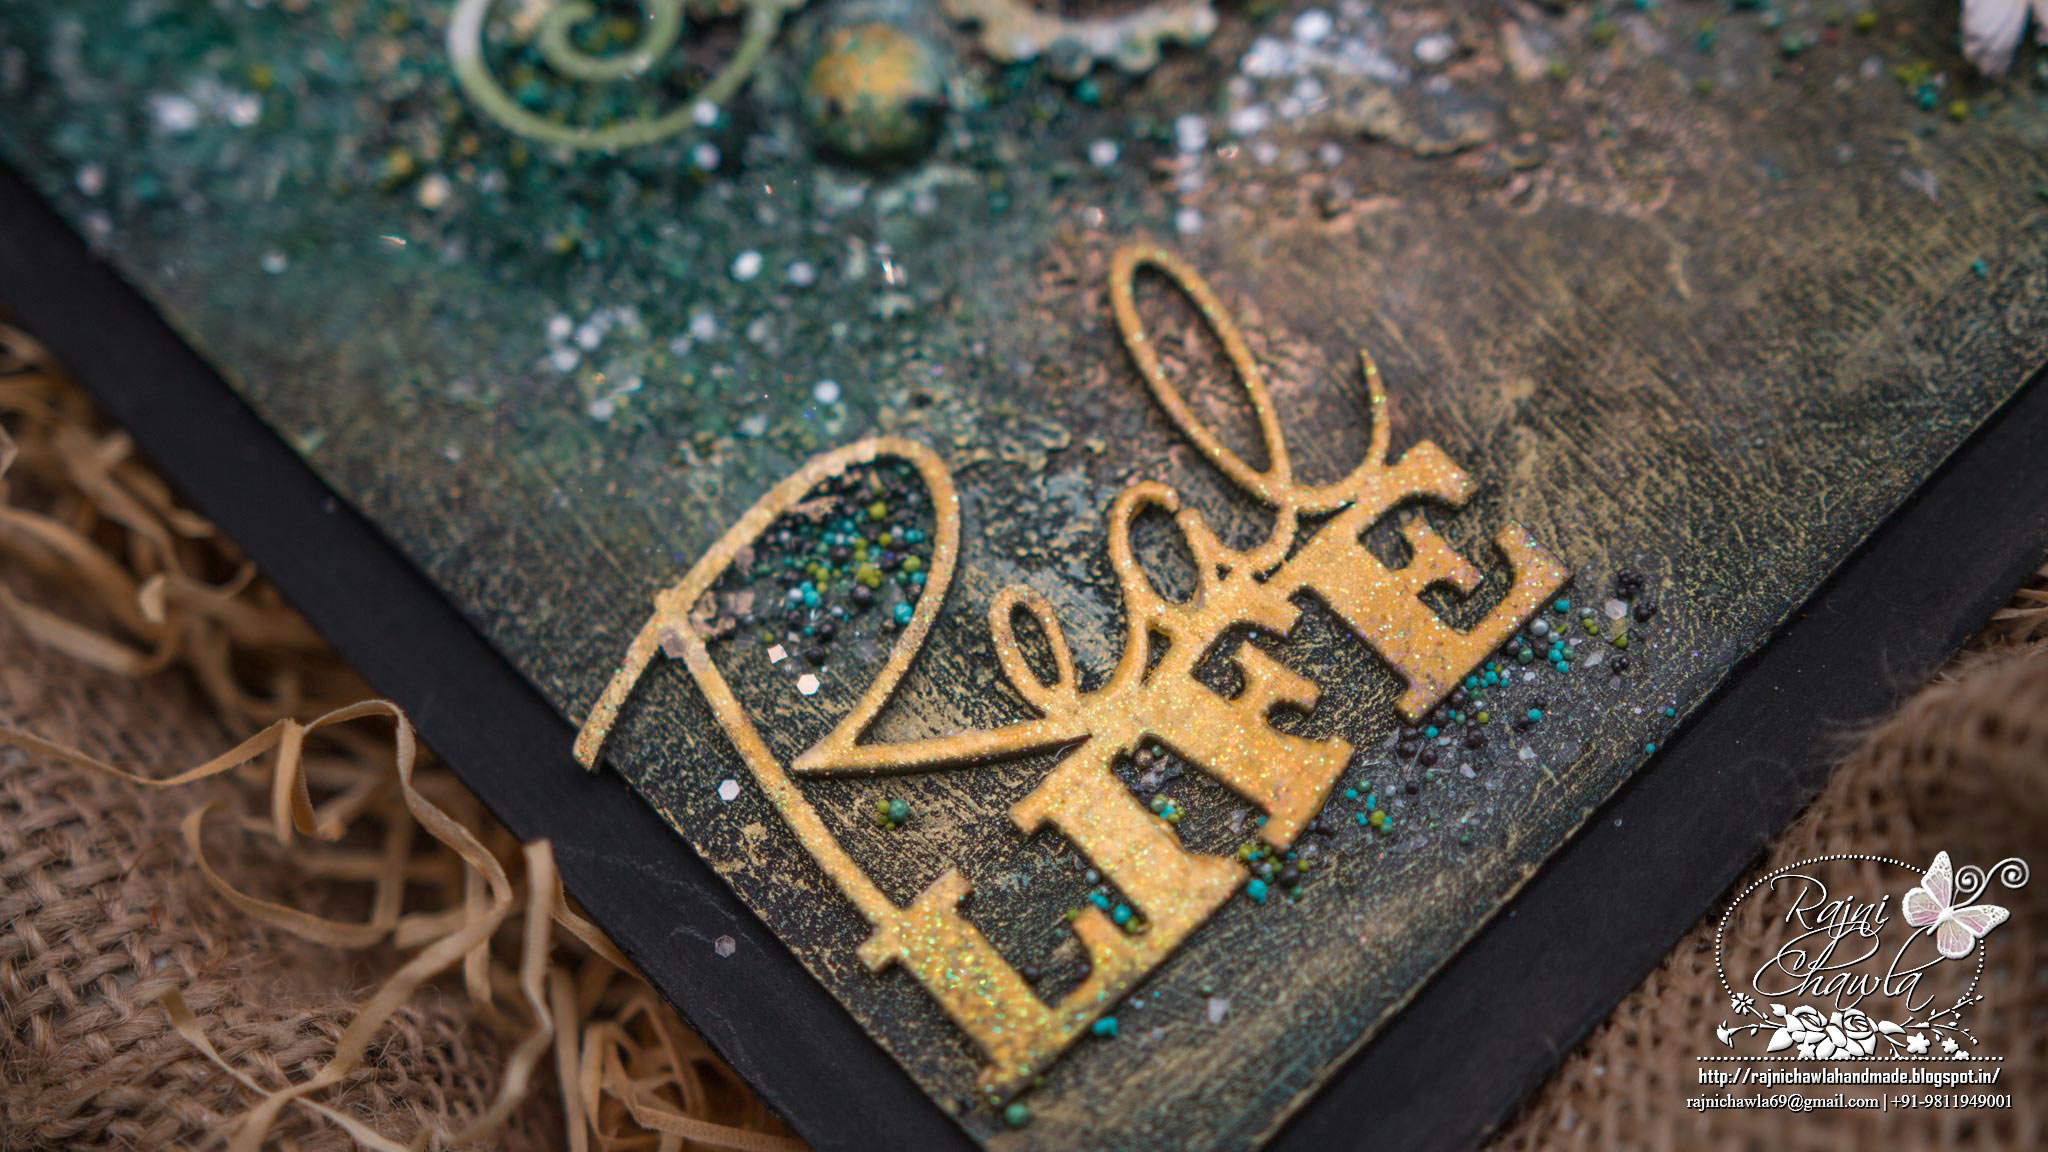
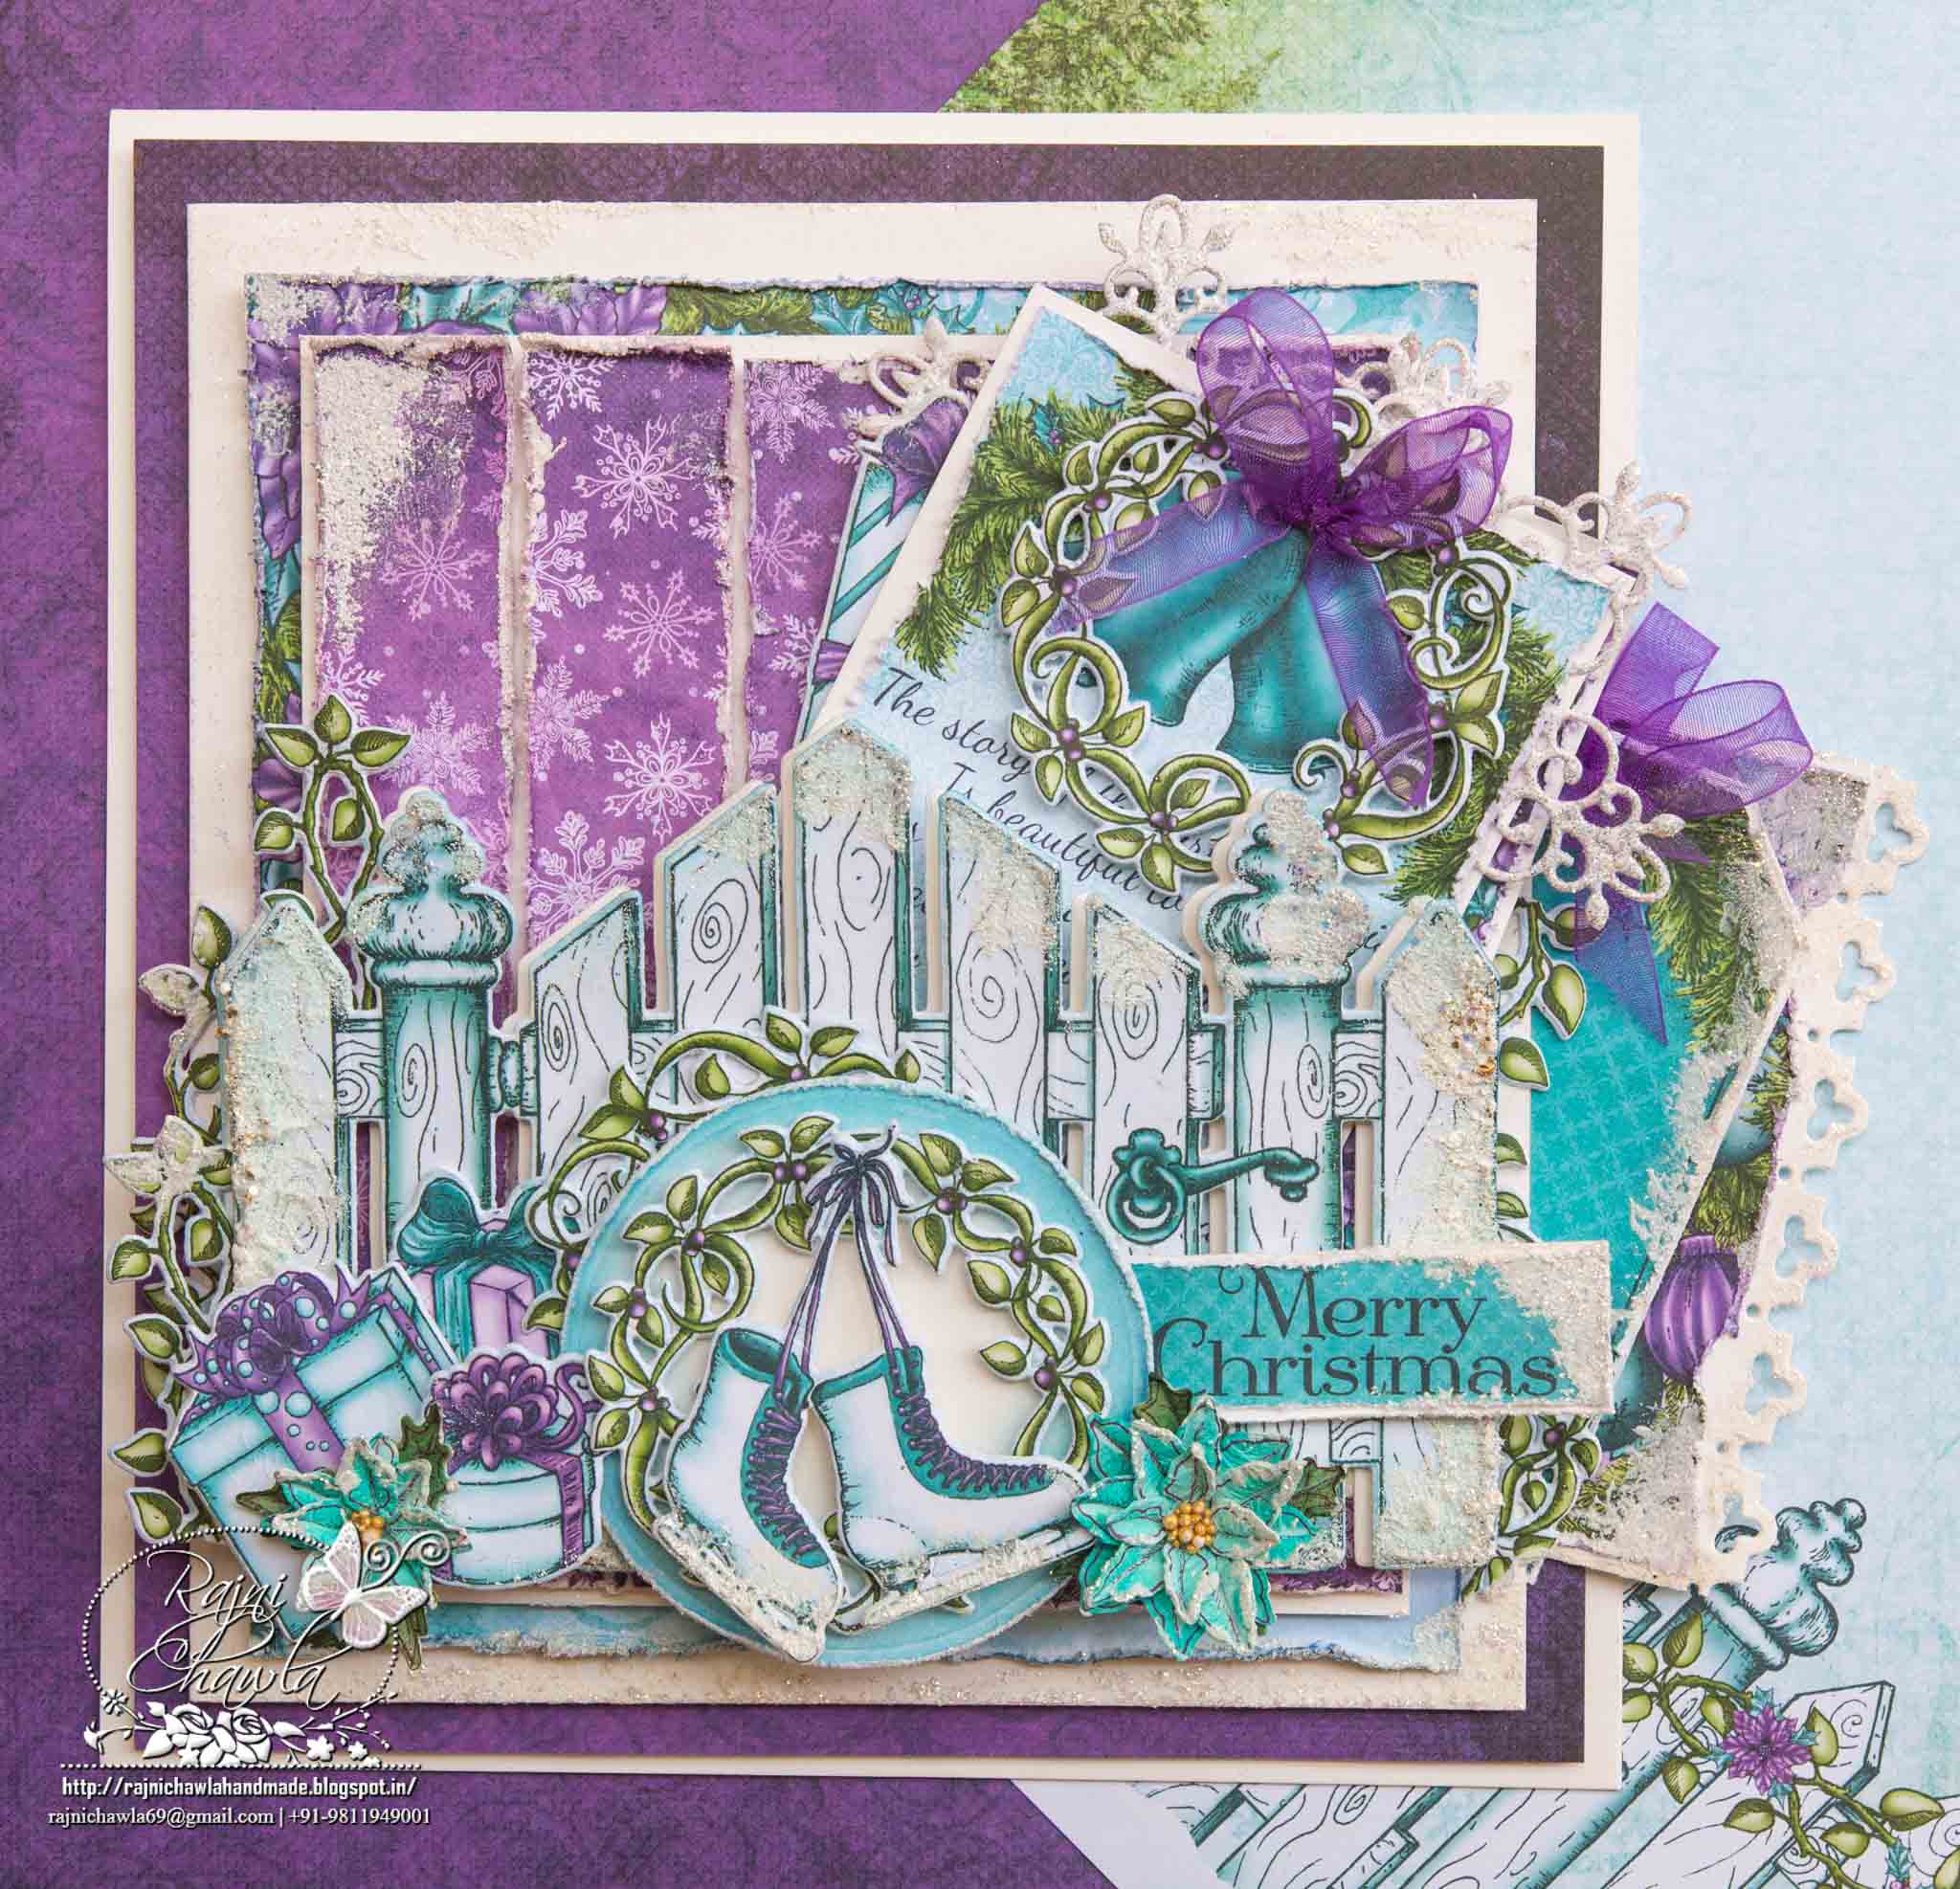
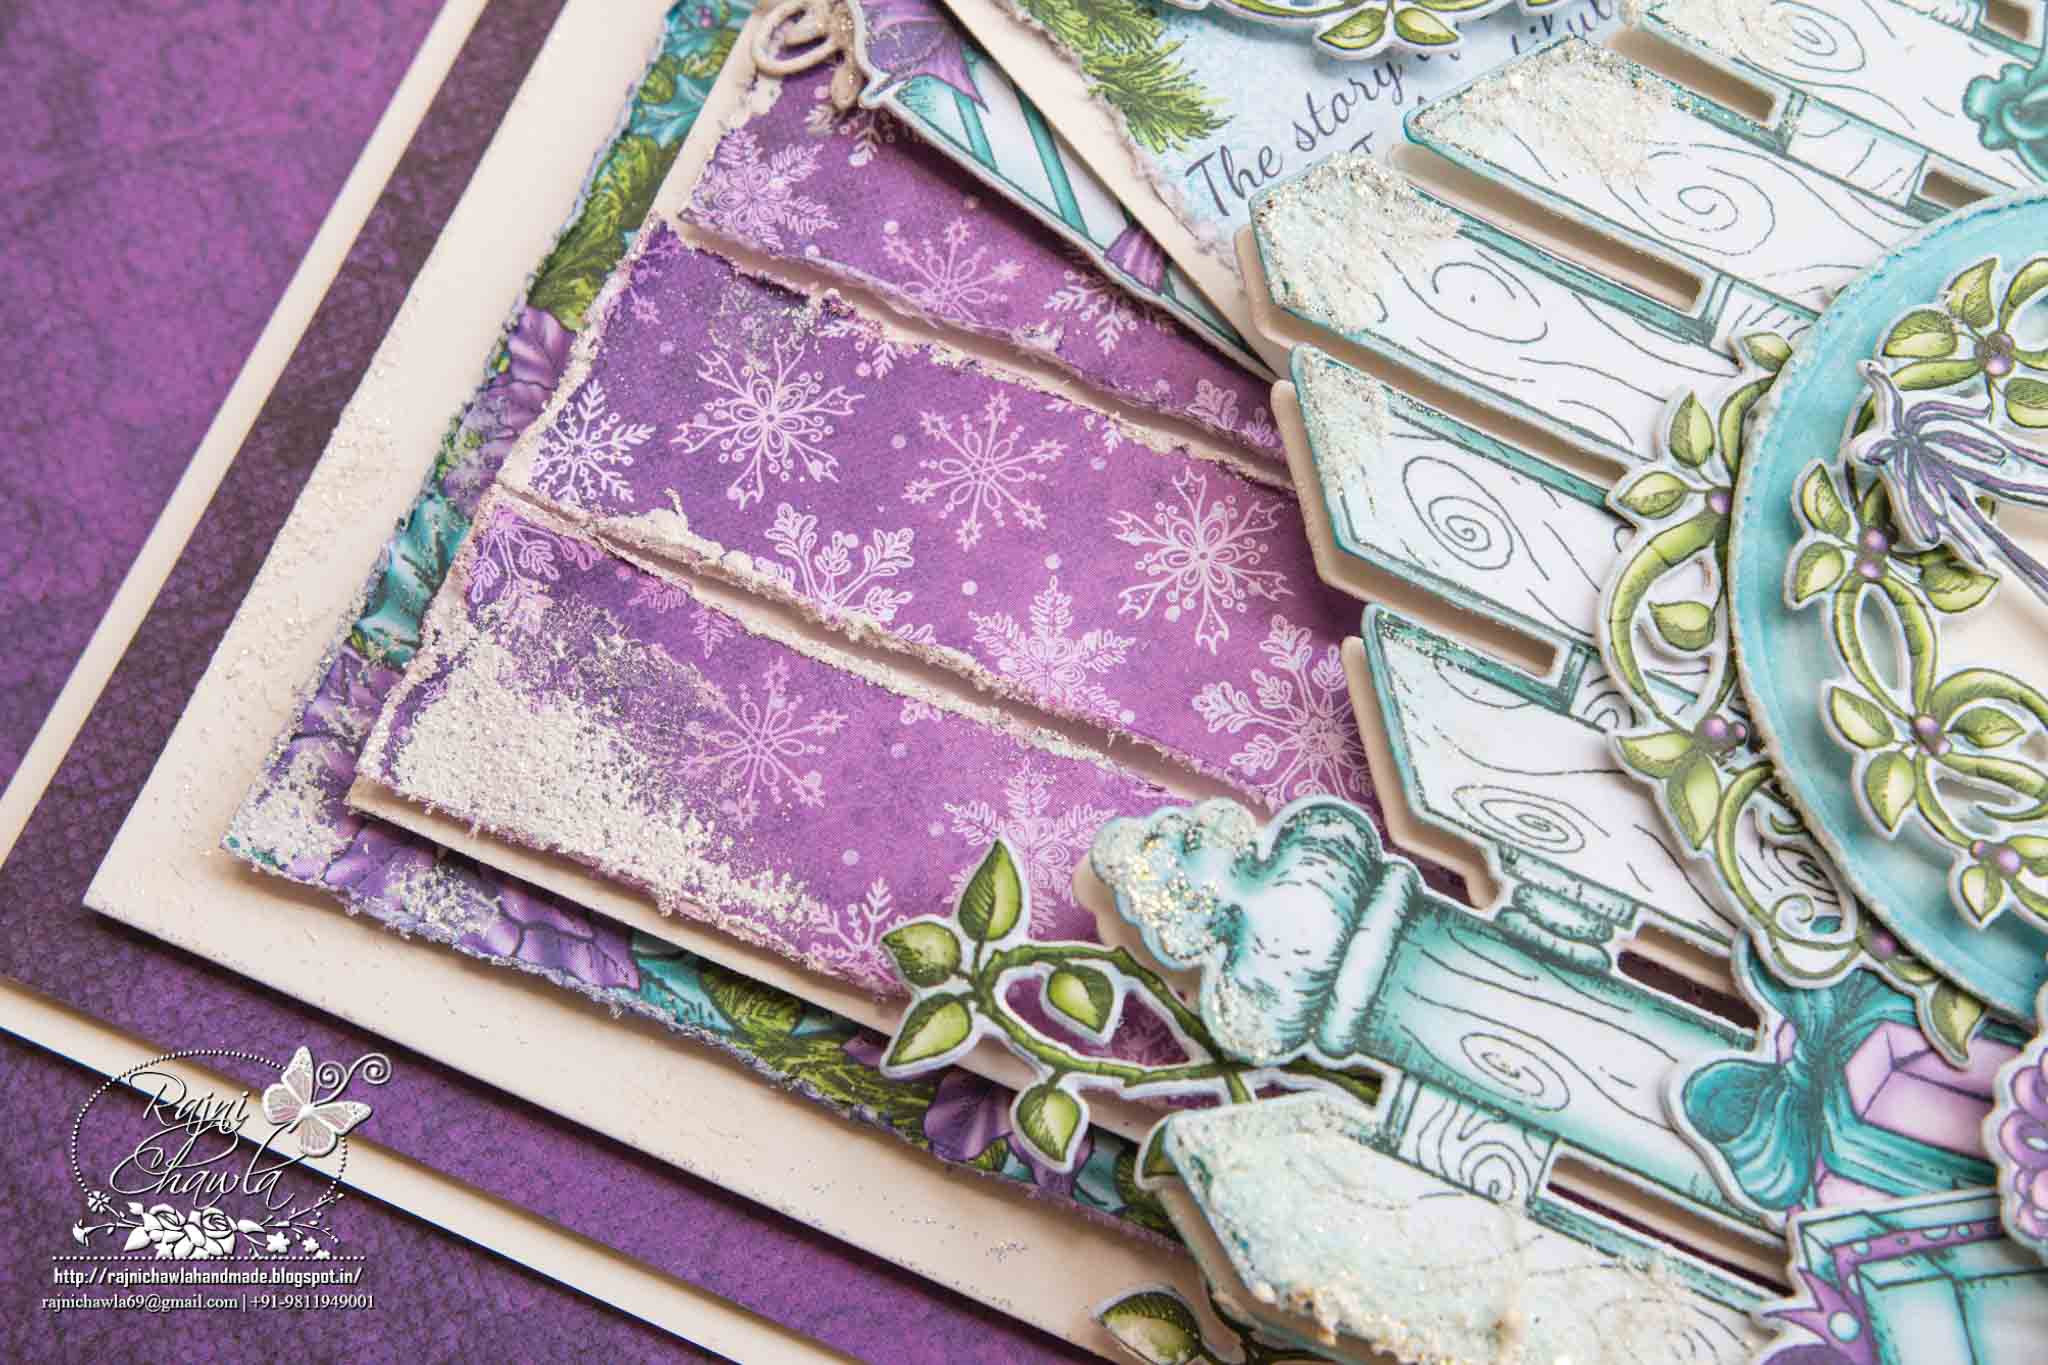
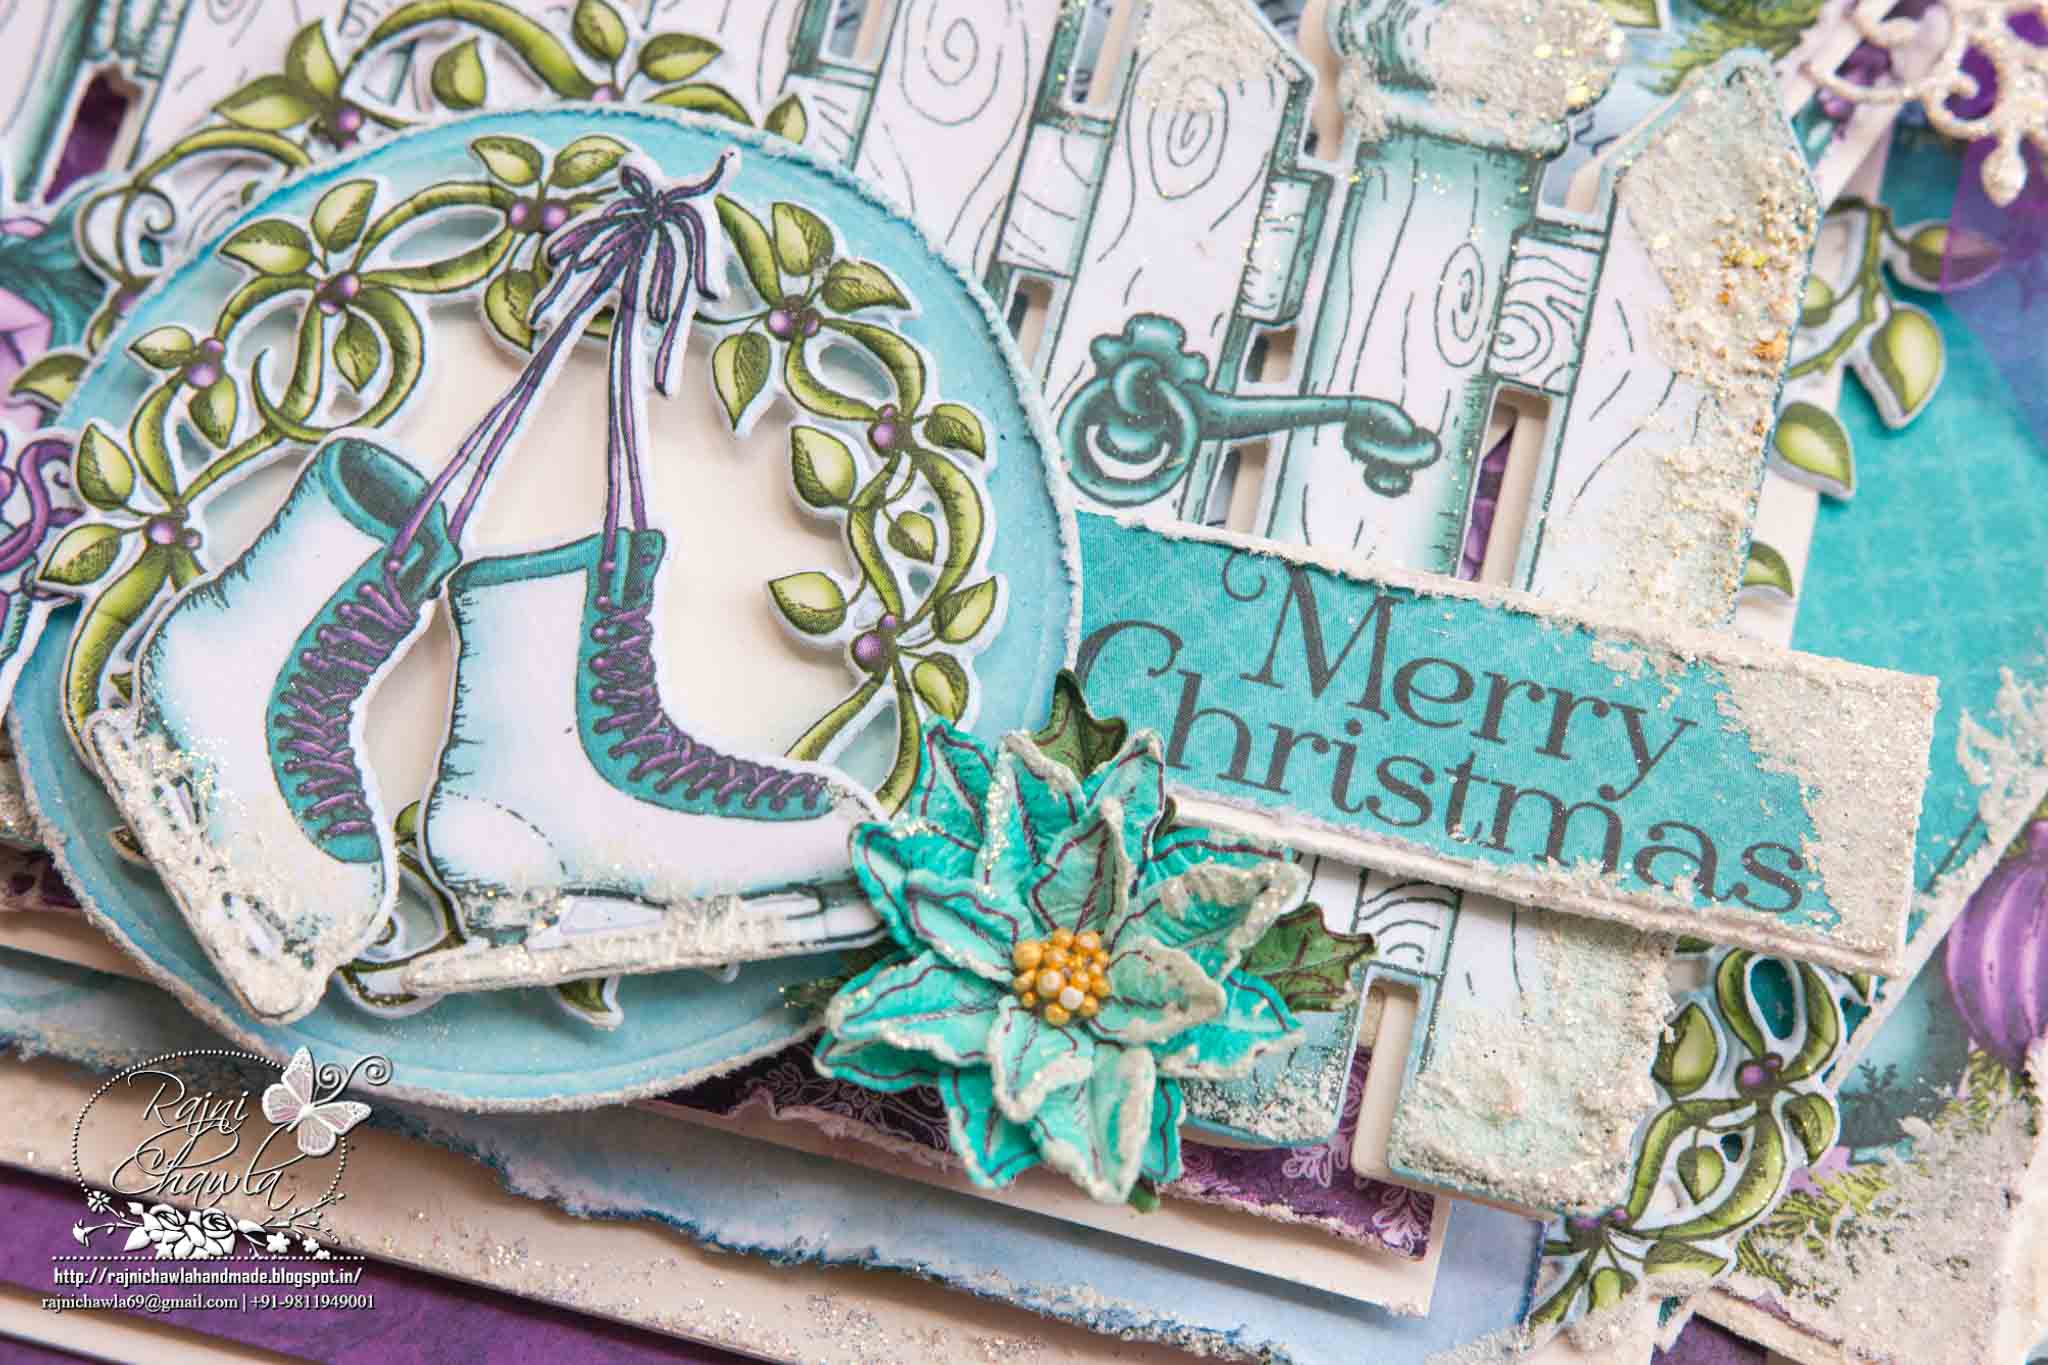
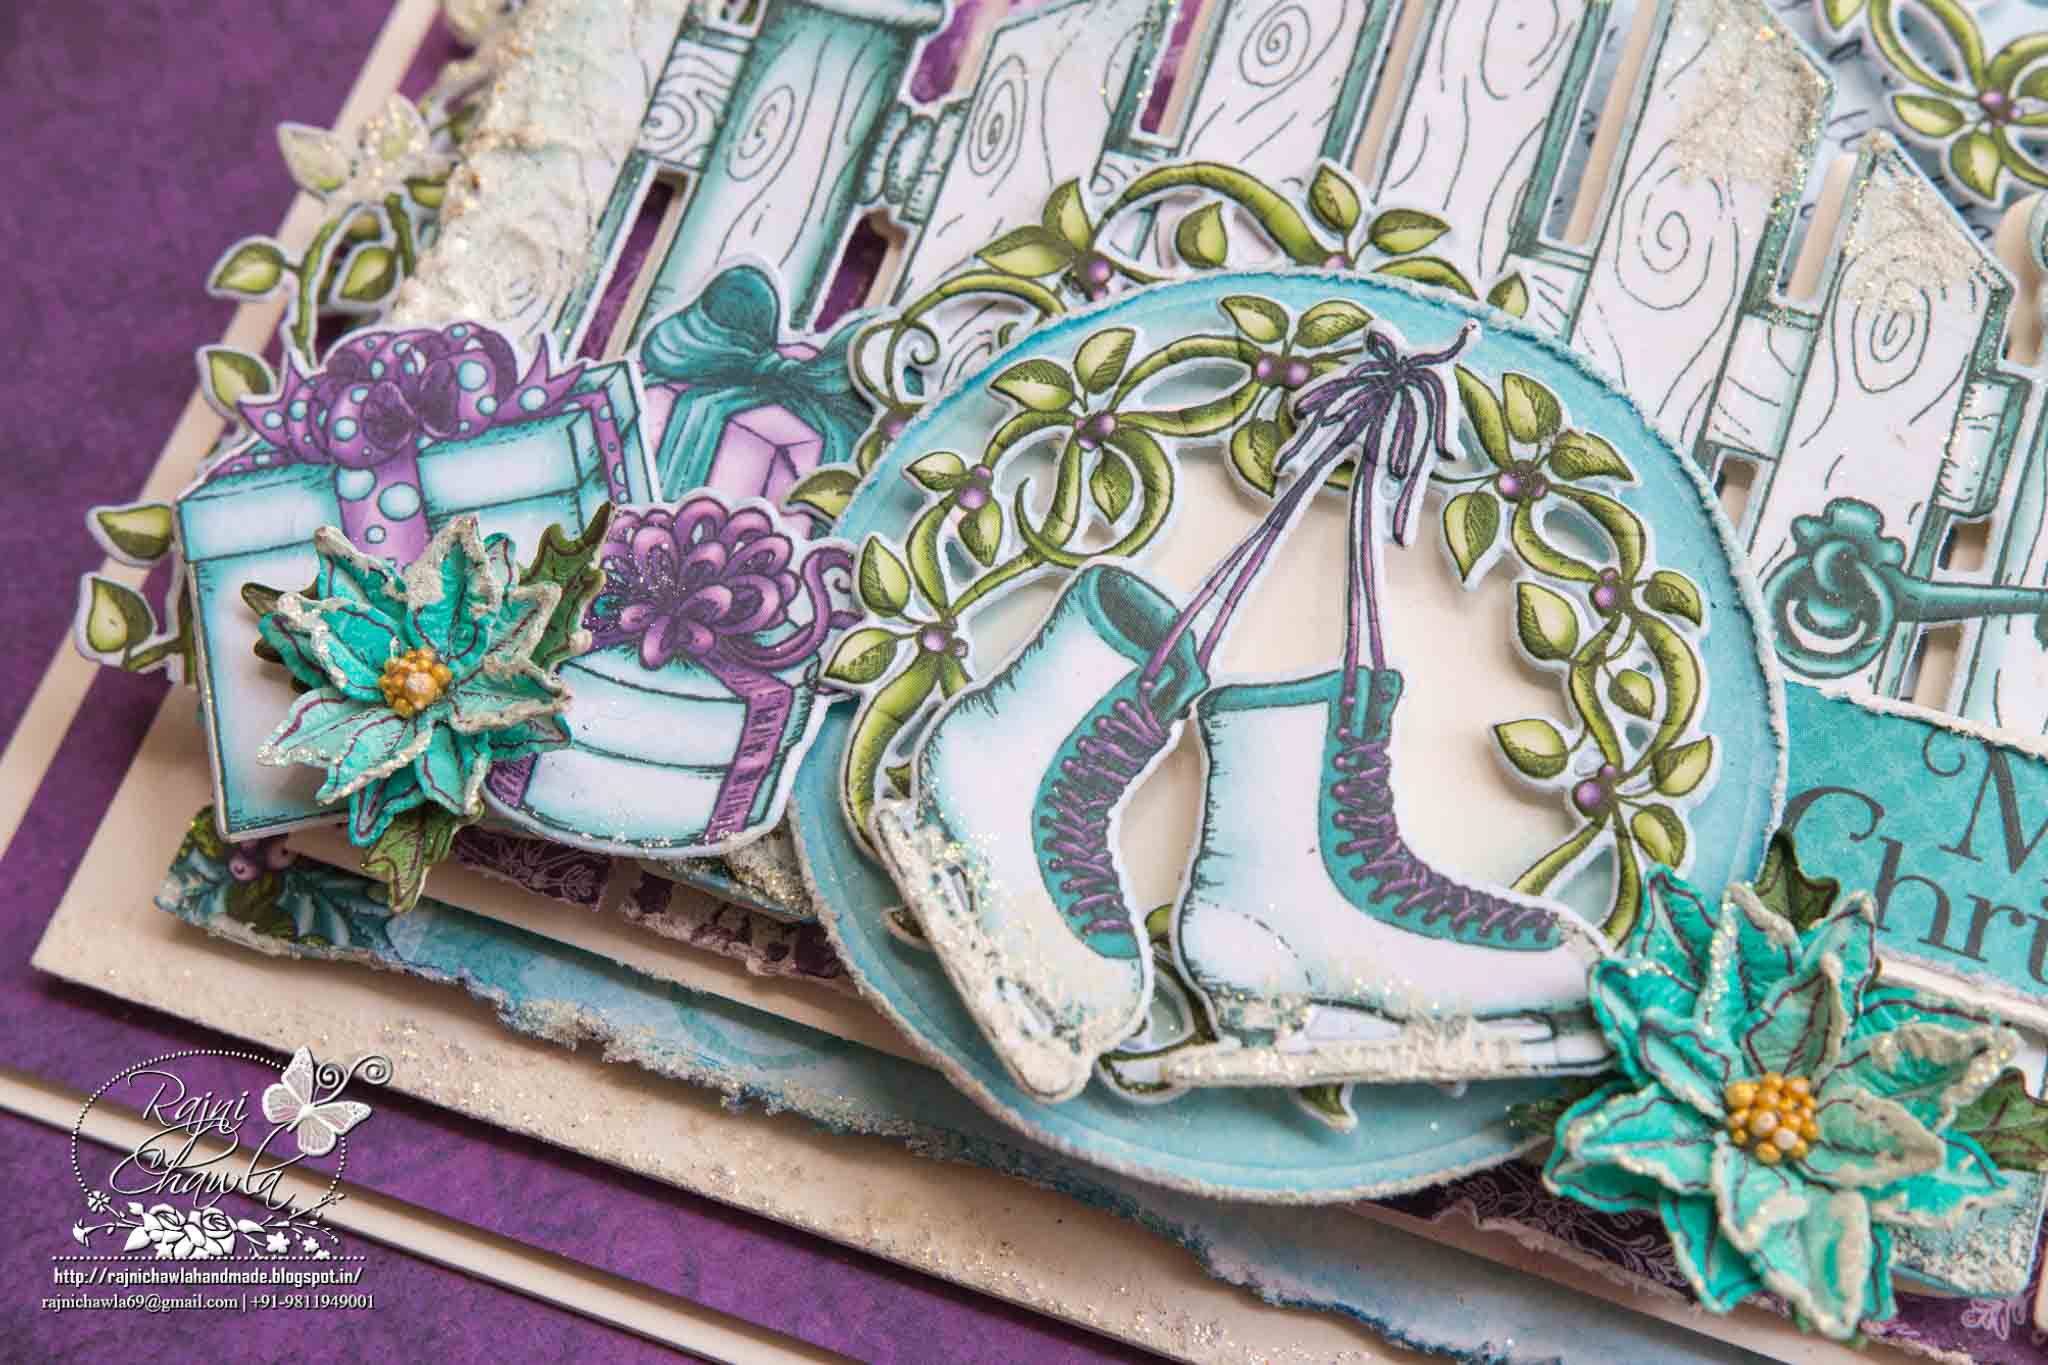
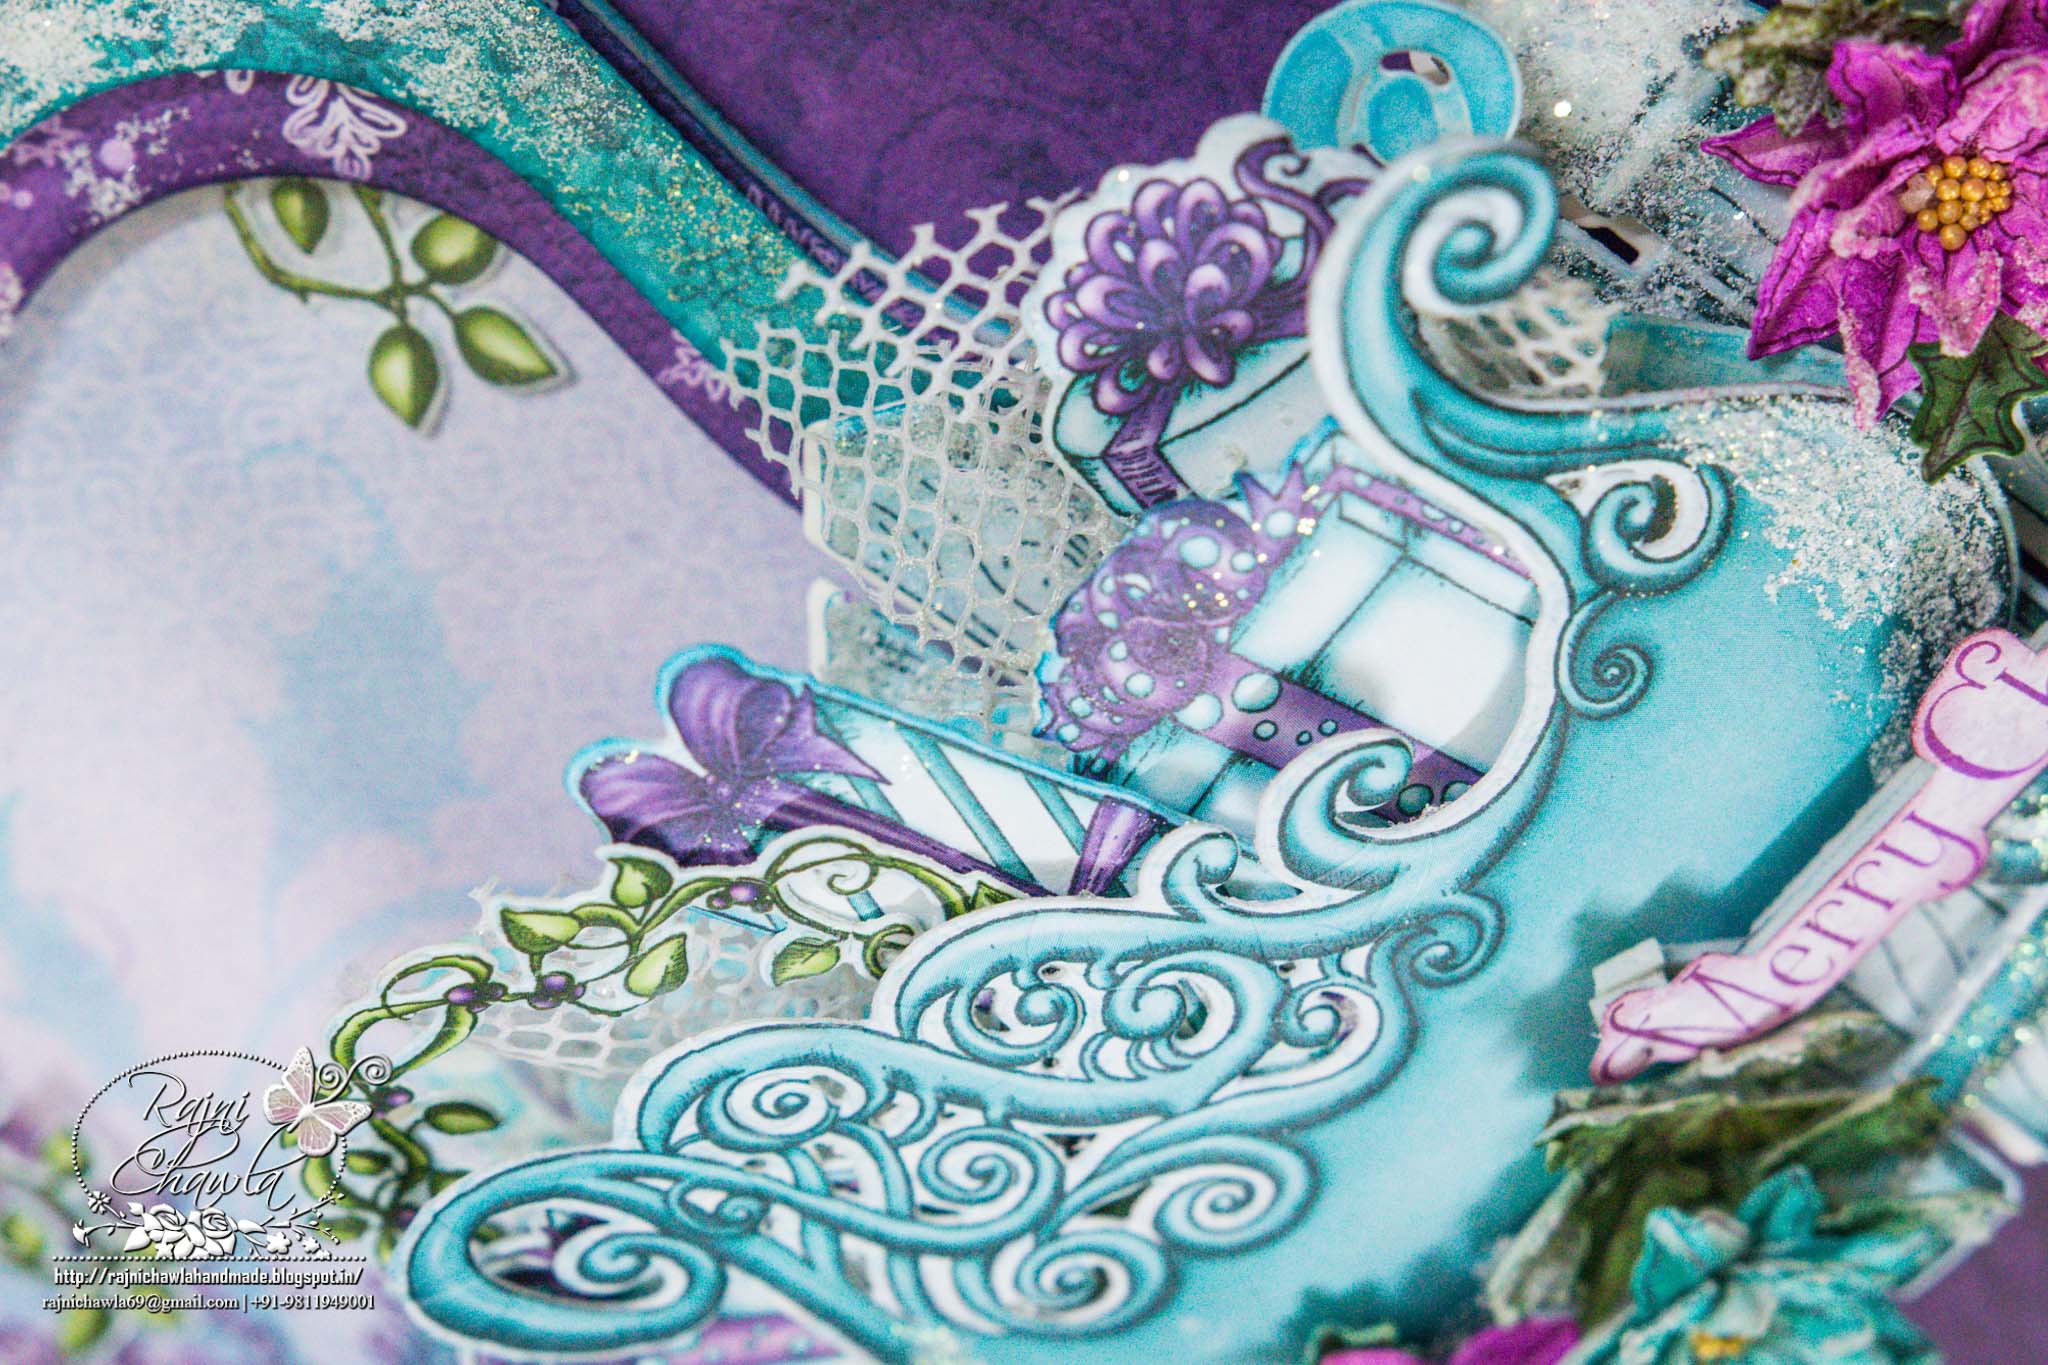
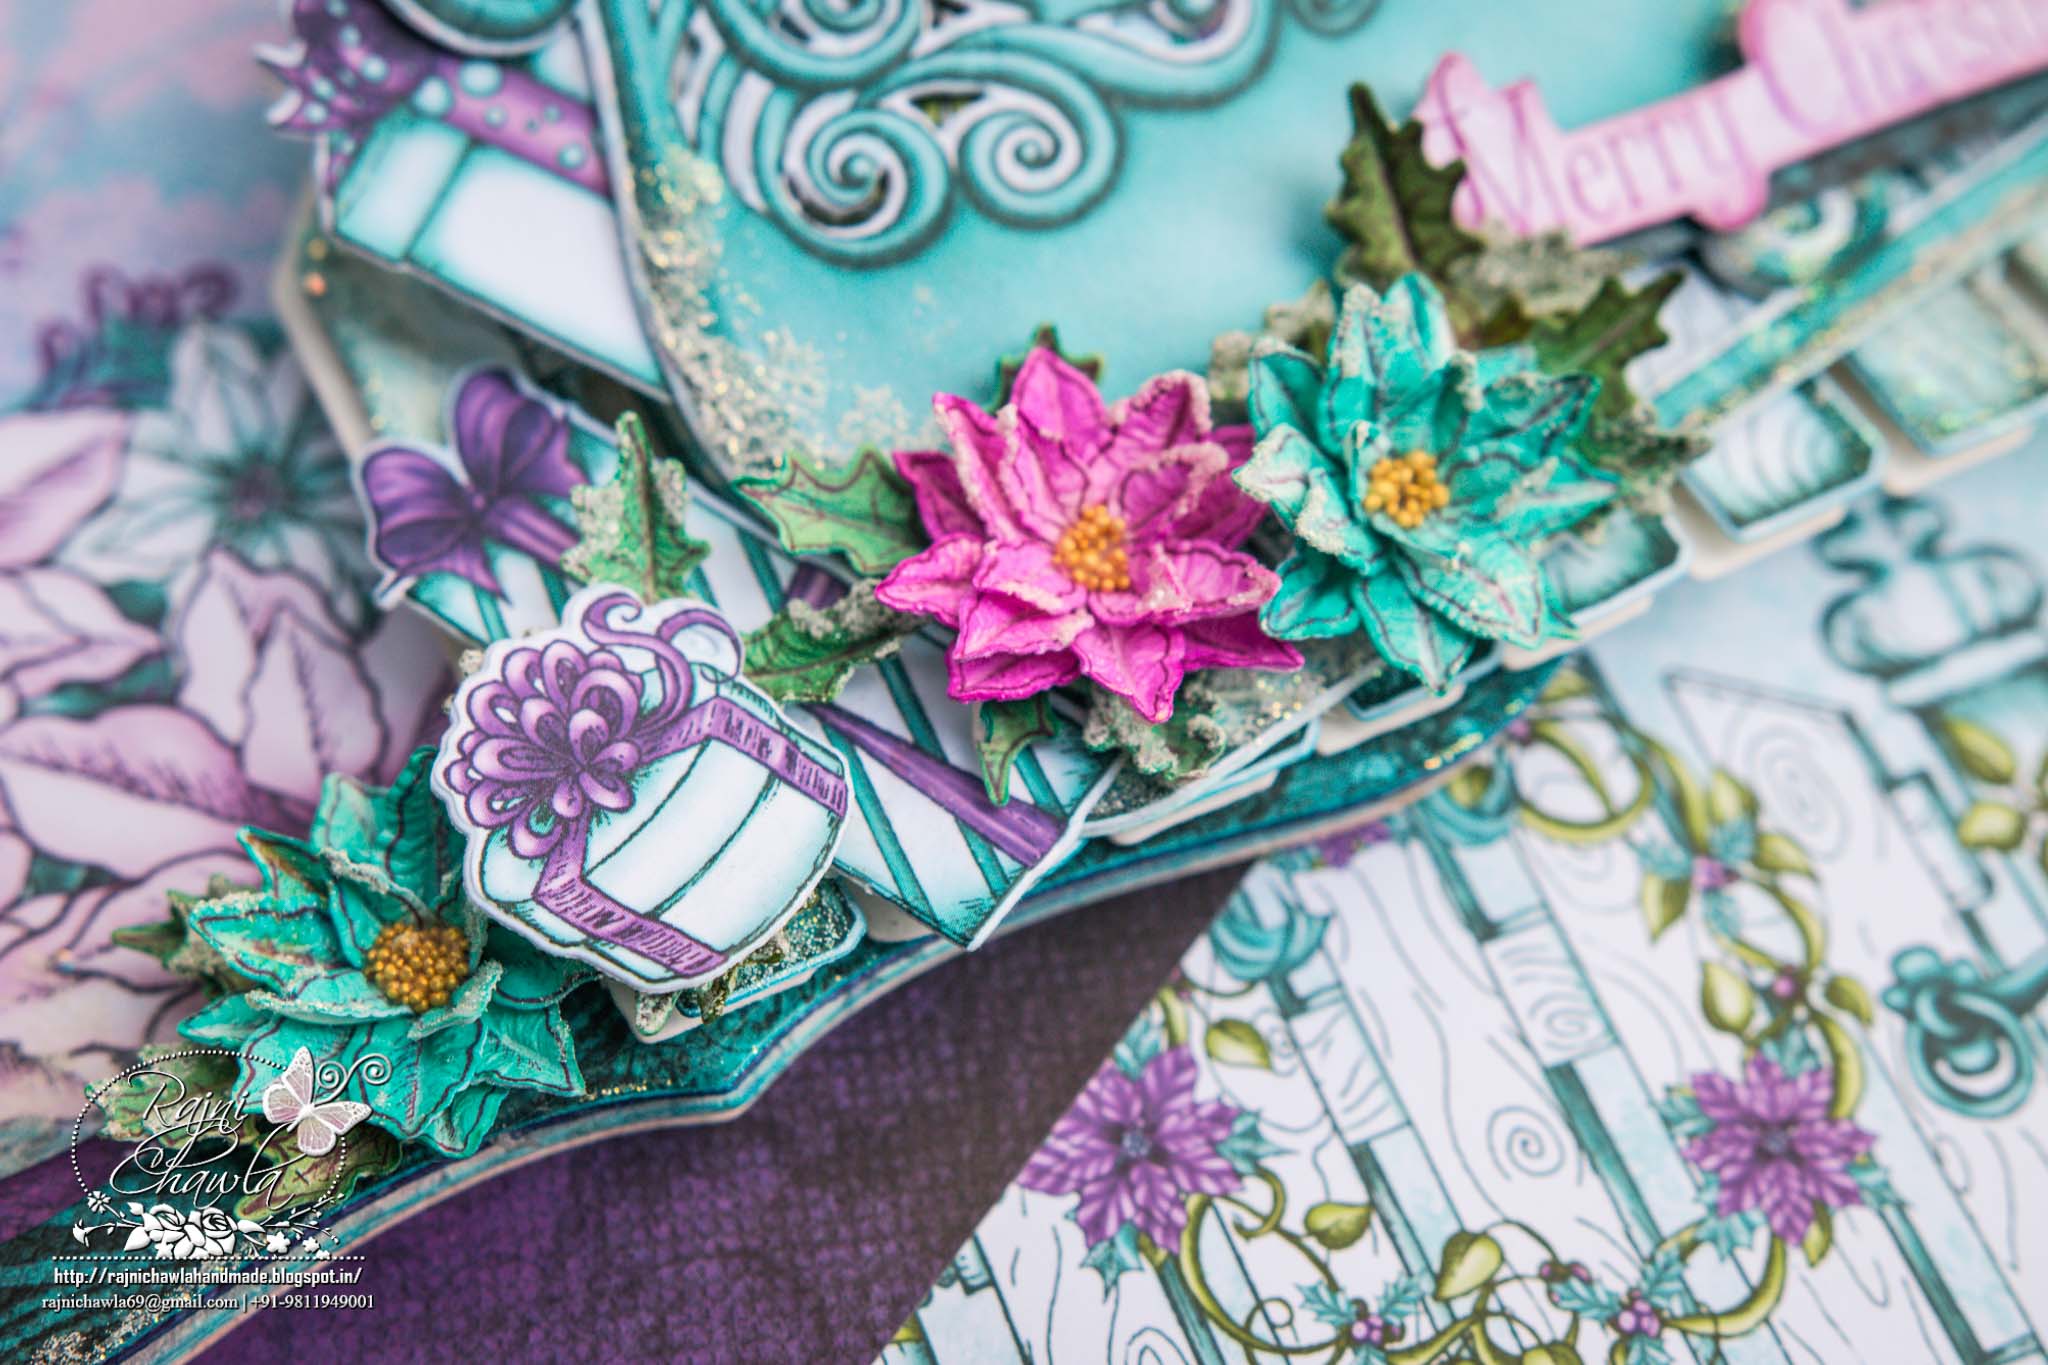
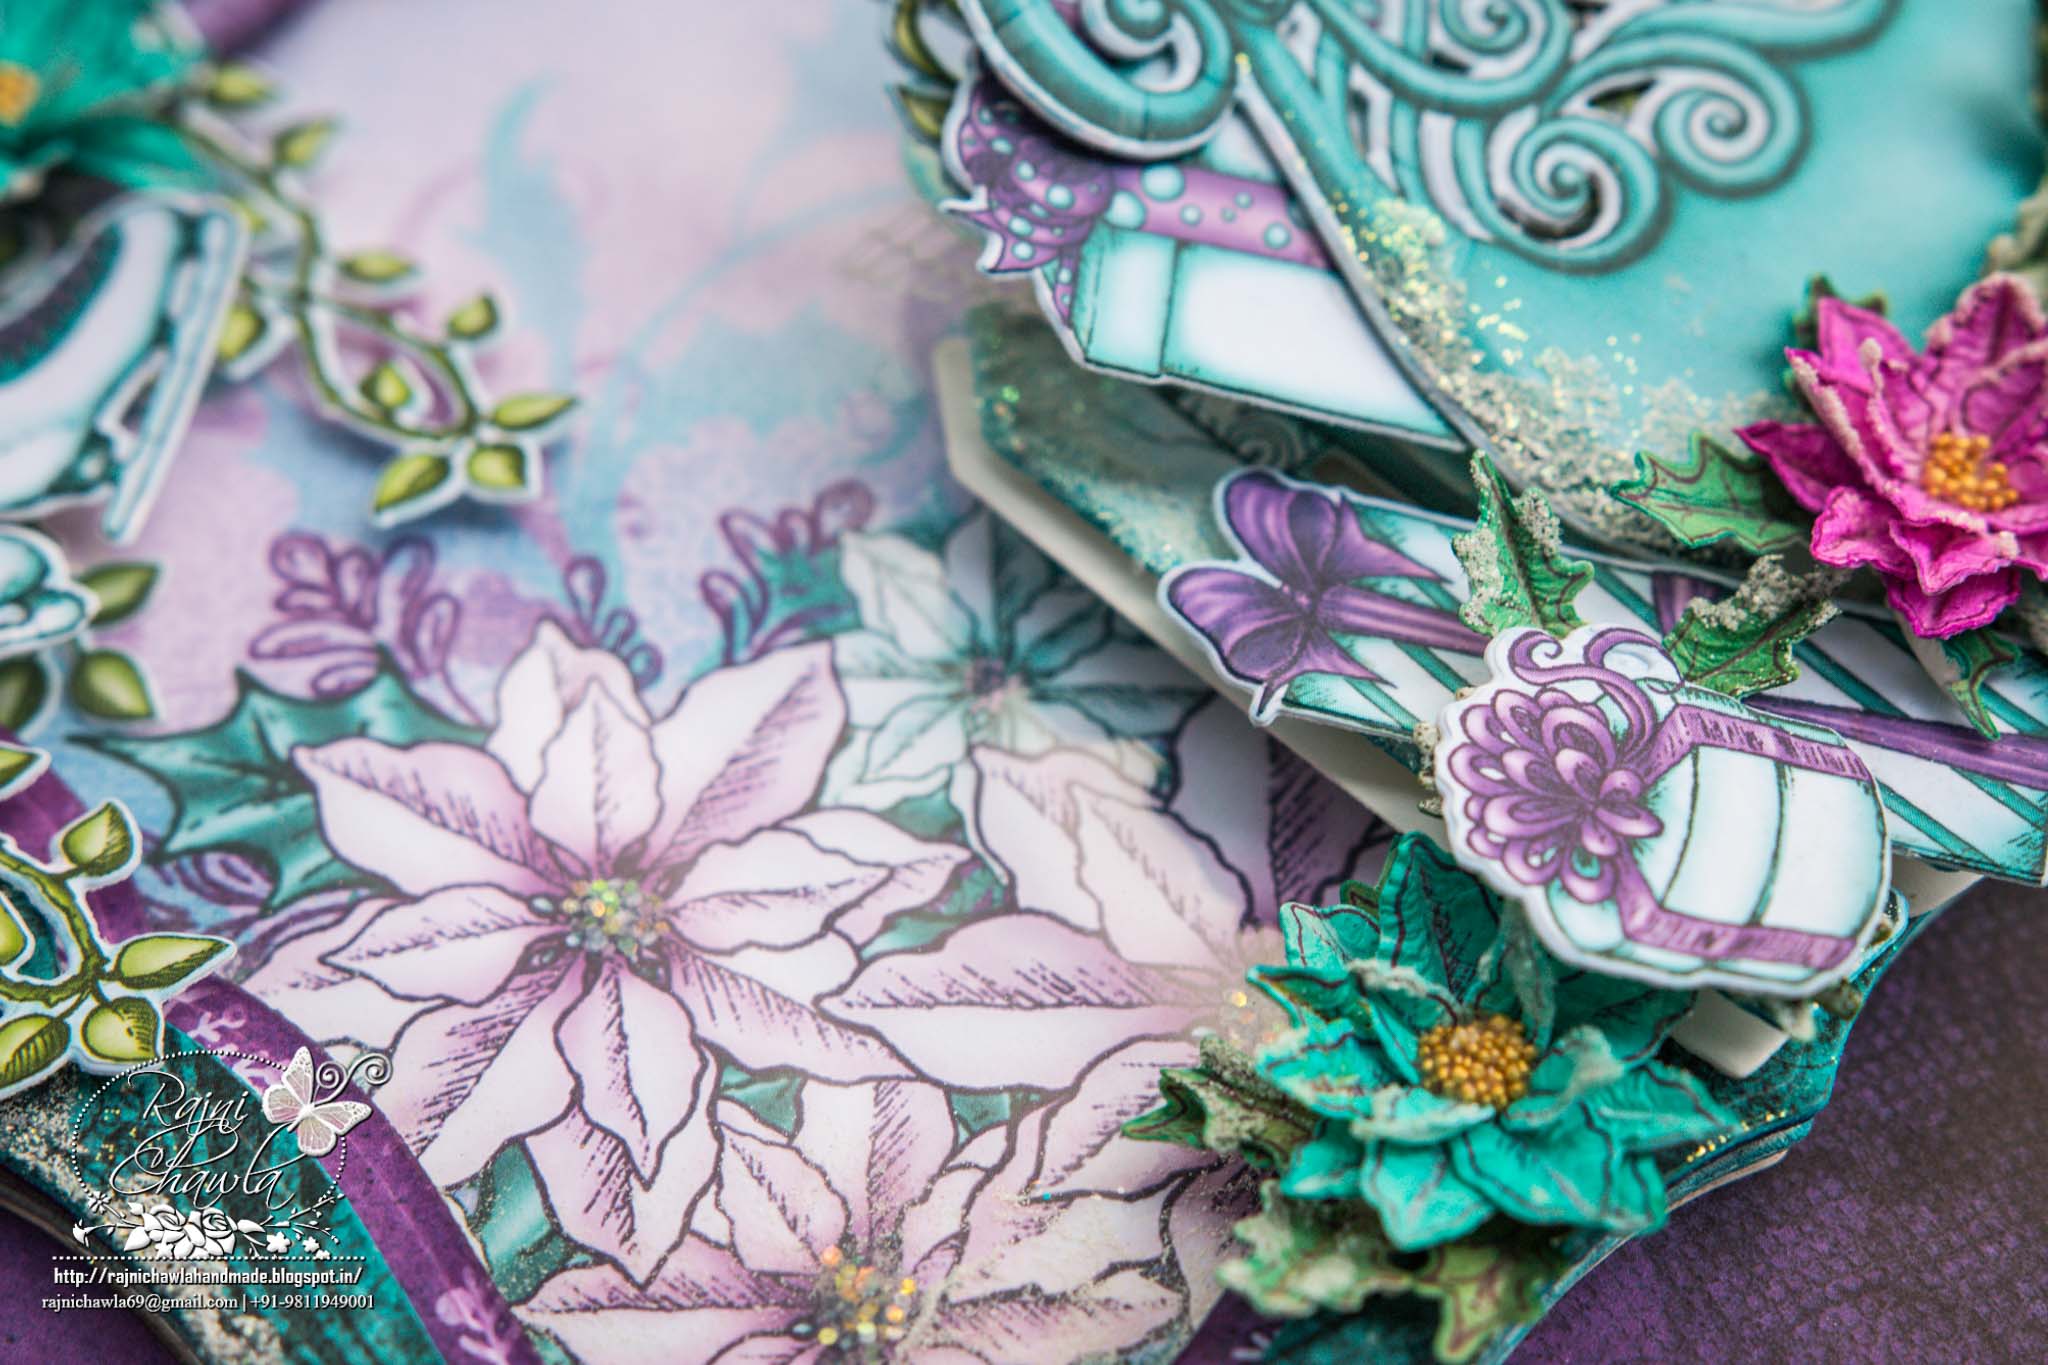
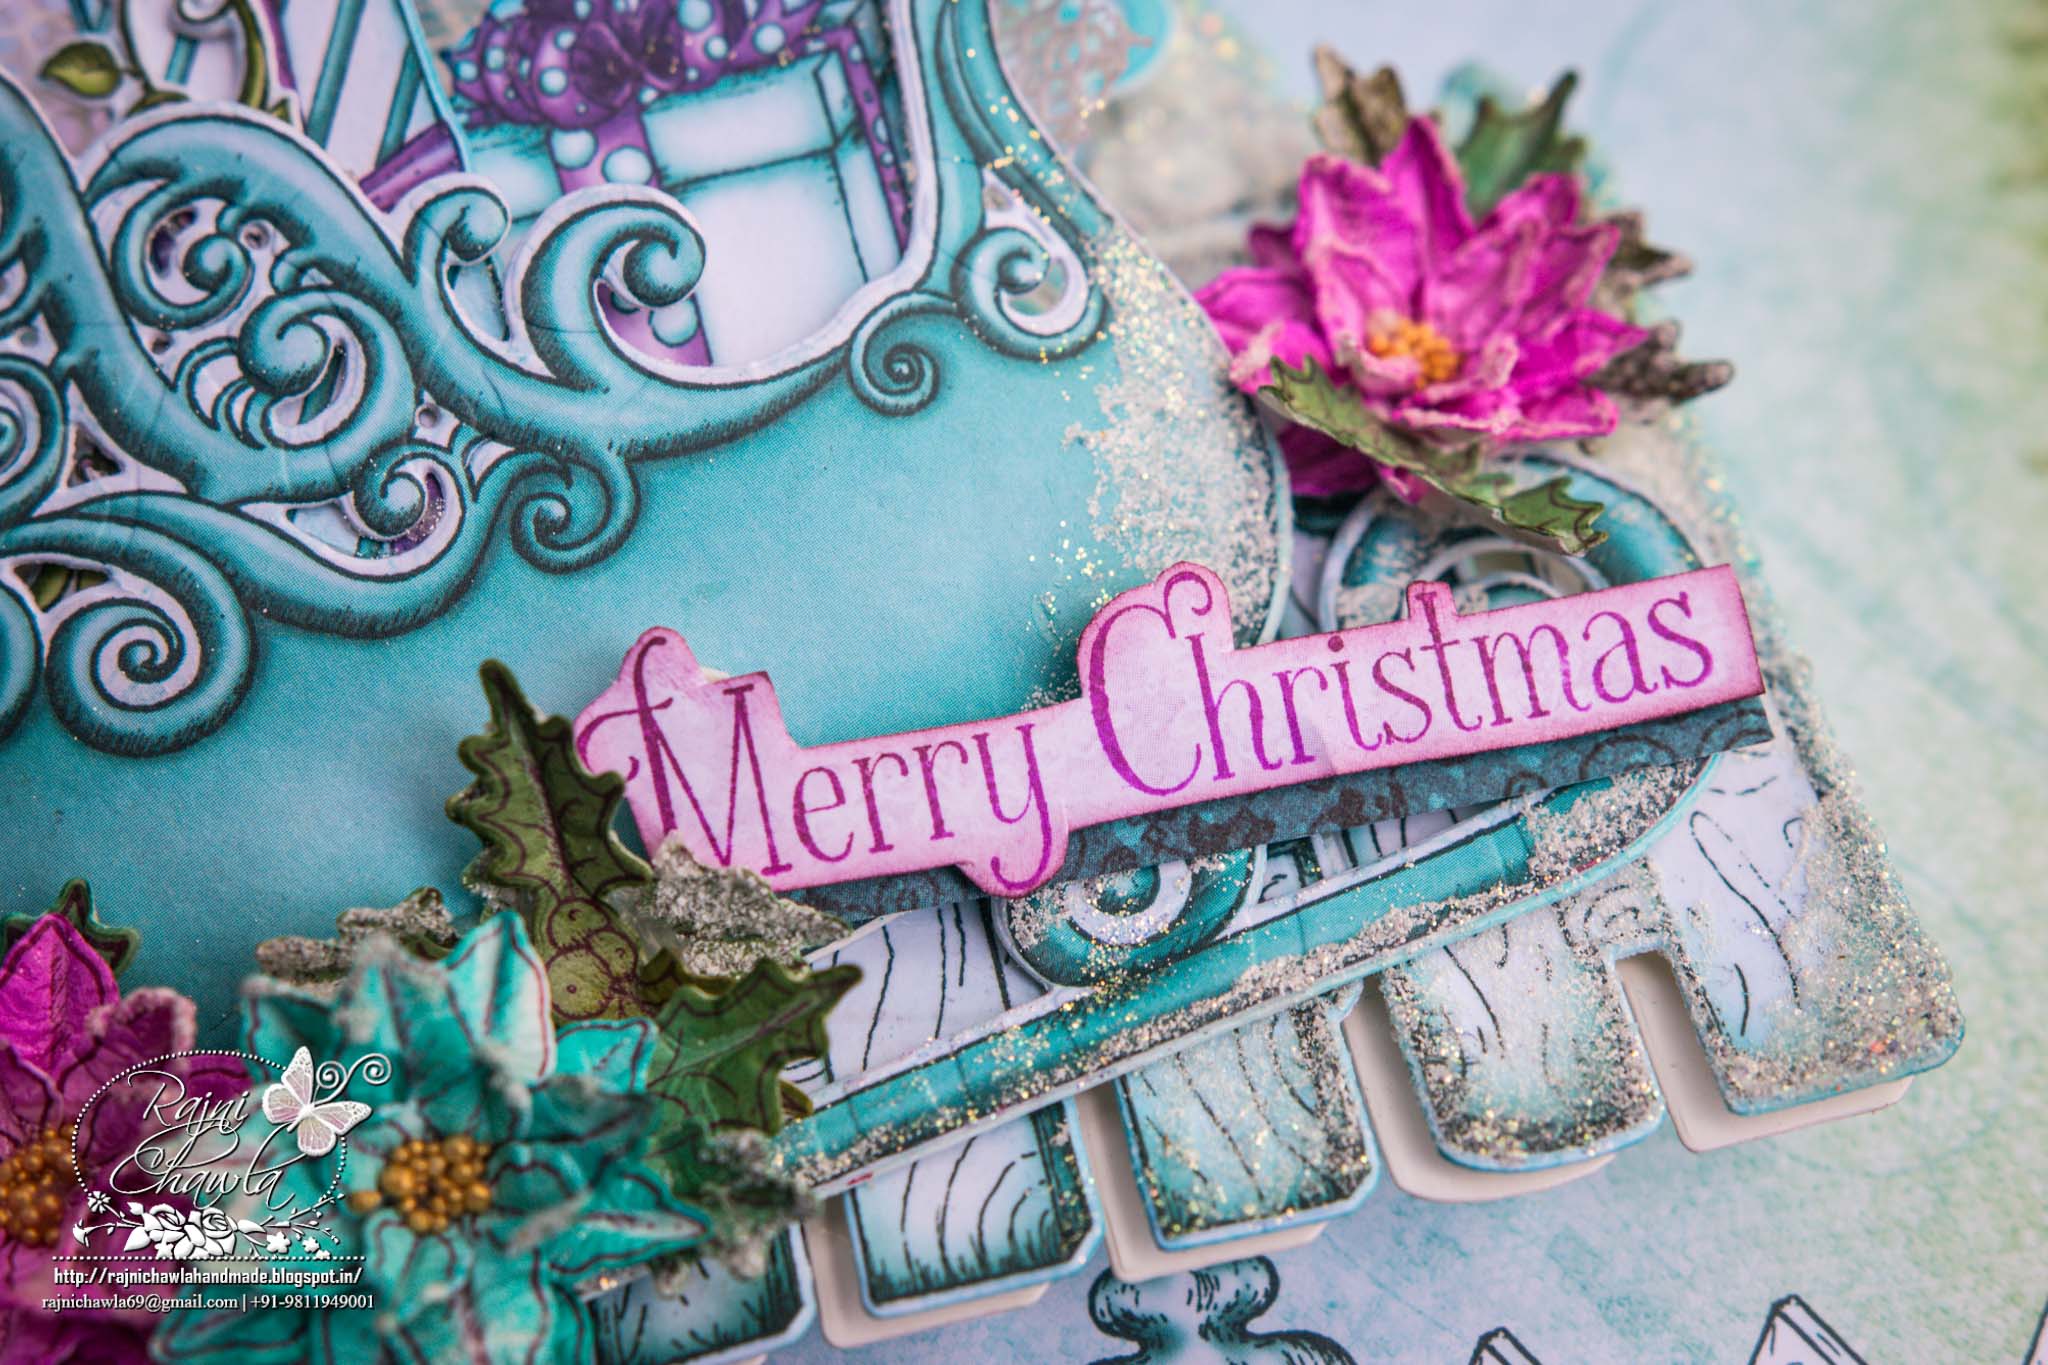
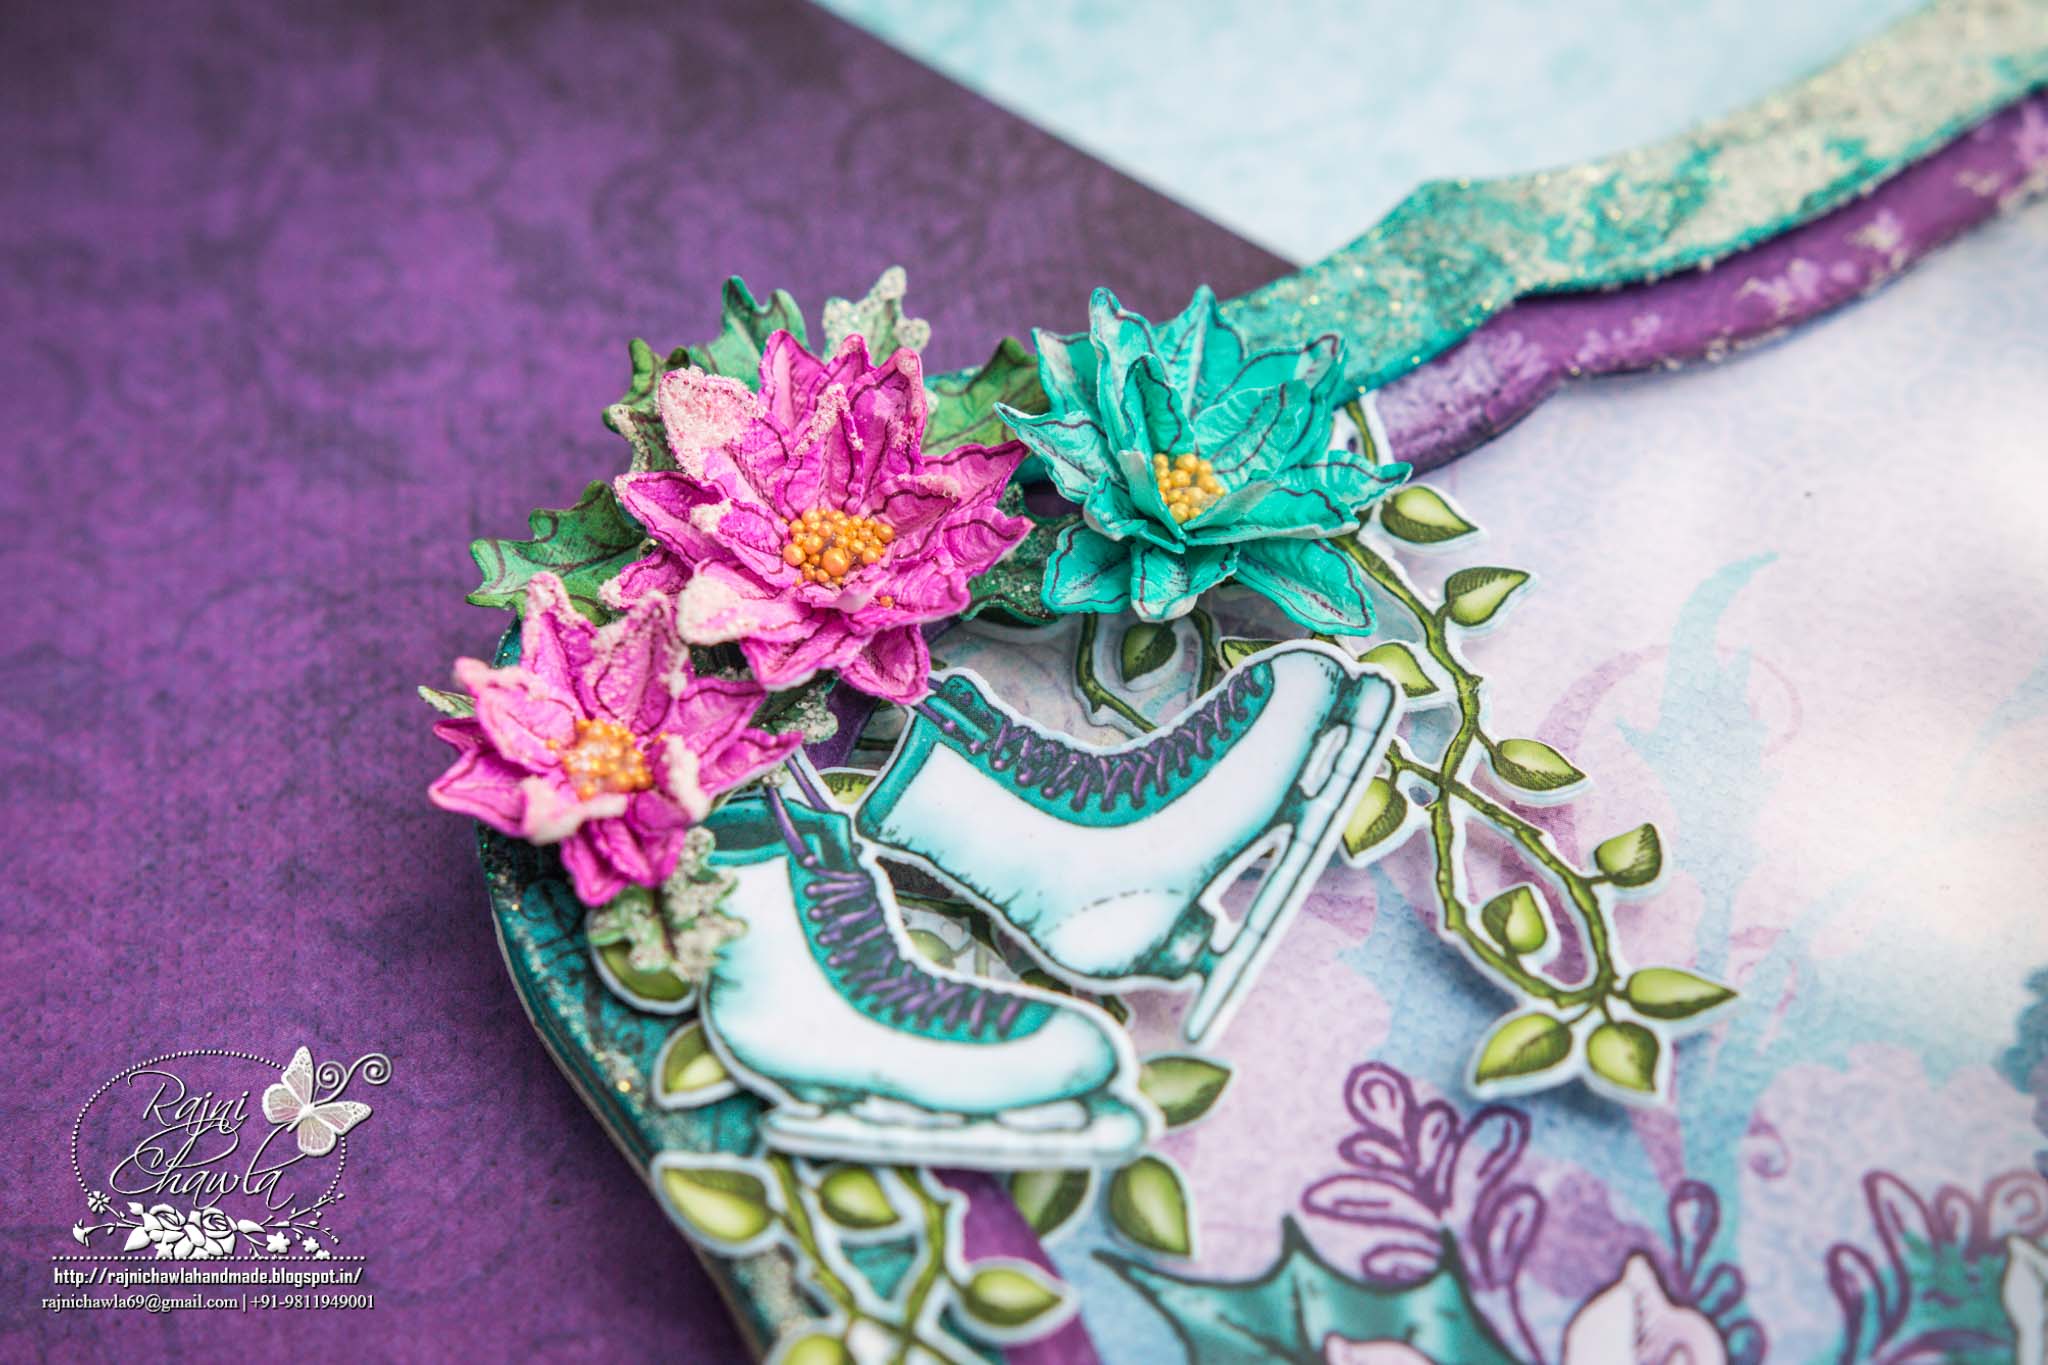
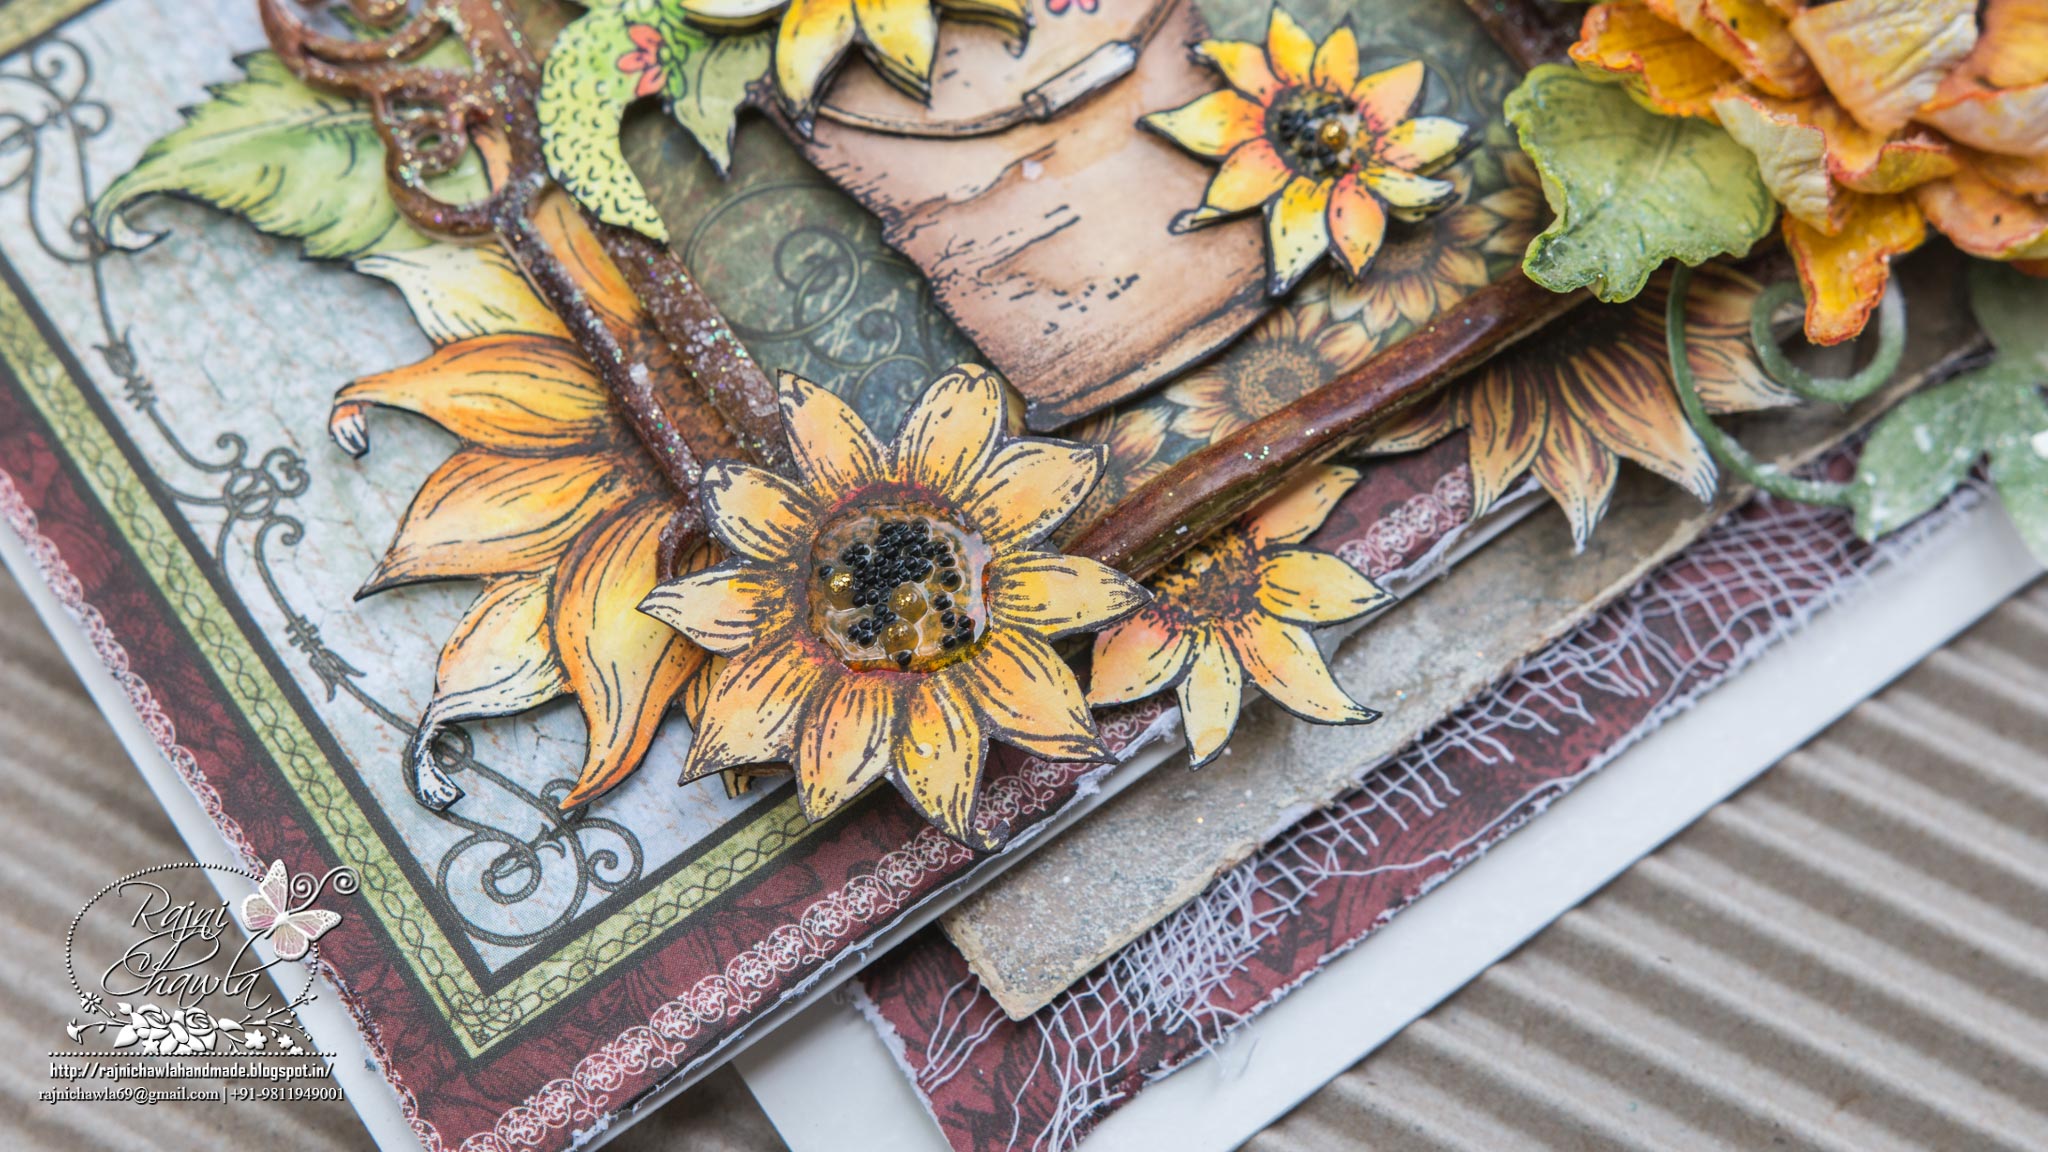
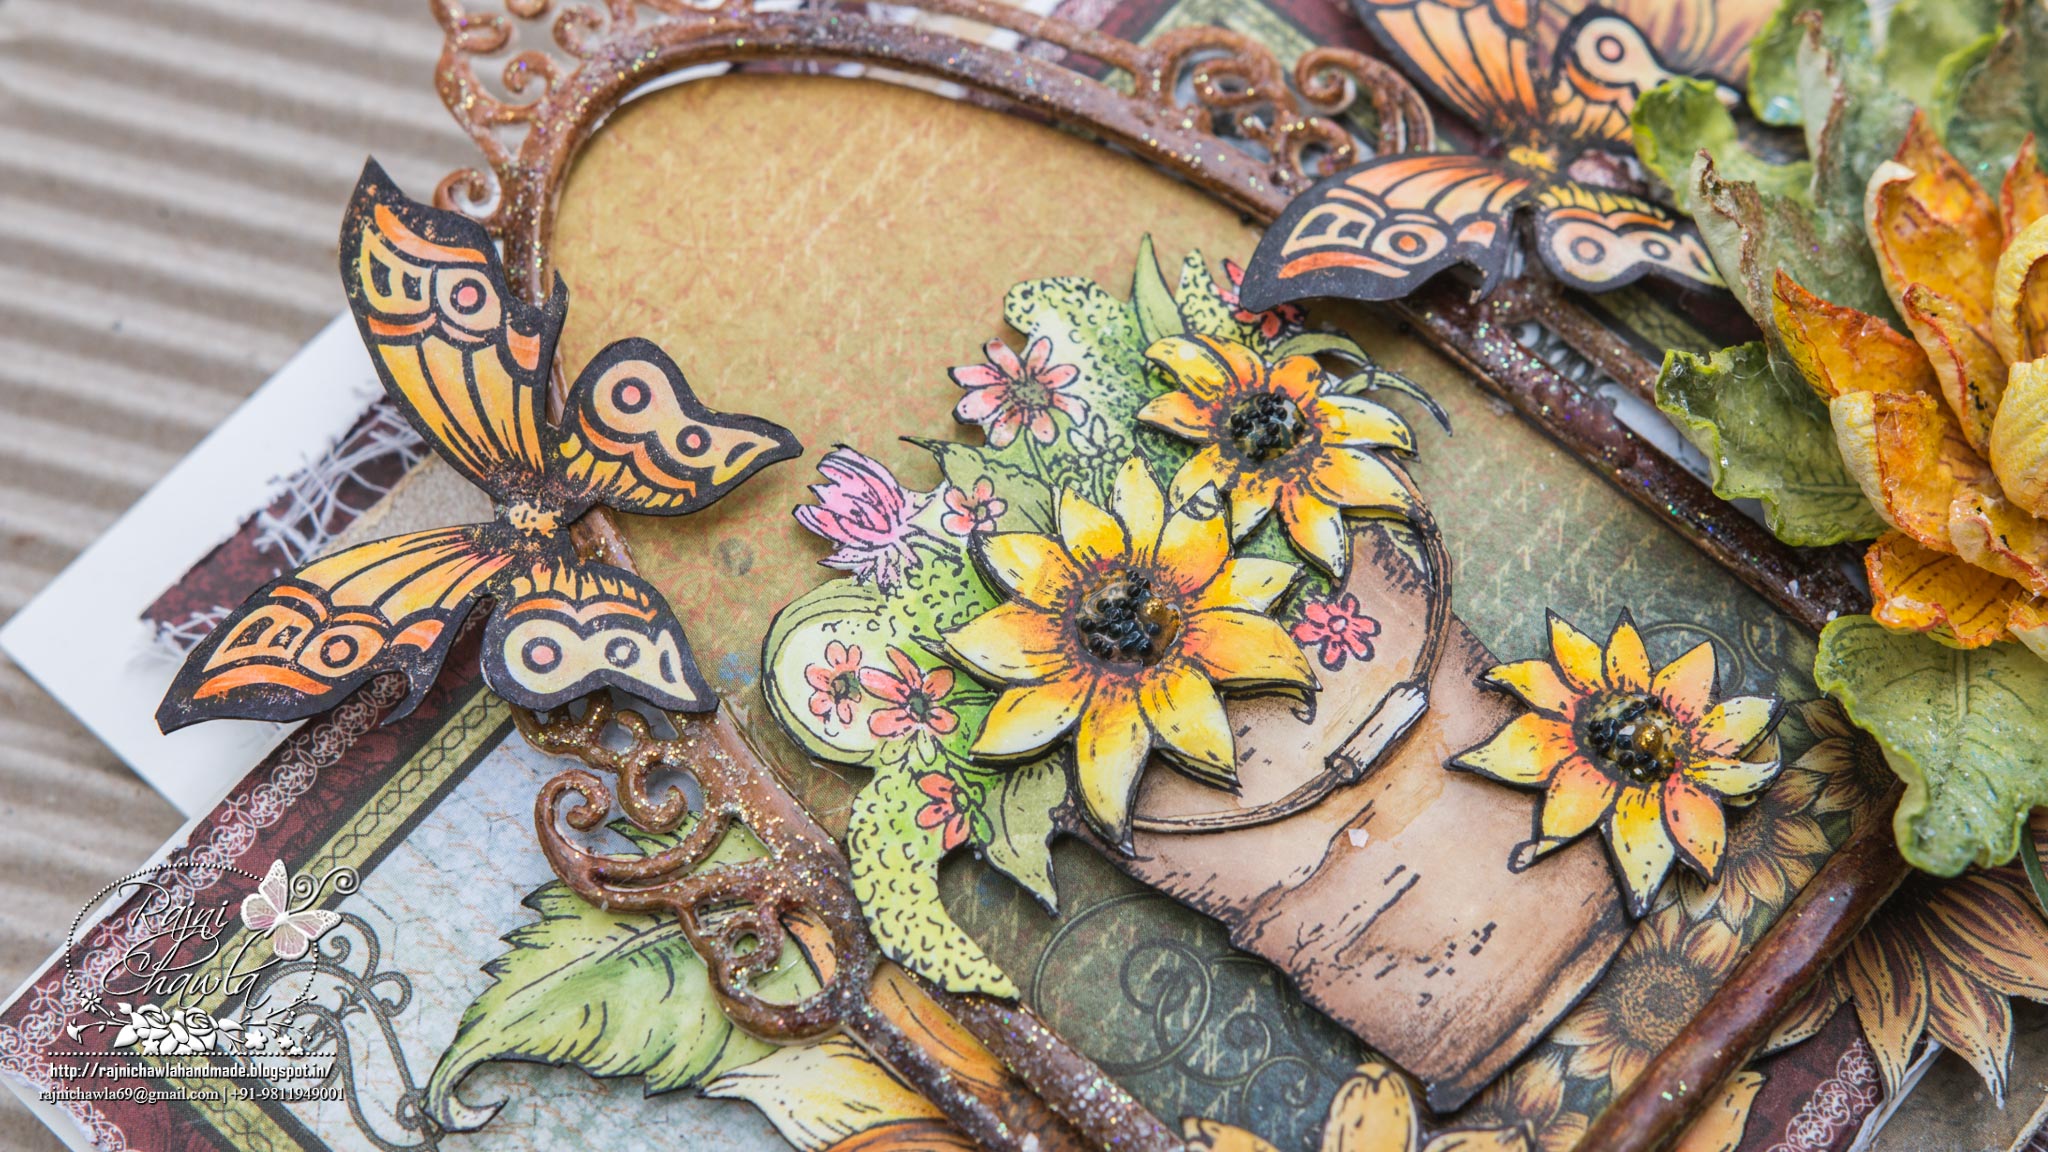
Instructions: For box 5 ½ “ by 5 ½. “ square thick white cardstock. Score at 1”” on all the four sides, which will make a height of the box. Following a simple box tutorial, slit on all four sides and tape the corners using red tacky tape. For the top and bottom layer cut 2 pieces from the smallest spellbinder grand label 1 die from white cardstock and mat them with pattern paper on both sides from the Celebrate the Season Collection. This will increase the strength of both bottom and top. Adhere the bottom piece to the base of the box using tacky tape. For attaching top lid you need a hinge of 1” by 3 ½” scored at ½ “. Stick one side of the hinge to the back of the box and the other side of the hinge to the top lid. Now mat both the sides of the lid with pattern papers. Once the box is ready distress the edges using Seedless Preserves Distress Ink. To give a little frosty look on all the edges I have used Snowflakes paste and glitters. Also, cover all the sides of the inside of the box with pattern paper from the same collection. To decorate the sides of the box, I have used a long strip cut from HC Border Essential die. For the top decoration, cut one piece Sleigh from Ornate Sleigh and gift die from pattern paper and one piece from the white card stock. Also, cut gift boxes using the same die. Fix the base of Sleigh with glue forming an open pocket to hold all gift boxes. Decorate the Sleigh with glitters. Cut a bigger circle from pattern paper using Classic Circle die and decorate it with Arianna lace die.  The flowers are made with vellum using Tropical Hibiscus Cling Stamp Set and cut with Tropical Hibiscus Die. The sentiment is from  Gift Wrapped Presents Cling Stamp and stamped using black Archival Ink. Arrange all the elements as shown and add a ribbon bow for extra interest.


Gift-of-Love_With-WM-(4)


Gift-of-Love_With-WM-(2)


Gift-of-Love_With-WM-(1)

6 comments:

Dear Reader,
Thank you for your precious comments. They are extremely valuable and a source of continuous motivation for me. I really appreciate the effort.
Love,
Rajni

Monday, July 25, 2016

Real Life...A Mix Media Project for Dusty Attic

Posted by Rajni Chawla


Good morning all.

Here I am, Rajni Chawla from Passionately Curious back after a long break. Sorry for keeping you all waiting. Life is so boring and serious without Art. Flowers, Colours and Textures makes me happy. Today's project is my interpretation to July month"s mood board. I altered a simple cardboard frame for my handmade flowers and made a beautifully textured wall piece using Dusty Attic chippies, Various shades of Dusty in Colors and few metallic colors by prima.


July Mood Board

Here is the complete project. 

Dusty_attic_Real_Life (1)

The flowers are all handmade using supplies from Heartfelt Creations. I have used DA Ornate Frame #5 pieces from DA Jumbo Cogs,  DA Cogs #1 and DA Cogs #2 to create different layers. All the chipboards were first primed with Heavy gesso and then textured using DA texture paste. Different shades of Dusty in Colour acrylic paints are used to paint all chipboards and then highlighted with prima metallic colours. the colours used are...Dusty in colour Bisque,  Dusty in Colour Oceania,   Dusty in colour Sunburnt Orange and  Dusty in Colour Capri . The title " Real Life " is from DA Mini Captions #2.
Few more detailed pictures from different angles.

Dusty_attic_Real_Life (2)


Dusty_attic_Real_Life (6)


Dusty_attic_Real_Life (4)


Dusty_attic_Real_Life (3)


Real Life_Dusty Attic (13)


Real Life_Dusty Attic (17)


Real Life_Dusty Attic (18)


Real Life_Dusty Attic (20)


Real Life_Dusty Attic (16)


That's all from me today!! All Dusty Attic products are listed and linked directly to the website for your reference. Thanks for visiting the blog. I hope, I was able to inspire you a little to pull out your Dusty Attic supplies. Don't forget to share with us what you all create. If you play along our monthly challenge, you might win a 100$ gift voucher.

10685324_1076699315707959_786850386954710345_n

3 comments:

Dear Reader,
Thank you for your precious comments. They are extremely valuable and a source of continuous motivation for me. I really appreciate the effort.
Love,
Rajni

Tuesday, July 19, 2016

Christmas Gate And Skates

Posted by Rajni Chawla

Happy Wednesday friends...
I am back again with the weekly inspiration for Heartfelt Creations. My today's project is a tag and pocket card with Celebrate the Season Collection. 

Here are the detailed pictures.

13313607_10208313953863196_438989965_o


Heartfelt Stuff (9)


Heartfelt Stuff (16)


Heartfelt Stuff (13)

Hope you are able to see all dimensional layers....

Heartfelt Stuff (12)

love that snow effect that I created with various glitters.

Heartfelt Stuff (11)

Beautiful layering with die-cuts...

Heartfelt Stuff (10)

All tags out...

Heartfelt Stuff (18)


Products from Heartfelt Creations:

Other products used;
Smooth white cardstock, ribbon, Glittered heat embossing powder, Tim Holtz's distressing tool, paper trimmer, snow paste.

Instructions:
The very top panel of the card measures 5' X 6'. Cut 5 strips of 1' X 6" from the designer paper collection. Distress all the four sides of the stripes with Tim Holtz's Distressing tool. Add glitters and snow paste randomly to the strips. Layer all the stripes on 5'X 6' white cardstock. Add few more layers with designer paper and white cardstock each measuring 1/4 th of an inch extra keeping one side open as a pocket from the right. The end card measures 6' X 7 '. Cut gate embellishment from the designer paper and layer it on the top panel leaving keeping open from the top to fit extra tags. Layer the wreath embellishment on a die cut out from classic circle die. Assemble all the rest embellishments as shown and decorate the card with snow paste and glitters. Tags are decorated using glittered Ariana Lace die and border from Border essentials die. Finish the card by adding a sentiment.

7 comments:

Dear Reader,
Thank you for your precious comments. They are extremely valuable and a source of continuous motivation for me. I really appreciate the effort.
Love,
Rajni

Tuesday, July 12, 2016

Debuting Celebrate the Season Collection

Posted by Rajni Chawla

Good Morning all...

Can't believe, half the year has already passed and its turn to design something for Chrismas. Let's celebrate Chrismas in July...How this sounds??
Yes..it's second Wednesday and Heartfelt Creation has stunning based on holidays and Chrismas.

The time has come to once again “Celebrate the Season” with Heartfelt Creations!  Non-traditional in color, this new holiday-themed collection showcases an assortment of exceptional winter hues…shades of teals, pinks, greens and violets resembling the northern lights, whites as crisp as freshly fallen snow and ice blues mimicking frozen ponds beneath the blades of gently gliding ice skates.  Four fanciful cling stamp sets filled with old fashioned themed illustrations of ornate sleighs, wooden gates, gifts, skates, mittens, and simple wreaths filled with poinsettias and greenery, along with an assortment of charming sentiments will bring feelings of nostalgia from Christmas past to all of your crafty creations while being paired with the contemporary color palette of Christmas present.  Three coordinating sets of dies will have you creating your very own dimensional embellishments perfect for holiday cards, the layouts, and altered art pieces.  Join us as we “Celebrate the Season” and get an early start to all of our holiday themed creating.
Here is my very very first take on Chrismas card. Yes...I never tried making Chrismas themed cards and this is my very first take. Hope you like it.

Skates and Sleigh Frame Card 


13320994_10208313953783194_294761972_o


Merry Christmas With WM (12)


Merry Christmas With WM (5)


Merry Christmas With WM (13)


Merry Christmas With WM (7)


Merry Christmas With WM (9)


Merry Christmas With WM (8)


Merry Christmas With WM (6)


Products from Heartfelt Creations:

HCD1-7104 Ornate Sleigh and Presents Die
HCD1-7105 Festive Gate Die
HCD1-7106 Celebrate the Season Die
HCDP1-268 Celebrate the Season Paper Collection
HCPC-3745 Ornate Sleigh Cling Stamp Set
HCPC-3747 Celebrate the Season Cling Stamp Set
ANC818 Go Man Go Prills
TSMP504 Memento Dye Ink Pad - Lulu Lavender
TSMP604 Memento Dye Ink Pad - Summer Sky
DDOTS Double Dots 3D Foam Circles
741 Shell White Microfine Transparent Glitter
HCST1-401 Deluxe Flower Shaping Kit
Designer Dries Clear Adhesive

Other Products used: Acetate sheet, Smooth white cardstock, scoring board, Spellbinder's grand die Label 1, white net

Instructions: For the frame, cut one frame each by nesting first 2 largest dies of grand label 1 and first and third die of the same. Also, cut a mat from the same paper collection using largest label 1. Layer both the frames together and stick acetate sheet at the back, Decorate the frame with clear glitter randomly. Cut embellishments from the designer paper using their coordinating dies. Cut an extra gate and an extra Sleigh from white cardstock. Give 3-dimensional effect to the sleigh by adding extra foams and white net. Fill the sleigh with all the gift cut outs. For flowers Do check out Emma's video.  Now assemble all the elements together as shown and give little extra effects of snow using snow paste. Once your front panel is ready , create the card base from the largest grand dies label 1 keeping the die half an inch lower to the card fold. Adhere the front panel on the card base and finish the card with a sentiment.


7 comments:

Dear Reader,
Thank you for your precious comments. They are extremely valuable and a source of continuous motivation for me. I really appreciate the effort.
Love,
Rajni

Tuesday, July 05, 2016

Sunflowers and Butterflies Window

Posted by Rajni Chawla

Good morning all...

This new day has greeted us again with new n fresh Sunshine, with no rules and unconditional opportunities. Do not dilute the power of this new day with the hardship of yesterday. Greet this day the way it has greeted you, with open arms and endless possibility.

I am back again with Heartfelt Creation's weekly inspiration with its Classic Sunflower Collection and Botanic Window Die. Two almost same cards....one made by me and other by my daughter Srishti. she has a beautiful and neat hand. Teaching her side by side when I m crafting, is really great fun. we both paint together, discuss n plan what to do next...So much of laughter, music and my furbabies dozing under my chair...
Awww...I love it all!!


untitled-2


13579791_10208610632999989_1544991826_o


13588877_10208610656320572_305064777_o

Can you guess which one she made?? She's too smart in copying  hun!!

Here are few more detailed pictures...

untitled-14


untitled-9


untitled-11


Products From Heartfelt Creations:

Other Products Used: Smooth white cardstock, Black Archival Inks, Zig Clean Clear Markers, Water Color Pencils, Fussy Cutting Scissors, Twine, Glitters or sparkles, Glossy Accent, Black Micro Beads
Instructions: For 3D Sunflowers, I have used a paper that is a local buy. Stamp the images multiple times with Black Archival ink, Colored them with ColorBox Harvest and highlighted with ColorBox Pumpkin Spice. Now shape the flowers following Emma Lou's Video. For leaves, I have used Open Leaf Stamp set. Stamp the images using Archival Library Green and color them using Archival Fern Green. Cut them through the die cutting machine using is Classic Leaf Die. Leaves are shaped and dusted with clear glitter. Stamp the image from Sunflower Bouquet Cling Stamp Set multiple times and paint it using Zig Clean Clear Markers and water color pencils and fussy cut. The image is layered using foam dots. For the window, cut Botanic Window die Twice and glue them together. Color it using Vintage Photo Distress inks and put glossy accent. Dust it with clear glitter when wet. Make a top fold card measuring 5 1/2" by 7 1/2".and mat it with designer paper from the same collection using foam dots. Add a layer of gauge under the top layer for extra interest. Cut and mat a card frame from same designer paper and layer it on the left side of ready card base. Assemble all the elements as shown and add a sentiment and hand painted butterflies.

Be sure to visit Heartfelt Creations Blog for more Inspiration.

Thanks for visiting! 

7 comments:

Dear Reader,
Thank you for your precious comments. They are extremely valuable and a source of continuous motivation for me. I really appreciate the effort.
Love,
Rajni