Sunflowers and Butterflies Window
Posted by Rajni Chawla
Good morning all...
This new day has greeted us again with new n fresh Sunshine, with no rules and unconditional opportunities. Do not dilute the power of this new day with the hardship of yesterday. Greet this day the way it has greeted you, with open arms and endless possibility.
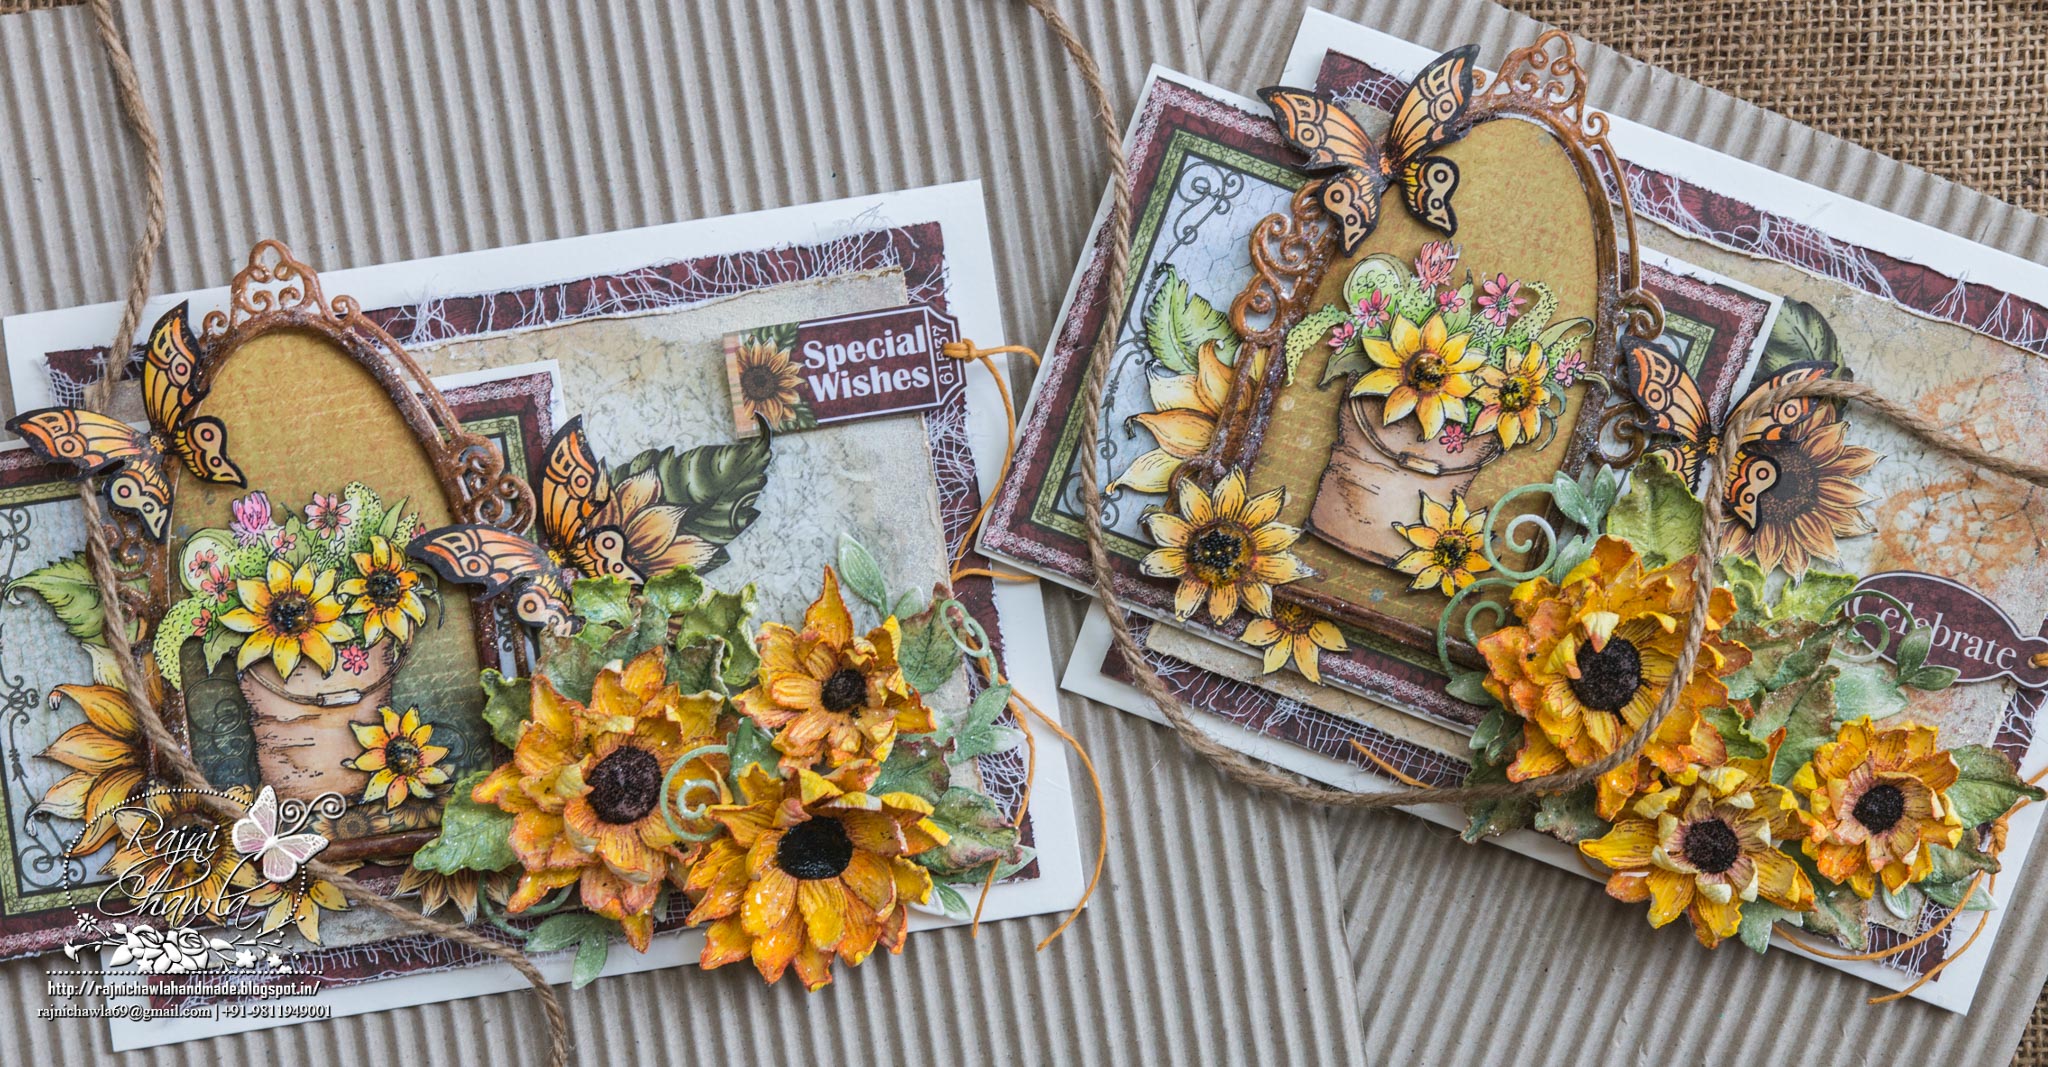
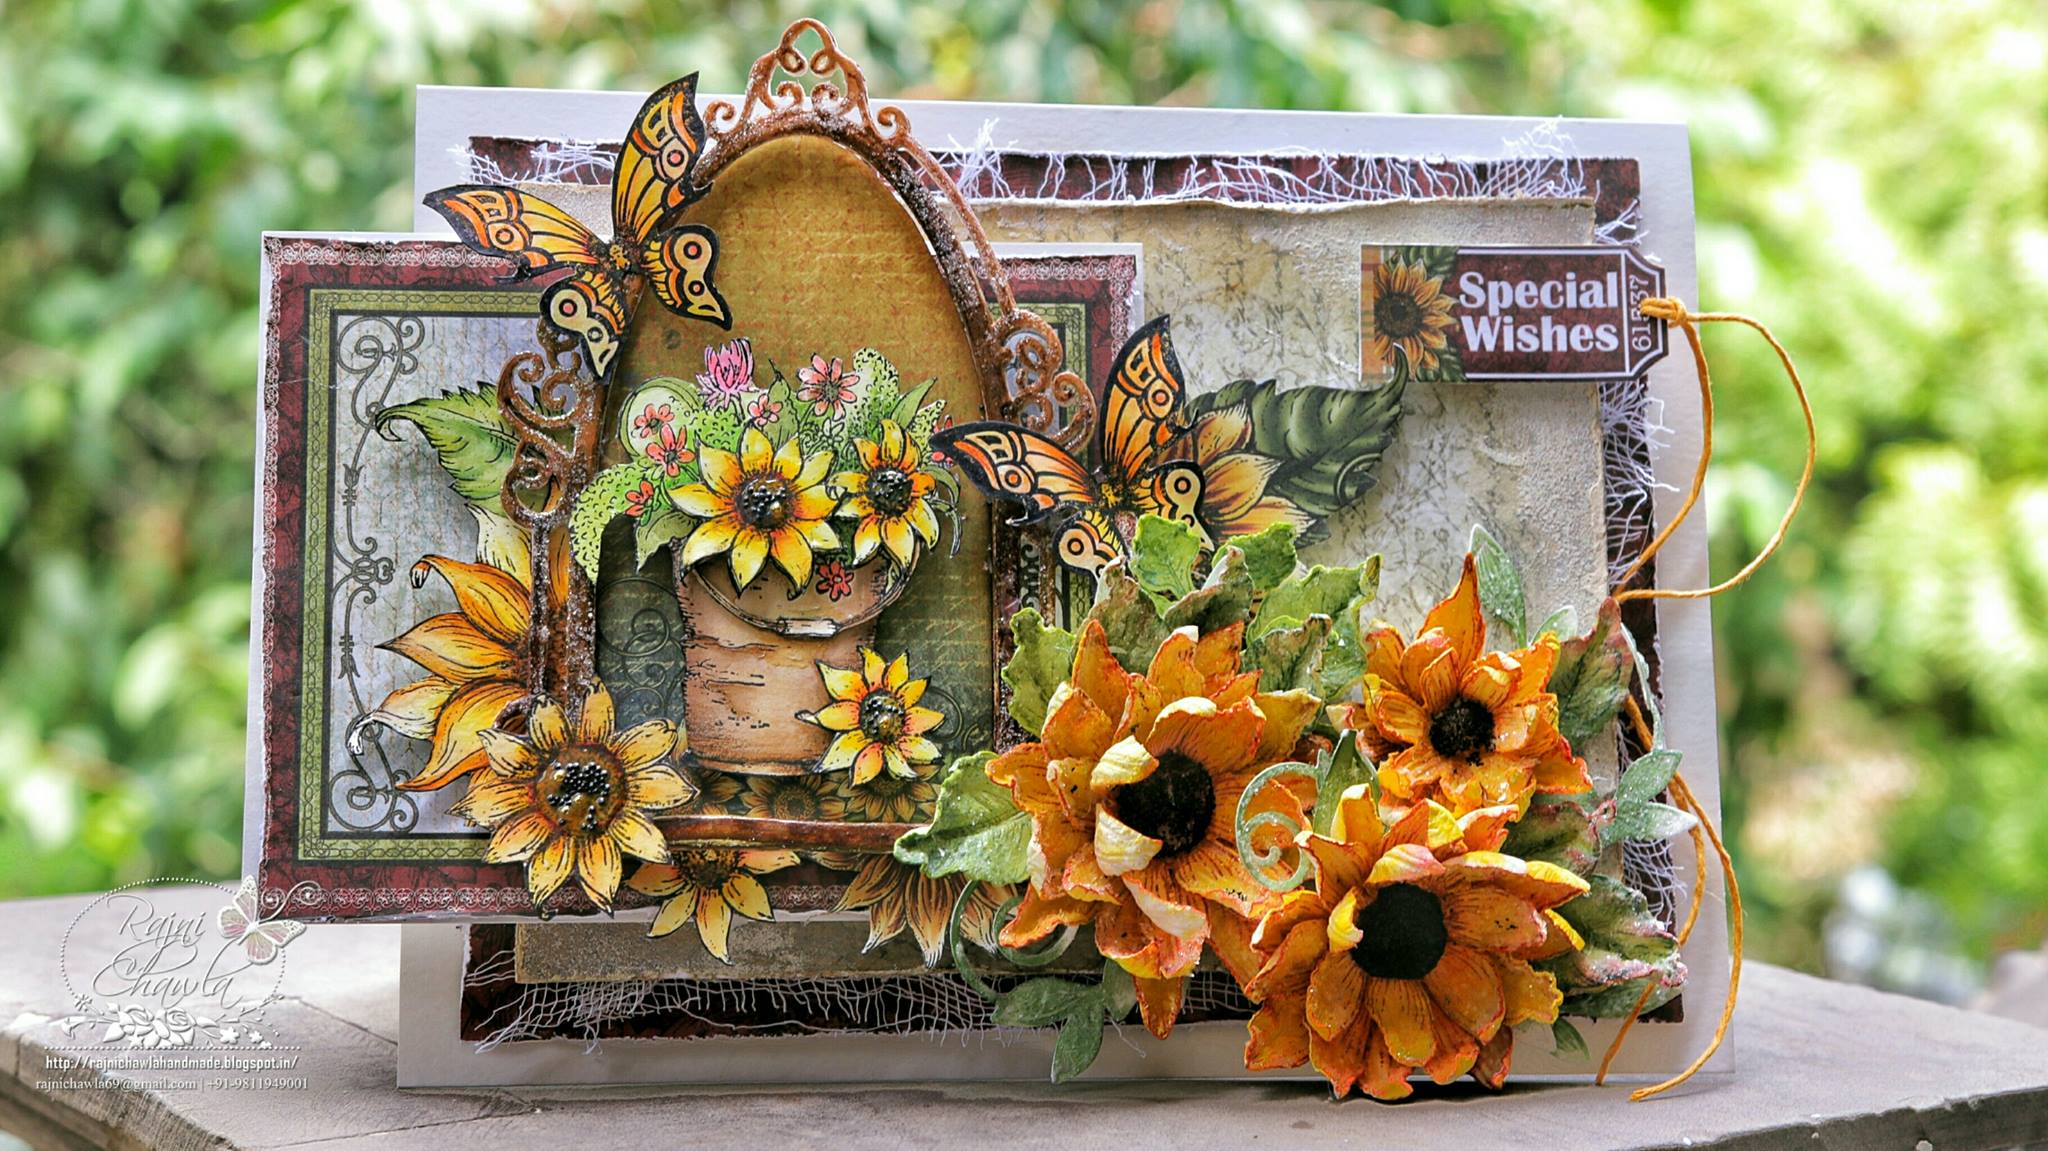
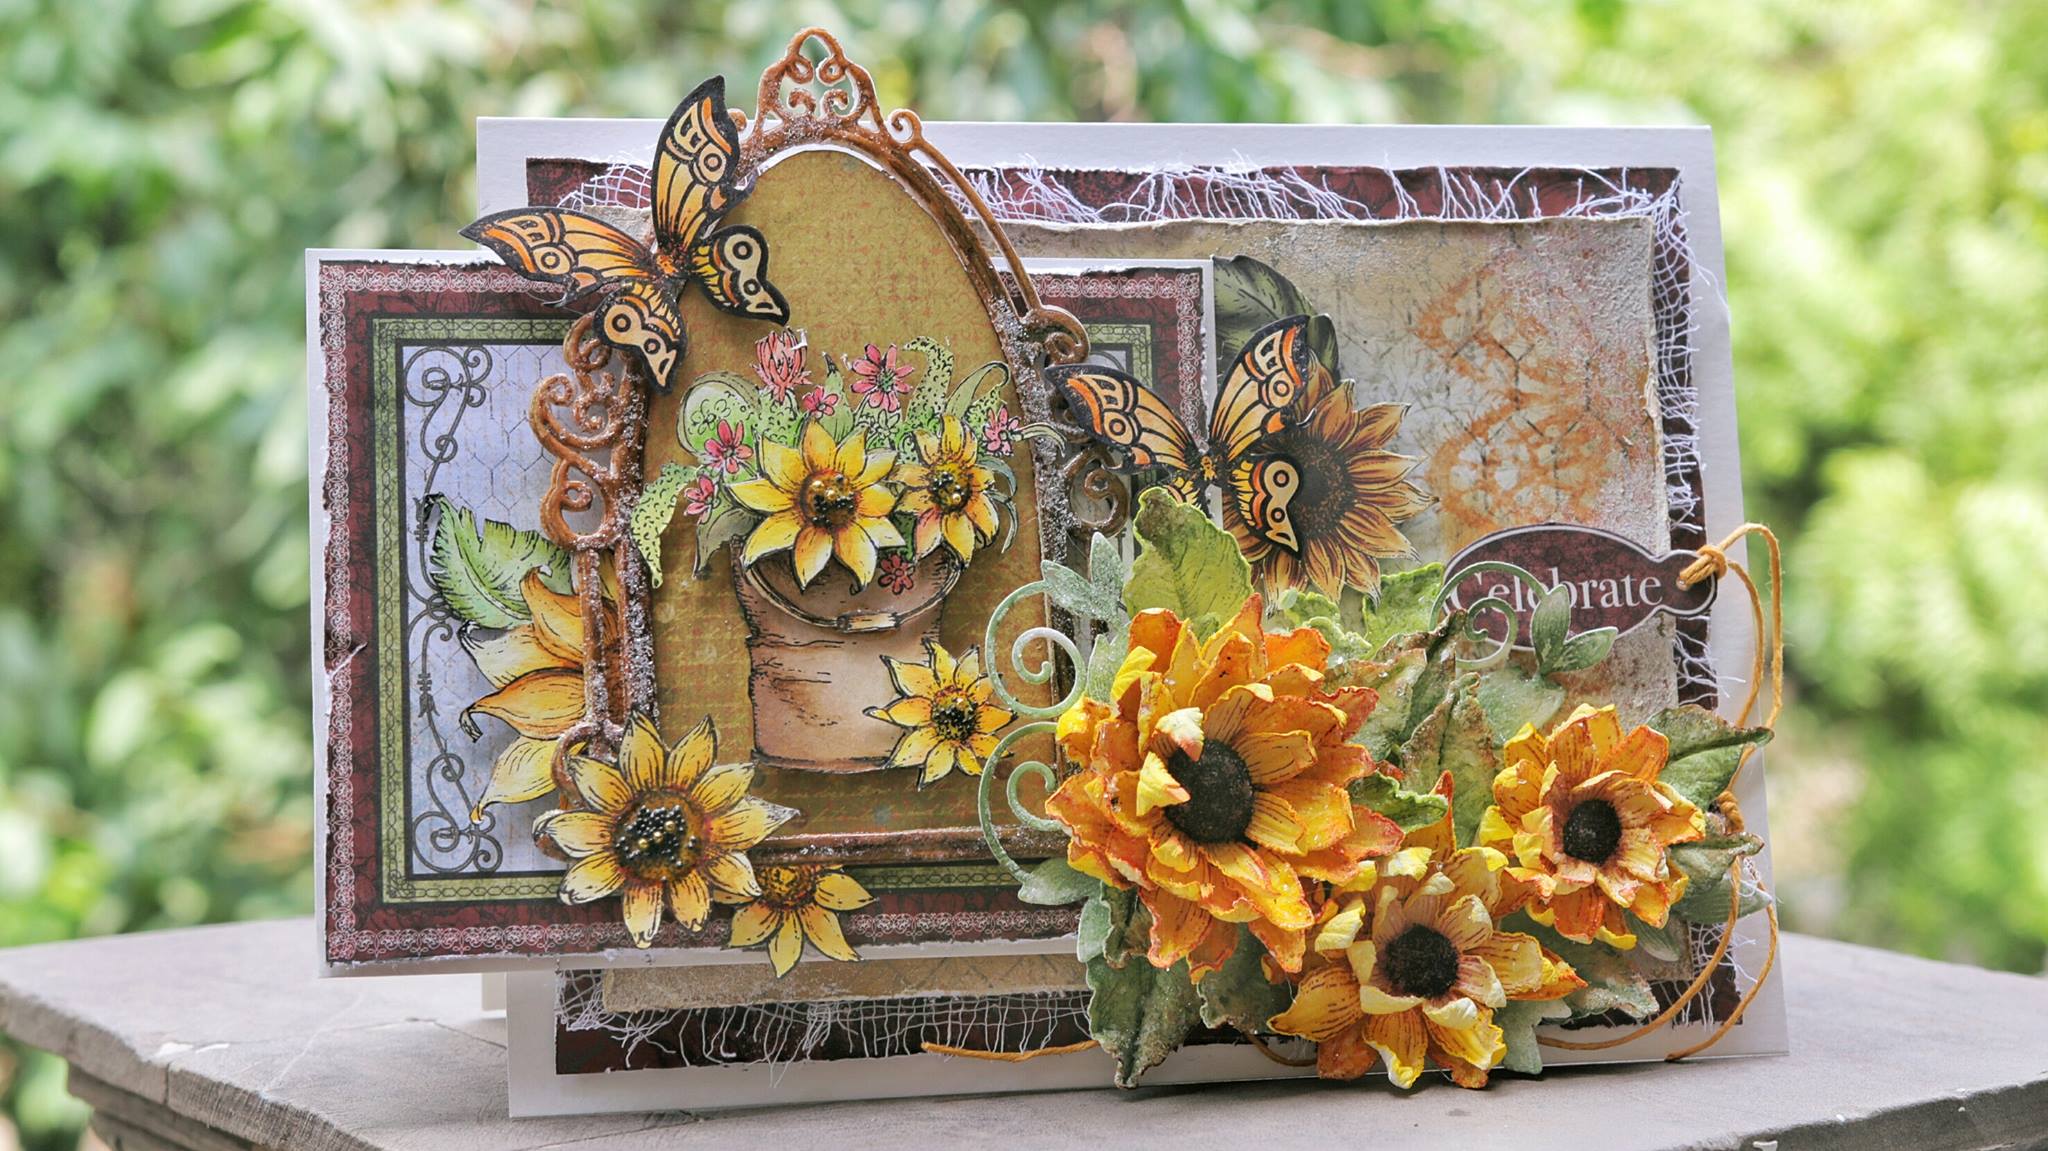
I am back again with Heartfelt Creation's weekly inspiration with its Classic Sunflower Collection and Botanic Window Die. Two almost same cards....one made by me and other by my daughter Srishti. she has a beautiful and neat hand. Teaching her side by side when I m crafting, is really great fun. we both paint together, discuss n plan what to do next...So much of laughter, music and my furbabies dozing under my chair...
I am back again with Heartfelt Creation's weekly inspiration with its Classic Sunflower Collection and Botanic Window Die. Two almost same cards....one made by me and other by my daughter Srishti. she has a beautiful and neat hand. Teaching her side by side when I m crafting, is really great fun. we both paint together, discuss n plan what to do next...So much of laughter, music and my furbabies dozing under my chair...
Awww...I love it all!!
Can you guess which one she made?? She's too smart in copying hun!!
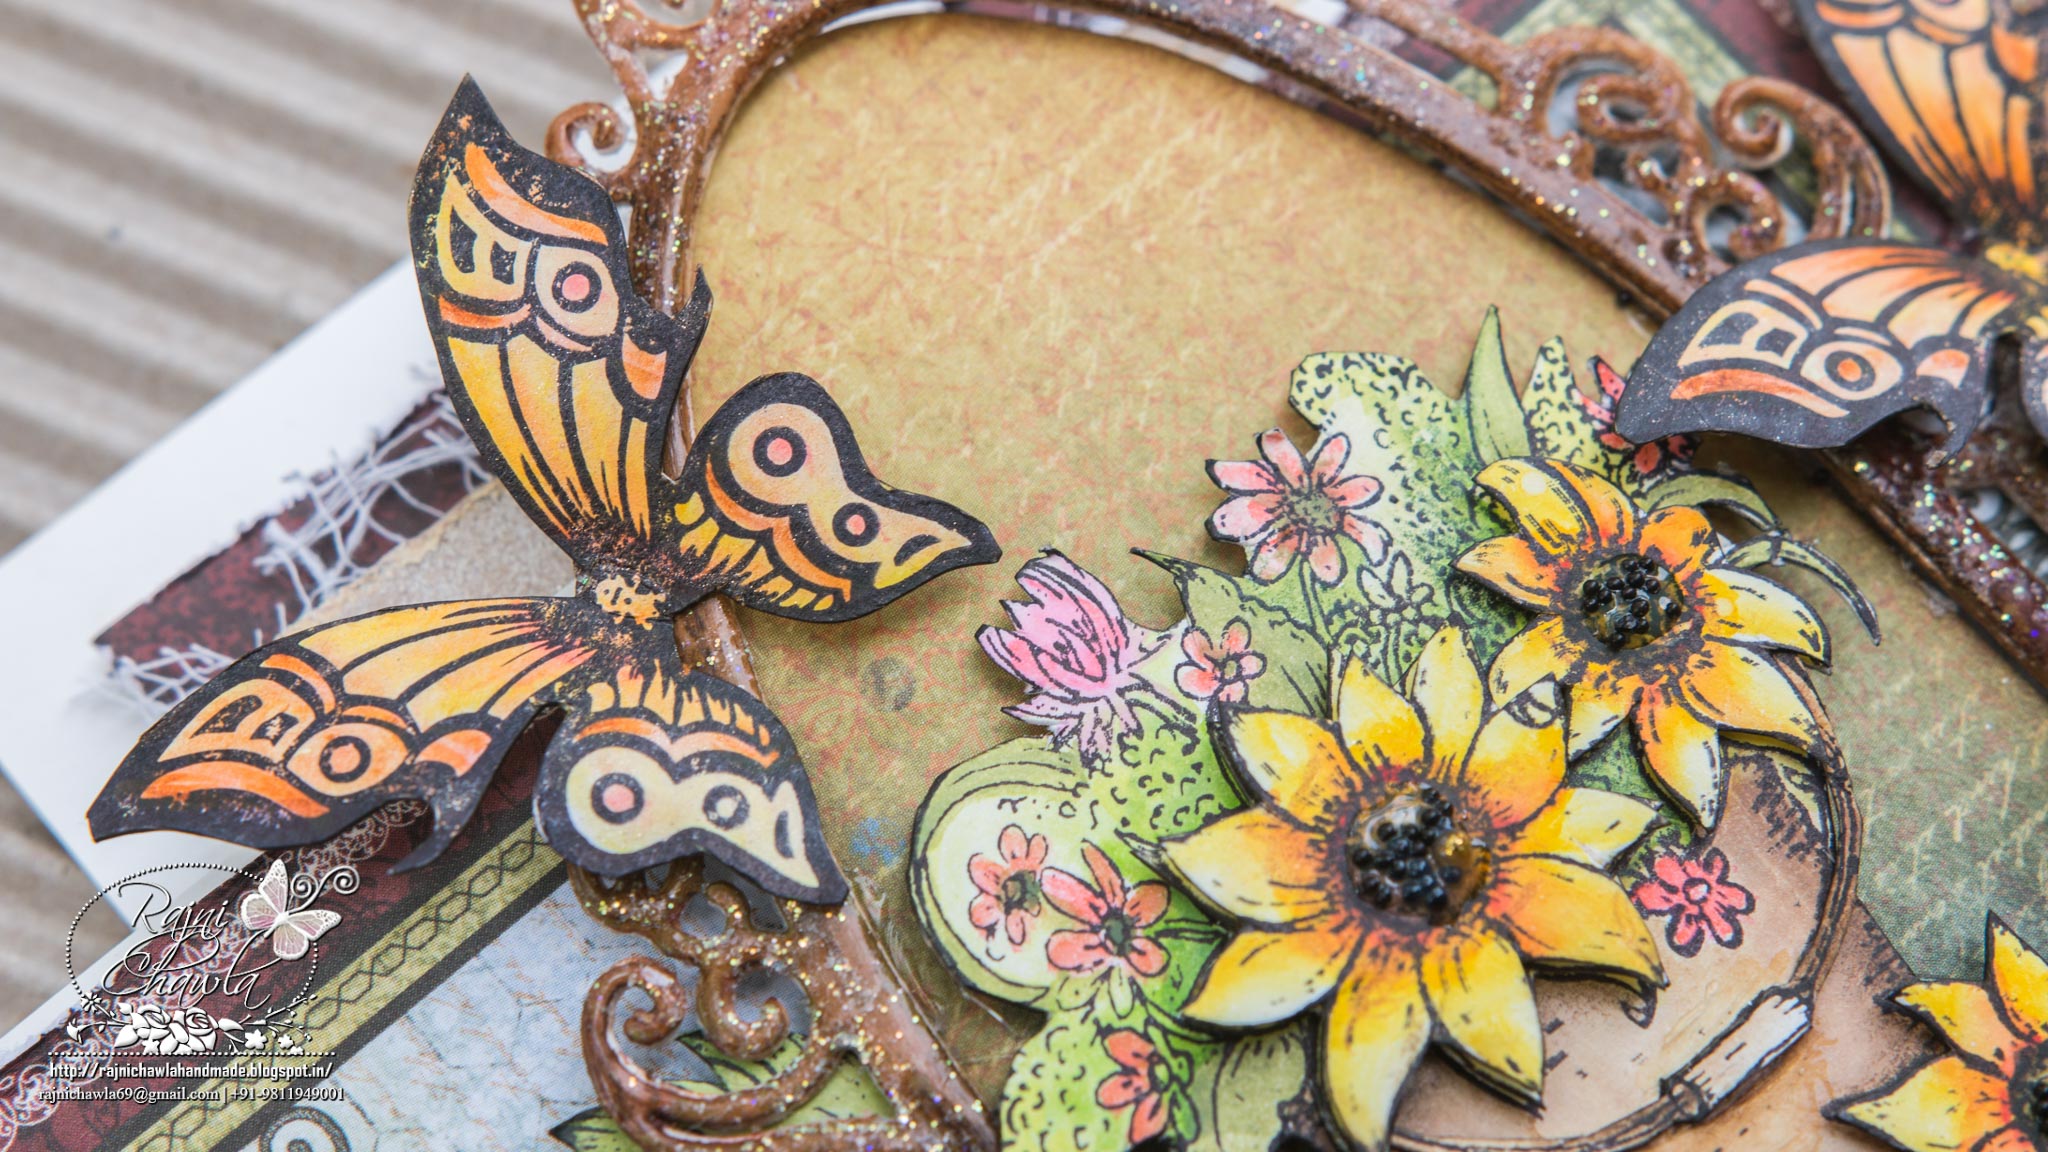
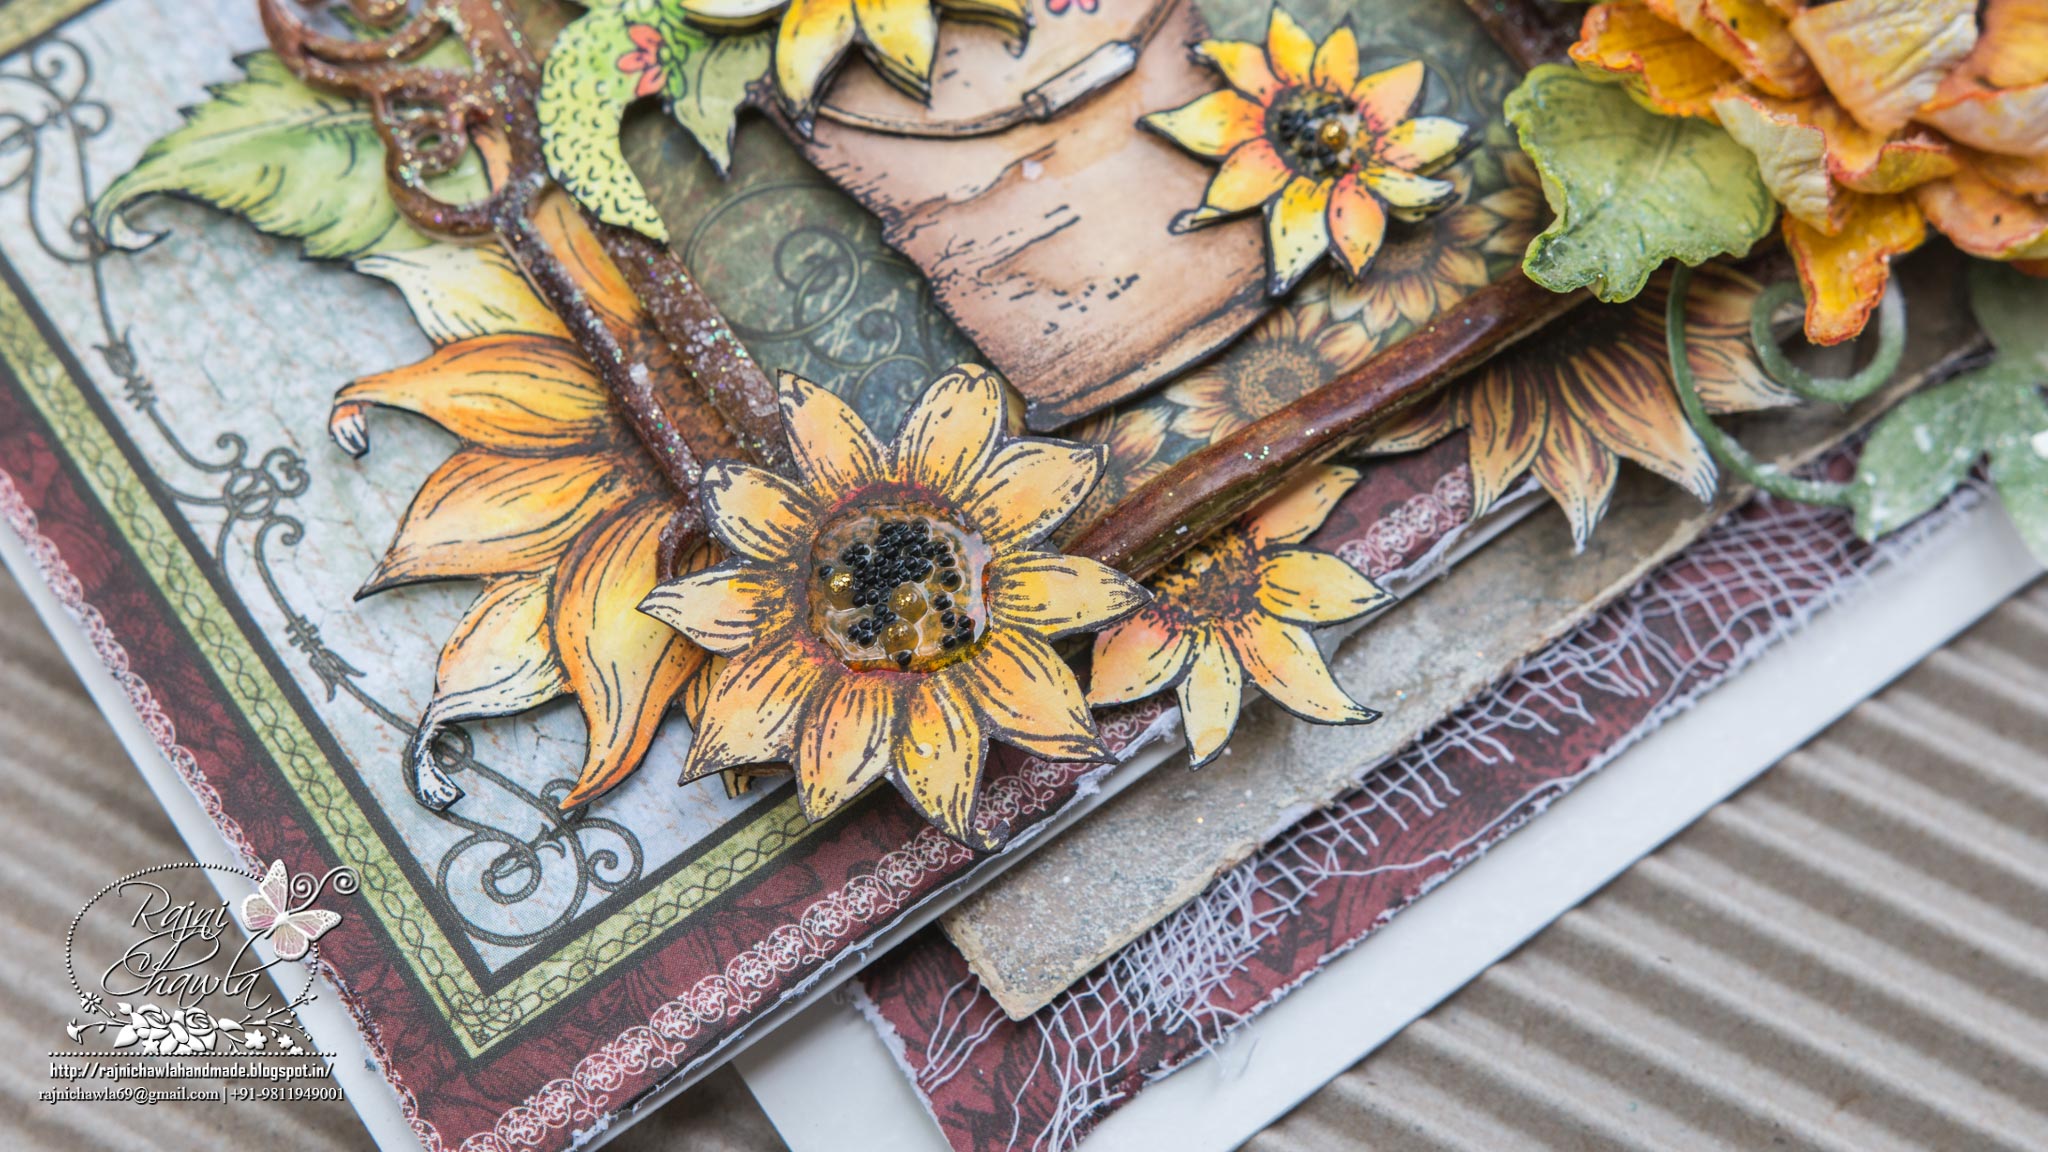
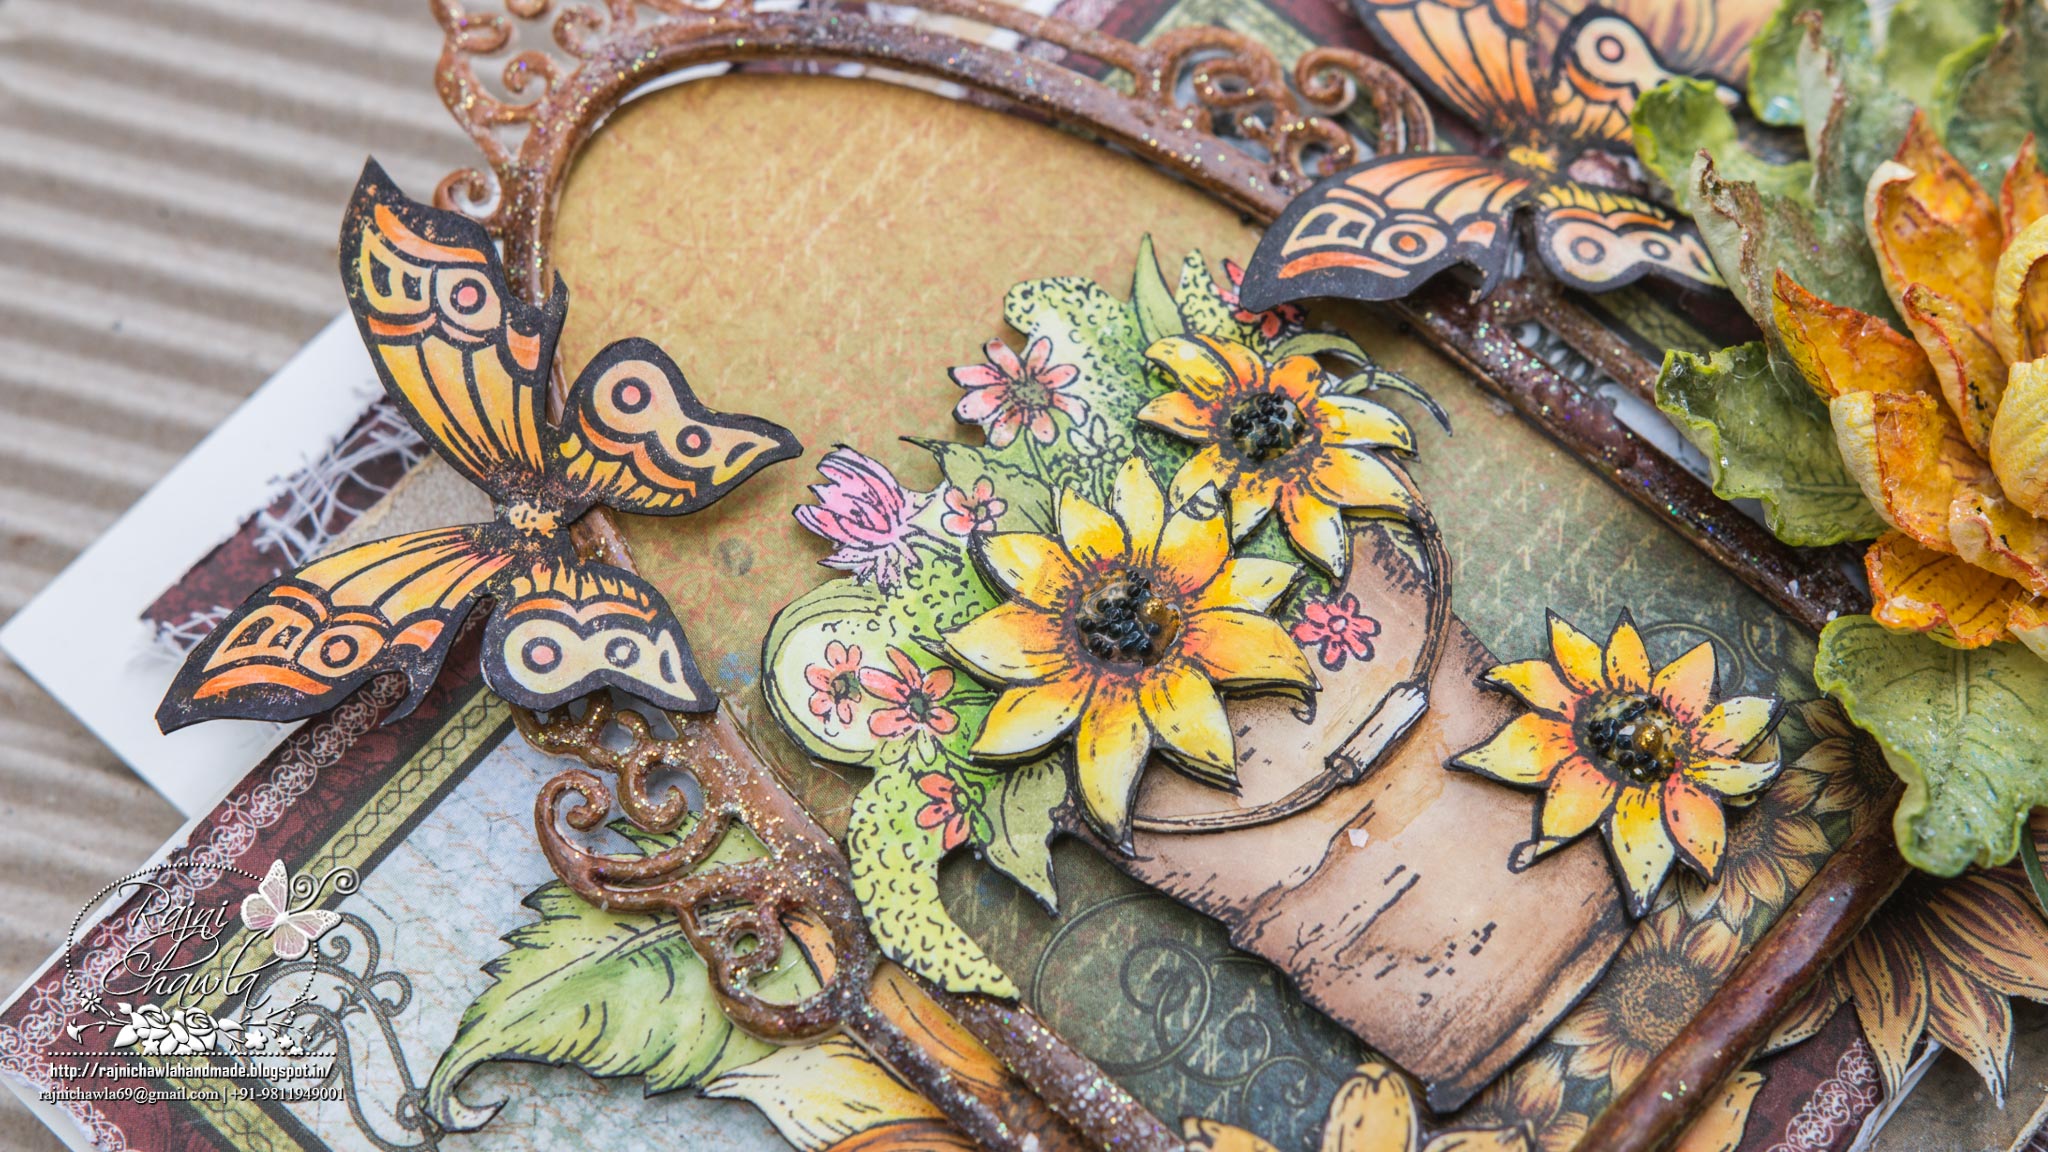
Here are few more detailed pictures...
Products From Heartfelt Creations:
Classic Sunflower Die HCD1-753
Classic Sunflower Paper Collection HCDP1-247
Classic Sunflower Cling Stamp Set HCPC-3626
Sunflower Stem Cling Stamp Set HCPC-3627
Sunflower Bouquet Cling Stamp Set HCPC-3628
Classic Leaf Die HCD1-736
Open Leaf Cling Stamp Set HCPC-3545
Double Dots 100pc3D Foam Circles- DDOTS
Designer Dries Clear Adhesive-159723
Deluxe Flower Shaping Kit HCST1-401
ColorBox Fluid Chalk Ink Pad - Harvest 71082
ColorBox Fluid Chalk Ink Pad - Pumpkin Spice 71049
Other Products Used: Smooth white cardstock, Black Archival Inks, Zig Clean Clear Markers, Water Color Pencils, Fussy Cutting Scissors, Twine, Glitters or sparkles, Glossy Accent, Black Micro Beads
Instructions: For 3D Sunflowers, I have used a paper that is a local buy. Stamp the images multiple times with Black Archival ink, Colored them with ColorBox Harvest and highlighted with ColorBox Pumpkin Spice. Now shape the flowers following Emma Lou's Video. For leaves, I have used Open Leaf Stamp set. Stamp the images using Archival Library Green and color them using Archival Fern Green. Cut them through the die cutting machine using is Classic Leaf Die. Leaves are shaped and dusted with clear glitter. Stamp the image from Sunflower Bouquet Cling Stamp Set multiple times and paint it using Zig Clean Clear Markers and water color pencils and fussy cut. The image is layered using foam dots. For the window, cut Botanic Window die Twice and glue them together. Color it using Vintage Photo Distress inks and put glossy accent. Dust it with clear glitter when wet. Make a top fold card measuring 5 1/2" by 7 1/2".and mat it with designer paper from the same collection using foam dots. Add a layer of gauge under the top layer for extra interest. Cut and mat a card frame from same designer paper and layer it on the left side of ready card base. Assemble all the elements as shown and add a sentiment and hand painted butterflies.
Be sure to visit Heartfelt Creations Blog for more Inspiration.
Thanks for visiting!



both are gorgeous projects mam, your daughter is a master like you
ReplyDeleteLovely card aunty.. next time when you do a card for your blog can u please come up with a video tutorial.. your flowers are really mesmerising.. they look so real.thanks
ReplyDeleteBeautiful sunflowers; so very life like!
ReplyDeleteThis is gorgeous!! Love the flowers!
ReplyDeleteBeautiful card. I love the different levels of flowers.
ReplyDeleteHugs, Marie
Love this again ma'am! Your work is stunning! I doubt anyone can find any fault in it :)
ReplyDeleteWOW Mesmerizing as always and so wonderful to read about your daughter joining you!!
ReplyDelete