Hello lovely ladies!!
As we
announced earlier it is celebration time for us, as our blog has received
immense support & love from you all & we have crossed 100 followers
soon.
We have
compiled a photo quiz for you for 6 days. We have five questions each day which
will be announced by my team on their personal blogs. So make sure you visit
our blog to know who the host is for the day & remember you have time only
until mid night to participate.
Remember
this is just for FUN, we are not here to test your knowledge. So lets all play
along in the right spirit. Exciting???
Well here are some points to remember
·
You must be a follower of our
blog and challenge blog.
·
Be as specific as you can with
your answers.
·
Add your name to the linky below
(EVERYDAY) to let us know your
participation.
·
The linky closes at mid night on
that day. SO REMEMBER YOU HAVE JUST A COUPLE OF HOURS TO ENTER.
·
Person with maximum right answers
will be the winner of the day. In case there are more than one, the one that
replies earliest will be the winner
·
There is a BUMPER prize for 1
person, who participates on all 6 days!!
·
The decision taken by the DT will
be final.
NAME –
DATE –
NAME OF THE QUIZ HOST (ON THAT DAY) –
ANSWER –
1.
2.
3.
4.
5.
6.
Would love to answer any specific queries you have
regarding this.
So join in to have some fun over all 6 days!!!!
1.
MANY OF US JUST CAN’T HAVE ENOUGH OF
THIS PRODUCT!!
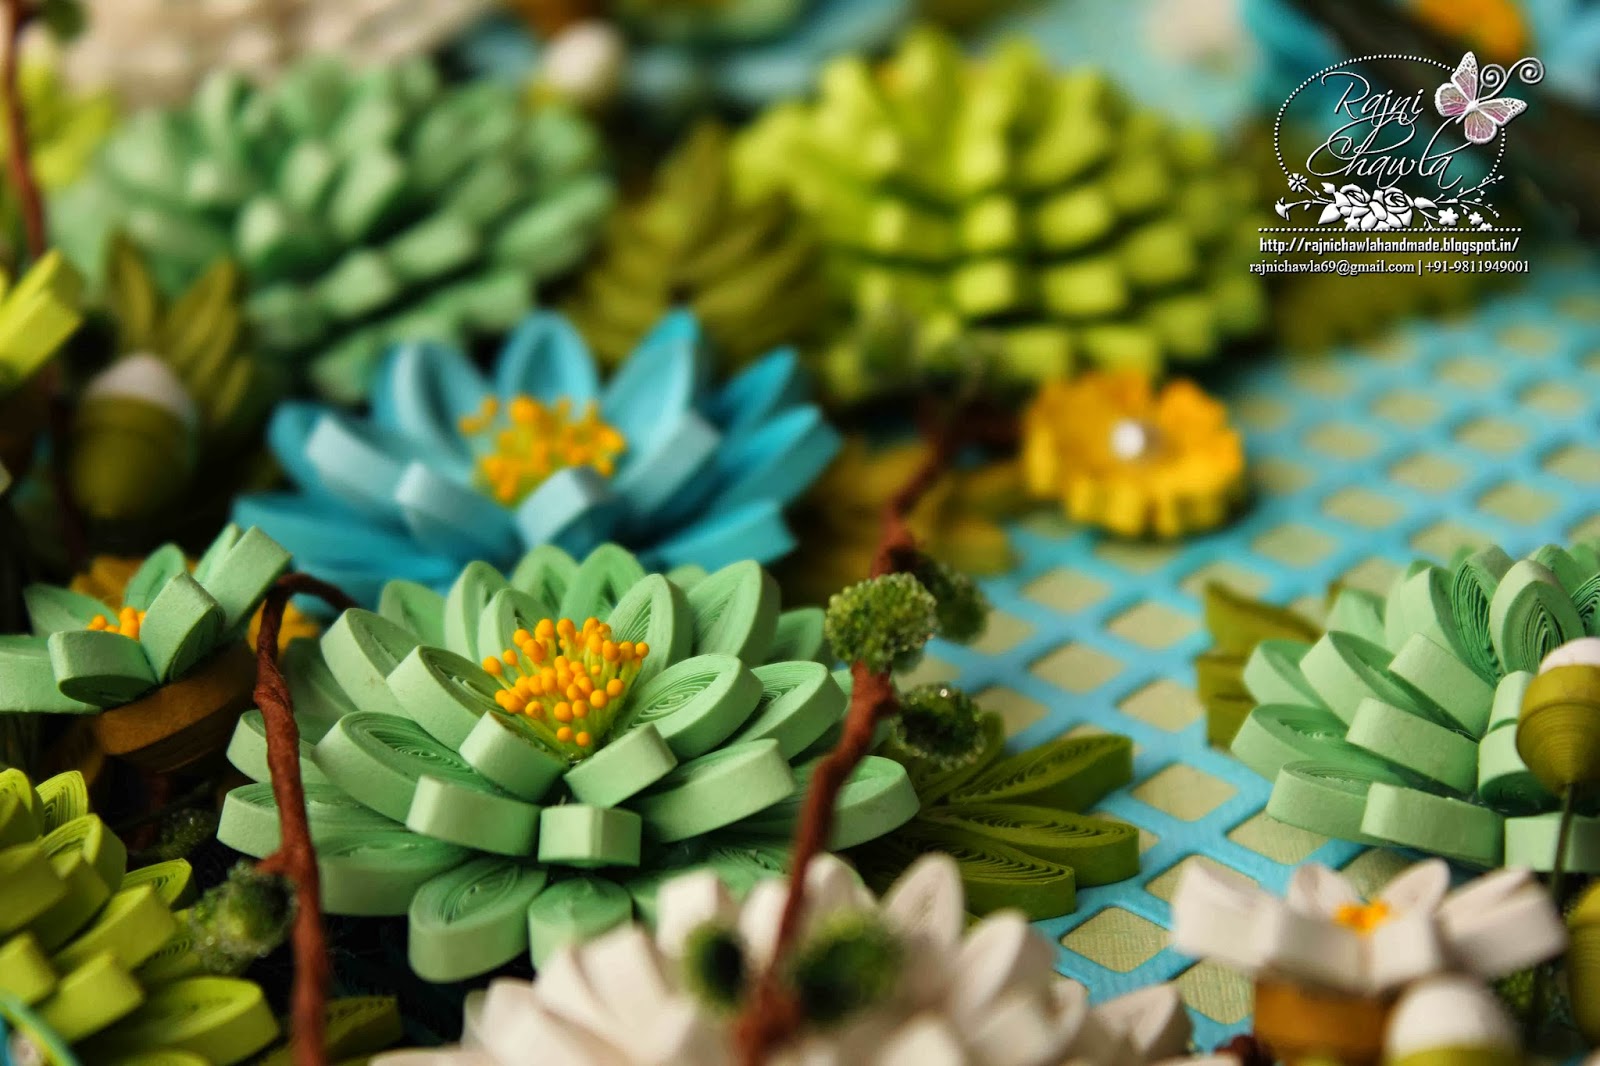
2. NAME THE PRODUCT
USED on the ornaments HERE –
3. IDENTIFY THE PRODUCT
4. IDENTIFY THE PRODUCT
5. IDENTIFY THIS TOOL -


.jpg)


3 comments:
Dear Reader,
Thank you for your precious comments. They are extremely valuable and a source of continuous motivation for me. I really appreciate the effort.
Love,
Rajni