Challenge # 4 Spread your wings with distress inks!!!
Posted by Rajni Chawla
Hello lovely ladies!!
This is Rajni here welcoming you all with a brand new challenge for the month of September at your favorite Color Conception Challenge Blog.
Before I proceed further with the theme, let me thank you all on behalf of our whole team for participating and showing interest in our challenges. We are really amazed to see such wonderful entries every month. Choosing a single winner out of such lovely entries is sometimes very difficult. Our best wishes are with you all.
The winners of our last challenge Nail it down with textures will be announced soon. So keep connected.
"Spread your wings with distress inks"
Sounds interesting....right !!
Yes.....rightly guessed !! I am hosting a challenge on my favorite favorite topic distress inks. It was last year July end that I got my first set of Distress Inks in my hands. Today, I can't believe myself that just after one year I'm here hosting a Challenge as a Dt for Color Conception and that too.....on Distress Inks. The day I got them,I got the opportunity to spread my wings high with so many new ideas in my mind . Today,in this craft world...I think no one is unknown to these amazing inks.
Our this month's challenge is offering you an opportunity to spread your wings as high as you can with these inks.There is no restriction at all in what you make. Be it a card or a tag......a box or a wall piece. Anything of your choice...but the use is distress inks is must. Heavy inking or just a touch....all depends on the requirement of your project. Newer the idea....better the chances to win !!
But do mention about the technique you used and the shades combined in your post. Isn't it easy enough!!
Our Dt team will try their best to inspire you with different ways to use the same.We will try to cover most of all the techniques with water,resist,creating flowers ,water coloring,stamping and many many more. More over in the coming posts I will be replying to most of the queries left on my blog regarding the distress ink techniques I use for my projects. So stay tuned...you will find your answers to your questions soon.
Do participate in my first blog giveaway and be a part of my celebration.
Do participate in my first blog giveaway and be a part of my celebration.
To participate, please ensure, you follow the below rules
- Be a follower of our Blog
- Link Fresh New Entries only. Back Dated entries not allowed
- Link to the challenge specific post only and not to your blog url.
- Link Back to our challenge..ie Place the url of this post in the post you make.
- Leave a comment below after linking
- You could participate in a maximum of 5 challenges including this
- Maximum of THREE entries per person , please add (2) or (3) for your second and third entry against your name.
- Lastly please remove word verification from your Blog to help our DT leave comments easily.
The Top 3 Entries will receive a Challenge Winner badge and one of them would be honoured as a GUEST DESIGNER for our next Challenge.
One random winner from the participants would receive a GIFT VOUCHER worth Rs 500, to purchase in our shop - www.thecraftshop.in.

To inspire you, we have amazing projects from our Conceptualists. So here we go...
Our Dt Poornima decided to stun us with her lovely shadow box card this time. She used picked raspberry fired brick,mowed lawn,shabby shutter,vintage photo,walnut stain,spiced marmalade and broken china to color this lovely card. Oh......what an amazing list of colors....all my favorites Poornima :) Though I can't take my eyes off that naughty Odd Girl too. Others supplies used are Hero Arts Blossom flower, Kaiser Kraft butterfly, Memory Box Cherish Branch, Memory Box Madera Corner and Color Box Black Archival ink.


Our dt Tanvi tried her hands on her all time favorite crayon resist technique for inspiration she randomly created a background using distress inks. Stamped over it with versamark to emboss with clear powder. The BG was then colored with black soot to reveal those amazing multicolored flowers.
You have really tempted me to try this now Tanvi!!.


You are truly the best teacher to teach this......thanks for such a lovely inspiration :)

Here is what Khushboo came up with her inspiration for this month.
Heat Embossing!!!
So simple.....yet so elegant !!
Isn't it??
She used Technique Tuesday stamps....life is good and loving words with spiced marmalade,peeled paint and broken china distress inks.

Here is Priya's inspiration using crumbled distressed paper technique using Cheery lynn gear border die, Cheery lynn gears die, Memory box cycle, Darice Argyle embossing folder, distress ink - peacock feather, broken china, barn door, Fired Brick.

Love Birds...Another one by Priya using Mustard seed, Spiced Marmalade, Barn Door, Memory box woodland branch, IO birds die, Hero Arts Blooming meadows, Pewter zing embossing powder black, colorbox pigment black with heat embossing technique
Fabulous Priya!!

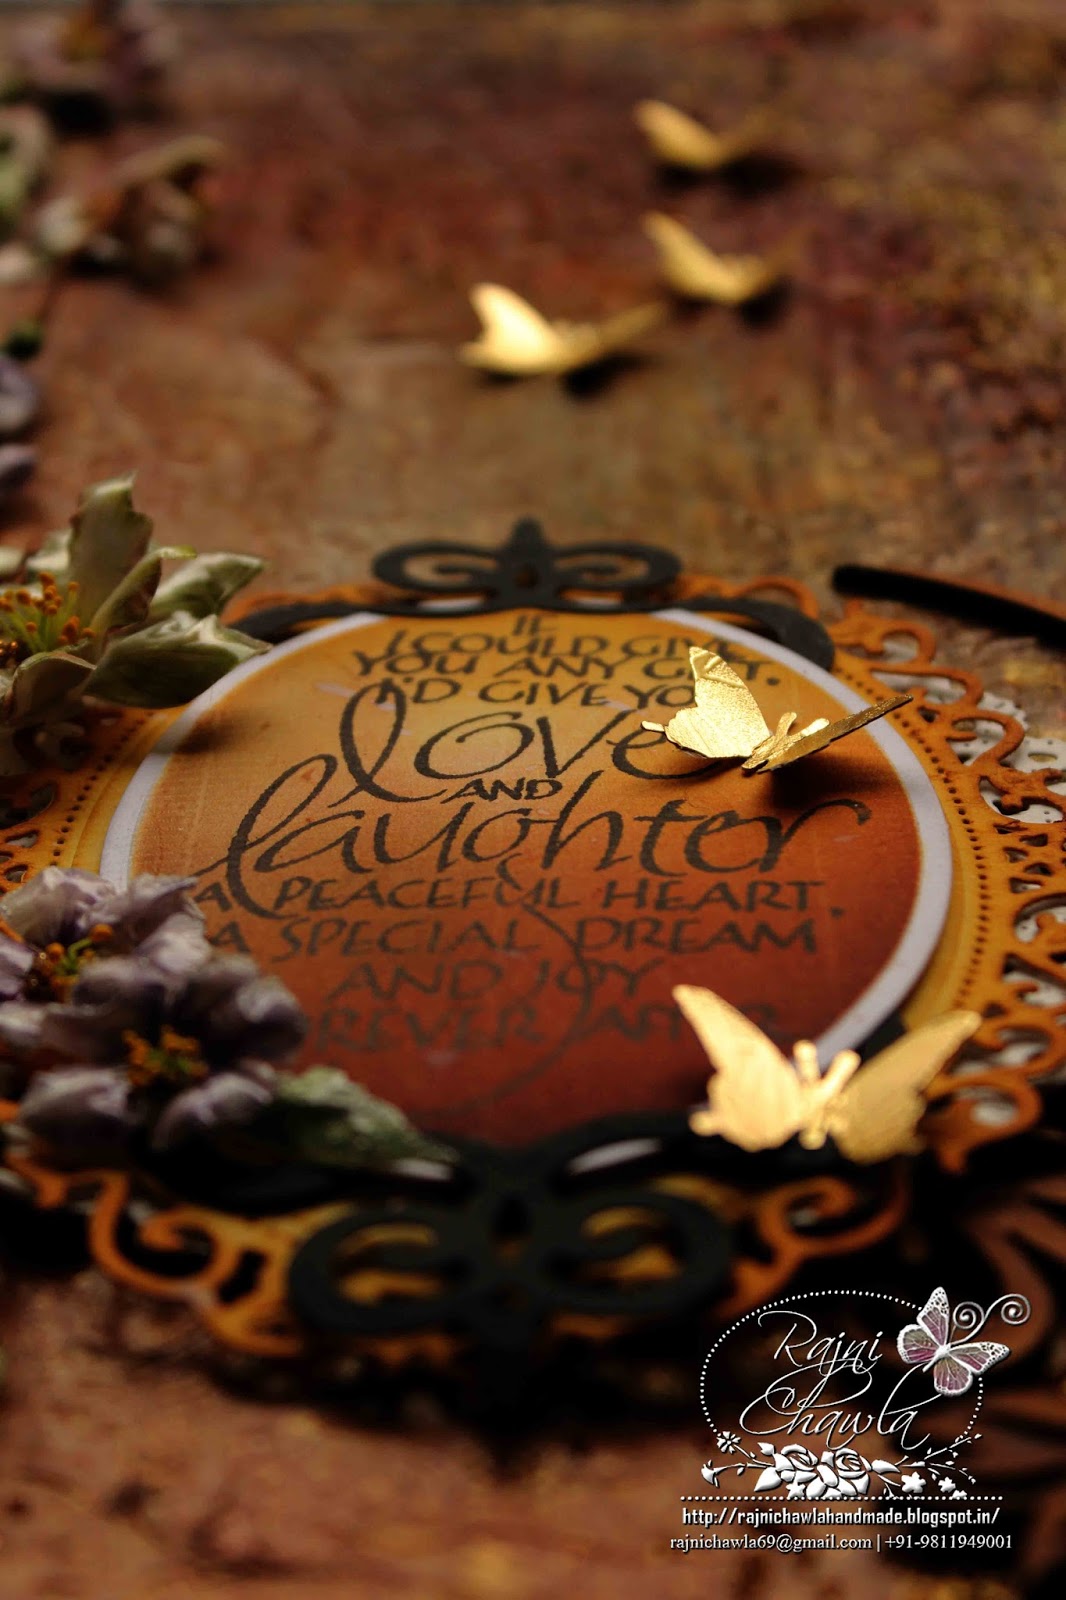
And here is mine...
As you all know I started my journey of inking along with paper quilling. You have always wondered what color strips I use for my quilled flowers...... its all done with distress inks. I think none of my project is without these amazing inks.

Do you remember this project. This was my first big project. Look at the lilies and small fringed carnations.....all inked !!


Look deeply at all the projects above. Don't you think colors add a zing and gives new life to all images. Sunrise....sunset....flowers in spring bloom of reds, oranges and purples are all music to my eyes. My list of colors goes on and on. Colors are the beauty of God's mind. I can feel music and rhythm in every shade. For me, the world would be silent without colors.
Correct me....if i m wrong anywhere.
I think i have inspired you enough to give it a try.
So what are you waiting for??
Grab your favorite colors..... and spread your wings high!!!
Let your creativity fly...!!
We at The Craft Shop have complete range of distress inks along with all seasonal shades and all its resist mediums like versamark ink and embossing powders . For
-300x300.jpg)


6 comments:
Dear Reader,
Thank you for your precious comments. They are extremely valuable and a source of continuous motivation for me. I really appreciate the effort.
Love,
Rajni