Showing posts with label under the sea collection. Show all posts

Tuesday, May 24, 2016

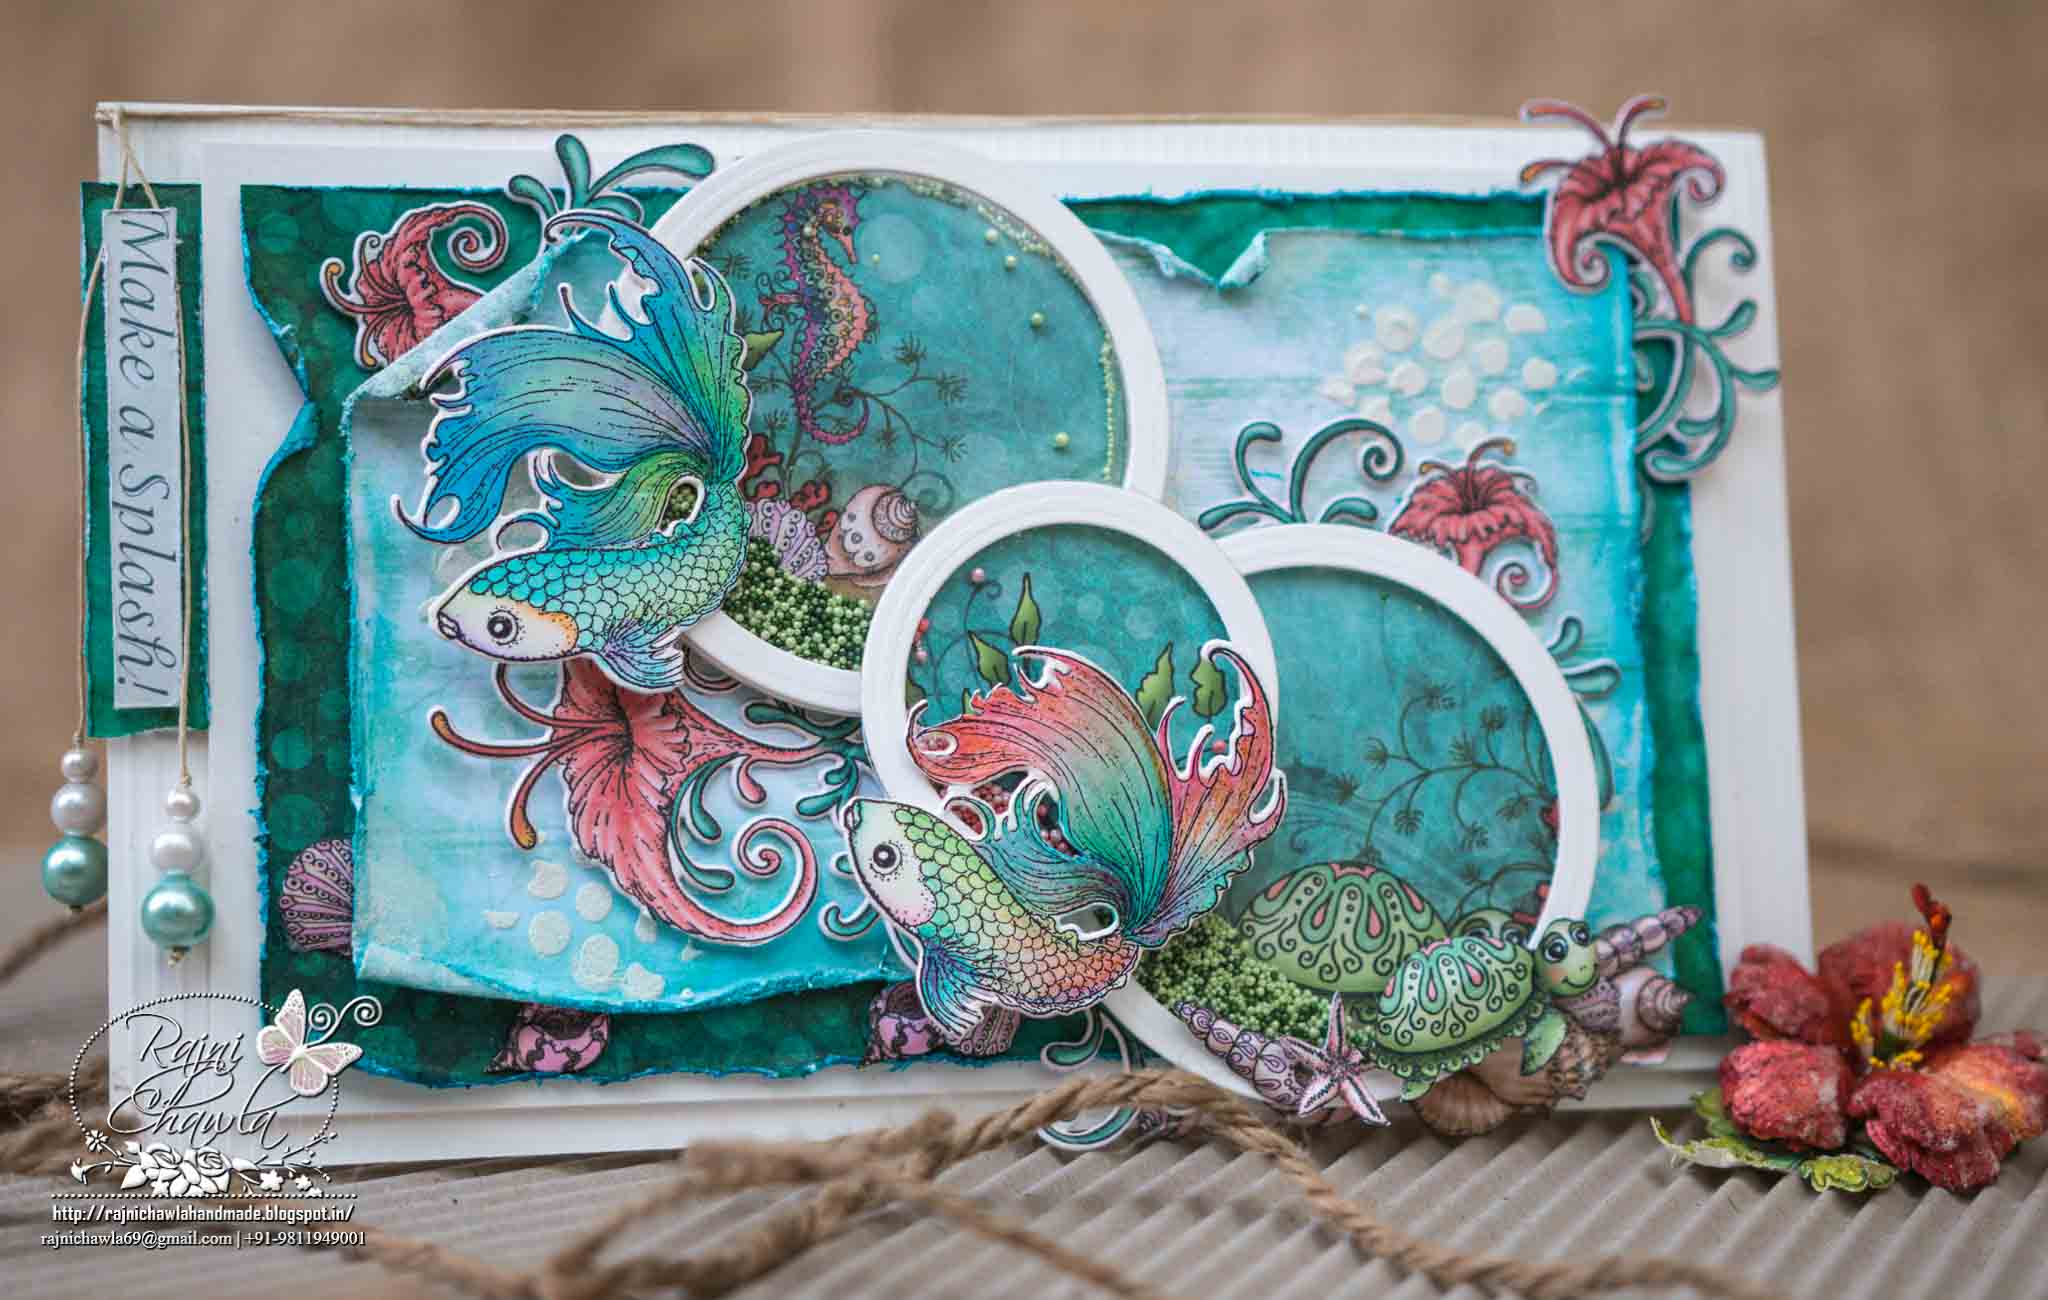
White and Teal Sea Life: Card using Under the Sea Collection

Posted by Rajni Chawla


Good morning all,

It's third Wednesday of the month and that means time to share new inspiration and the next month release for Heartfelt Creations. Today. Don't forget to check the amazing creations by my team members at Heartfelt Creations Blog. Also, you can check the new release Botanical Orchid Collection Here.   I'm sharing White and Teal Sea Life in my card using Heartfelt Creation Under the Sea Collection.

Products from Heartfelt Creation:

Under The Sea Die:    HCDI 799
Under the Sea Cling Stamp Set:   HCPC 3739
Heartfelt Wishes Cling Stamp Set:   HCPC 3740
Coral Reef Collage Cling Stamp Set:   HCPC 3738
Tropical Hibiscus Cling Stamp Set : HCPC 3736
Tropical Hibiscus Die HCDI :   796
Bella Rose Leaves Cling Stamp Set :  HCPC 3390
Bella Rose Die HCDI :   712
Rain Drops and Roses Die :  HCDI 743
Crystal Ultrafine Transparent Glitter
Memento Ink pad: Cottage Ivy
Designers Dry Clear Adhesive
Bright Ideas Prills: ANC 852
Deluxe Flower Shaping Kit
Double Dots DDOTS


Other Products Used:

Ranger white heat embossing powder, Scoreboard, Smooth white Card Stock,
Spellbinders Classic circle die, Mermaid Lagoon Distress Ink, Spellbinders Victorian Arch die, Versamark Ink, Heat tool, Clear UTEE, Glitters, Zig Markers And Koi Brush.

Instructions:


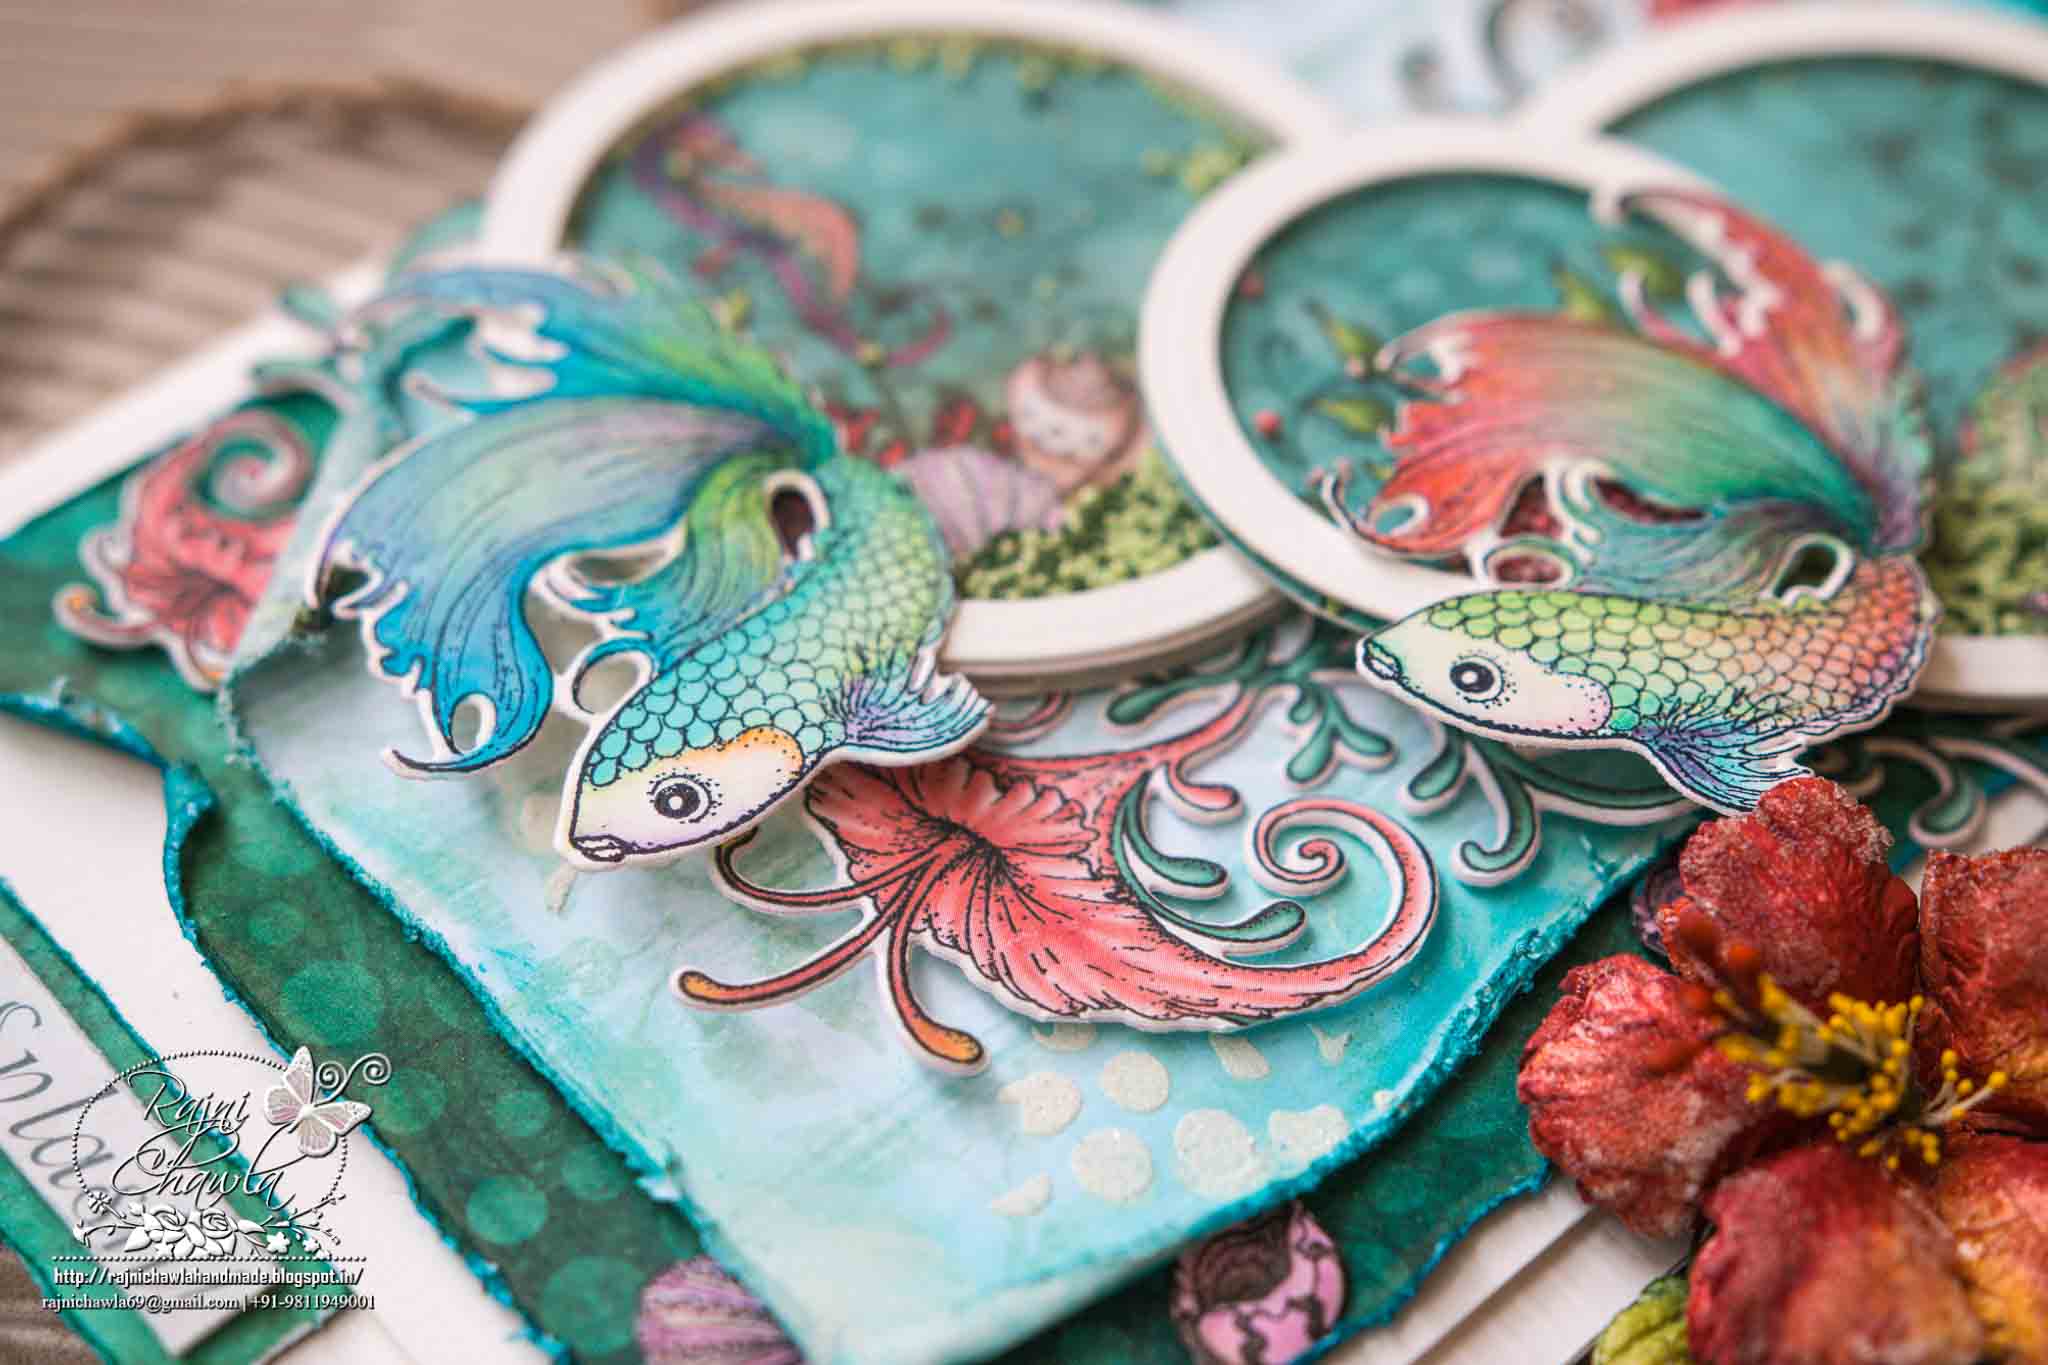
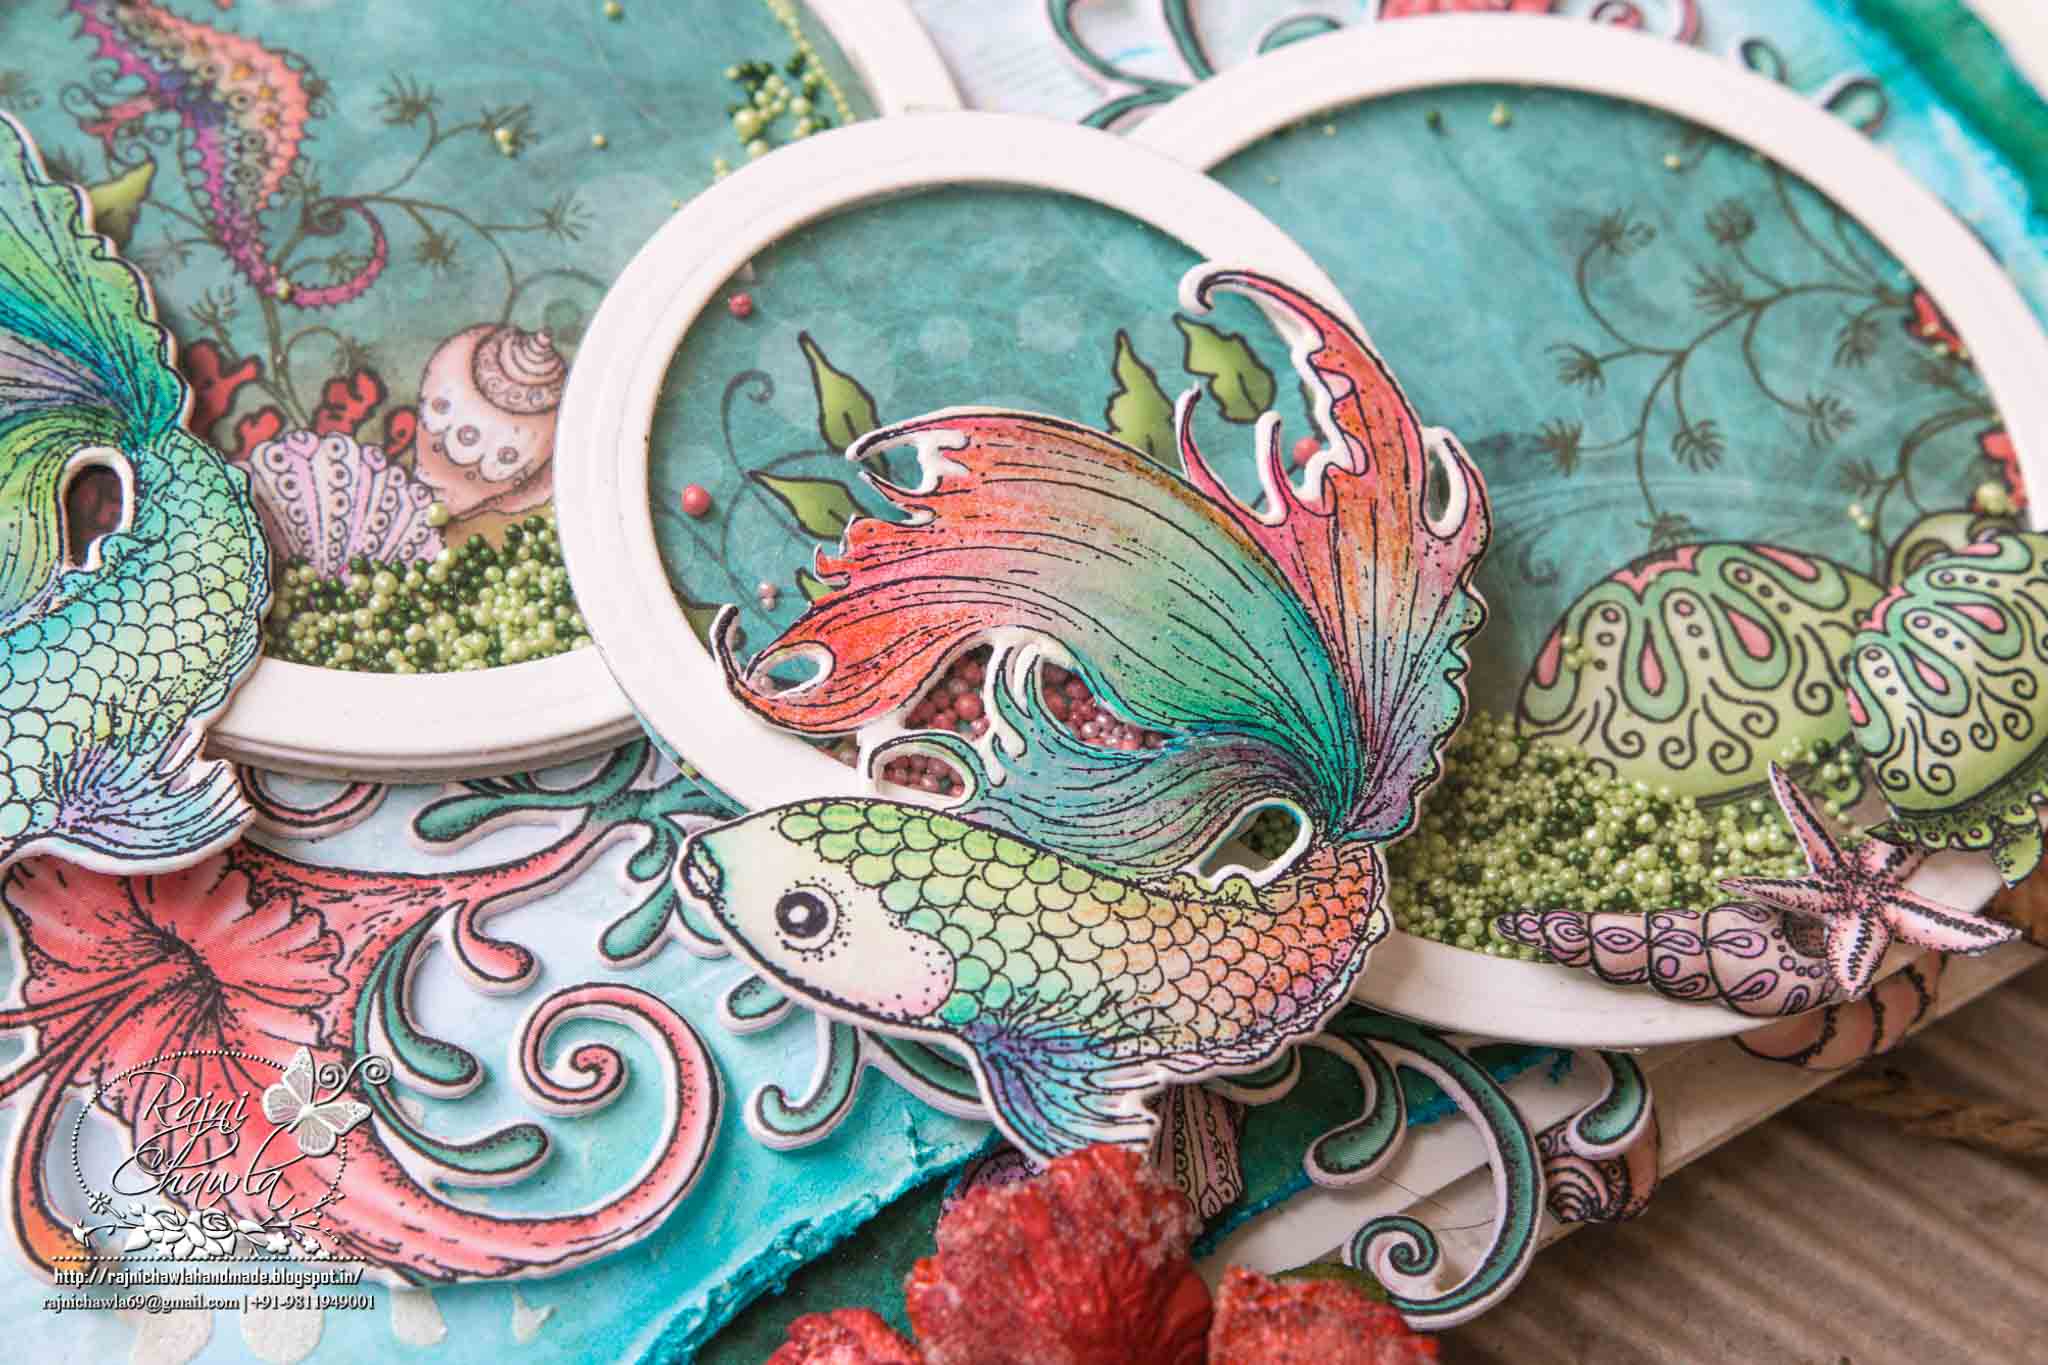
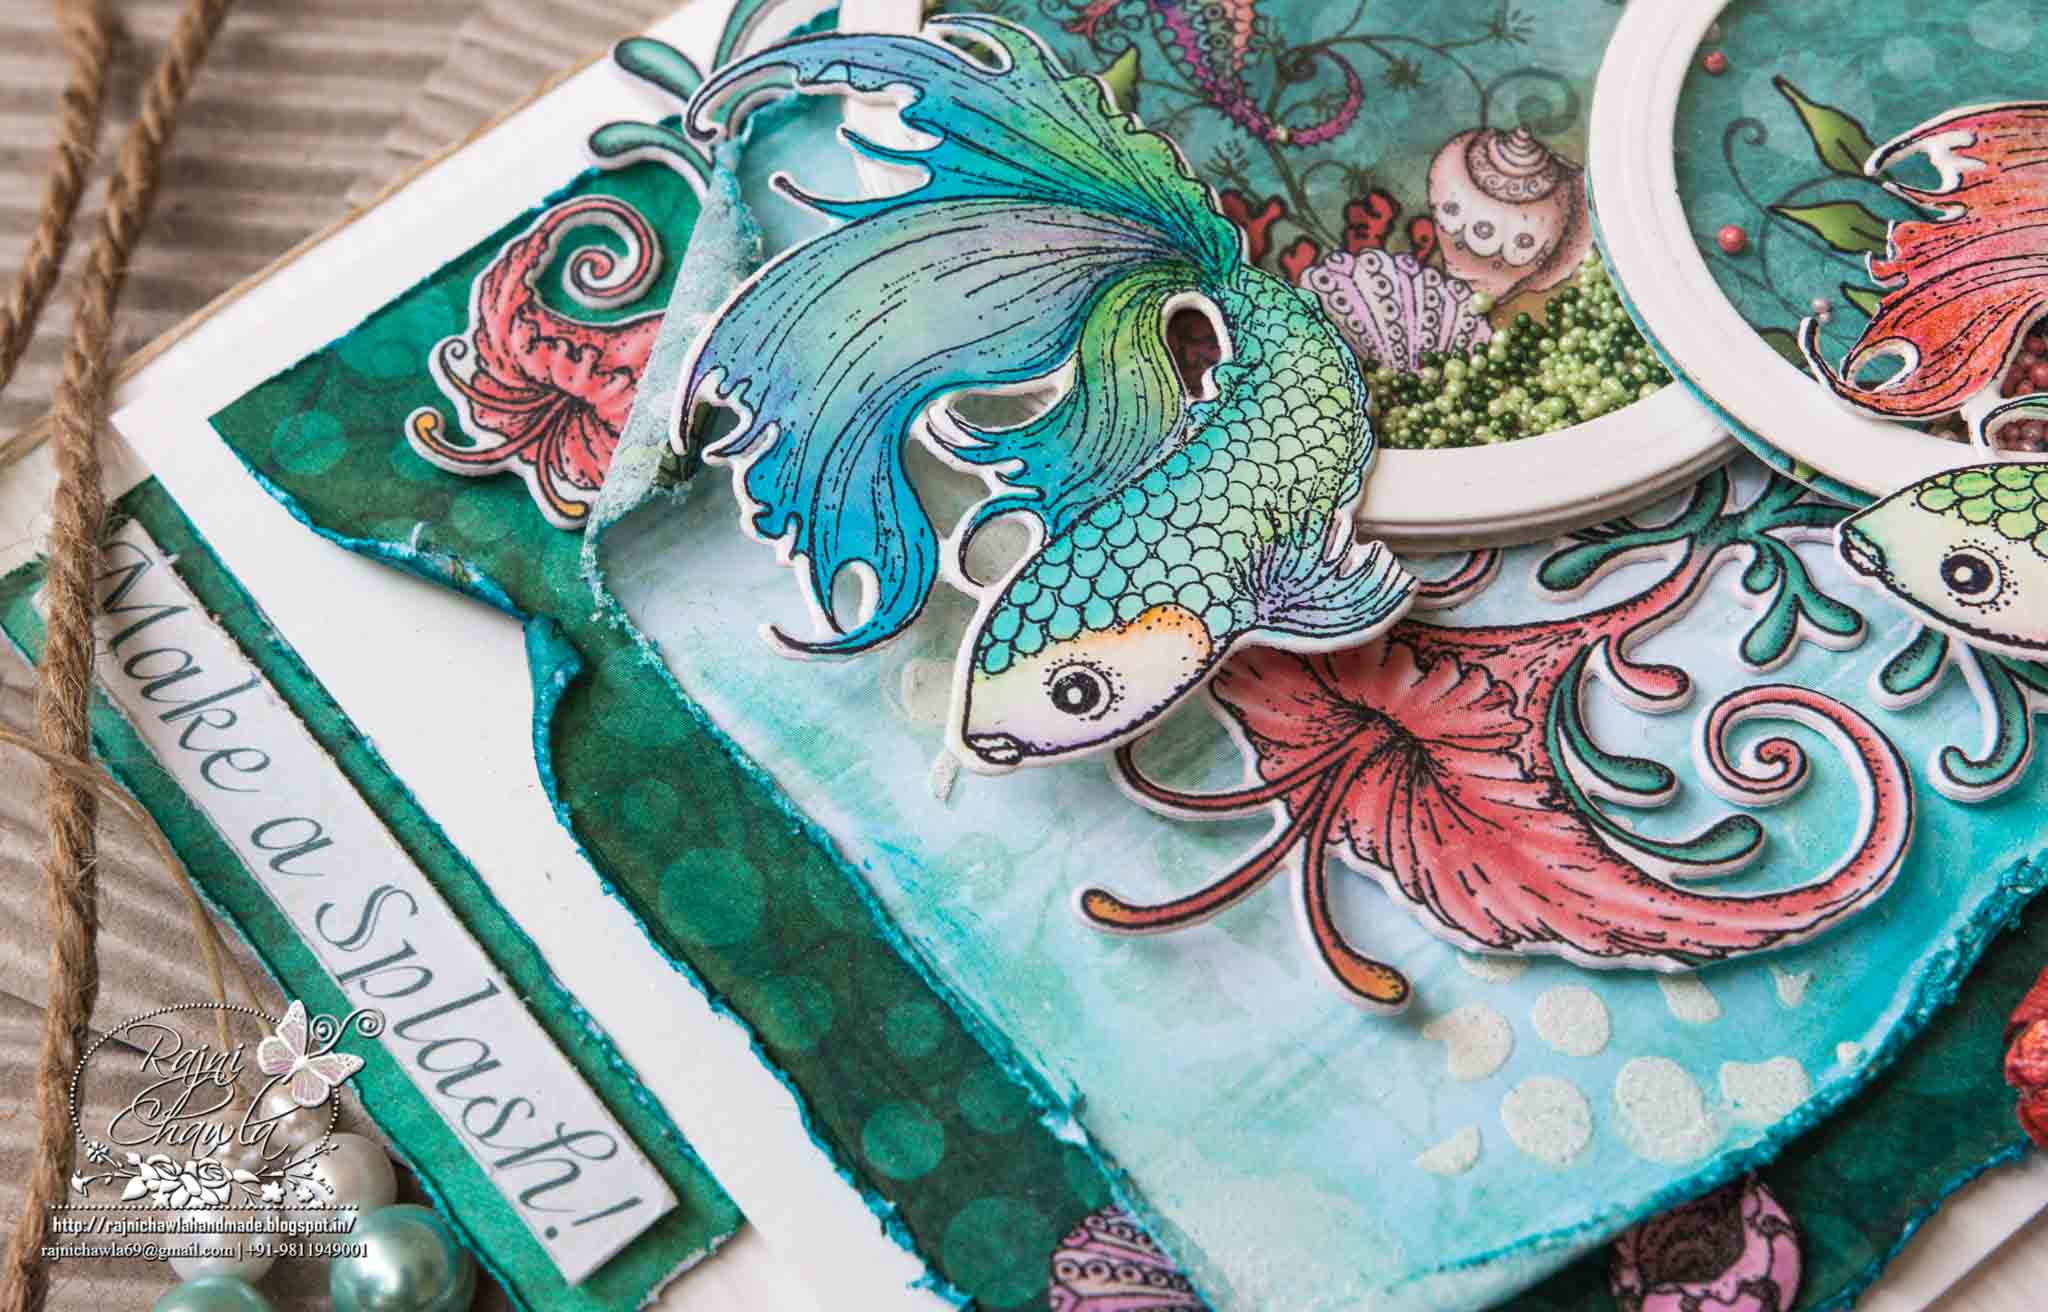
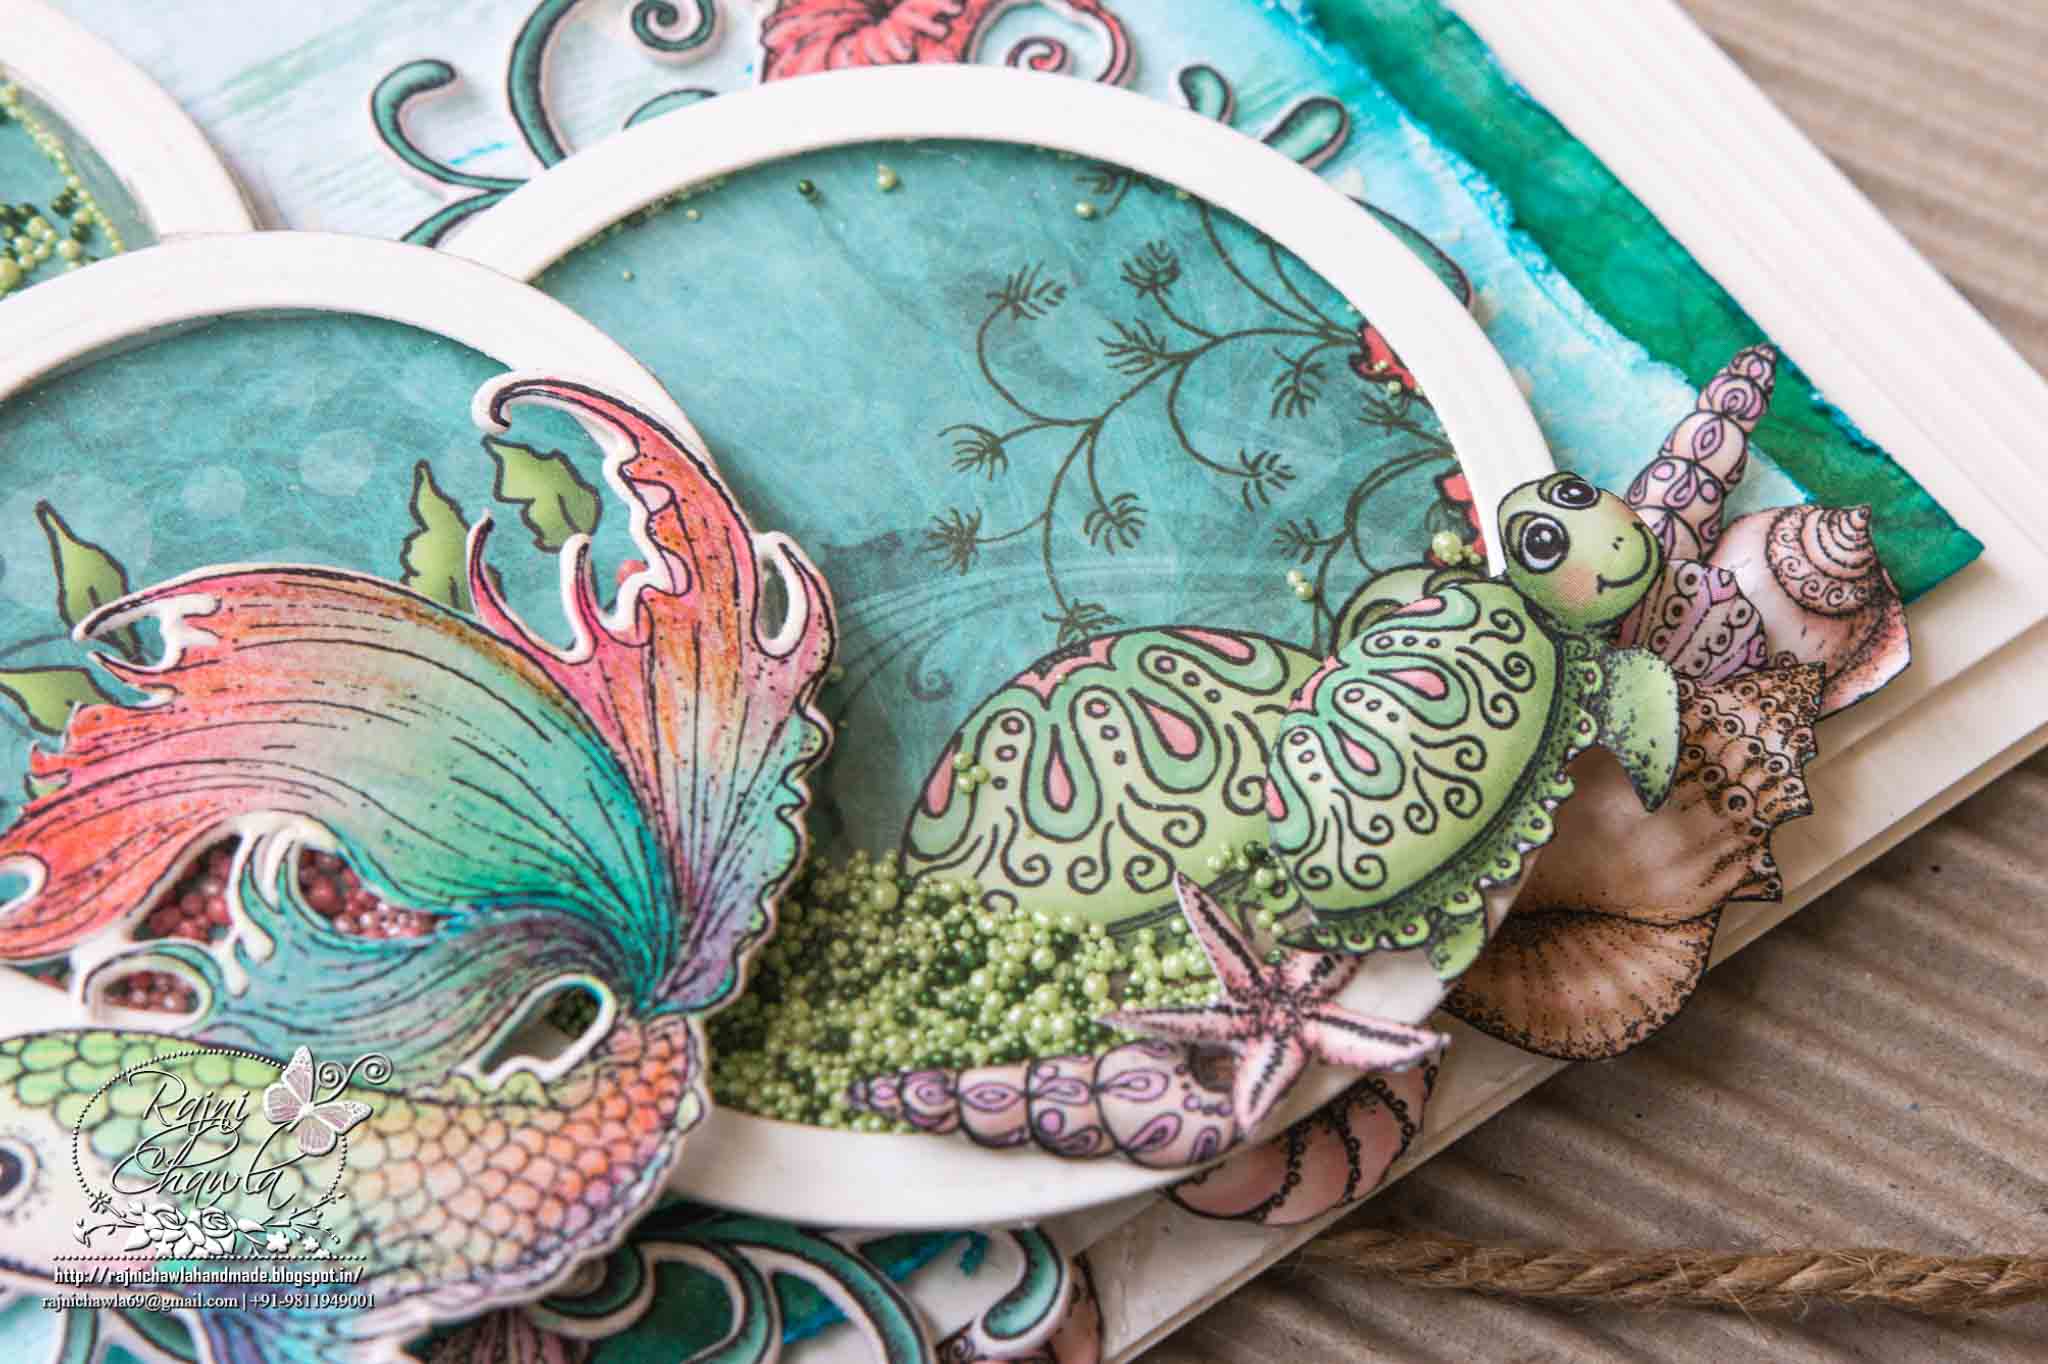
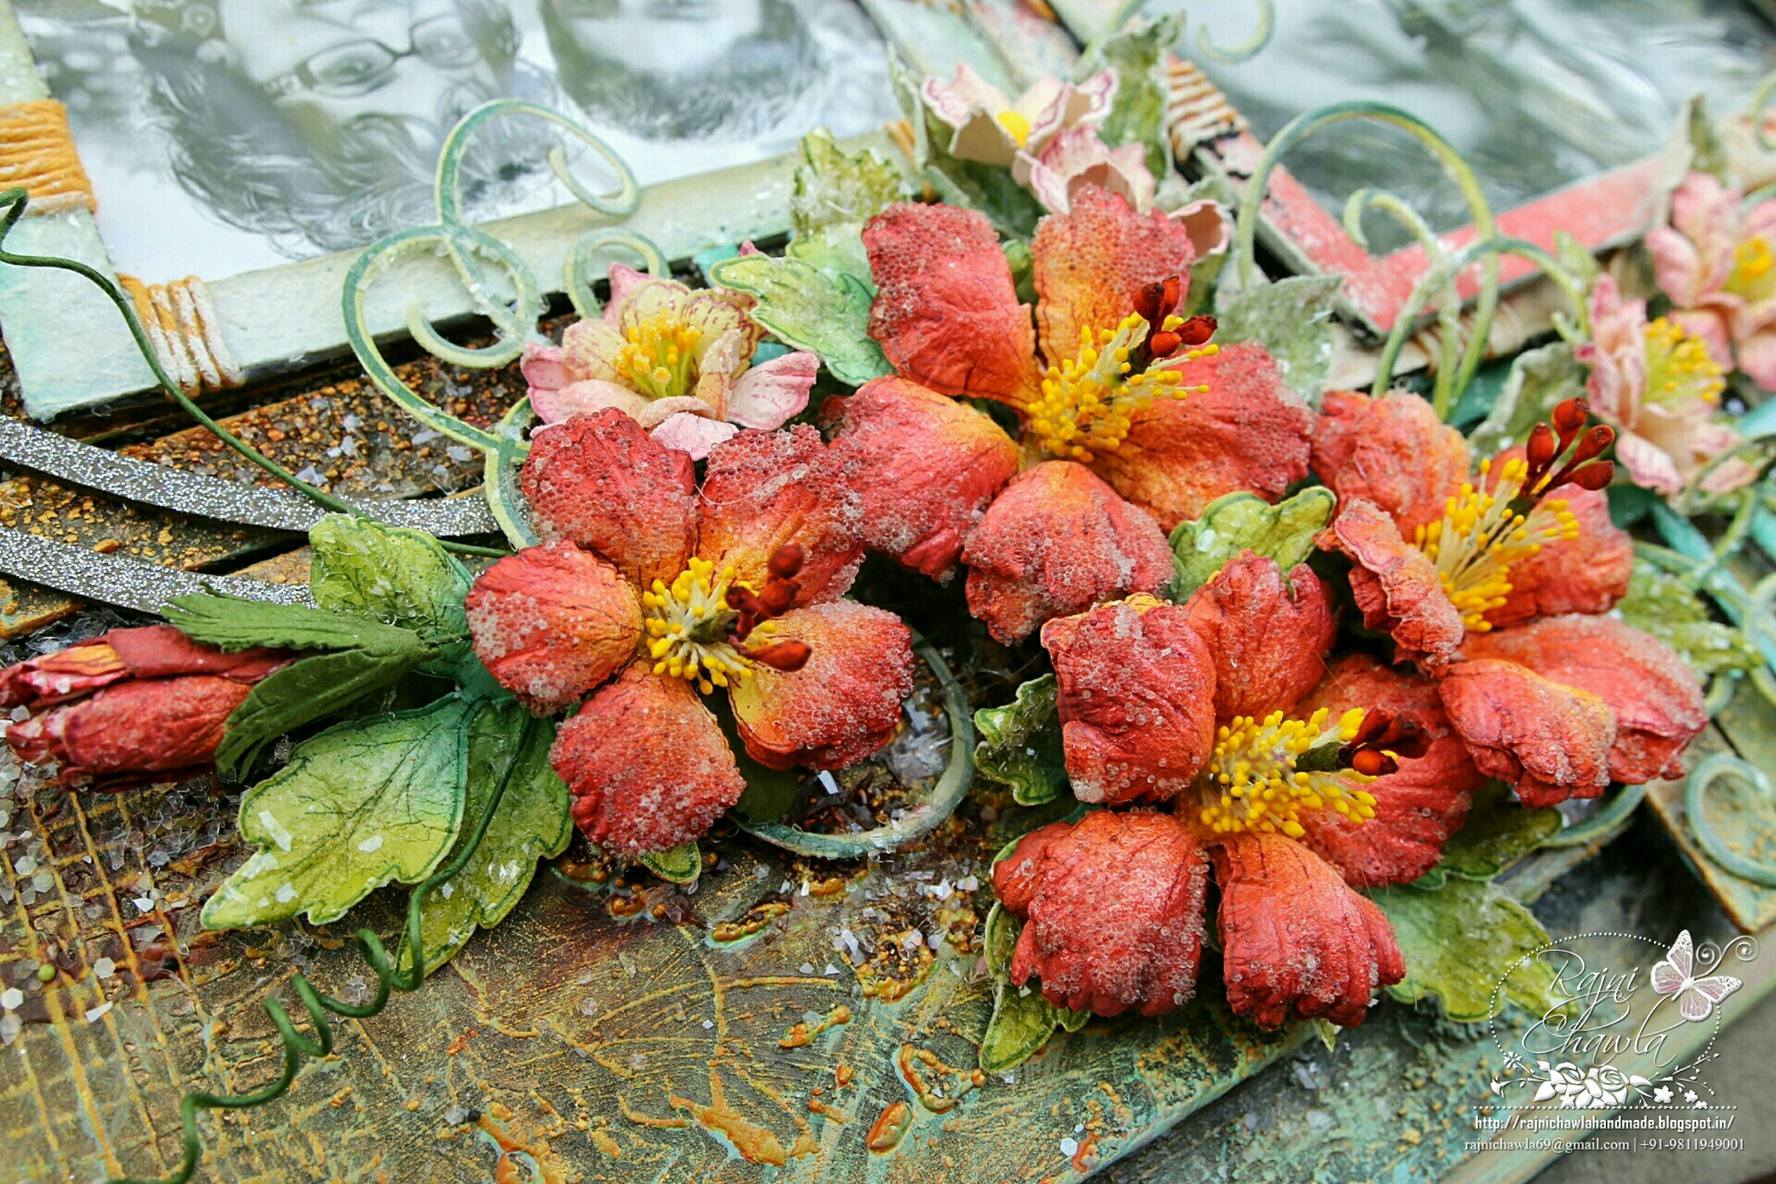
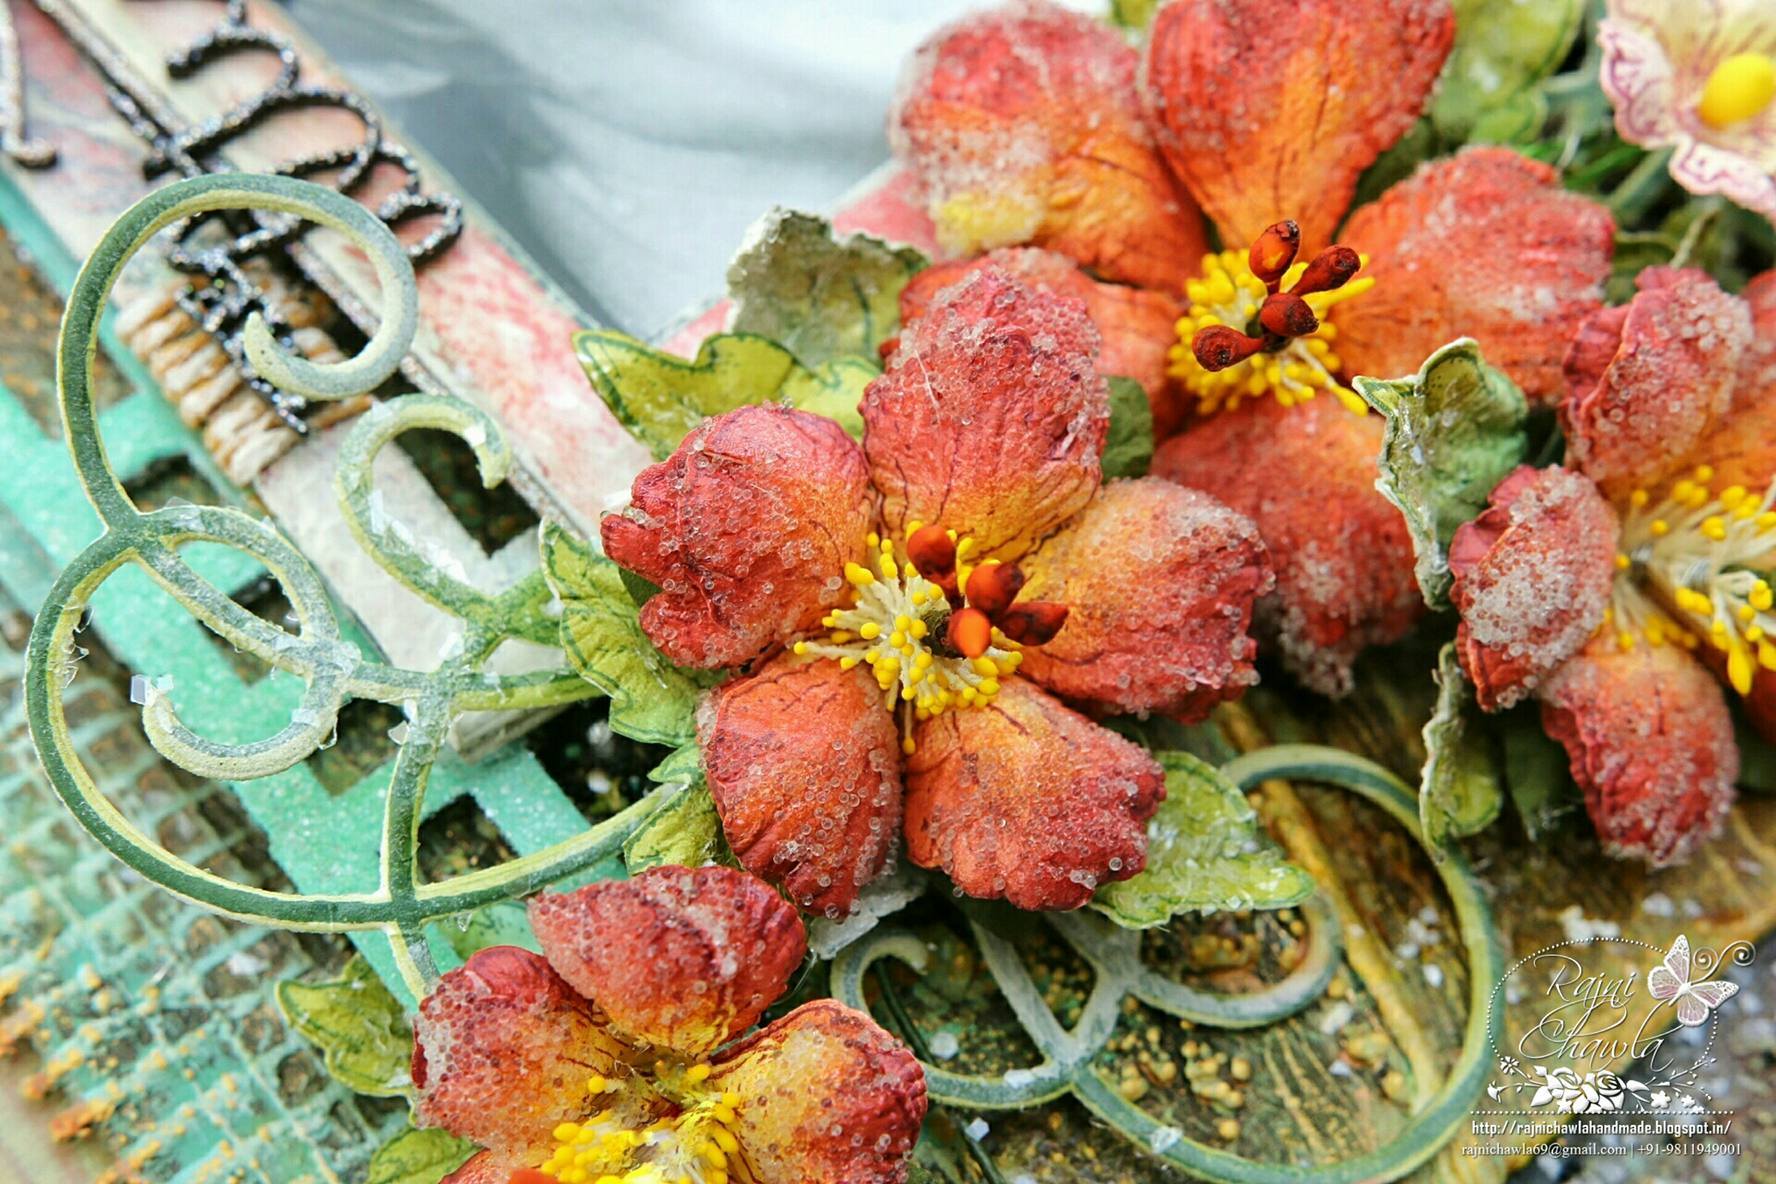
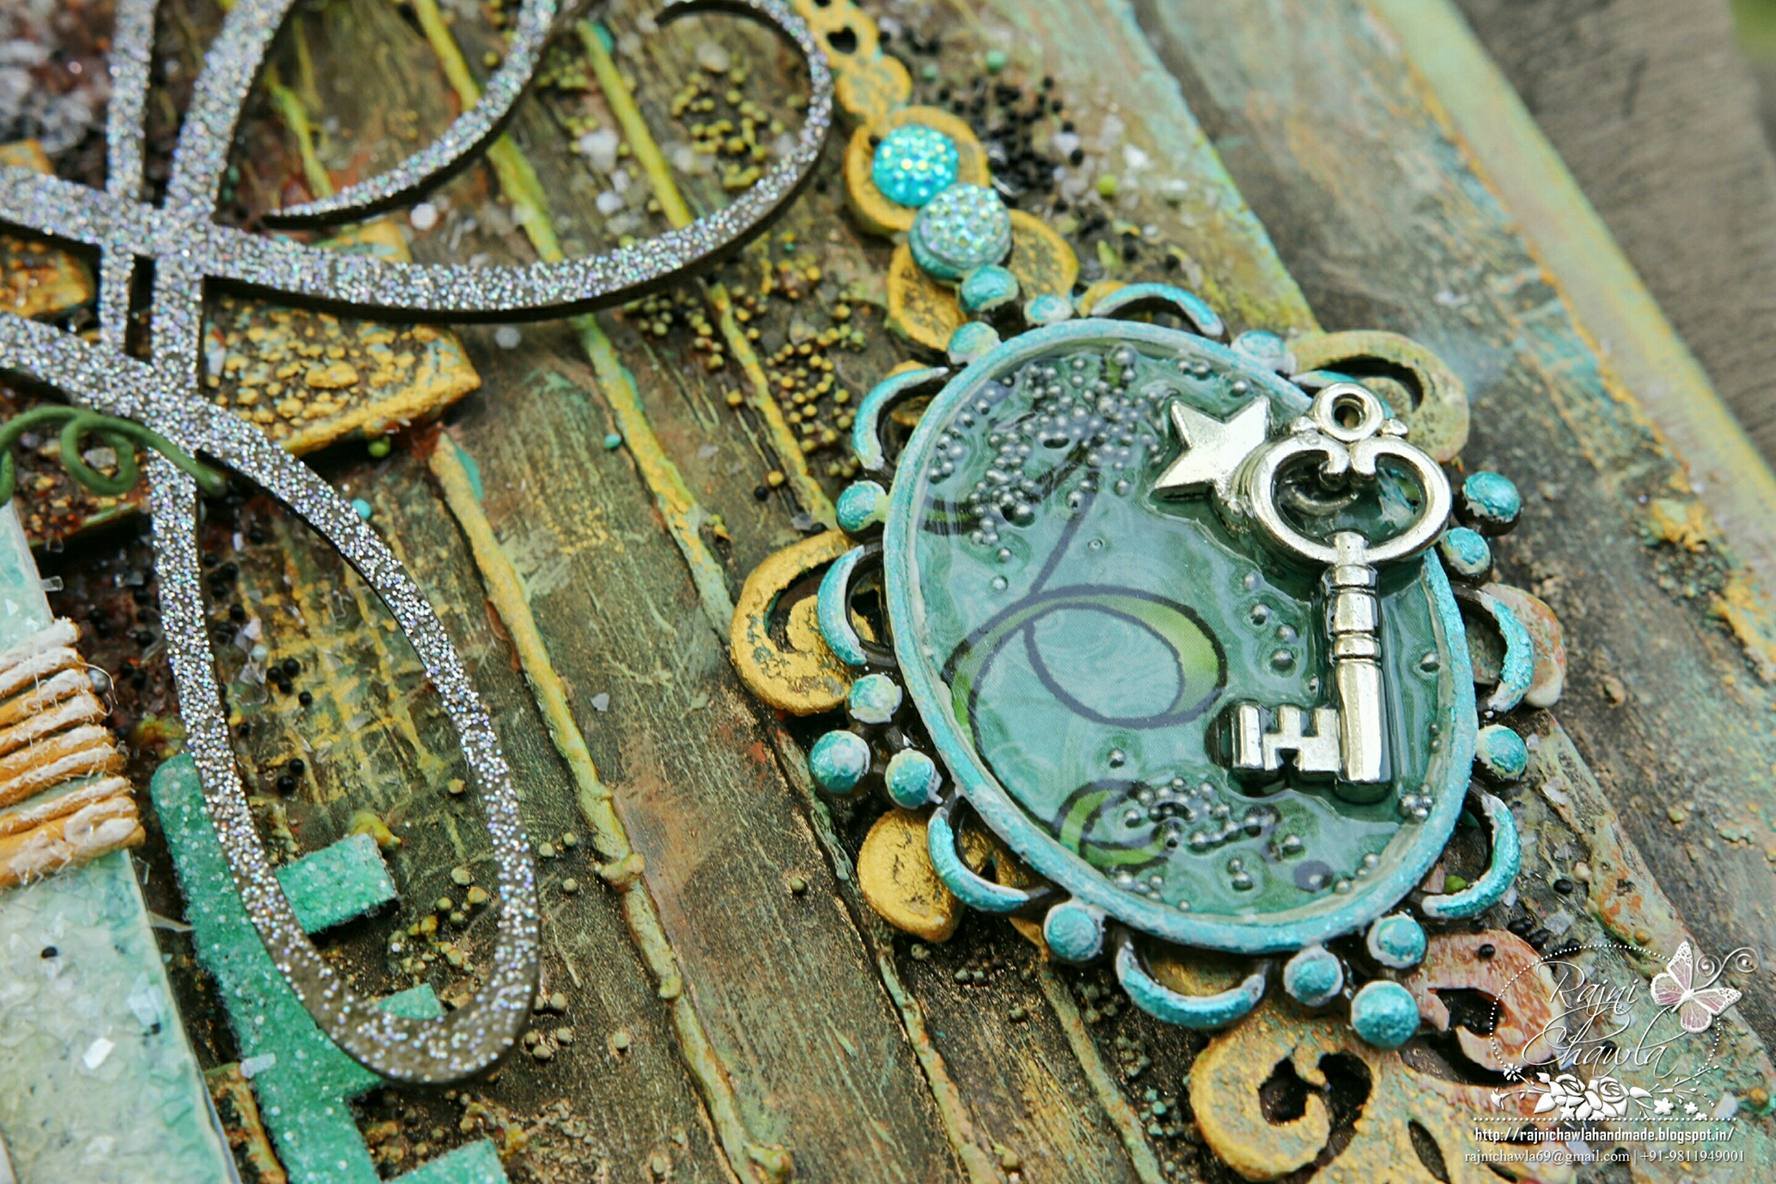
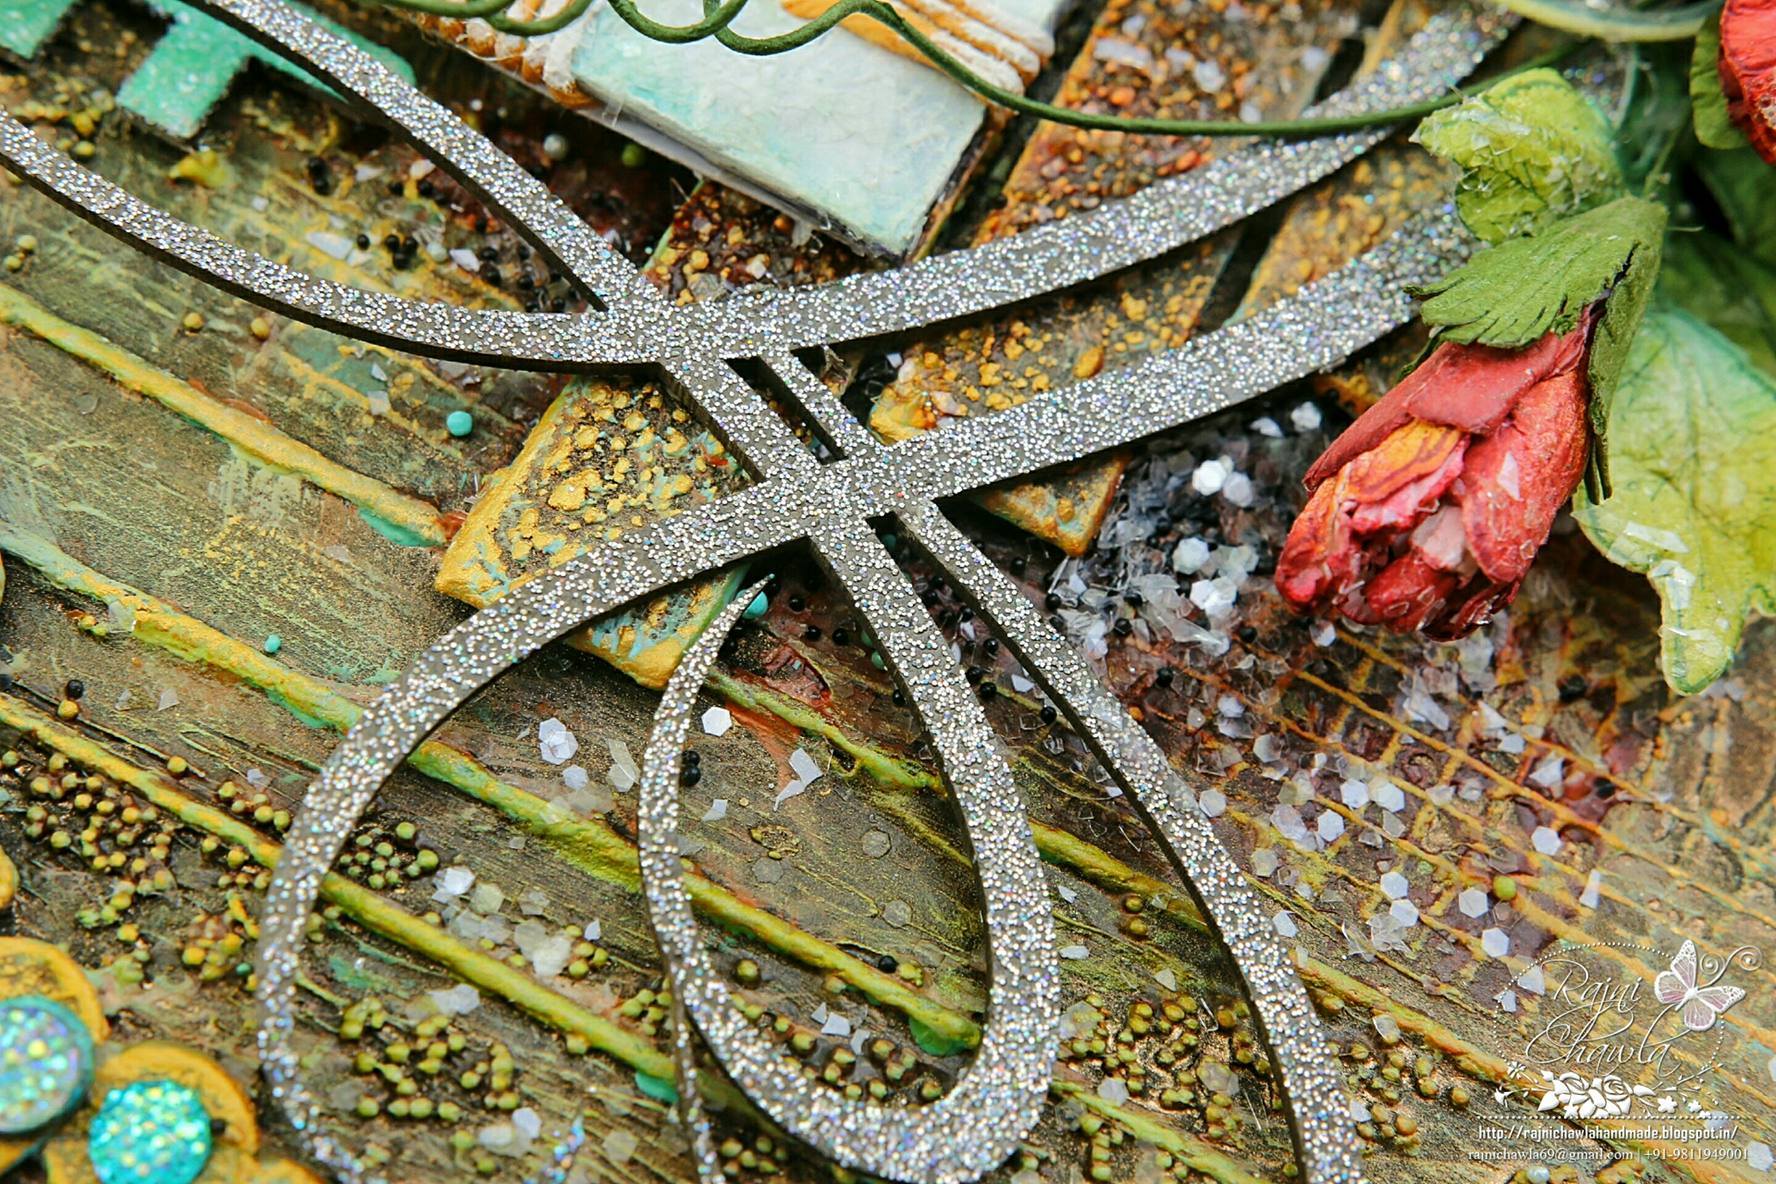
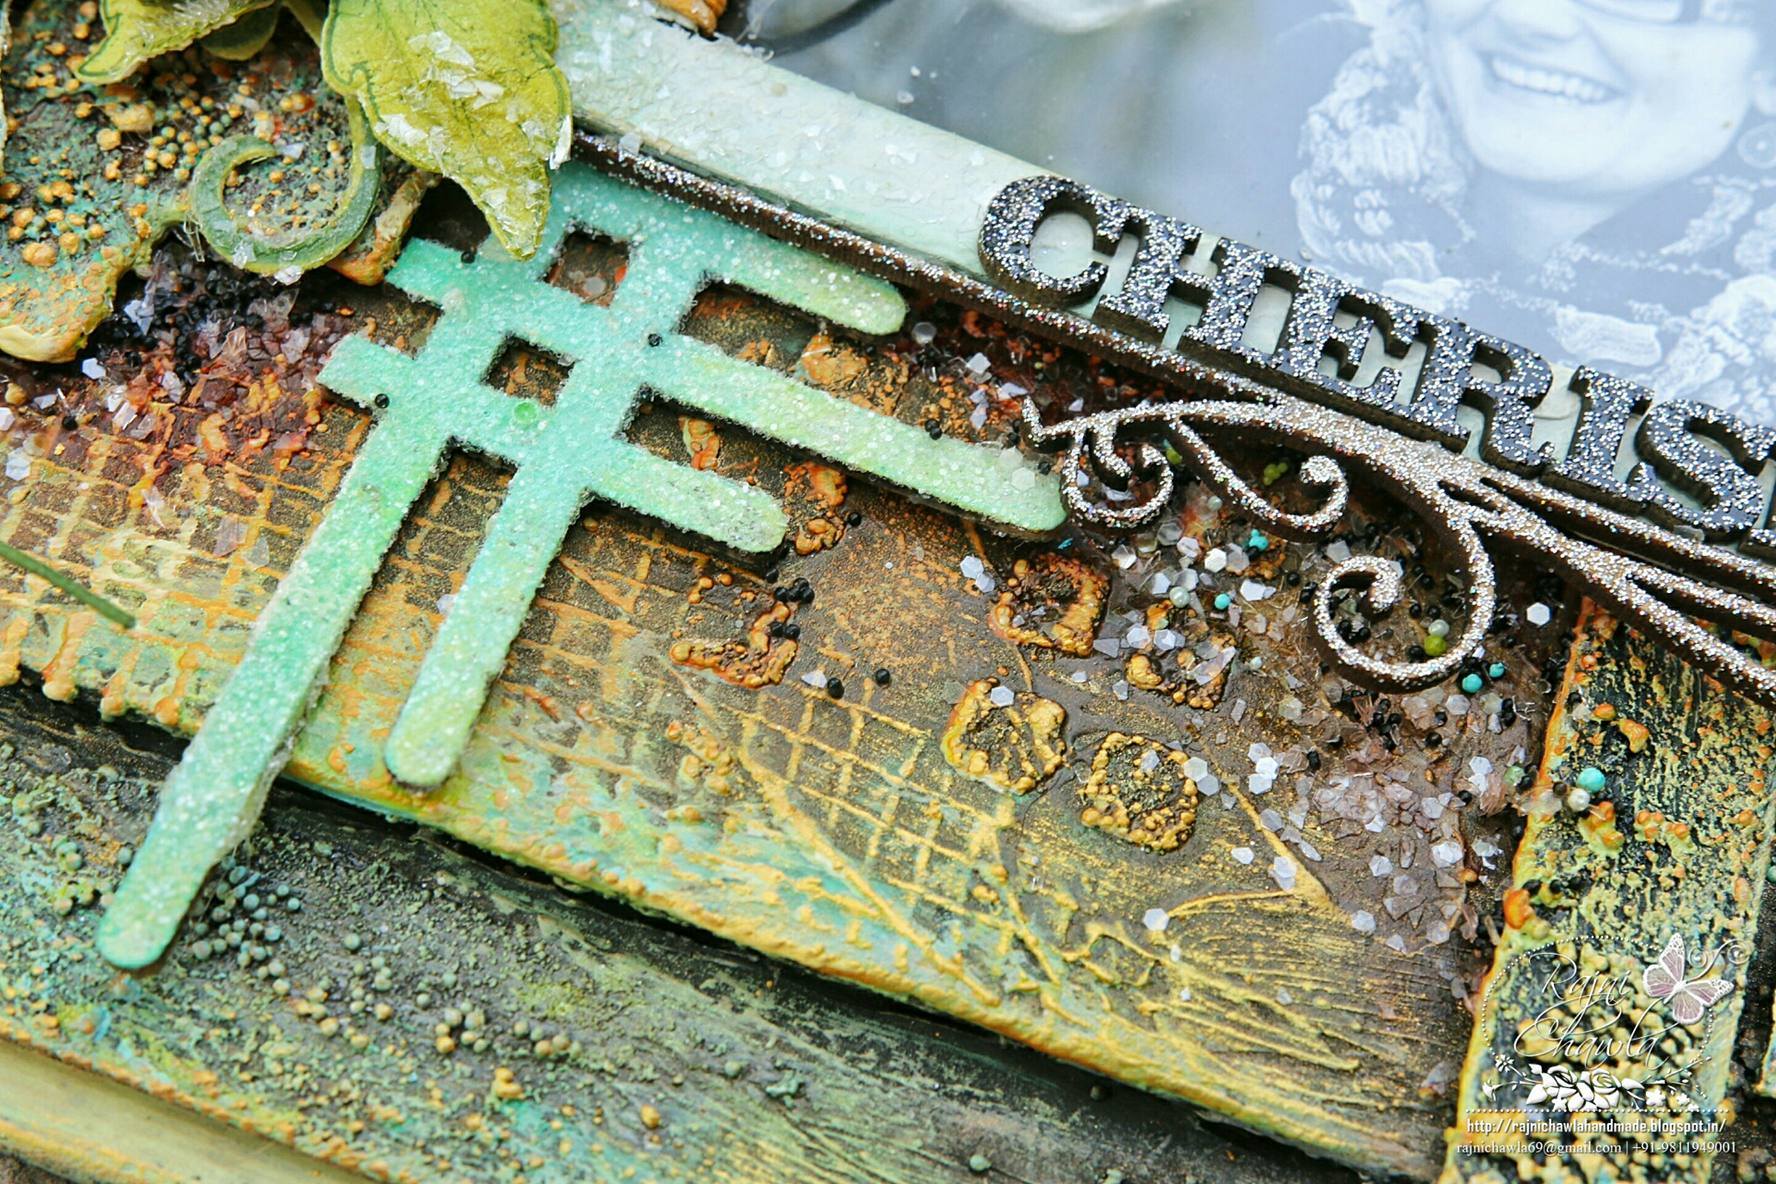
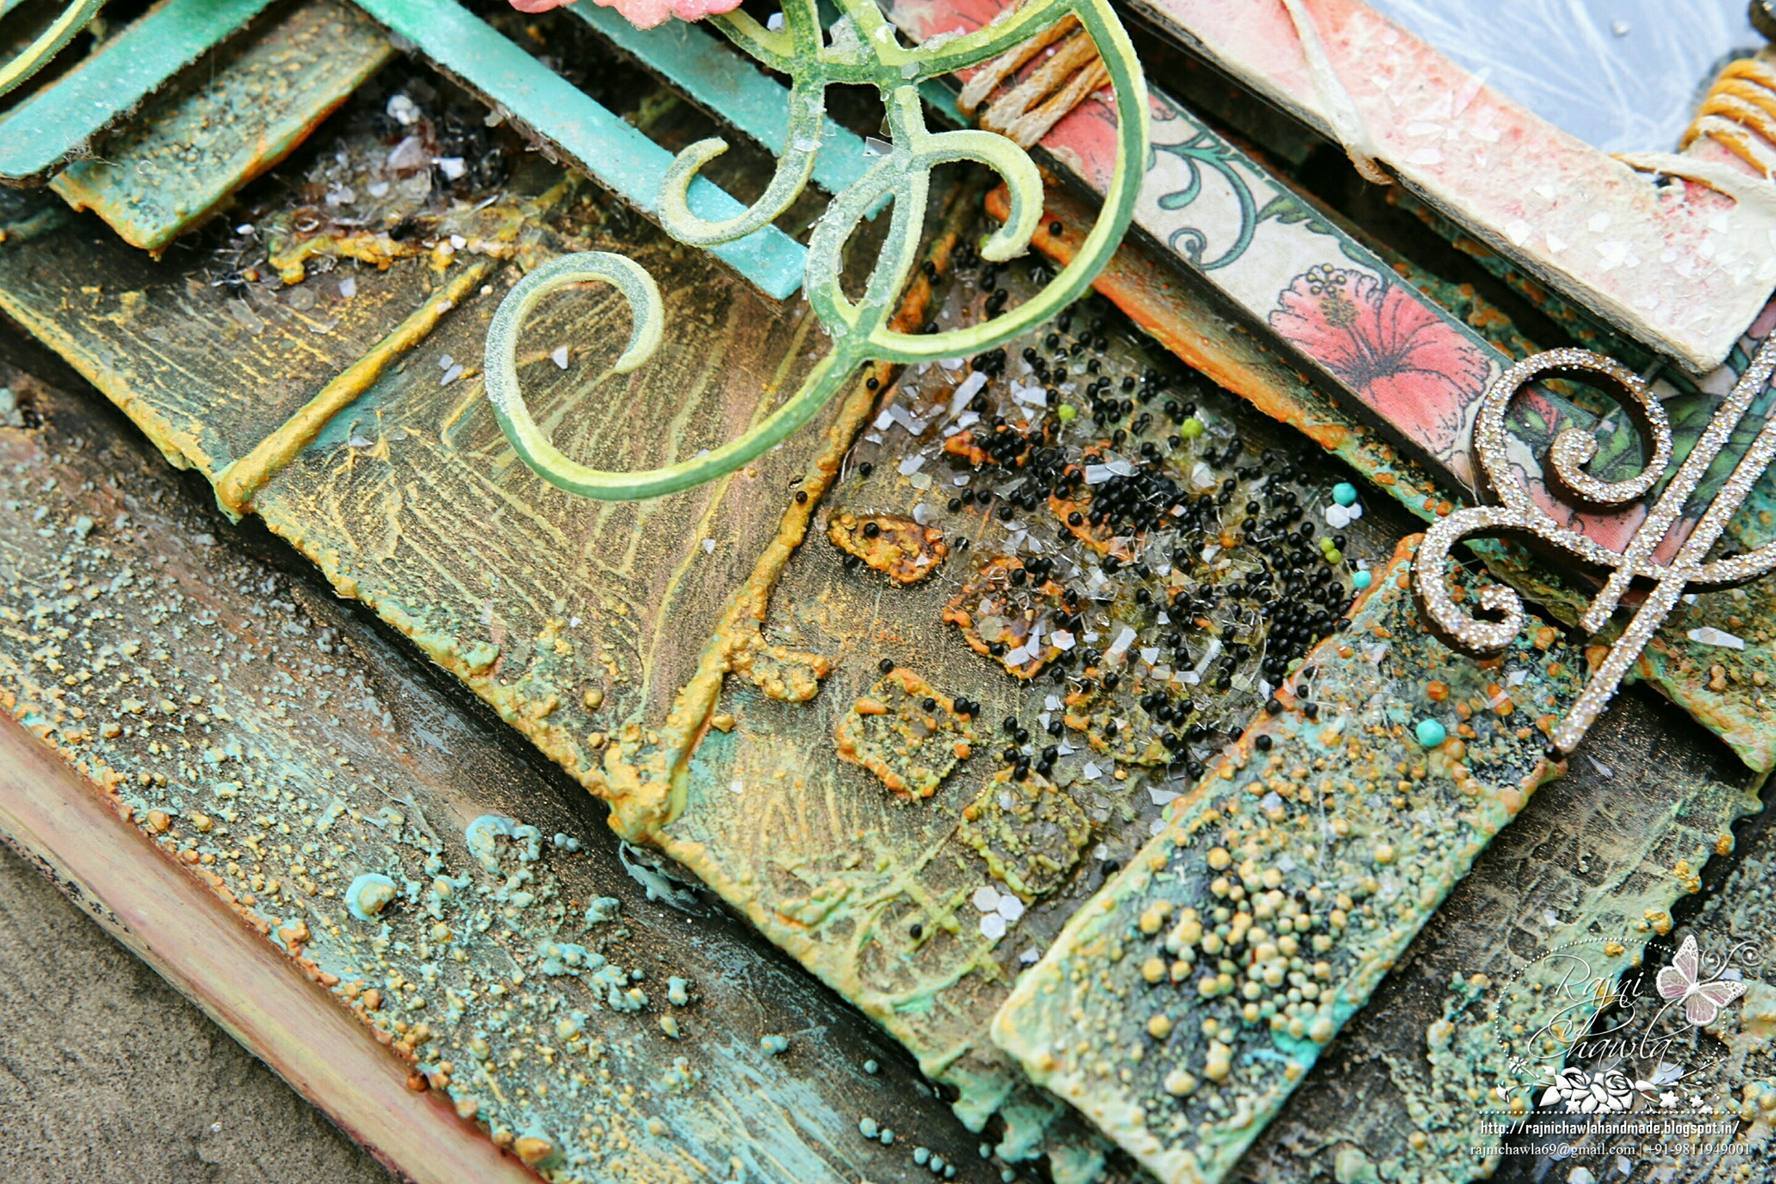
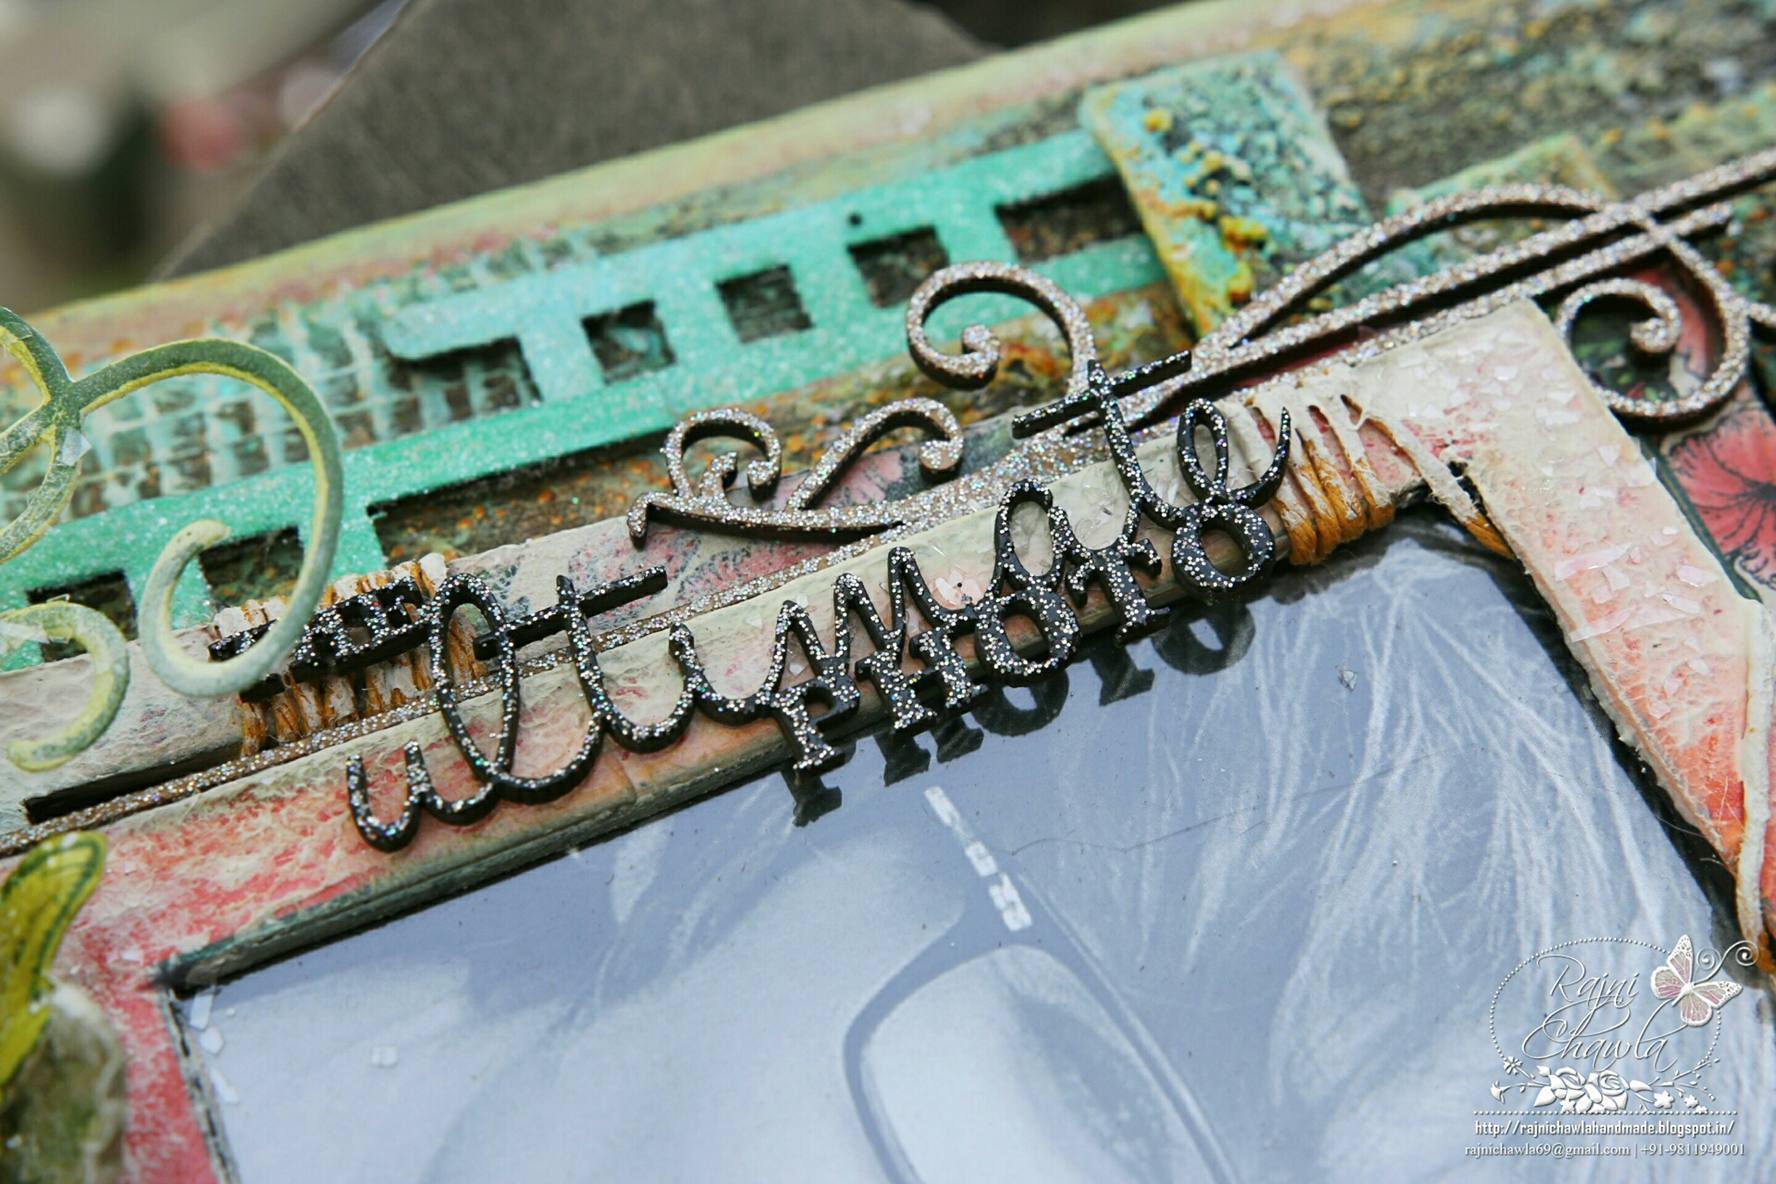
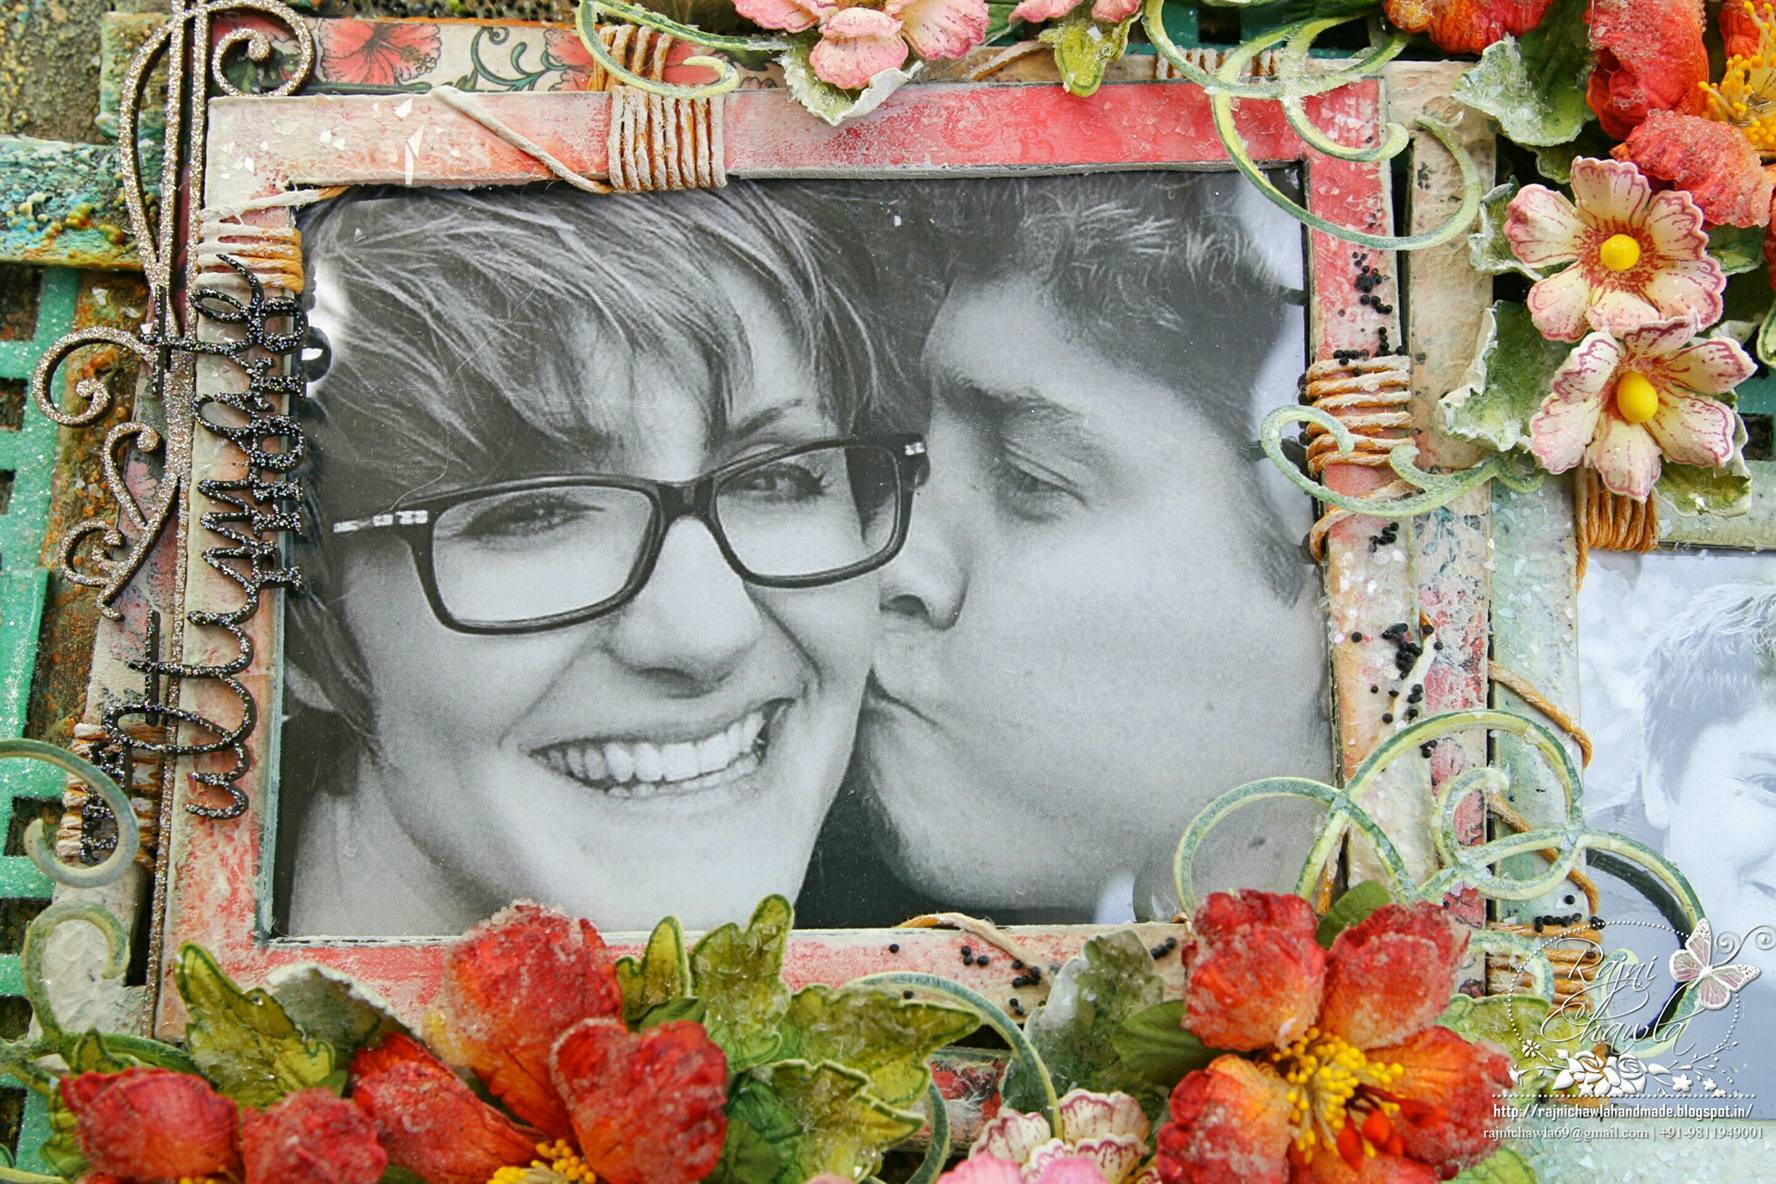
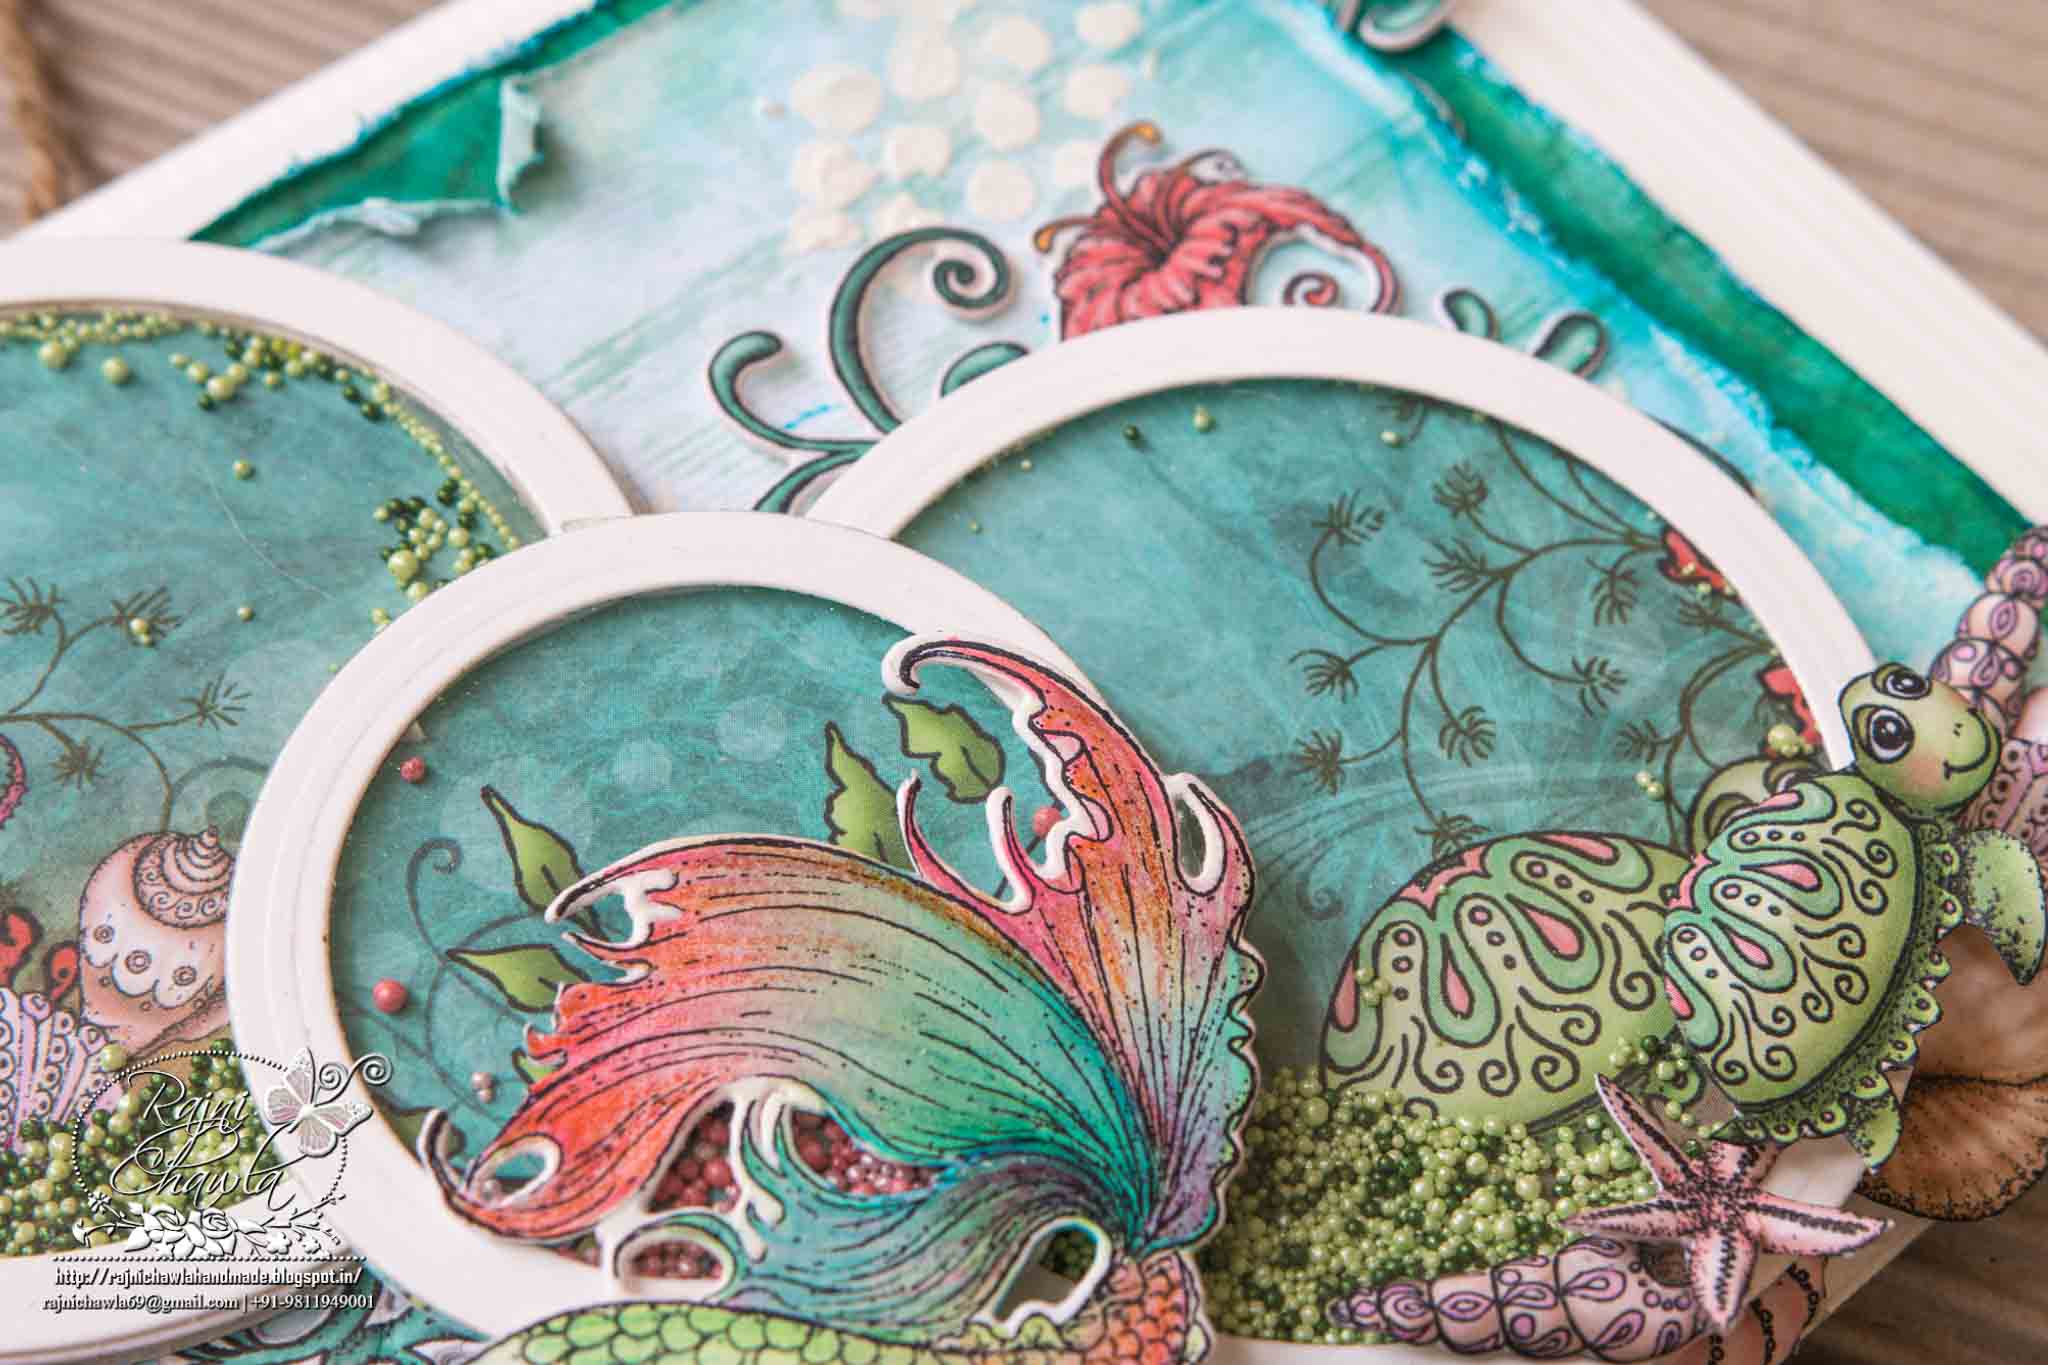
For flowers stamp the Tropical Hibiscus Cling stamp with Versa mark on vellum sheet and heat emboss it using white heat embossing powder. Die cut the flowers using Tropical Hibiscus Die and shape the flowers as shown by Emma Lou in the video here. The front panel measures 7” X 5” . Distress one corner with Mermaid Lagoon Distress Ink and stamp the image as shown with blue Archival Ink. Score panel at1/8th of an inch. For shells, stamp the images in shades of blue archival ink fussy cut. Dab Versa mark on images and put clear UTEE. Heat set them and shape them when little warm. For fish , stamp the image with black Archival and paint using Zig Clear Brush Markers. Die cut it using Under the Sea die. For the top of the card, layer the dies shown using foam dots and assemble the arrangement using shaped flowers. The sentiment is stamped using blue Archival using Heartfelt Wishes Cling Stamp set. I have used the masking technique to create sentiment in one line.


Here are the pictures for all details:


Hope you liked my card and got inspired. Thanks for dropping. I would love to read your lovely comments. That really boosts my confidence. 


Tuesday, May 17, 2016

Make a Splash Card using Under the Sea Collection by Heartfelt Creations

Posted by Rajni Chawla

Hello, friends...

It's happy Wednesday again....which means time for more inspiration with Heartfelt Creation's new release.  Today, I'm here with the new card using Under the Sea Collection. This is the fintastic collection with the cool fresh breeze, the splash of bubbles, sparkles and vibrant  shades of fish, the silence of shells and depth of the sea. Don't forget to check the beautiful splashy inspirations by all team members.

Products from Heartfelt Creations:-

Zig Clean Clear Brush markers, Staedtler Water Colour Pencils, Classics circle die by Spell Binder, Scoring Board, Mermaid Lagoon Distress Inks, Glue Dots, Smooth White Card Stock, Texture Paste and Clear Glitter.

Instructions:

The ready card measures 9 ½ inches X 5 ½ inches. It’s a top-folding card. Cut a sheet measuring 11 inches X 9 ½ inches. Score into half from 11 inches and fold. Score the complete front panel at 1/8th inch all. The card has three mats. The first mat is again white which measures 8 ½ inches X 4 ½ inches. The top two mats are from the designer paper itself which is distressed from all the sides using Tim Holtz Distress Tool. Both the mats are inked with Mermaid Lagoon Distress Ink. The top most mat is then given little texture using bubble stencil and textured paste. Add little clear glitter when wet. Dry set it using the heating tool. For the fish, stamp the image on smooth white card stock with black Archival ink and paint them with Zig Clean Clar Brush Markers. Add little highlighting with Staedtler Pencil Colours. For the shakers on the cards, nest two Classic Circle Dies together to get the rings. Stick acetate sheet to the ring. Cut a mat with pattern paper. Add Prills and close the shaker elements using foam tape. Now, assemble the card as shown. Add sentiment and twine with beads, as shown.

FULL VIEW...

1 (1) - Copy

DETAILED PICTURES...

1 (2) - Copy

Loved the beautiful cut with coordinating dies..

1 (5)

Loved the beautiful vibrant coloring with Zig clean clear markers. Wanted to add little glitter but avoided. These were looking gorgeous as it is. 

1 (6)


1 (4)

Be sure to visit Heartfelt Creations Blog for more Inspiration.
Thanks for visiting! 
Happy Crafting

Thursday, May 12, 2016

The Ultimate Photo...A Mixed Media Frame

Posted by Rajni Chawla

SUBMISSION FOR FINAL ROUND WITH HEARTFELT CREATIONS

PROJECT 2 : The Ultimate Photo...A Mixed Media Frame

It's all about inspiration. For me, there are lots of things that inspire me like different photos, youtube video, quotes, life experiences, nature and many more. They just inspire me to create and create. As cheesy as it sounds, I get my ideas of what I create from dreams and from the research I do. I got a chipboard sentiment in my DT package the one I got from Dusty Attic but was not finding perfect inspiration for my creations. The sentiment says, ‘The Ultimate Photo’. Now for this, I really needed some Ultimate Click. One day, when scrolling down my timeline I got a comment from Emma Lou and accidentally I clicked on to her profile picture... Aww... such a nice click.. .just PERFECTTT ,I shouted. I scrolled down a little and got another. I really don't know if I did right or wrong by using her personal pictures for this project of mine. All I can say is I couldn't resist making one of my role models as the model of my project. Emma, initially I wanted to blur out your photographs but I'll be frank, your smile just enhances my project even more. Think of it like an embellishment that I have used. Hope you don't mind. :)

Heartfelt Creation Supplies Used :

HC Tropical Hibiscus Stamp
HC Tropical Hibiscus die
Under the Sea Paper Collection
HC Bella Rose Leaves
HC Bella Rose Die
HC Botanical Rose Cling Stamp
HC Botanical Wings Die
Spring Bling Prills -12 pack
Color box Fluid Ink Harvest
Color box Fluid Ink Red Barn
Color box Fluid Ink Warm Red
Color box Fluid Ink Lime Pastel
Color box Fluid Ink Olive Pastel

Other supplies used:

White Gesso, texture paste, rock candy glitter, dusty attic chipboard, Black chipboard, Glittered heat embossing powder, stencil, any glue that dries clear, diamond dust, sprays in shades of blue, green and orange, metal charm, glossy accent, clear crackle paint.

Here are few detailed pictures...

second project (1)

My heart aches if I throw a single inch of a paper...especially pattern papers that I use. After a bad postmortem, all the bits stay safe in a box for further use. They smile every time when I add new to my stash. Here in this project, I used the bits of small pieces to create embellishments for my project. Though I also used many more things....but I m satisfied I used at least a little of it.
Check this picture....Both the frames had many joints. But I covered all by rolling twines few times around it.  The width of the strip was little smaller than the frame...but now beautifully painted with different shades of paints matching to the backgrounds.

12922164_10207846343733235_1913646974_o


12915018_10207846344093244_820923406_o


second project (5)


12896257_10207839310037397_1237987621_o

Trust me it looked much prettier when seen in person...More shabby,more trendy, Red hot hibiscus popping out from here and there....just fabulous!!

second project (6)


12896373_10207839285716789_1712230420_o

Metal Charm!!
Who can say I used scraps here.
No, No....nothing is scrap if you are in crafting....you just need to shake your head a little to find some ideas. Dusty Attic paints and Dusty Attic chipboards have become another favorite of mine this year. Lucky me that I got such a good collection in my DT package.

12903424_10207839251155925_205536234_o


12903486_10207839252835967_1488359477_o

Gorgeous textures...Just loving them all!!

12903708_10207839270516409_288651724_o


12903460_10207839300797166_488581617_o

Here comes the main title of my project -"The Ultimate Photo"

12919605_10207839267716339_2057404487_o (1)

Isn't it a perfect click....an ultimate photo!!

12922275_10207846343773236_1373259859_o - Copy

Your smile is no less than any embellishment Emma. Thank you so much for allowing me to share this project without hiding your pictures.  The project is  full of love and blessings from my side for the beautiful couple.