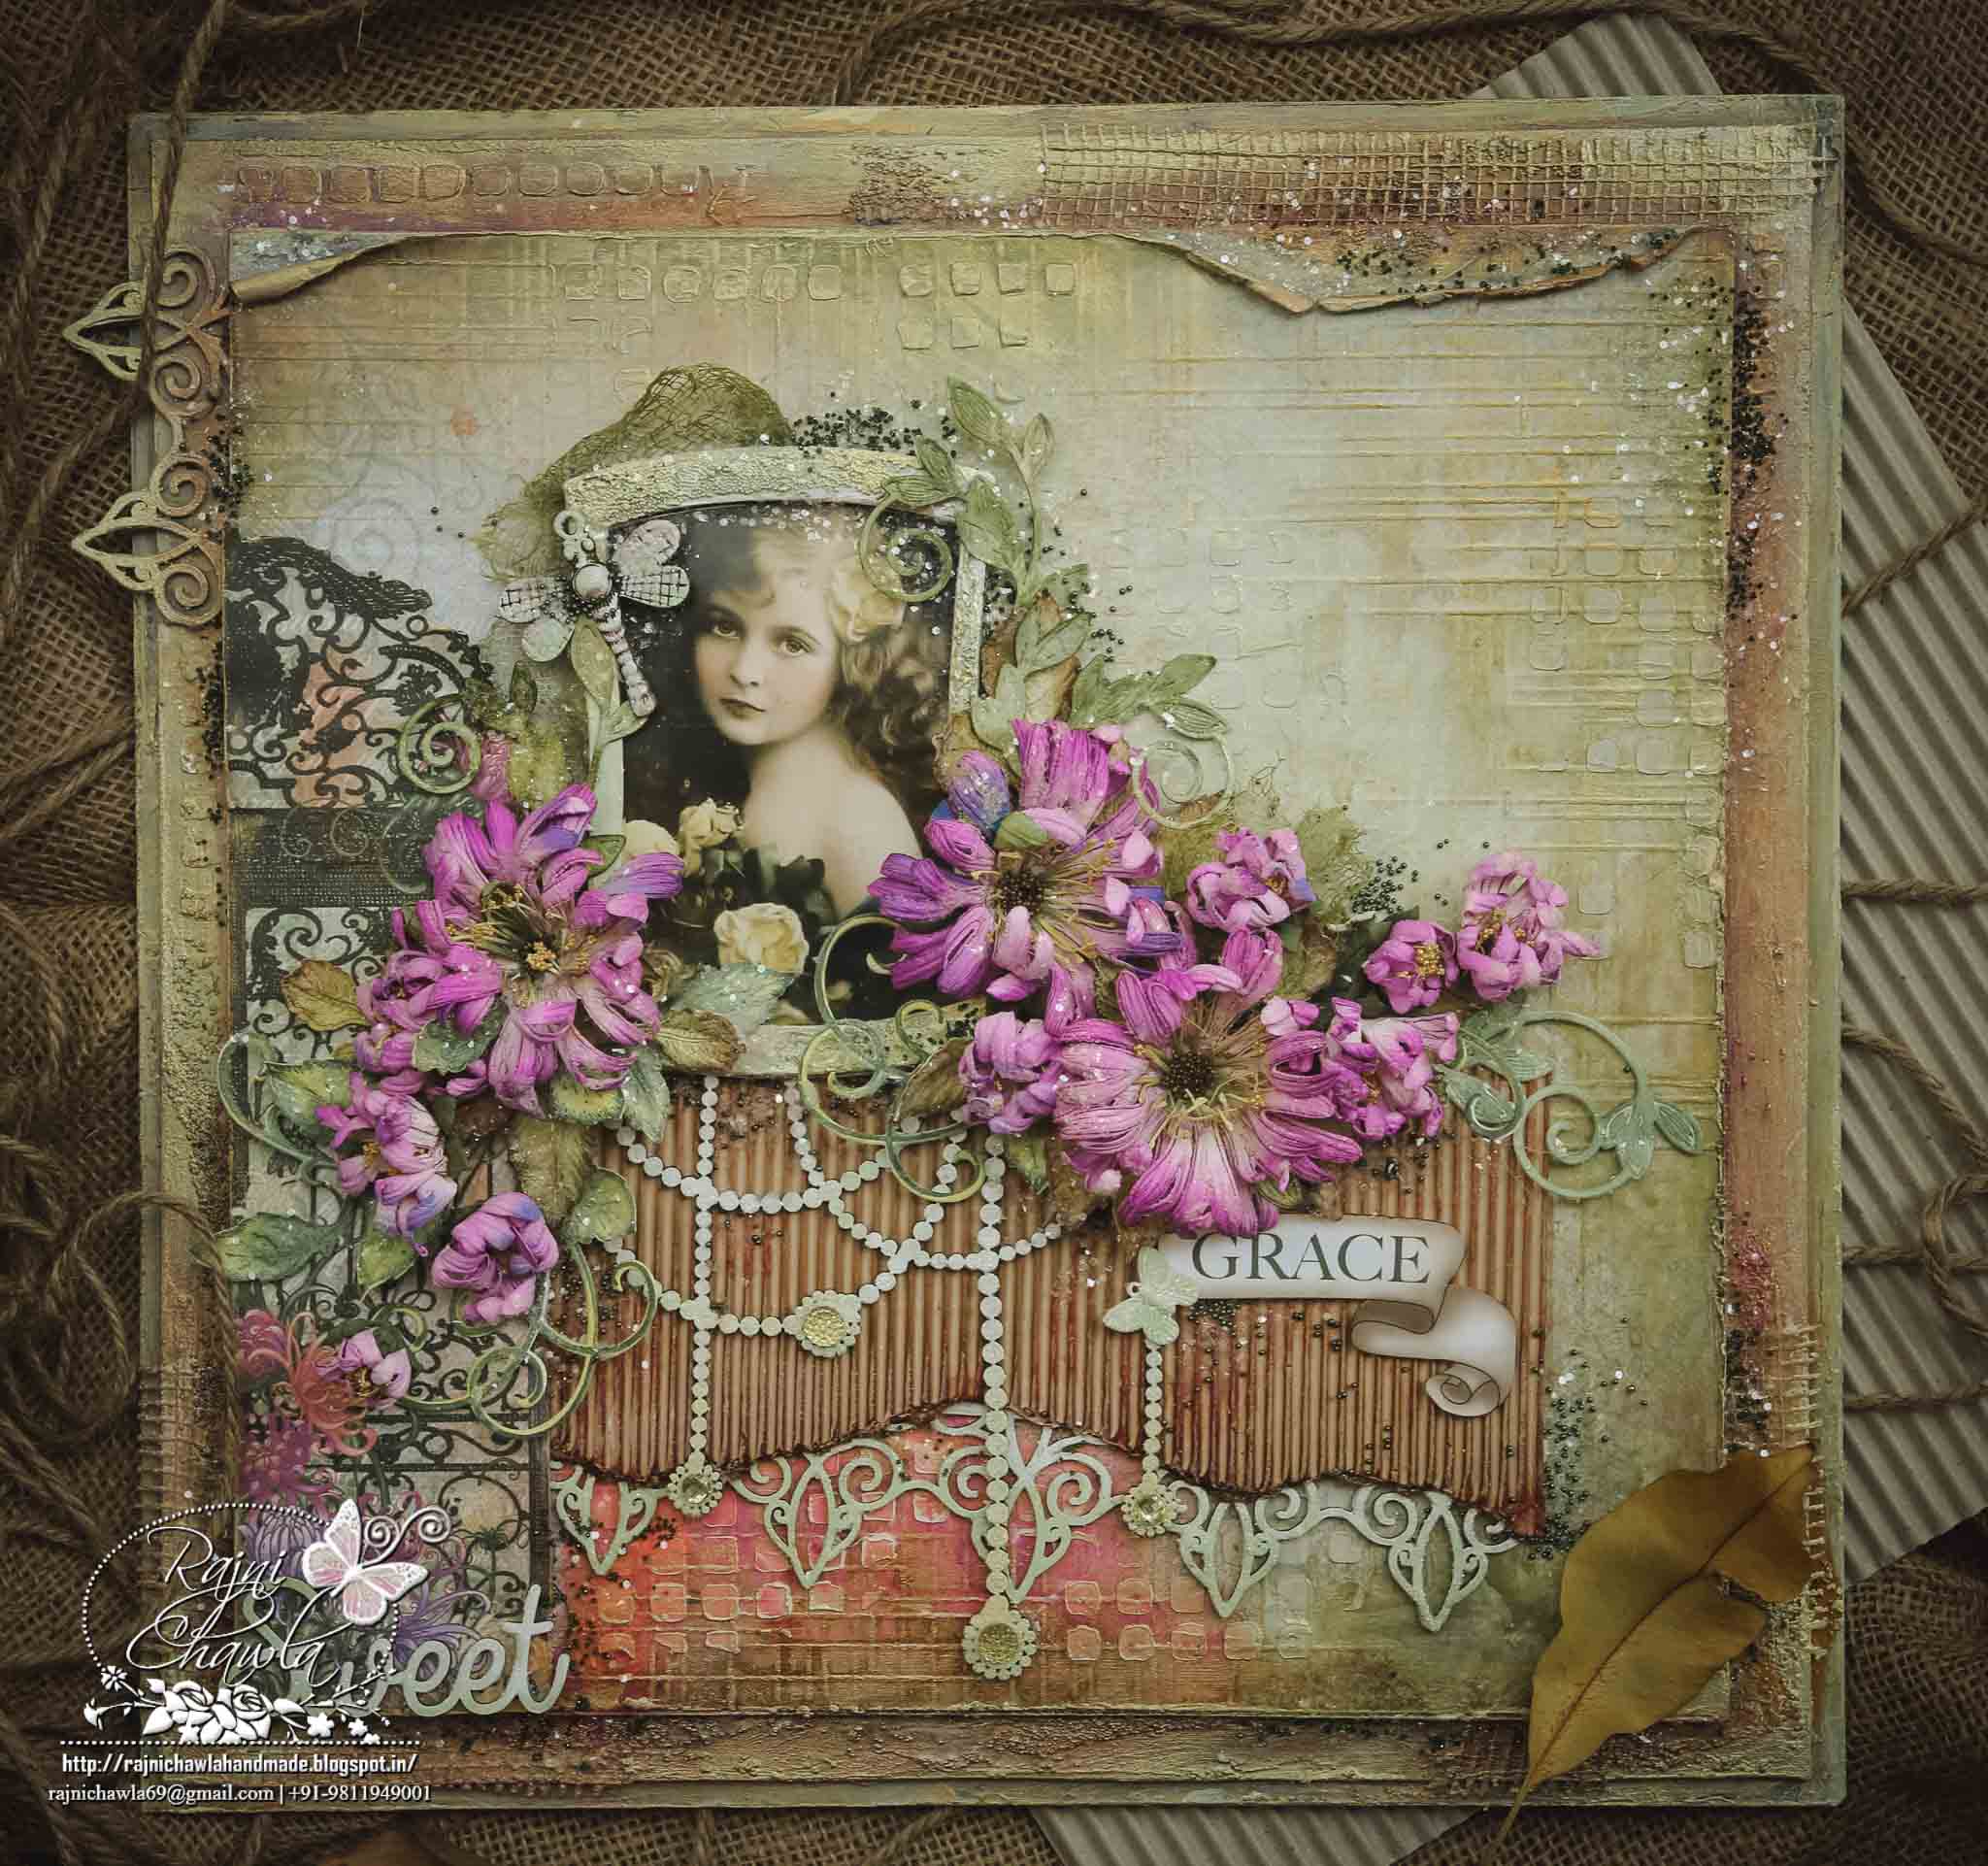
Grace: Layout using HC Enchanting Mum Collection
Posted by Rajni Chawla
Good morning friends!!
I am so thrilled and excited to see myself on Heartfelt Creation's board. It's a dream team. God has given me a wonderful opportunity to enjoy this beautiful world of crafting and to meet few more talented crafters across the globe. I know it's going to be a fun learning time with HC family. Today, I am on board with my very first project as a Heartfelt Creations Design Team!
Though I was bit nervous while creating this project as I entered my craft room after many days due to my ill health, but I have surely tried my level best to inspire you.
Full View of the layout:

Heartfelt Creation Products Used:
Other products:
Archival inks Library Green, Clear Rock Candy Glitters, Stickles, Heavy Gesso, Silk Glaze, Micro beads, Dusty Attic Chipboards, Texture Paste, Prima Stencils, Heavy Chipboard, Dry Mech, Spellbinder’s Wonky Rectangles, mists /sprays and Acrylic paints, fussy cutting scissors.
Instructions for Flowers and leaves:
Follow Emma Lou’s video below for shaping Enchanting Mum Flowers.
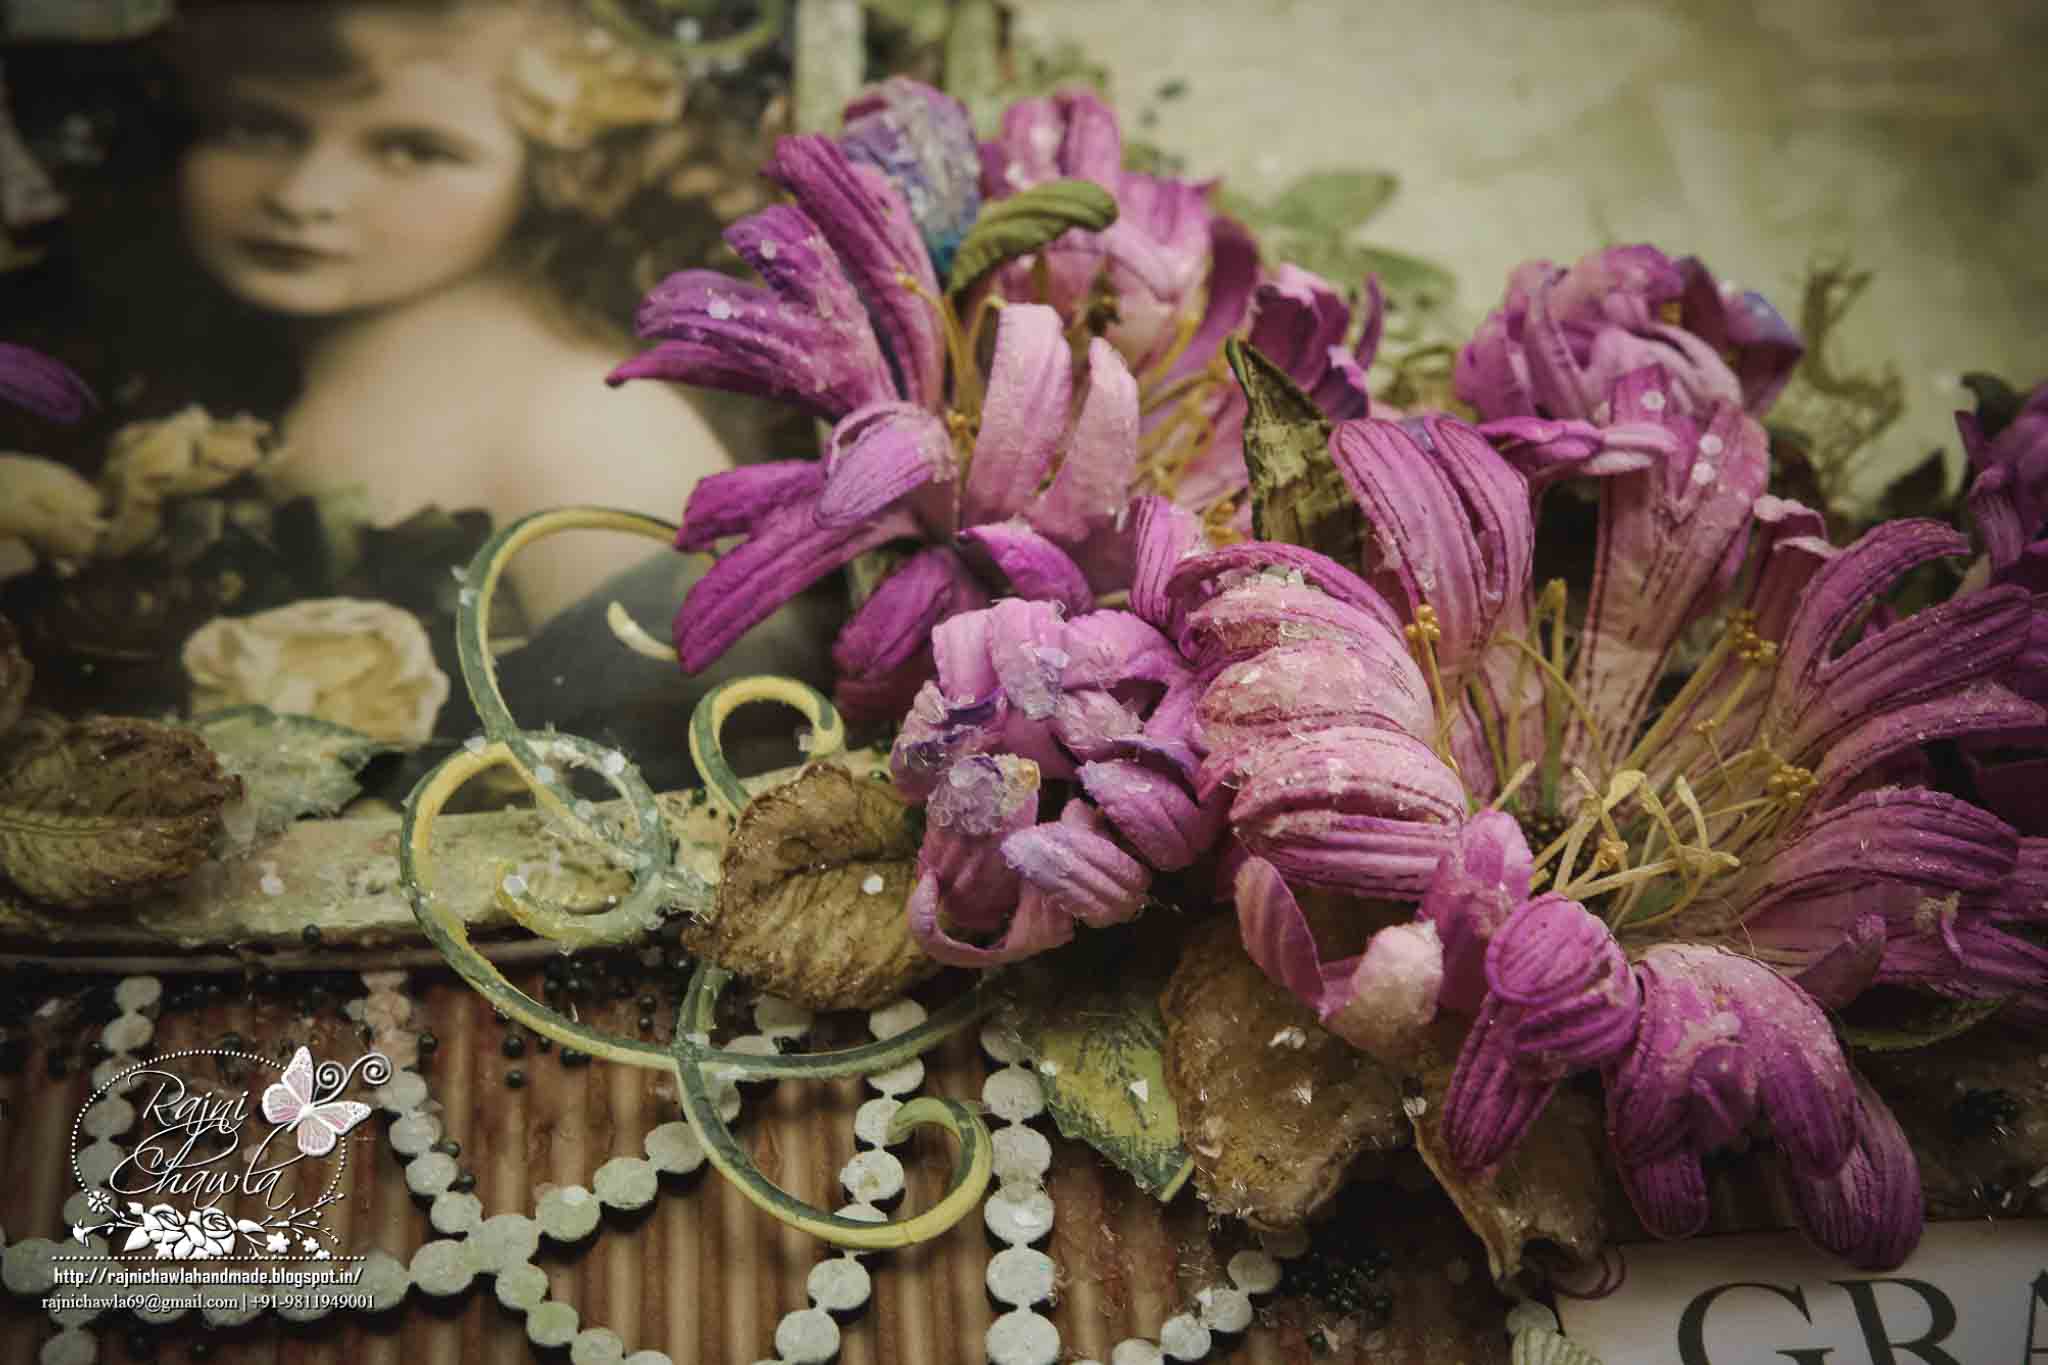
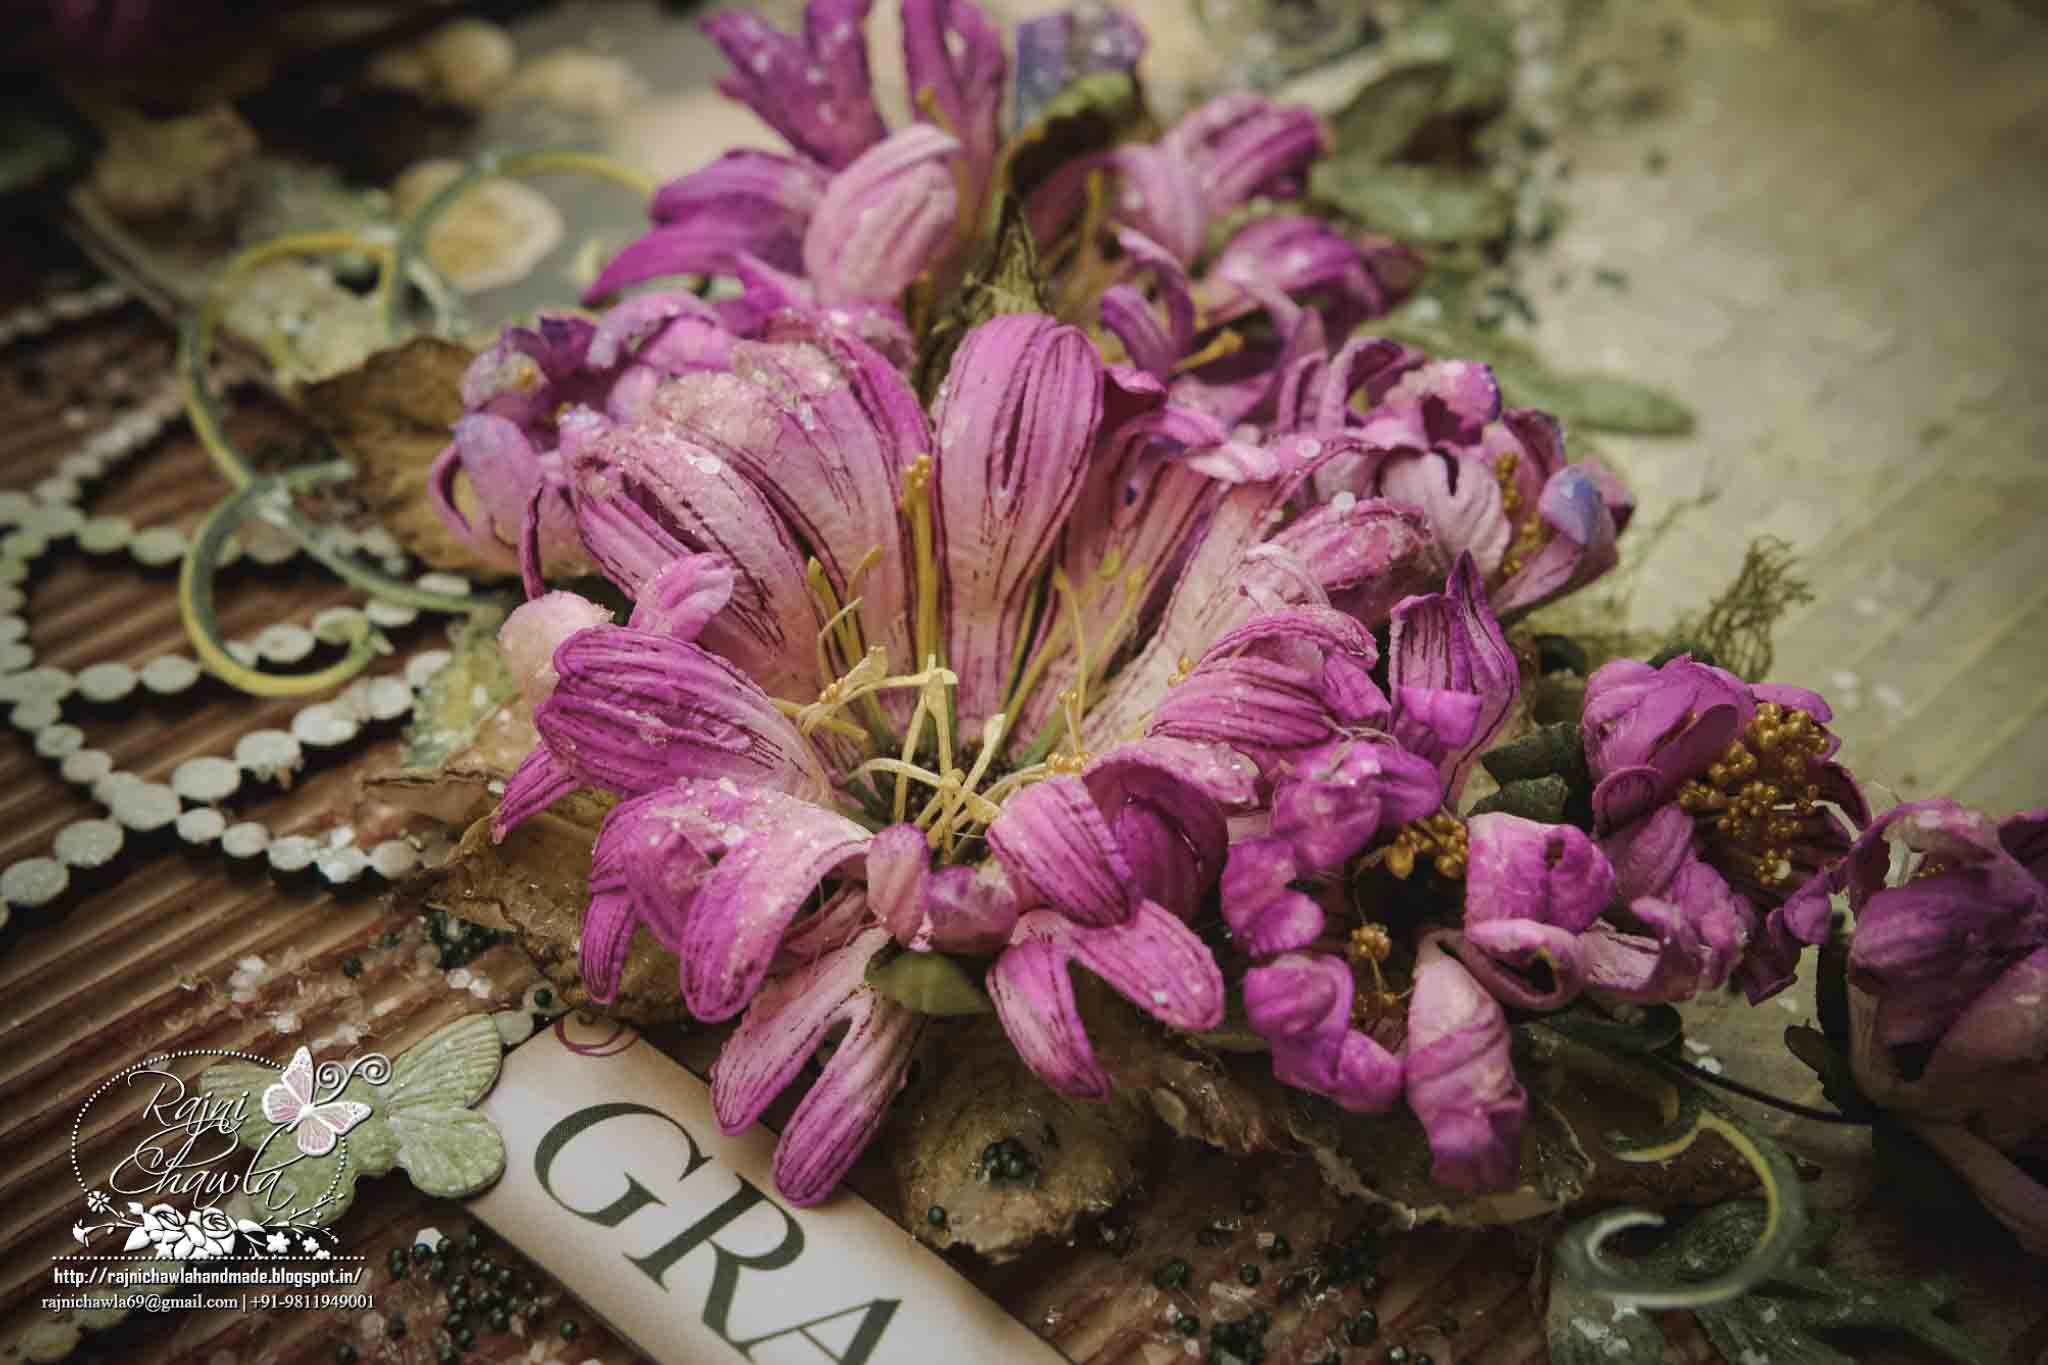
The flower centres are made using stamens of Sunrise Lily die. Paint the stamens with ColorBox Fluid Chalk Ink Pad – Harvest and Lime Pastel and split them in half. Add Prills using - Art Institute Glue that Dries Clear. Leaves are all stamped with Library Green Archival Ink and painted with ColorBox Fluid Chalk Ink Pad - Lime Pastel. Leaves and flowers are shaped using Deluxe Flower Shaping Kit.
Follow Emma Lou’s video below for shaping Enchanting Mum Flowers.
The flower centres are made using stamens of Sunrise Lily die. Paint the stamens with ColorBox Fluid Chalk Ink Pad – Harvest and Lime Pastel and split them in half. Add Prills using - Art Institute Glue that Dries Clear. Leaves are all stamped with Library Green Archival Ink and painted with ColorBox Fluid Chalk Ink Pad - Lime Pastel. Leaves and flowers are shaped using Deluxe Flower Shaping Kit.
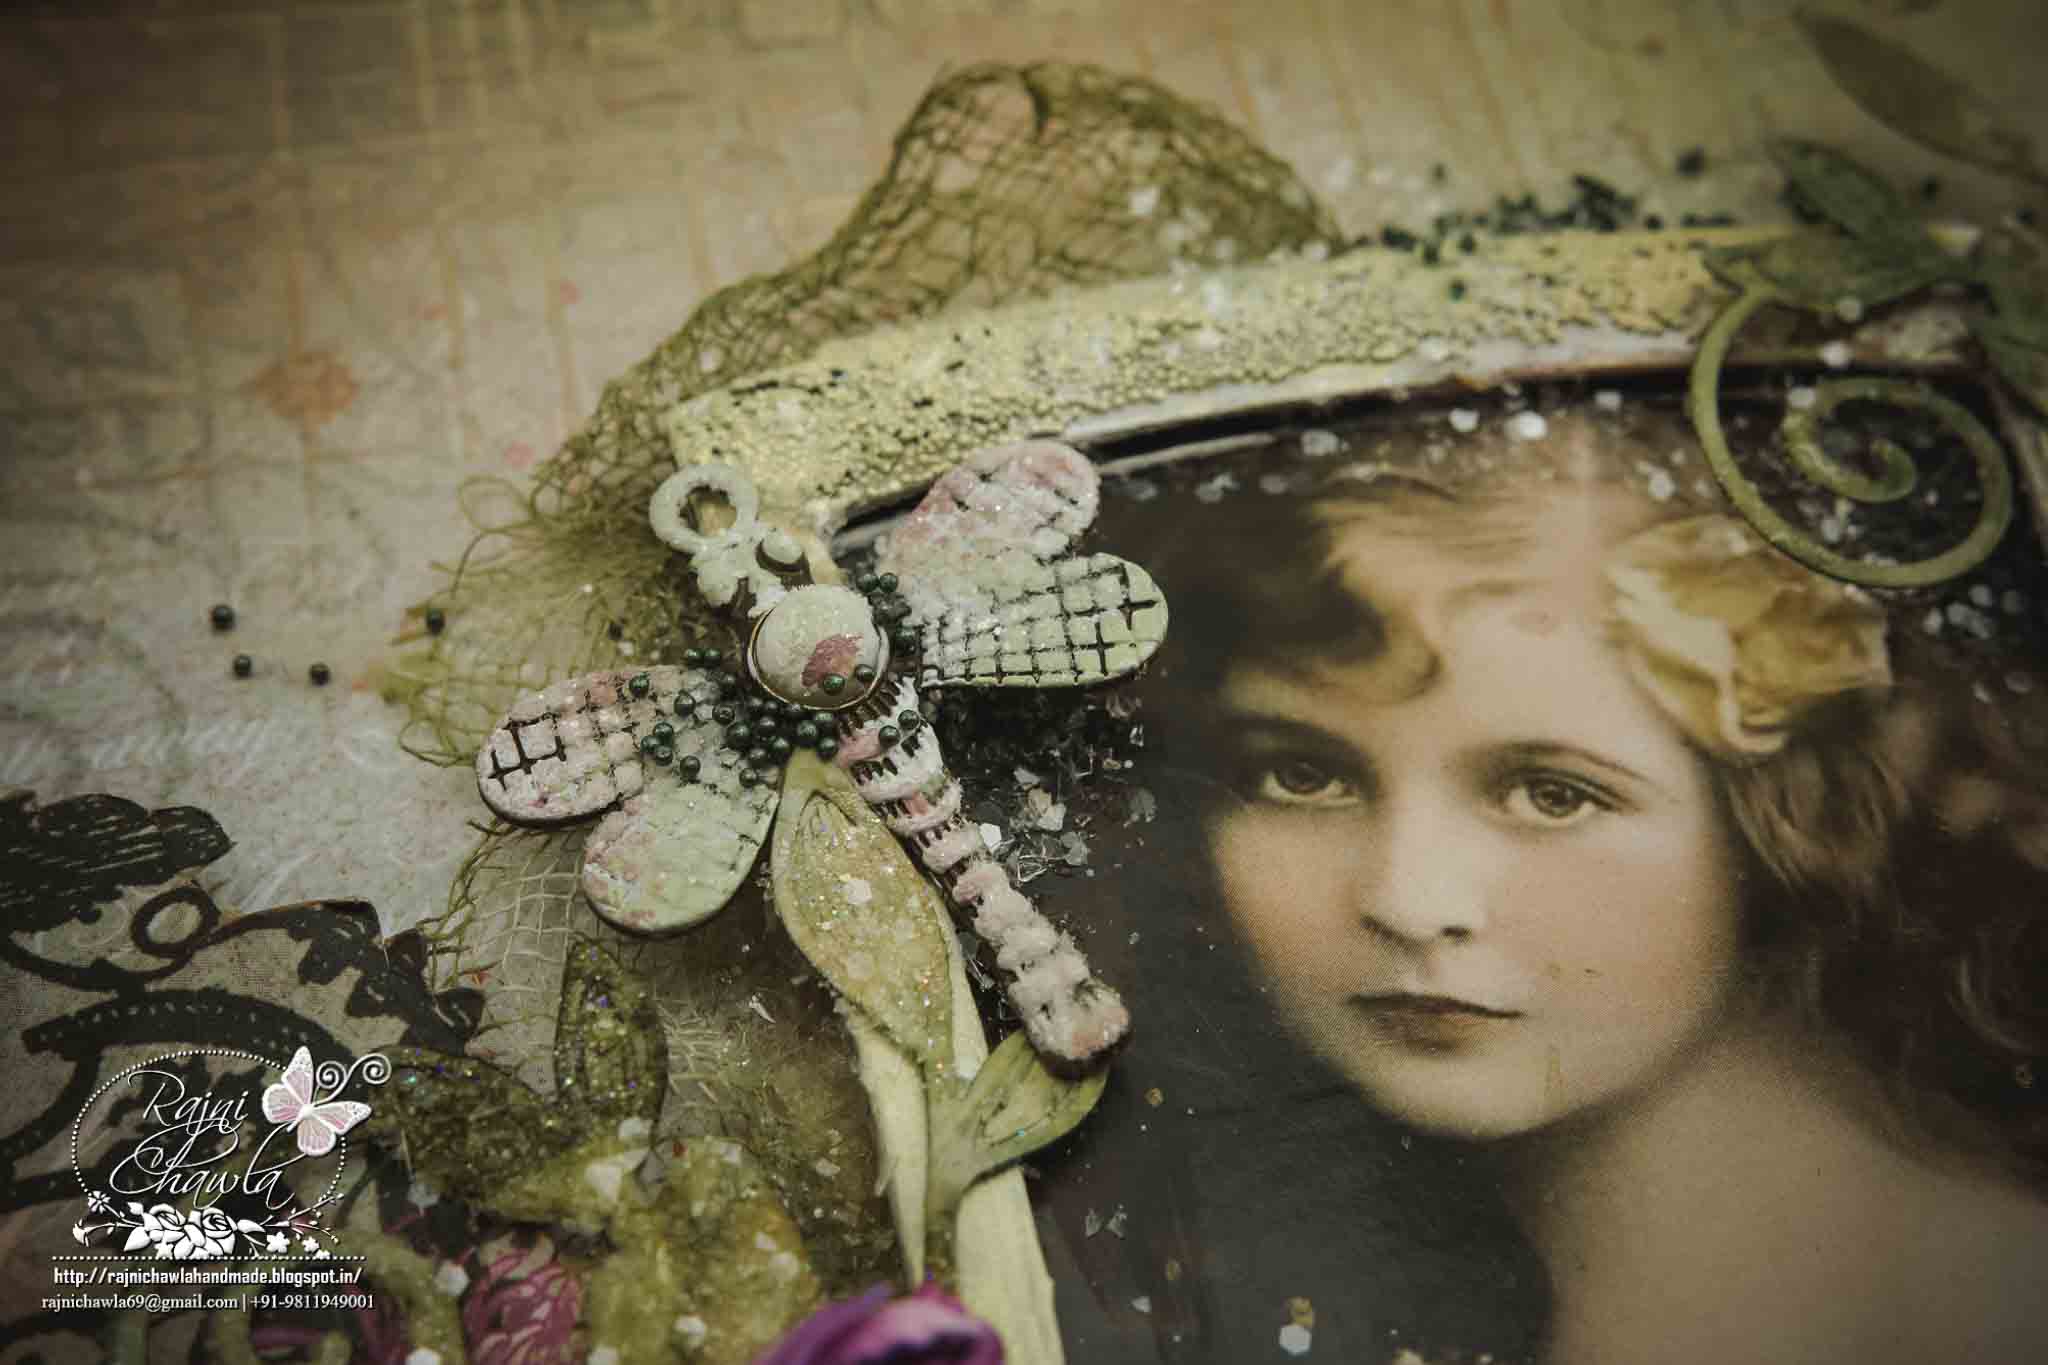
Instructions for Vintage Girl Frame:
The vintage girl image is downloaded from Pinterest. Nest outer two dies of Spellbinder’s Wonky Rectangles with heavy cardstock and make a frame for the vintage girl image. Give a light coating of texture paste on the frame and sprinkle micro beads and leave it for drying. Once dried apply matching shades of acrylic paint and paint the frame.
The vintage girl image is downloaded from Pinterest. Nest outer two dies of Spellbinder’s Wonky Rectangles with heavy cardstock and make a frame for the vintage girl image. Give a light coating of texture paste on the frame and sprinkle micro beads and leave it for drying. Once dried apply matching shades of acrylic paint and paint the frame.
Instructions for Layout:
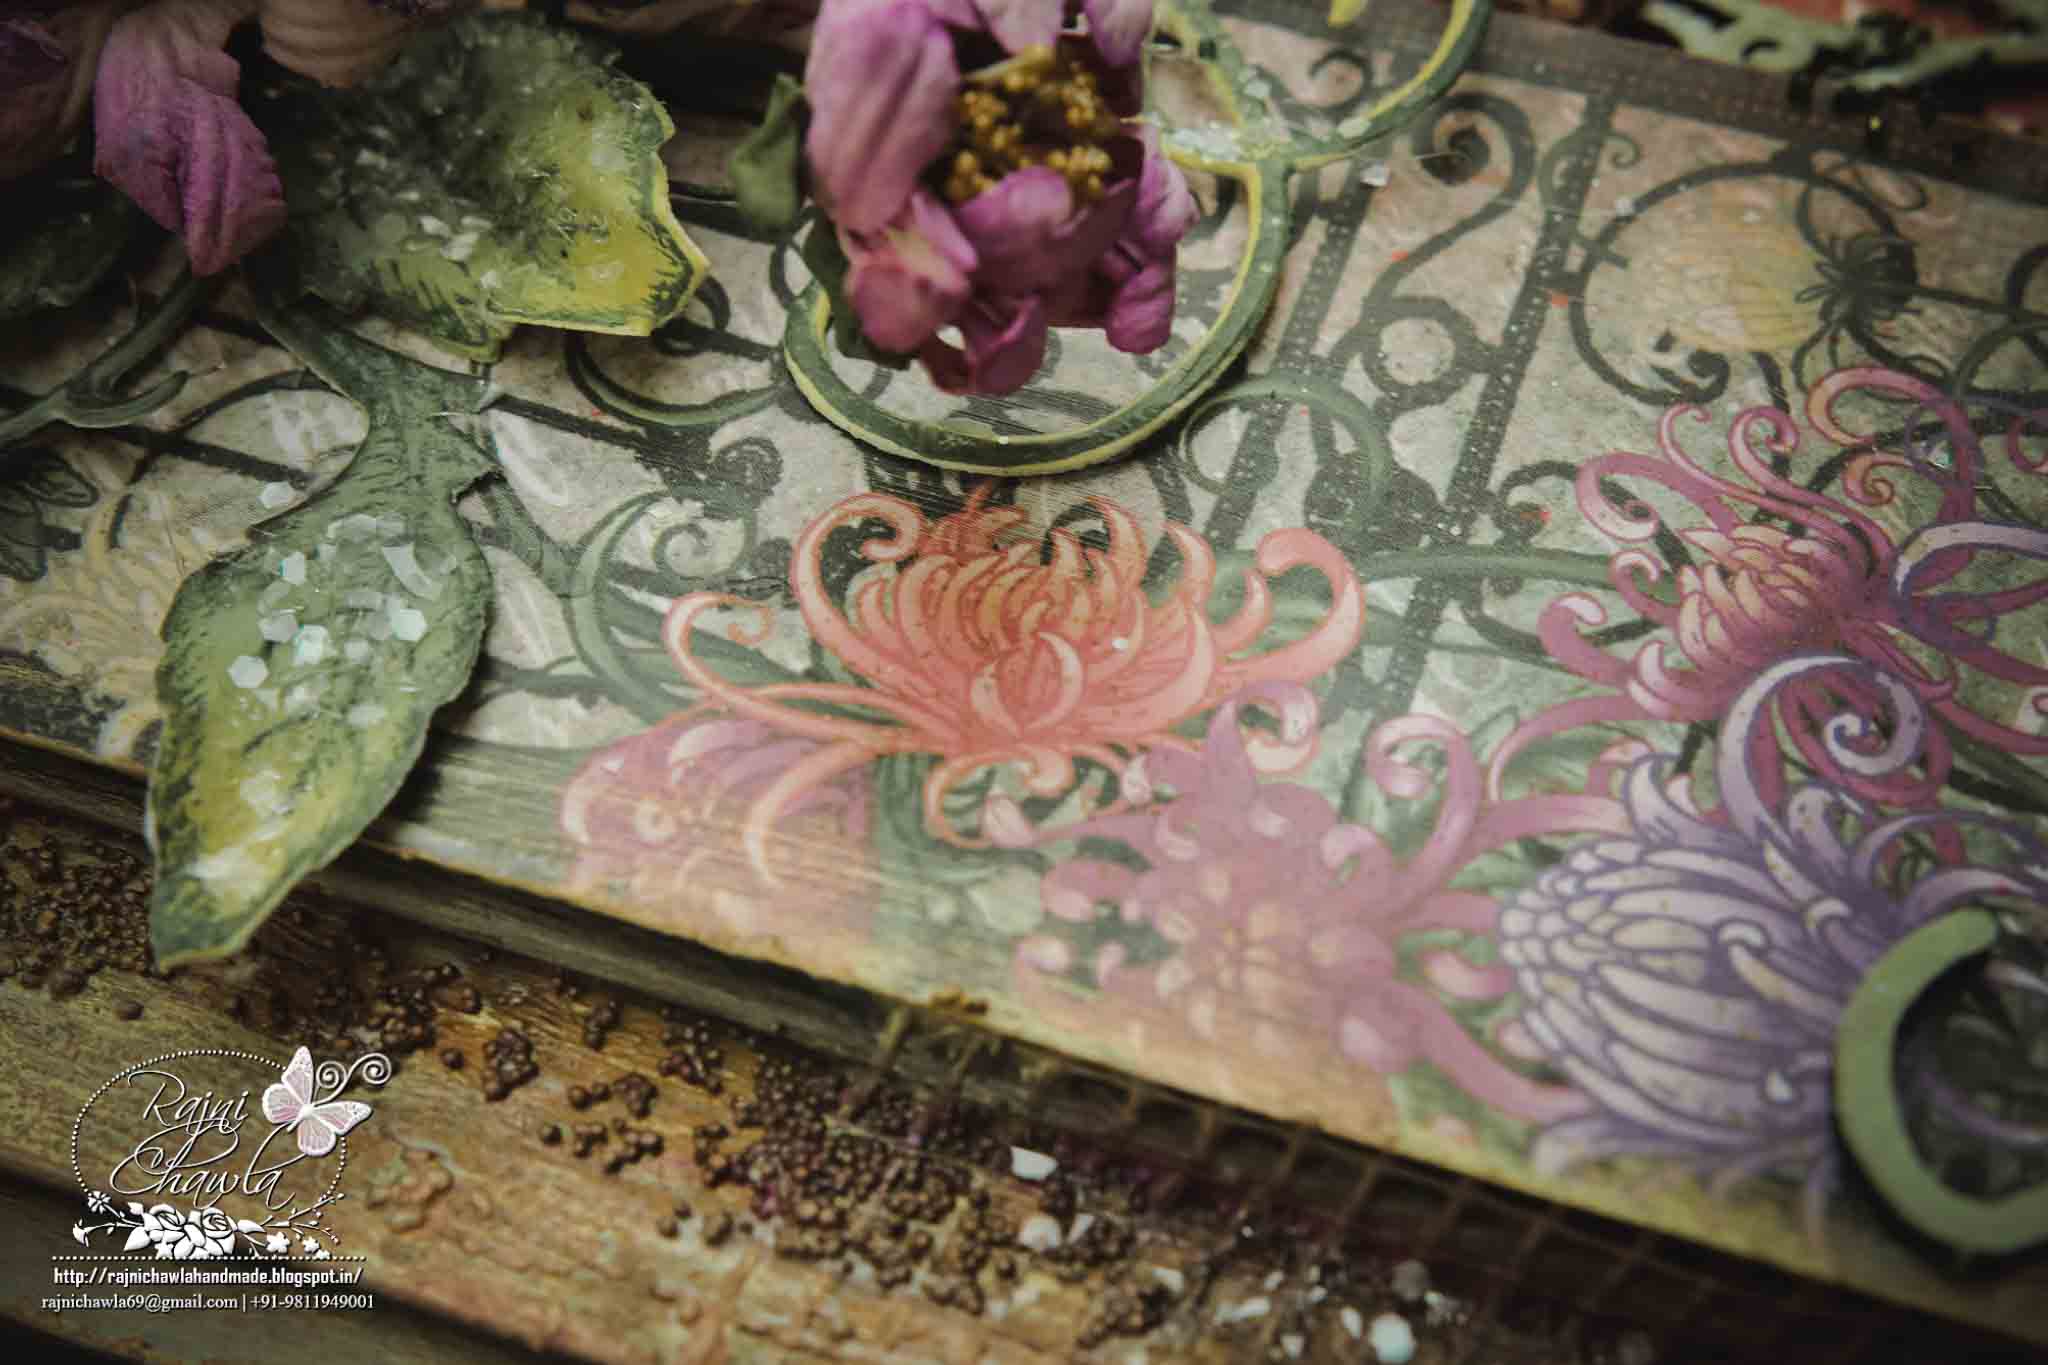
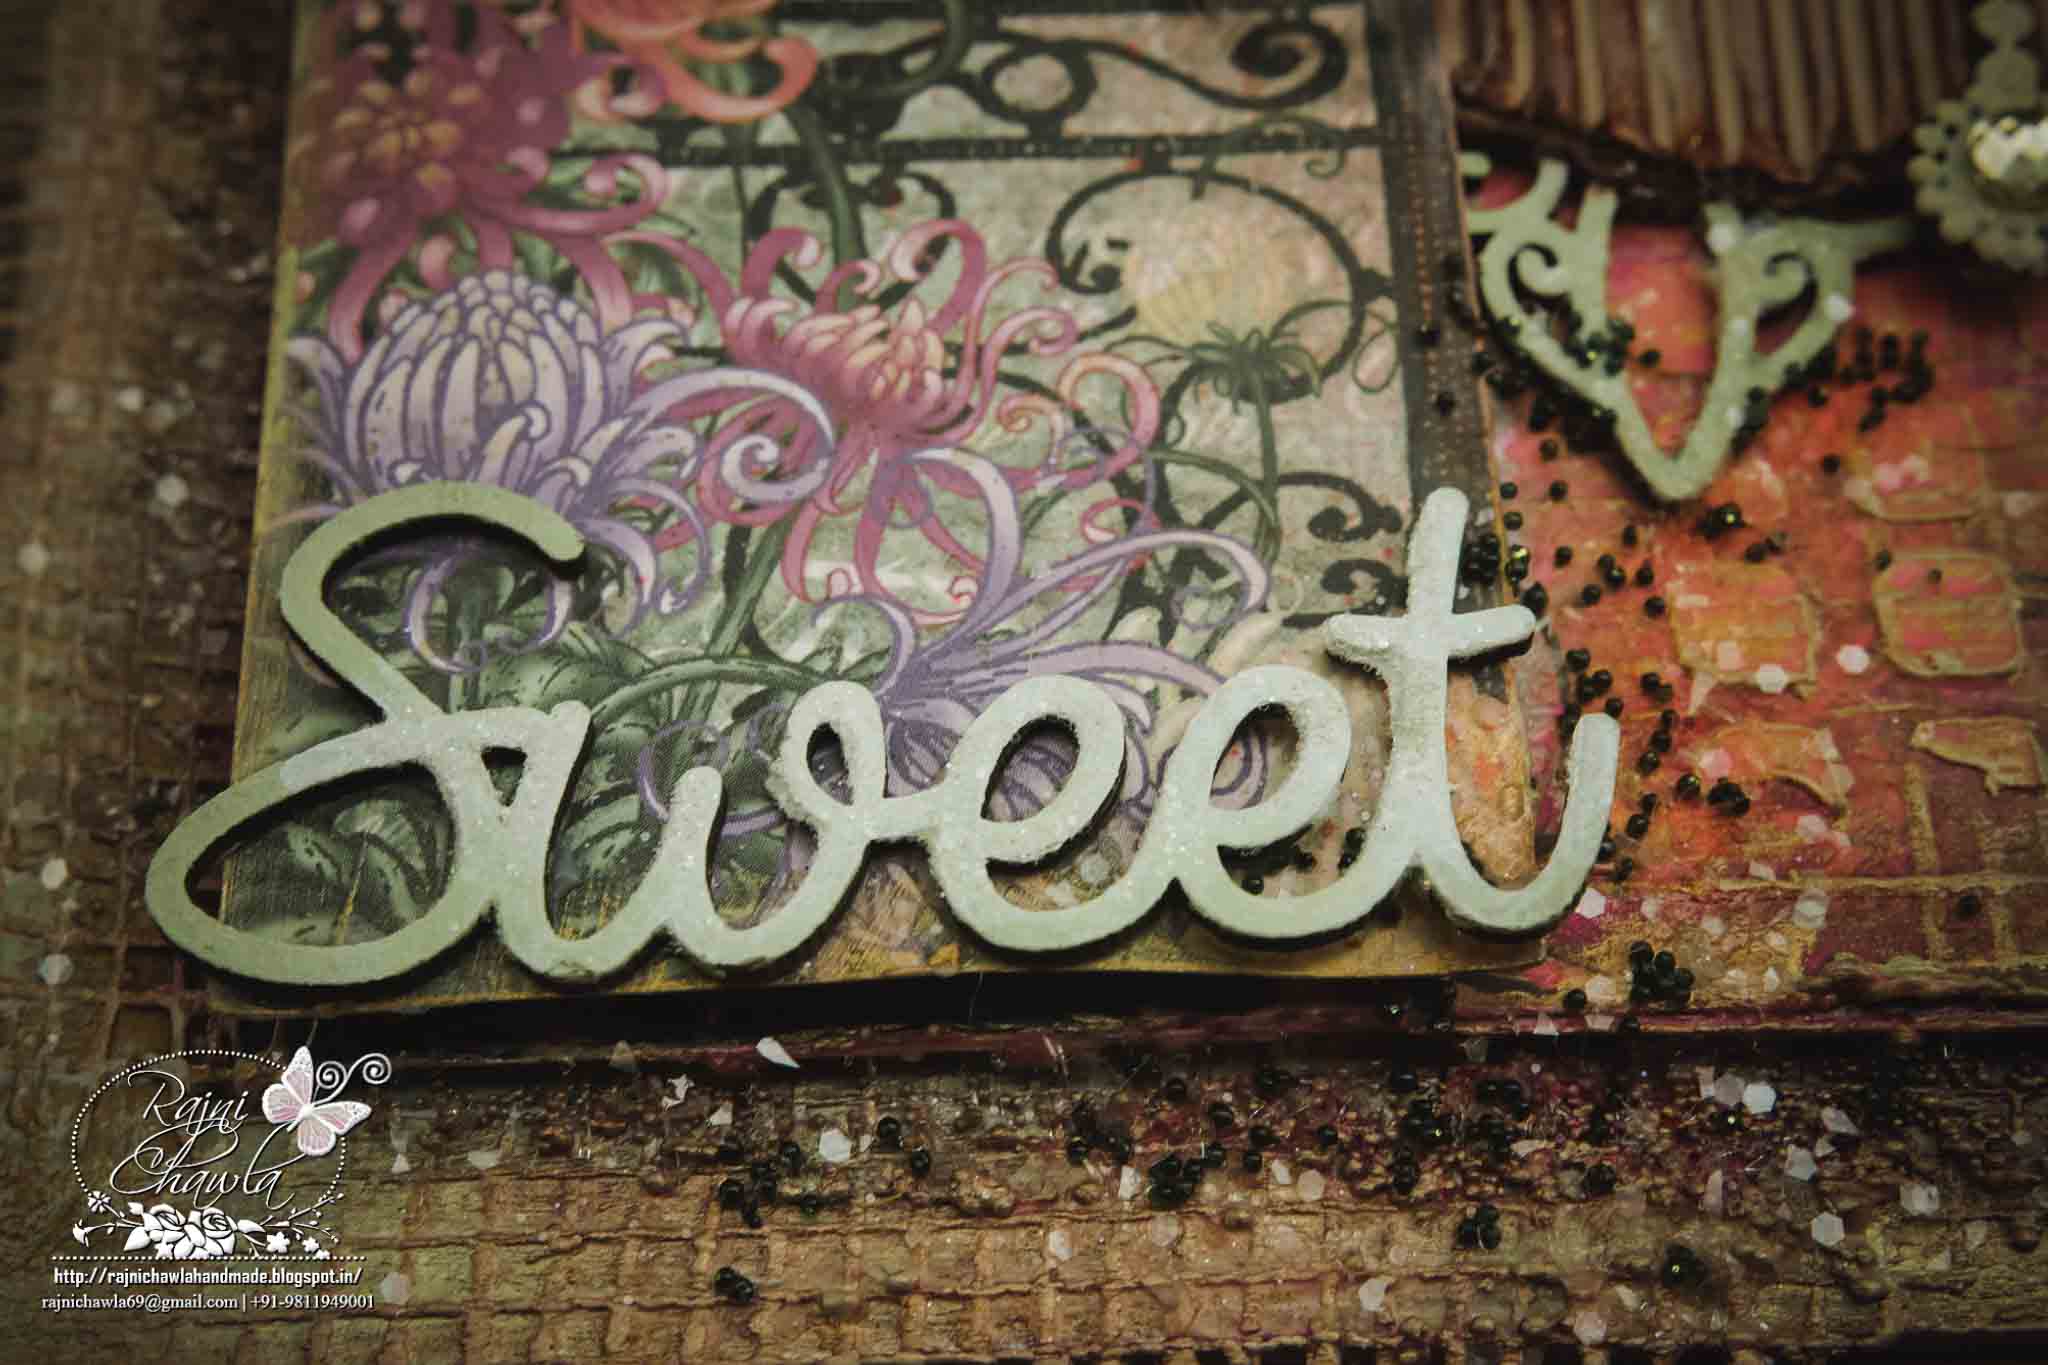
Fussy cut the floral gate using fussy cutting scissors. Score rest of the designer paper using score pal randomly and apply a coat of diluted White Gesso. Stick the designer paper to heavy chipboard and also, layer the fussy cut floral gate. Apply texture paste randomly using stencils and leave it to dry. To speed up the process you can use the heat gun. Once dry spray with shades of pinks and greens. Build few layers of colors drying in-between the layers. Once satisfied with the background highlight all the details with silk glaze. Dusty Attic chipboards are all painted with dusty in colors acrylic paints and dusted with clear rock candy glitter using Art Institute Glue. Assemble the layout by creating different layers with chipboards, corrugated sheet and cheese cloth and also add dimensions using glue dots.
Fussy cut the floral gate using fussy cutting scissors. Score rest of the designer paper using score pal randomly and apply a coat of diluted White Gesso. Stick the designer paper to heavy chipboard and also, layer the fussy cut floral gate. Apply texture paste randomly using stencils and leave it to dry. To speed up the process you can use the heat gun. Once dry spray with shades of pinks and greens. Build few layers of colors drying in-between the layers. Once satisfied with the background highlight all the details with silk glaze. Dusty Attic chipboards are all painted with dusty in colors acrylic paints and dusted with clear rock candy glitter using Art Institute Glue. Assemble the layout by creating different layers with chipboards, corrugated sheet and cheese cloth and also add dimensions using glue dots.
Here are the detailed pictures...
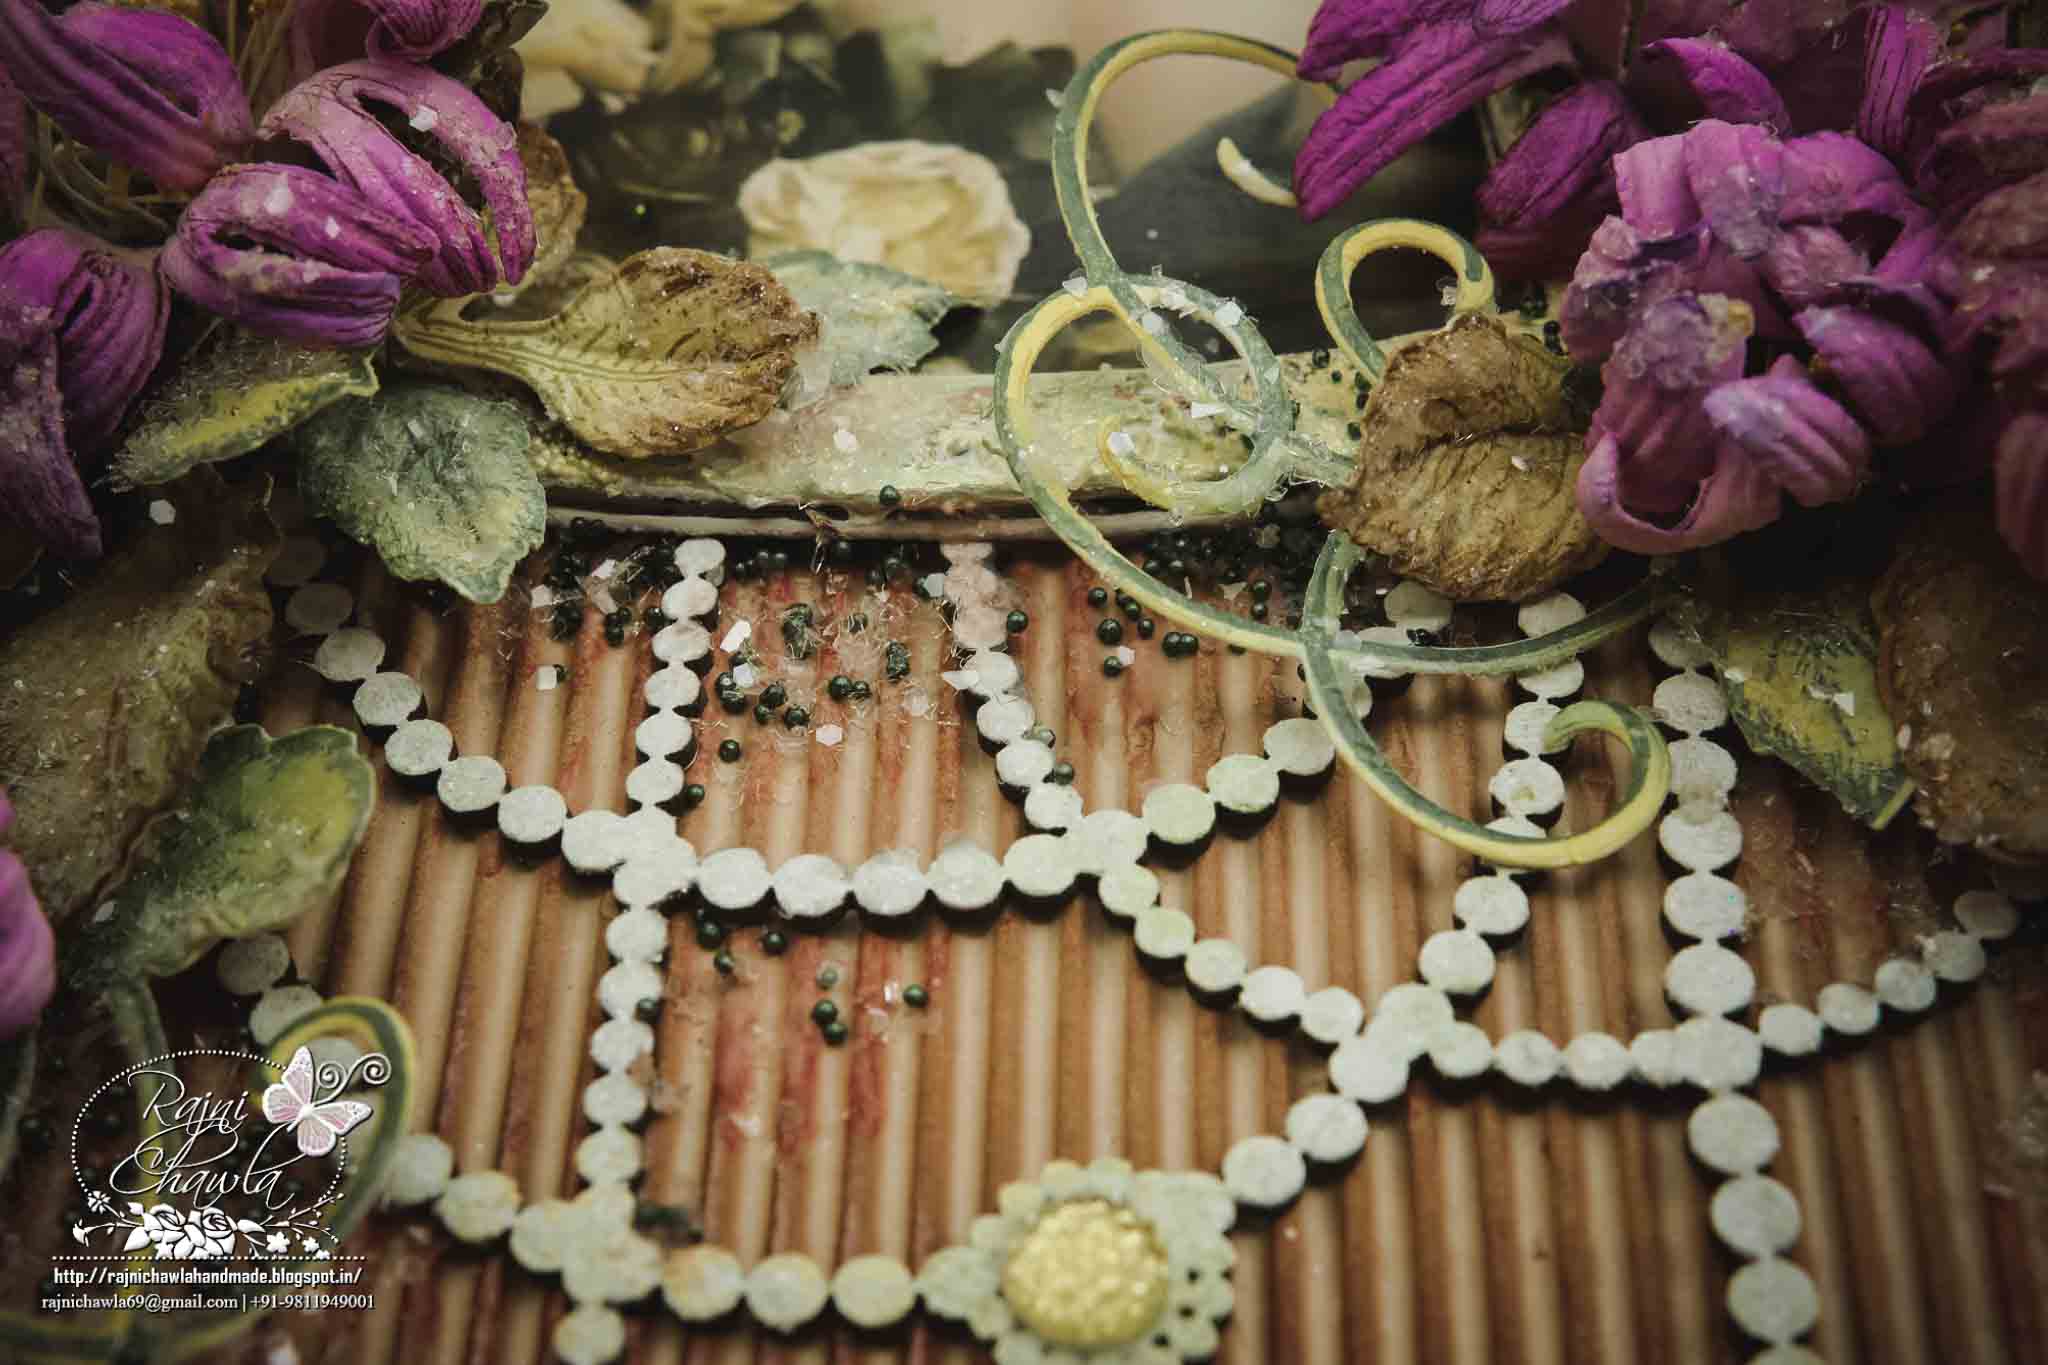
Beautiful Mums flowers!!
Gorgeous designer paper from Enchanting Mums Collection...
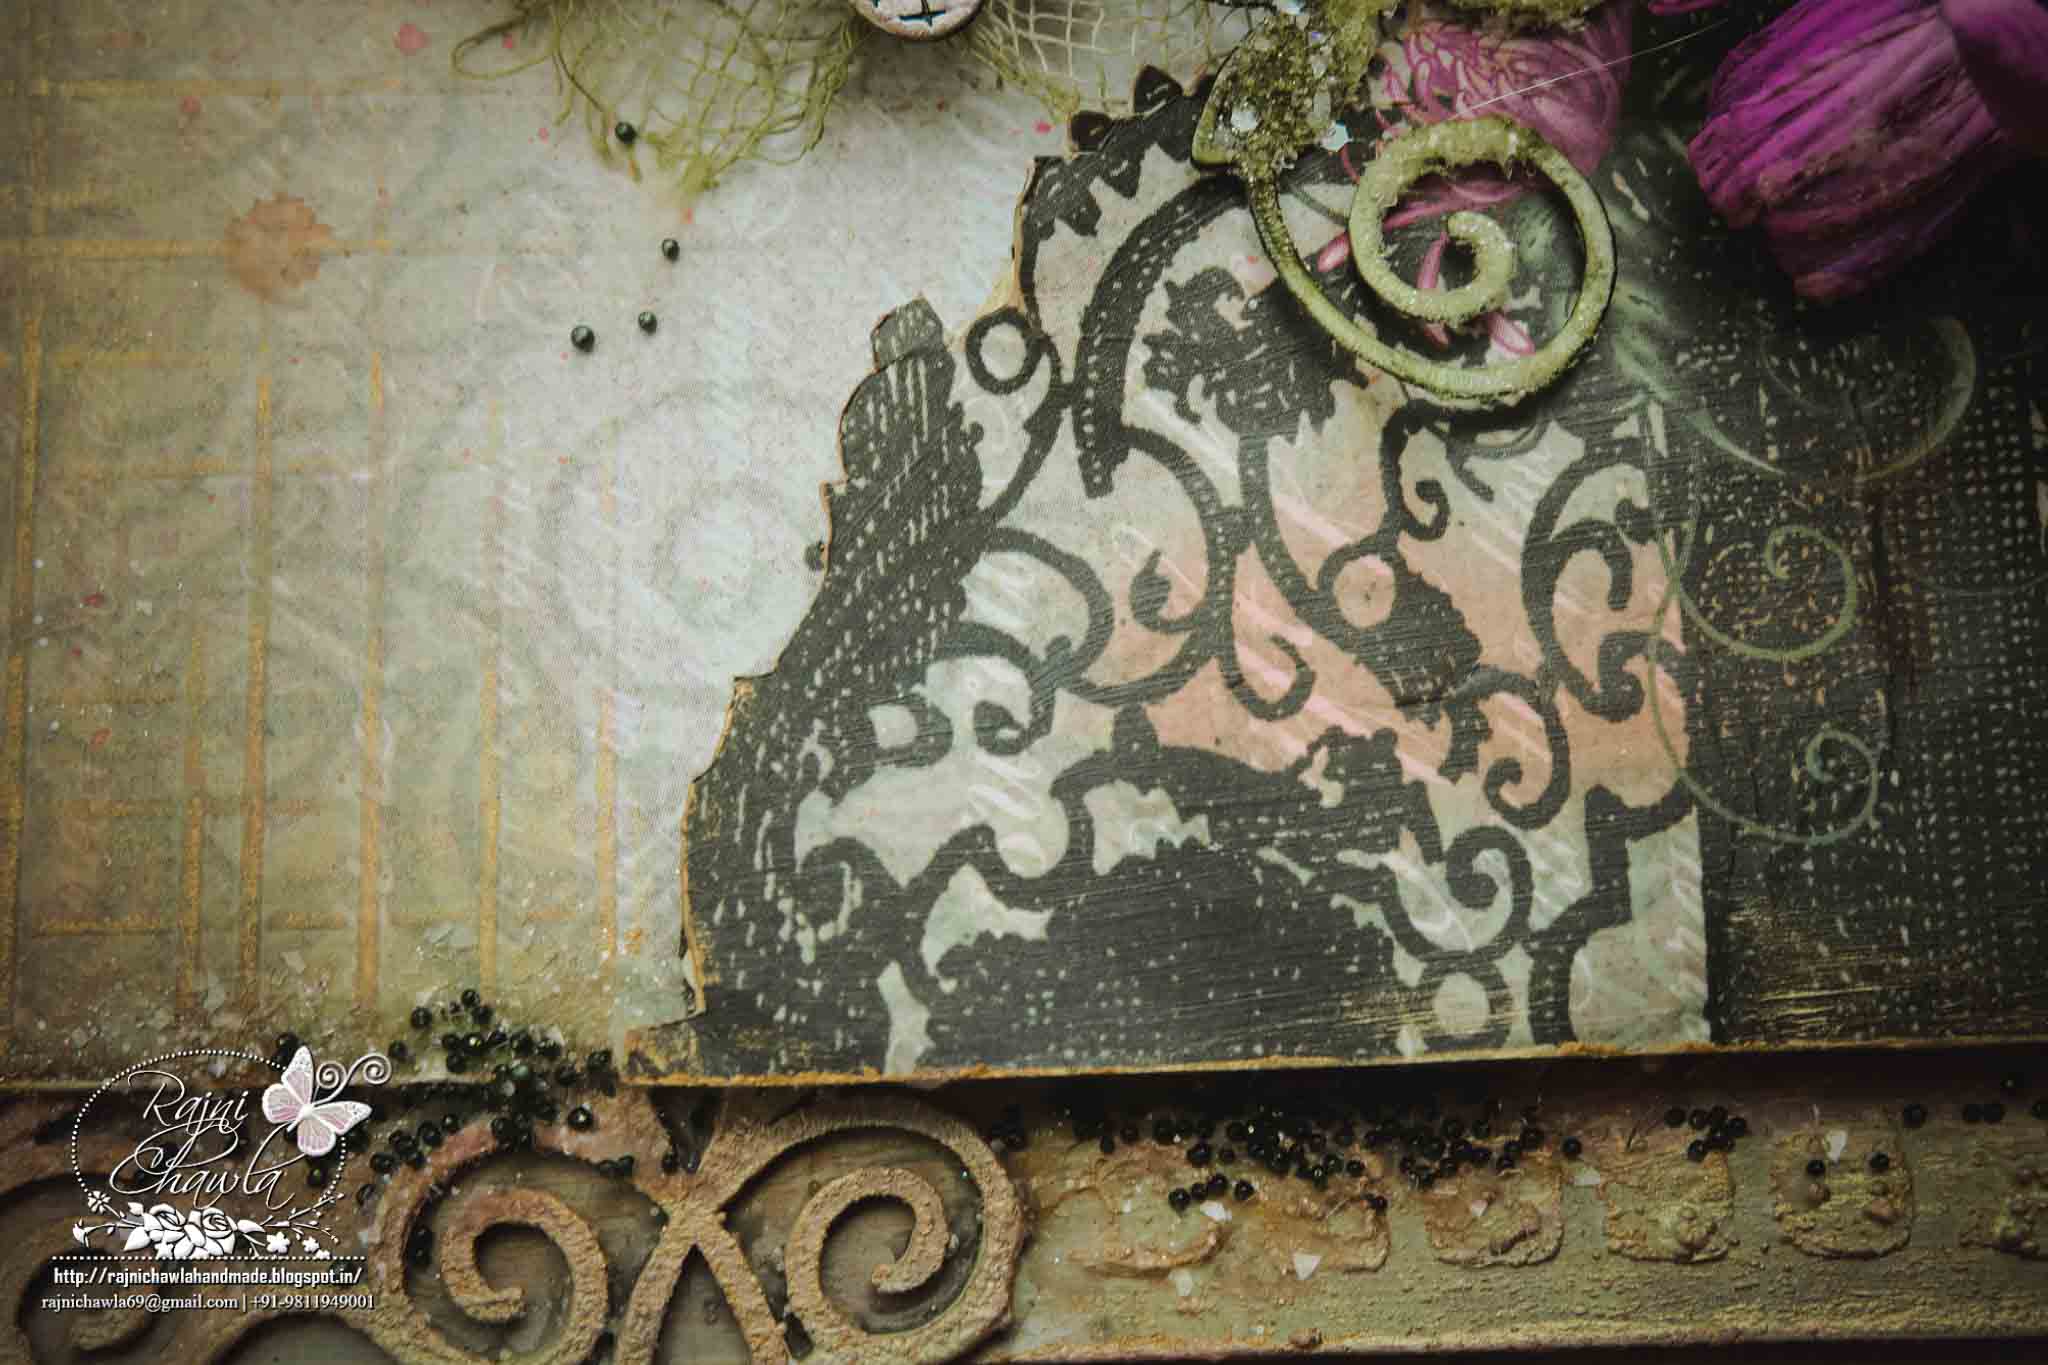

Dusty Attic chipboards...
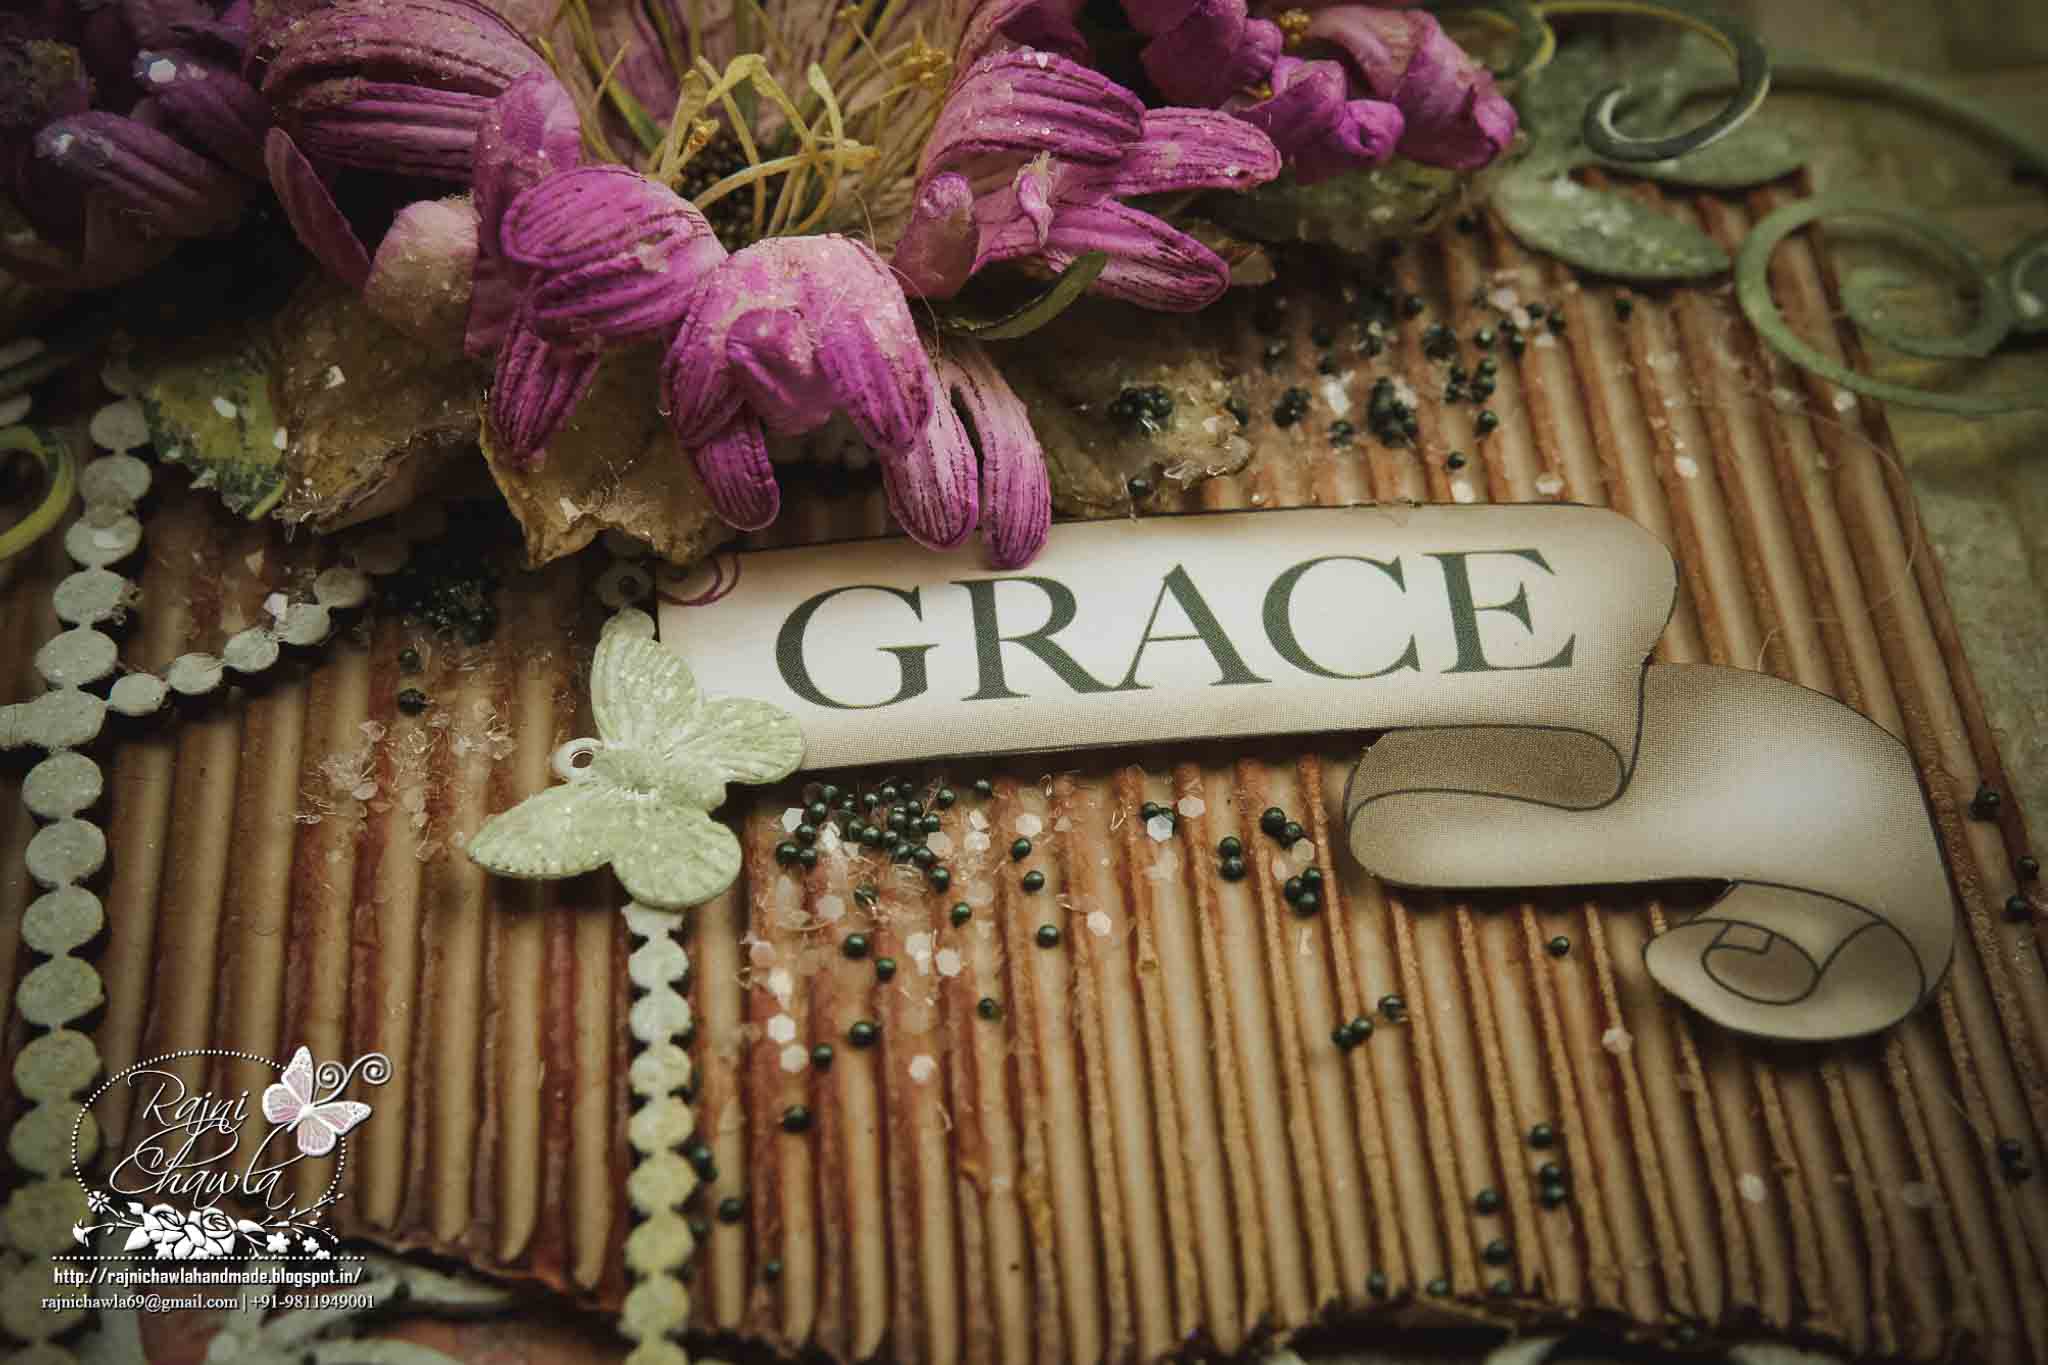
Banner fussy-cut from designer paper itself.
Sweet....another chipboard from Dusty Attic!!
Chipboards beautifully layered between corrugated sheet.

Frame created with Spellbinder's Wonky Rectangles textured with mix media texture paste.
Hope I was able to do justice with this collection and I was able to inspire you with this creation of mine.
If you are an Indian crafter and looking for craft supplies at best prices contact Meetu Aggarwal (www.krafterscart.in) or Priya Sivaraj ( www.thecraftshop.in).
Thanks for stopping by!!
If you are an Indian crafter and looking for craft supplies at best prices contact Meetu Aggarwal (www.krafterscart.in) or Priya Sivaraj ( www.thecraftshop.in).
Thanks for stopping by!!
Happy crafting!!


Your flowers are WONDERFUL as wonderful is this LO...soon Ada
ReplyDeleteThank you :)
DeleteHi, first a warm welcome to our Heartfelt Creations family. I will be so looking forward to visiting this fun place every week to see what you have created with the HC toys. This one is a great start! I love what you have done with stamps, dies, paper and colour! You got my vote for sure...lol and hugs
ReplyDeleteAwwww...so sweet of you Sussi. Thanks:)
DeleteNice post...I look forward to reading more, and getting a more active part in the talks here, whilst picking up some knowledge as well..
ReplyDeletePass Box manufacturers
Gorgeous Lay-out full of beautiful detail. I'm looking forward to seeing more of your designs. Congratulations on joining HC's Design Team :)
ReplyDeleteThank you so much for dropping by and thanks for the lovely comment:)
DeleteEye popping, jaw dropping gorgeous!!! I love the flowers!
ReplyDeleteThank you so much for dropping by and thanks for the lovely comment:)
DeleteBiggest congrats on making it! I knew you would! The link to the flower tutorial video isn't added, could you update? I so want to make these beauties!!! TFS!
ReplyDeleteOpps...published d post on my blog on my i-pad. I was not able to embed the video and then forgot. Just updated my post Team Clark.
DeleteThanks for dropping by and leaving such a sweet comment.
I'm so excited for you being on Heartfelt Creations DT You definitely deserve it. This layout is stunningly beautiful. I don't know how you create such amazing pieces of art but you never disappoint. I'm looking forward to seeing yourfuture projects.
ReplyDeleteSandi Smith
Thank you so very much for dropping by and thanks for the lovely comment:) I will surely try to keep upto ur expectations.
DeleteWow...what a fabulous layout and stunning project, loved each and every details.
ReplyDeleteThank you so much for dropping by and thanks for the lovely comment:)
DeleteThis is a work of art! I'm a huge fan of your flowers and long to make my blooms look like yours! Gorgeous!
ReplyDeleteThank u so very much Glenda ❤️
DeleteWhat a totally stunning piece, love, love, love it! The flowers and details are amazing! I knew from the start you would make it to the team, they are so lucky to have you, - this is simply stunning!!
ReplyDeleteThank you so much for keeping trust in my talent, Astrid. I will try my level best to keep upto ur expectations always....Thanks:)
DeleteI'm so happy to see the spider mum dies being used so beautifully! Well done!
ReplyDeletethanks Martie!!
DeleteWhat a beautiful layout! Great pictures and instructions!!
ReplyDeleteThanks for visiting my blog, Marisa!!
DeleteThis is sooooo beautiful. Wonderful use of products on this beautifully layered LO. Got to go back and look at all the amazing details!
ReplyDeleteThank Kazza!!
DeleteRajni, this is breathtaking! Your work is outstanding and I'm looking forward to seeing your creations week after week! Your flowers are amazing and I love all things vintage so this is fantastic! Welcome to the Heartfelt Creations team! I look forward to working with you!
ReplyDeleteThanks for the sweet comment and the warm welcome,Tracey!!
DeleteAs always... your layout is beautiful... Hugs!!!
ReplyDeleteStunning as always :)
ReplyDelete