Showing posts with label textures. Show all posts

Thursday, May 26, 2016

Dream : Art Journal

Posted by Rajni Chawla

Good morning all!! 

A loud and a big Hello to all my Dusty Attic fans. I am back after a long time. Missed to inspire you last month due to my ill health. I am feeling better now and trying to get back to my regular routine. 

There's no denying that your kids are like a reflection of your younger self. And when I look at my daughter, I can't help but believe in this fact even more. She's almost exactly like me in every respect - a little confused about what she has to do, over enthusiastic about everything and fascinated by all forms of art. That said, these days, rarely does she enter my craft room and to help me along with project because of her exams. But whenever she does, she ends up creating a masterpiece. Something similar happened this time as well.

I was just thinking about how to start this project when she came and offered to help me. Guess what...She herself decided what she wanted to create. The project that I am sharing today with you all is 80 percent made by her. I was trying not to disturb her as I knew, she is very moody and she might leave everything and go. The way she was selecting chipboards and the way she was looking at the mood board and selecting colours….it was really an amazing feeling for me….as if she is filling up all my dreams. She created an art journal for herself. Here are the details.


Here is the gorgeous May Mood Board 


List of Dusty Attic products used: 


Here are the picture details.

Full View:


Look at the gorgeous assembling of all the elements. Loved the super grungy collection of Dusty Attic chippies and the word chippies. Beautifully layered one on top of each other.


All the chipboards were first primed with heavy white gesso and then textured using DA Texture Paste.  She has used DA Blueprint DREAM to create the title of her art journal.Different layers were created using DA Cogs #1, DA Jumbo Cogs and DA Nuts and Bolts set   The main focal image is created using DA Feather Charm #2 . Feather Charm is dusted with clear glitter using soft gel.


Though she also created textures with DA Clockwork Stencil also but it's hardly visible on the front cover but it shows perfectly on the back of the journal.


look at the beautiful textures she gave on chipboards. Dusty Attic Paints used are Dusty in Colour Navajo White, Dusty in Colour  Raisin, Dusty in Colour Dusty Pink, Dusty in Colour hot Chocolate.

Little more close up showing more texture details...
She added few pearls to add extra beauty to the project.


All the Dusty Attic products are listed and linked directly to the website for you reference.
Hope you all liked her first attempt. Do leave some love to build up her confidence.

If you are new and hunting for various craft supplies and Dusty Attic products at best prices in India,you can contact Meetu Aggarwal  or check her website Here


Thanks for stopping by!!


Tuesday, May 17, 2016

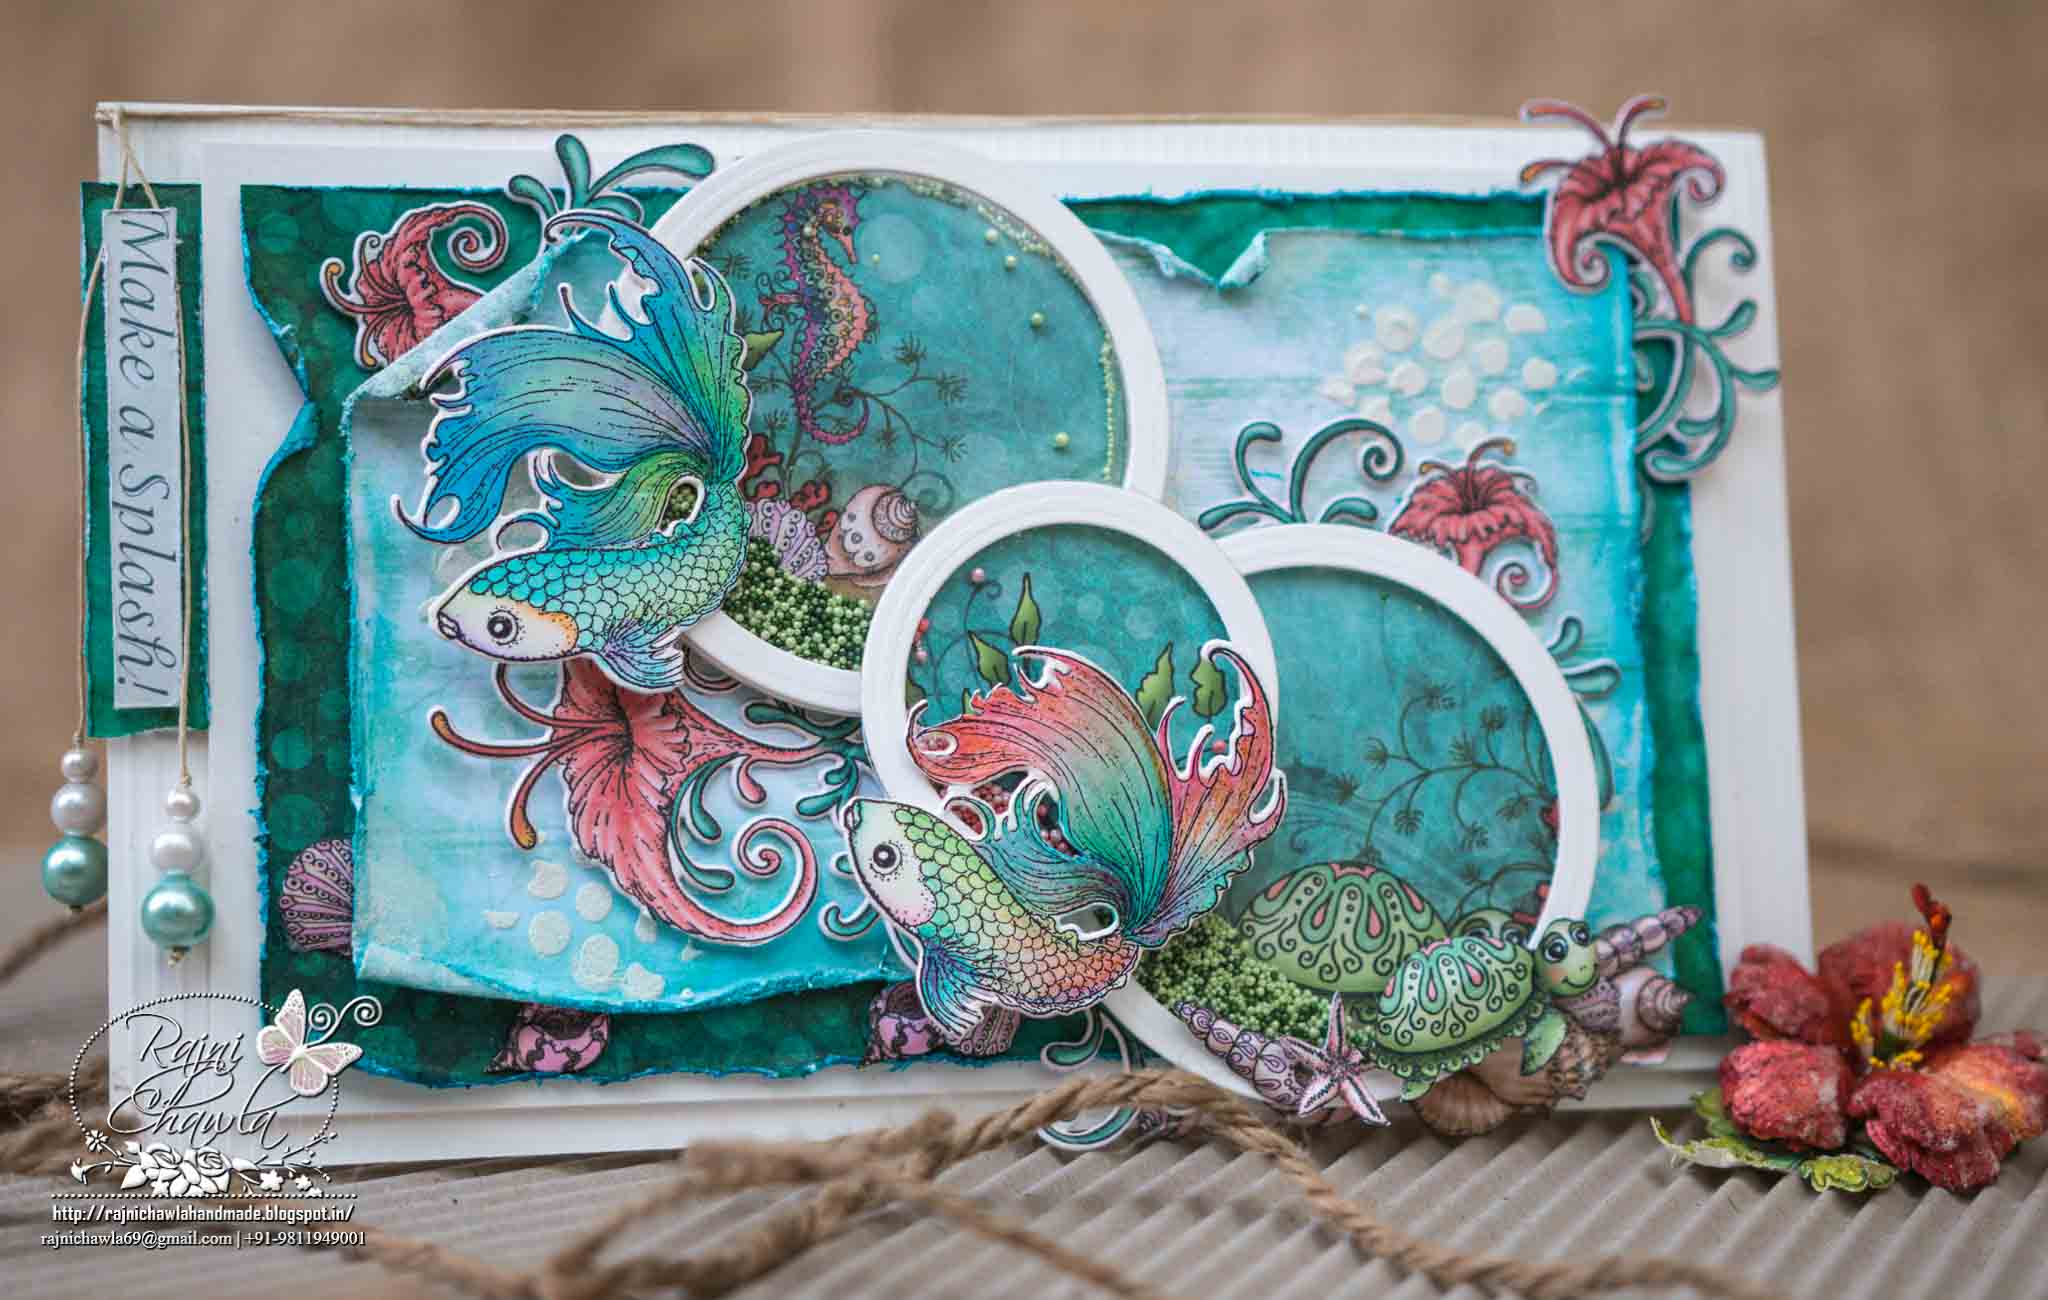
Make a Splash Card using Under the Sea Collection by Heartfelt Creations

Posted by Rajni Chawla

Hello, friends...

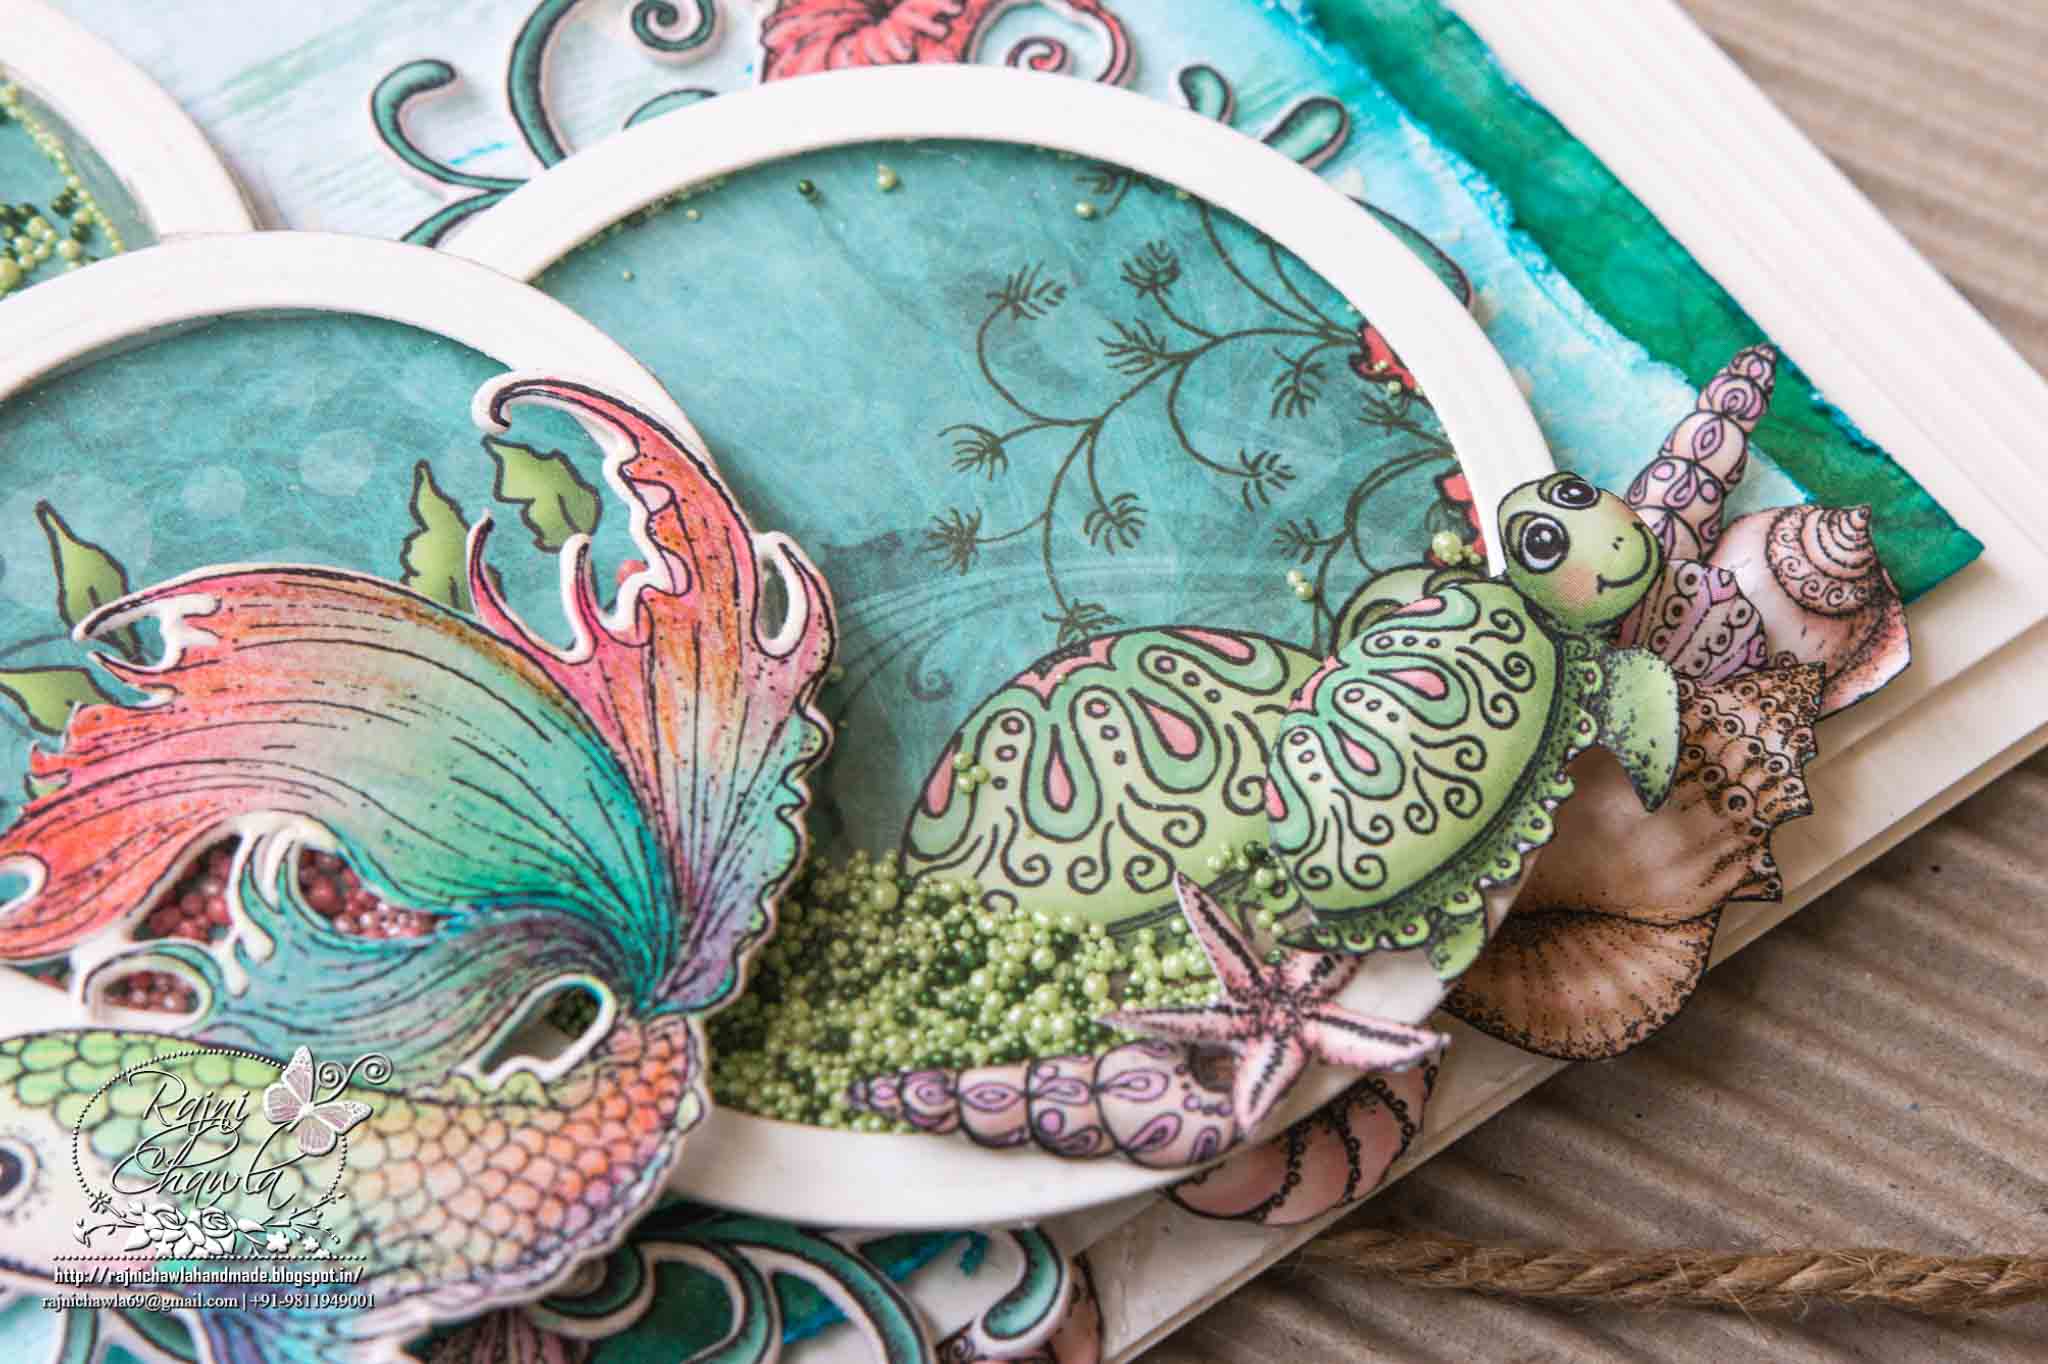
It's happy Wednesday again....which means time for more inspiration with Heartfelt Creation's new release.  Today, I'm here with the new card using Under the Sea Collection. This is the fintastic collection with the cool fresh breeze, the splash of bubbles, sparkles and vibrant  shades of fish, the silence of shells and depth of the sea. Don't forget to check the beautiful splashy inspirations by all team members.

Products from Heartfelt Creations:-

Zig Clean Clear Brush markers, Staedtler Water Colour Pencils, Classics circle die by Spell Binder, Scoring Board, Mermaid Lagoon Distress Inks, Glue Dots, Smooth White Card Stock, Texture Paste and Clear Glitter.

Instructions:

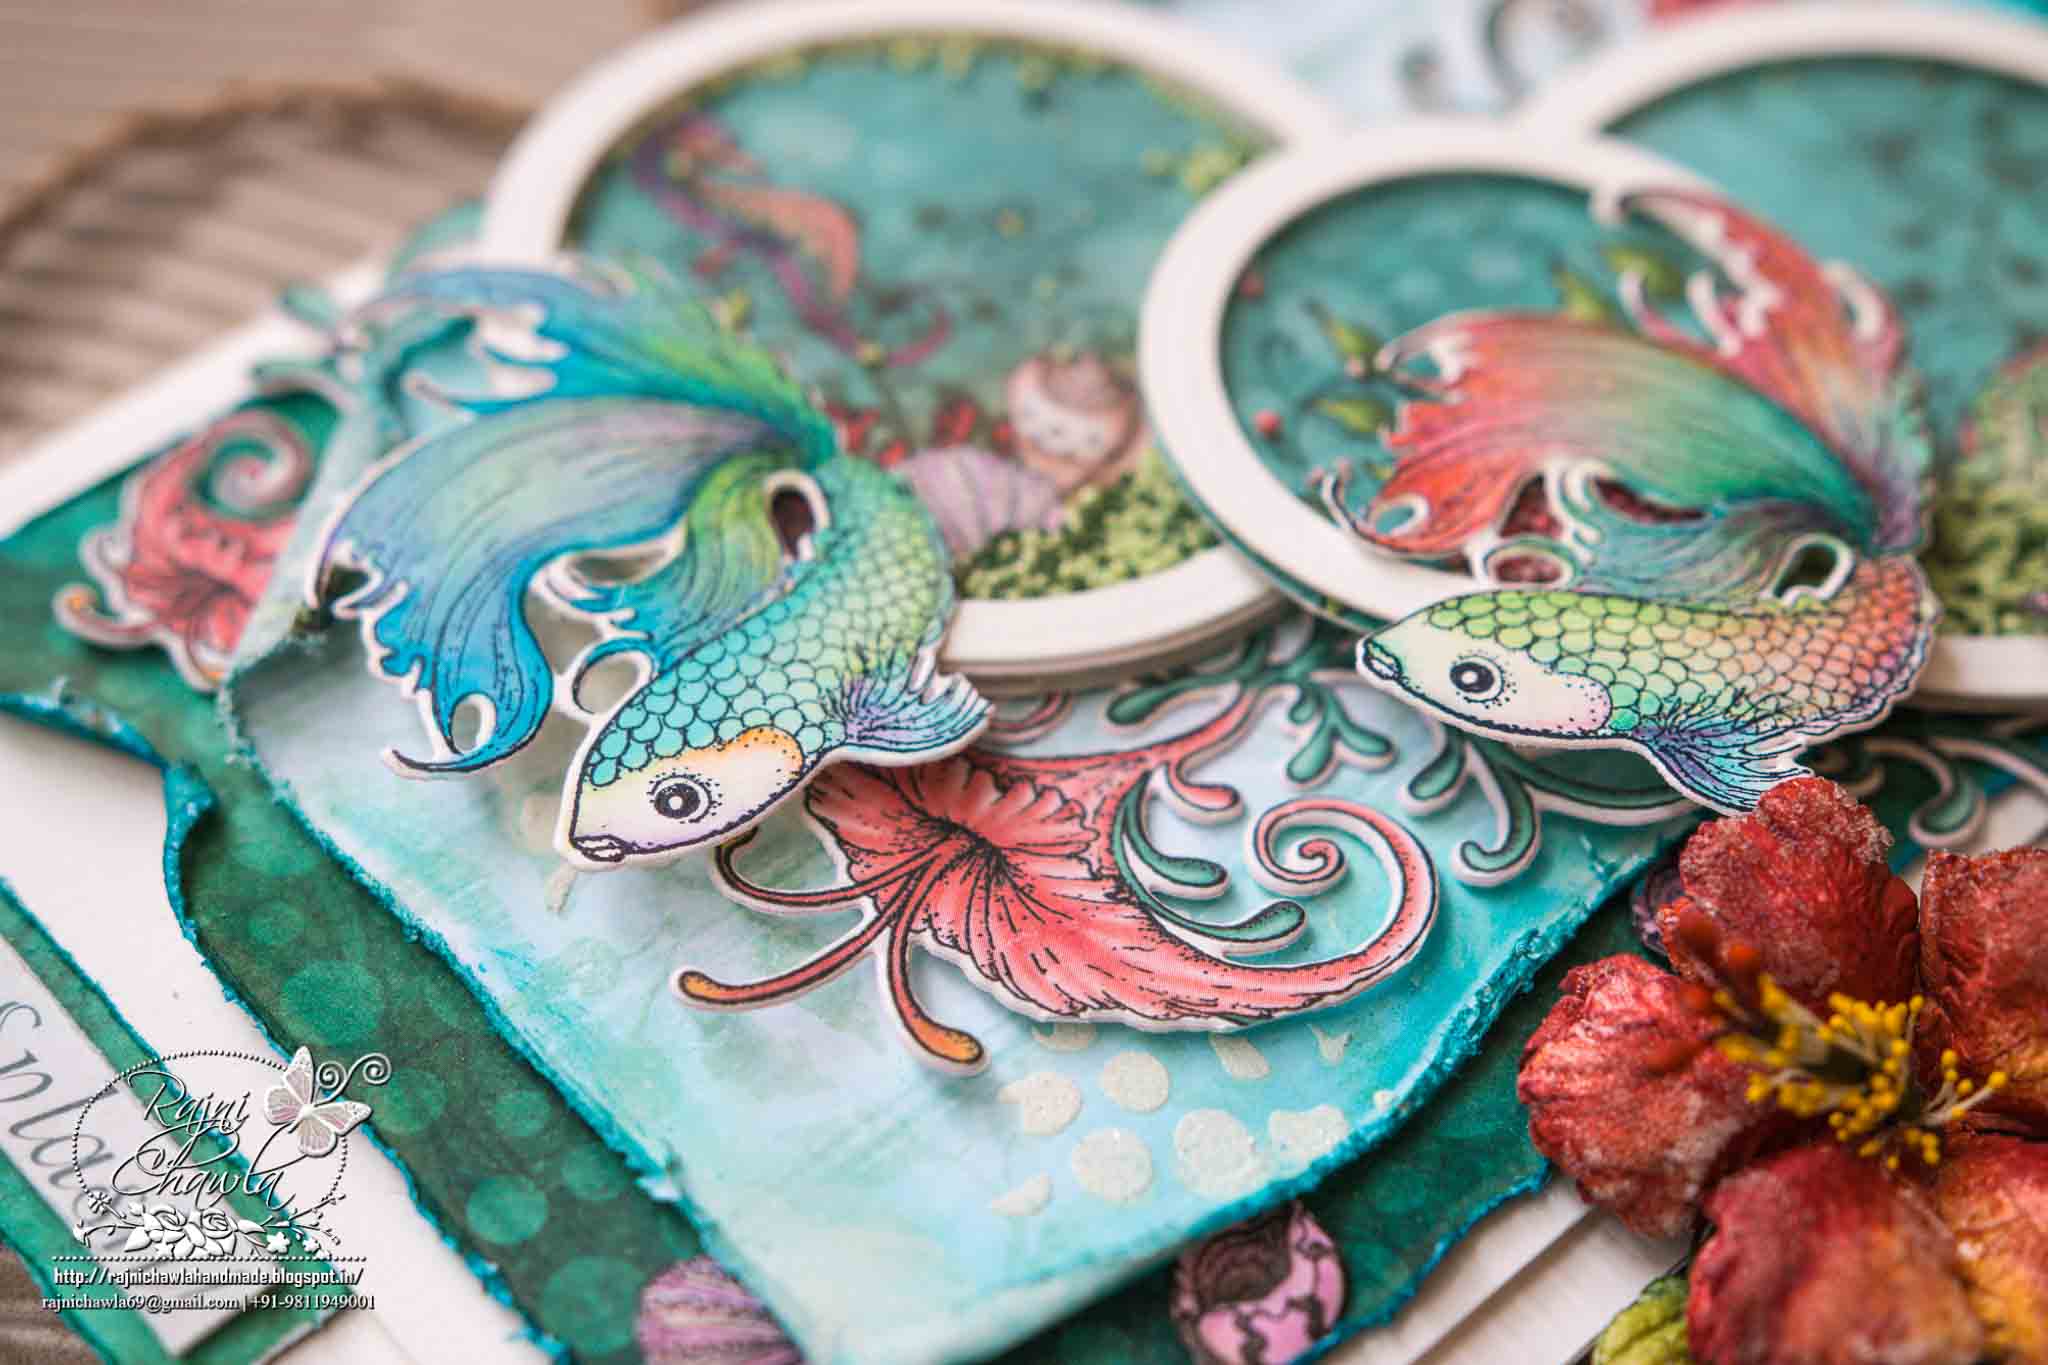
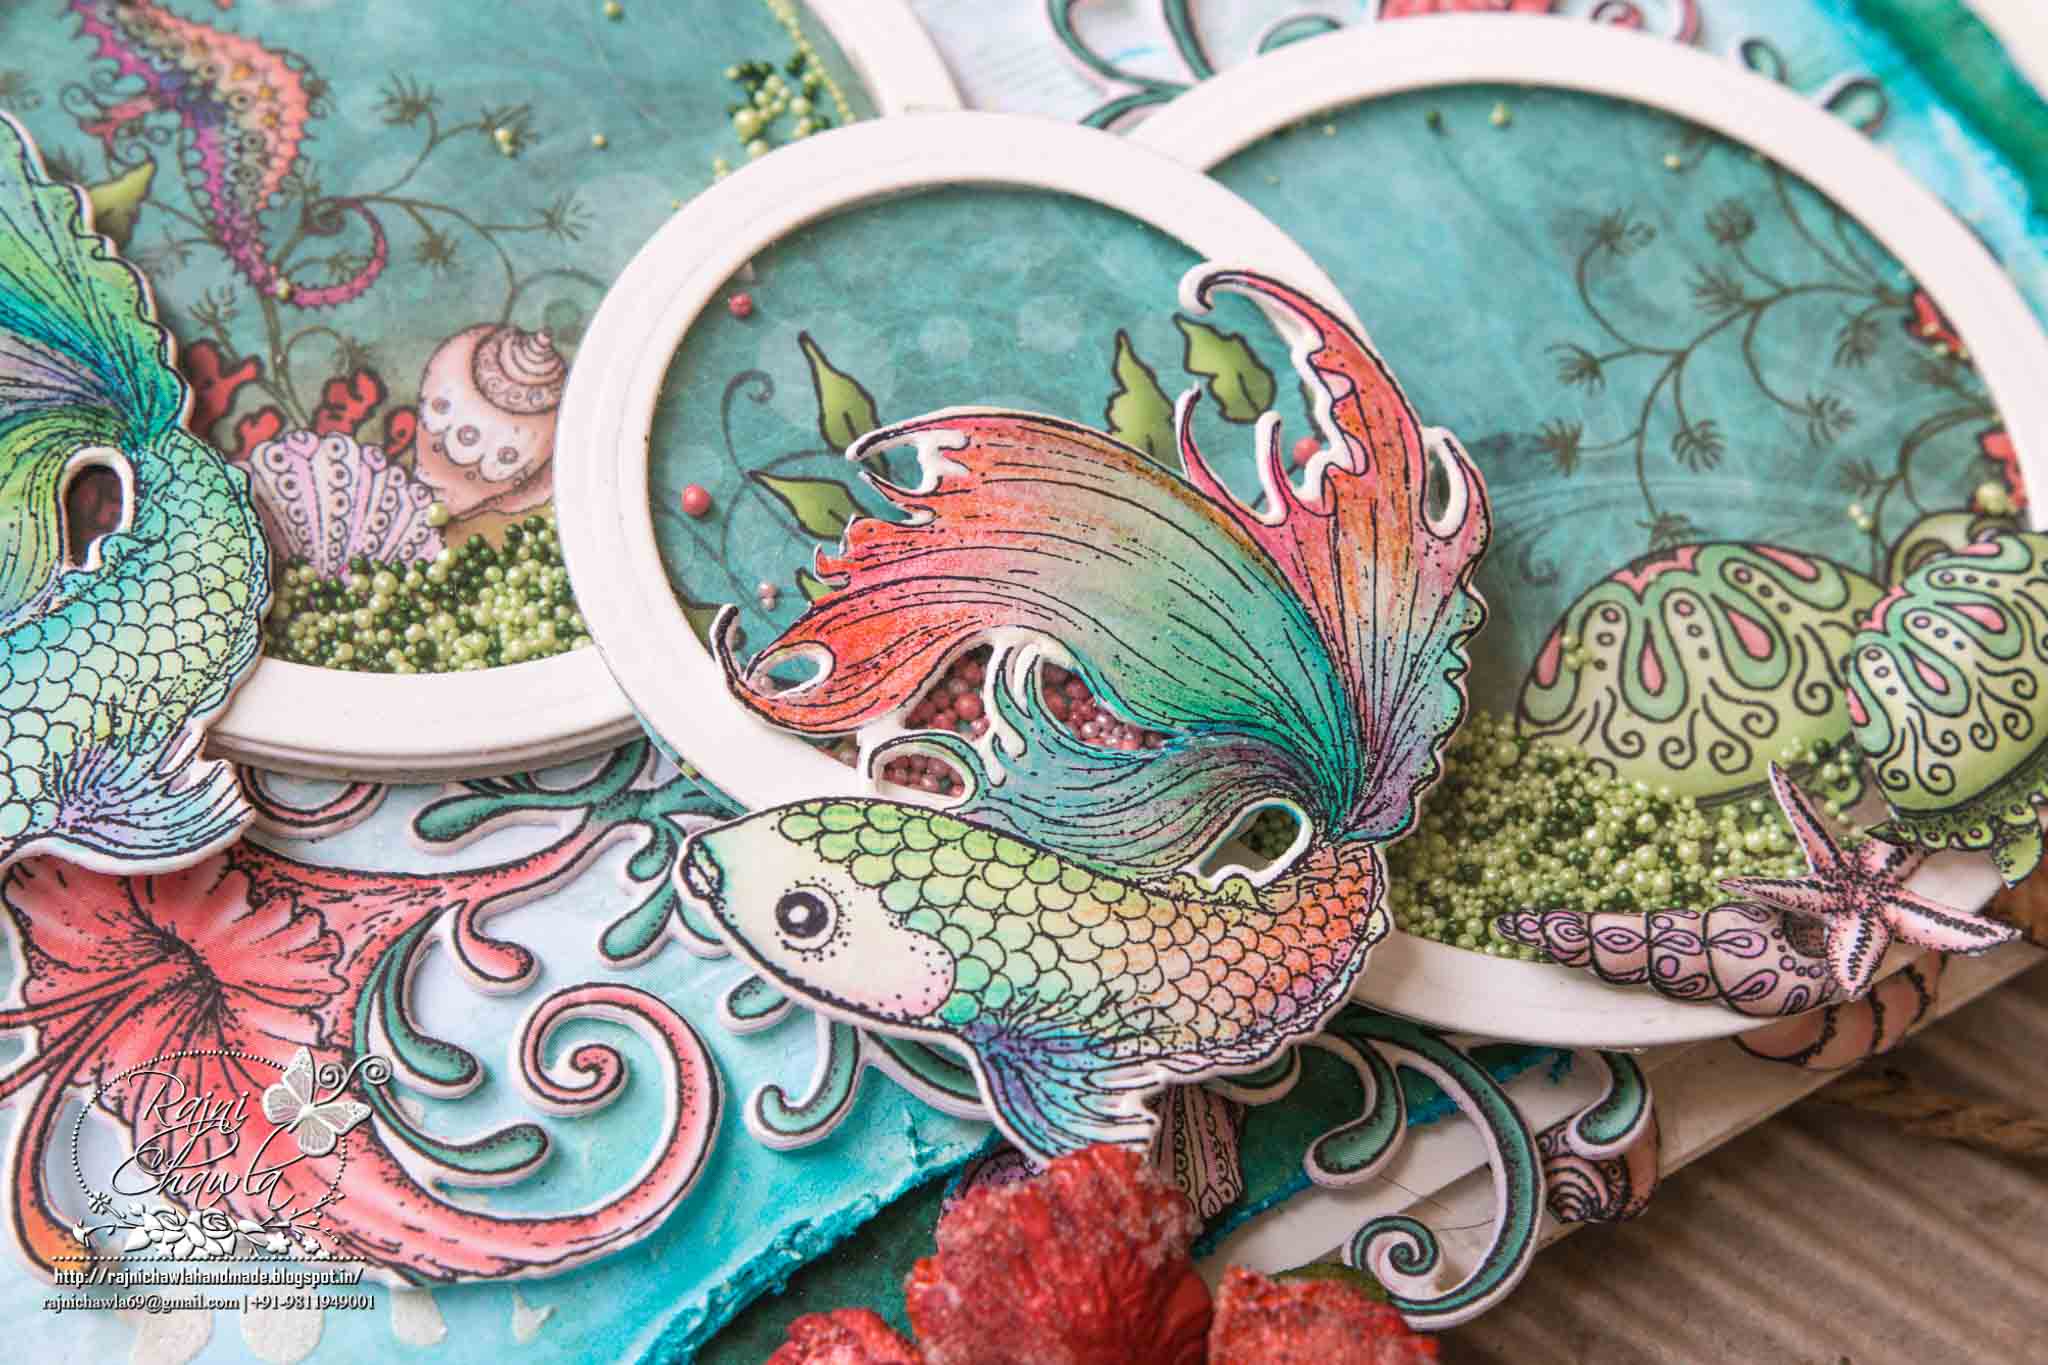
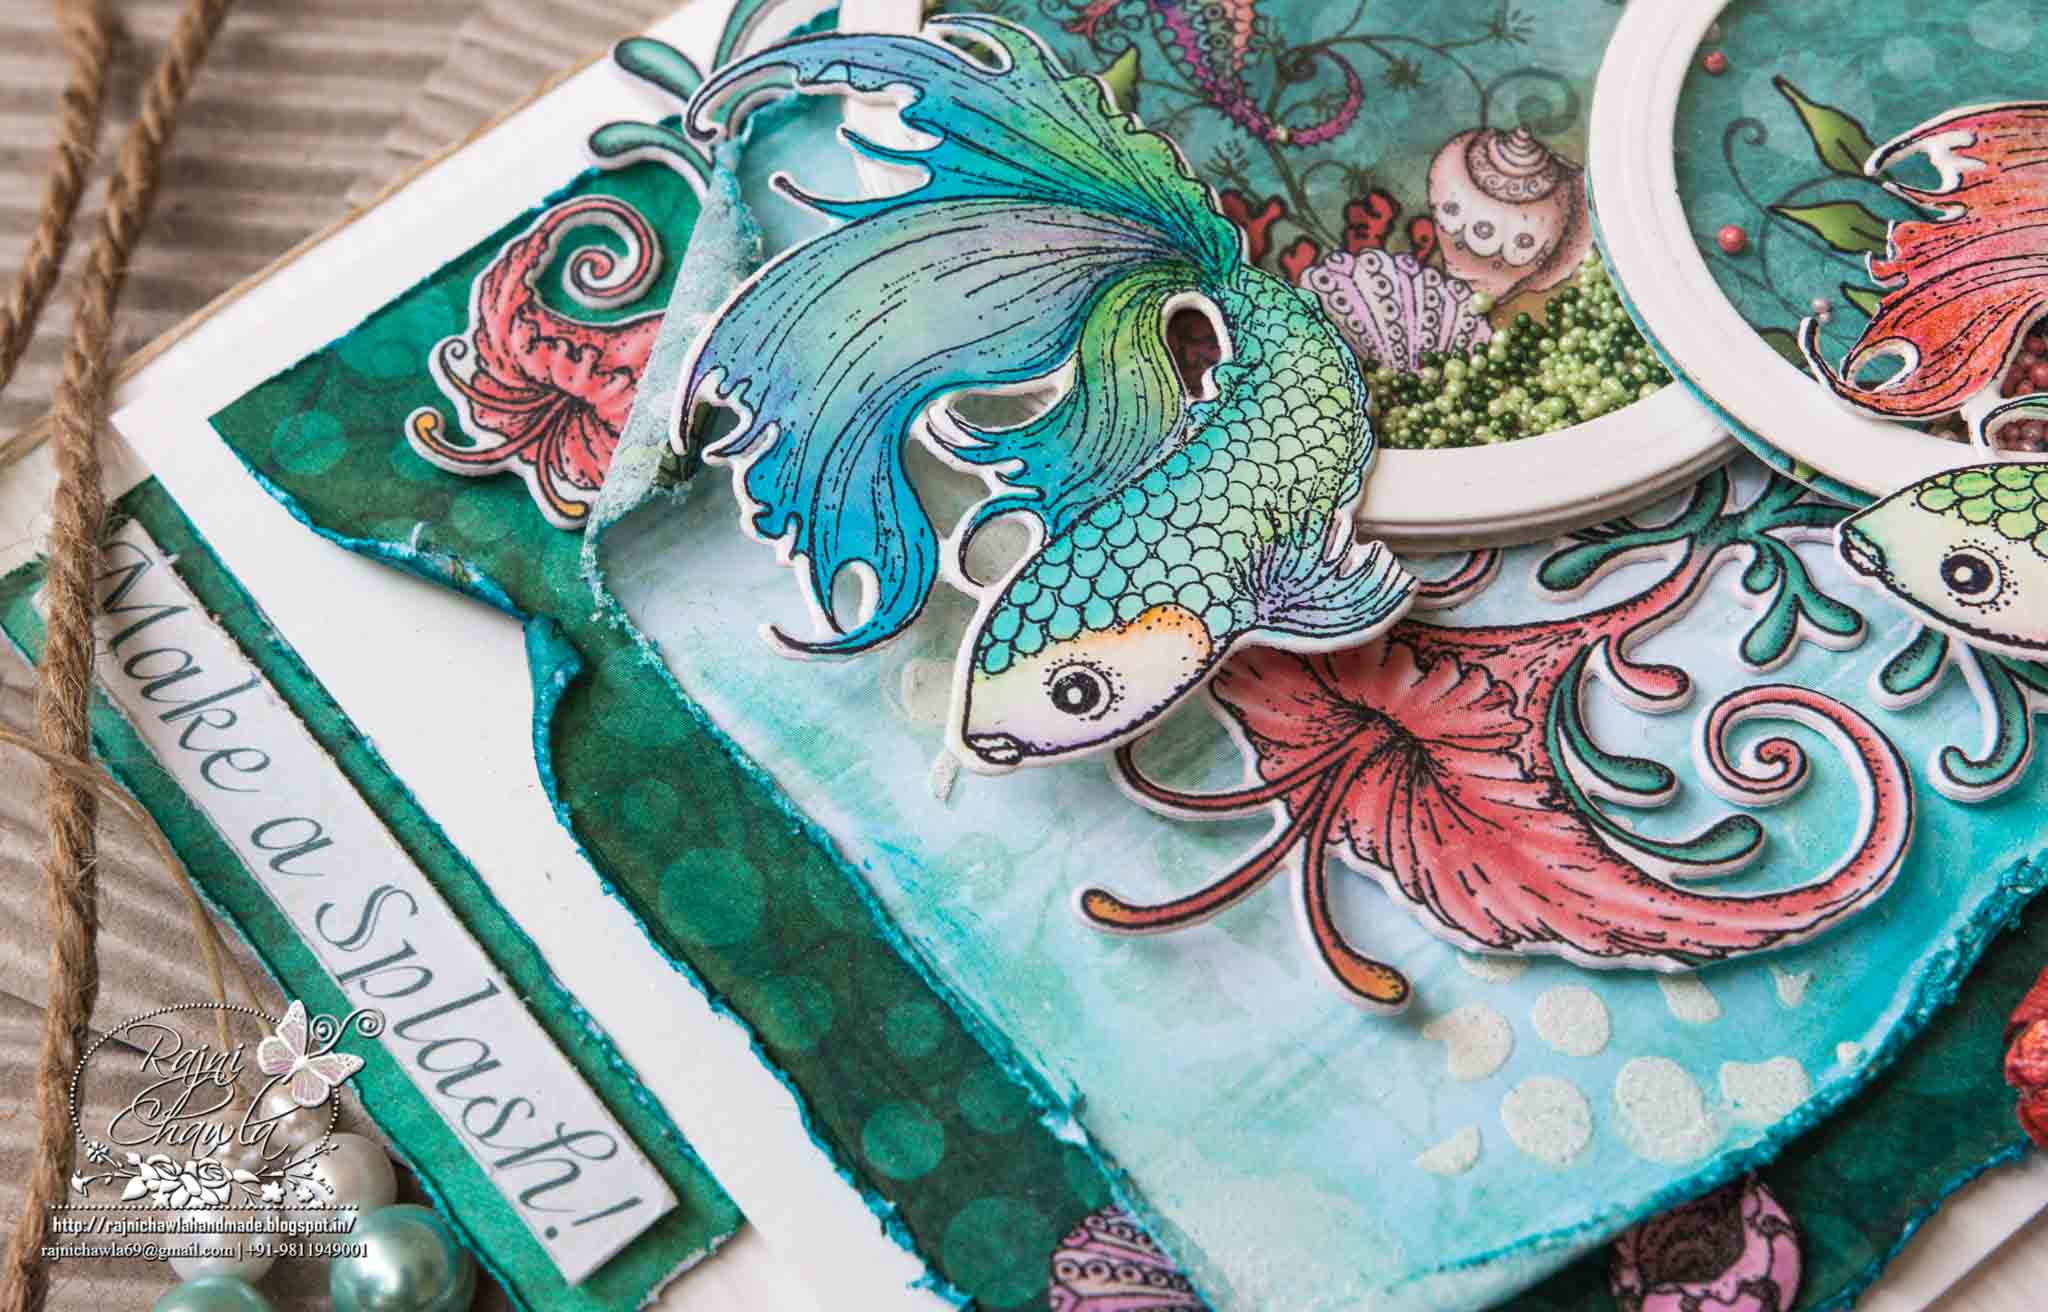
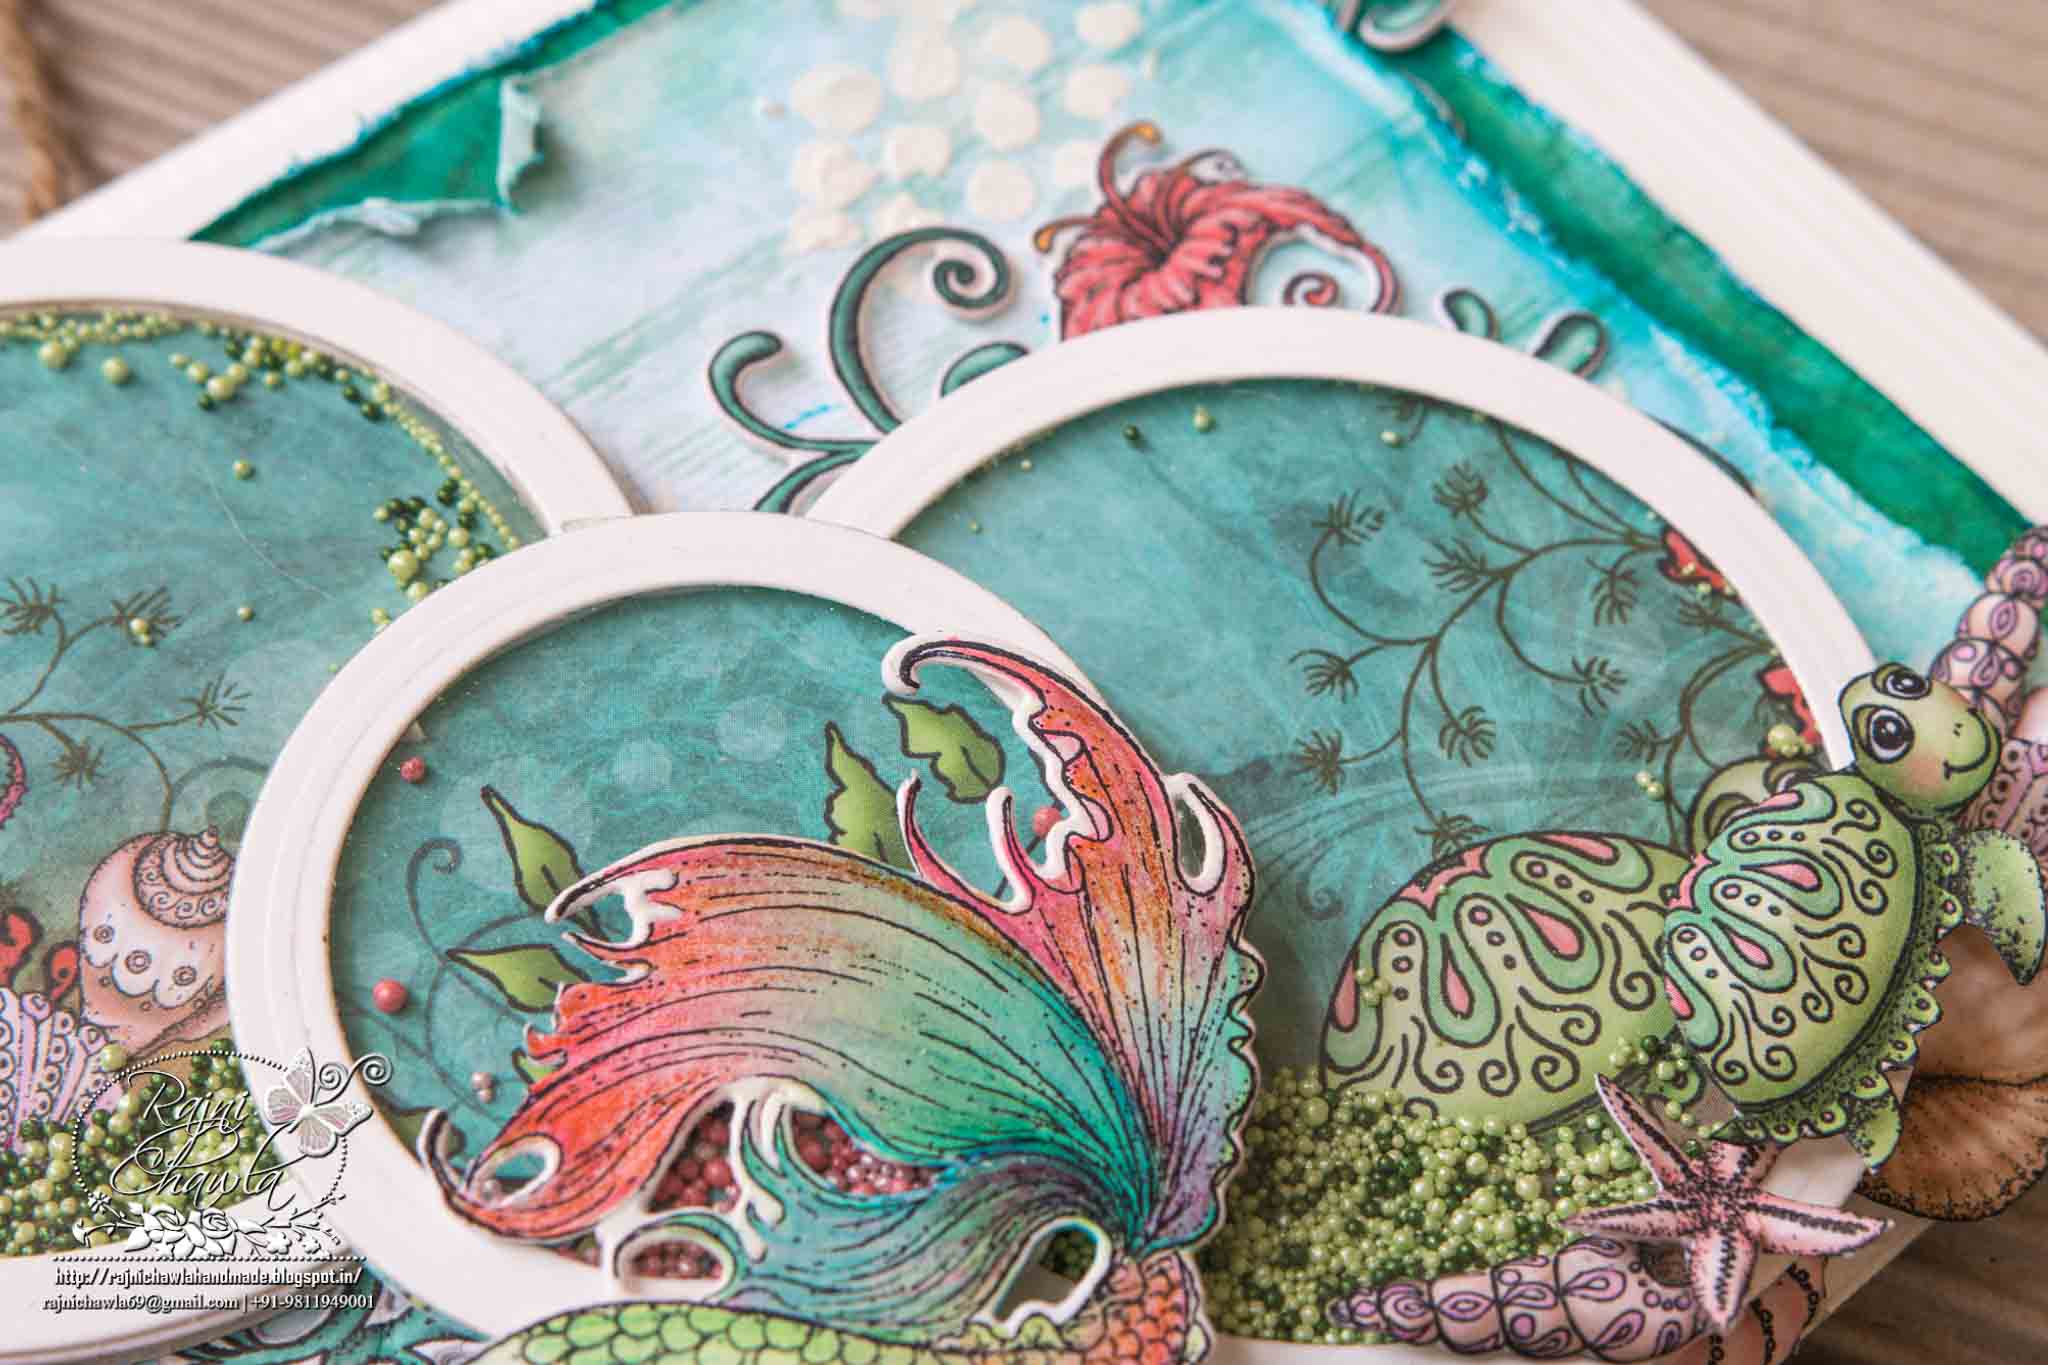
The ready card measures 9 ½ inches X 5 ½ inches. It’s a top-folding card. Cut a sheet measuring 11 inches X 9 ½ inches. Score into half from 11 inches and fold. Score the complete front panel at 1/8th inch all. The card has three mats. The first mat is again white which measures 8 ½ inches X 4 ½ inches. The top two mats are from the designer paper itself which is distressed from all the sides using Tim Holtz Distress Tool. Both the mats are inked with Mermaid Lagoon Distress Ink. The top most mat is then given little texture using bubble stencil and textured paste. Add little clear glitter when wet. Dry set it using the heating tool. For the fish, stamp the image on smooth white card stock with black Archival ink and paint them with Zig Clean Clar Brush Markers. Add little highlighting with Staedtler Pencil Colours. For the shakers on the cards, nest two Classic Circle Dies together to get the rings. Stick acetate sheet to the ring. Cut a mat with pattern paper. Add Prills and close the shaker elements using foam tape. Now, assemble the card as shown. Add sentiment and twine with beads, as shown.

FULL VIEW...

1 (1) - Copy

DETAILED PICTURES...

1 (2) - Copy

Loved the beautiful cut with coordinating dies..

1 (5)

Loved the beautiful vibrant coloring with Zig clean clear markers. Wanted to add little glitter but avoided. These were looking gorgeous as it is. 

1 (6)


1 (4)

Be sure to visit Heartfelt Creations Blog for more Inspiration.
Thanks for visiting! 
Happy Crafting

Tuesday, May 03, 2016

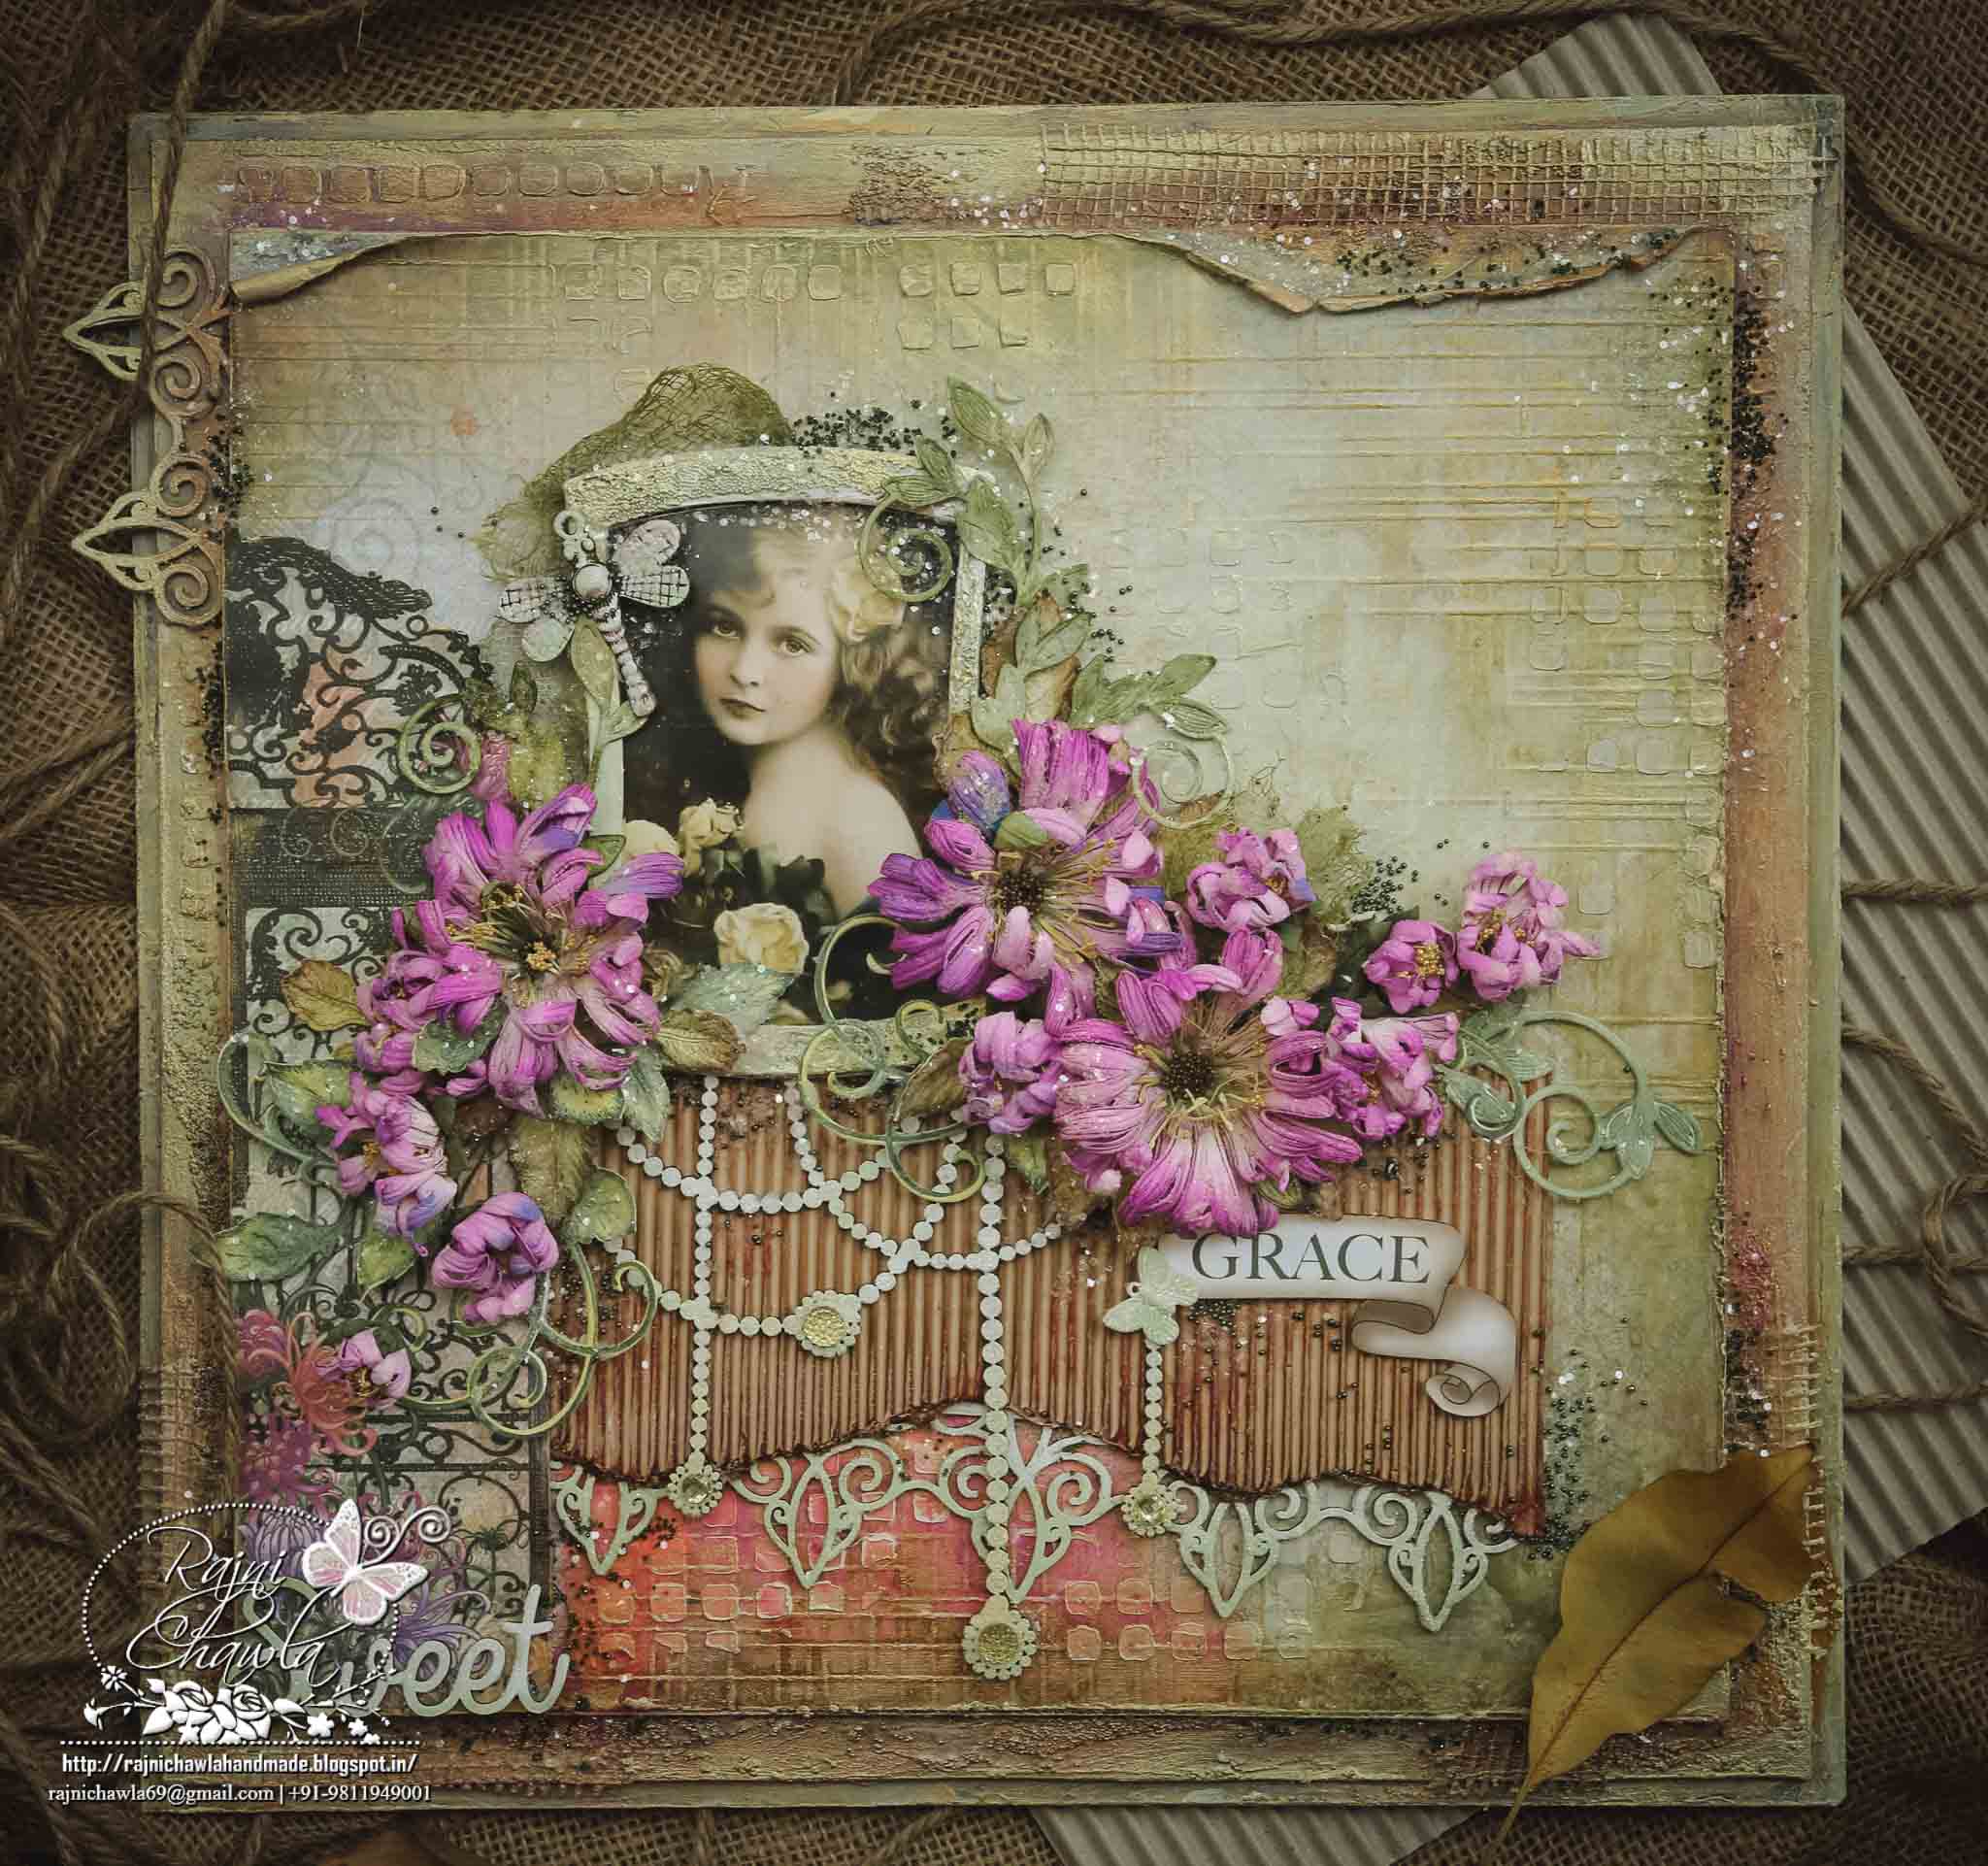
Grace: Layout using HC Enchanting Mum Collection

Posted by Rajni Chawla

Good morning friends!!

I am so thrilled and excited to see myself on Heartfelt Creation's board. It's a dream team. God has given me a wonderful opportunity to enjoy this beautiful world of crafting and to meet few more talented crafters across the globe. I know it's going to be a fun learning time with HC family. Today, I am on board with my very first project as a Heartfelt Creations Design Team!
Though I was bit nervous while creating this project as I entered my craft room after many days due to my ill health, but I have surely tried my level best to inspire you.

Full View of the layout: 

HFC 30th April-14


HFC 30th April-13

Heartfelt Creation Products Used: 


Other products:

Archival inks Library Green, Clear Rock Candy Glitters, Stickles, Heavy Gesso, Silk Glaze, Micro beads, Dusty Attic Chipboards, Texture Paste, Prima Stencils, Heavy Chipboard, Dry Mech, Spellbinder’s Wonky Rectangles, mists /sprays and Acrylic paints, fussy cutting scissors.

Instructions for Flowers and leaves:
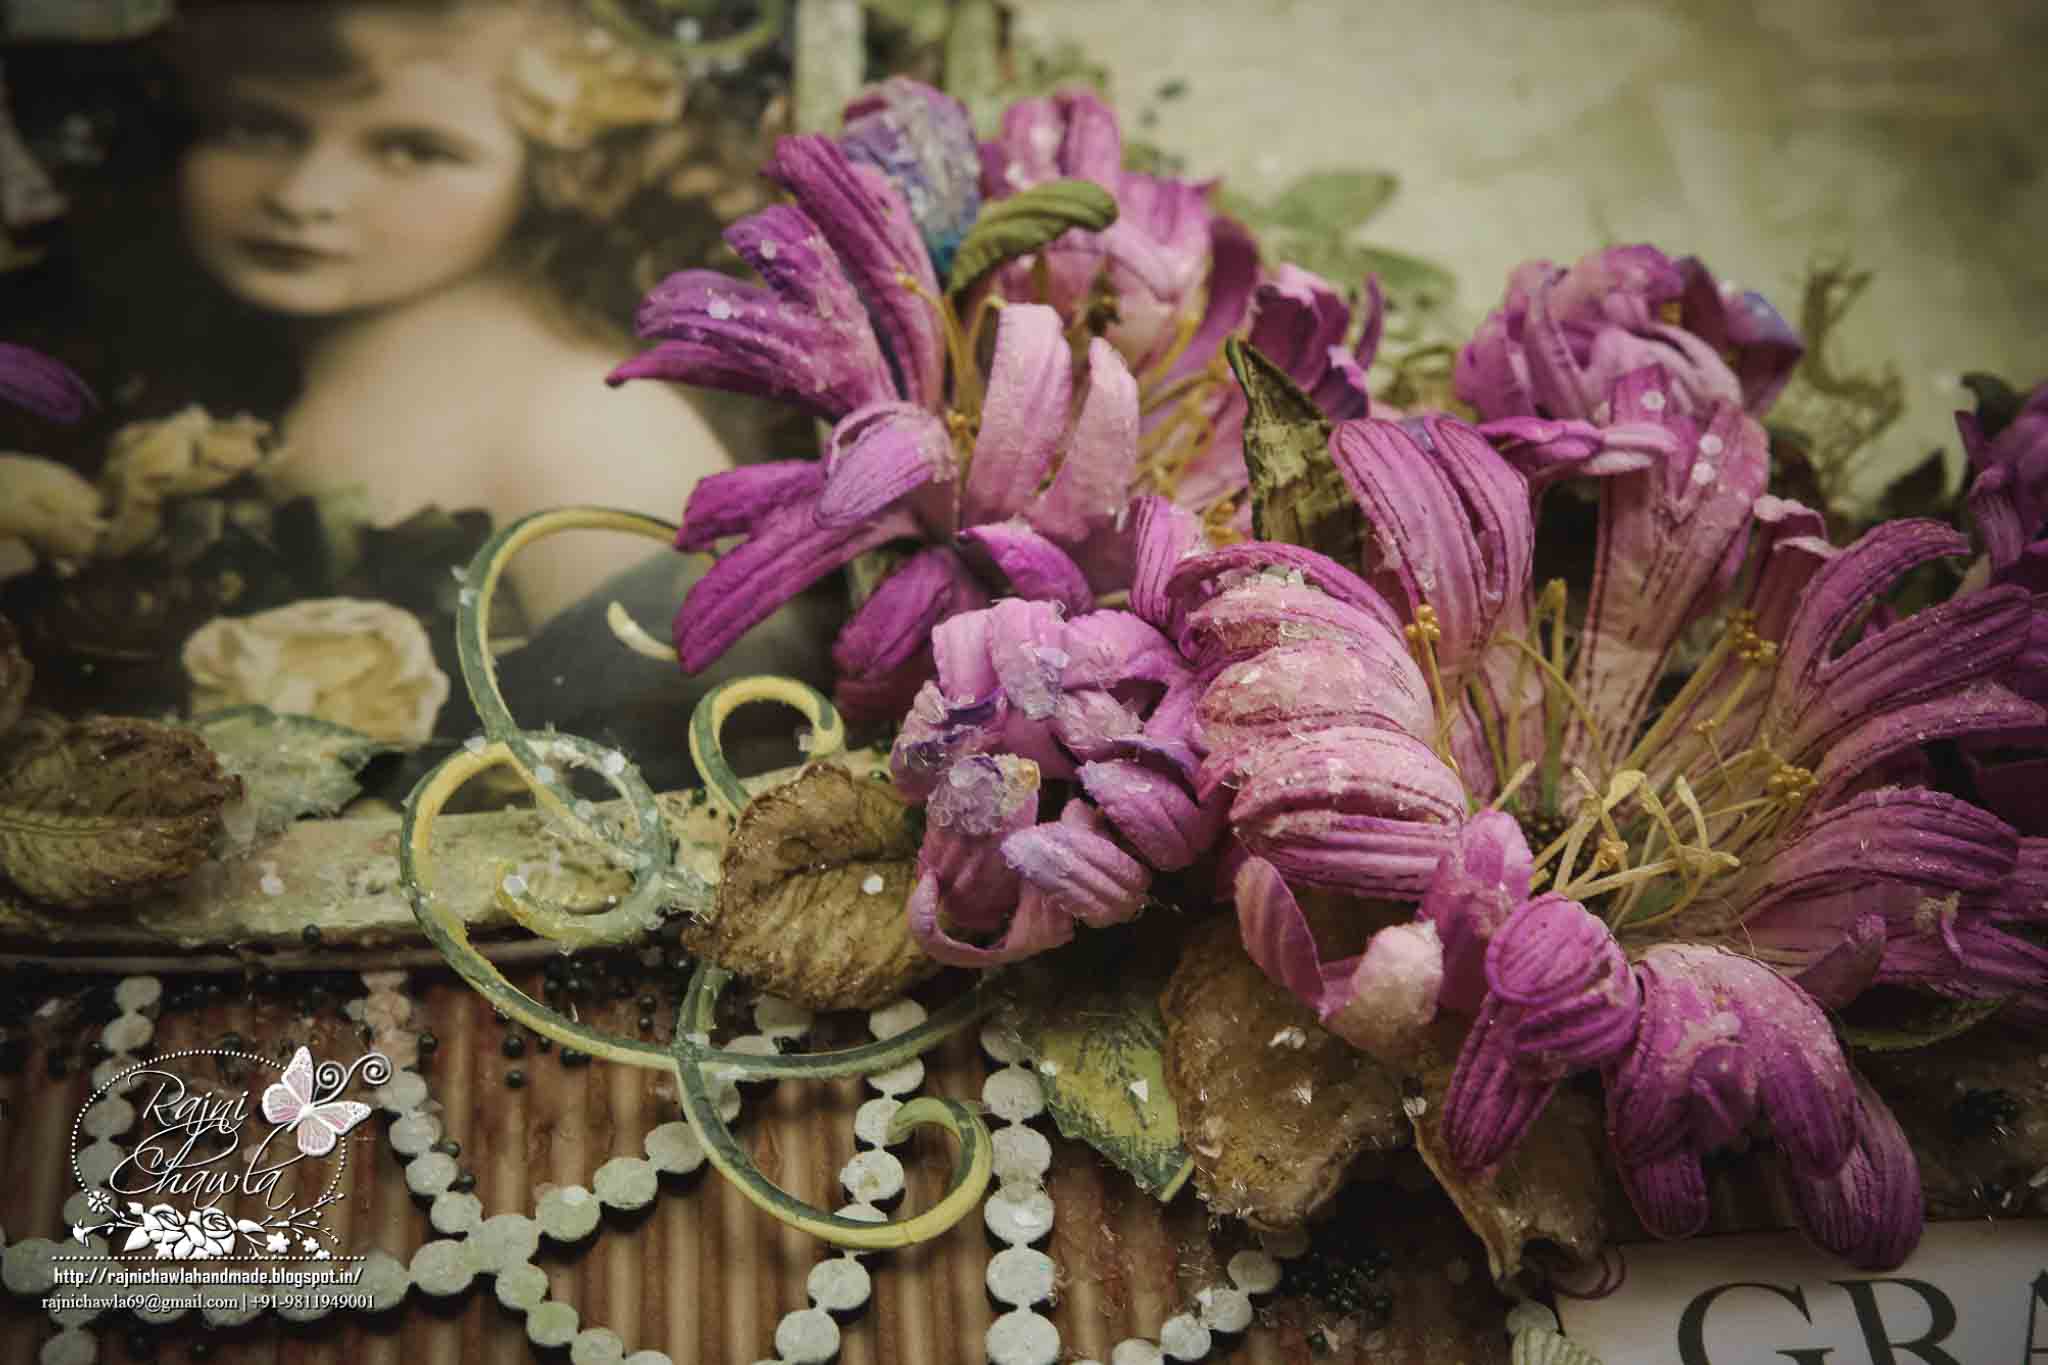
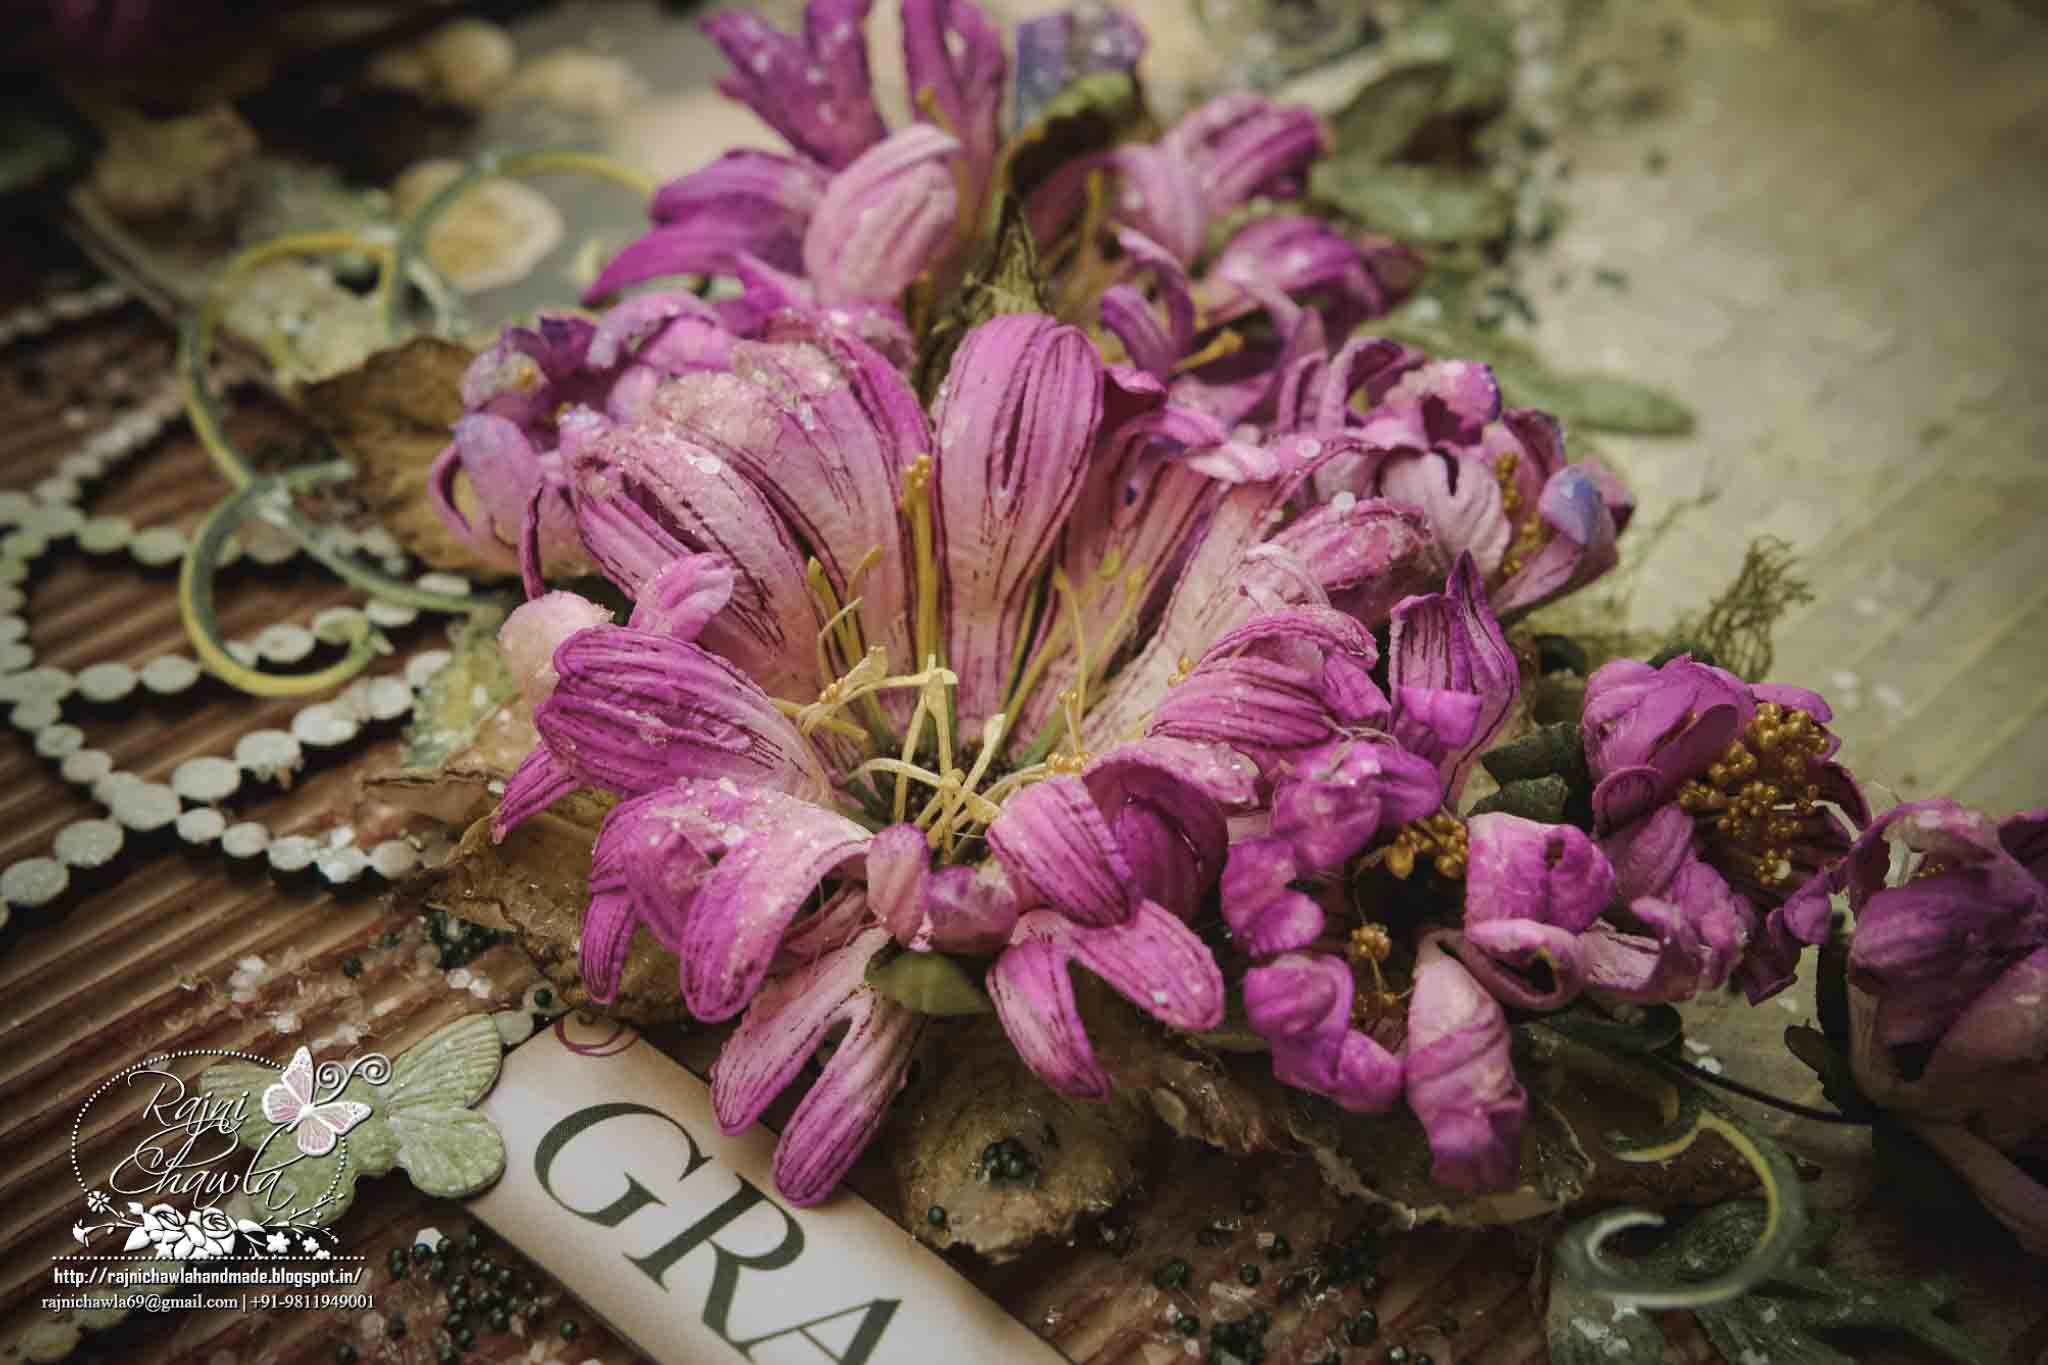
 Follow Emma Lou’s video below for shaping Enchanting Mum Flowers.


The flower centres are made using stamens of Sunrise Lily die. Paint the stamens with ColorBox Fluid Chalk Ink Pad – Harvest and Lime Pastel and split them in half. Add Prills using - Art Institute Glue that Dries Clear. Leaves are all stamped with Library Green Archival Ink and painted with ColorBox Fluid Chalk Ink Pad - Lime Pastel. Leaves and flowers are shaped using Deluxe Flower Shaping Kit.

Instructions for Vintage Girl Frame:
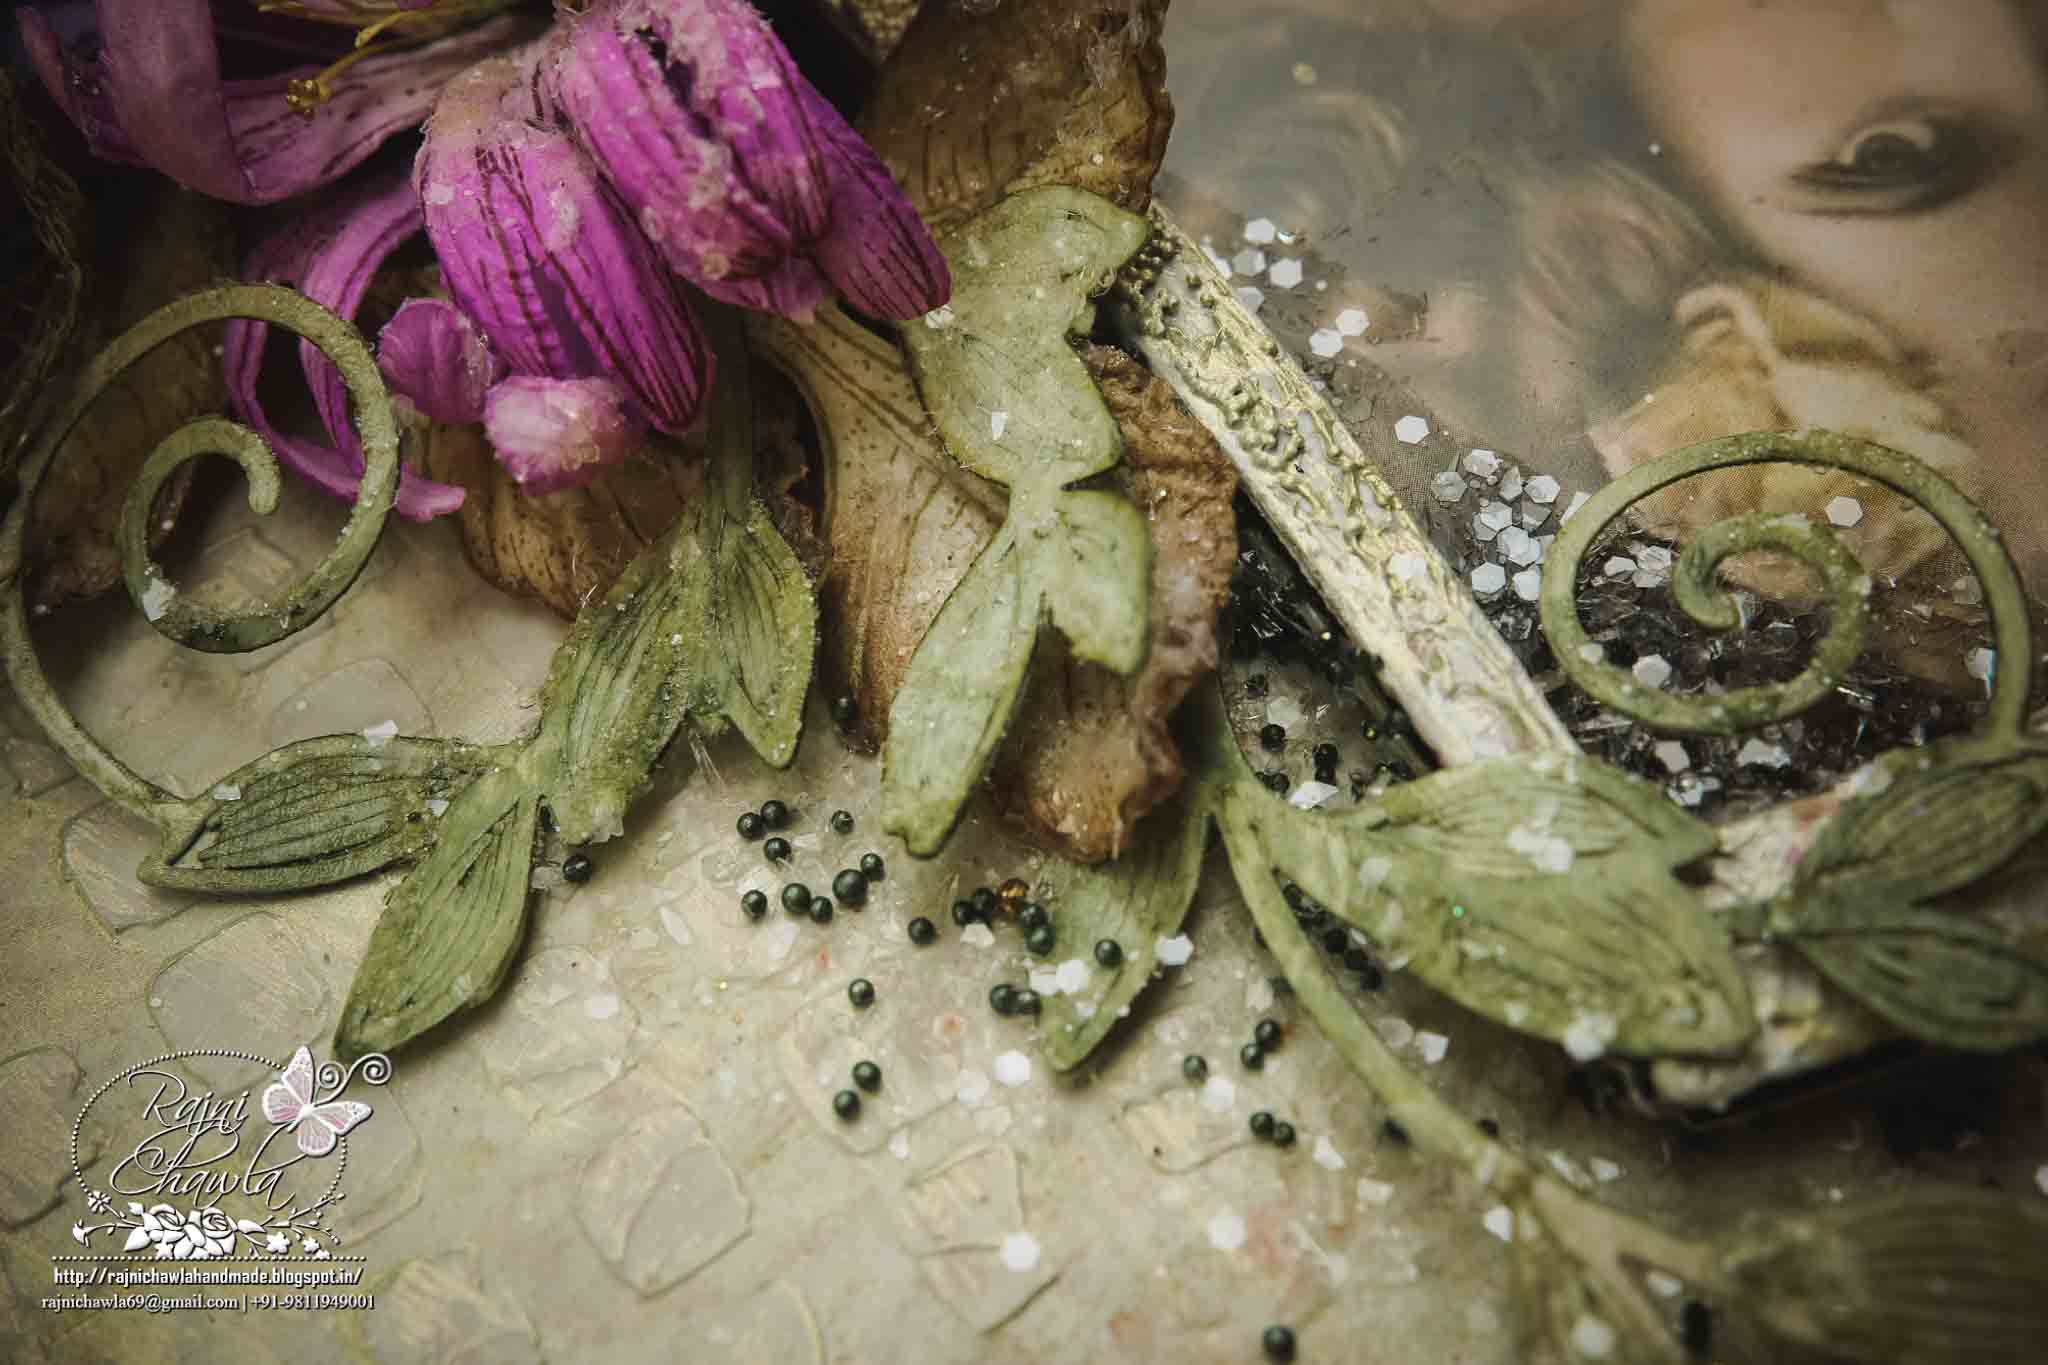
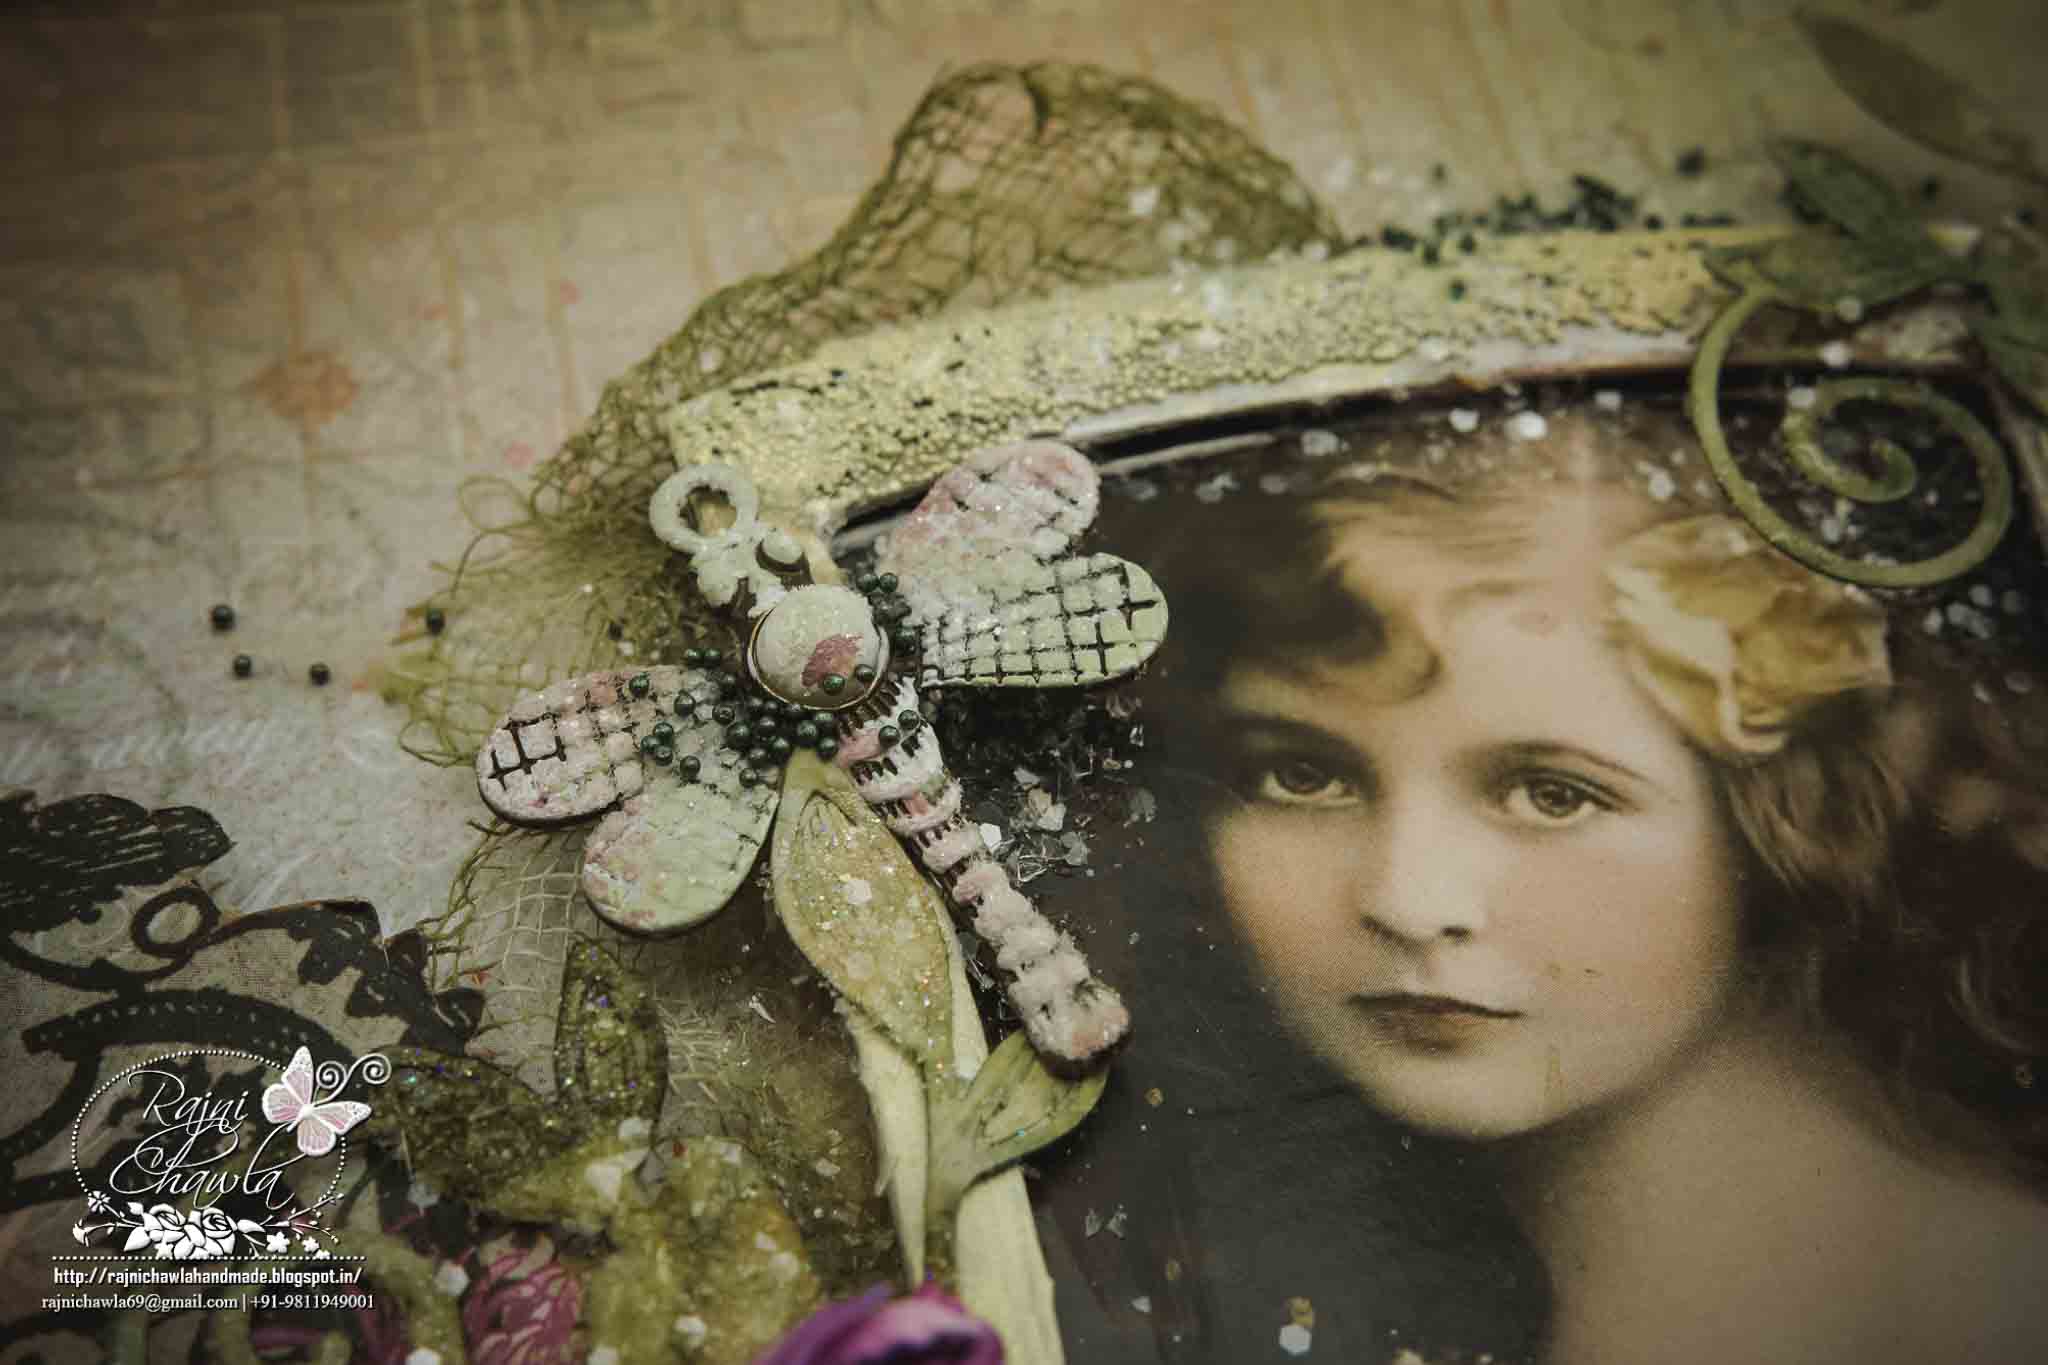
 The vintage girl image is downloaded from Pinterest. Nest outer two dies of Spellbinder’s Wonky Rectangles with heavy cardstock and make a frame for the vintage girl image. Give a light coating of texture paste on the frame and sprinkle micro beads and leave it for drying. Once dried apply matching shades of acrylic paint and paint the frame.

Instructions for Layout:
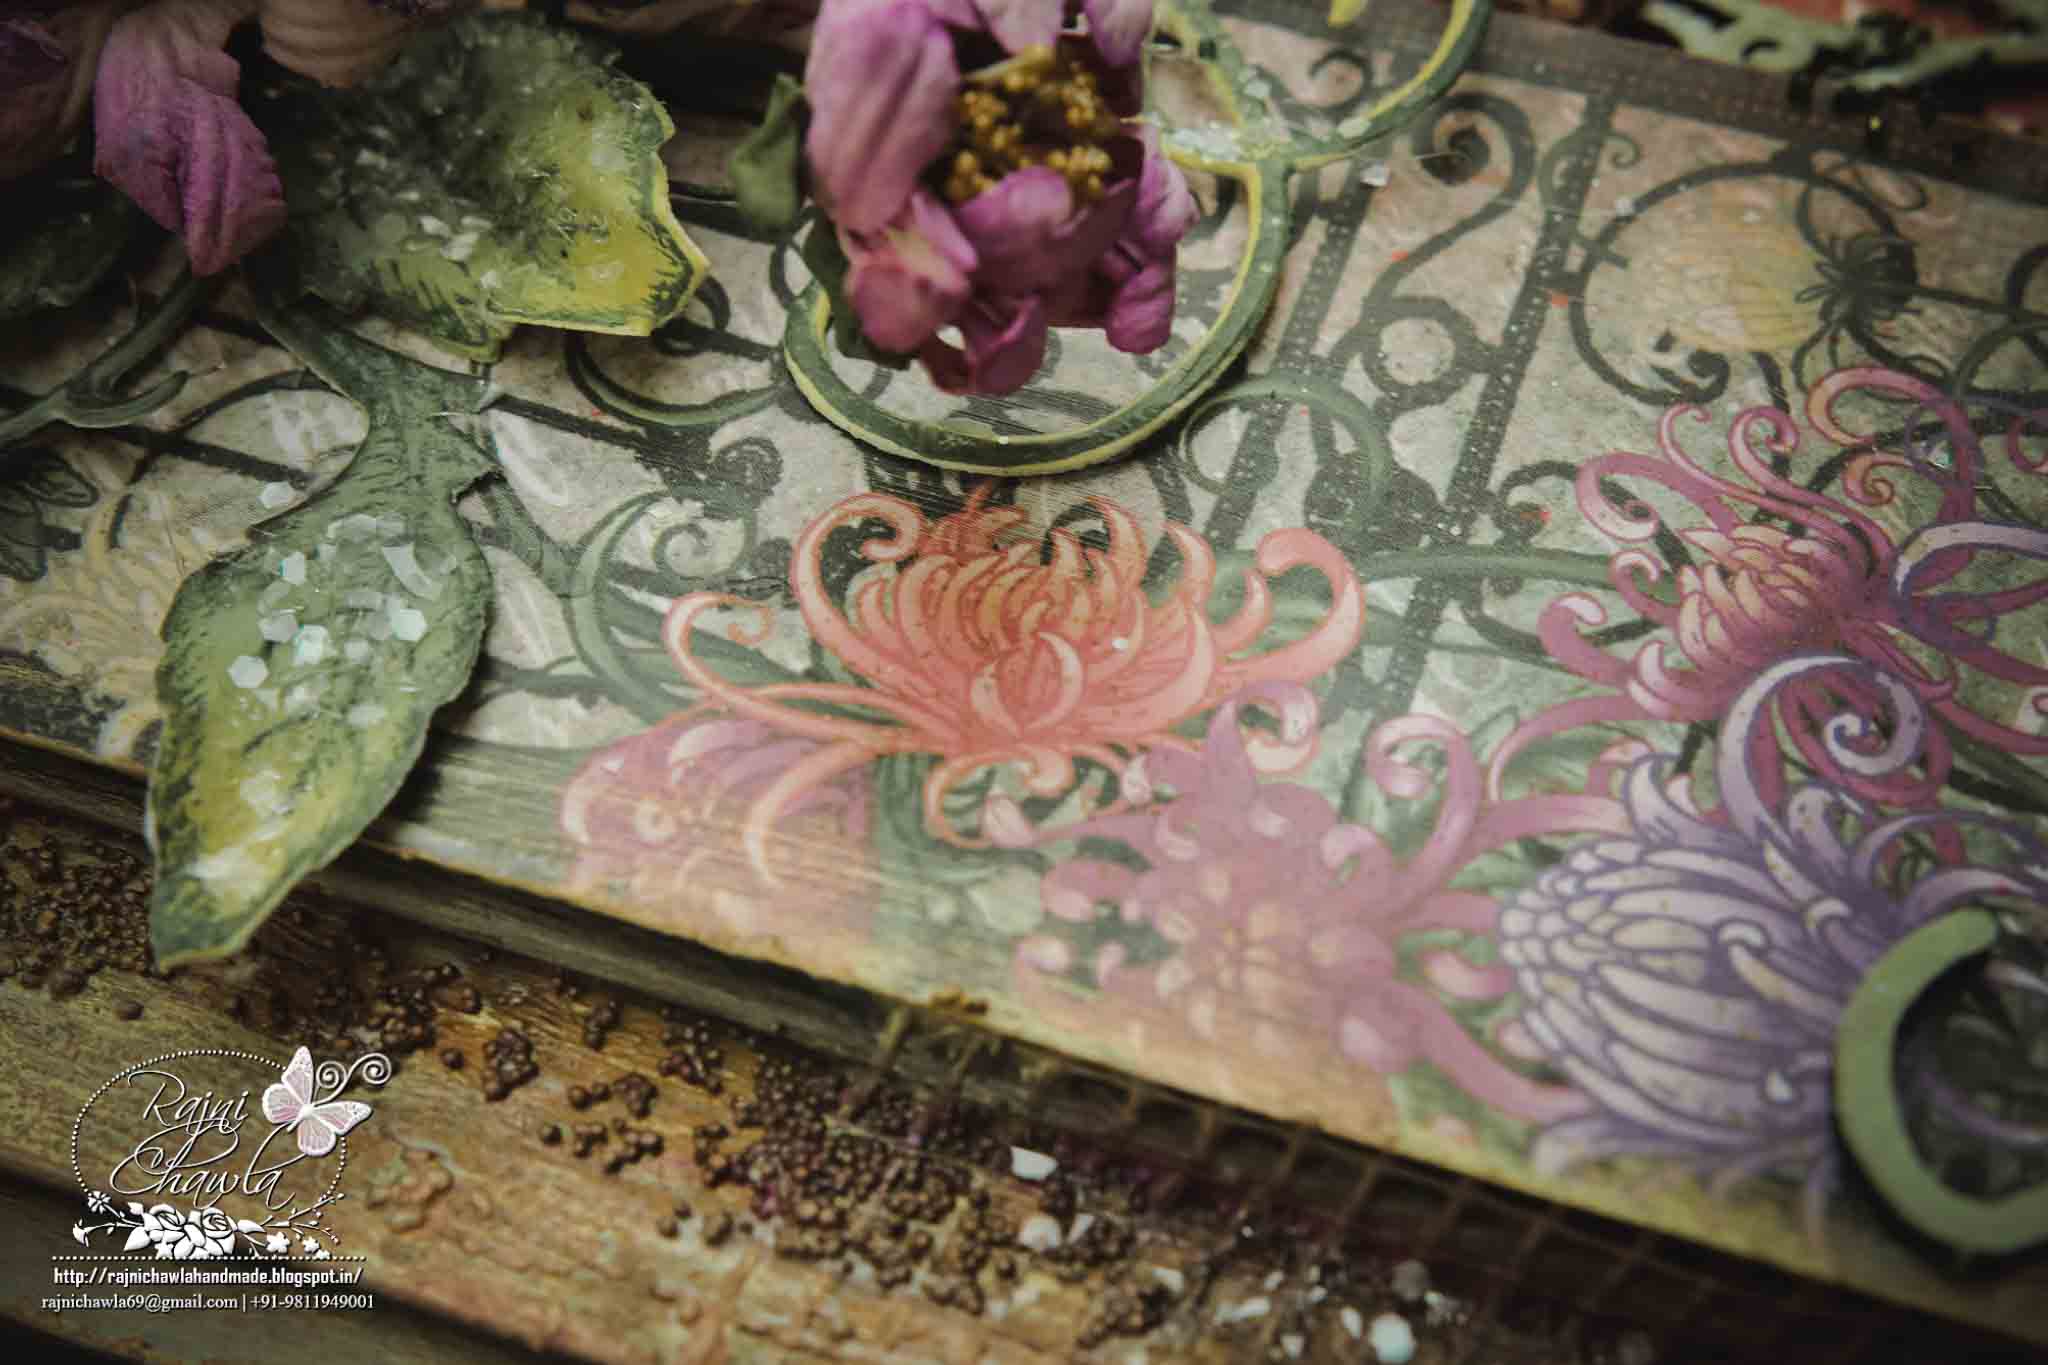
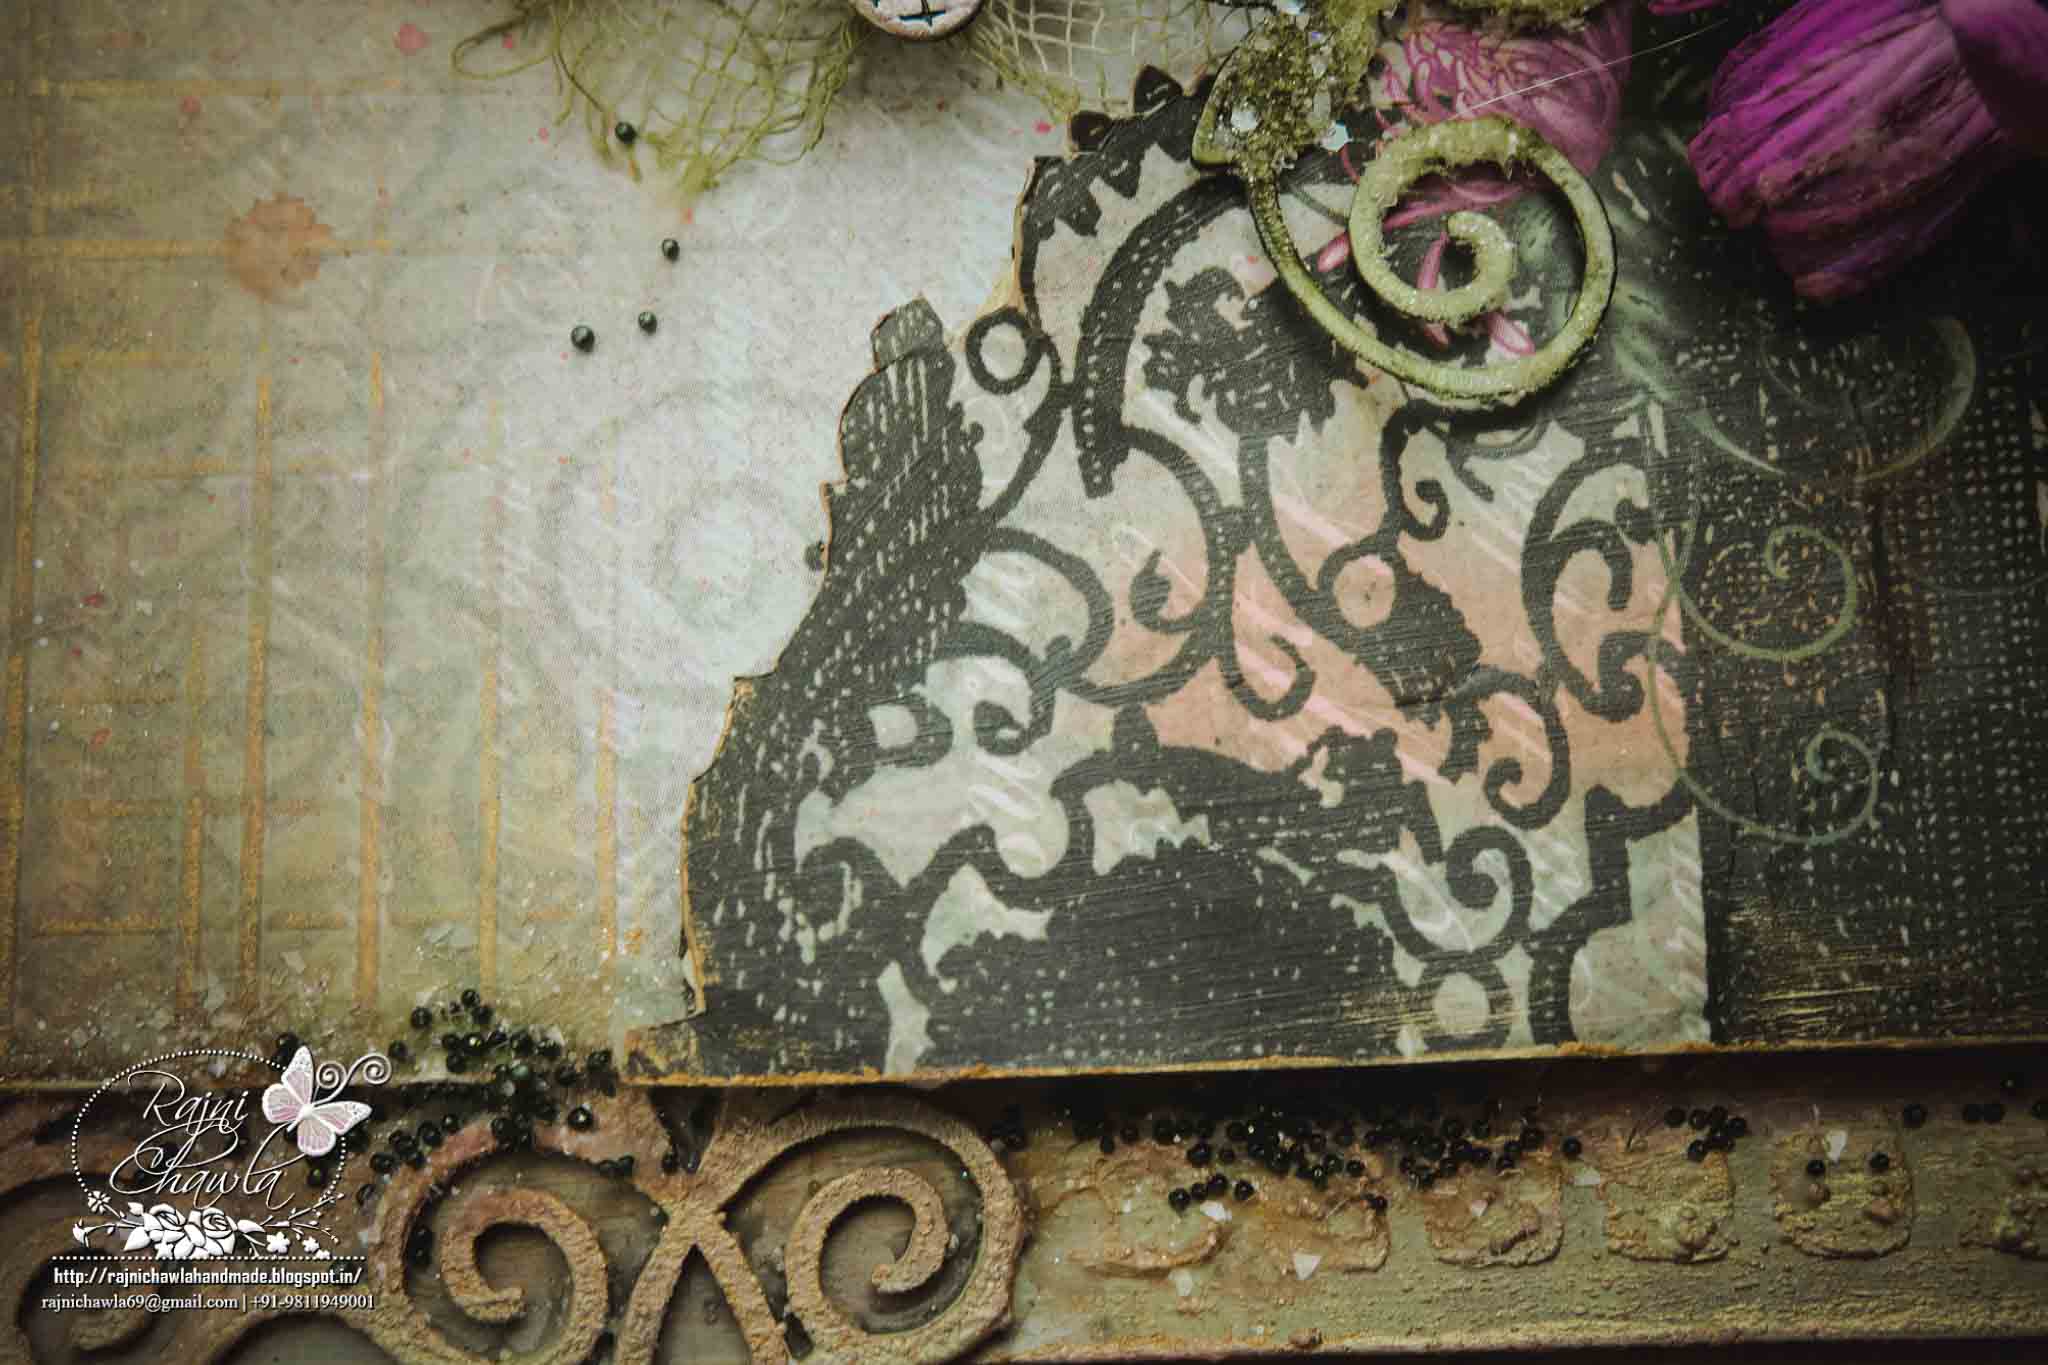
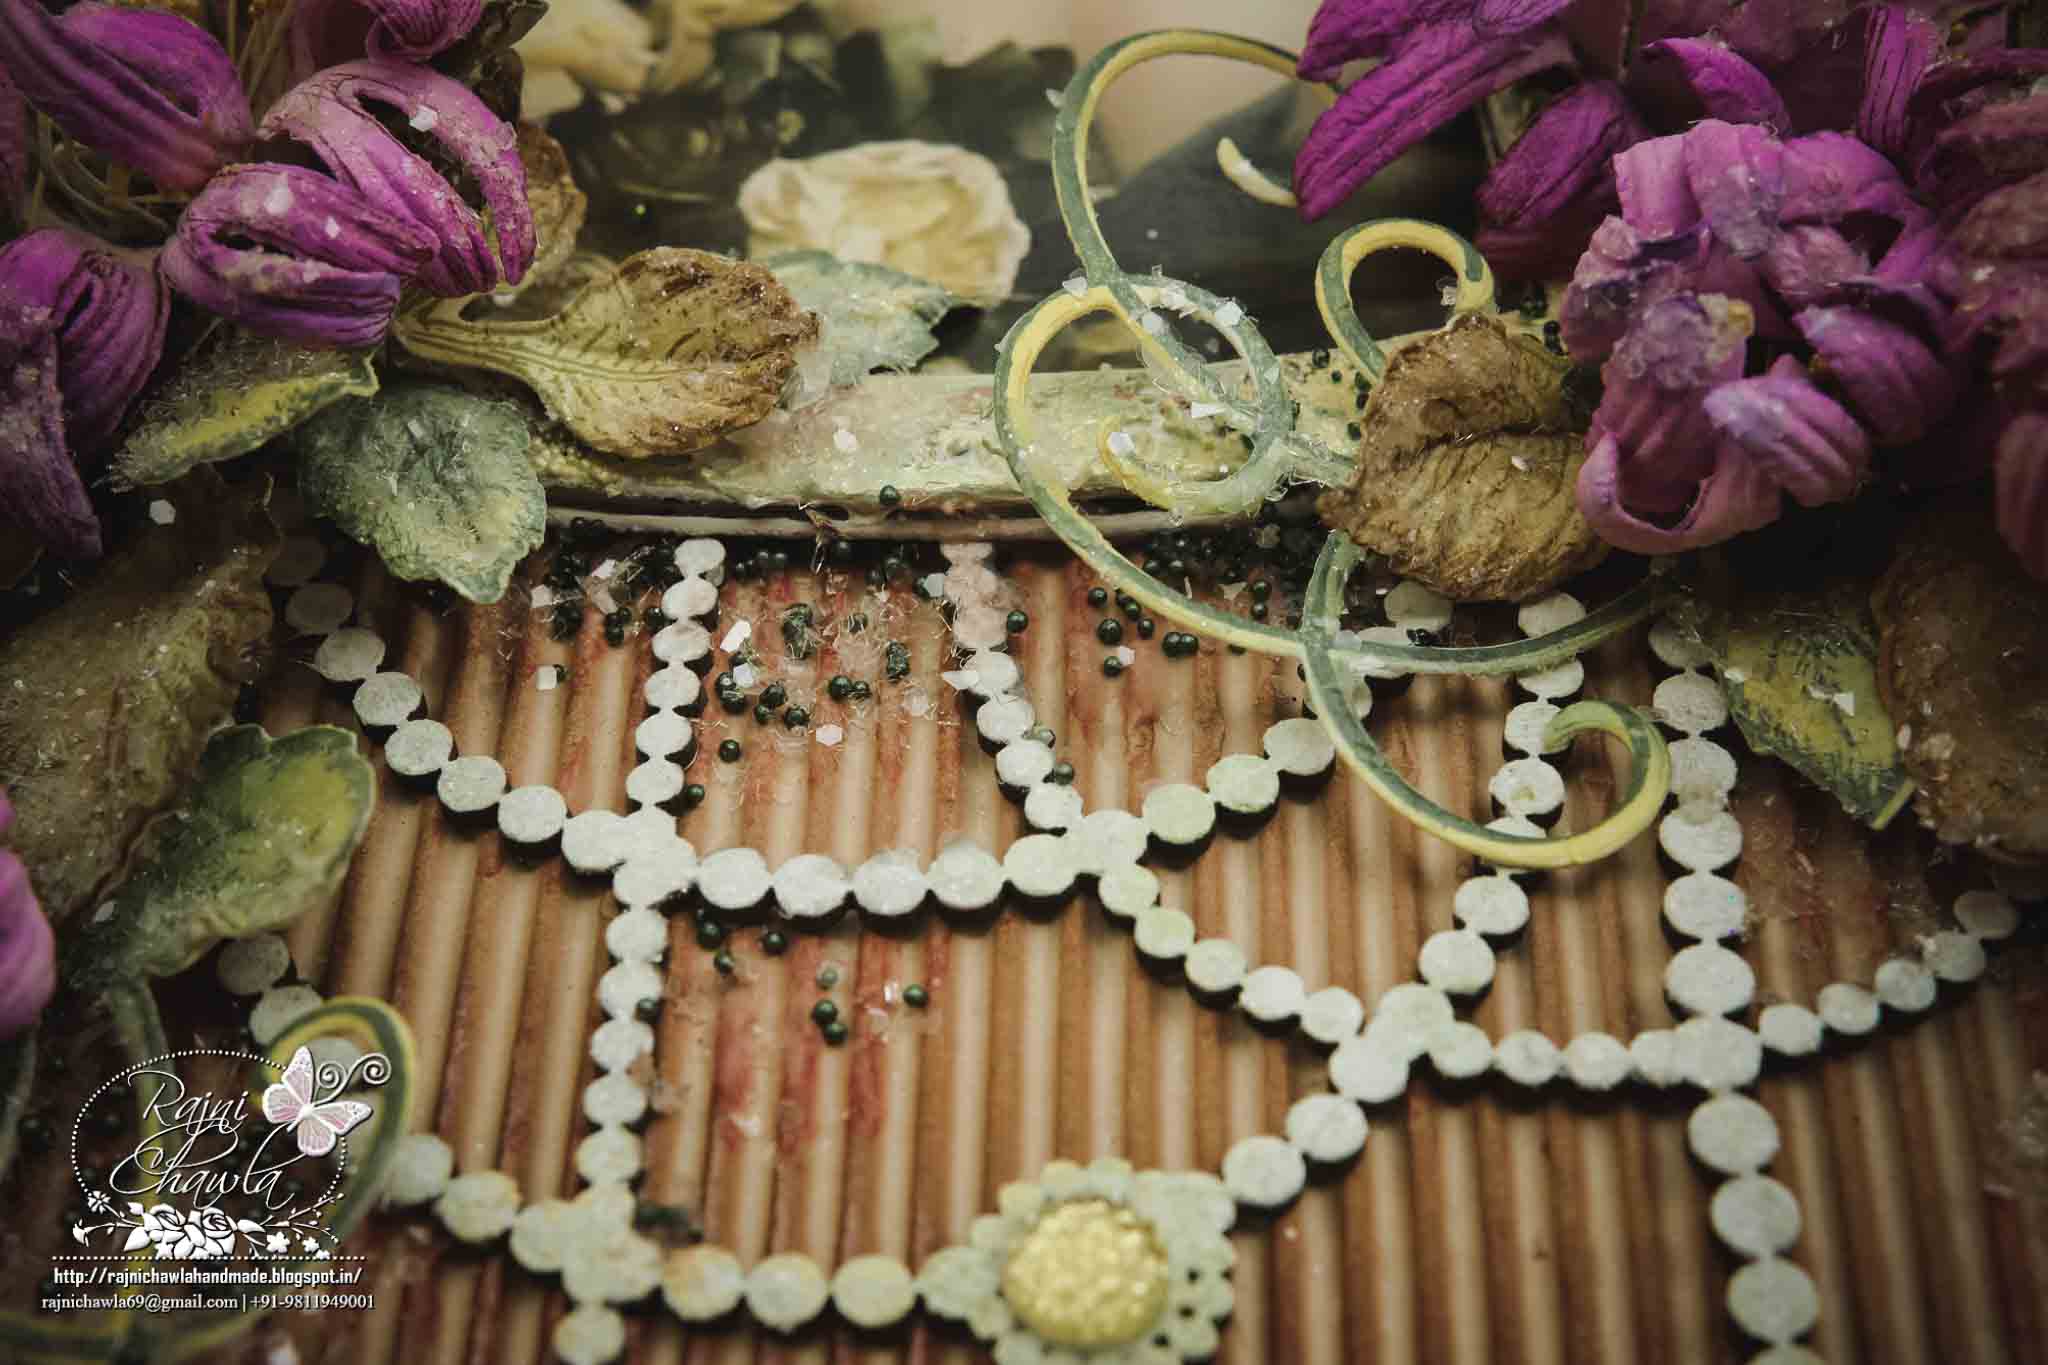
Fussy cut the floral gate using fussy cutting scissors. Score rest of the designer paper using score pal randomly and apply a coat of diluted White Gesso. Stick the designer paper to heavy chipboard and also, layer the fussy cut floral gate.  Apply texture paste randomly using stencils and leave it to dry. To speed up the process you can use the heat gun. Once dry spray with shades of pinks and greens. Build few layers of colors drying in-between the layers. Once satisfied with the background highlight all the details with silk glaze.  Dusty Attic chipboards are all painted with dusty in colors acrylic paints and dusted with clear rock candy glitter using Art Institute Glue. Assemble the layout by creating different layers with chipboards, corrugated sheet and cheese cloth and also add dimensions using glue dots.

Here are the detailed pictures...

Beautiful Mums flowers!!

HFC 30th April-1


HFC 30th April-9


Gorgeous designer paper from Enchanting Mums Collection...

HFC 30th April-12


HFC 30th April-11


HFC 30th April-10


Dusty Attic chipboards...

HFC 30th April-5


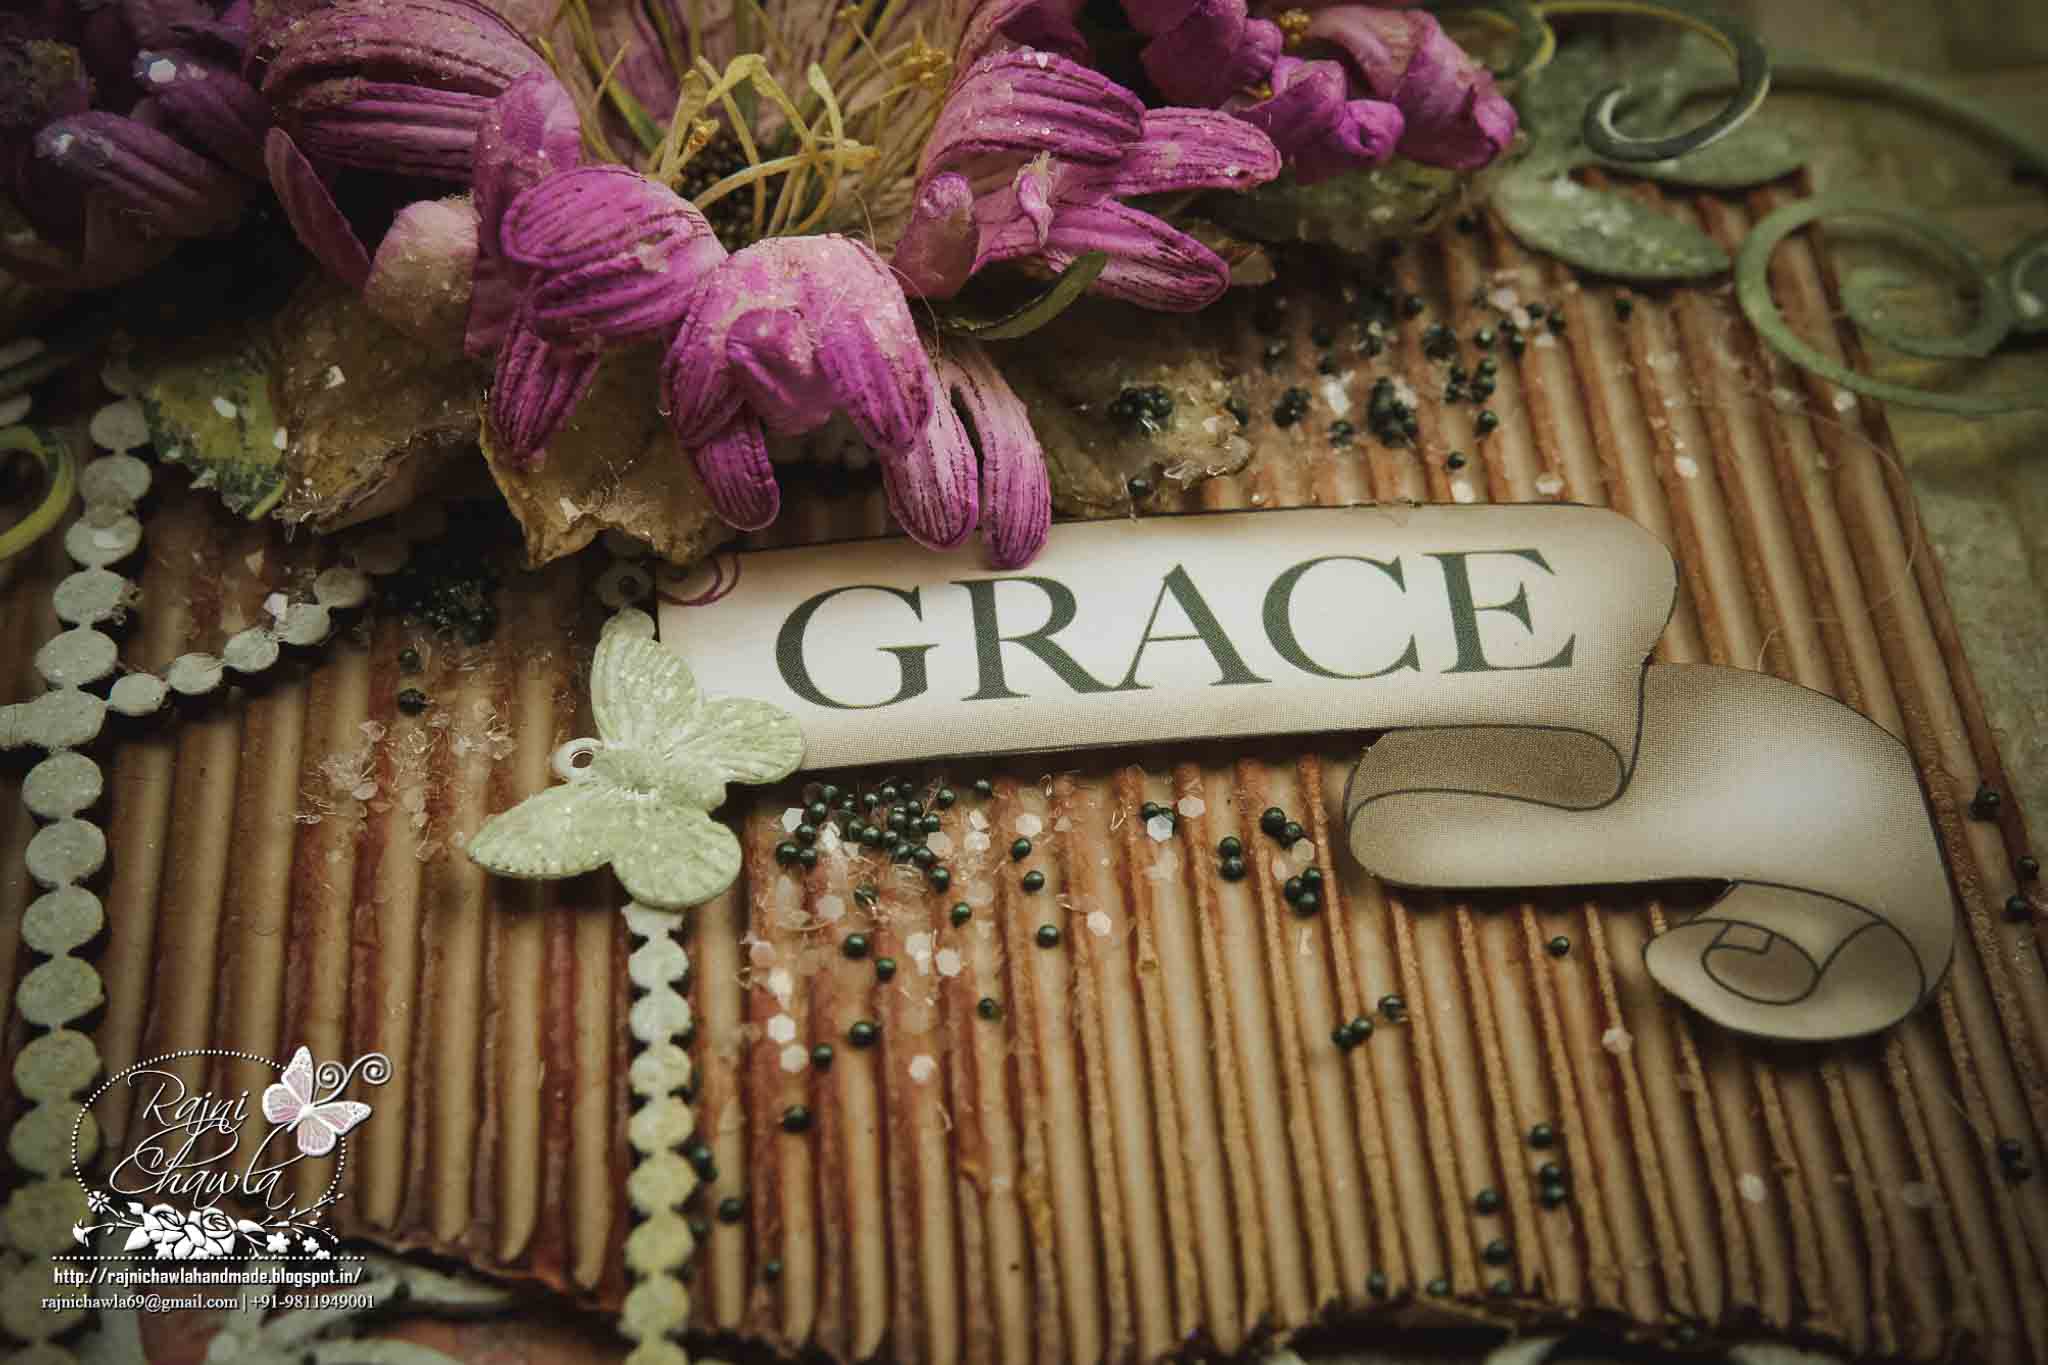
Banner fussy-cut from designer paper itself.

HFC 30th April-6


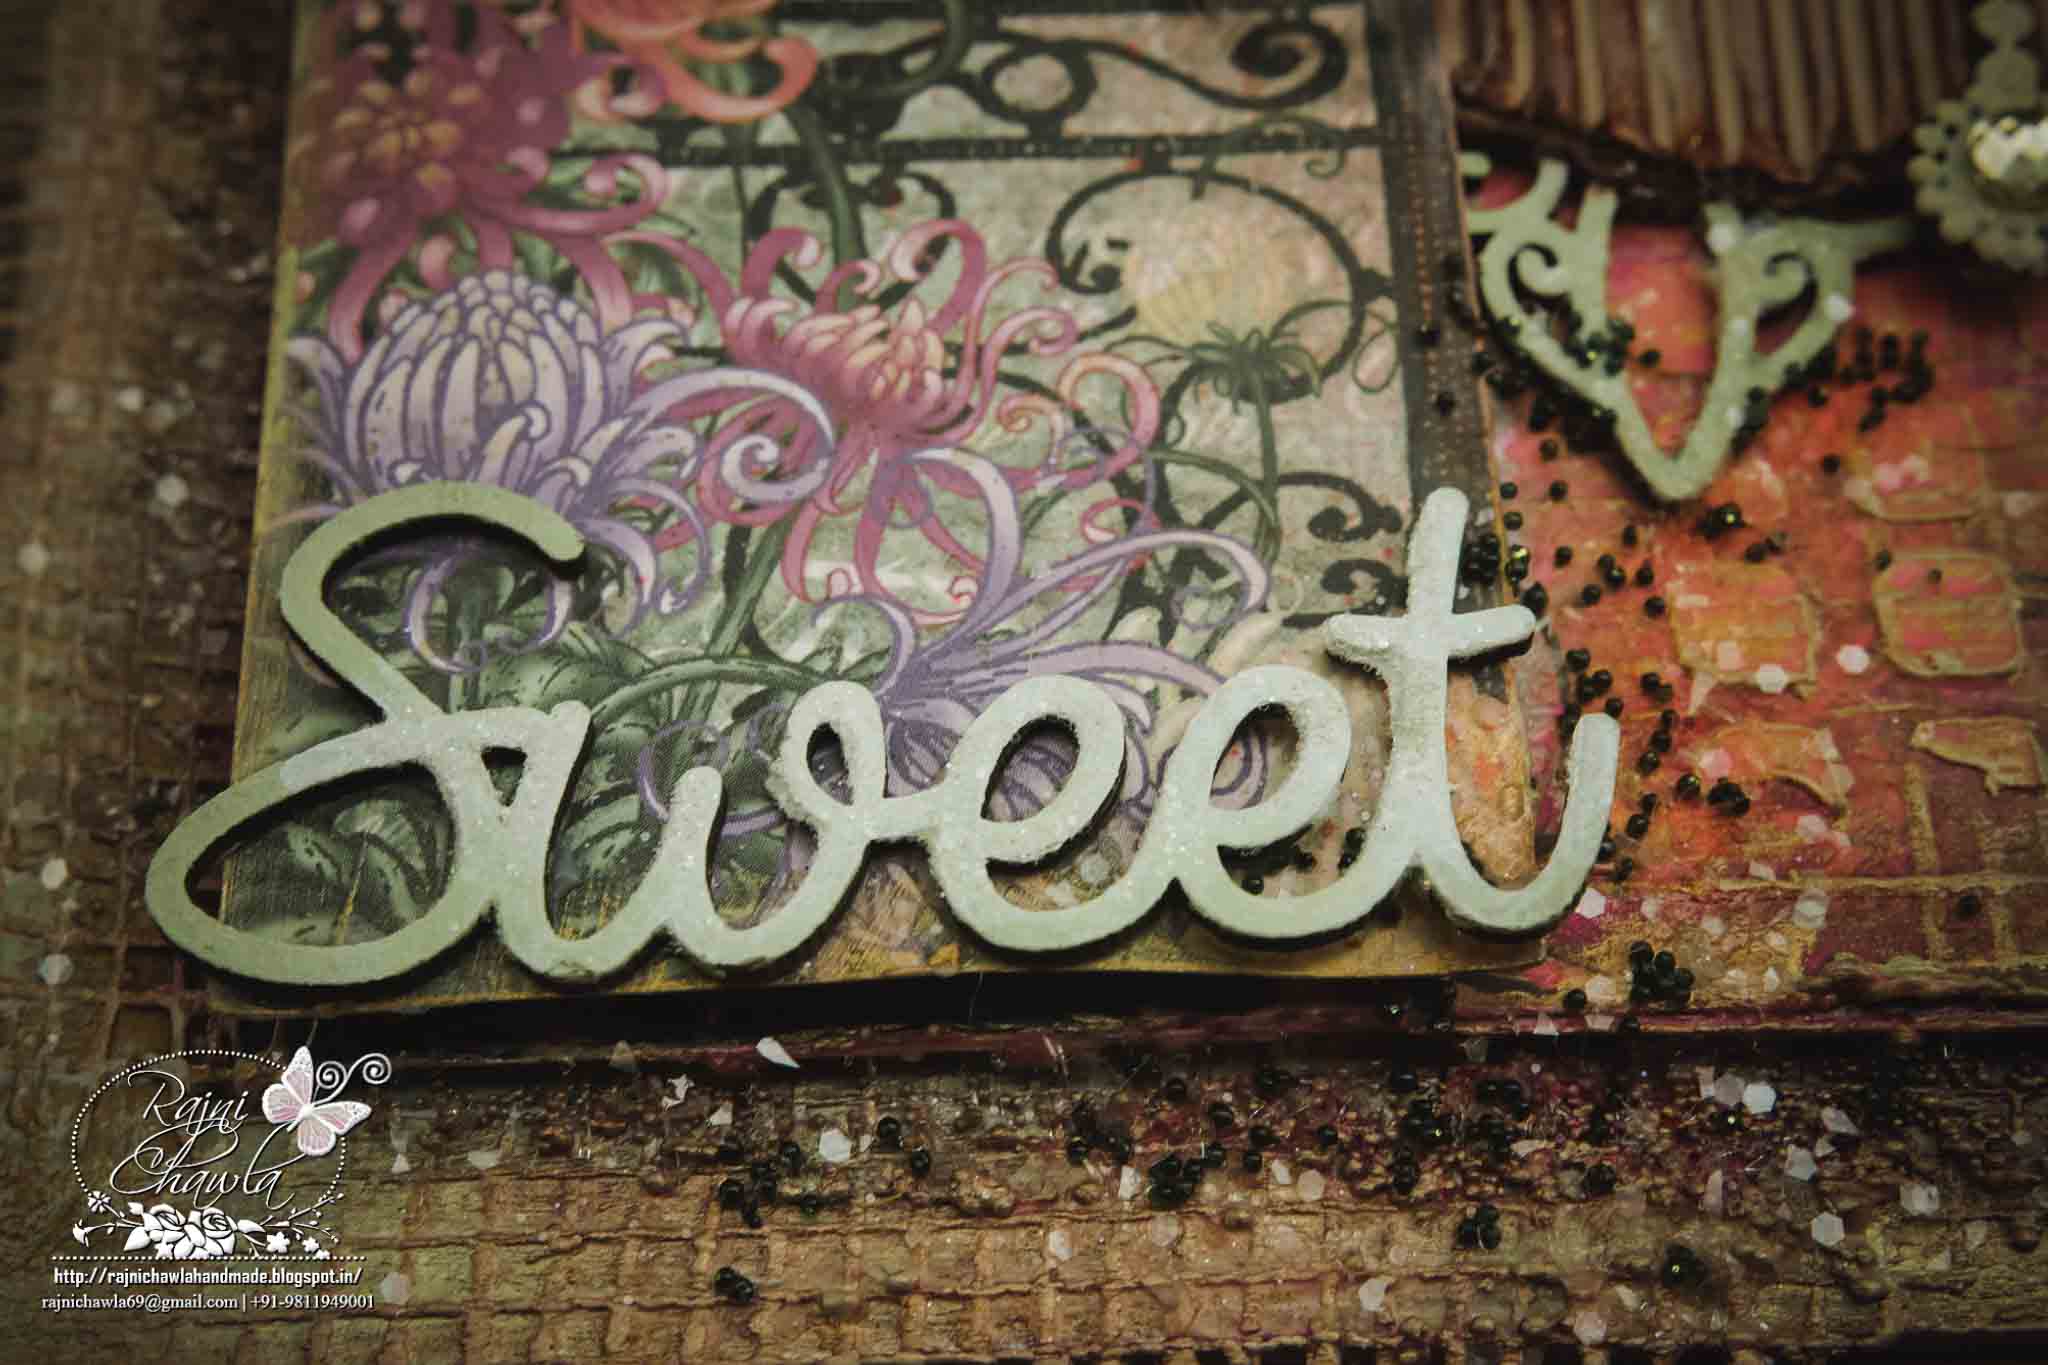
Sweet....another chipboard from Dusty Attic!!

HFC 30th April-4


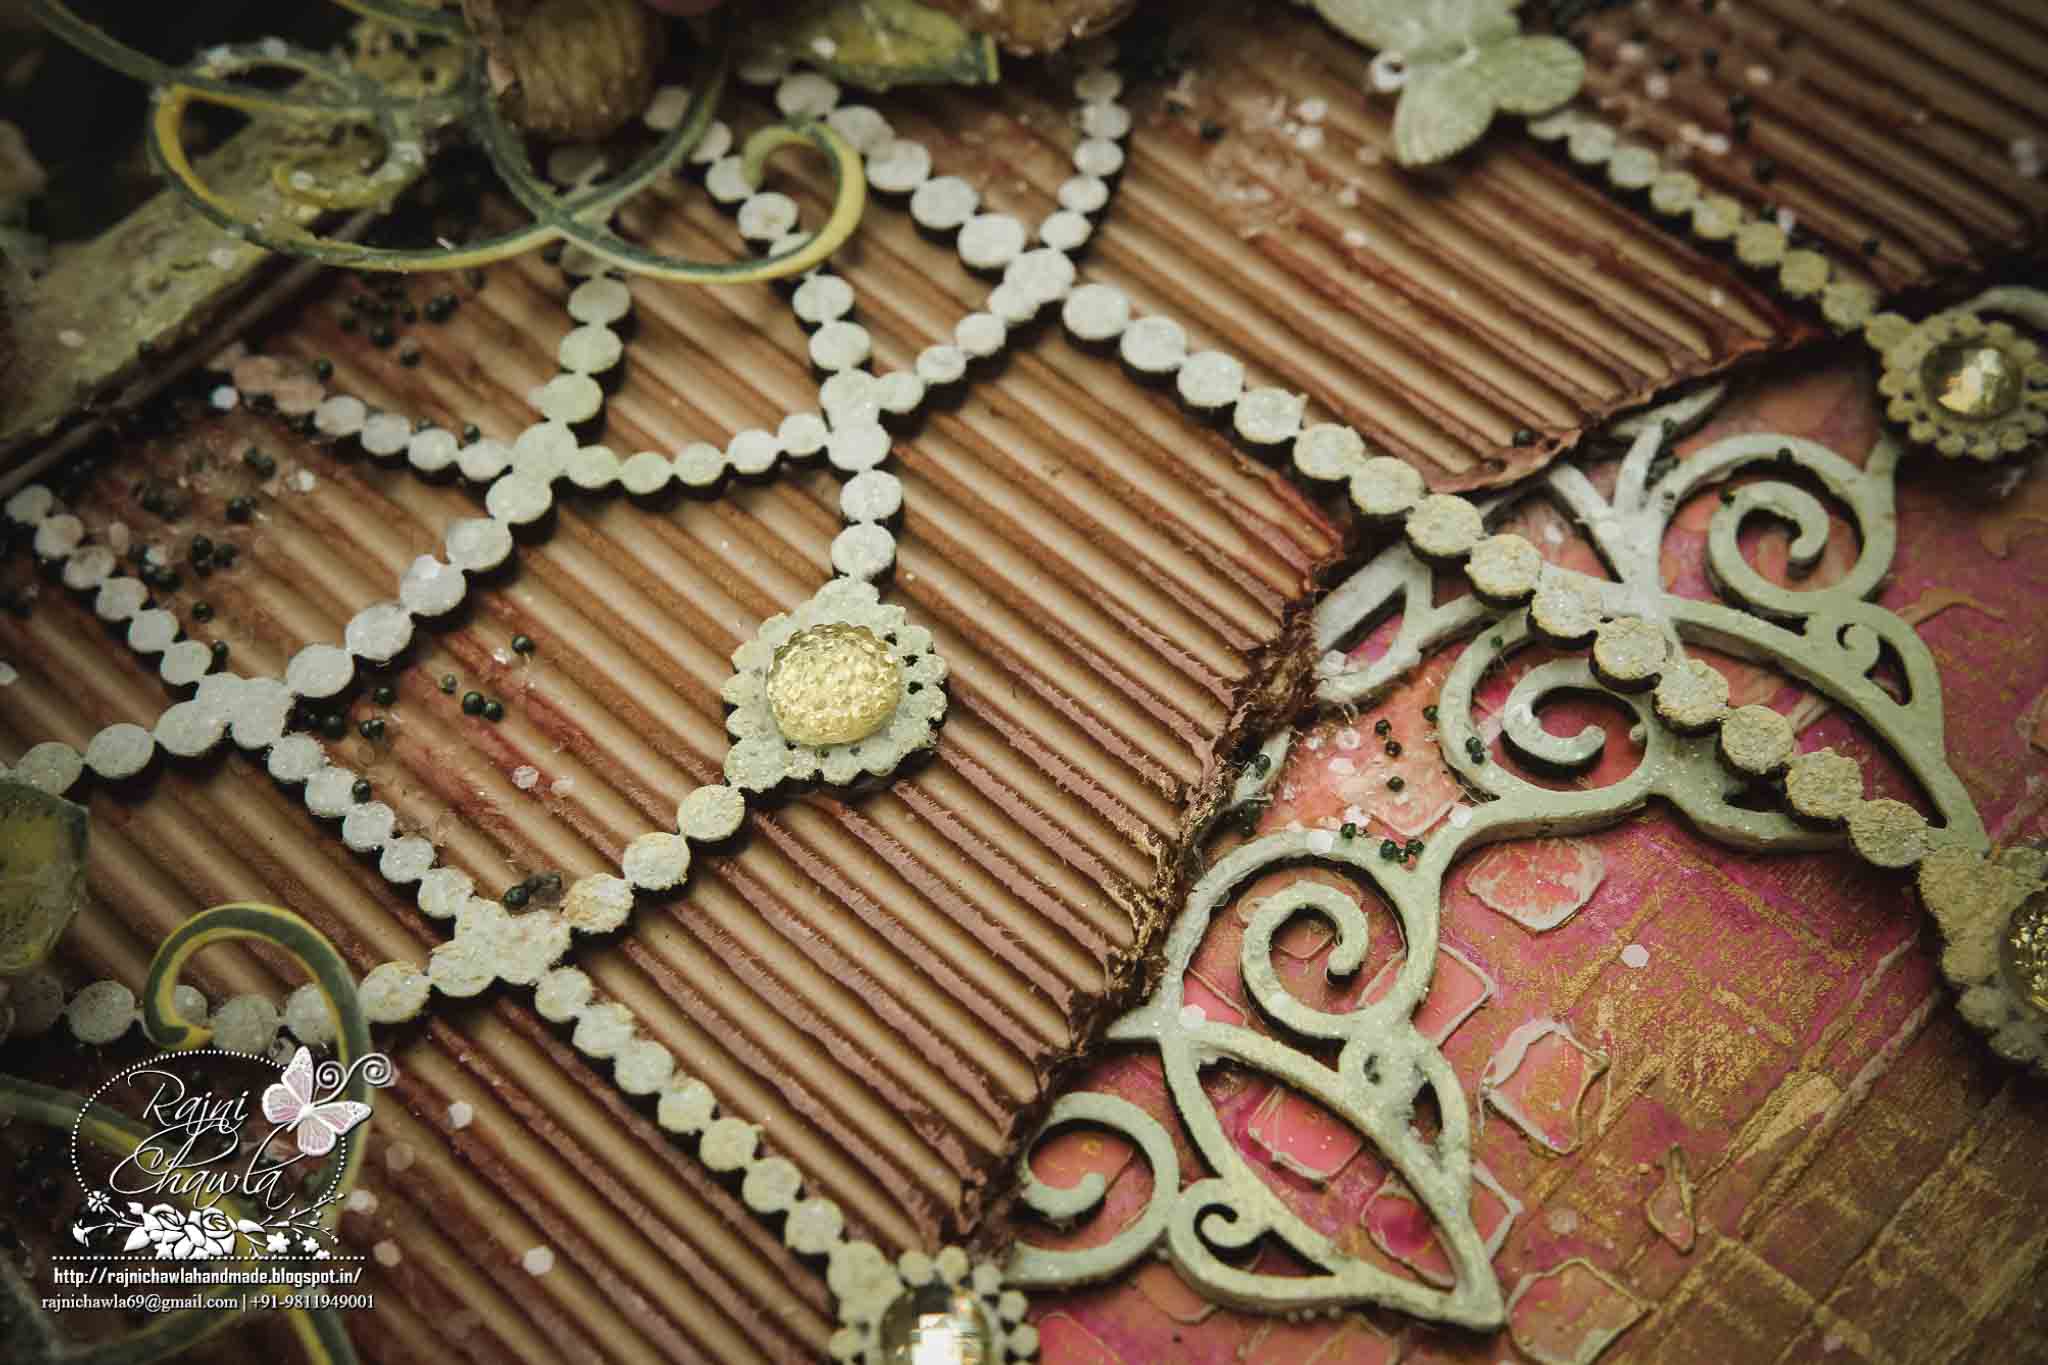
Chipboards beautifully layered between corrugated sheet. 

HFC 30th April-8


Frame created with Spellbinder's Wonky Rectangles textured with mix media texture paste.

HFC 30th April-3

Hope I was able to do justice with this collection and I was able to inspire you with this creation of mine.
If you are an Indian crafter and looking for craft supplies at best prices contact Meetu Aggarwal (www.krafterscart.in) or Priya Sivaraj ( www.thecraftshop.in).

  Thanks for stopping by!!

Happy crafting!!

Sunday, February 28, 2016

Dare to fly !!

Posted by Rajni Chawla

Hello all...

Rajni Chawla again on the Dusty Attic Board with another new inspiration for February month. Hope you all are enjoying playing along the challenge each month. February month was pretty hectic month for me and I was totally blank for my second inspiration. I was not able to think what exactly to make. I m not too much into making lauout pieces but always want to make something thats useful and inspirational. I started up making art journal cover but ended up with a decoration piece....this generally happens with me most of the time. Hope able to inspire u again with my new creation. 

IT'S NOT ENOUGH TO HAVE FEATHERS....YOU MUST DARE TO FLY !!

What a beautifull quote came into my mind when I saw Dusty Attic Indian Arrow chipboard. I was attracted to the beautiful carved feathers. Nature has blessed the human with unimagined power: the will to conquer the universe, the desire to know, and the curiosity of the unknown. The word impossible does not match with human nature. we have enough courage to face even our greatest fear....but only if we 
wish !!

Here is the February mood board. 


I worked with shades of blues n browns and mixed them with tones of greens to create something that can inspire me always and can match the above quote.

Feathers ,Flowers....more Flowers....and Birds !!

The blues depict the shades of sky and deep ocean, Shades of greens depict the green nature and browns depict our mother Earth. 
Here is what I came up with. 


I started a coat of gesso, then textures using DA Texture paste....lots of mixing and building layers with leftover chipboard negatives. Yes....you heard it right. I have built  most of all the layers using my leftover negative pieces of chipboard that I used in my prior projects. 


Look at those small square and oval pieces....Do they look like they were waste pieces??
Actually No!!
Once textured,layered and colored they are no more waste for me. 
I try to take out maximum of what I have in my stash. Little hand fisted person I am.


I took Dusty Attic Indian Arrow charm as my main focal image for the concept. These are painted with Dusty in color, Gingernut, Dusty in Color Oceania, Dusty in color Crushed Olive and when dried painted with Dusty in color Clear Crackle medium. Little highlighting with Dusty in color Navajo White was enough to add more beauty on it. 


I have used Dusty in blooms and few bunches of Prima twigs and few flower metal charms to add  more of spring look. I have also used Dusty Attic Geometric Corners here and there. 

Another view....


Another close-up of Dusty Attic Indian Arrow. 


Few more angles showing different layers and texture. 


Can you see the negative of Dusty Attic Geometric Corners hiding behind Dusty in blooms and metal flowers. 


The chipboard piece on the edge again is the negarive of Dusty Attic Geometric Borders.m

And here is my handwritten message....yes, my son preferred and asked me to put hand written message on my project. I know my writing is not that good but not very bad too. 
 I used Black Archival 0.3 pen to write the message. 


Here is the complete list of all the Dusty Attic products I have used together. I have already linked all the products on the Dusty Attic website. For all my Indian fellow crafters, all the products are available on http://www.krafterscart.in/. For more details of the products you can also personally contact Meetu Aggarwal.

Dusty Attic Indian Arrow chipboard
DA Texture paste
 Dusty in color, Gingernut
 Dusty in Color Oceania
 Dusty in color Crushed Olive
 Dusty in color Clear Crackle medium.
Dusty in color Navajo White 
Dusty in blooms 
Dusty Attic Geometric Corners 
 Dusty in color Cashmere
Dusty in color Raisin
Dusty in color Jungle Green
Dusty in Color Capri 
Dusty in color Mountains in Medow. 


If you have liked my work do leave some love and to see more of my work, you can visit my blog Passionately curious


Thursday, February 11, 2016

Captured.....Dusty Attic

Posted by Rajni Chawla

Hello all!!!

Once again, i am here posting for Dusty Attic board to inspire you all. Before I start with the new project I want to thank you all for such a beautiful and warm welcome. I really appreciate the effort of those who specially took time and left their beautiful comments here on the blog and facebook. 

On to my today's project...
My kids love taking "selfies" but I am type of a person that personally hate clicking. But I love love love collecting pictures that they click. Perhaps I can give you a deeper psychological explanation. Our time on this earth only lasts for so long, and a camera allows us to preserve memories far past when they might have slipped our mind. It helps us pass those memories into the hands of future generations. Our photos are little legacies of the life we have led – our travels, experiences, food, family, friends, work relationships and more. Each photo is a window into a moment, and the collections of images we take over the years are a window into who we were and what we valued. Ultimately it comes down to a simple truth....seeing that moment captured makes us genuinely happy.

I generally preserve pictures by creating an art piece....be it in my journal page or a frame. For me my daughter is the only model. Hehehe....Oh I love her.!! Love her innocent face n decent smile. Having daughters is one of the greatest joys we could imagine....Isn't it ??
Here is my take on February's Mood board with her picture only. 


I used Blue Fern Studio papers from Sanctuary and Timeless collection to build up this piece. 
Here are few close-ups...
I got huge collection  of Dusty Attic Chippies in my Dt pack which includes a bunch of dangles and pieces that are just a MUST for any chipboard enthusiast like me. Look at those in the picture.....just GORGEOUS!!


Oh I love that  #Chandallier 2 and Ornate Pendant #4. I first primed them with white gesso and then painted with Dusty in Color Jungle Green, Dusty in Color Oceania and Dusty in Color Alabaster. 


Sprinkle of clear rock candy glitter and blings are adding little more artistic look to the pendants. 


I added have added texture using  Dusty Attic Texture paste with Knitting Stencil on the lower side of the frame.
Word " Captured" is from word pack #34,simply painted with all the three shades. 
Word "Awesome" is taken from word pack #33 and heat embossed using custome made glittered heat embossing powder. 


I have created a bunch of flowers using few Prima twigs, mulberry Lillies and a blue heartfelt creation flower made by me. DA 1399, Seagrass #2 and Laura leaves are adding finishing touch to the whole embellished cluster. 


Here are few more shots of the art piece....


List of Dusty AtticProducts  

Laural leaf 
Doodads DA 1399 

While I was making the above piece I was left with custom made glittered heat embossing powder. I just thought of using it on other chipboards and here is the quick card as a bonus inspiration for you all.  I have added lots of colors that don't match our February Mood Board but If its bonus....anything iwe get is just great. Isn't it ??

So here is my bonus inspiration for you all. 


Background is all created using different shades of Dusty in Color 
, lots of stamping and heat embossing here and there and the chippies heat embossed with glittered heat embossing powder. Bird is stamped and simply painted using Steadtler watercolor pencils. Hope you like it. 


Oh....I lam in love with that glittered chippies. I have used the smaller size of Vintage frame #4 and placed it side ways...as that was the demand of my project. 


Look at that gorgeous shades of Dusty in color.....Yummy enough to be used more frequently. 

All flowers are handmade...simply punched and embossed. 


Dusty Attic Products Used


Thanks for stopping by. I will appreciate if you leave some love. 
( Hugs)