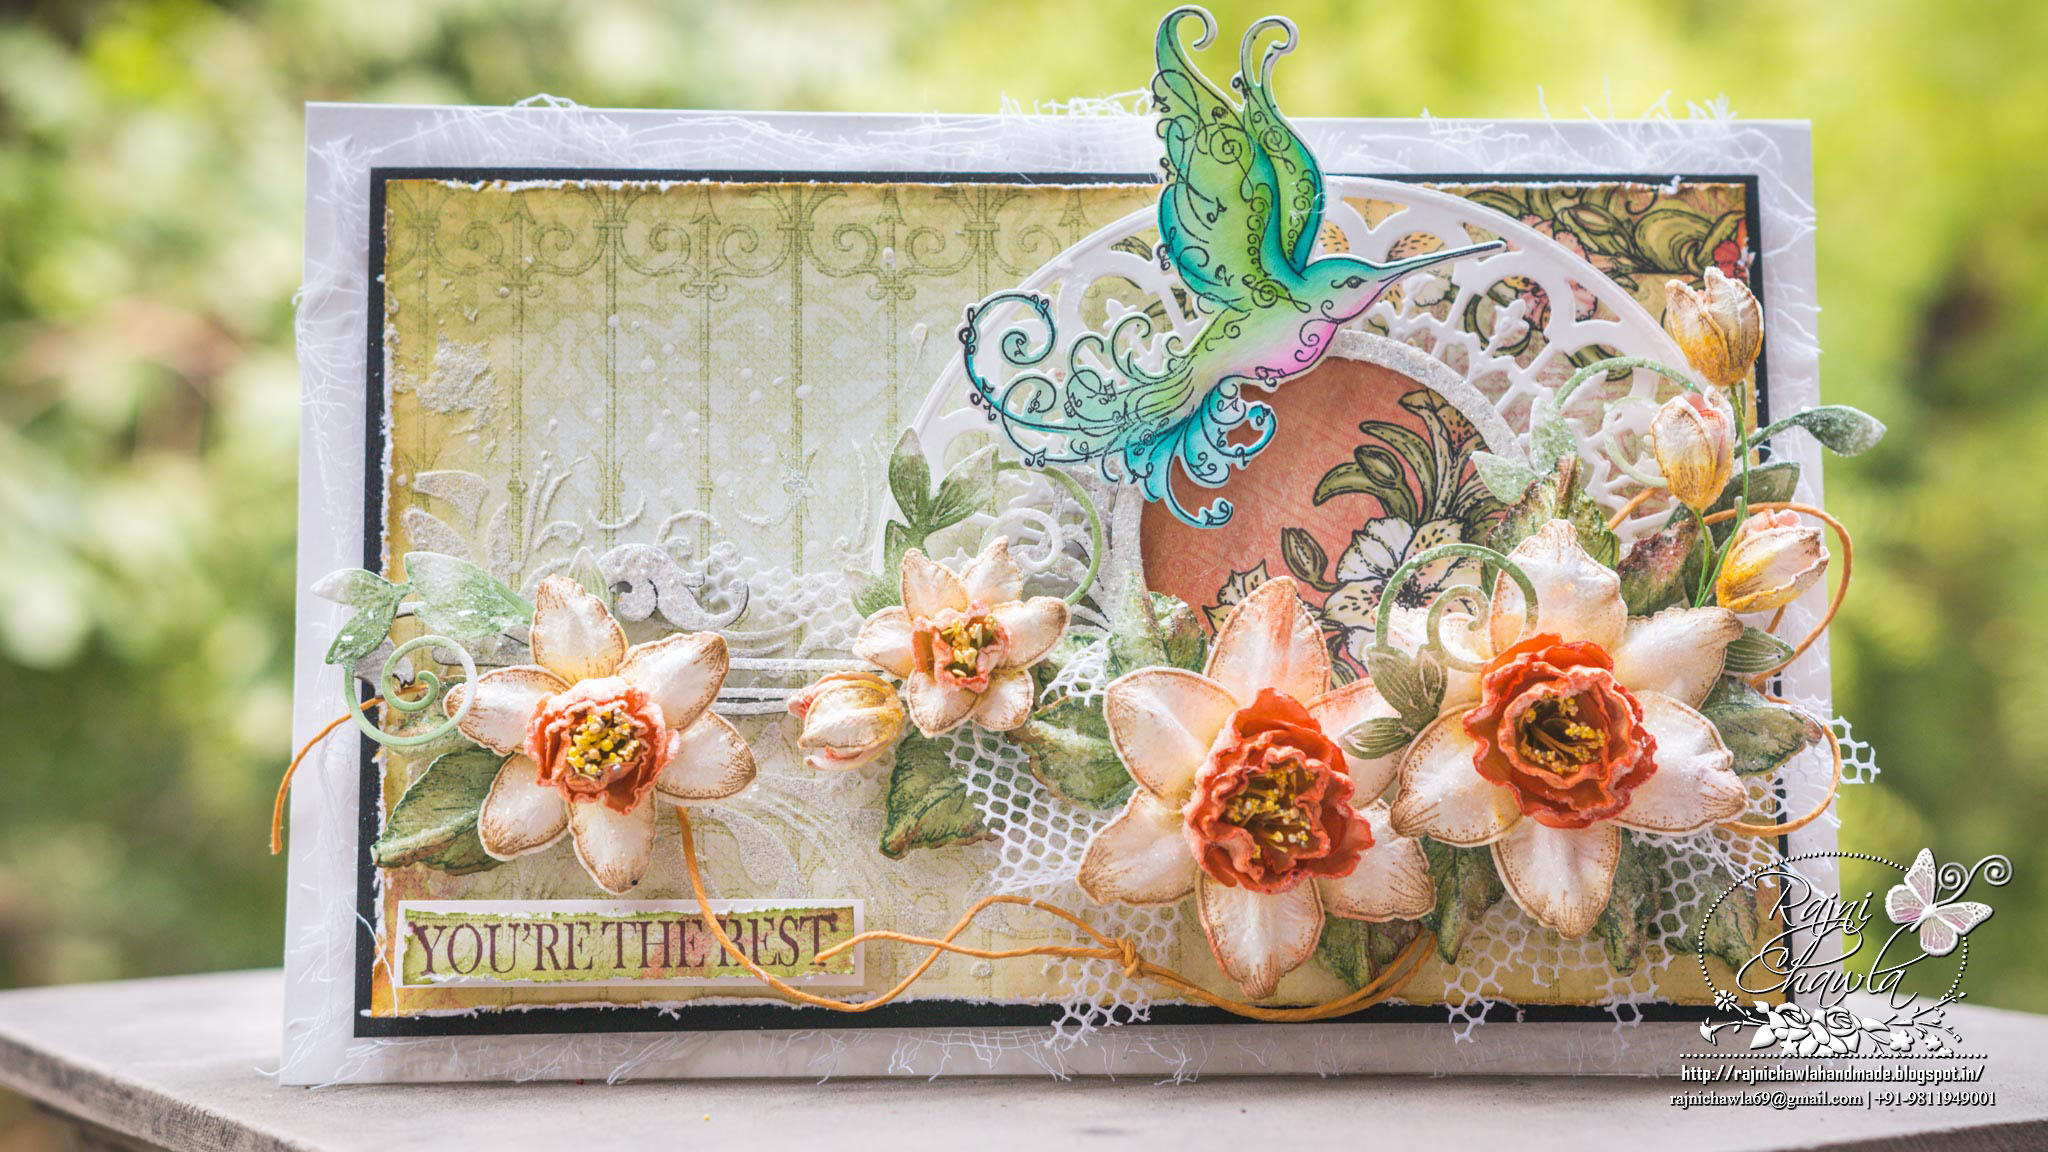
Peach Daffodils
Posted by Rajni Chawla
Good morning all...
Happy Wednesday!!
"What we do see depends mainly on what we look for. ... In the same field the farmer will notice the crop, the geologists the fossils, botanists the flowers, artists the coloring, sportsmen the cover for the game. Though we may all look at the same things, it does not all follow that we should see them." --John Lubbock
And, I must have flowers, always, and always!!
I m again back with the weekly post for Heartfelt Creations Botanic Orchid Collection.... this time, with gorgeous Peach Daffodils for my latest project. The collection is so versatile that you can make a variety of flowers.Be sure to take a moment to see all the amazing work done by the whole design team on the Heartfelt Creations Blog today! HUGS to all my fellow crafters for sharing such wonderful sharings every week.
Products from Heartfelt Creations:
Sunrise Lily Paper Collection Product Code: HCDP1-263
Regal Hummingbird Die HCD1-7102
Regal Hummingbird Cling Stamp Set Product Code: HCPC-3742
Botanic Orchid Die HCD1-7101
Botanic Orchid Cling Stamp Set HCPC-3741
You Inspire Me Cling Stamp Set HCPC-3667
Open Leaf Cling Stamp Set HCPC-3545
Classic Leaf Die HCD1-736
Designer Dries Clear Adhesive-159723
ColorBox Fluid Chalk Ink Pad - Pumpkin Spice- 71049
ColorBox Fluid Chalk Ink Pad - Lipstick Red- 71037
ColorBox Fluid Chalk Ink Pad - Lime Pastel 71026
ColorBox Fluid Chalk Ink Pad - Guacamole 71058
Go Man Go Prills ANC818
Other Products Used: Smooth white card stock, white gesso, dusty attic chipboard, glitters and sparkles, black cardstock, Archival inks black and Library Green, Zig Clean Clear Brush Markers, Cheese cloth, Twine, white net, Spellbinder’s Victorian Arch Die, Tim Holts stencils- Flourish and modeling paste.
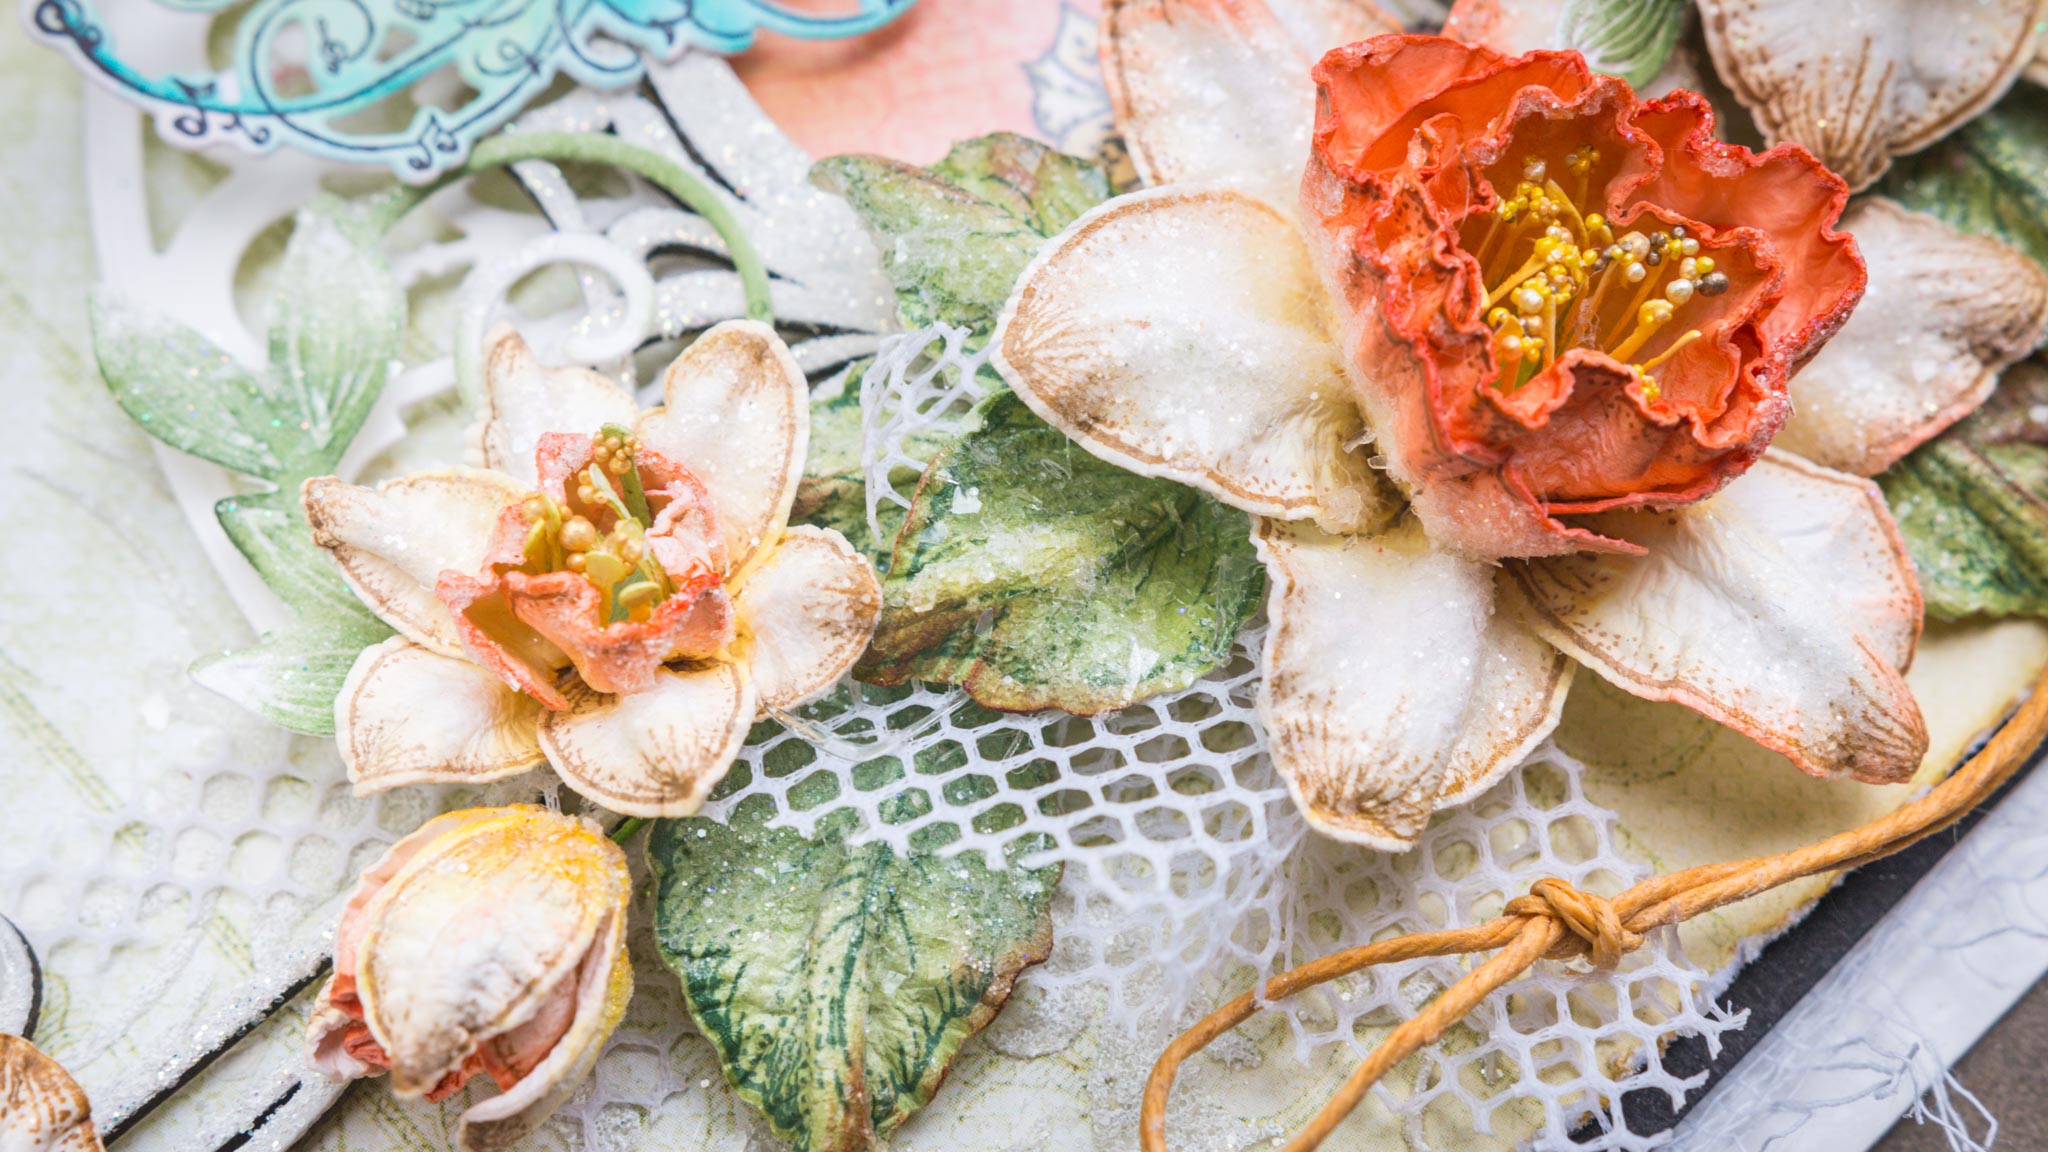
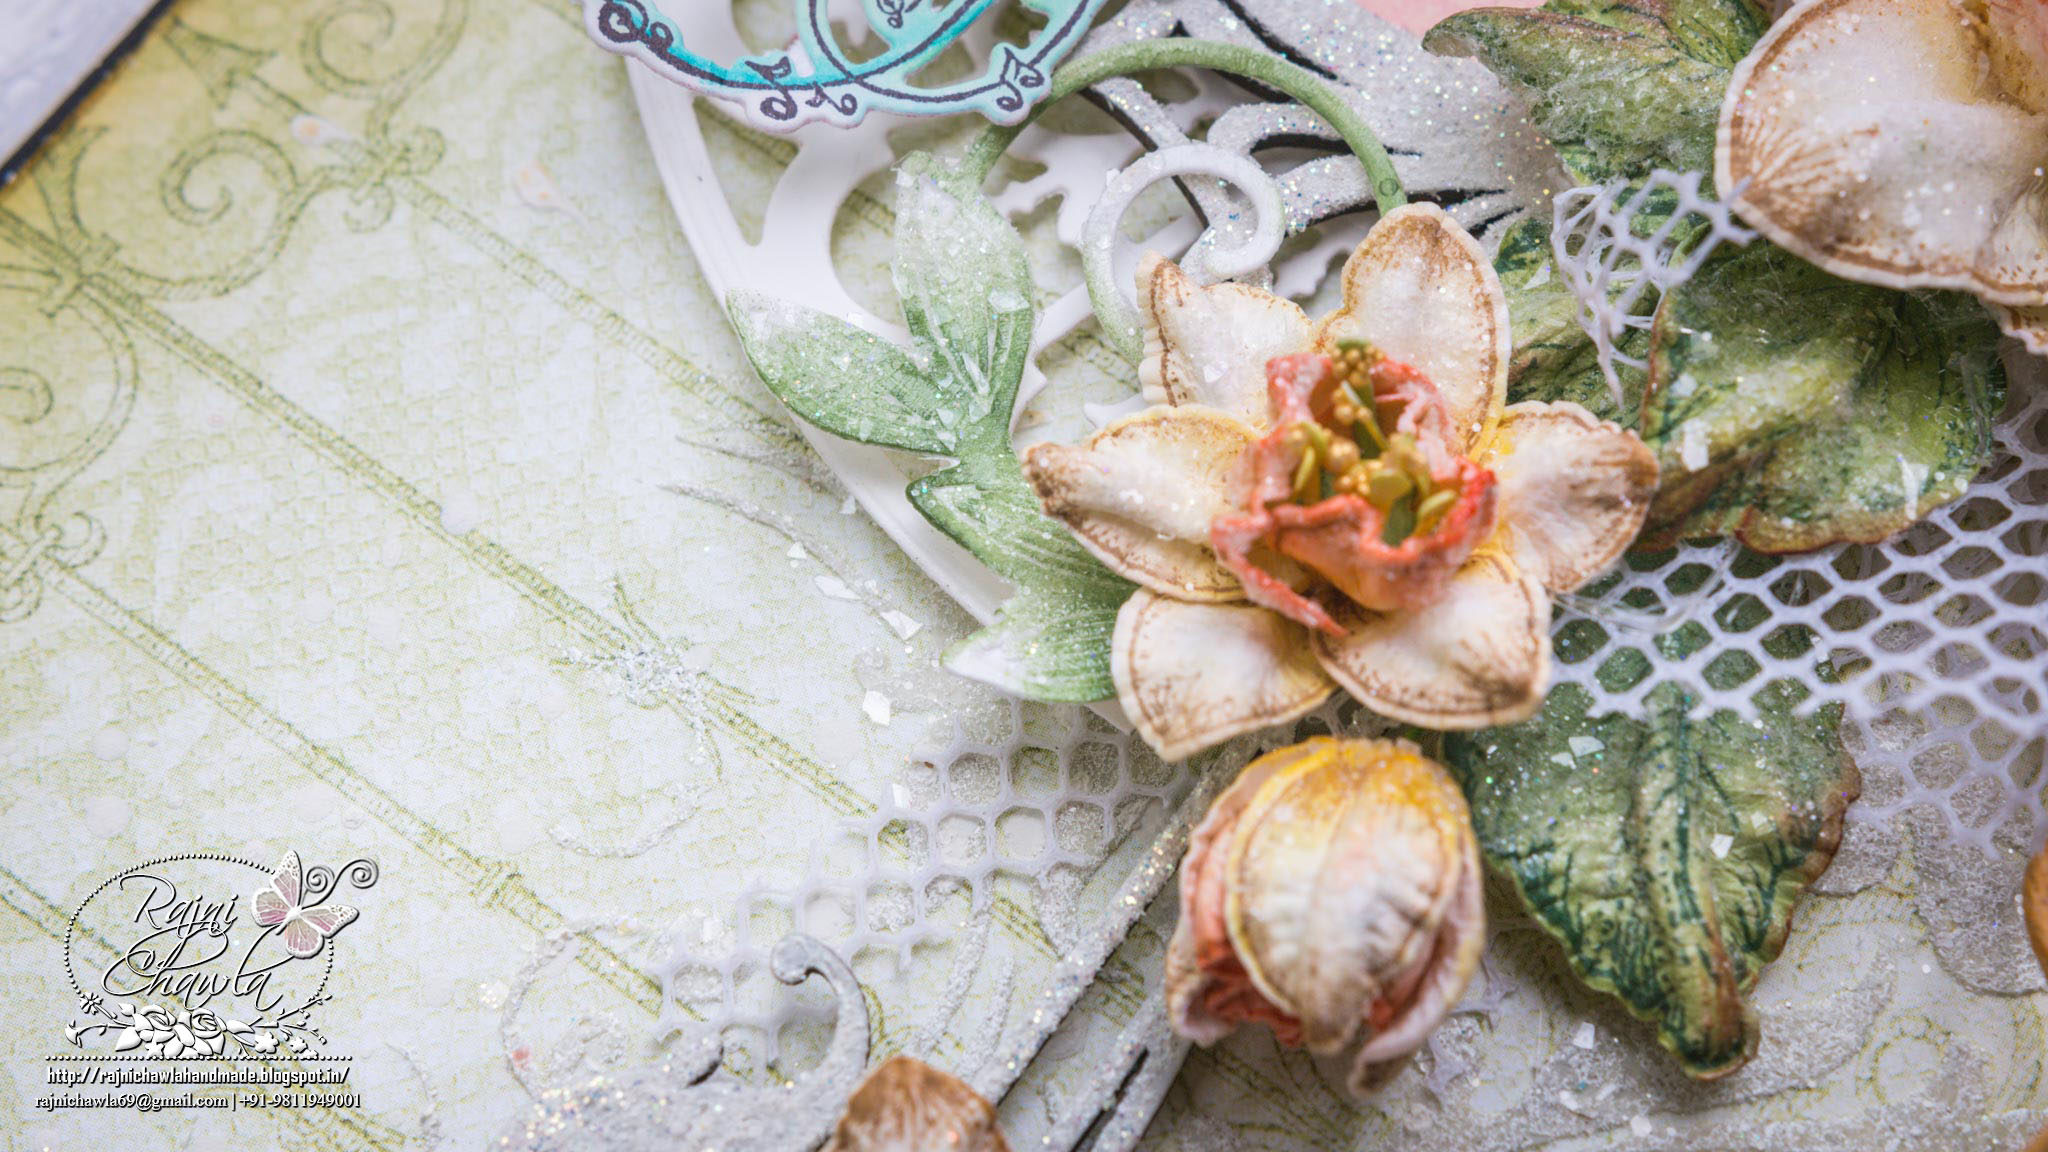
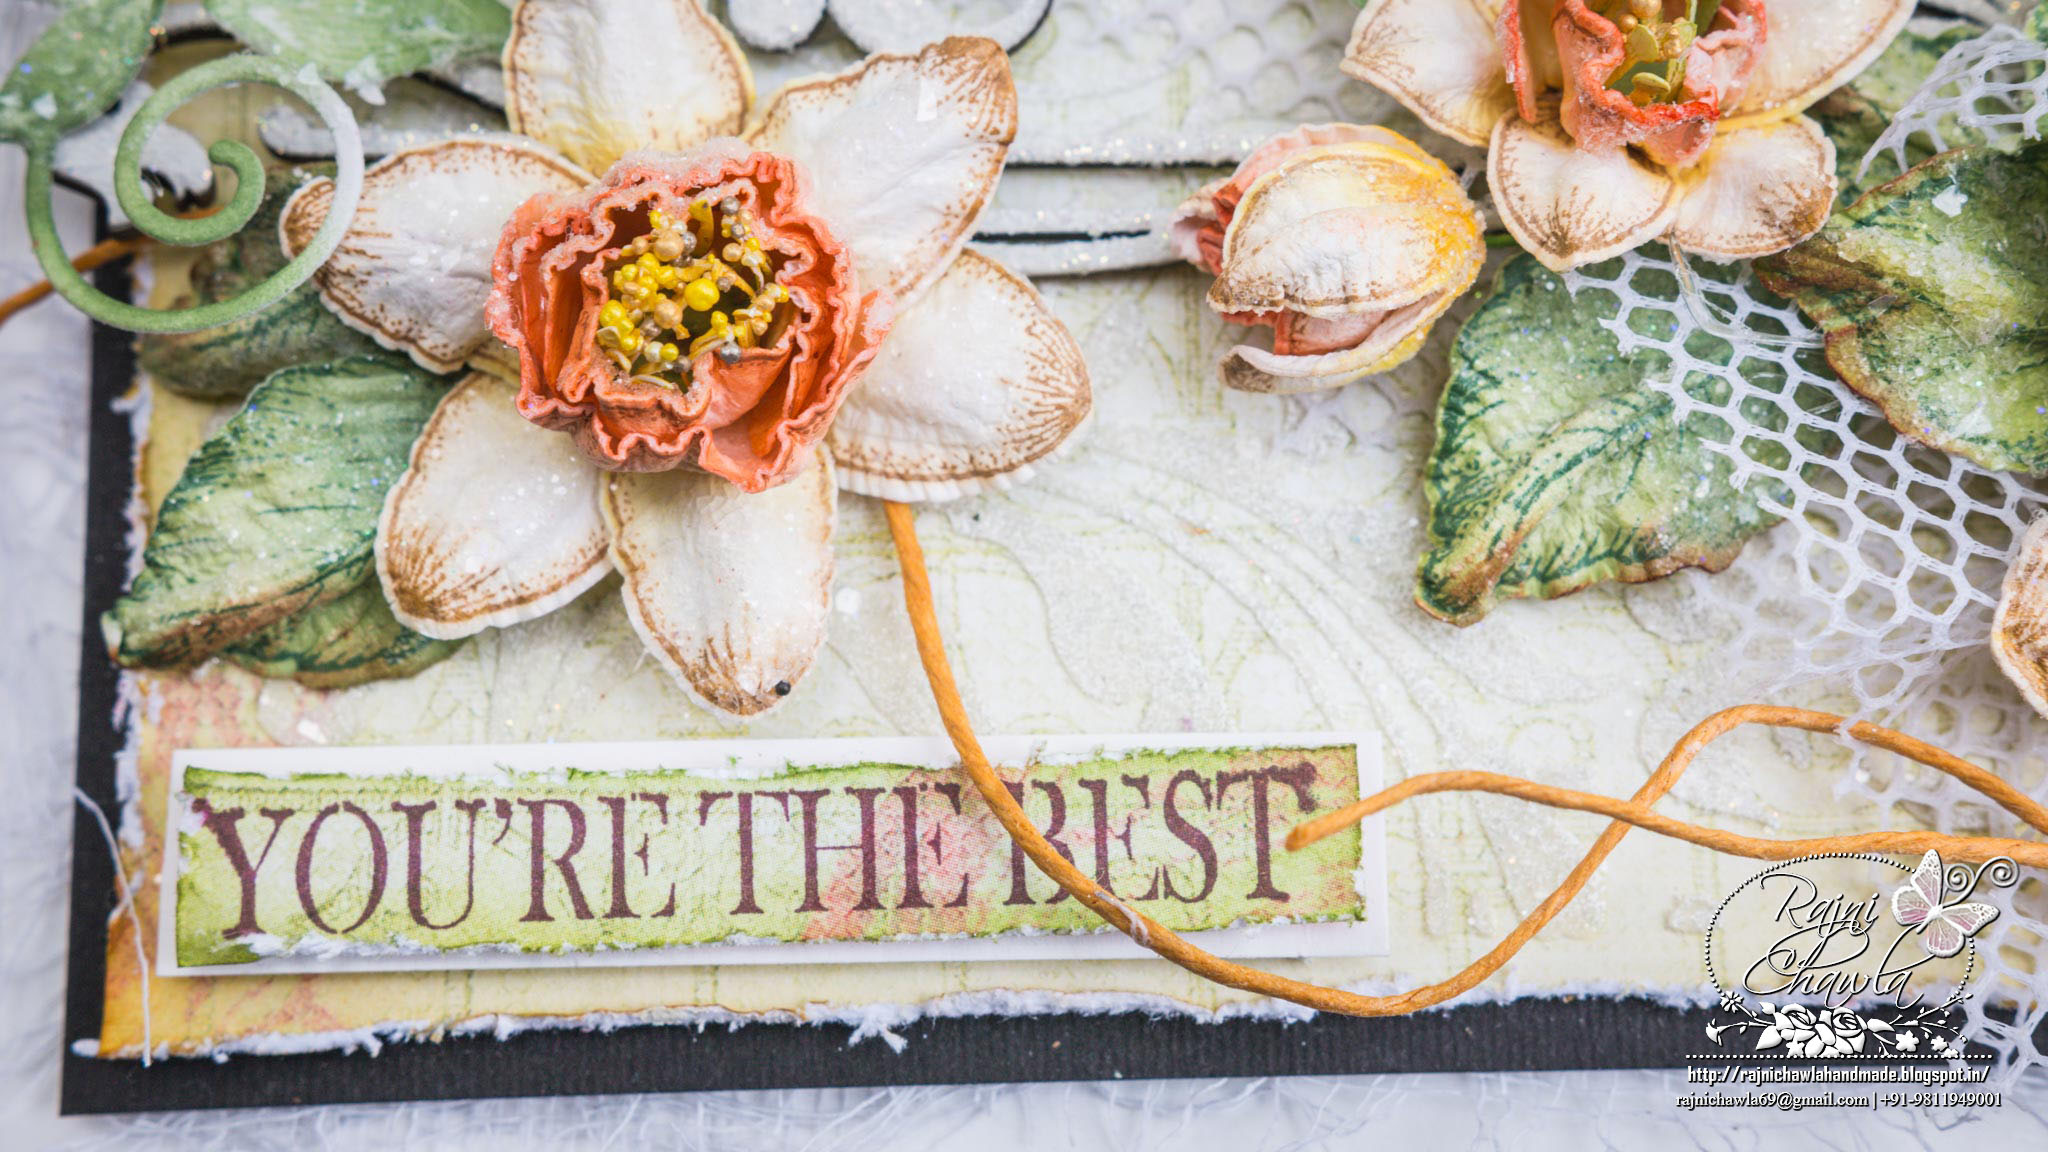
Instructions: For the card base, I used 9" by 8 " smooth white cardstock. Score at 4 1/2'" on the 9" side and create a top-fold card of 4 1/2" by 8 ". Create a black mat 1/2" smaller to the card base. You will need another mat, 1/8" smaller to black, this time from the designer paper. Since my flowers were in the shades of orange, I preferred choosing the same from Sunrise Lily Paper Collection. Distress the edges on all four sides using scissors or distress tool. Give a washed coat of gesso randomly, little stenciling using modeling paste and dust the entire piece with sparkles/ glitters. Mat all the layers using foam dots. For flowers follow Emma Lou’s video. Leaves are stamped using Open leaf stamp set and die cut using its coordinating die, colored using color box inks ( Pumpkin Spice and Lipstick Red) and then shaped using Deluxe Flower Shaping Kit. The hummingbird is from Regal Hummingbird Cling Stamp Set, painted using Zig Clean Clear Markers and die-cut using its coordinating die. The chip board from Dusty Attics is painted using white paint and sprinkled with clear glitter. I matted a designer paper from the same collection in the open space of chipboard. Layer the white die cut on right side of the ready card base and arrange all the elements as shown. I added small tules of white net and a bow using matching twine to add an extra interest. The Sentiment is from - You Inspire Me Stamp Set.
Here are the detailed pictures of the card...
