Showing posts with label handmade paper flowers. Show all posts

Tuesday, May 03, 2016

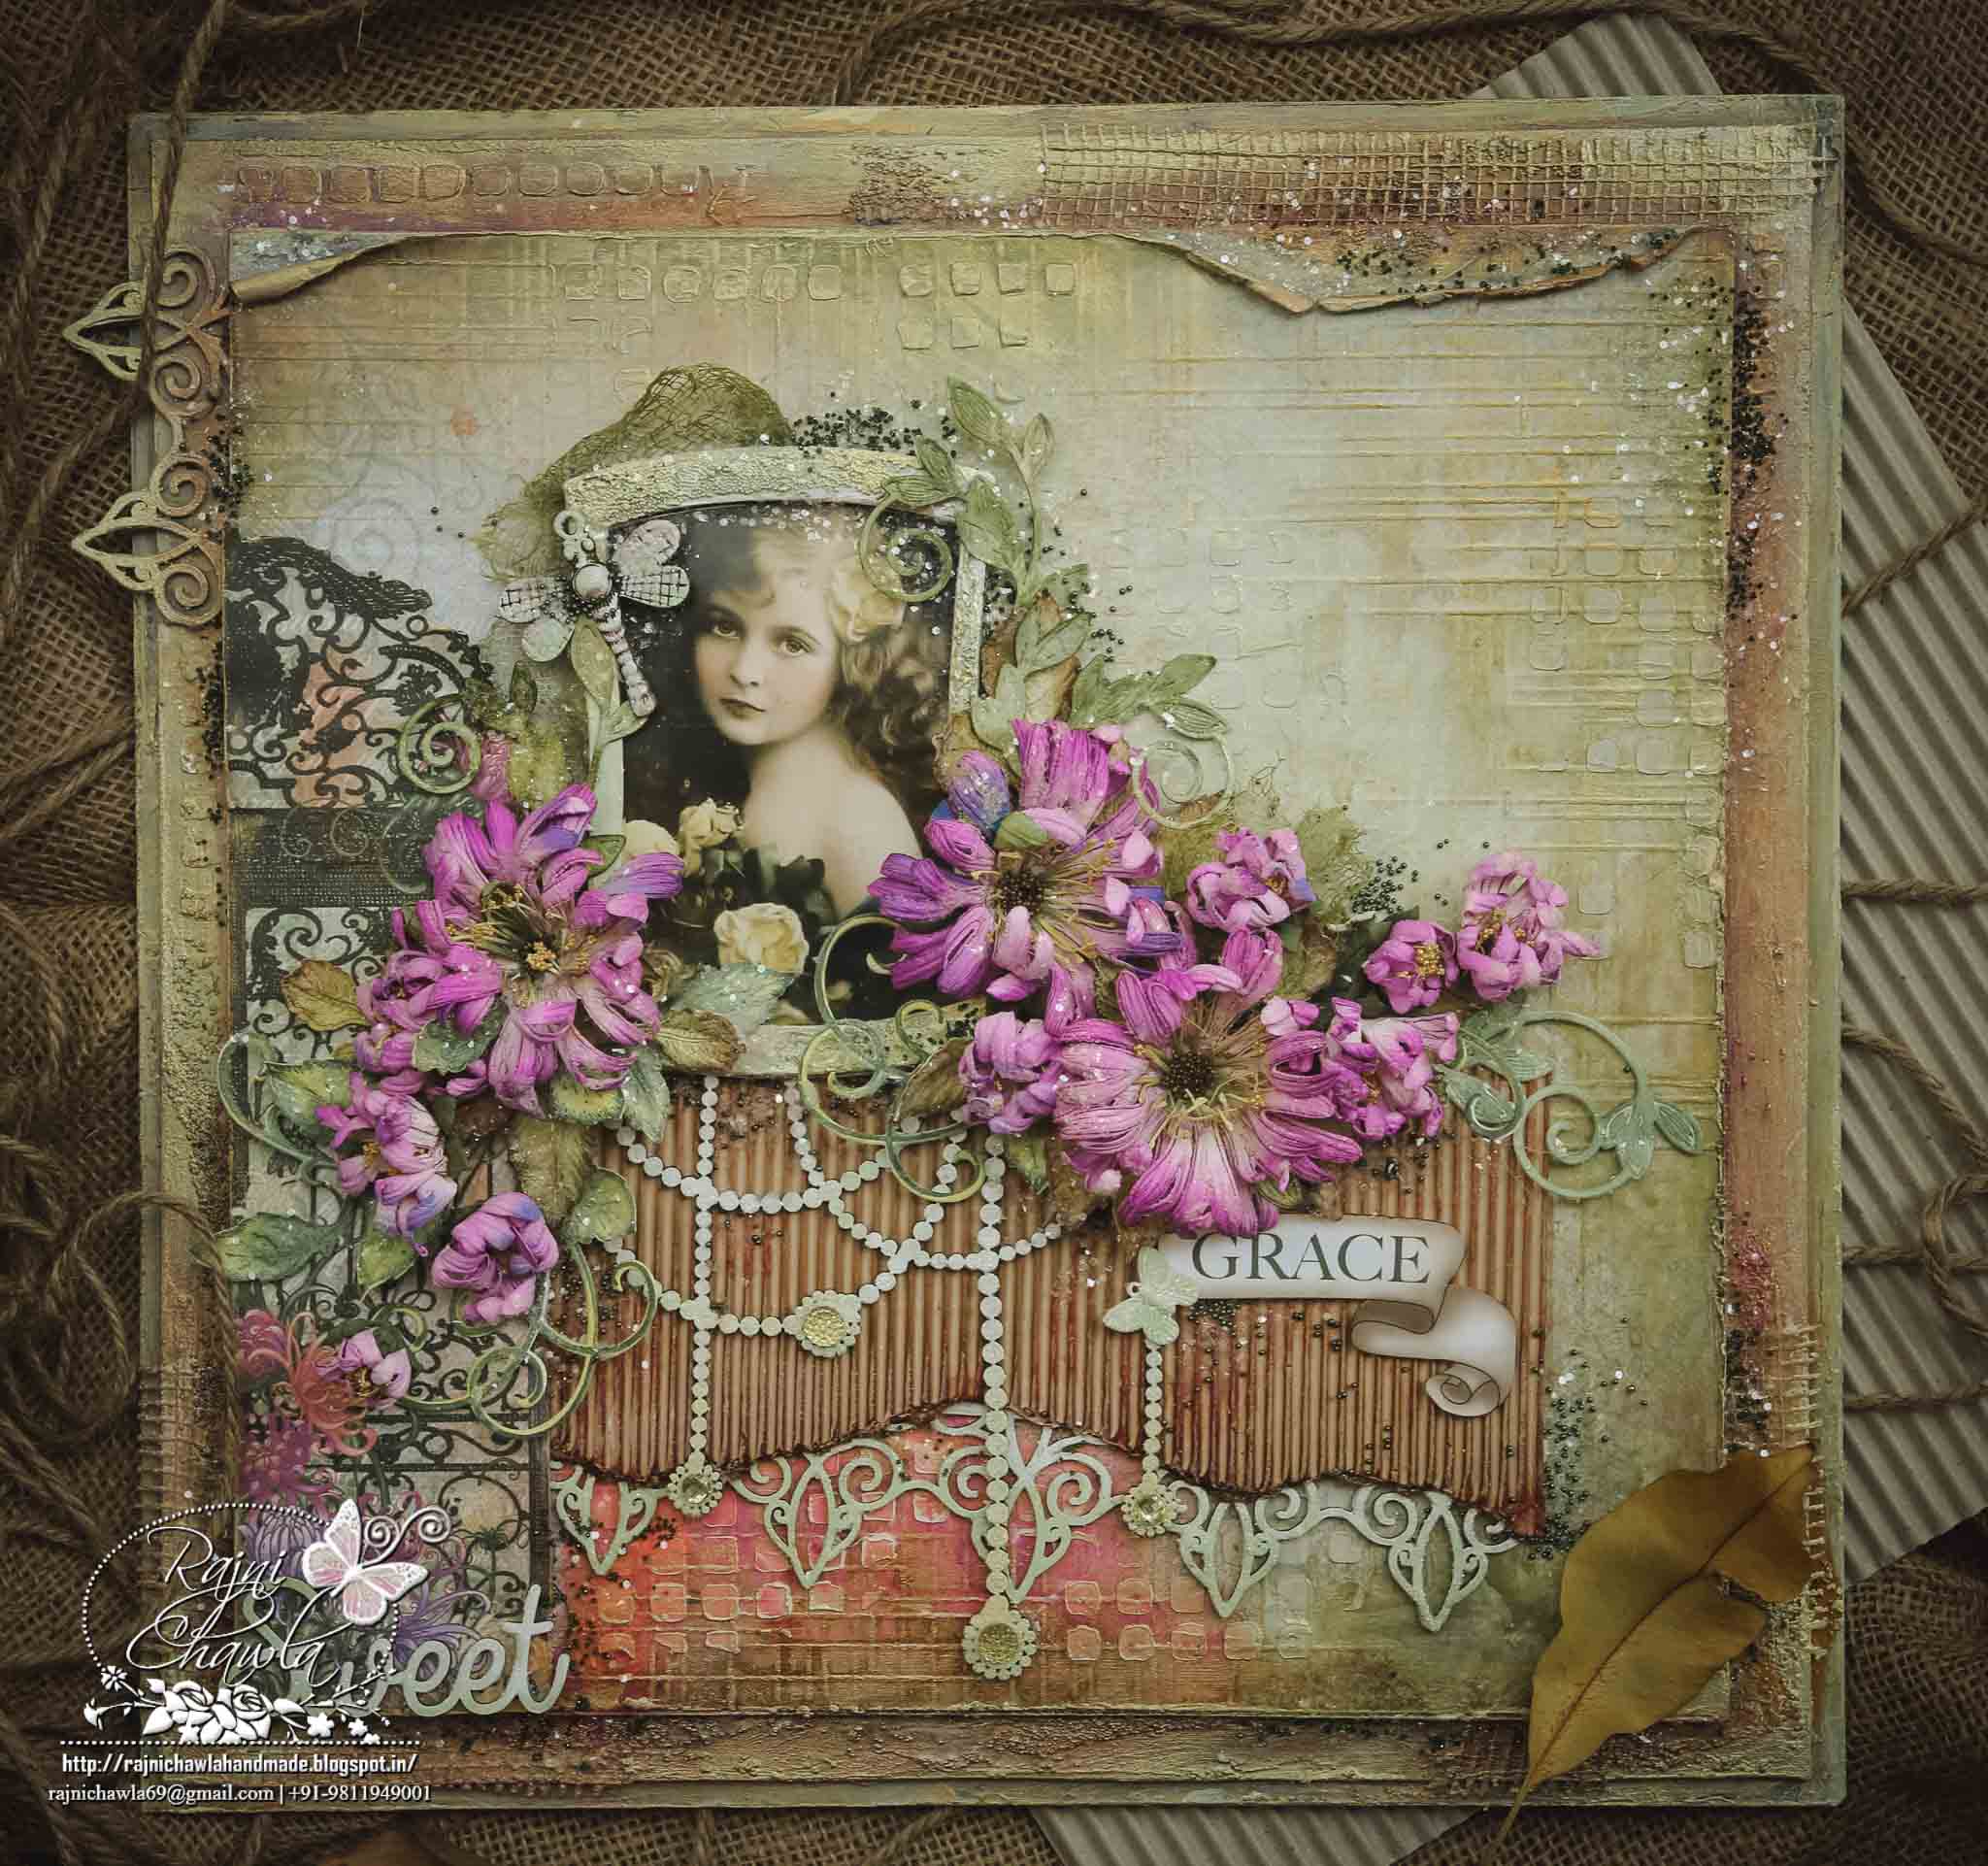
Grace: Layout using HC Enchanting Mum Collection

Posted by Rajni Chawla

Good morning friends!!

I am so thrilled and excited to see myself on Heartfelt Creation's board. It's a dream team. God has given me a wonderful opportunity to enjoy this beautiful world of crafting and to meet few more talented crafters across the globe. I know it's going to be a fun learning time with HC family. Today, I am on board with my very first project as a Heartfelt Creations Design Team!
Though I was bit nervous while creating this project as I entered my craft room after many days due to my ill health, but I have surely tried my level best to inspire you.

Full View of the layout: 
HFC 30th April-14


HFC 30th April-13

Heartfelt Creation Products Used: 


Other products:

Archival inks Library Green, Clear Rock Candy Glitters, Stickles, Heavy Gesso, Silk Glaze, Micro beads, Dusty Attic Chipboards, Texture Paste, Prima Stencils, Heavy Chipboard, Dry Mech, Spellbinder’s Wonky Rectangles, mists /sprays and Acrylic paints, fussy cutting scissors.

Instructions for Flowers and leaves:
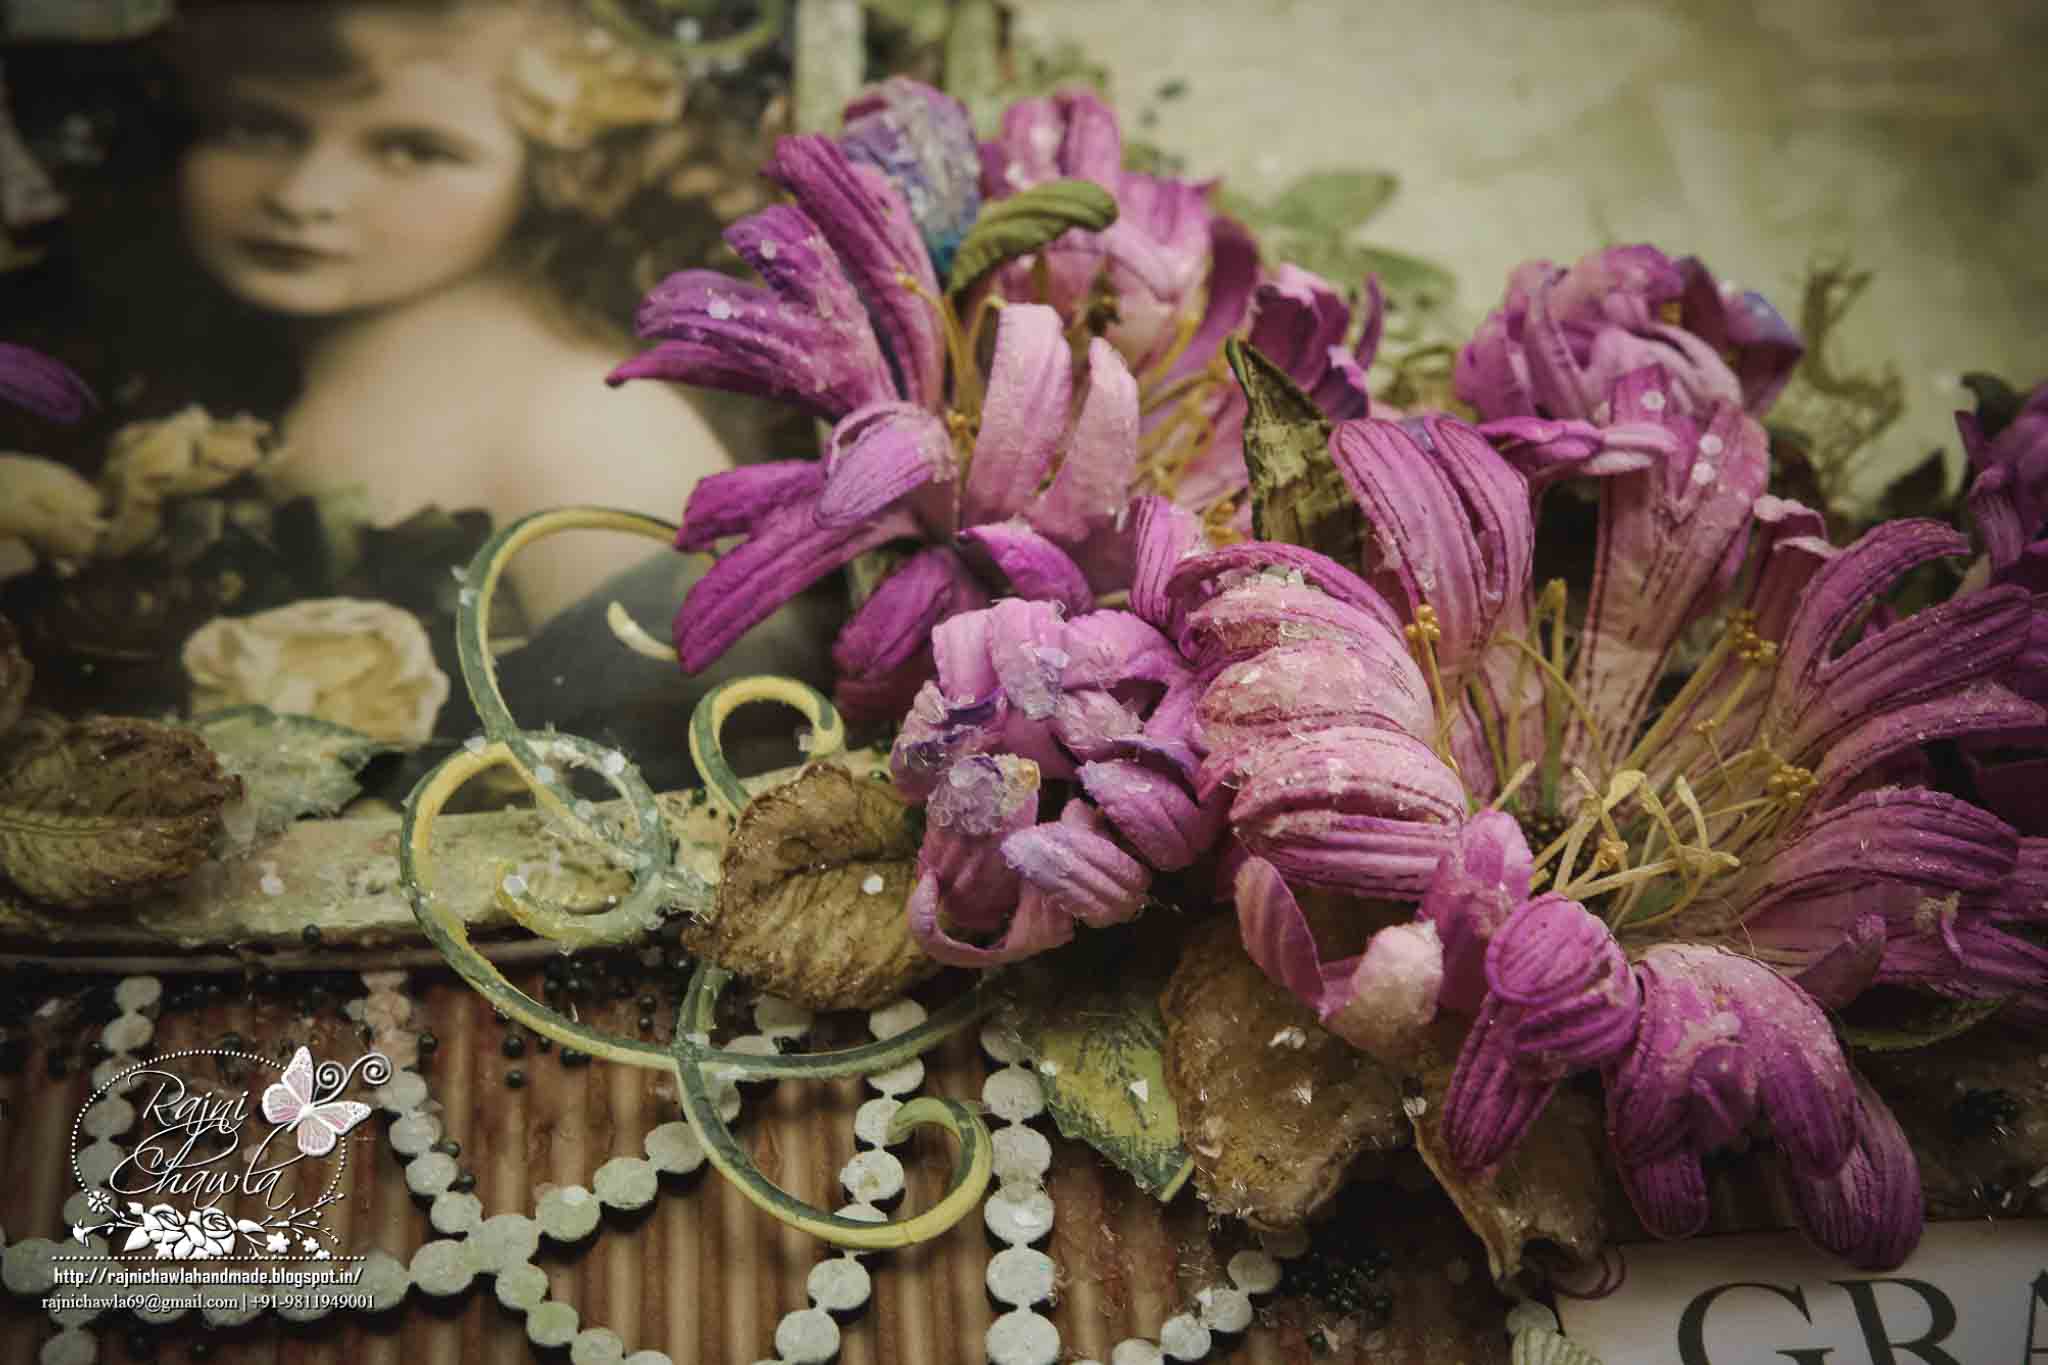
 Follow Emma Lou’s video below for shaping Enchanting Mum Flowers.


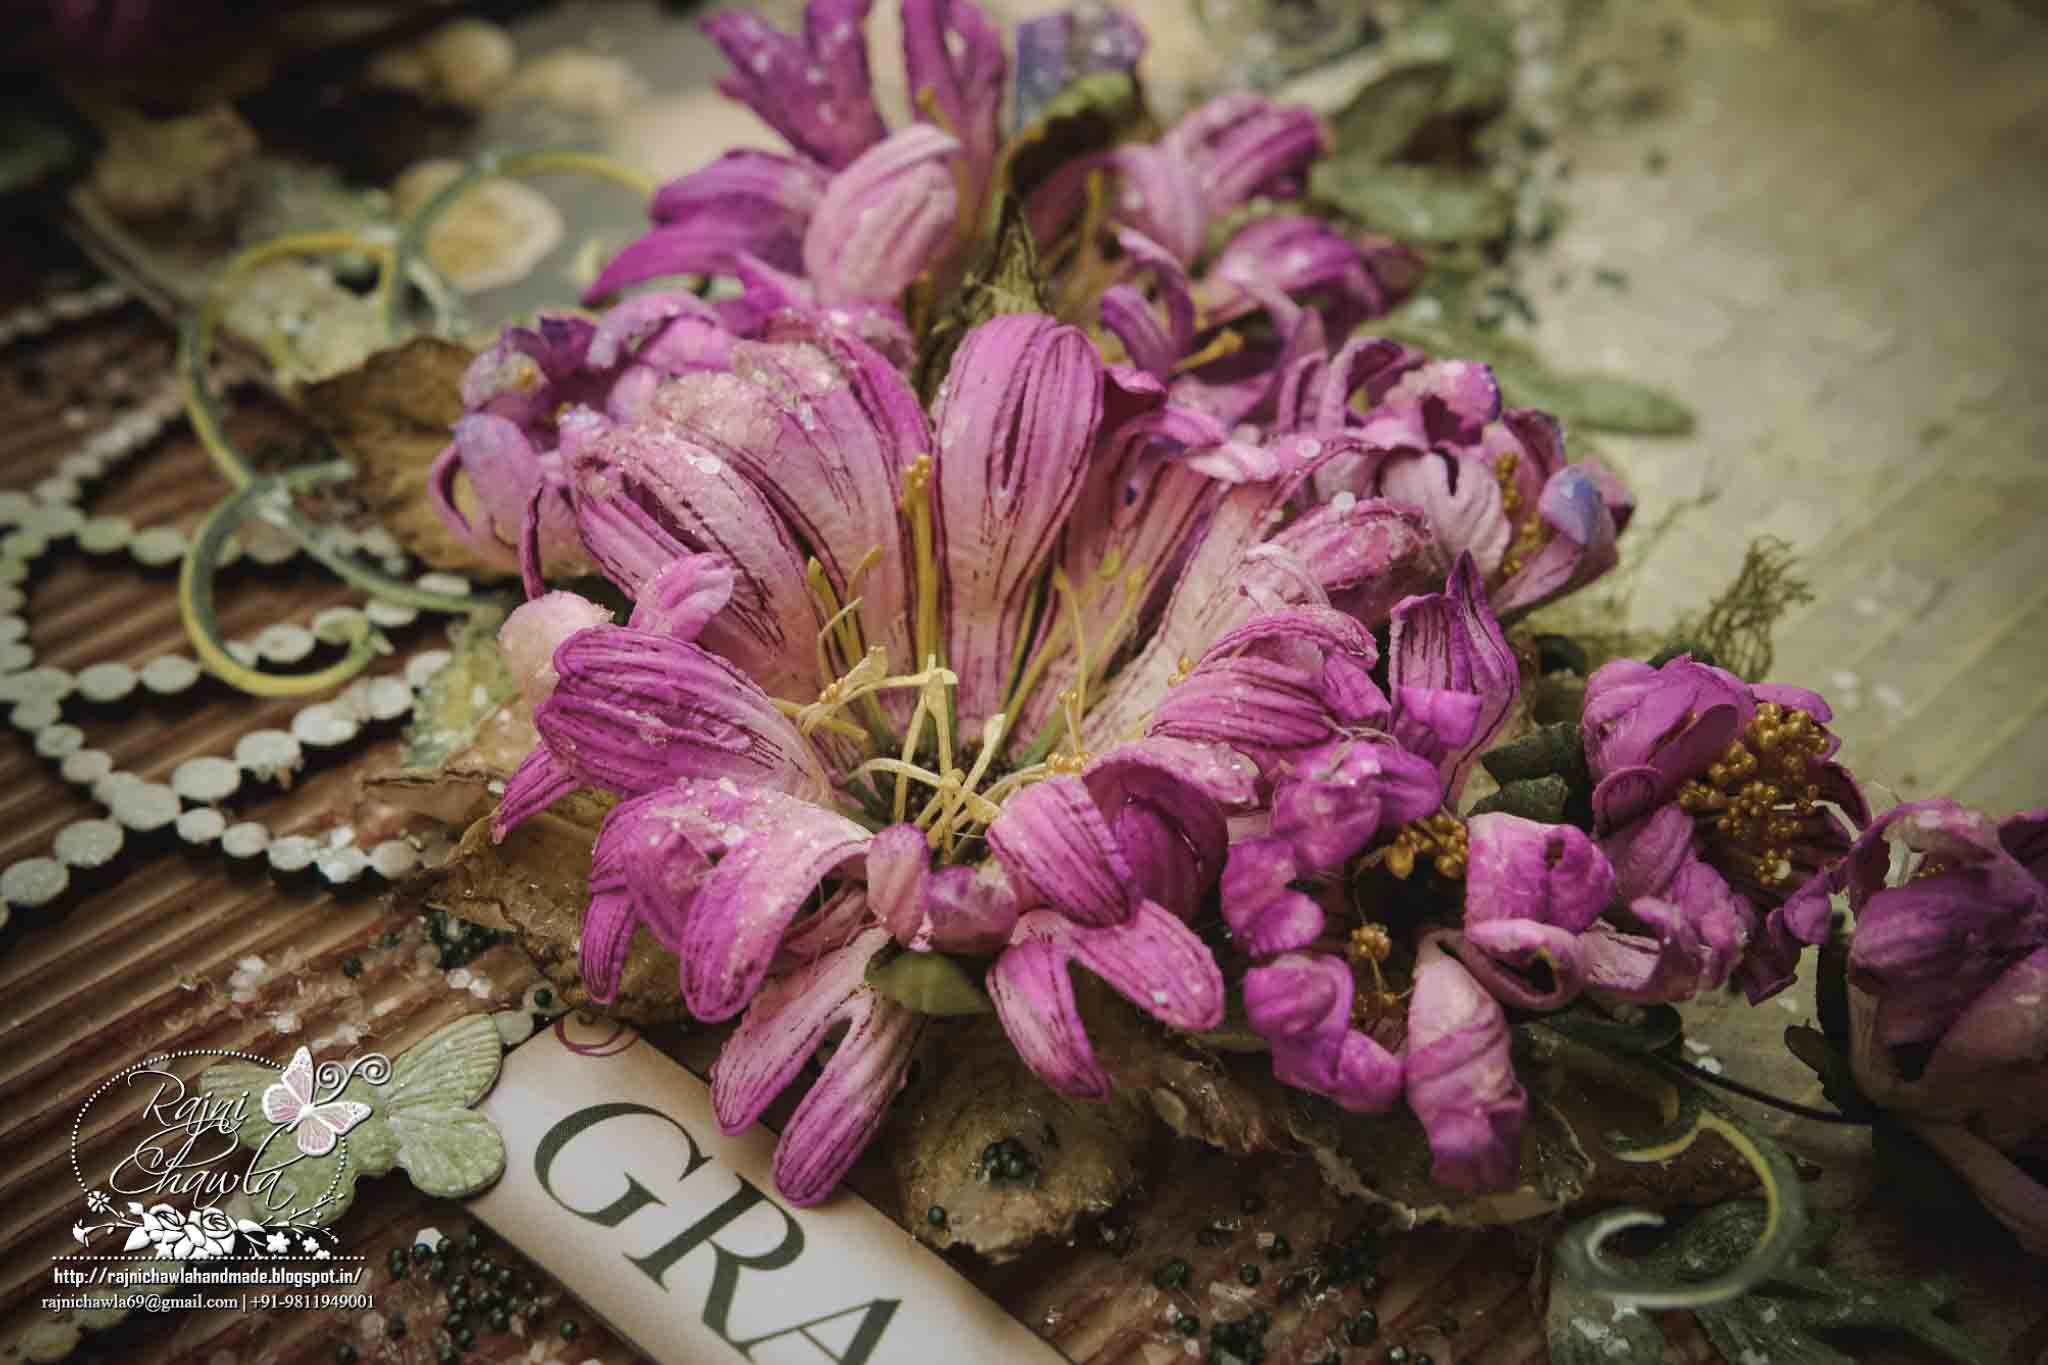
The flower centres are made using stamens of Sunrise Lily die. Paint the stamens with ColorBox Fluid Chalk Ink Pad – Harvest and Lime Pastel and split them in half. Add Prills using - Art Institute Glue that Dries Clear. Leaves are all stamped with Library Green Archival Ink and painted with ColorBox Fluid Chalk Ink Pad - Lime Pastel. Leaves and flowers are shaped using Deluxe Flower Shaping Kit.

Instructions for Vintage Girl Frame:
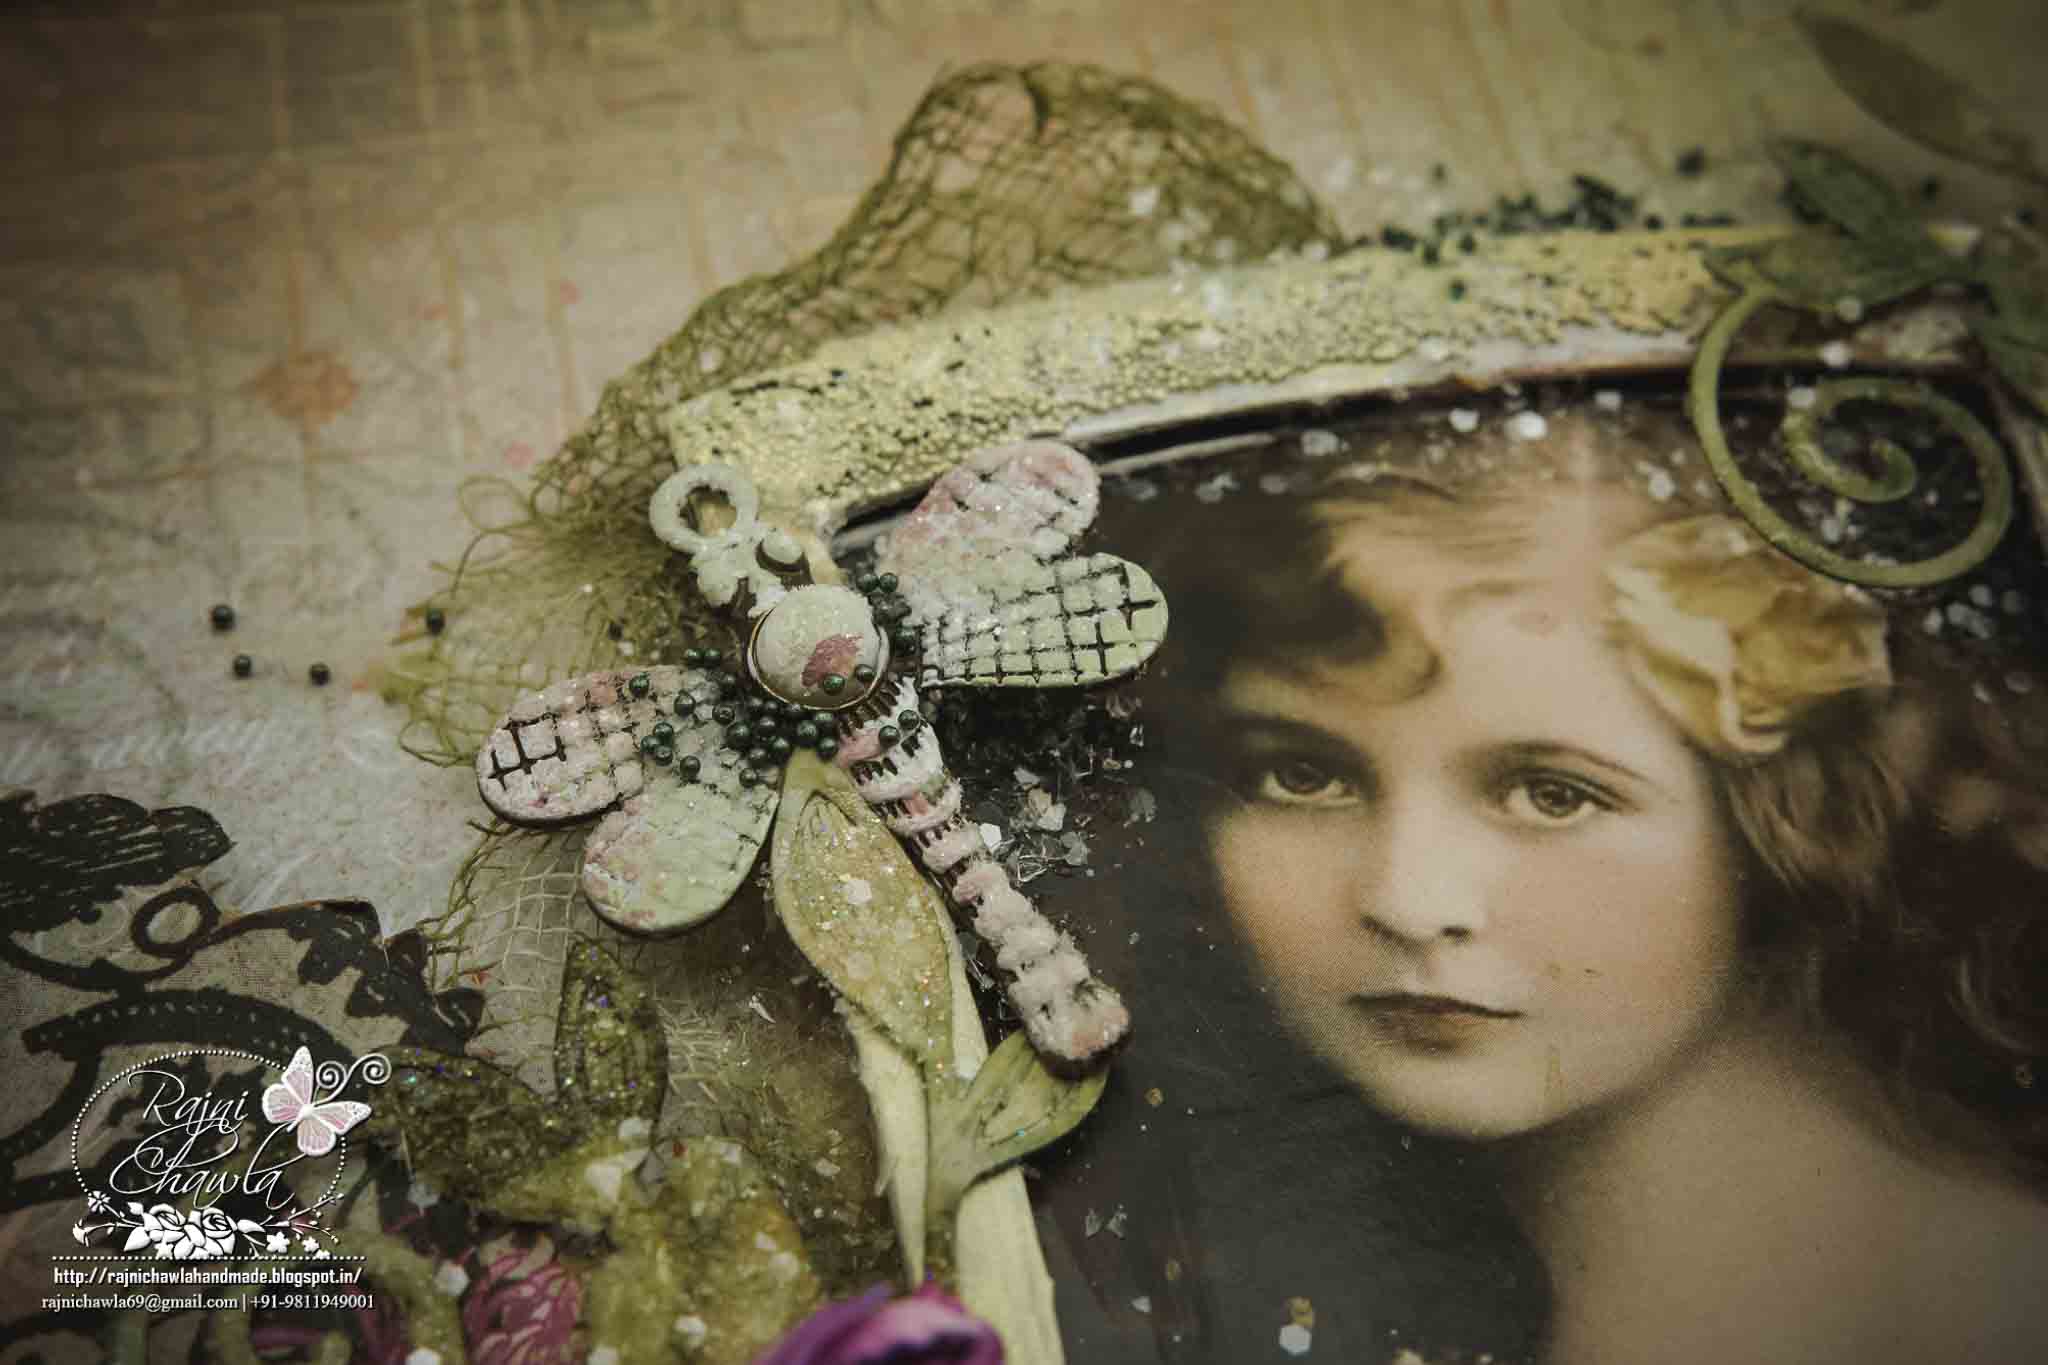
 The vintage girl image is downloaded from Pinterest. Nest outer two dies of Spellbinder’s Wonky Rectangles with heavy cardstock and make a frame for the vintage girl image. Give a light coating of texture paste on the frame and sprinkle micro beads and leave it for drying. Once dried apply matching shades of acrylic paint and paint the frame.

Instructions for Layout:
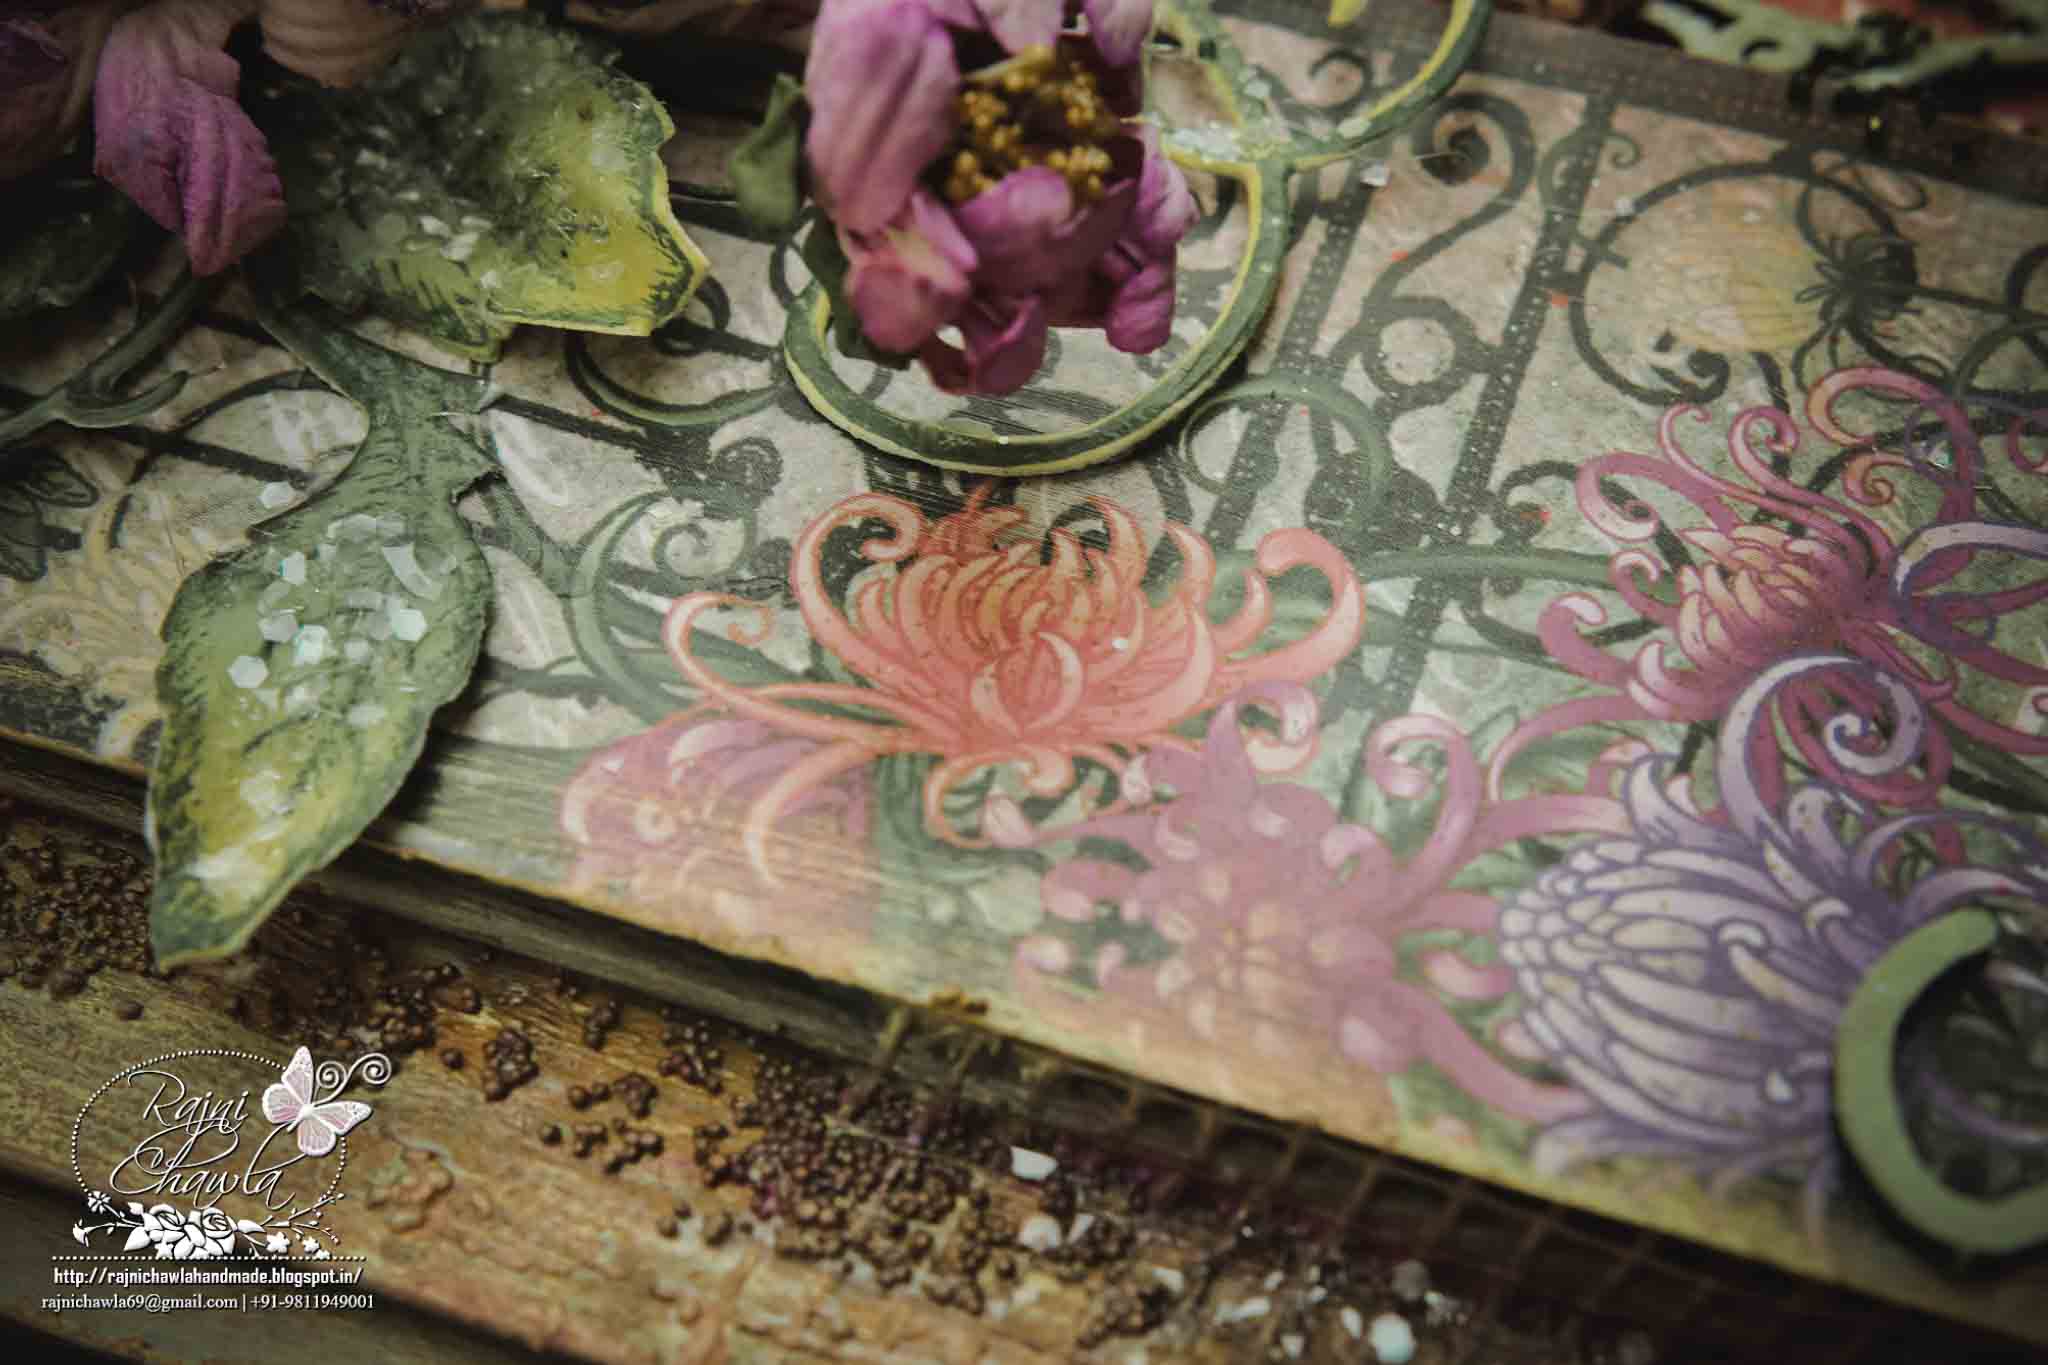
Fussy cut the floral gate using fussy cutting scissors. Score rest of the designer paper using score pal randomly and apply a coat of diluted White Gesso. Stick the designer paper to heavy chipboard and also, layer the fussy cut floral gate.  Apply texture paste randomly using stencils and leave it to dry. To speed up the process you can use the heat gun. Once dry spray with shades of pinks and greens. Build few layers of colors drying in-between the layers. Once satisfied with the background highlight all the details with silk glaze.  Dusty Attic chipboards are all painted with dusty in colors acrylic paints and dusted with clear rock candy glitter using Art Institute Glue. Assemble the layout by creating different layers with chipboards, corrugated sheet and cheese cloth and also add dimensions using glue dots.

Here are the detailed pictures...

Beautiful Mums flowers!!
HFC 30th April-1


HFC 30th April-9


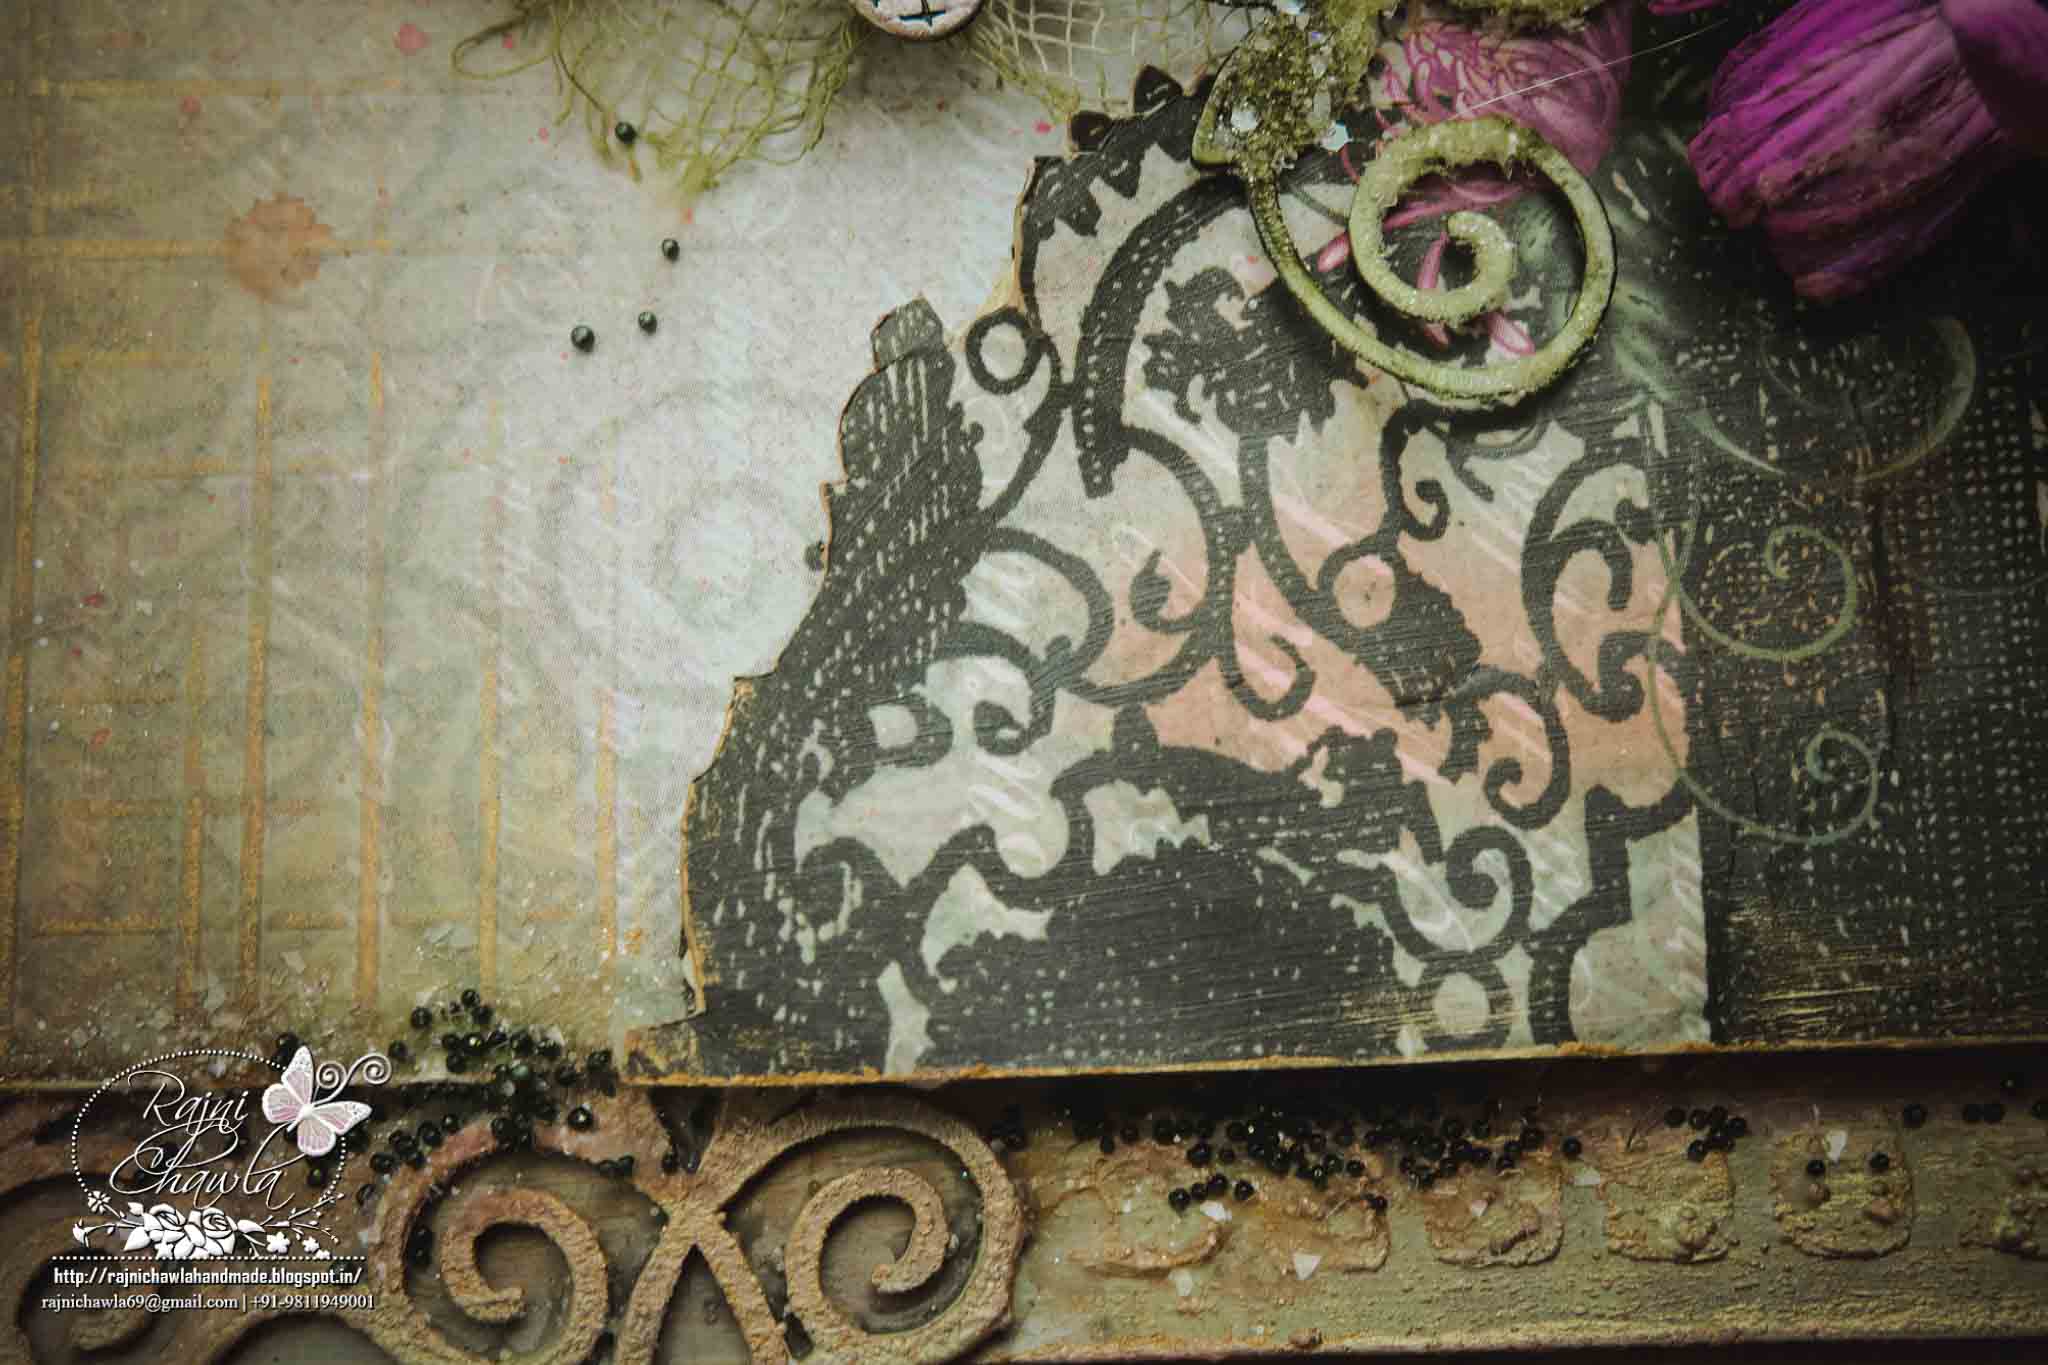
Gorgeous designer paper from Enchanting Mums Collection...
HFC 30th April-12


HFC 30th April-11


HFC 30th April-10


Dusty Attic chipboards...

HFC 30th April-5


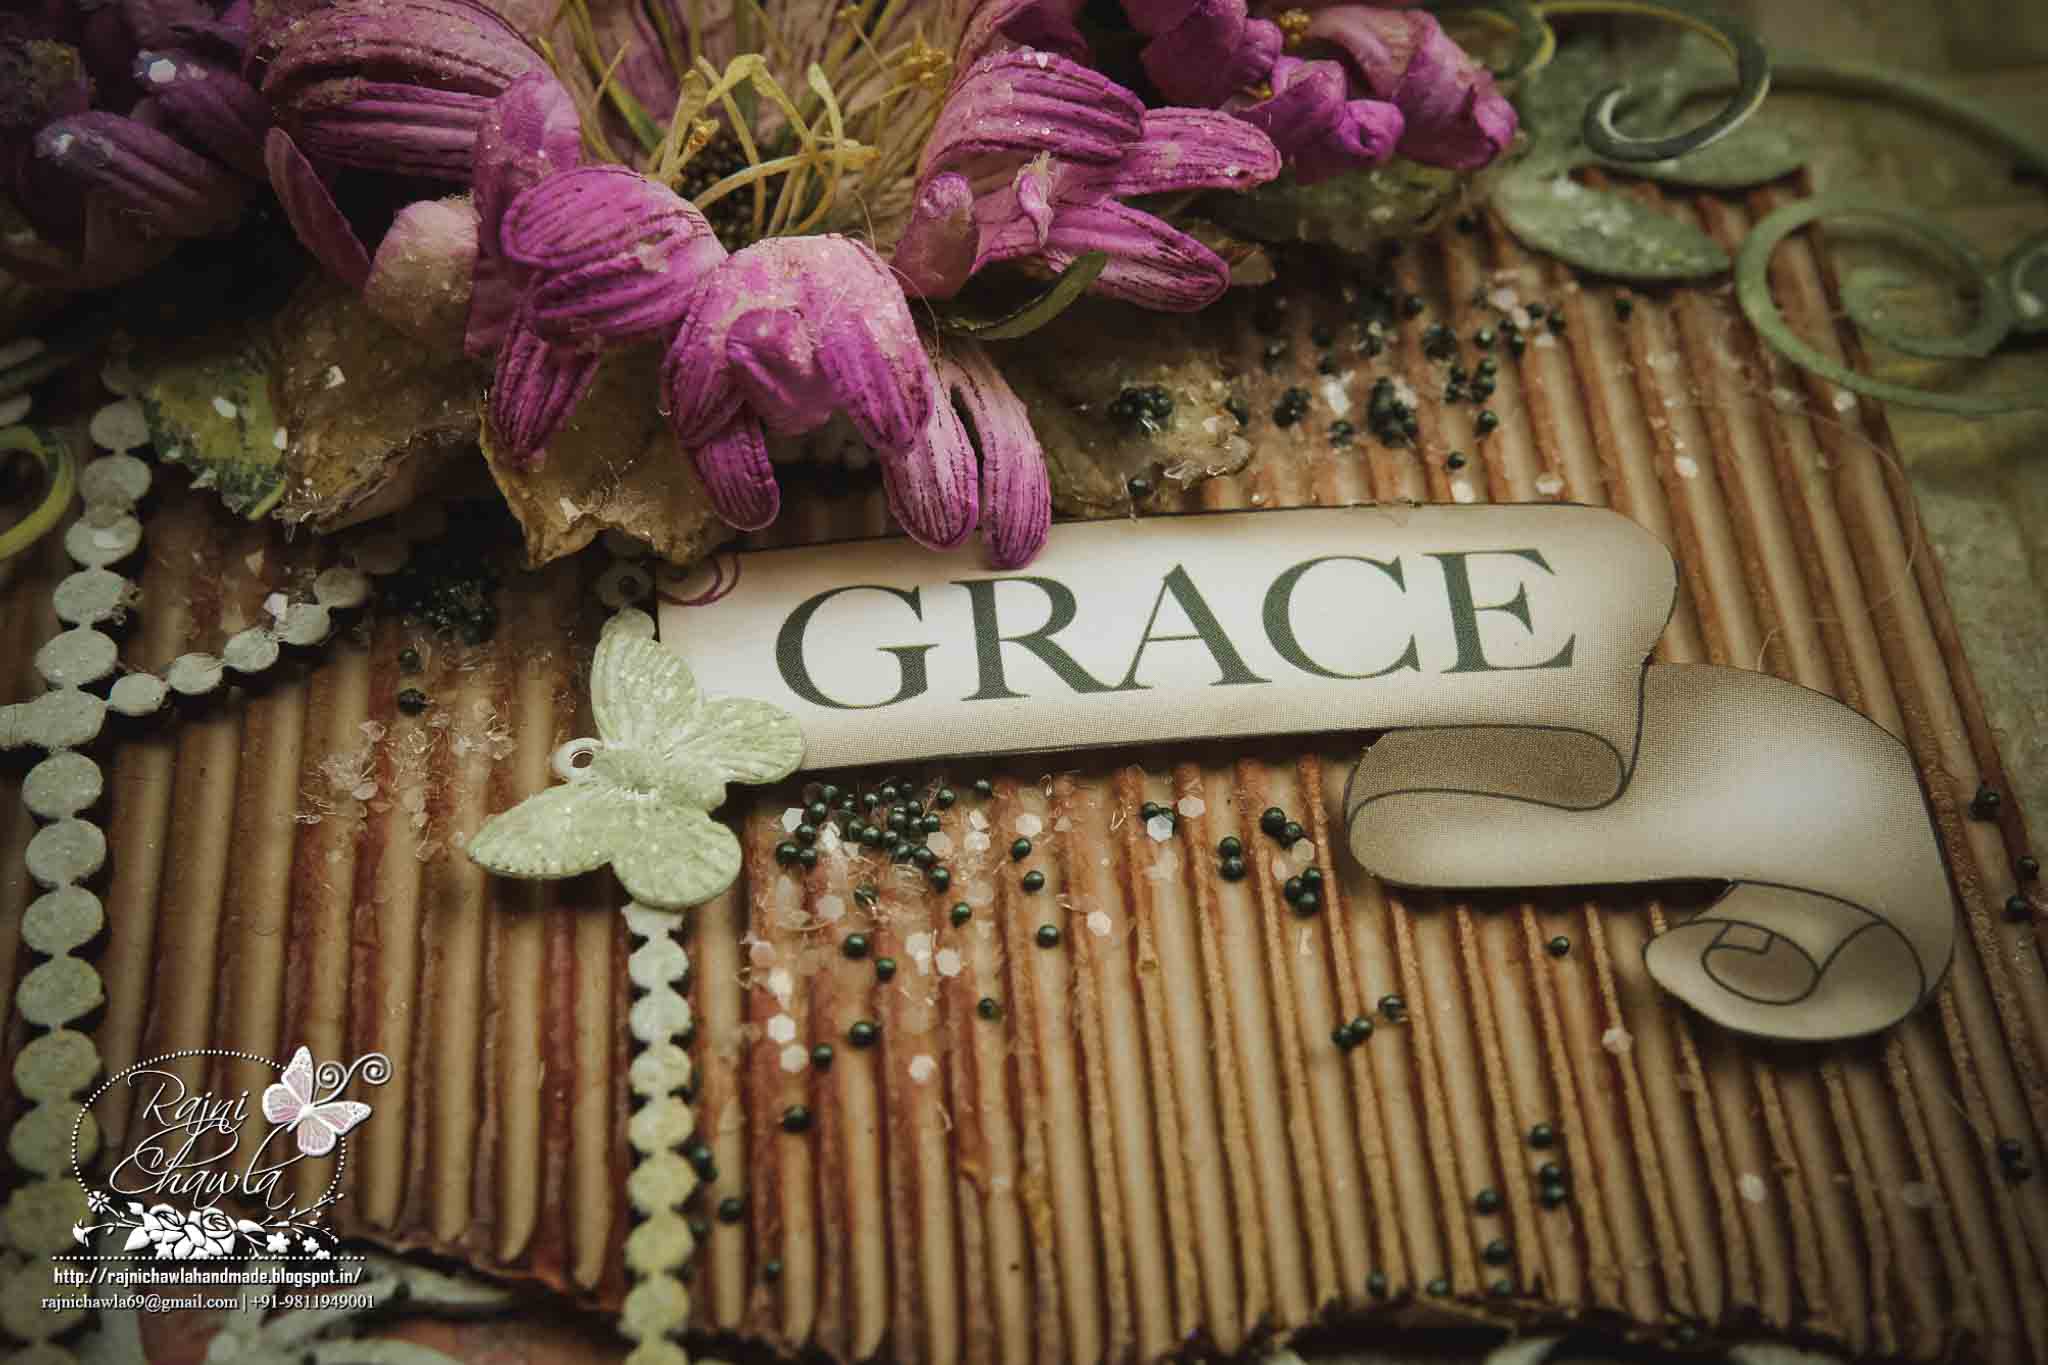
Banner fussy-cut from designer paper itself.
HFC 30th April-6


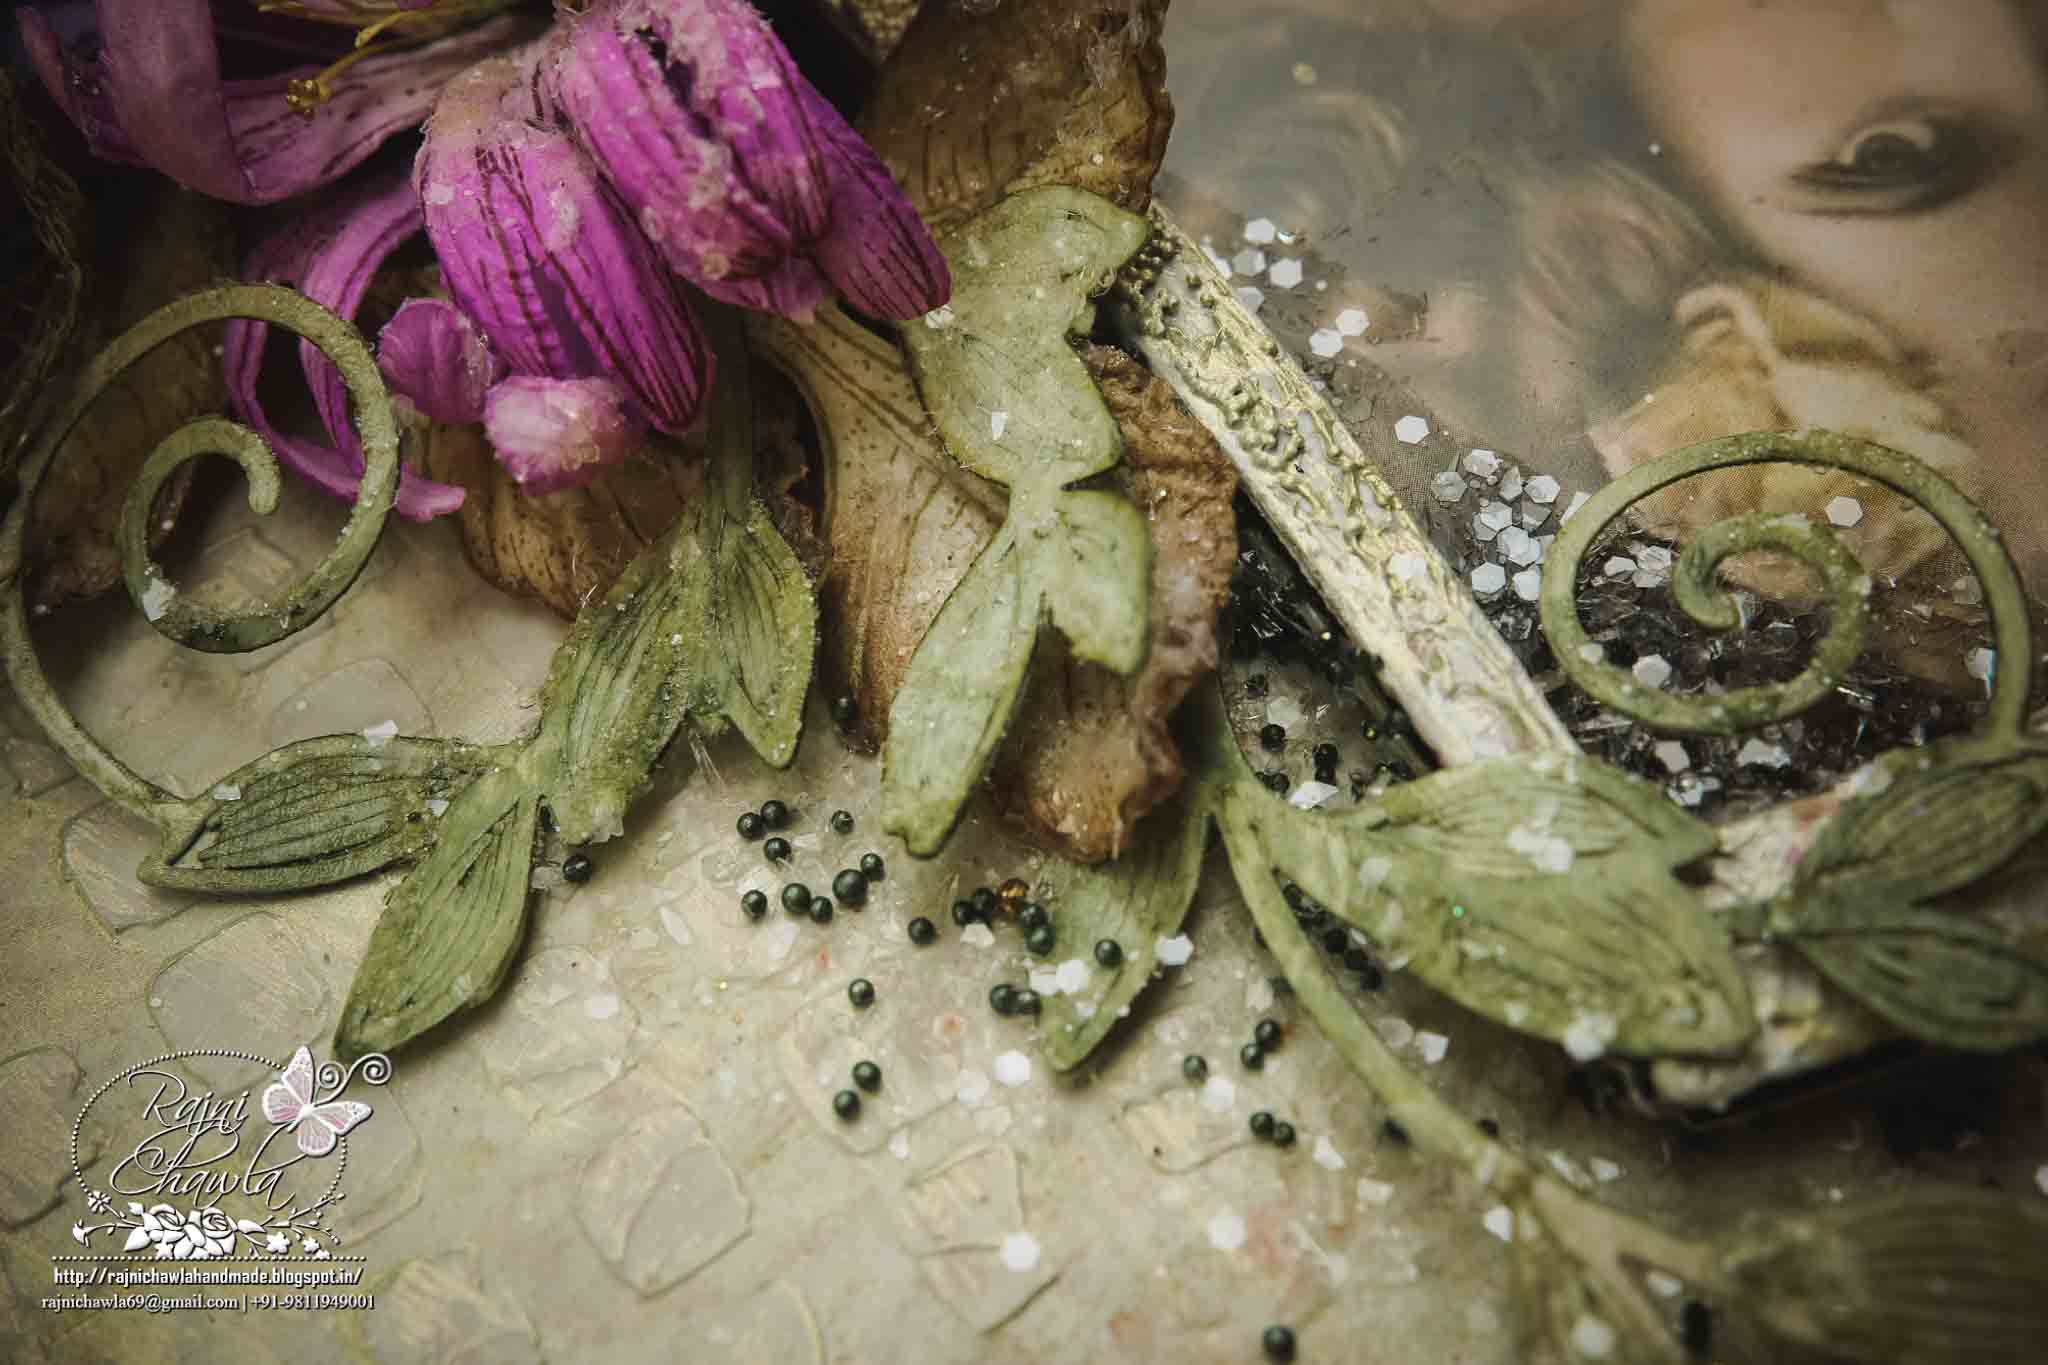
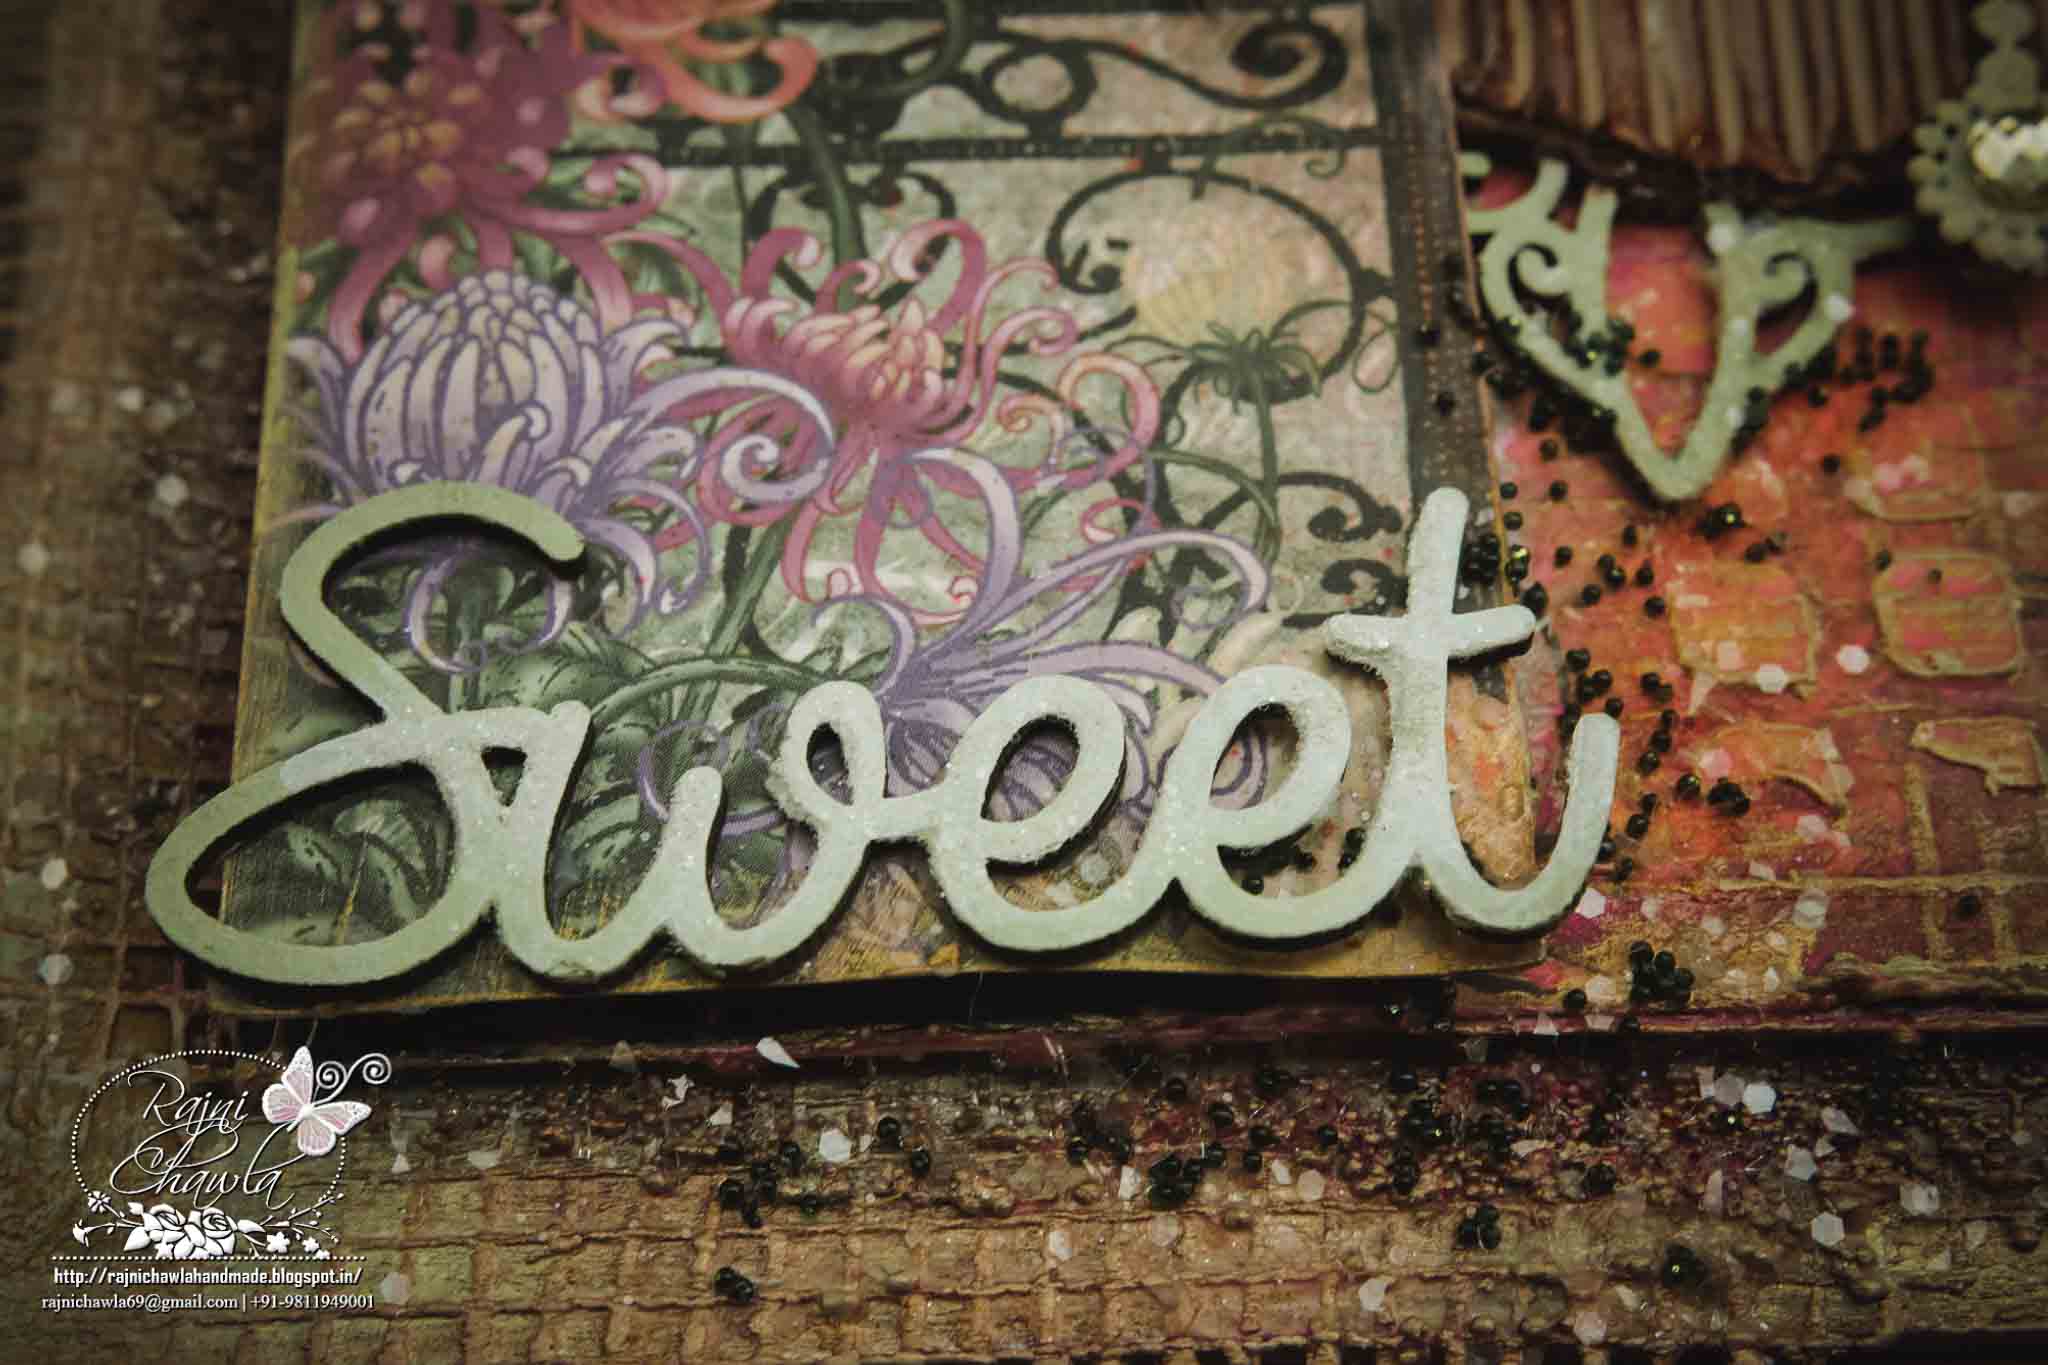
Sweet....another chipboard from Dusty Attic!!
HFC 30th April-4


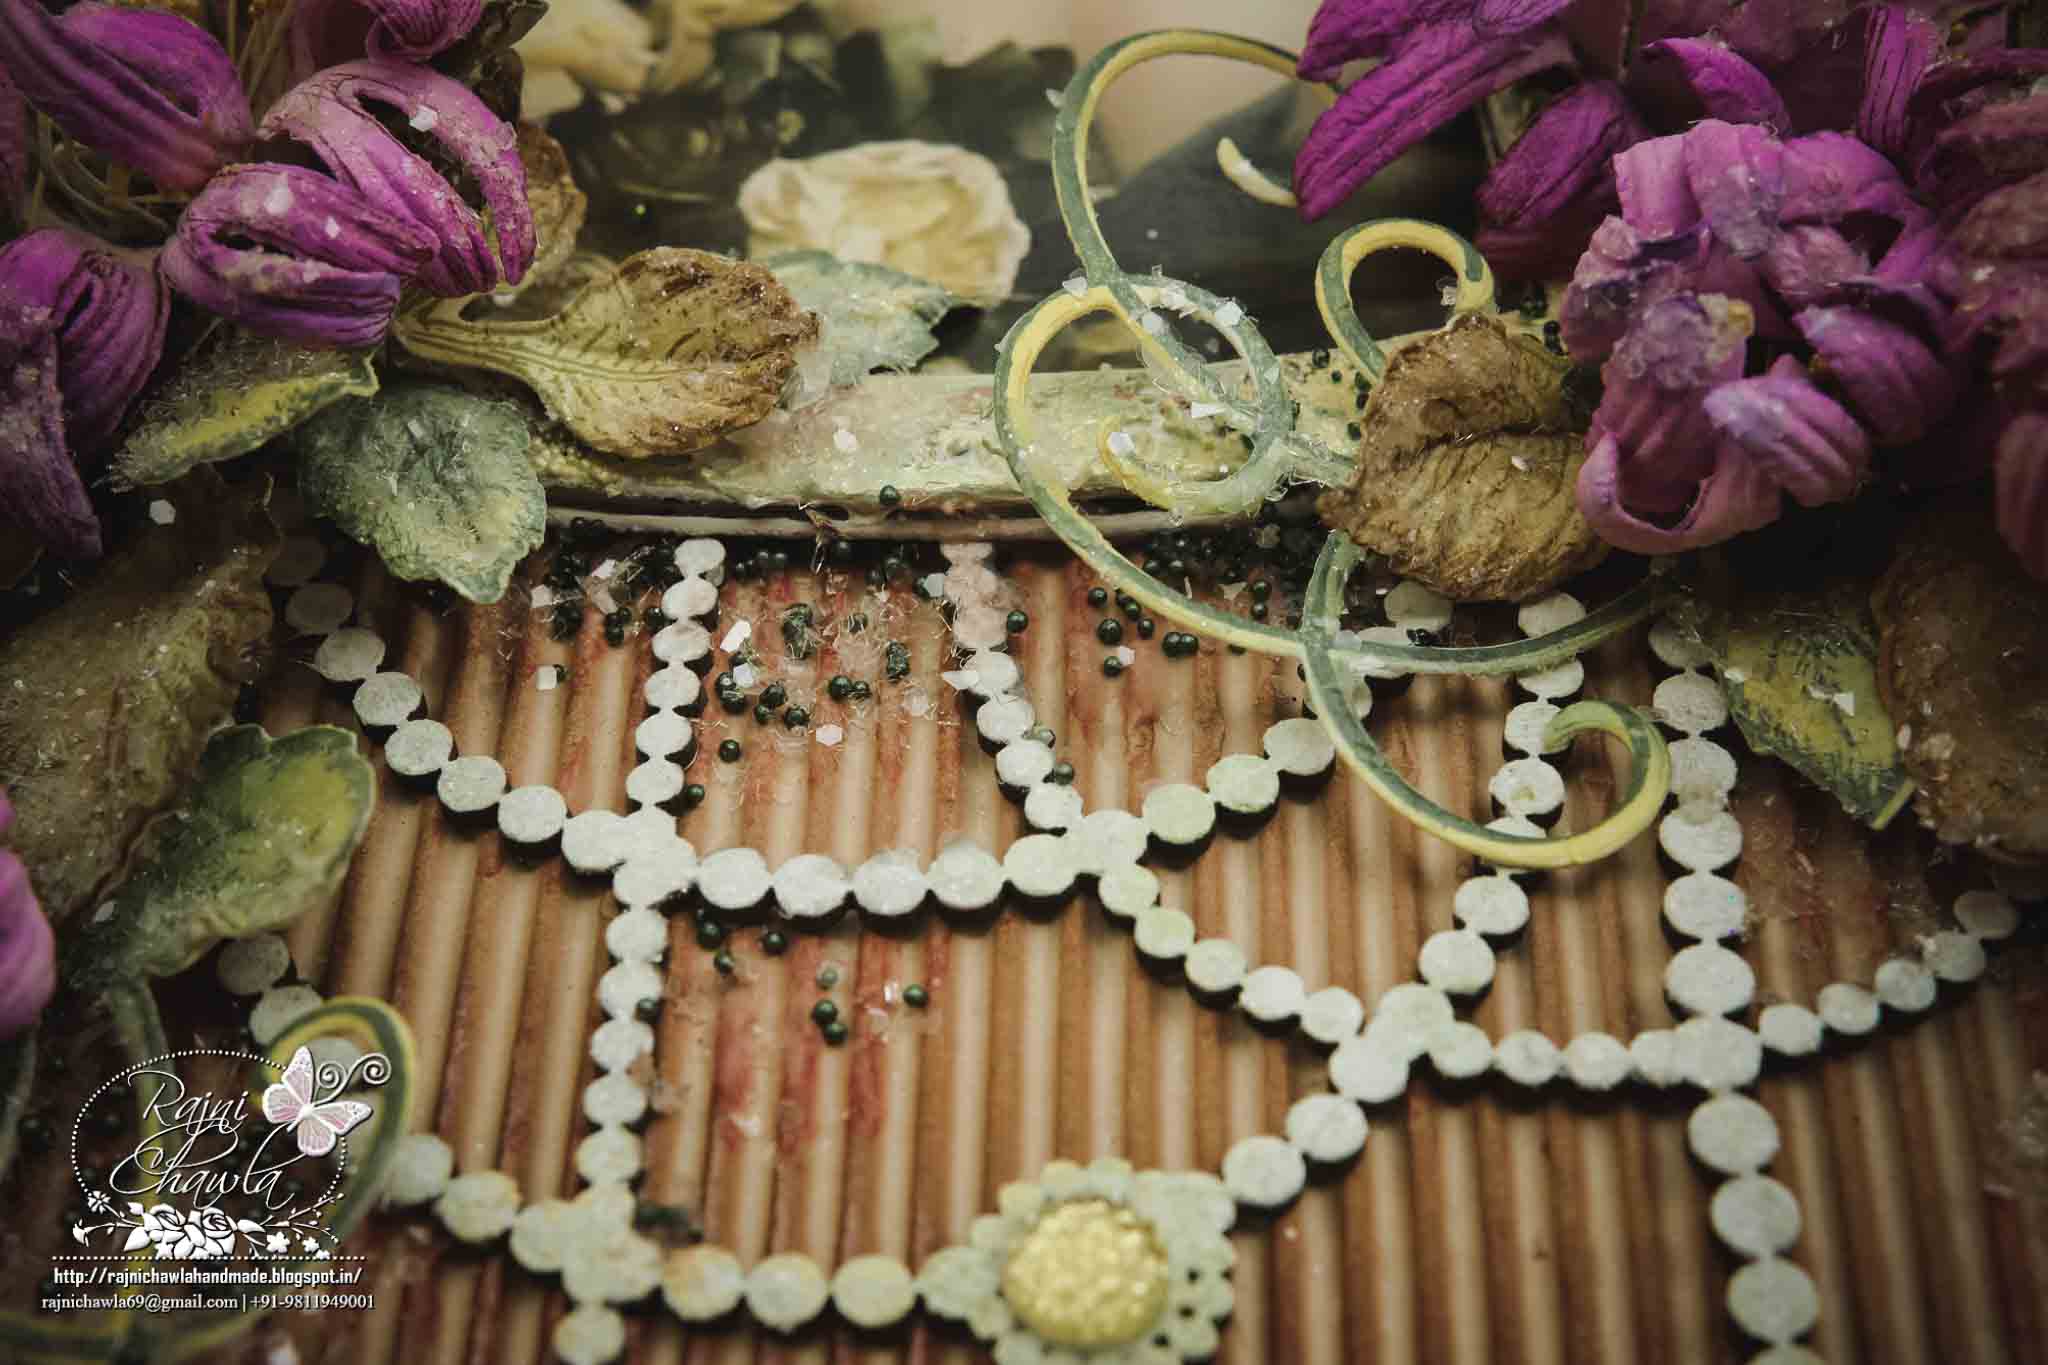
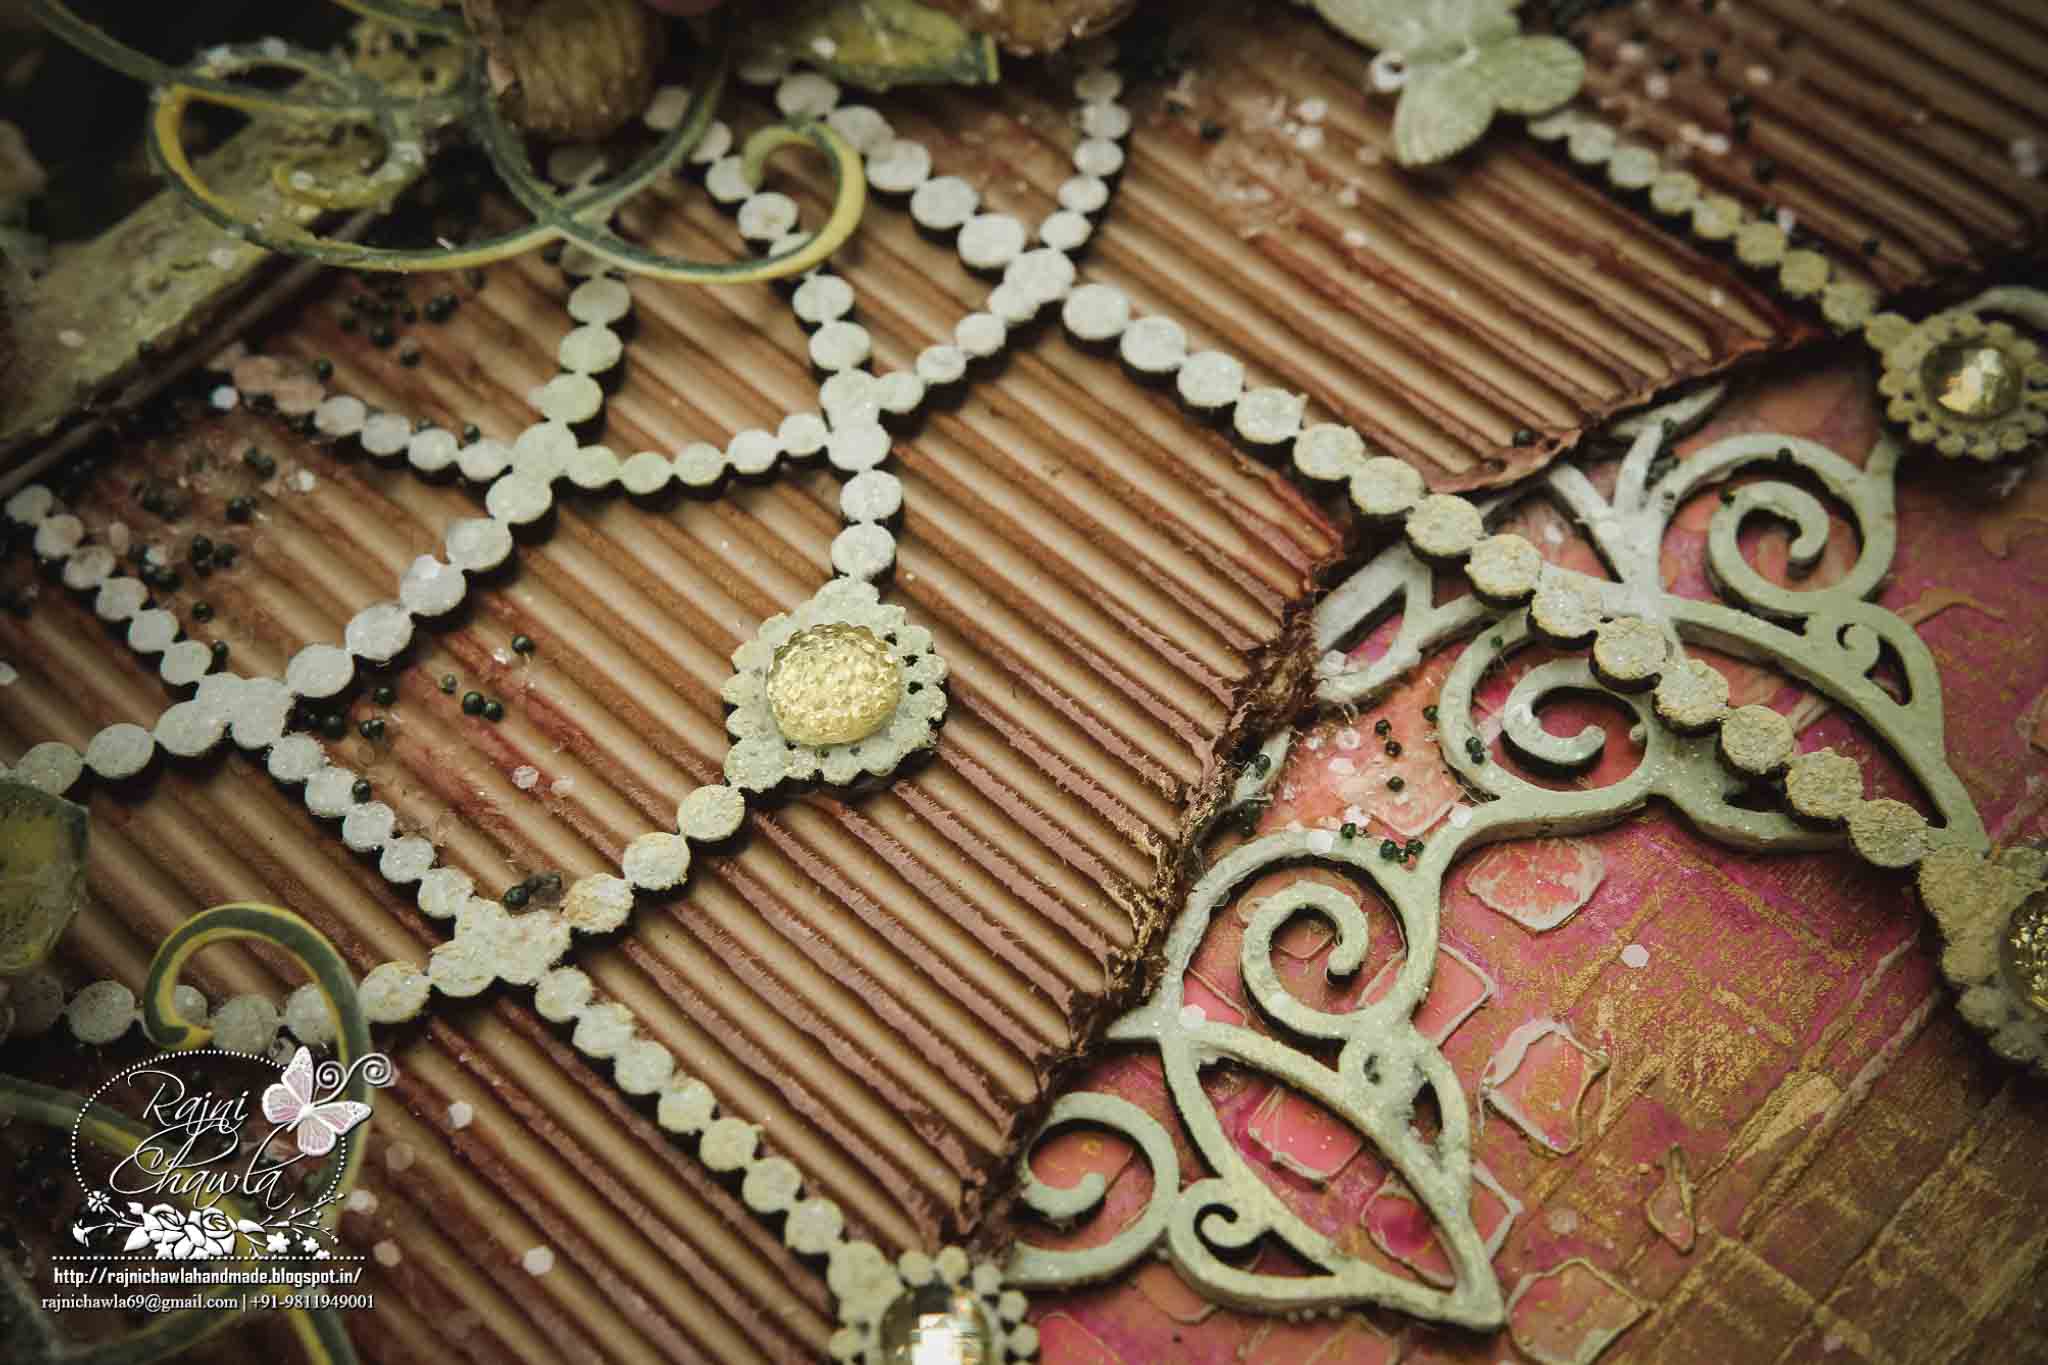
Chipboards beautifully layered between corrugated sheet. 
HFC 30th April-8


Frame created with Spellbinder's Wonky Rectangles textured with mix media texture paste.
HFC 30th April-3

Hope I was able to do justice with this collection and I was able to inspire you with this creation of mine.
If you are an Indian crafter and looking for craft supplies at best prices contact Meetu Aggarwal (www.krafterscart.in) or Priya Sivaraj ( www.thecraftshop.in).

  Thanks for stopping by!!


Happy crafting!!

Sunday, December 29, 2013

In love wid blues...

Posted by Rajni Chawla

Hello all
As you all know I am always  in love with my distress inks.Can't stop myself from using them. Today I'm sharing two of my cards that I previously made in different colors but tried this time in blues on clients request. I have used salty ocean, broken china and peacock feather to ink the backgrounds of my cards. Here are the pics...


CARD 1..


CARD 2...


Entering my first card to Lulupu challenge #22 ...."Cook it up' and blog hop.
(I have cooked my recipe with stamps ,die cuts and embellishments)
Ladies...don't forget to participate in blog hop at Lulupu...so many chances to win...so many categories to choose) 


Thursday, December 19, 2013

Crafting needs no restrictions and need no recipes at all...

Posted by Rajni Chawla


Hello all..
I have been in creative line and production work since years. W
hen I do creative work, I don’t worry about being right or wrong
. I simply allow the ideas to express themselves. My experiences with different clients...with their different requirements...with different budgets have made me learn at all steps. Also every little question of  my student has made me move one step forward.  
Today I'm here to share my experience of making handmade paper flowers. 
It's been more then 3 months that I have been taking paper flower workshops now. I always try to guide my students that while creating any type of flower don't restrict yourself to use same die or punch that I use. Check your own collection and think before you buy anything new. I also guide them not to restrict themselves to number of petals used while making any flower. Use as many petals as you want to give a complete and finished look to your flowers. No limitations and no restrictions at all when you are crafting.

 I came across quite a lot of queries while conducting my workshops.

What all dies I love to use for making flowers and why ?

What paper and what gsm I prefer?

Please share some video tutorials.... mam?

How do I take out production work of handmade  paper flowers?

My this post is reply to all these queries.


What all dies I love for making flowers?
As it is with most of all  the crafters, my greed of buying craft supplies also never ends. I have a huge collection of flower dies and punches but I love using following dies.
 

Spellbinders Rose Creation

Sizzix  Bigz Tattered Floral Die

Heartfelt Creations  Sunfluer Kissed Die

Joycraft floral flourish 1,2,3,4 and 5


For me  all the above listed are....theee bestMy spellbinders rose creation and Sizzix Bigz is good for production. I can cut more then 1 paper at a time because of  their deep blades. I can cut two different shades of papers and cut for two different colored flowers simultaneously. More over for few flowers I need a hole in the center....so I can avoid that extra step of punching if I m cutting it with my spellbinders rose creation. I get a good sized flower with both these dies.

 Heartfelt  Creations Sunfluer Kissed die is also equally good. But I love it more because I save my time as i get so many sizes of die cuts in just one go...I don't have to arrange loose dies. Here I want to share my one secret....I use this die more to cut  green sepals for my flowers. Different sized flowers need different size of sepals and that I can do with this die in one go. 


And I also love all the five of my Joycraft floral dies. I love them because of their designs. Though few of the designs I have in my punches but I find dies more easier to work with and also they are long lasting. Punches can loose their sharpness after few regular uses. But I get a medium sized flower with these dies....that is not perfect for my packaging and  door decoration.   


What paper and what gsm I prefer?


Earlier I was making my flowers with fabriano card stock which is 220 gsm. Now I can work with paper as thin as 80 gsm also. May be its just because I have already done so much of production now. You just have to choose a paper which has good capacity to soak water well. If u think the paper you are using is thin and will tear while pinching.....try to pinch 2 or 3 petals together. The one I'm using now is a local buy in the name of Neelgagan and Lotus. Keep trying on new papers  as well as you never know sometime you might find something better then this.  


What all videos I follow ?

I specially thank to all those crafters who took out their precious time in making and sharing so many interesting videos on you tube. I not only enjoy watching videos but also enjoy trying different techniques. It depends from person to person how they apply every technique after watching videos. Few of my favorite videos for making crumbled flowers are listed below. Each one has something special to learn.

 (tutorial by Luvleescrappin showing how to crumble each petal individualy) 

(for assembling the paper flower if you are using punch or a die which has loose petals)

(one of the best video by Joycraft's deigner using all the five joycraft flower dies with same technique) 

(how to make flowers using punches)

(easiest way to make roses)

Tutorial on handmade paper gardenia flowers
(an awesome tutorial by Varshitha  Nagarajan which she made for Lulupu,the craft launge, showing what all inks you can use to create naturally looking gardenias)


How I take out production of handmade paper flowers?

 I use my handmade flowers for packaging, on cash envelops, as hair accessories, for door decorations, for cards n scrapbooks, corner arrangements and many more. And mostly I am into production work....always need good quantity. For different projects I need different sizes of flowers . Also to me, a single big flower looks less pretty then the one when tied in a small sweet bouquet .

You know what....all my tools are very friendly. They happily work together and help me enough in bringing out production. My spellbinder dies and Joycraft dies don't cry when I force them together and roll them through my Bigshot. I put them together and cut and also sometimes combine them to take out production. 


Have a look at this picture. I made this flower for challenge at CCC blog which was hosted by me. This was my very first try at these flowers I tried only few and tried only with Spellbinder's Rose Creation. 


Watch these 2 video tutorials.

Video by one of the joycraft designer Jolanda Bergmans
(this particular video will show you how u can use different dies with same technique)

Video by Archana Joshi 
(this will show you that you can even use your punches for the same technique...You must must follow her tutorial board on pinterest for her mixed media flowers )


I have followed the above mentioned tutorials and made these flowers.  When I was working on my bulk order for hair accessories for one of my client I really went short of time and also short of my staff who generally help me in cutting. It was my first big order of these flowers and I was quite new in making the same. I was little stuck up but then got an idea of combining my joycraft and spellbinders together to save little time in cutting. If you take a closer look to joycrafts floral die (6002/0156) , ( 6002/ 0158) and spellbinder's rose creation the flower petals are more or less same.....and more over once the petals get crushed  it hardly makes any difference.You can either use your dies separately or you can also combine them together....the results will be more or less same. Let them be like that as even nature has not created exactly the same flowers. 
Everything depends on your own creativity and your own satisfaction...the end result should be eye pleasing....that's it!!

As far as I'm getting good production and good results I can combine anything.....any brand...any die....any punch.

Here are the pictures of some flowers with same technique....with different dies....and  almost same results....though the sizes are bit different.
Never mind!!


Now...here they are when tied in a small bunch...


Don't you think they are pretty enough to catch anybody's attraction??
 Can you point out which 1 is with which die??
So think twice before you buy any floral die....the one already in your stash can create wonders....but only if you give yourself lots of tries. 

 For me...

 
Crafting needs no restrictions and  need no recipes at all. The phases of crafting are discovery, self satisfaction and production. Every crafter must discover the recipe of its own and then create the item.
Art prefers no rules. Do whatever you want. Also sometimes if you impose rules and restrictions on creativity......your requirements can force you to be creative in unusual ways.


That's all for today. If You still have any queries leave a comment below and I will definitely reply back.

(HUGS)