Showing posts with label Botanic Orchid Collection. Show all posts

Tuesday, July 05, 2016

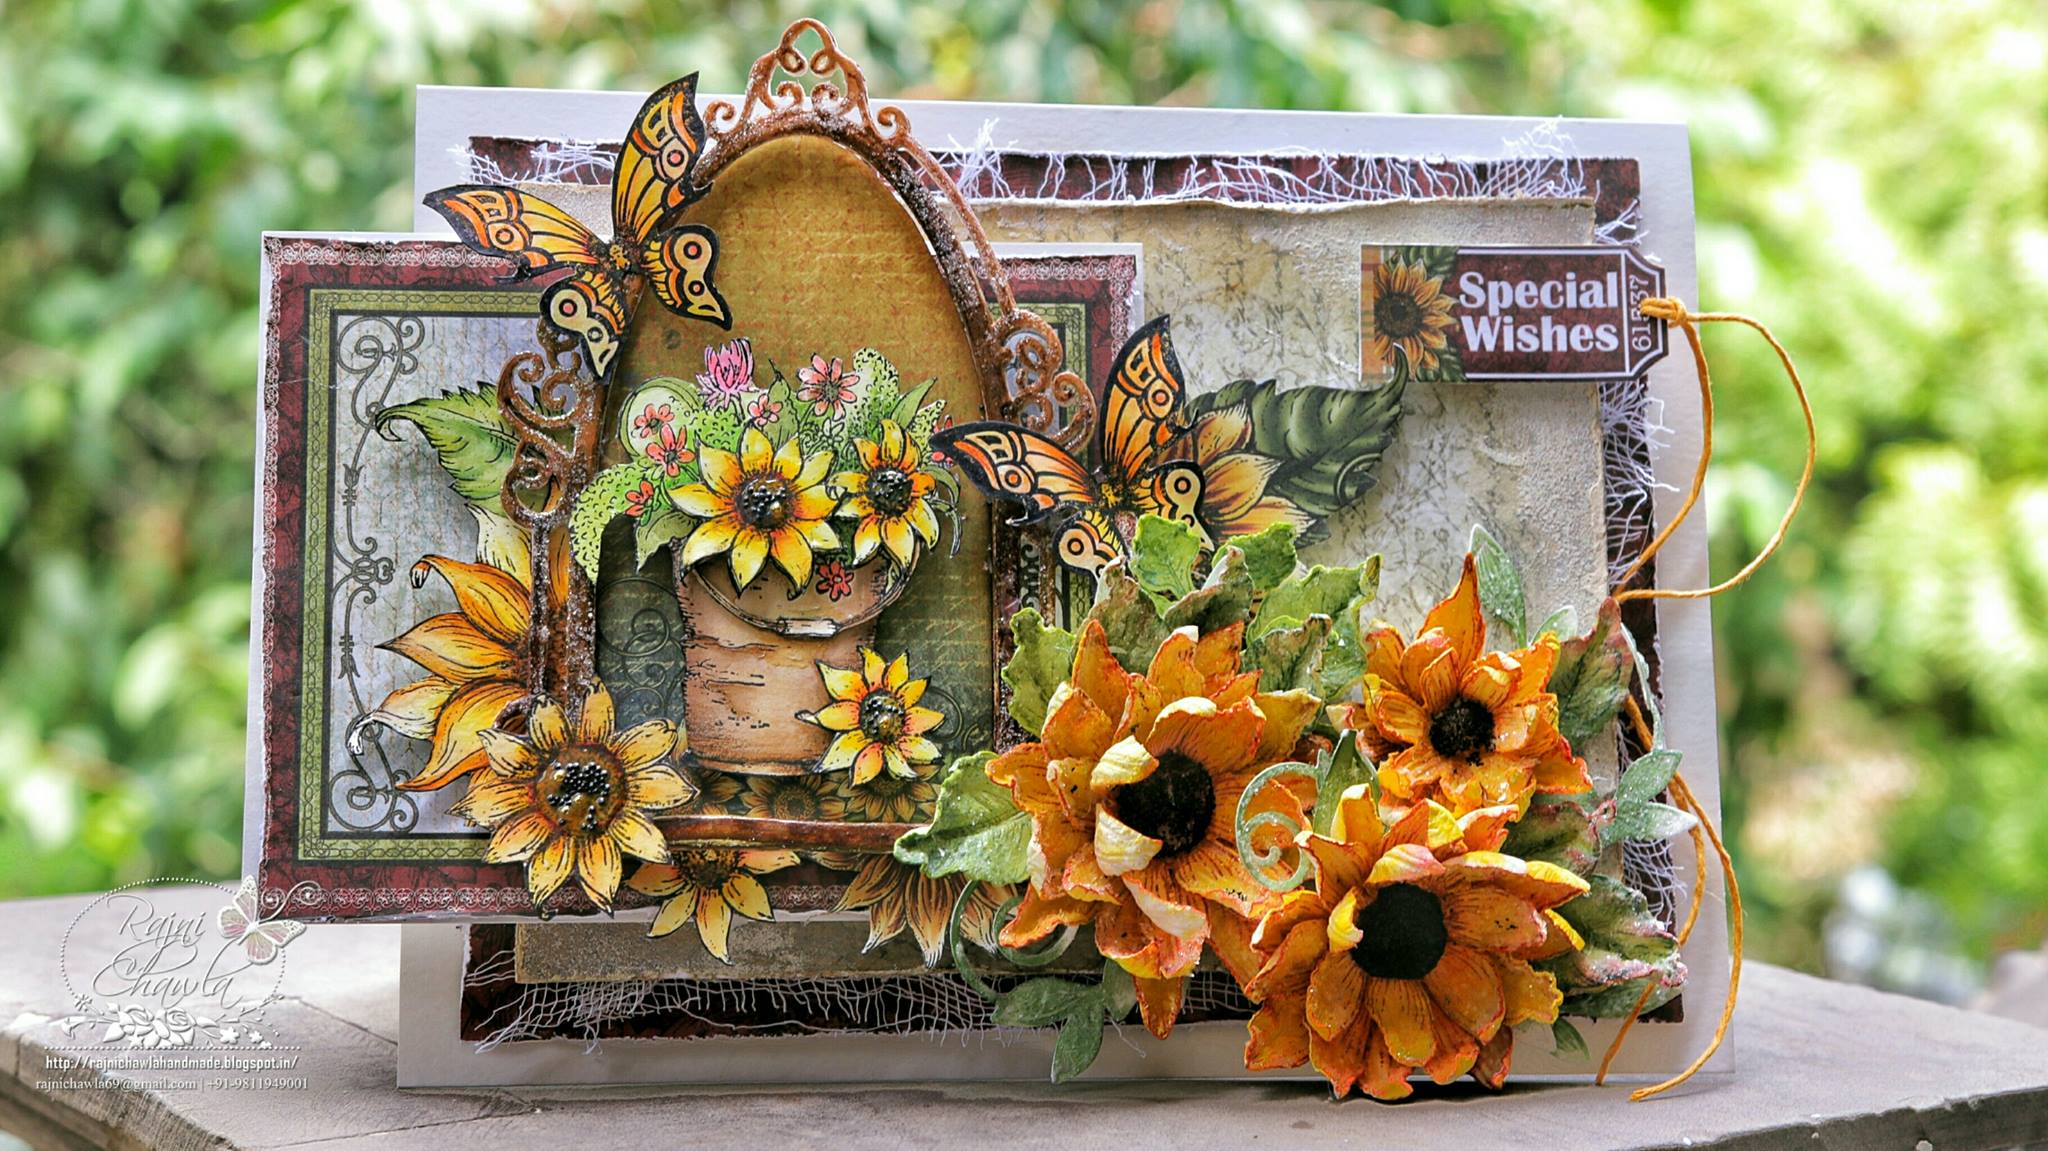
Sunflowers and Butterflies Window

Posted by Rajni Chawla

Good morning all...

This new day has greeted us again with new n fresh Sunshine, with no rules and unconditional opportunities. Do not dilute the power of this new day with the hardship of yesterday. Greet this day the way it has greeted you, with open arms and endless possibility.

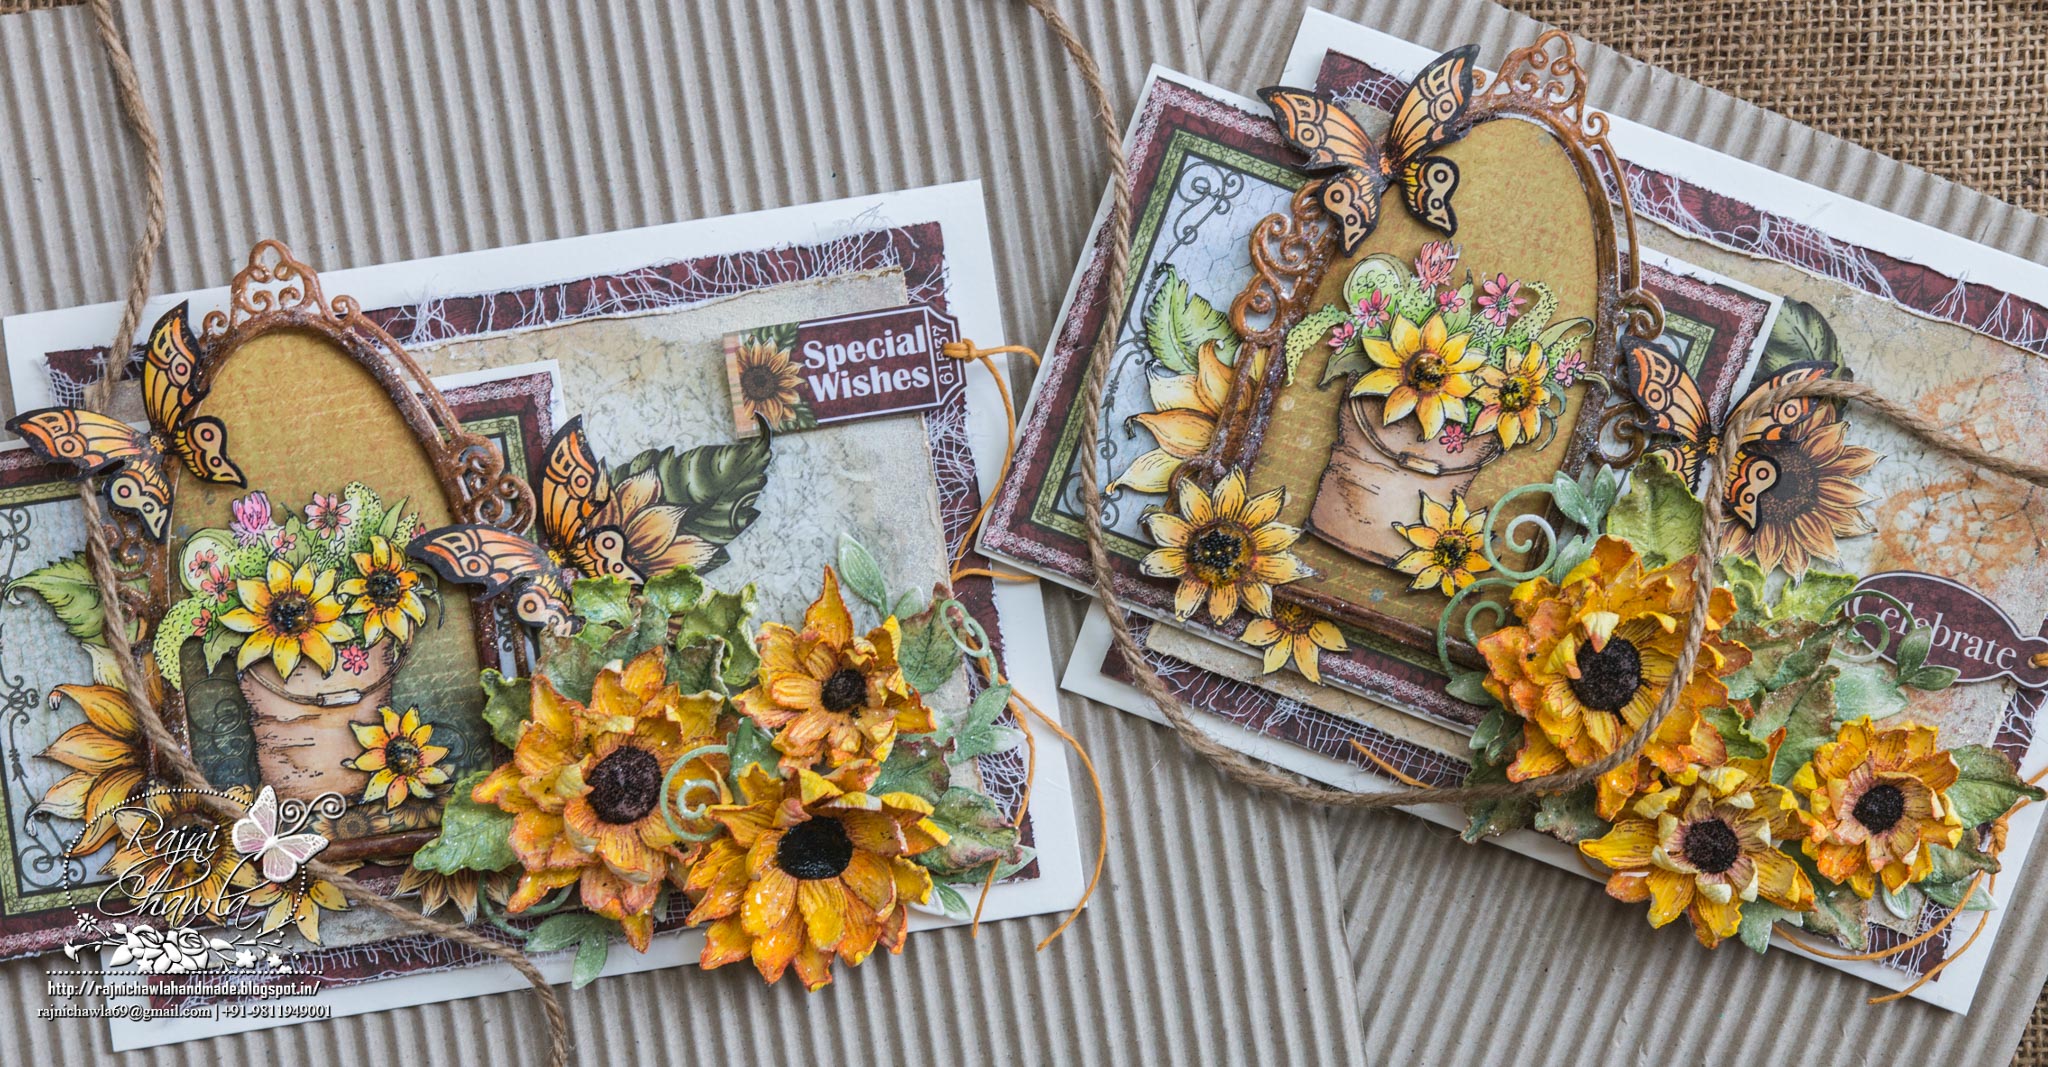
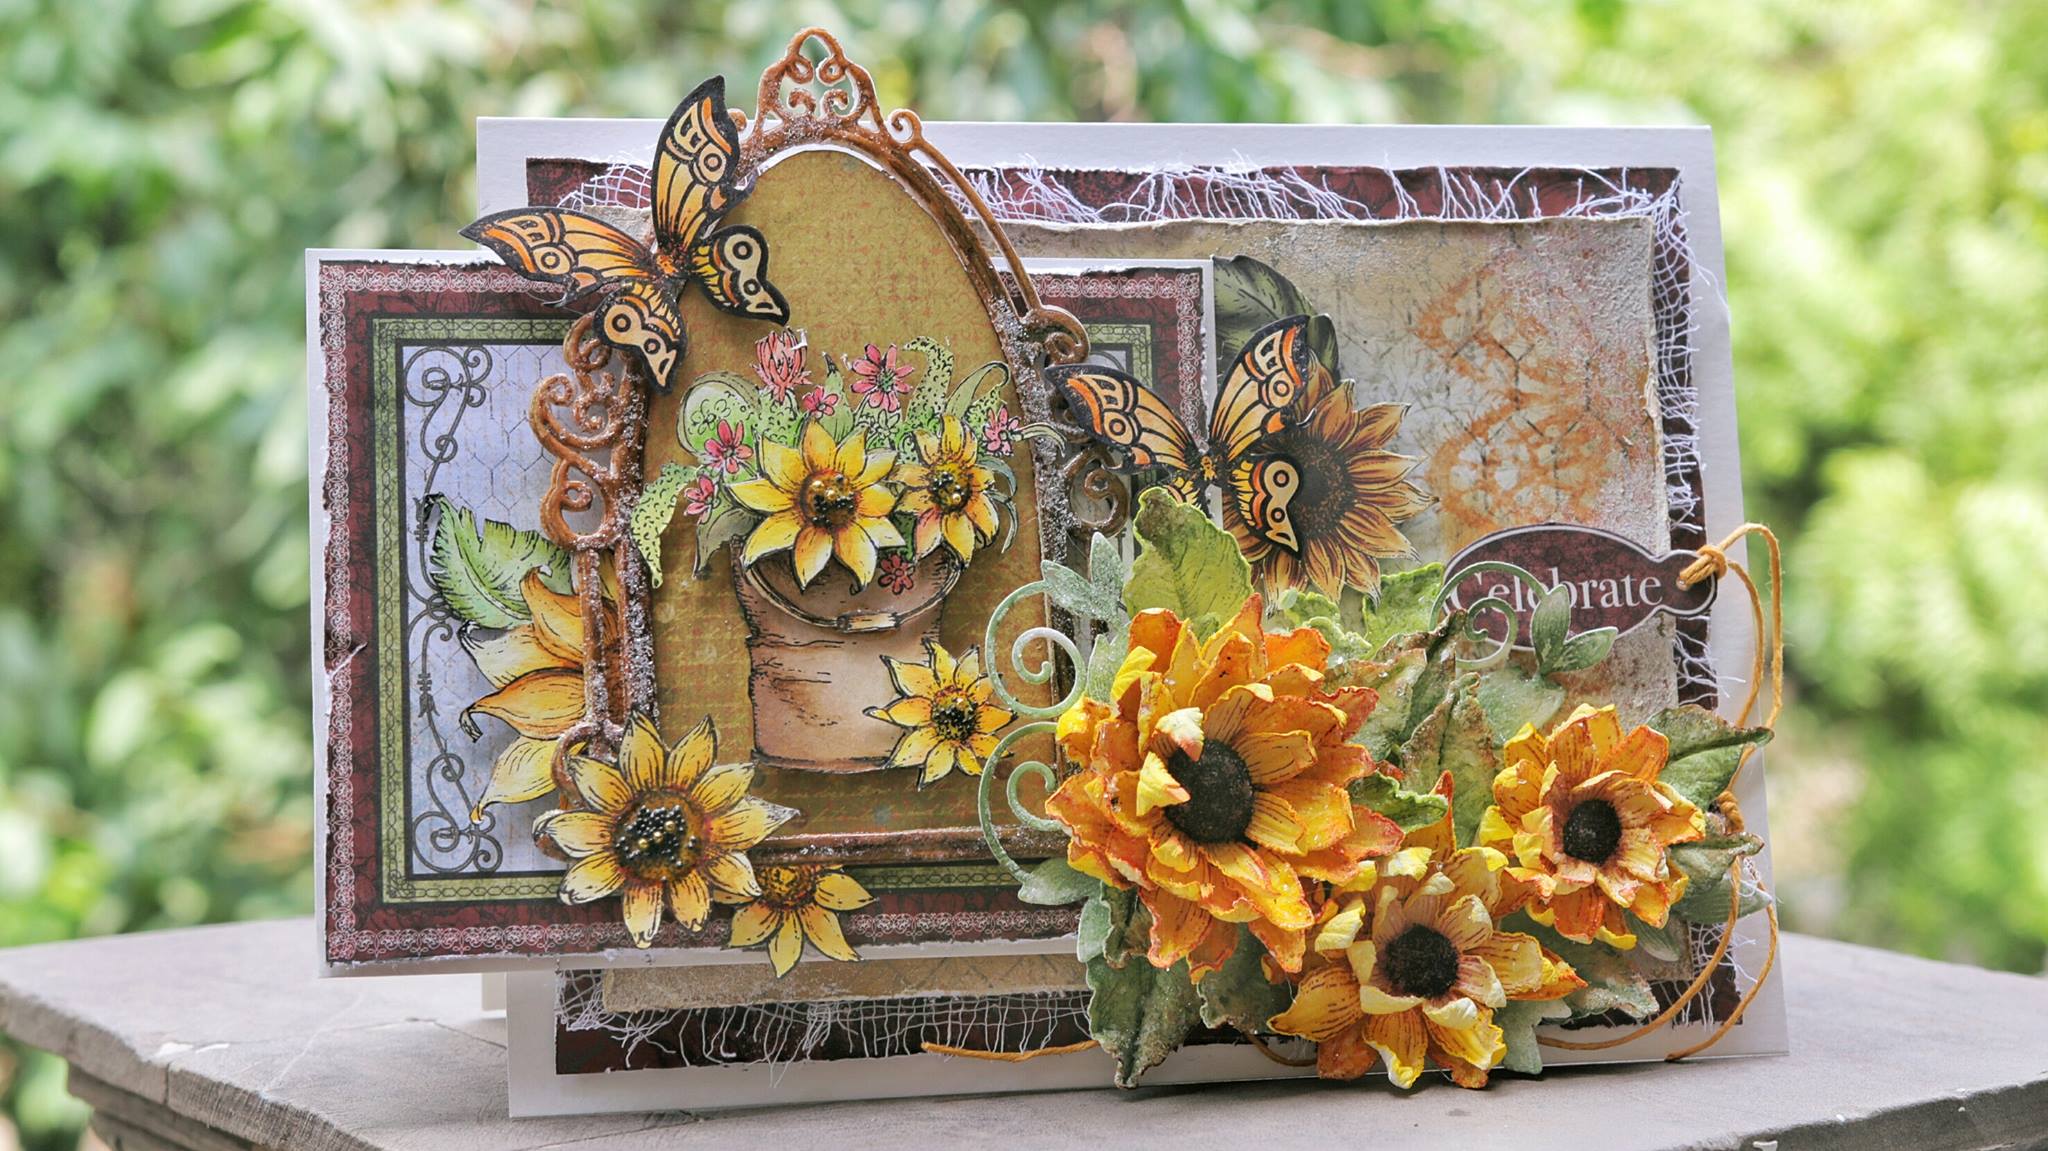
I am back again with Heartfelt Creation's weekly inspiration with its Classic Sunflower Collection and Botanic Window Die. Two almost same cards....one made by me and other by my daughter Srishti. she has a beautiful and neat hand. Teaching her side by side when I m crafting, is really great fun. we both paint together, discuss n plan what to do next...So much of laughter, music and my furbabies dozing under my chair...
Awww...I love it all!!
untitled-2


13579791_10208610632999989_1544991826_o


13588877_10208610656320572_305064777_o

Can you guess which one she made?? She's too smart in copying  hun!!

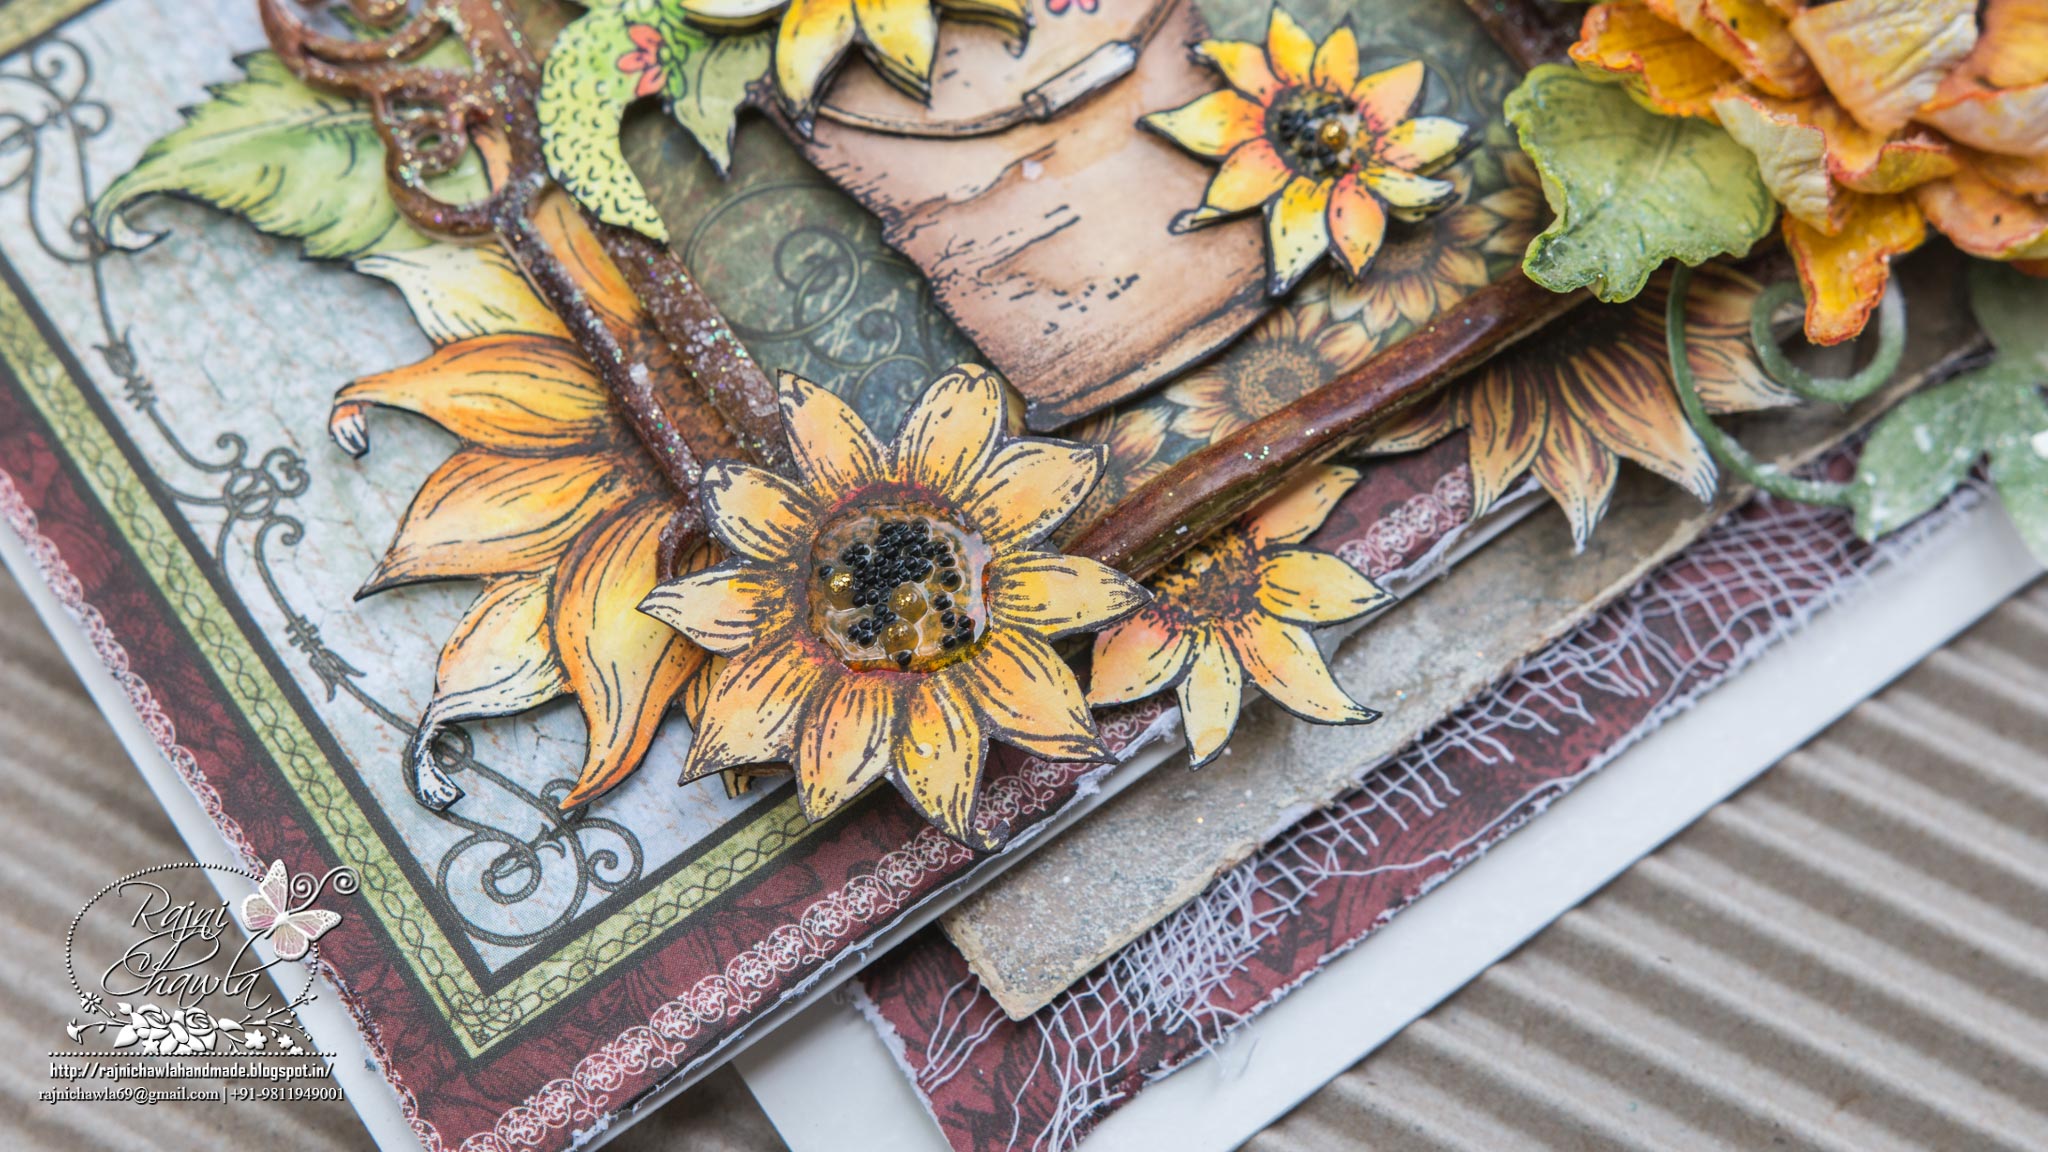
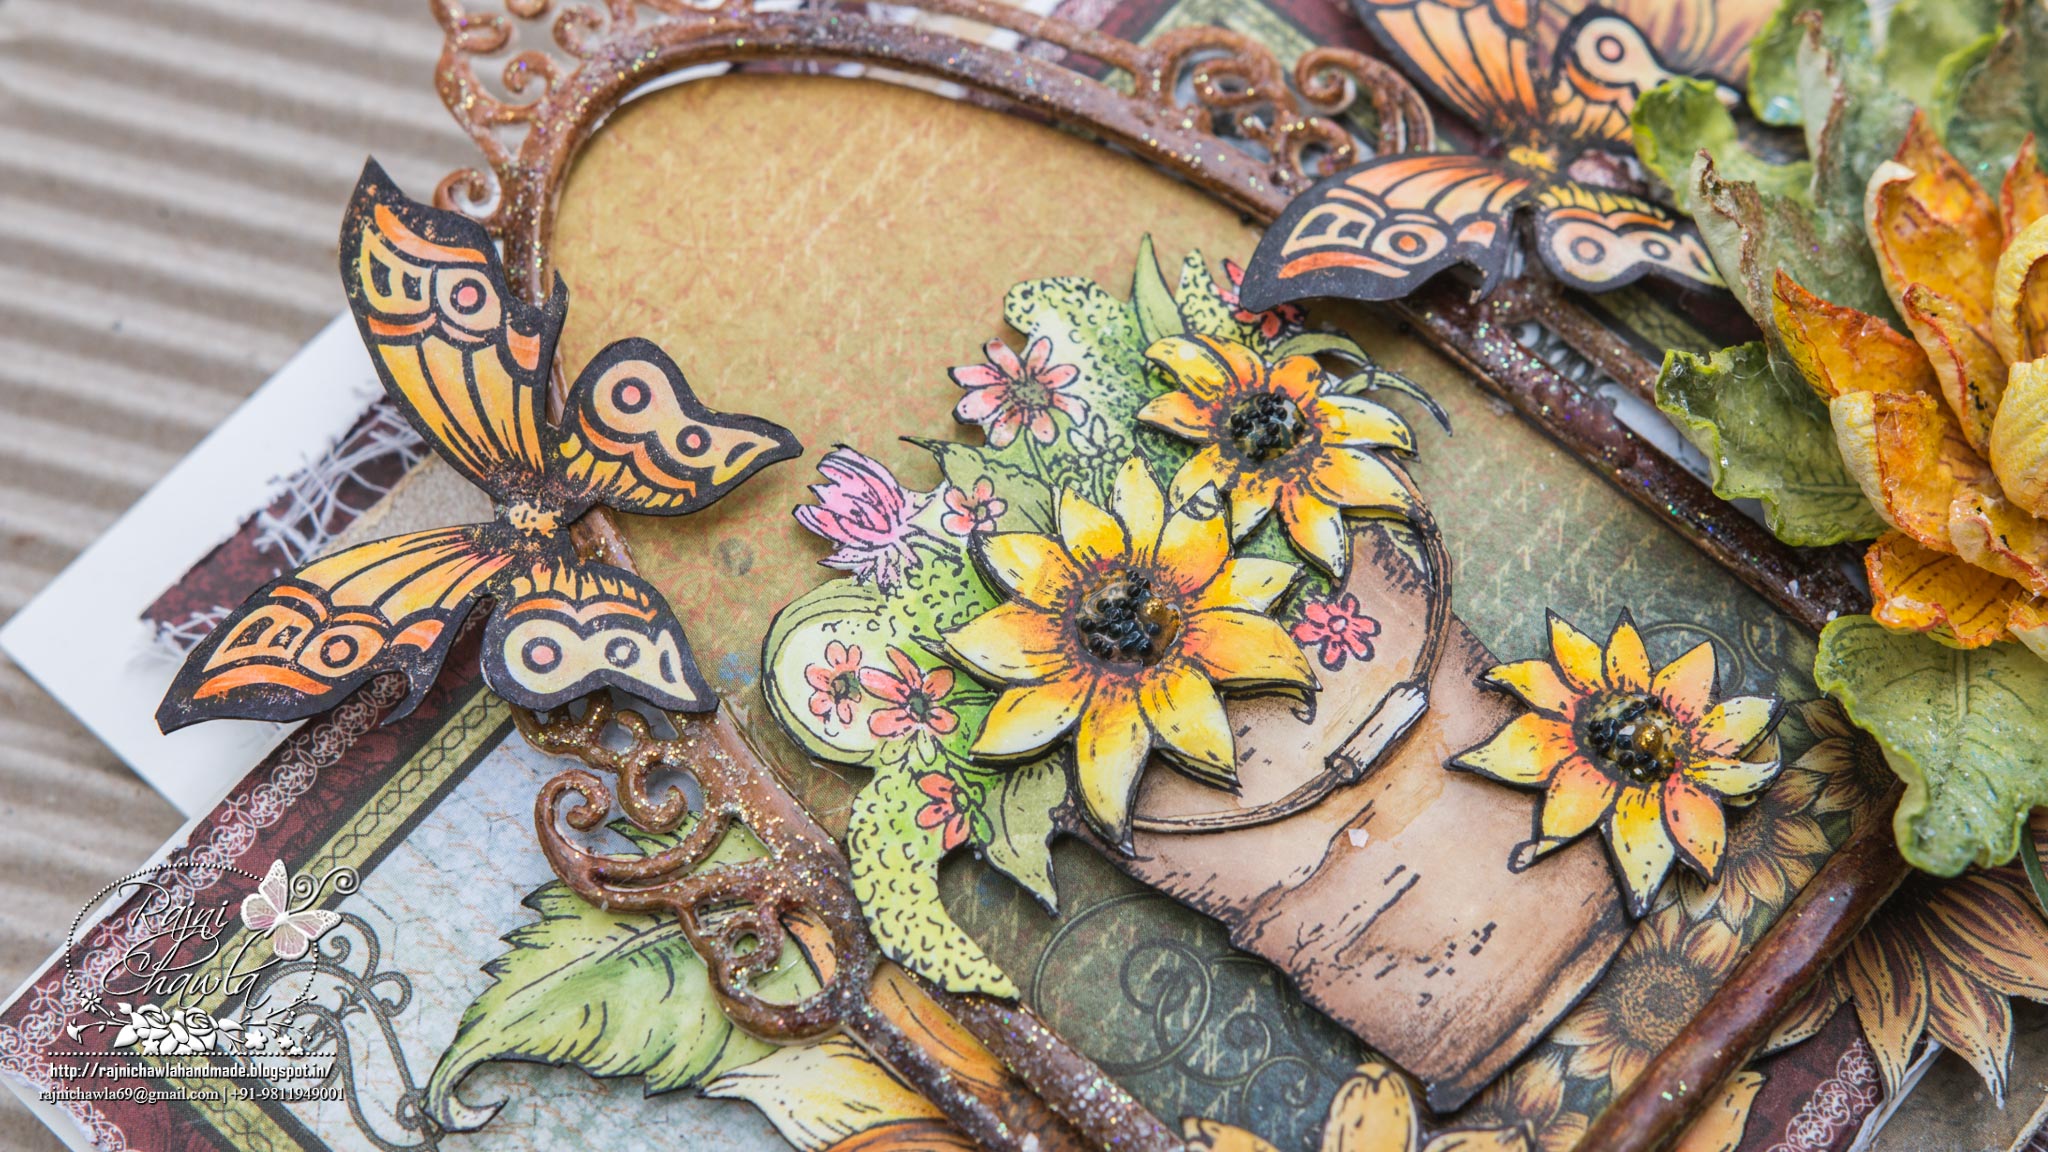
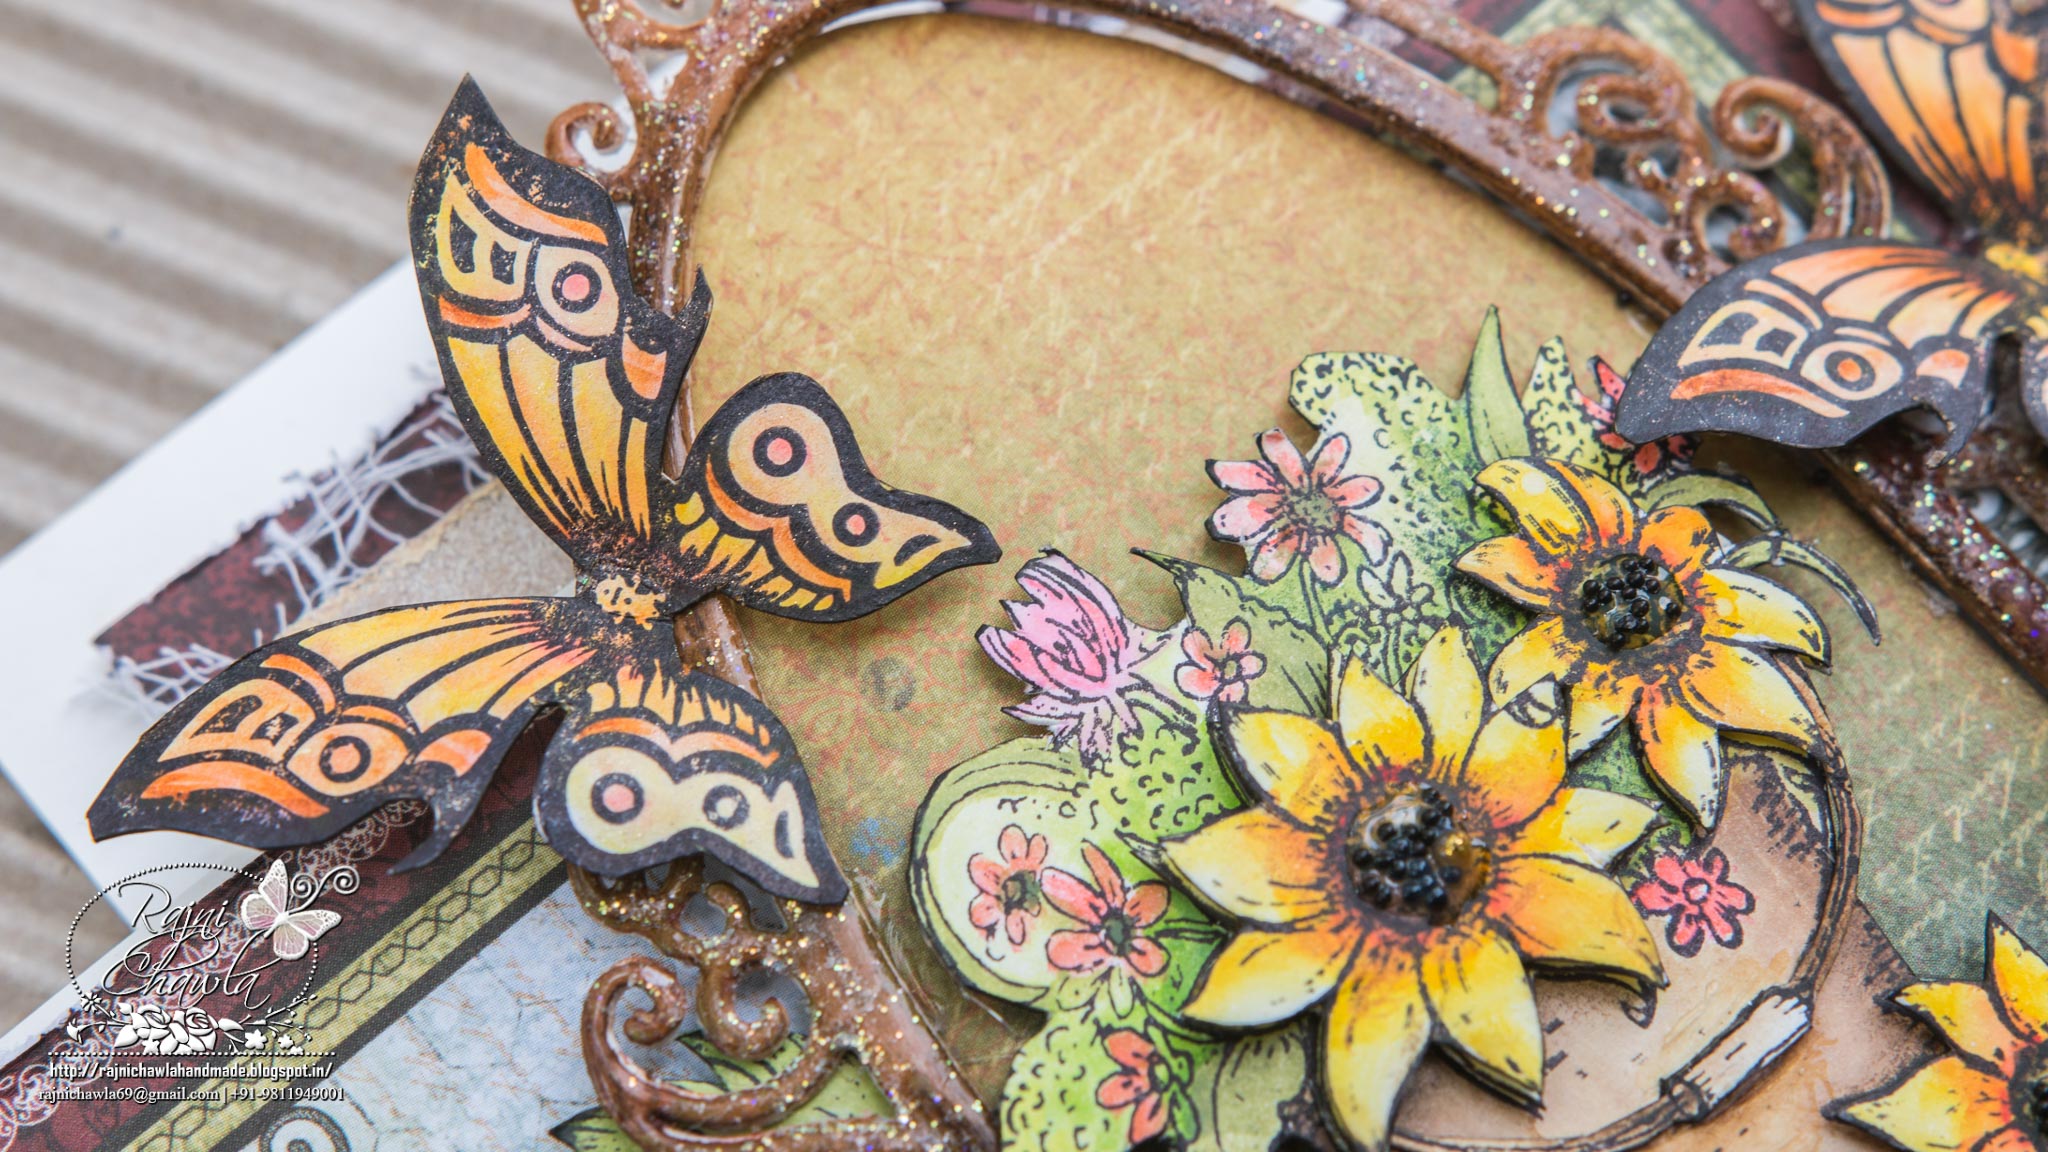
Here are few more detailed pictures...
untitled-14


untitled-9


untitled-11


Products From Heartfelt Creations:

Other Products Used: Smooth white cardstock, Black Archival Inks, Zig Clean Clear Markers, Water Color Pencils, Fussy Cutting Scissors, Twine, Glitters or sparkles, Glossy Accent, Black Micro Beads
Instructions: For 3D Sunflowers, I have used a paper that is a local buy. Stamp the images multiple times with Black Archival ink, Colored them with ColorBox Harvest and highlighted with ColorBox Pumpkin Spice. Now shape the flowers following Emma Lou's Video. For leaves, I have used Open Leaf Stamp set. Stamp the images using Archival Library Green and color them using Archival Fern Green. Cut them through the die cutting machine using is Classic Leaf Die. Leaves are shaped and dusted with clear glitter. Stamp the image from Sunflower Bouquet Cling Stamp Set multiple times and paint it using Zig Clean Clear Markers and water color pencils and fussy cut. The image is layered using foam dots. For the window, cut Botanic Window die Twice and glue them together. Color it using Vintage Photo Distress inks and put glossy accent. Dust it with clear glitter when wet. Make a top fold card measuring 5 1/2" by 7 1/2".and mat it with designer paper from the same collection using foam dots. Add a layer of gauge under the top layer for extra interest. Cut and mat a card frame from same designer paper and layer it on the left side of ready card base. Assemble all the elements as shown and add a sentiment and hand painted butterflies.

Be sure to visit Heartfelt Creations Blog for more Inspiration.

Thanks for visiting! 

Tuesday, June 28, 2016

Peach Daffodils

Posted by Rajni Chawla

Good morning all...

Happy Wednesday!!

"What we do see depends mainly on what we look for. ... In the same field the farmer will notice the crop, the geologists the fossils, botanists the flowers, artists the coloring, sportsmen the cover for the game. Though we may all look at the same things, it does not all follow that we should see them." --John Lubbock
And, I must have flowers, always, and always!!

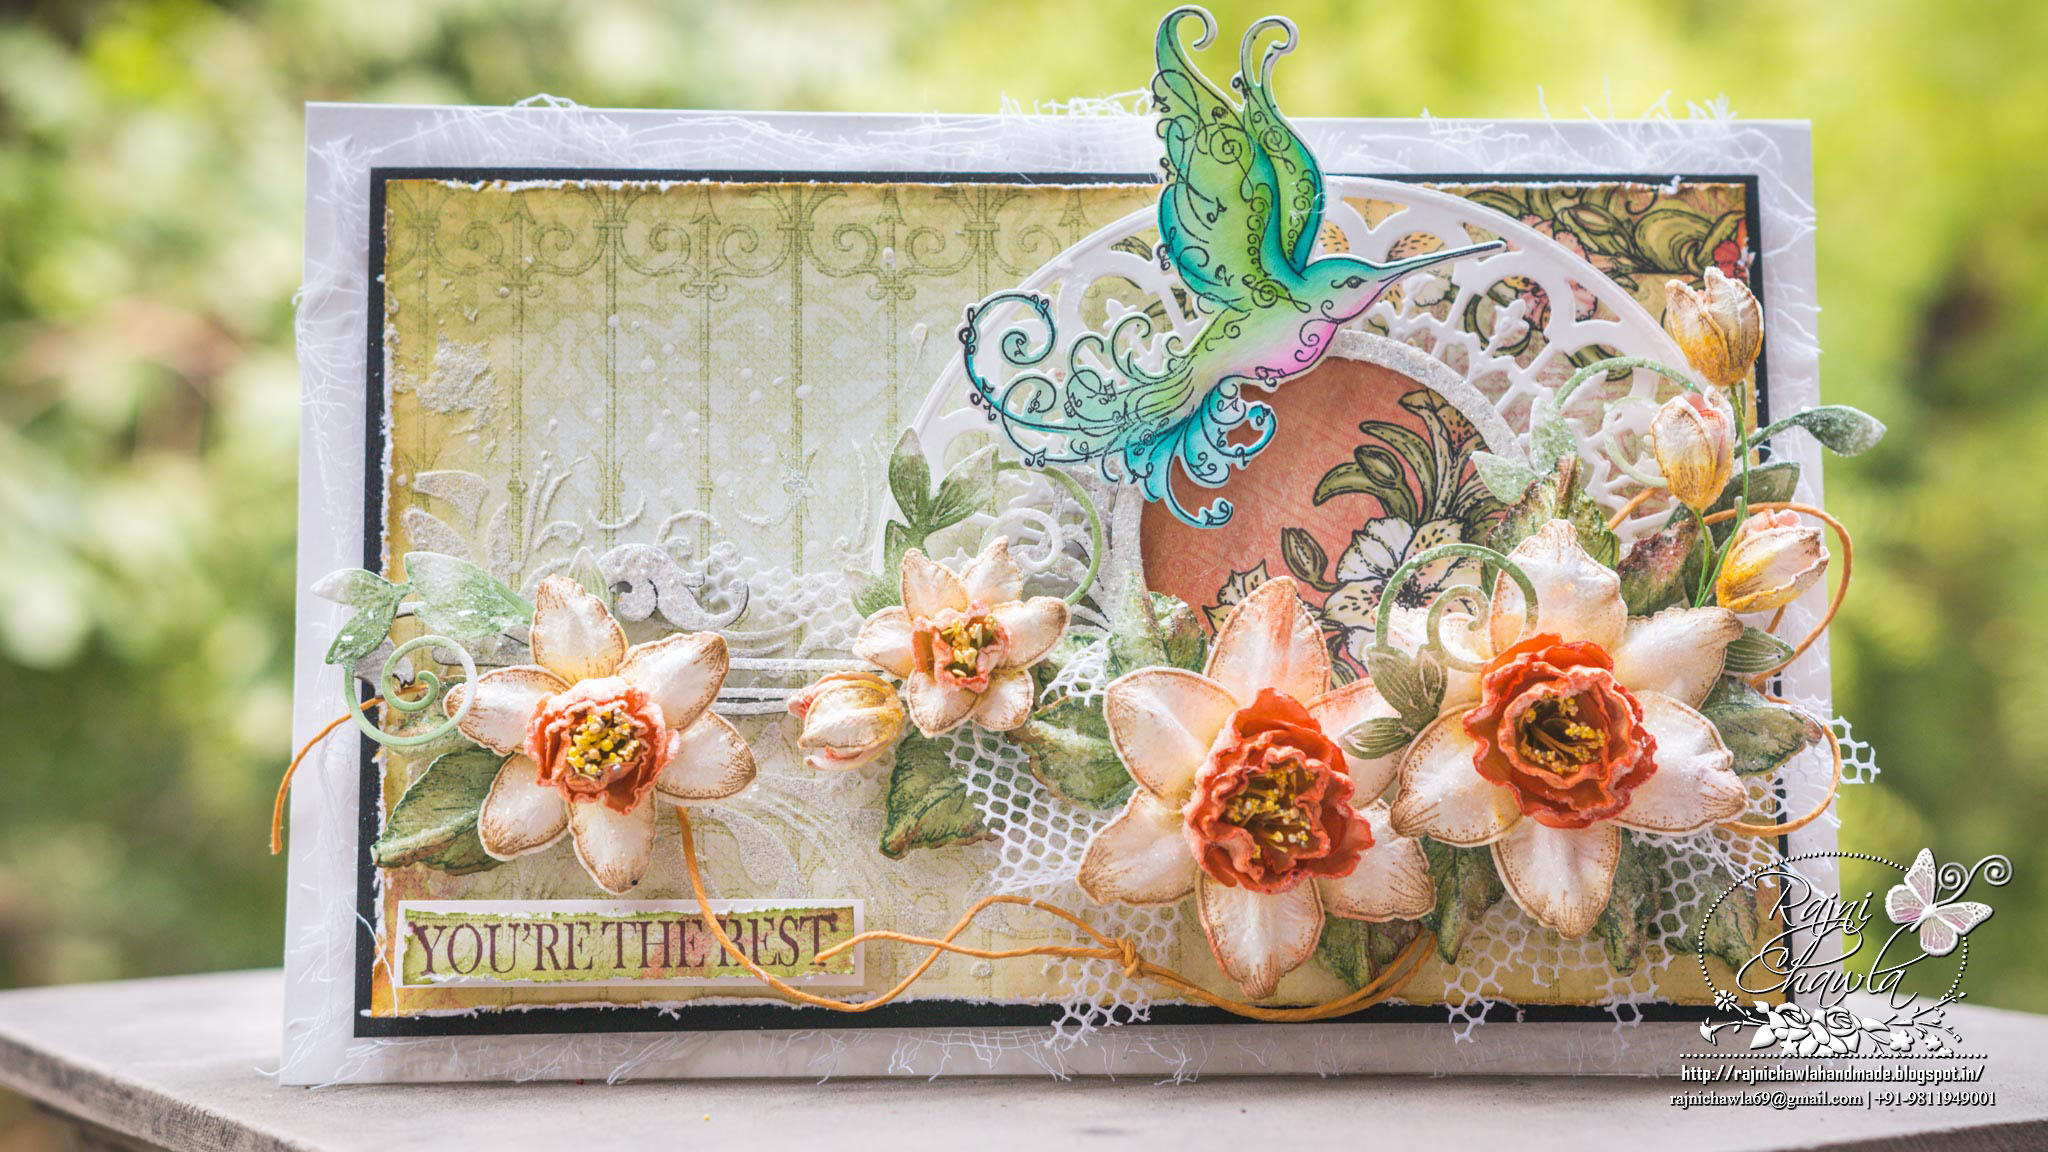
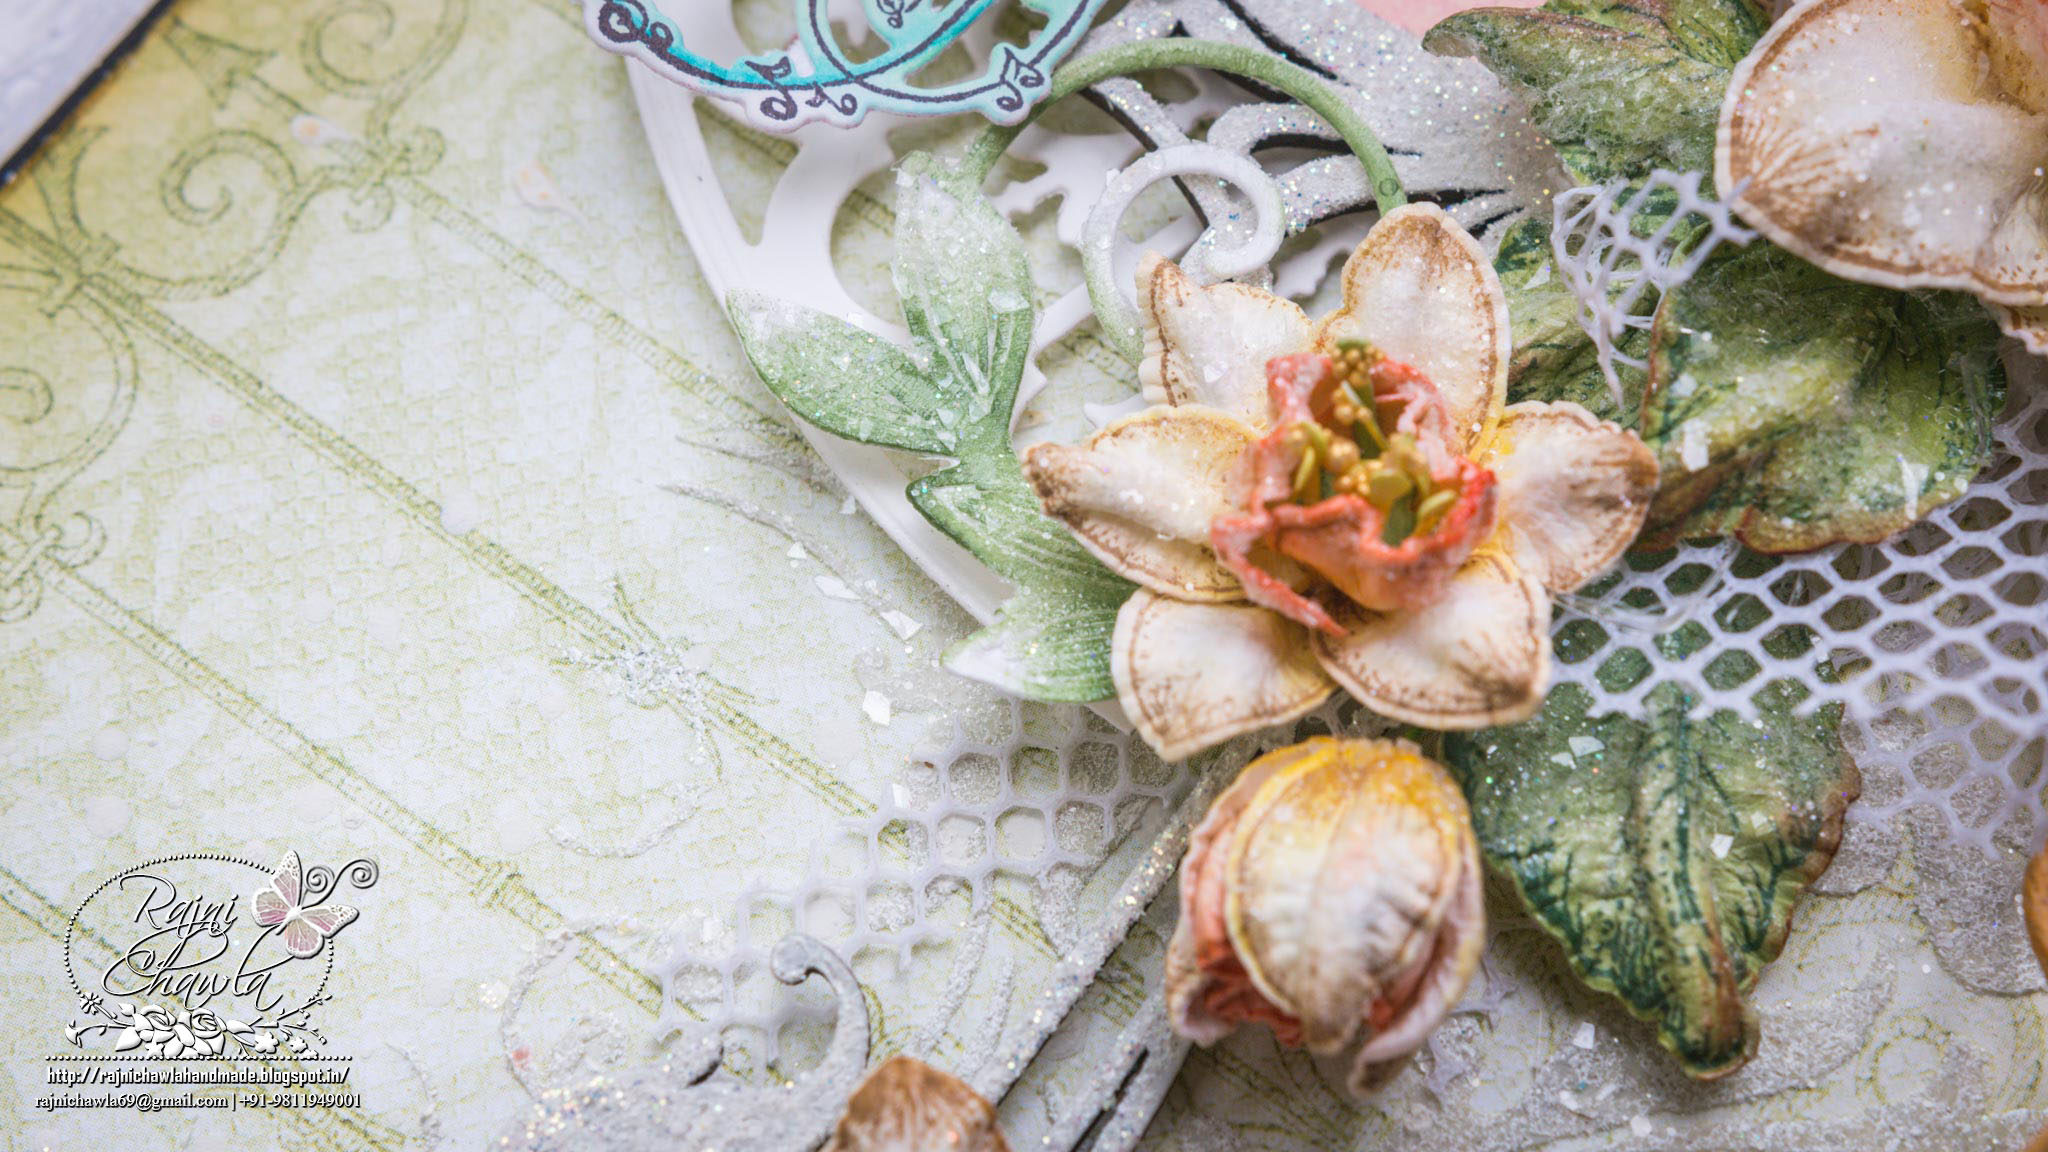
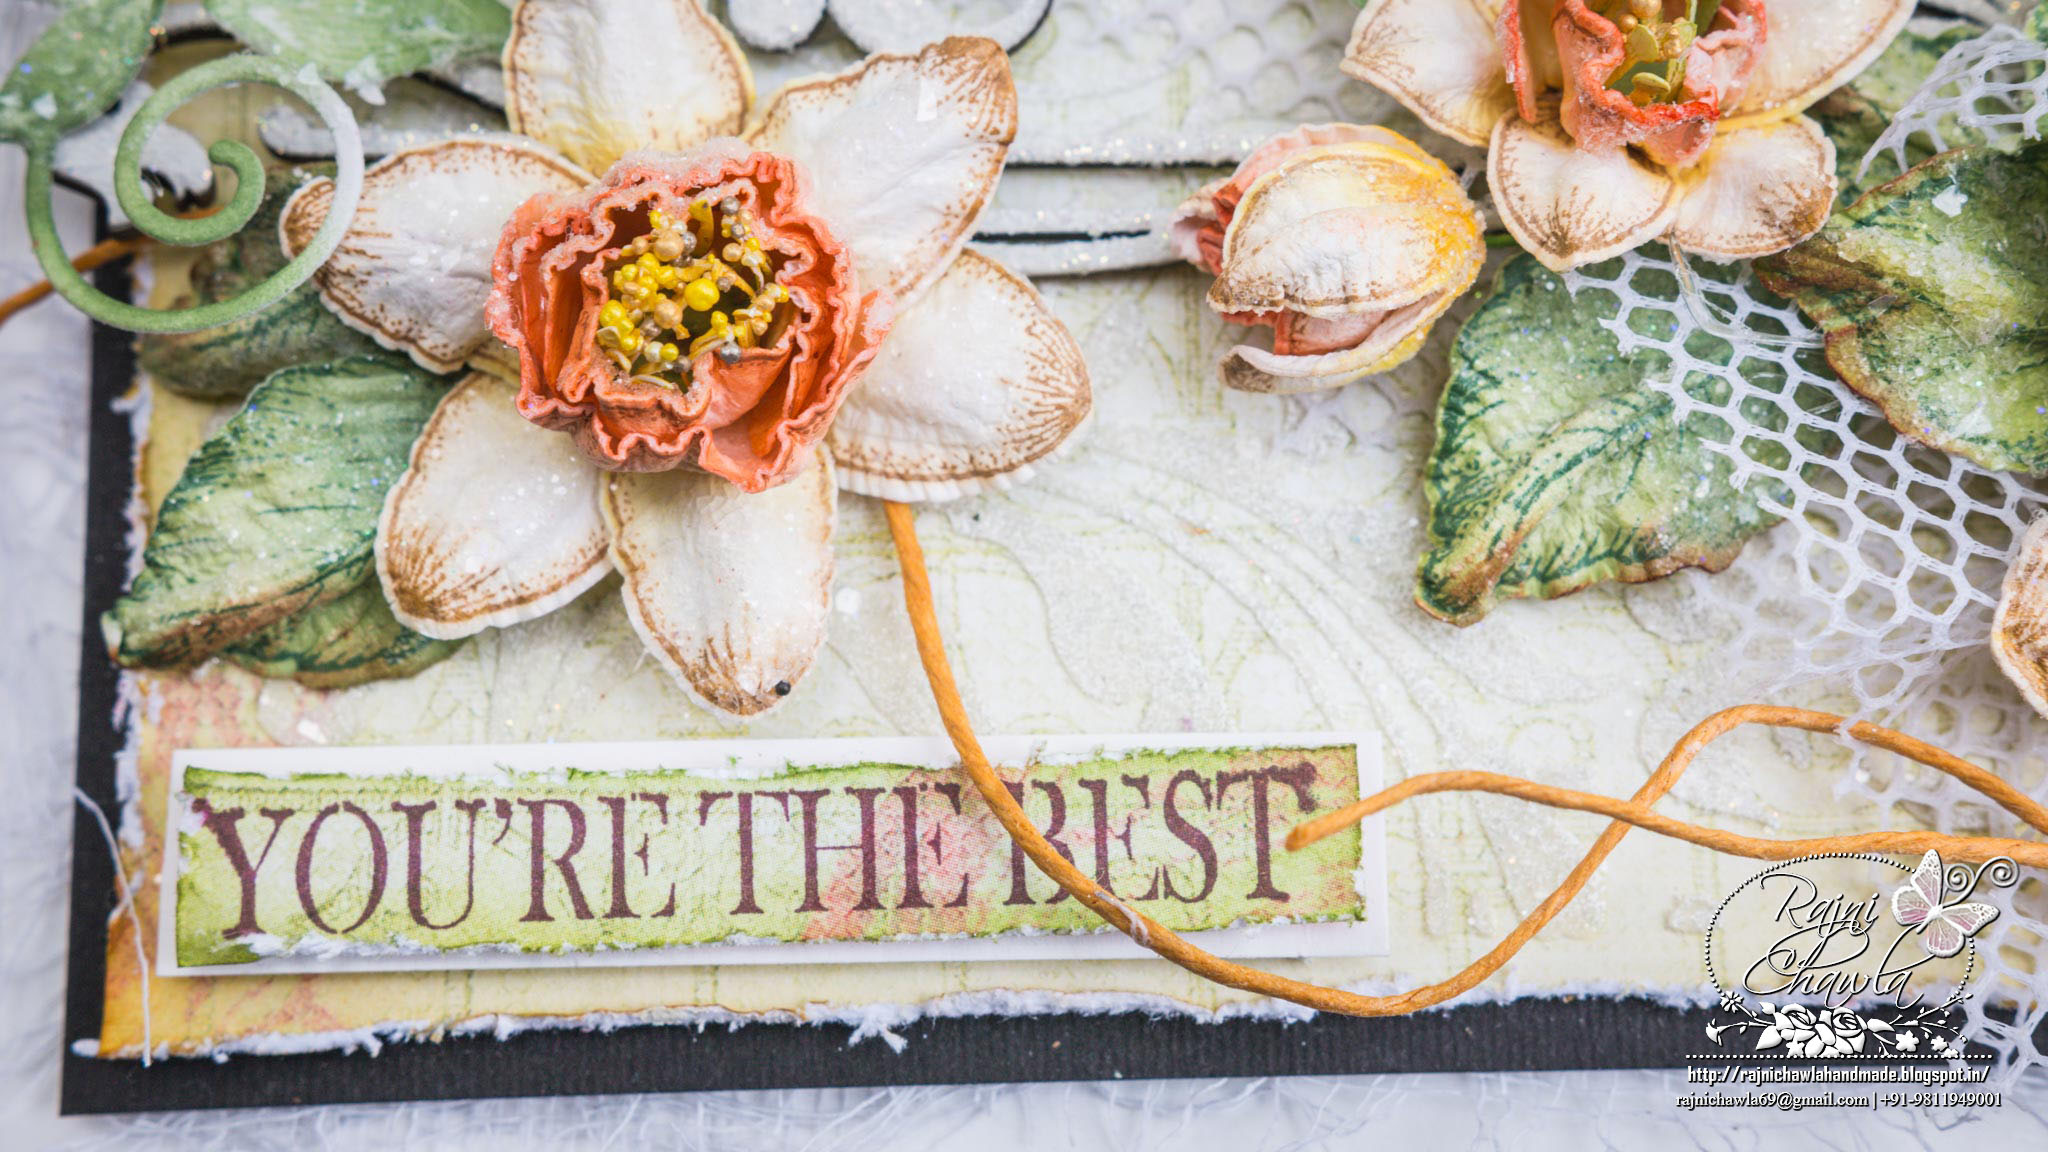
I m again back with the weekly post for Heartfelt Creations Botanic Orchid Collection.... this time, with gorgeous Peach Daffodils for my latest project. The collection is so versatile that you can make a variety of flowers.Be sure to take a moment to see all the amazing work done by the whole design team on the Heartfelt Creations Blog today!  HUGS to all my fellow crafters for sharing such wonderful sharings every week.

Products from Heartfelt Creations:


Other Products Used: Smooth white card stock, white gesso, dusty attic chipboard, glitters and sparkles, black cardstock, Archival inks black and Library Green, Zig Clean Clear Brush Markers, Cheese cloth, Twine, white net, Spellbinder’s Victorian Arch Die, Tim Holts stencils- Flourish and modeling paste.

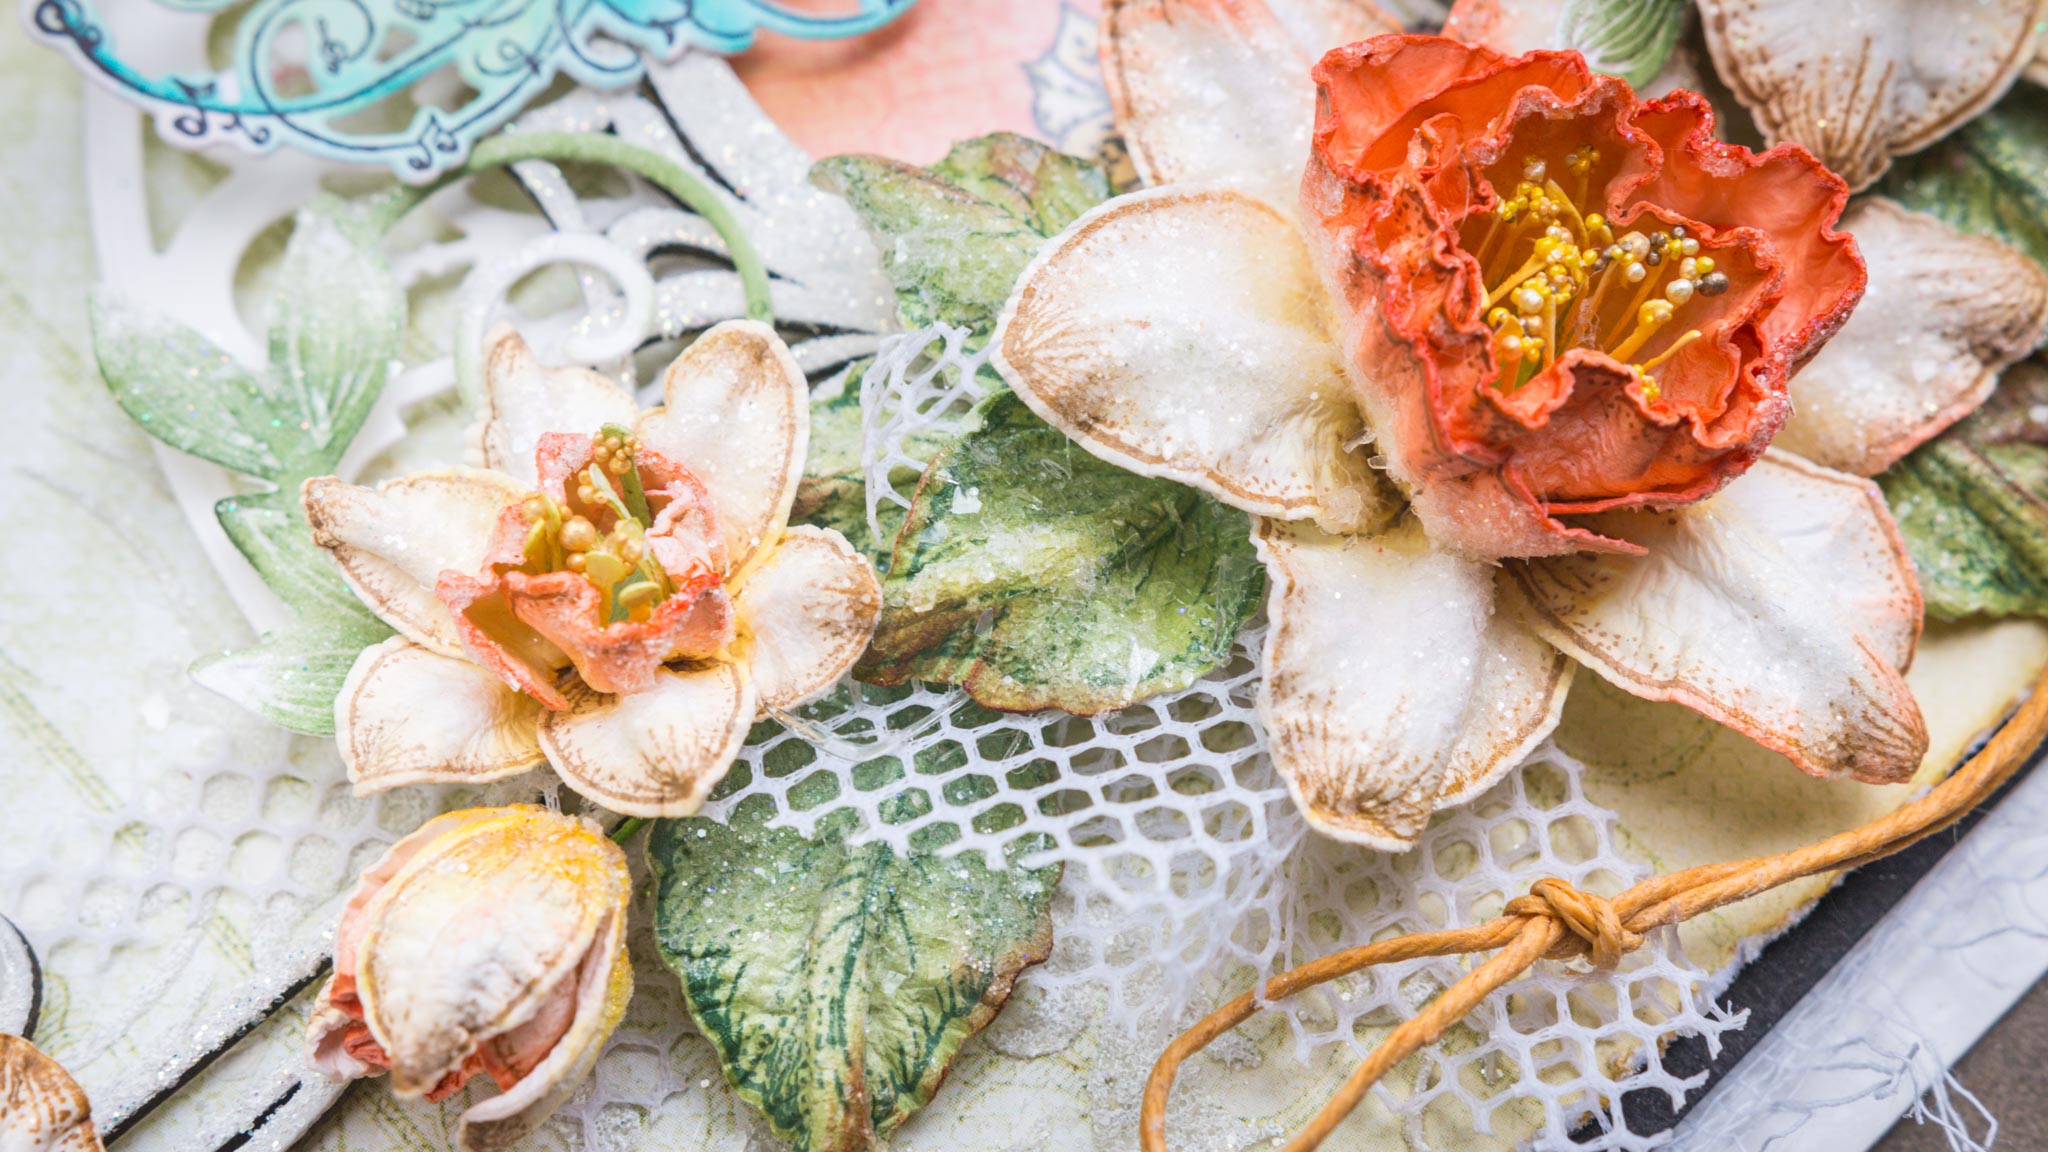
Instructions: For the card base, I used 9" by 8 " smooth white cardstock. Score at 4 1/2'" on the 9" side and create a top-fold card of 4 1/2" by 8 ". Create a black mat 1/2" smaller to the card base. You will need another mat, 1/8" smaller to black, this time from the designer paper. Since my flowers were in the shades of orange, I preferred choosing the same from Sunrise Lily Paper Collection. Distress the edges on all four sides using scissors or distress tool. Give a washed coat of gesso randomly, little stenciling using modeling paste and dust the entire piece with sparkles/ glitters. Mat all the layers using foam dots. For flowers follow Emma Lou’s video. Leaves are stamped using Open leaf stamp set and die cut using its coordinating die, colored using color box inks ( Pumpkin Spice and Lipstick Red)  and then shaped using Deluxe Flower Shaping Kit. The hummingbird is from Regal Hummingbird Cling Stamp Set, painted using Zig Clean Clear Markers and die-cut using its coordinating die. The chip board from Dusty Attics is painted using white paint and sprinkled with clear glitter. I matted a designer paper from the same collection in the open space of chipboard. Layer the white die cut on right side of the ready card base and arrange all the elements as shown. I added small tules of white net and a bow using matching twine to add an extra interest. The Sentiment is from - You Inspire Me Stamp Set.

Here are the detailed pictures of the card...

HFC 25th June_With WM (1)


HFC 25th June_With WM (4)


HFC 25th June_Without WM (9)


HFC 25th June_With WM (8)


HFC 25th June_With WM (6)


HFC 25th June_With WM (3)

Tuesday, June 21, 2016

Frosted Orchid Window

Posted by Rajni Chawla

Good morning all...

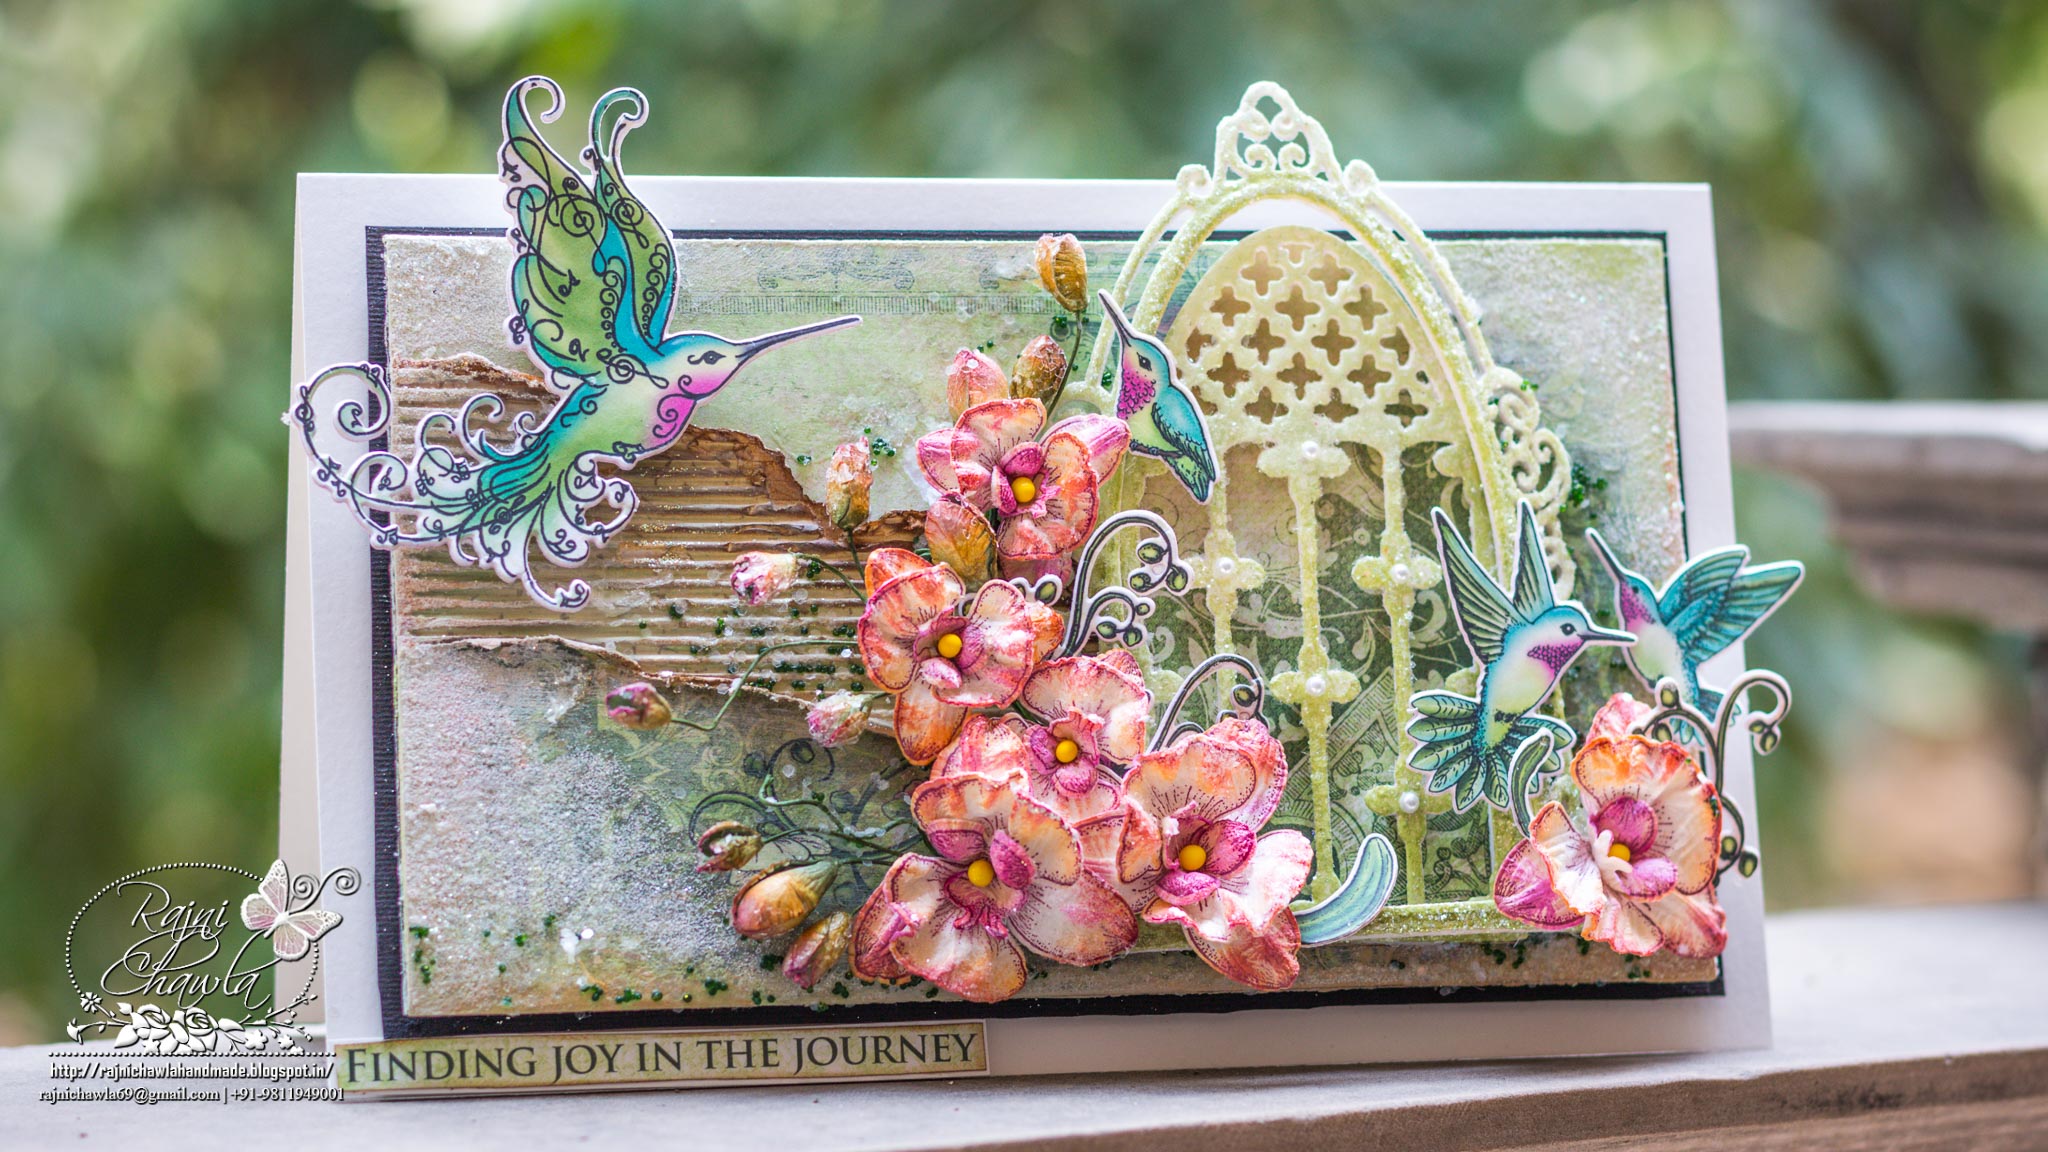
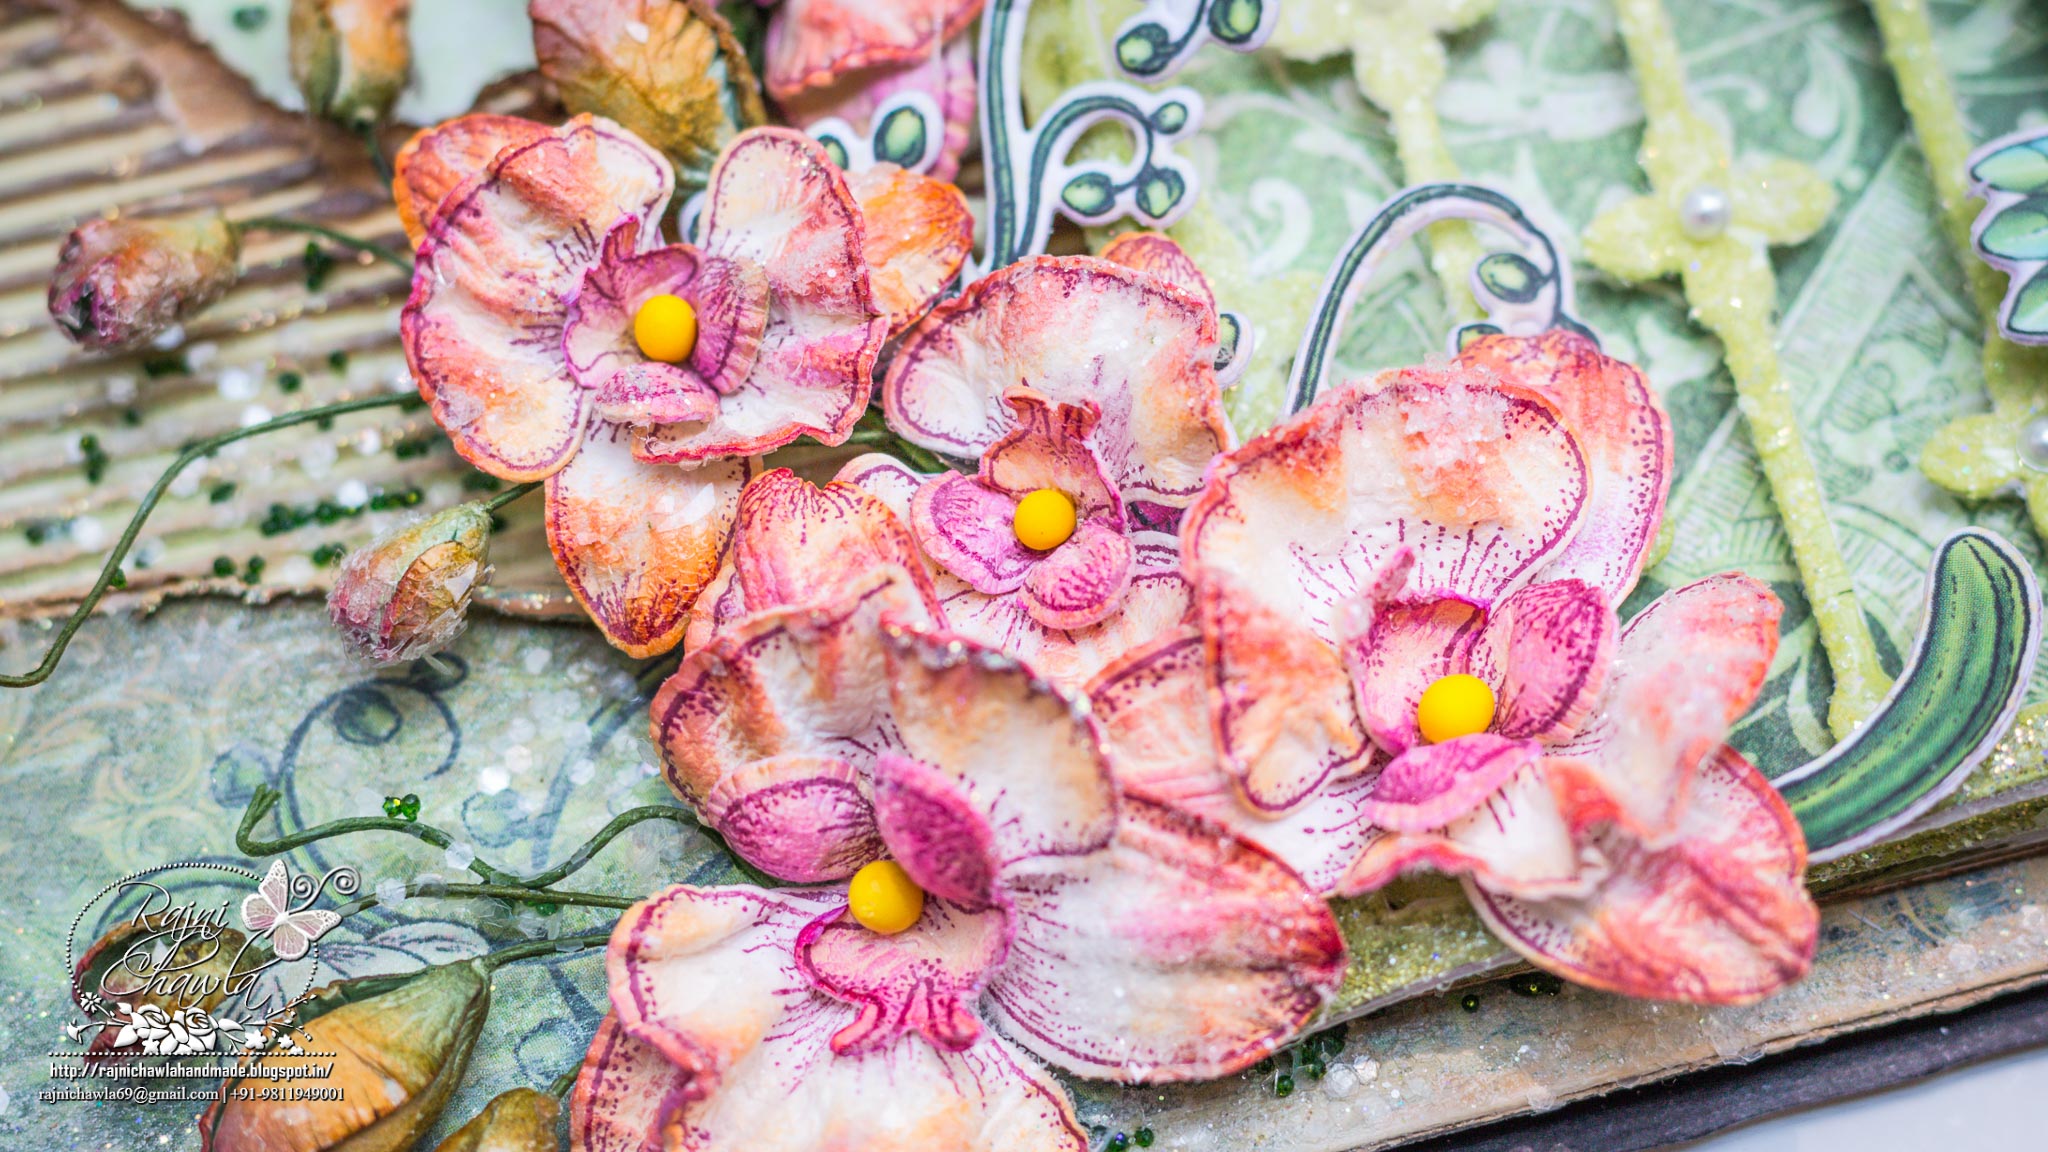
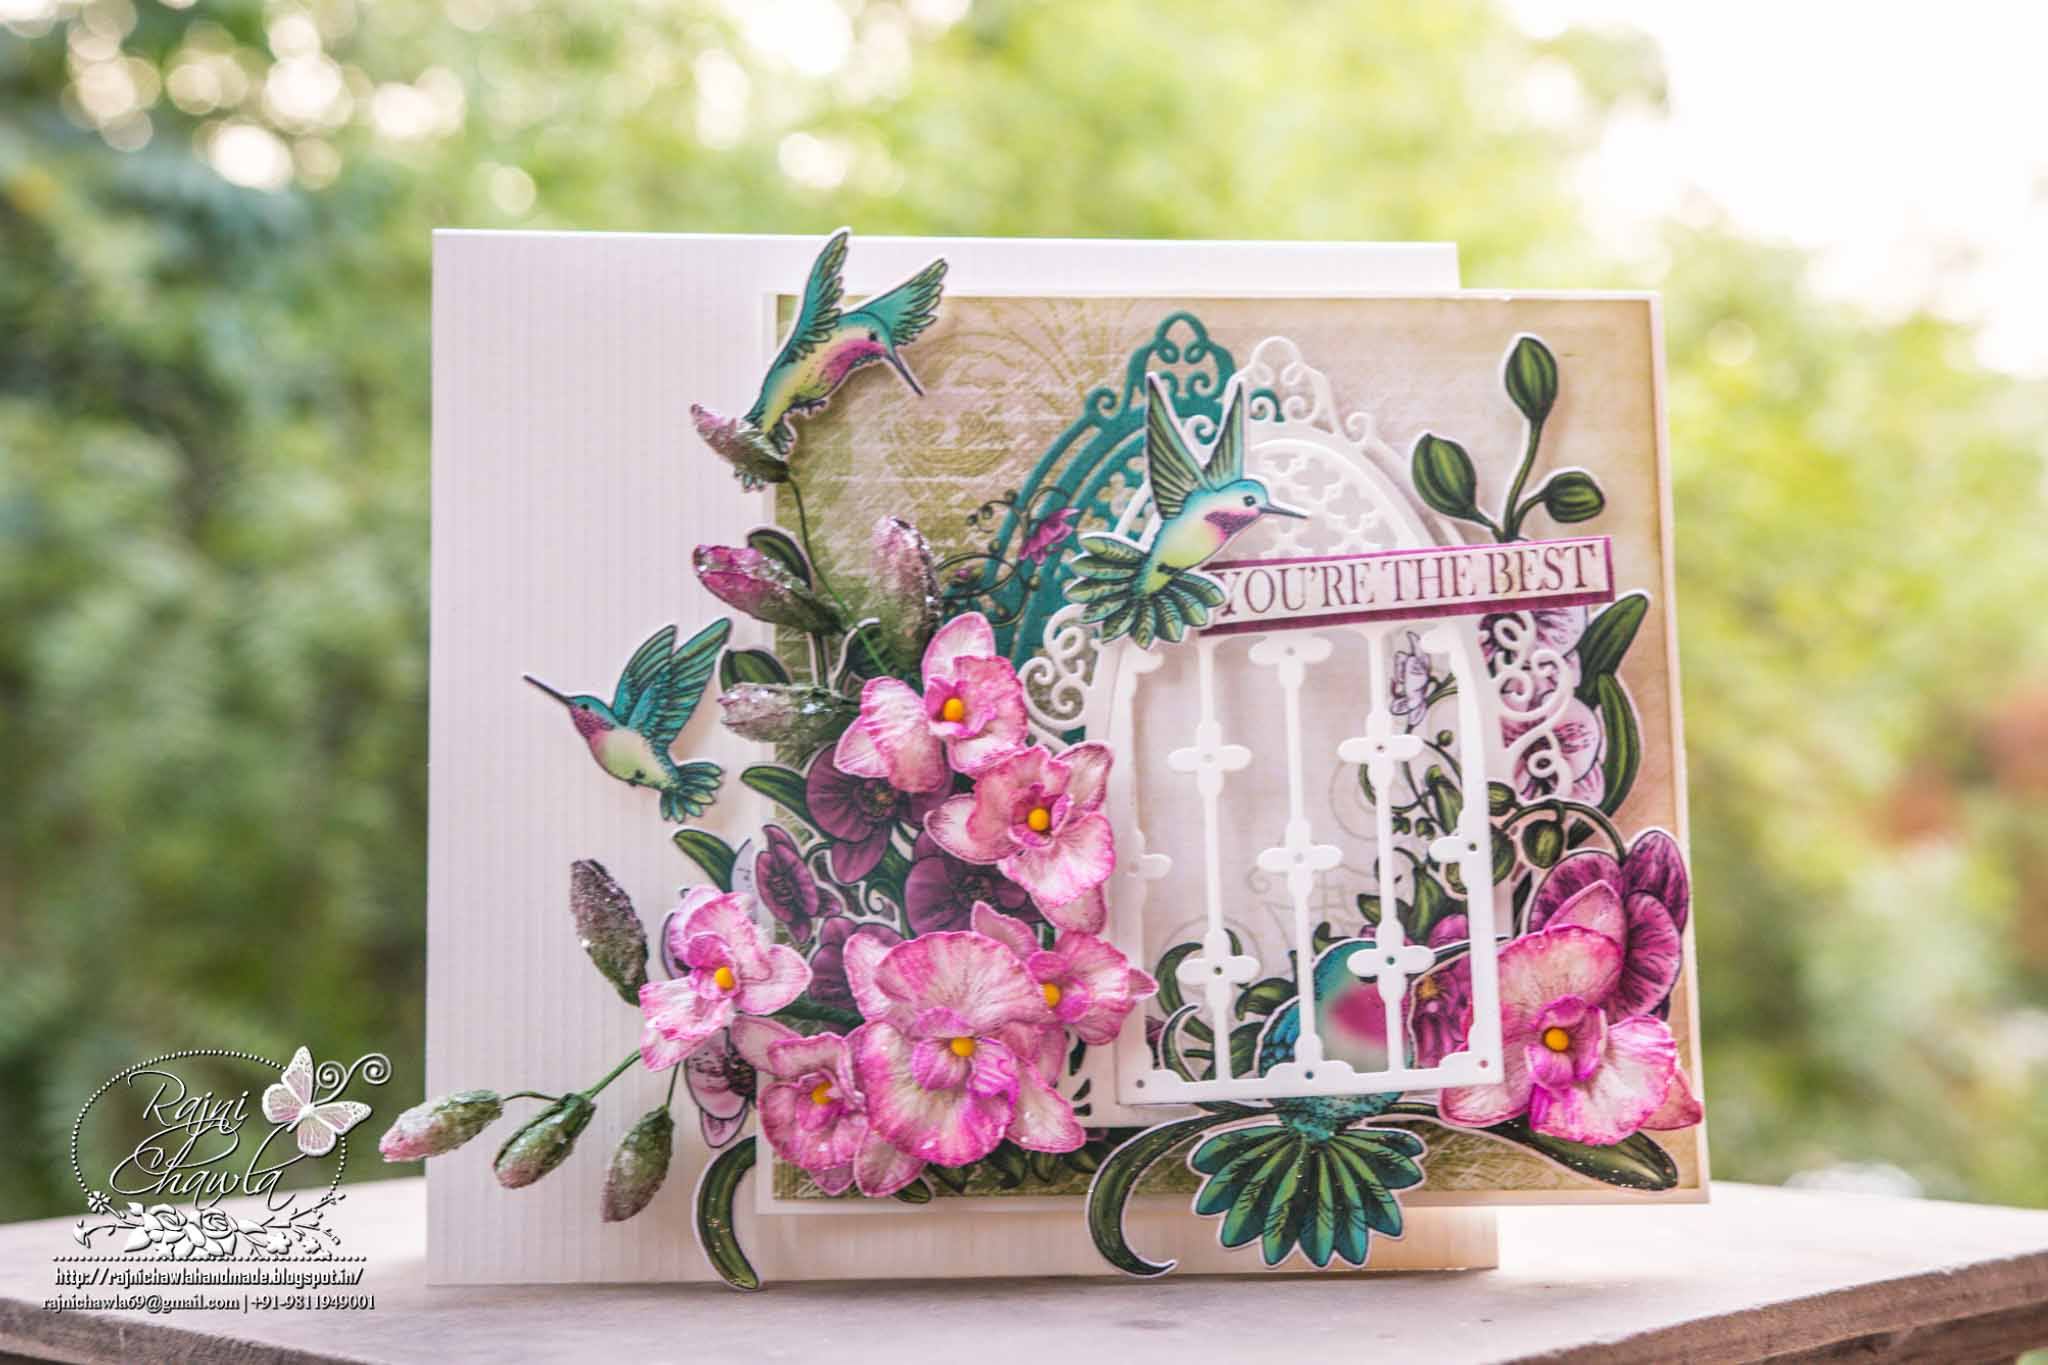
Thanks for dropping by. Its Heartfelt Wednesday again and Heartfelt Creation's Blog is up again with beautiful inspirations by all team members with its June release. I m too enjoying working with Botanic Orchid Collection . Here are the details of my latest card using the same.


Botanic Orchid_18th June_With WM (1)


Botanic Orchid_18th June_With WM (2)


Botanic Orchid_18th June_With WM (9)


Botanic Orchid_18th June_With WM (7)


Botanic Orchid_18th June_With WM (5)


Botanic Orchid_18th June_With WM (4)


Products from Heartfelt Creations:


Other products used: White smooth card stock, black cardstock, Archival ink Plum, Cutting machine, sparkles and glitters, white gesso.
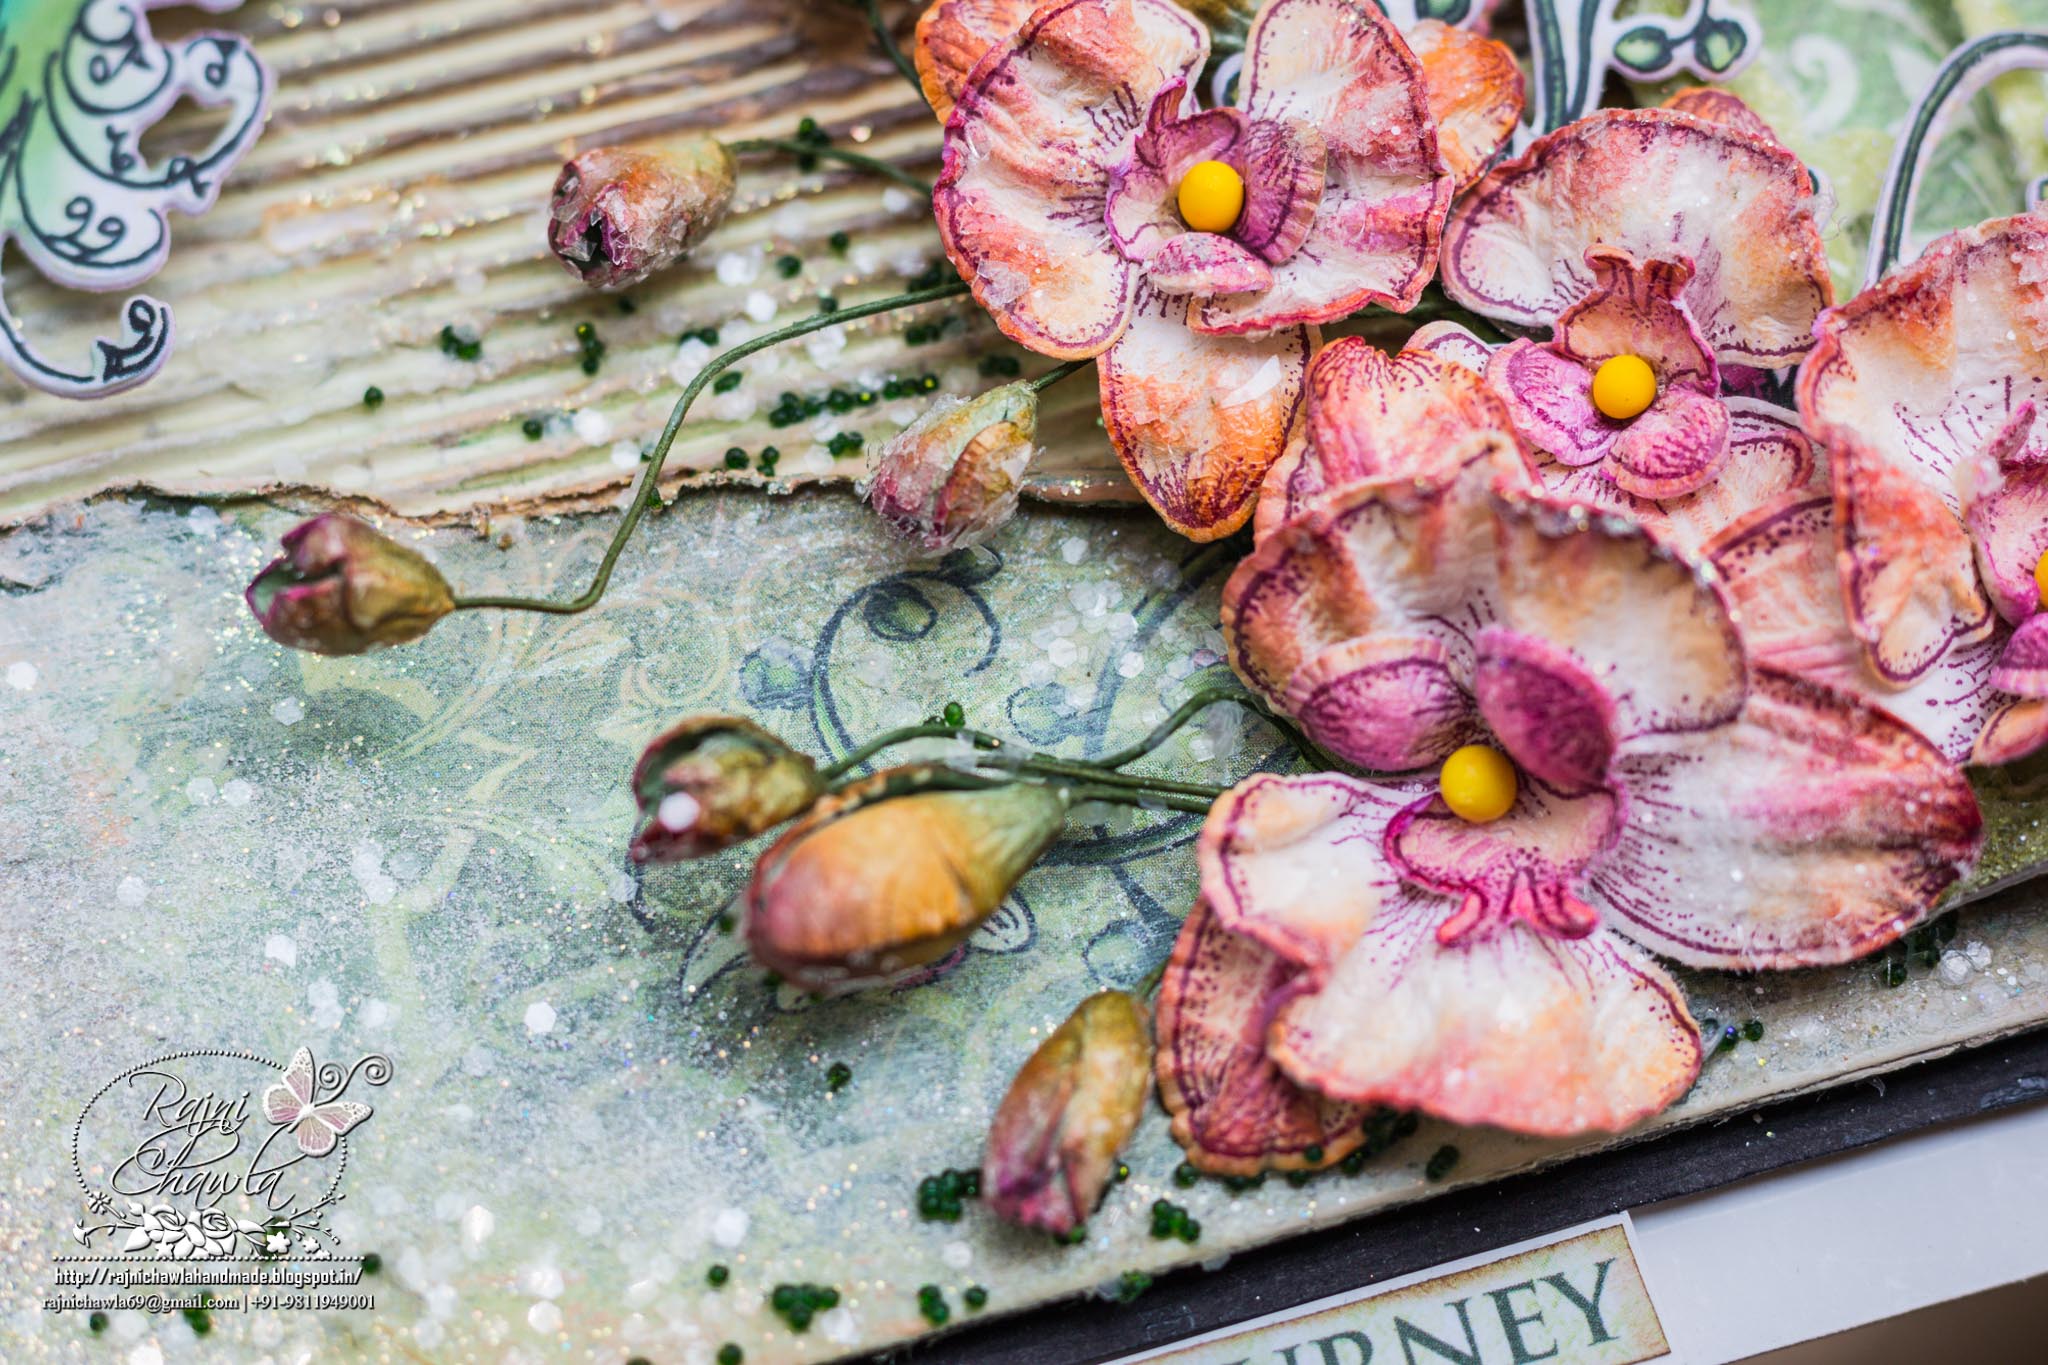
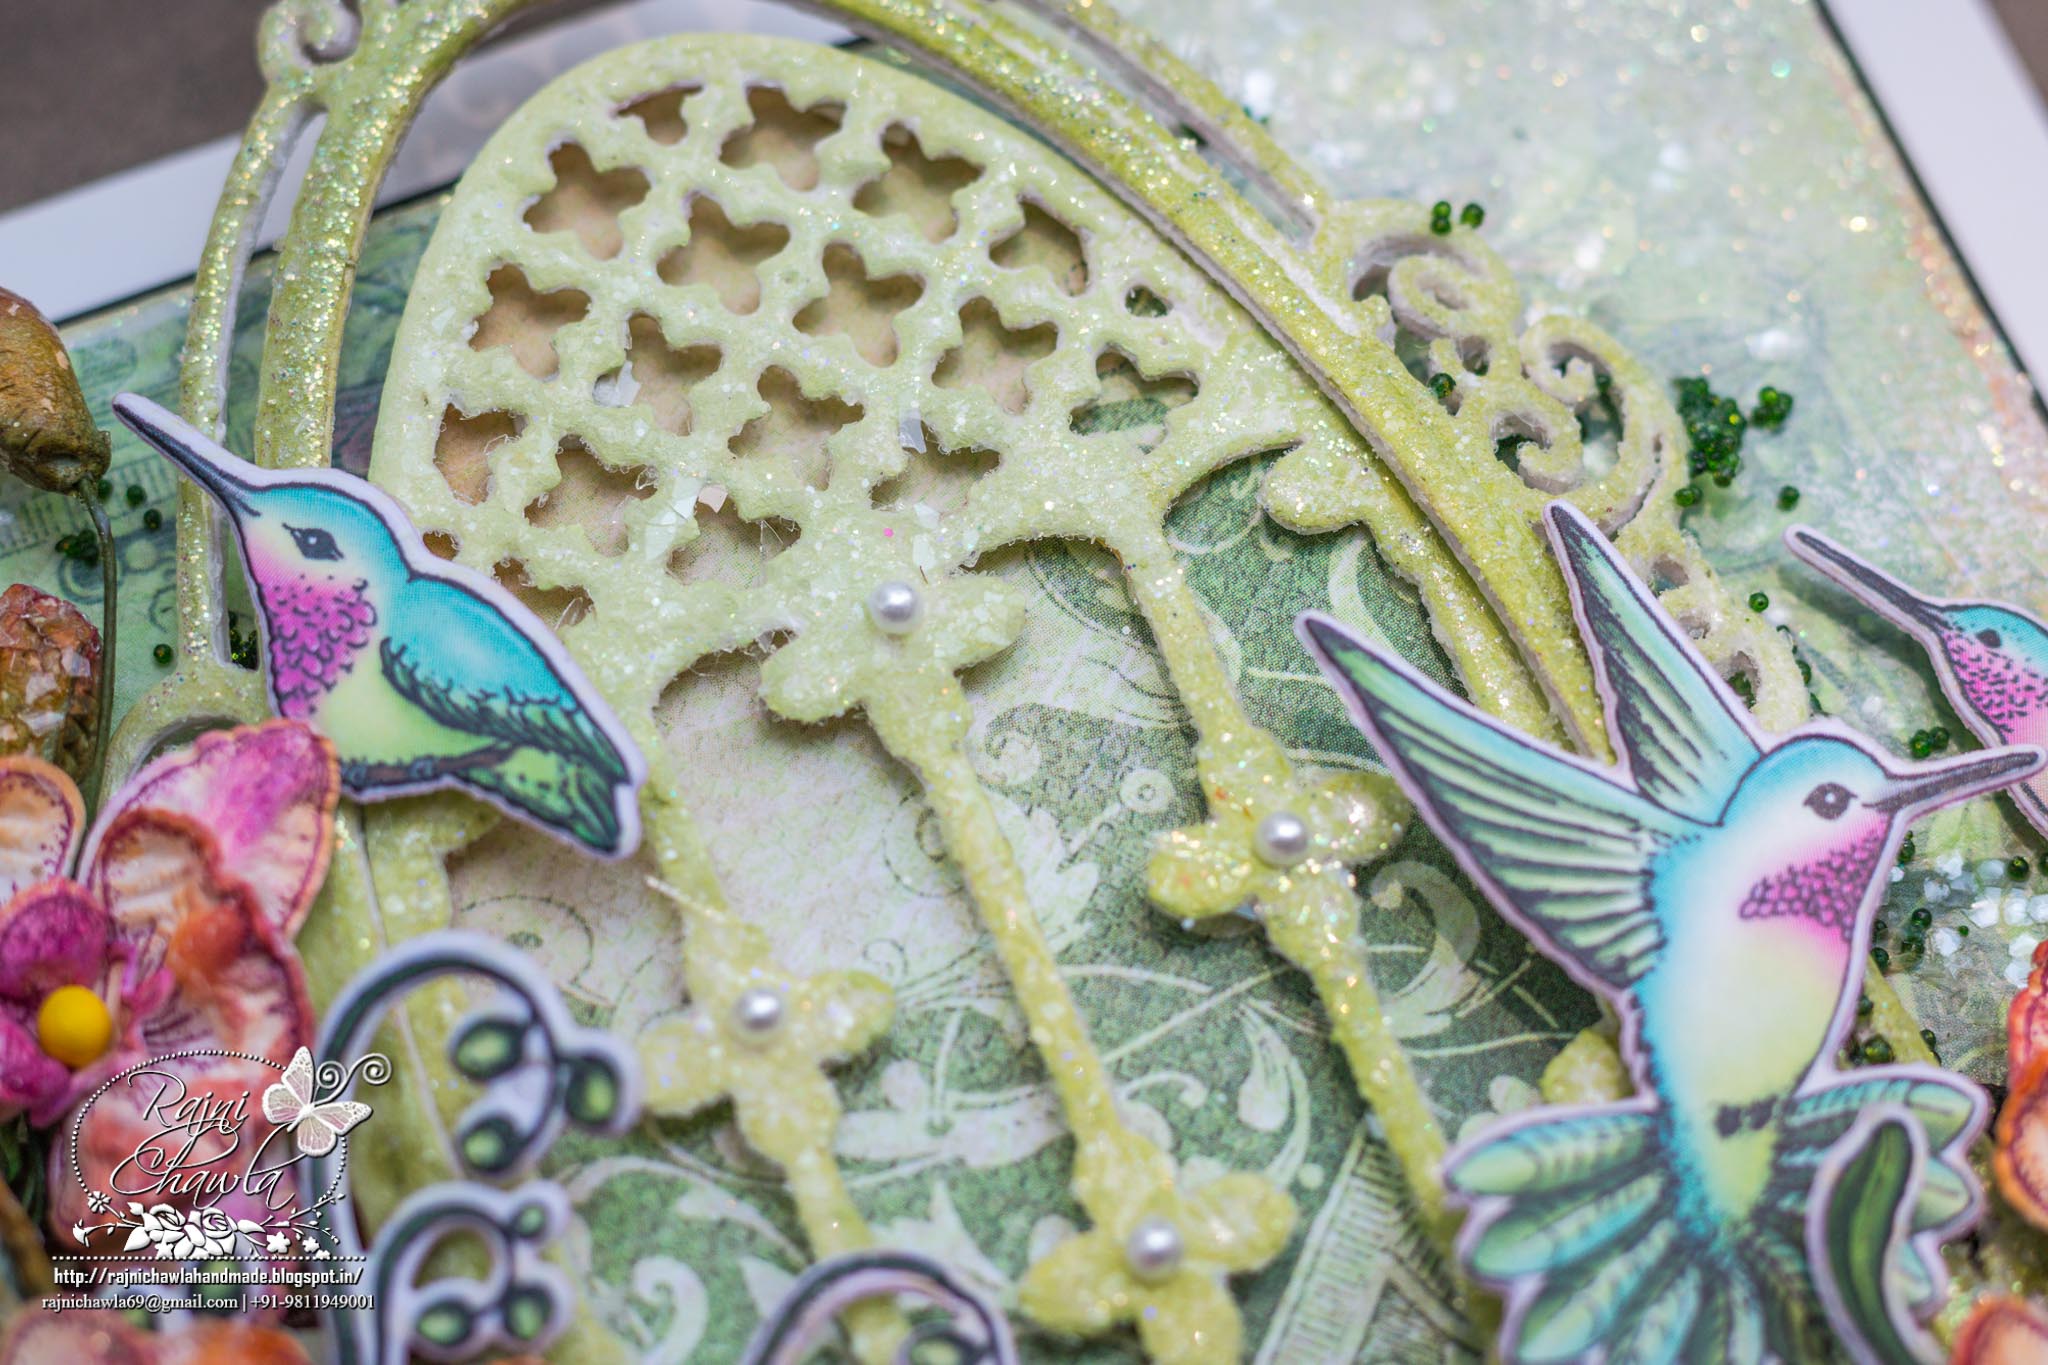
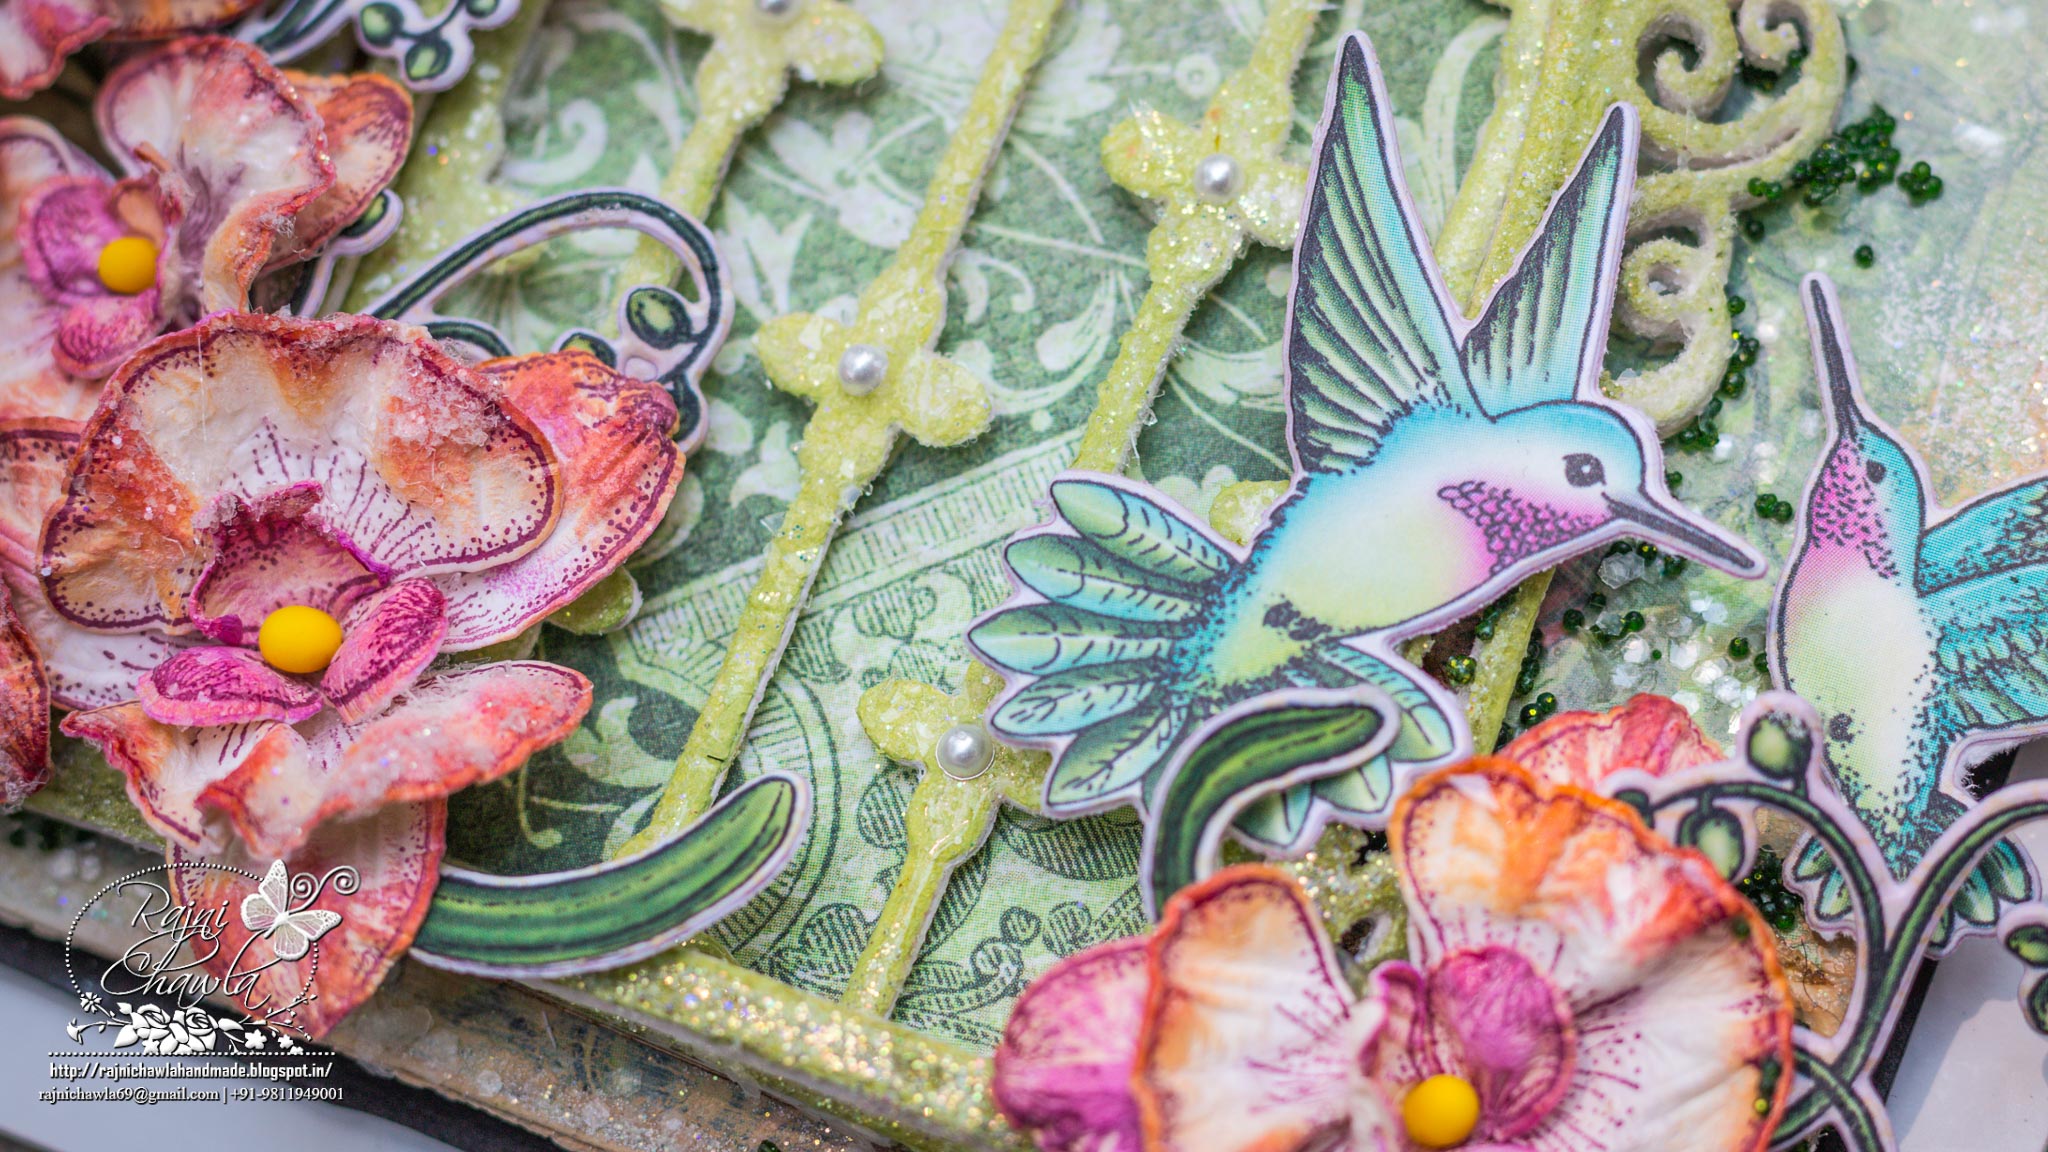
Instructions: For the flowers, stamp the Botanical Orchid stamp set multiple times with archival ink , Plum and die cut using Botanical Orchid die. To shape the flowers, follow Emma's Video.  Make a small spray of Orchids keeping buds and small flowers on top. For the window, cut 2 die cuts each of outer window and inside panel. Stick them together using glue that dries clear to add little more strength. Now paint both the pieces with shades of green acrylic colors of your choice. Dust them with clear glitter when wet and heat set. For card base create a top-fold card of 4 1/2 " by 8 ". Hand tear the designer paper and corrugated sheet as shown. to tone down the colors of designer paper give a light coat of white gesso and dust the card with clear glitter. Humming birds are from the designer paper itself which are die cut using their coordinating dies and glued using dimensional tapes. Assemble the card as shown and finish it with the sentiment and pearls on the window.

Tuesday, June 14, 2016

Celebrating Pink Orchids and Hummingbird

Posted by Rajni Chawla


Other Products used:
Spellbinder's Classic Circle Die, Spellbinder's Reflective Moments, Black cardstock, Smooth white cardstock., Zig Clean Clear Brush Markers,Fussy cutting scissors, Black Archival ink

Instructions:
For flowers shaping and coloring, follow Emma's video (Insert the video). Make a spray of flowers by twisting flowers and buds together keeping the buds on top. For the circular window, nest outer 2 dies from Classic Circle die and cut one white frame. Again nest outer first and third die from the same and cut designer paper. Layer both the frames together using foam dots and stick acetate sheet. Mat a designer paper on the back creating a beautiful scene. For the bigger window, take one white die cut from Reflective Moment die and mat it with designer paper from the same collection and add acetate sheet on the back. Also, cut few embellishments from the same collection. For the Humming bird, stamp the image from Botanical Bouquet Cling stamp set multiple times using black archival ink. Color different layers using Zig markers and layer the image by adding dimensions using glue dots. Now assemble all the elements together as shown in the card. Complete the card by adding the sentiment from You Inspire Me Cling stamp set.


Tuesday, June 07, 2016

Pink Botanic Orchid Window Card

Posted by Rajni Chawla

Hello, friends...

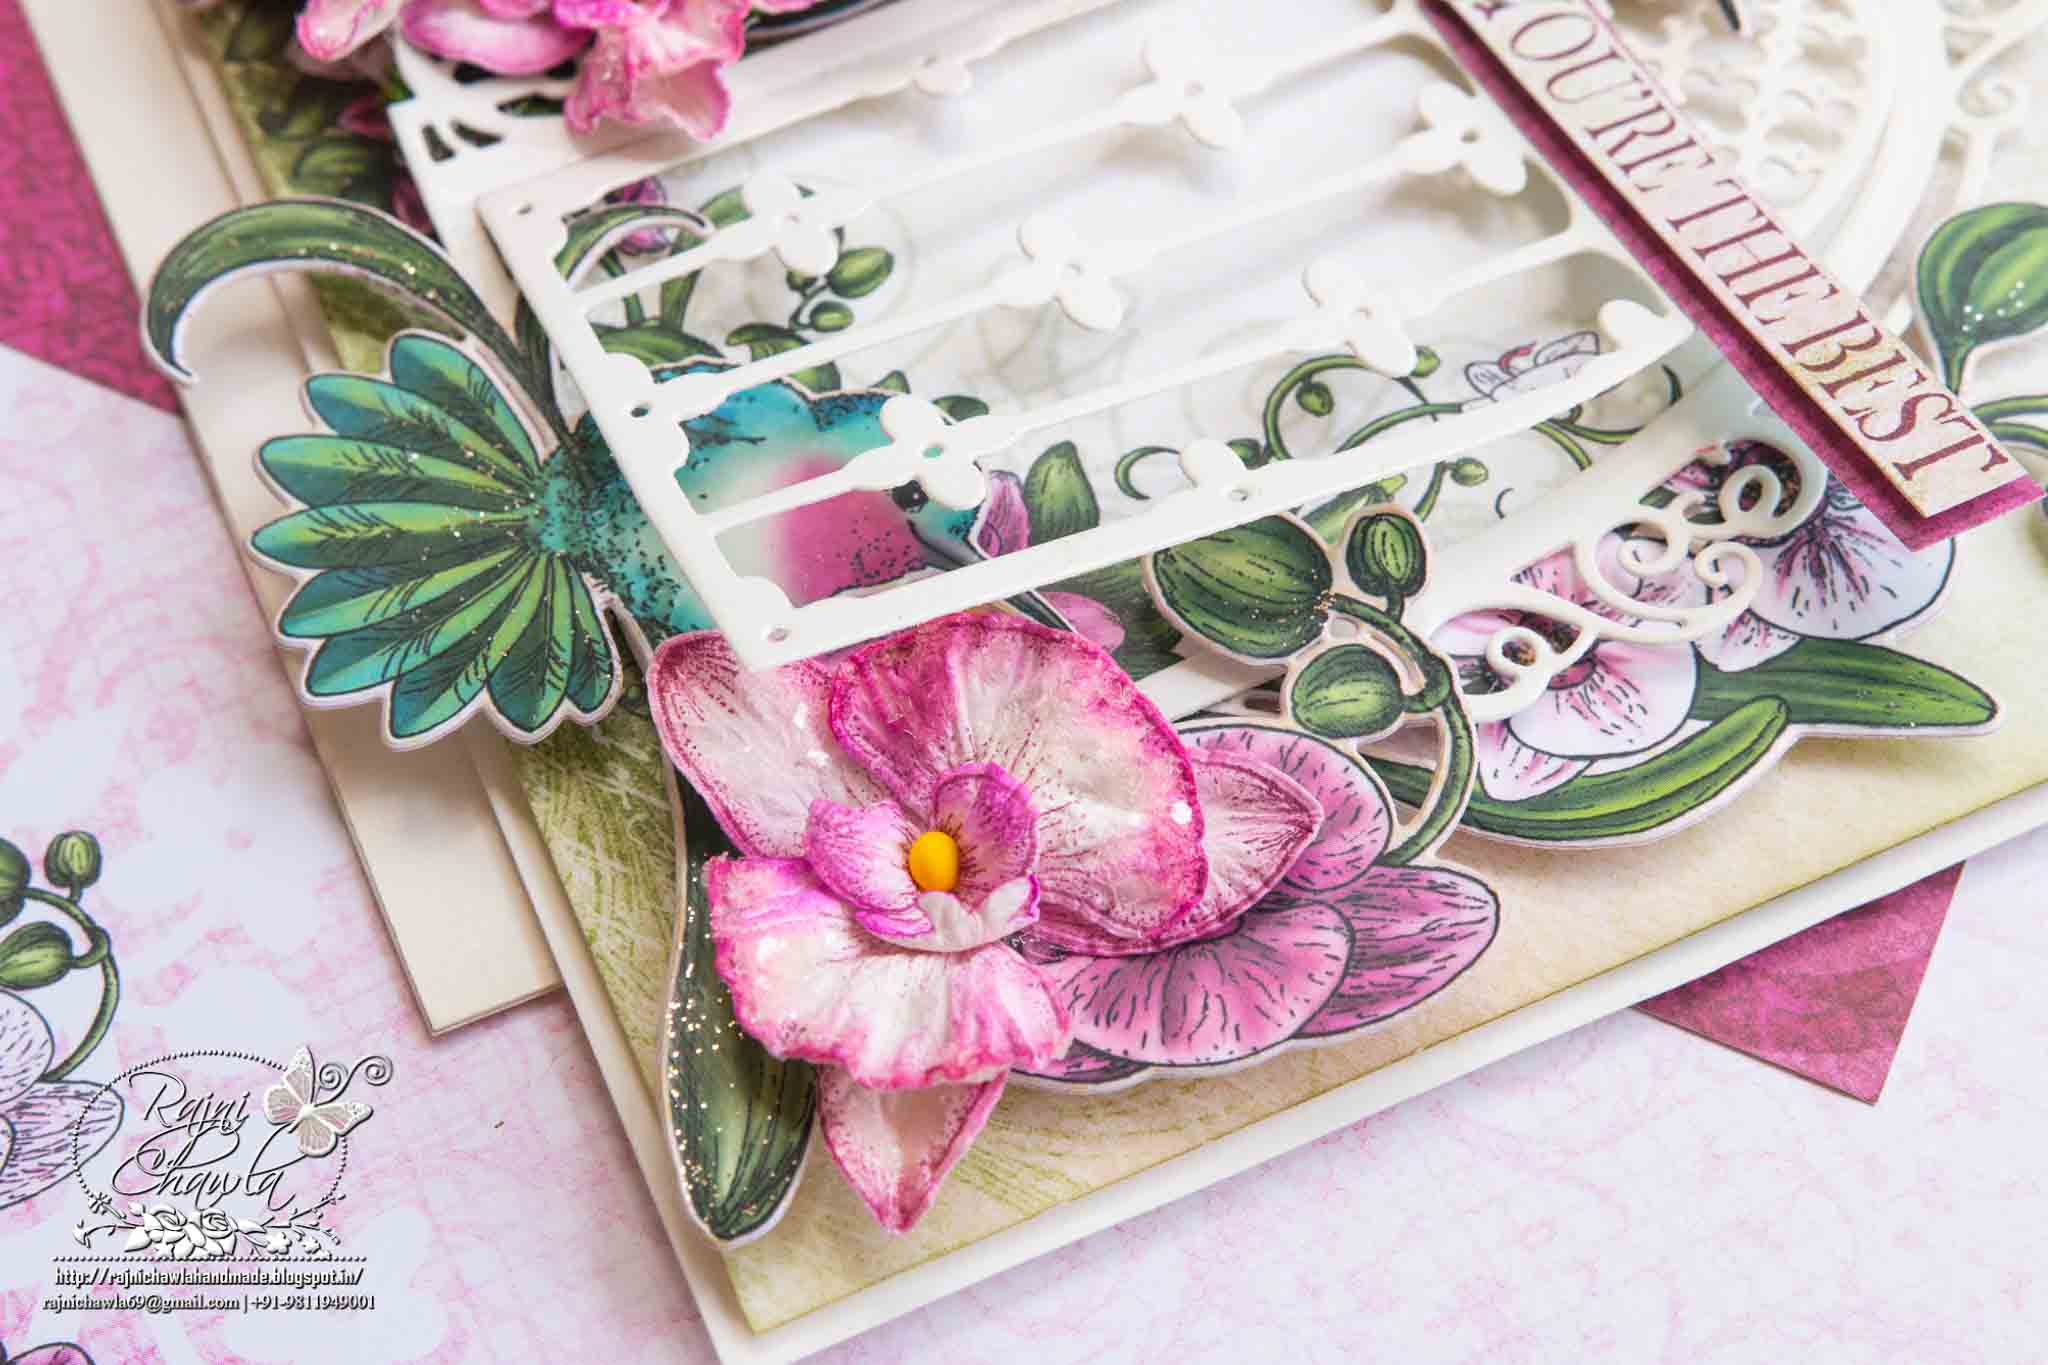
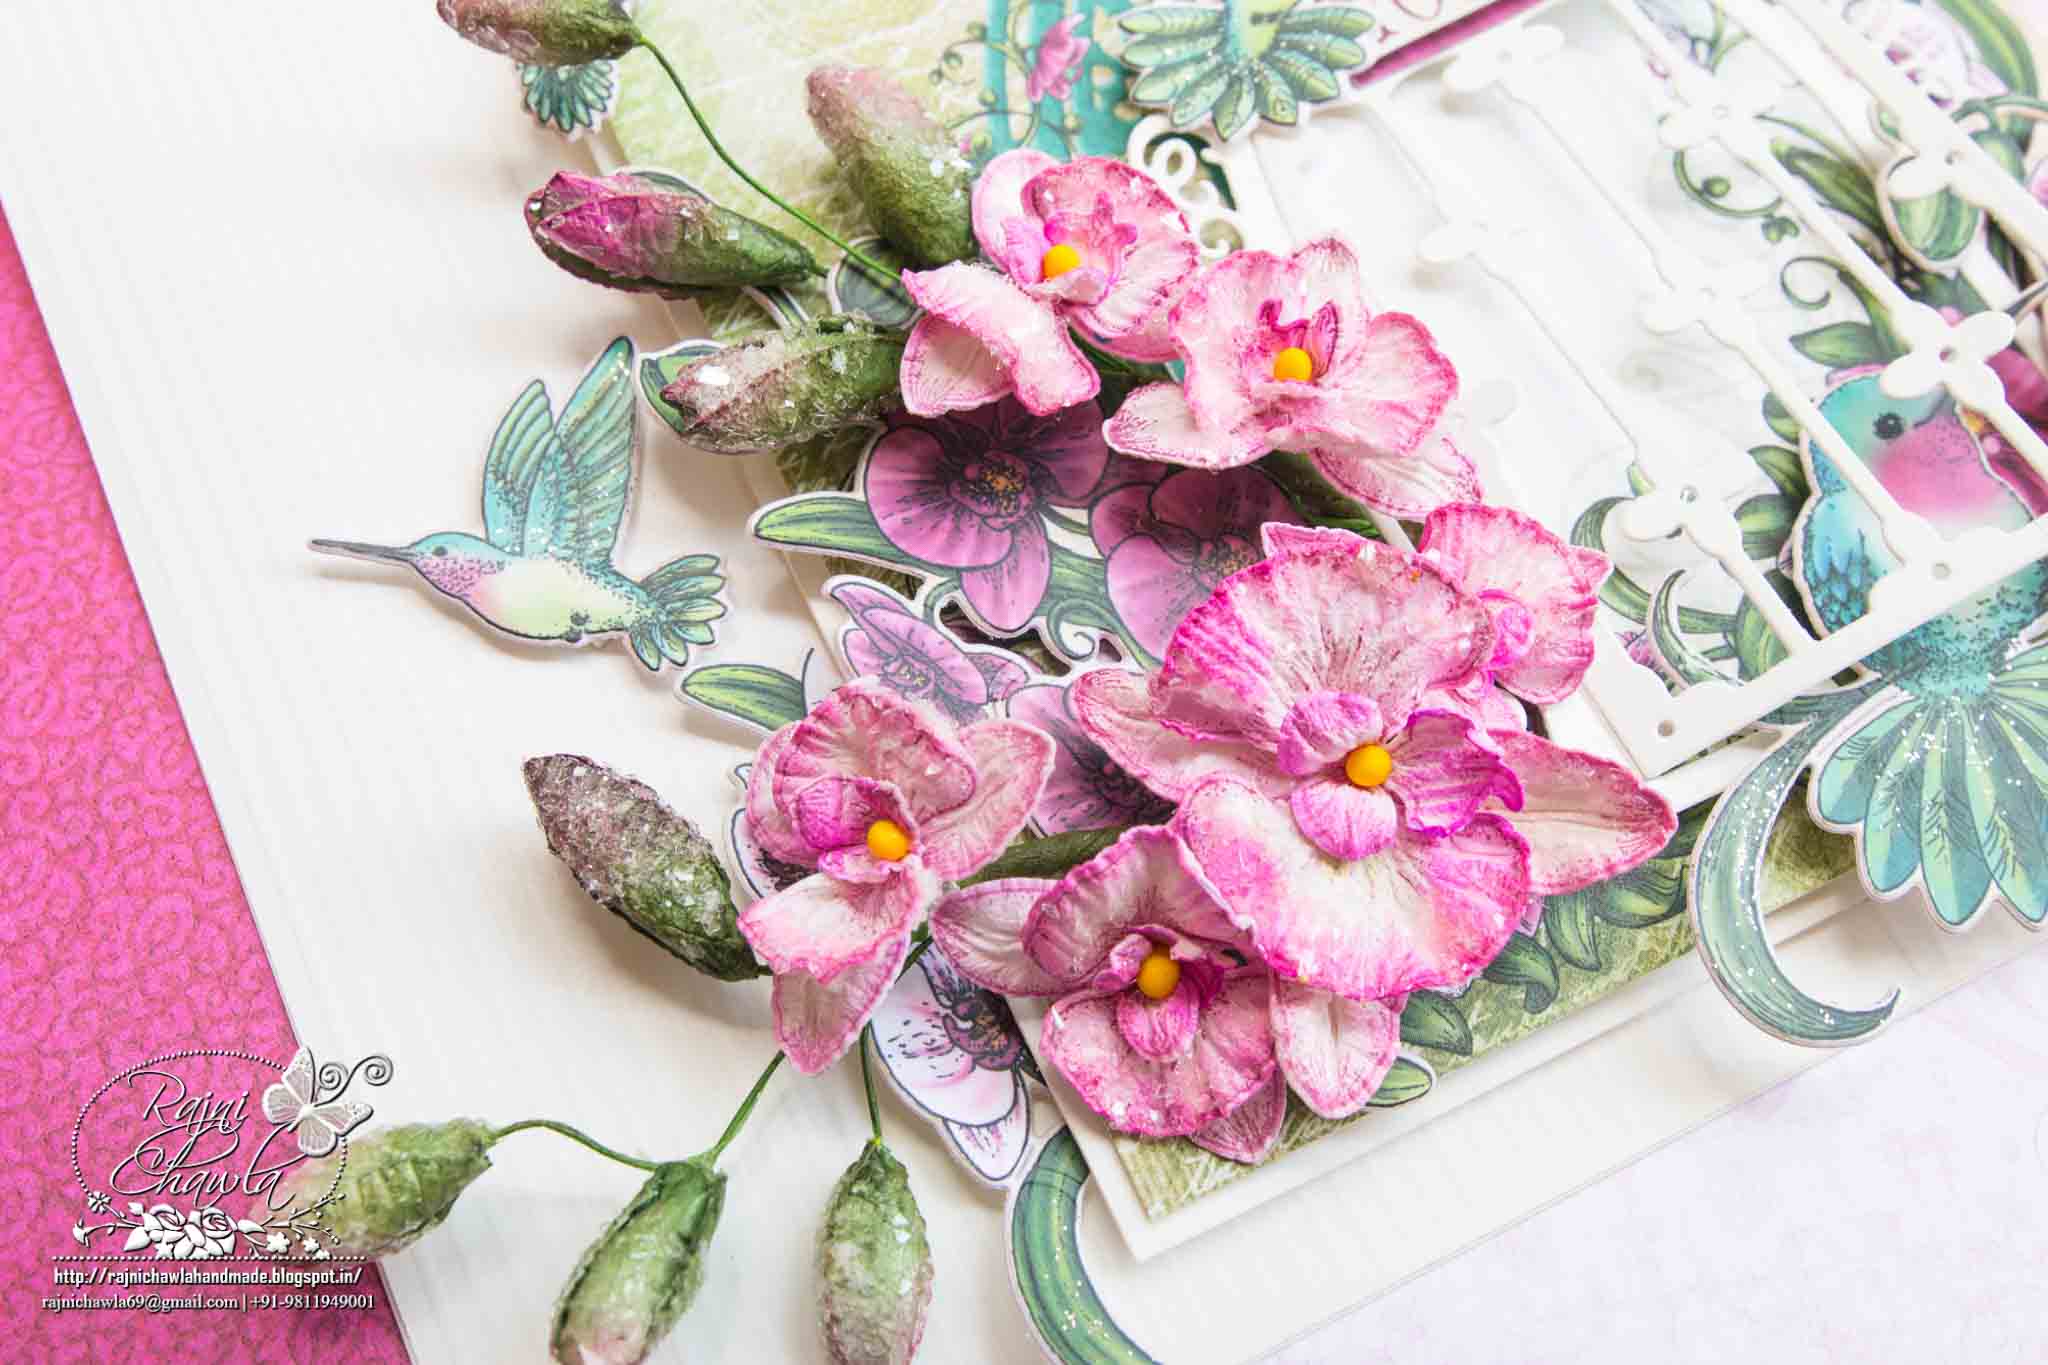
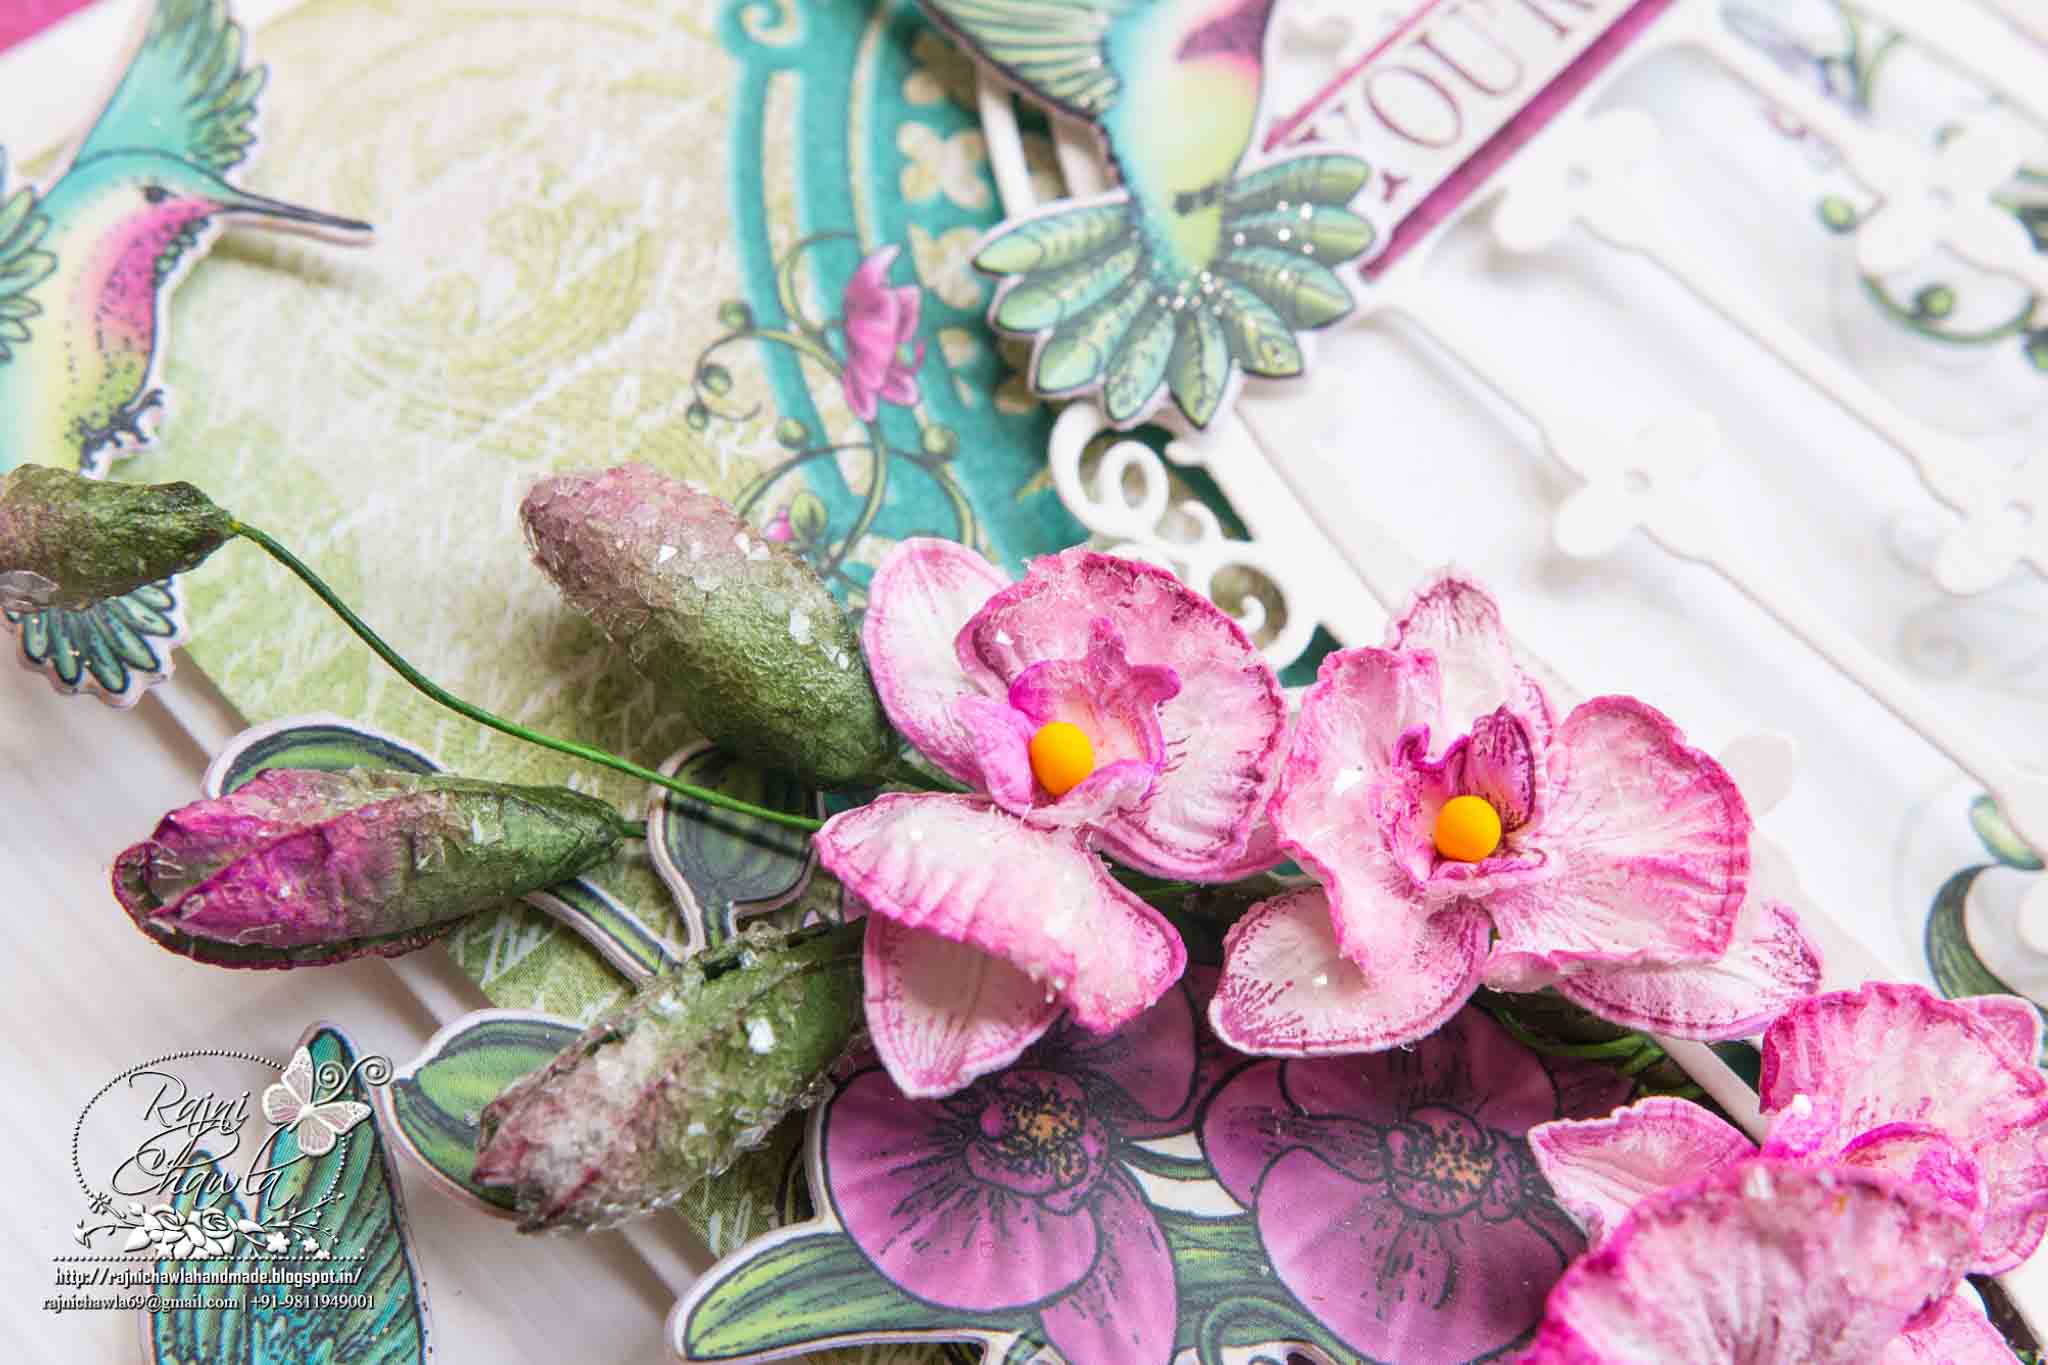
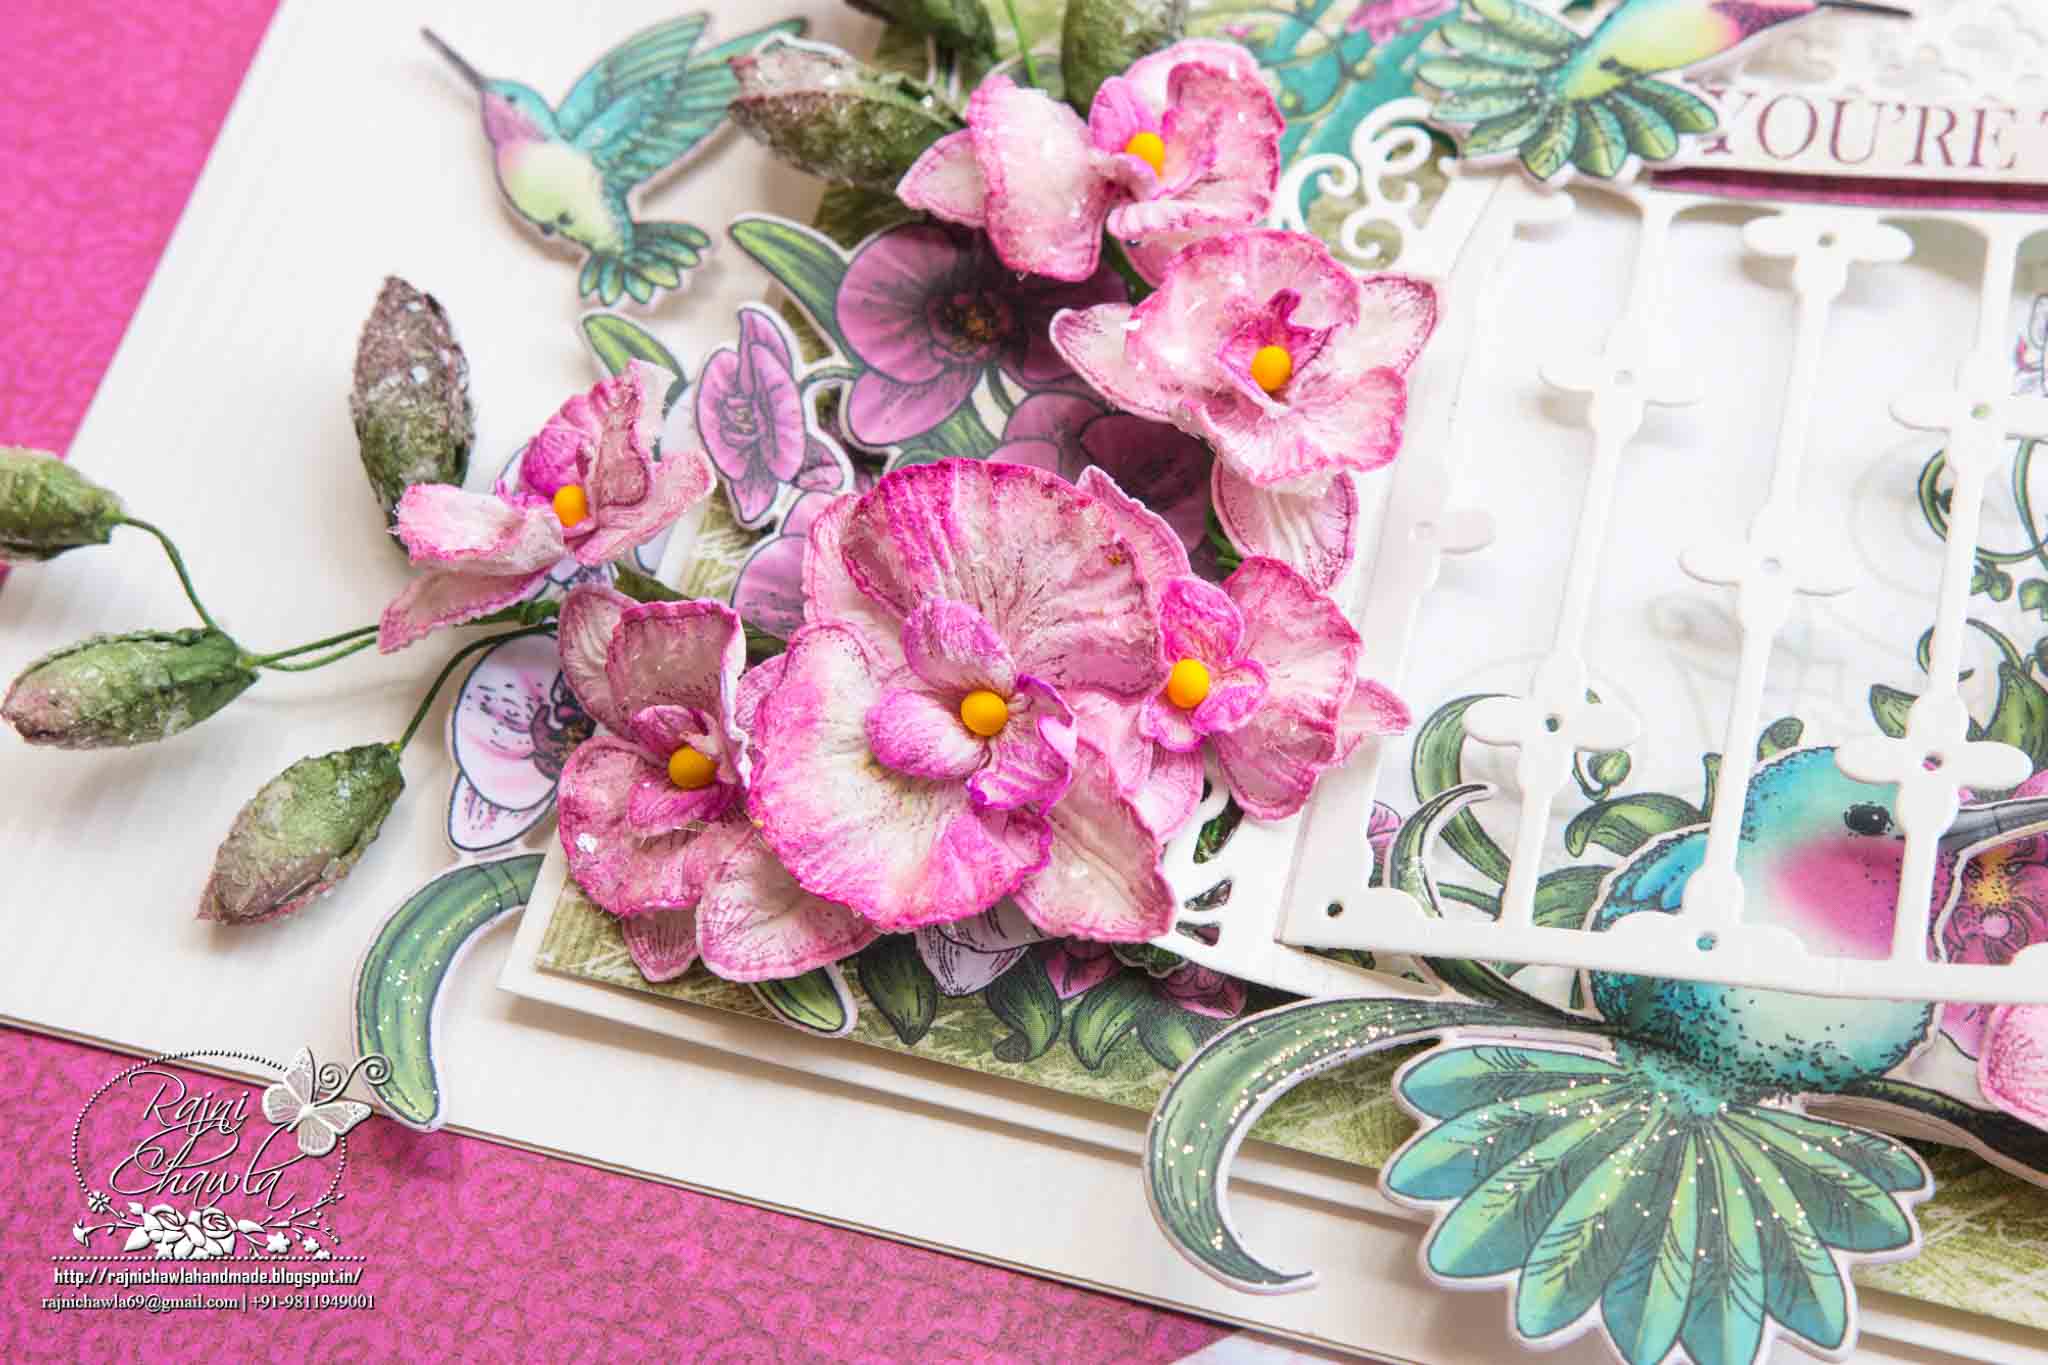
It's mid of the year already ,also, it's second Wednesday of June and once again Heartfelt Creations is back with its new release.  I know, I know you are again getting tempted to their new release Botanical Orchids Collection. Showy, elegant and graceful, the divine orchid flower is one that is most certainly recognizable for its unique shape and known for taking center stage all on its own! Heartfelt Creations presents to you their newest collection…The Botanic Orchid. Overflowing with stunning floral images enveloped in soothing moss like greens, soft sky blues, creamy whites and flowery pinks, alongside rich burgundies and vibrant teals this collection is sure to appeal to any flower enthusiast. Intricate illustrations and die cuts of orchid blossoms and bouquets, accompanied by delightful hummingbirds and scripted sentiments will have you creating your very own botanical experience with hand shaped orchid flowers bringing a realistic touch to all of your paper creations! Preprinted sentiments along with those in the stamp collection are ideal for covering a wide range of occasions including weddings, friendship, sickness, encouragement and sympathies. As one of the oldest flower species in the world, this unusual blossom native to rainforests and jungles has also taken on beautiful meanings relating to each specific orchid color including innocence, grace, joy, respect, admiration, health, happiness and passion, making this the perfect flower to convey a silent but special message for friends and loved ones on any paper creation!

Products From Heartfelt Creations:

Other products used: 
Smooth white card stock, scoring board, wired pollens, green floral tape, glue gun, cutting machine, clear rock candy glitter. Archival ink Plum

Instructions:
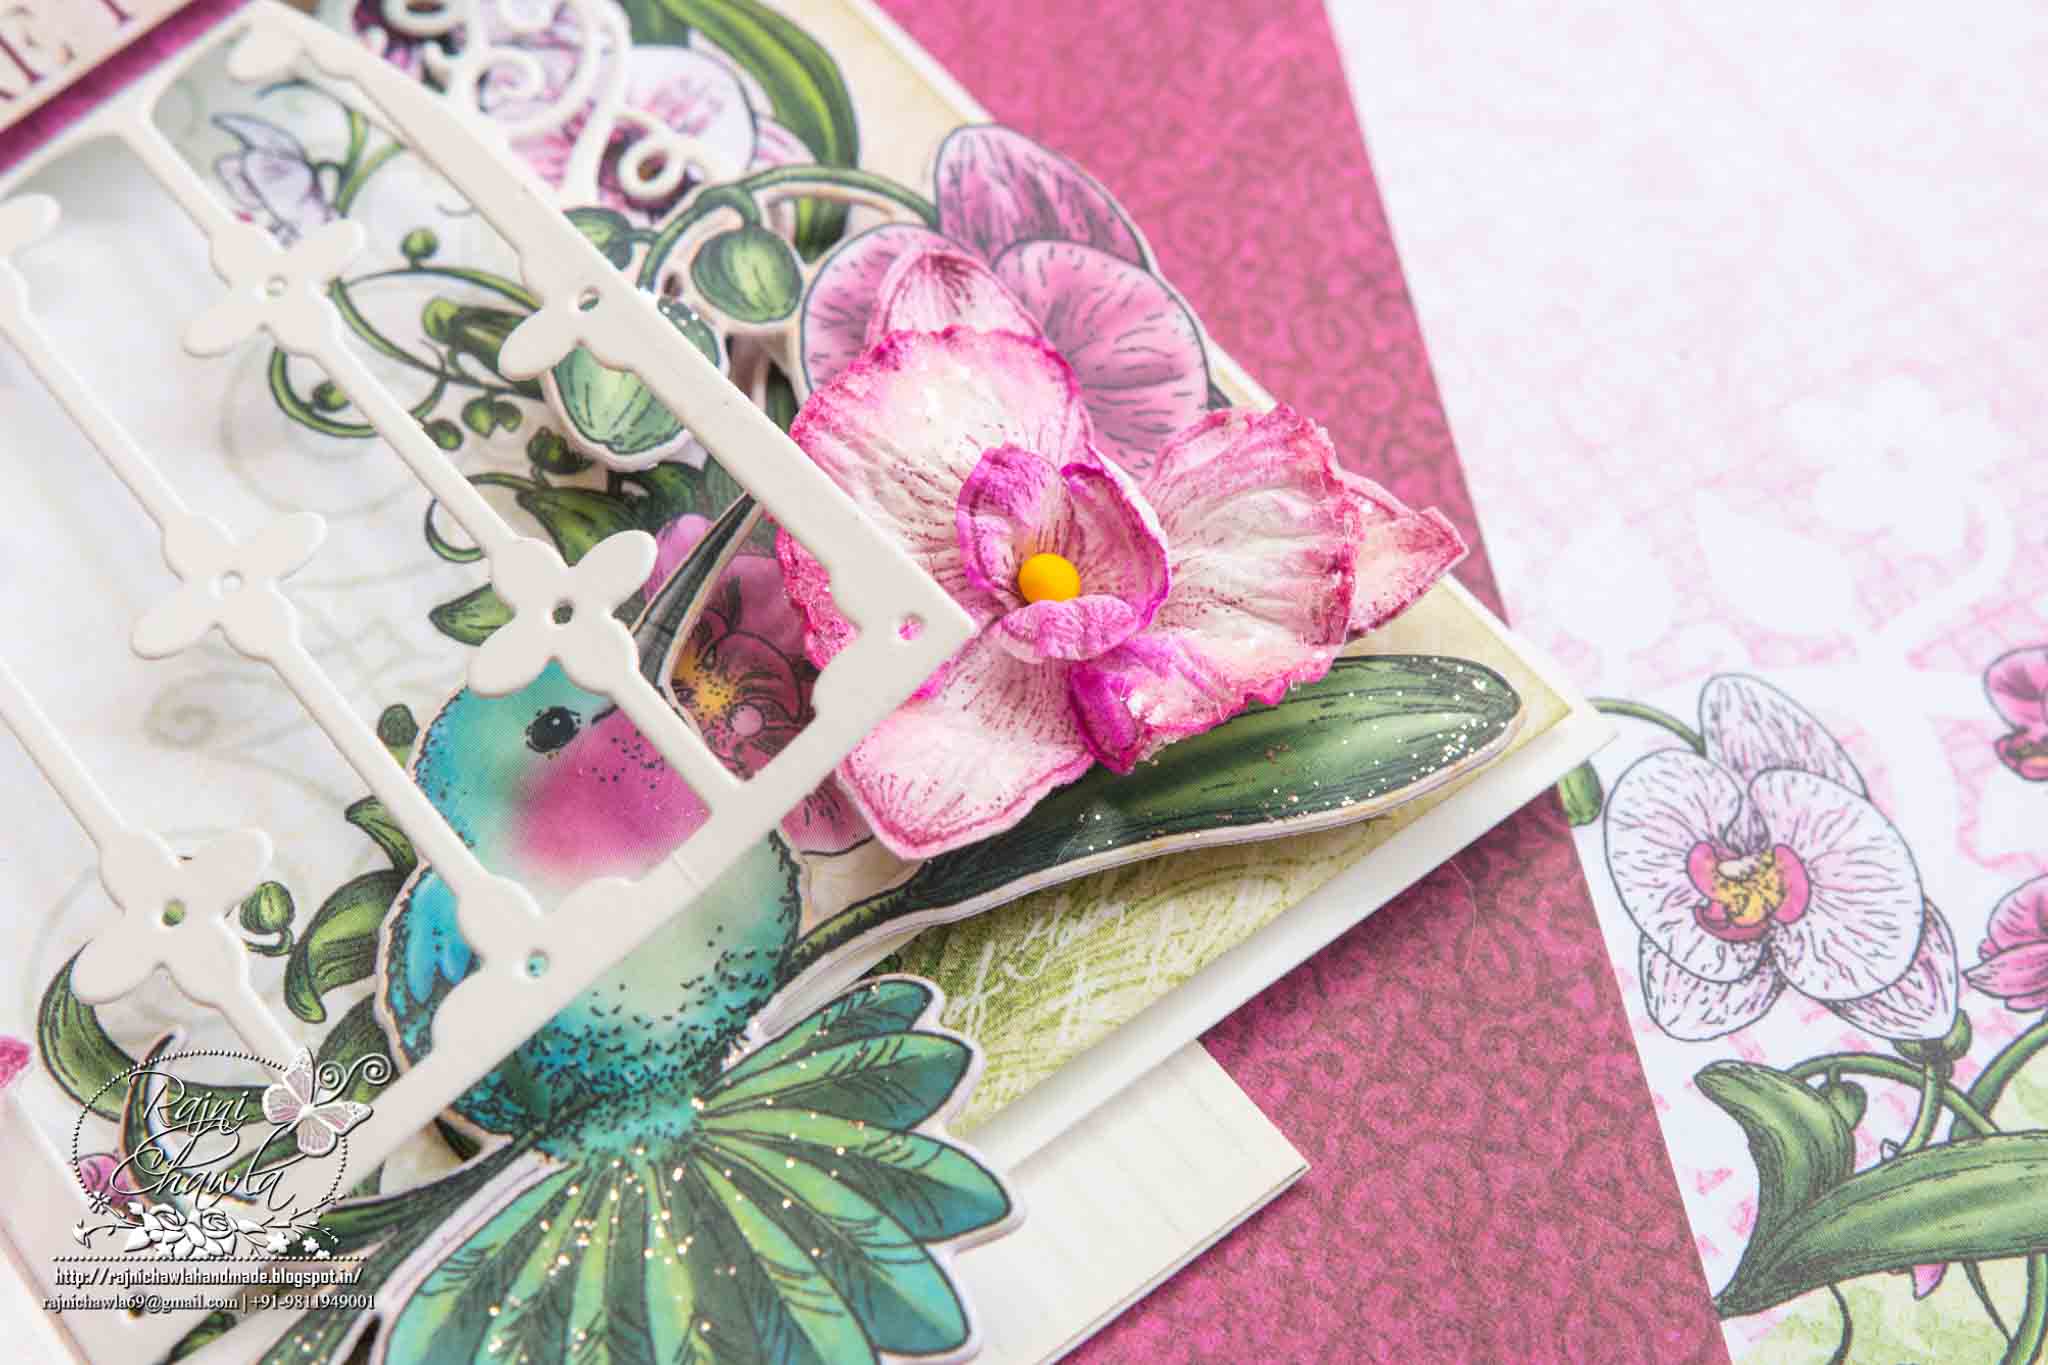
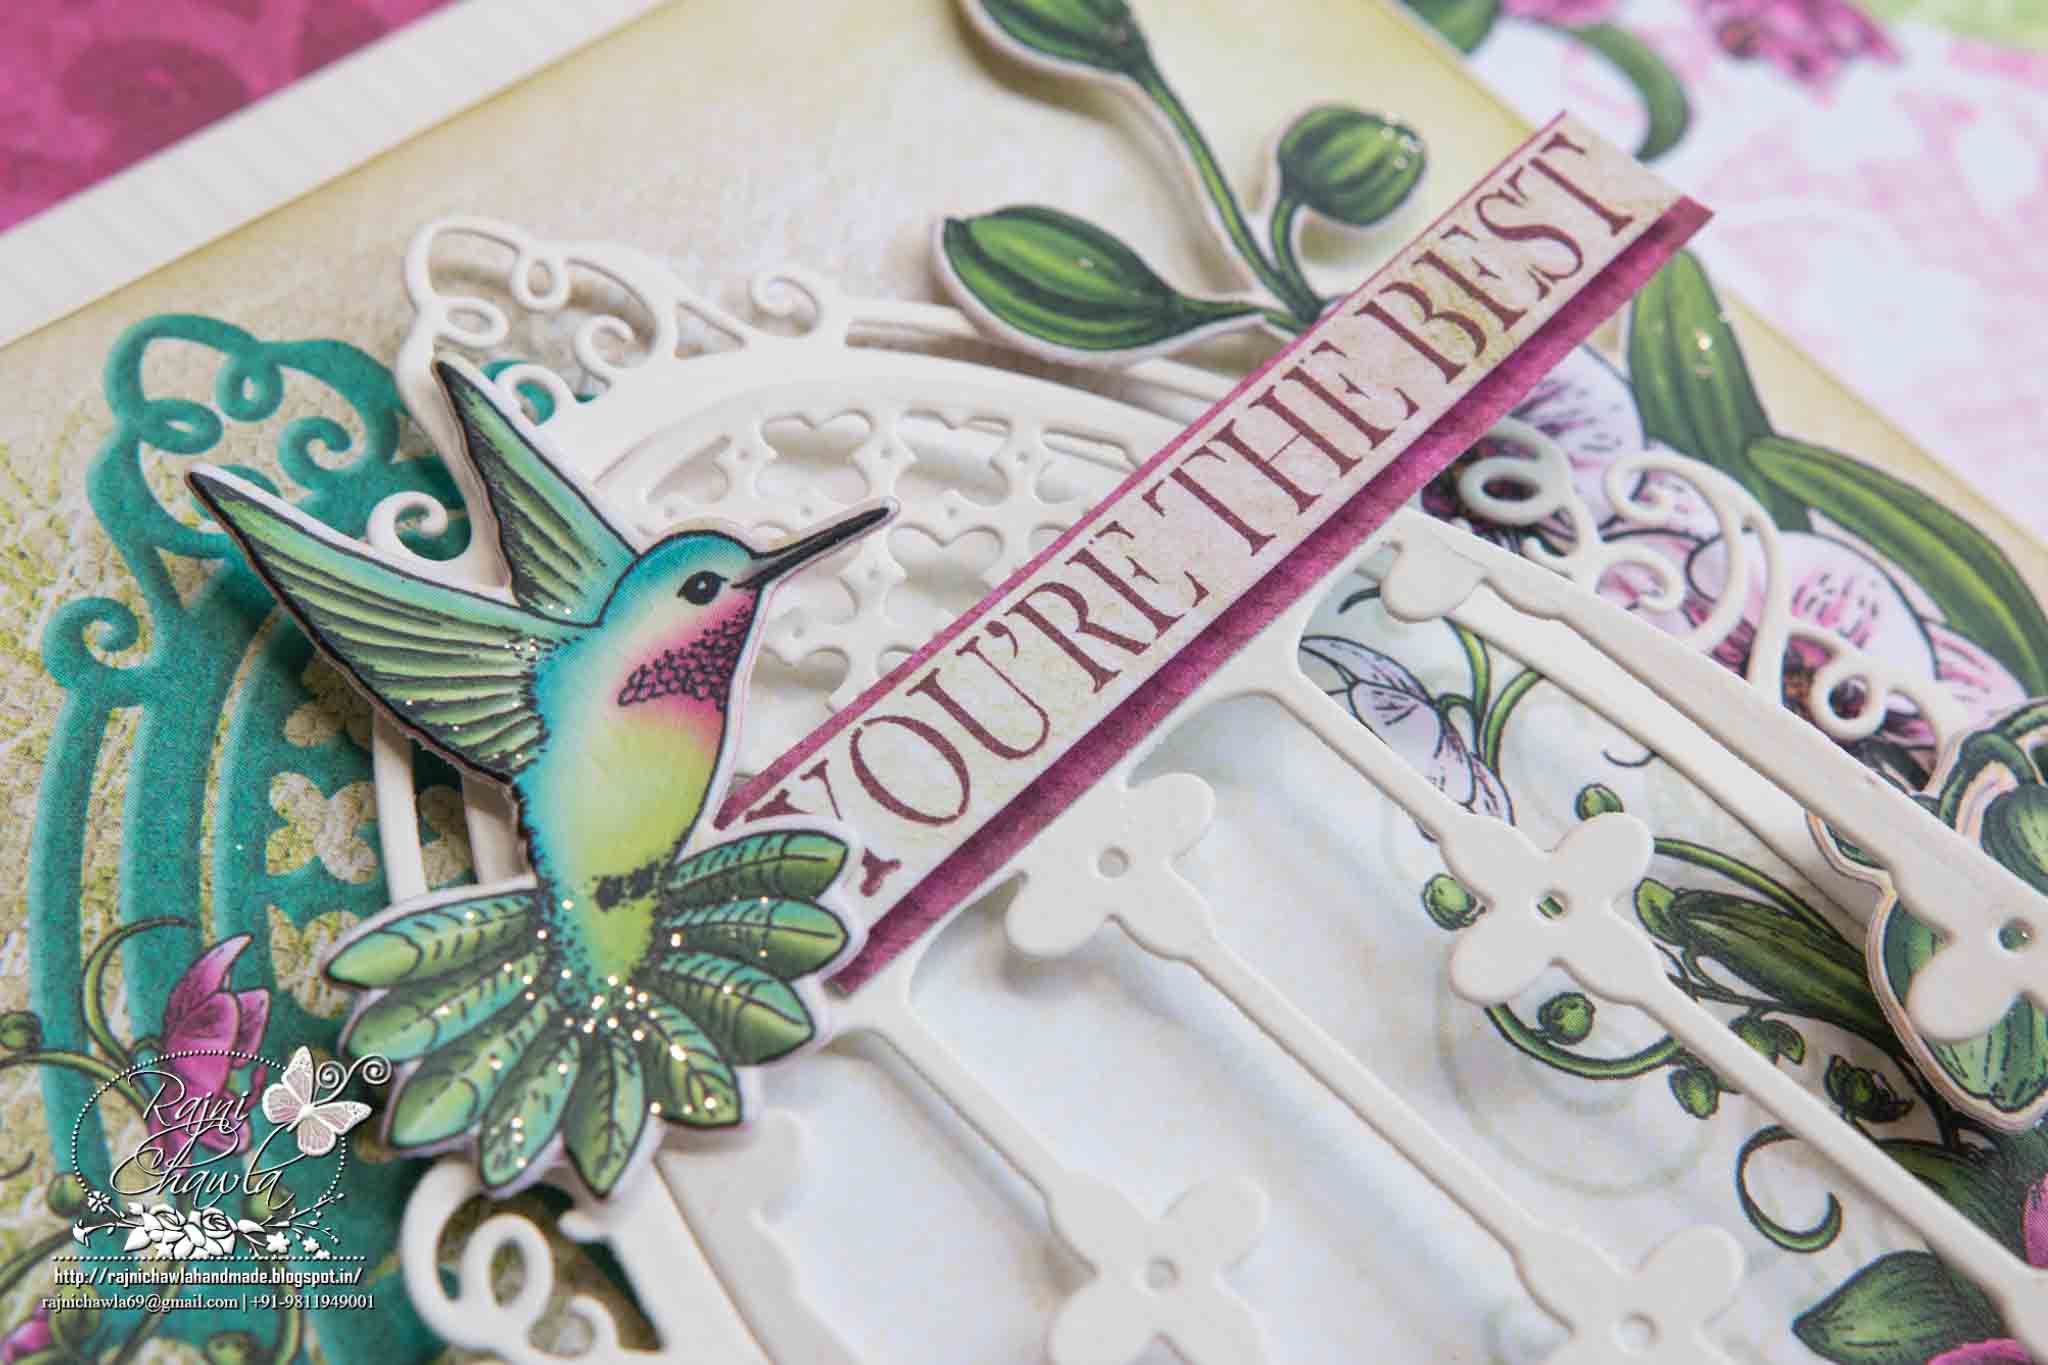
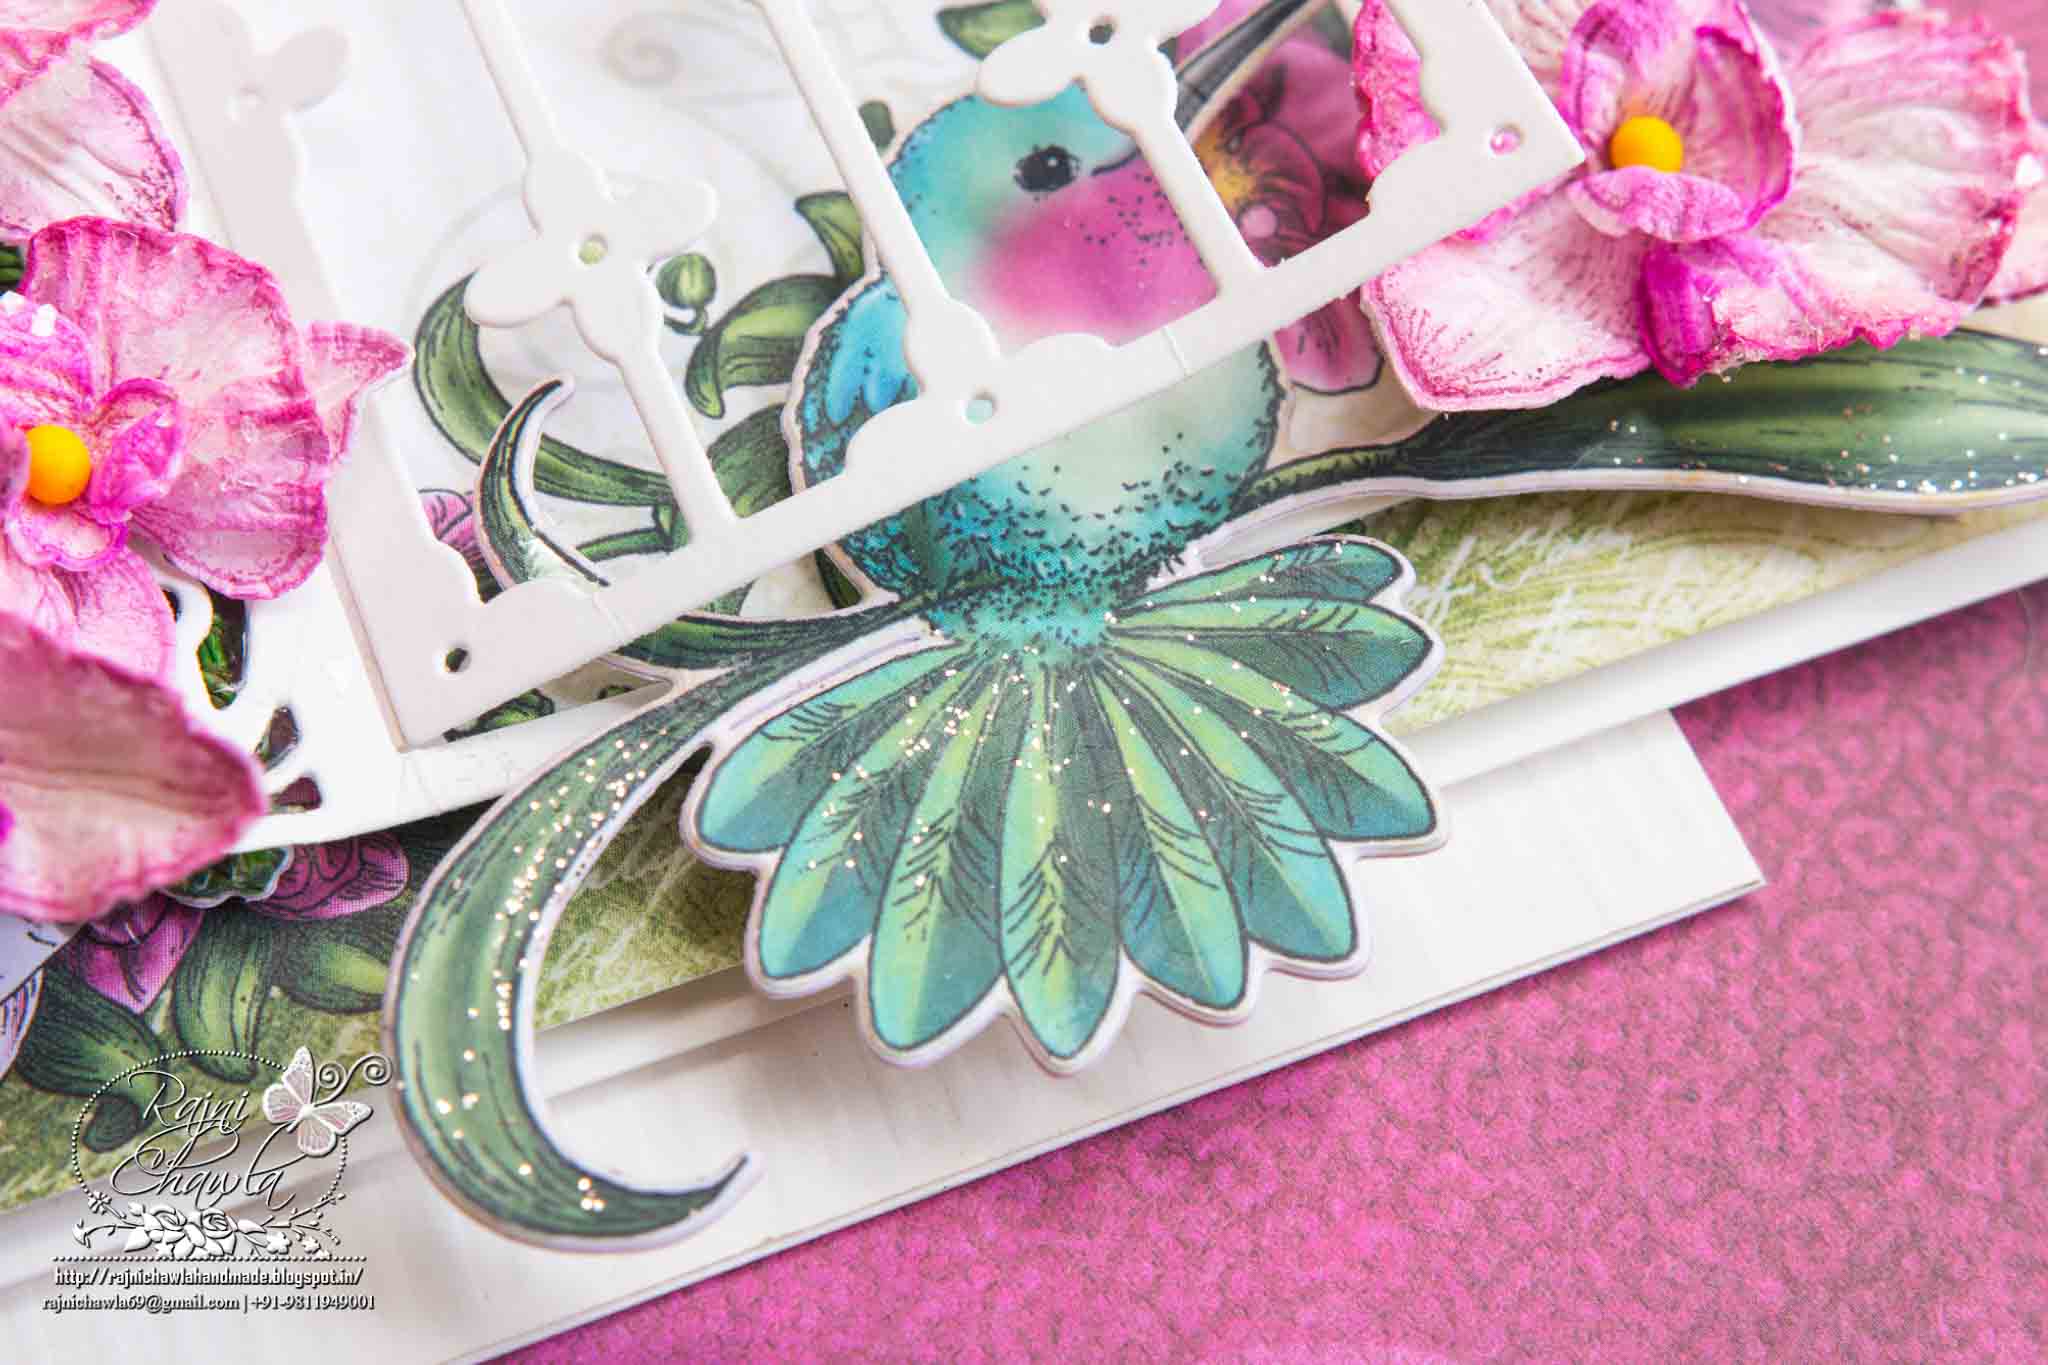
For flowers: Stamp, color and die cut the flower images using Botanical Orchid stamp and its coordinating die. For shaping follow the video by Emma Lou here.  Create a spray of flowers by using 2--3 buds on the top. Cut a window panel and the window from smooth white card stock by placing all the three window dies together. Make a very thin hinge from regular card stock and attach the window to the panel on left side. Match a designer paper and mat it on the backside of the window panel. Cut the Humming birds and Botanical Orchid Bouquet from the designer paper. Now choose 6 X 6 inches designer panel and distress all the edges with peeled paint. Layer the panel with white card stock using glue dots. Assemble all the elements as shown on the front panel. Create a side open card of 7” X 6” with a front all scored at 1/8th of an inch and adhere the front panel little on the right side of the card. Finish the card by adding a sentiment from You Inspire Me Cling Stamp set. Add a little glitter to enhance all the embellishments.

Here are the pictures:

13288699_10208313953823195_848259554_o


Heartfelt Stuff (19)


Heartfelt Stuff (21)


Heartfelt Stuff (22)


Heartfelt Stuff (23)


Heartfelt Stuff (20)


Heartfelt Stuff (26)


Heartfelt Stuff (25)


Heartfelt Stuff (27)