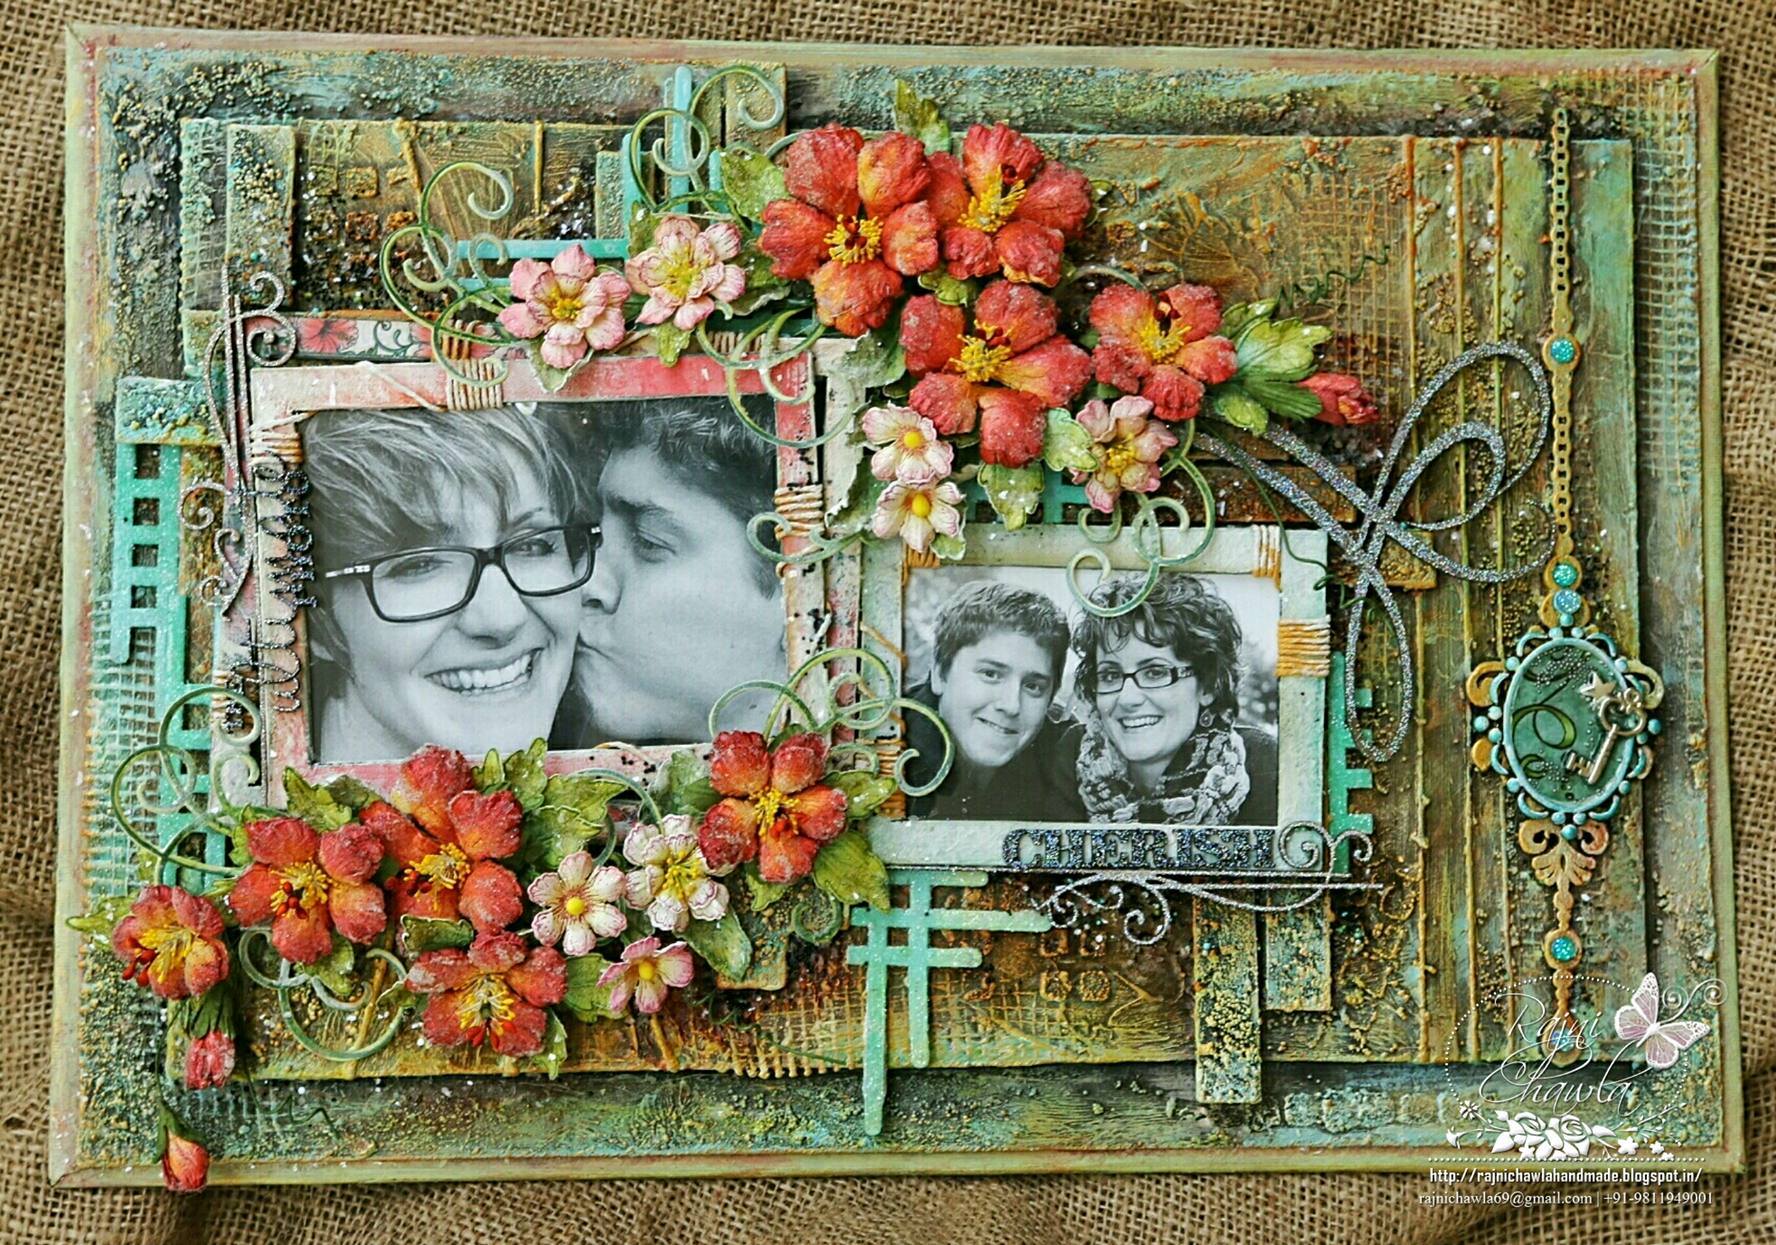
The Ultimate Photo...A Mixed Media Frame
Posted by Rajni Chawla
SUBMISSION FOR FINAL ROUND WITH HEARTFELT CREATIONS
PROJECT 2 : The Ultimate Photo...A Mixed Media Frame
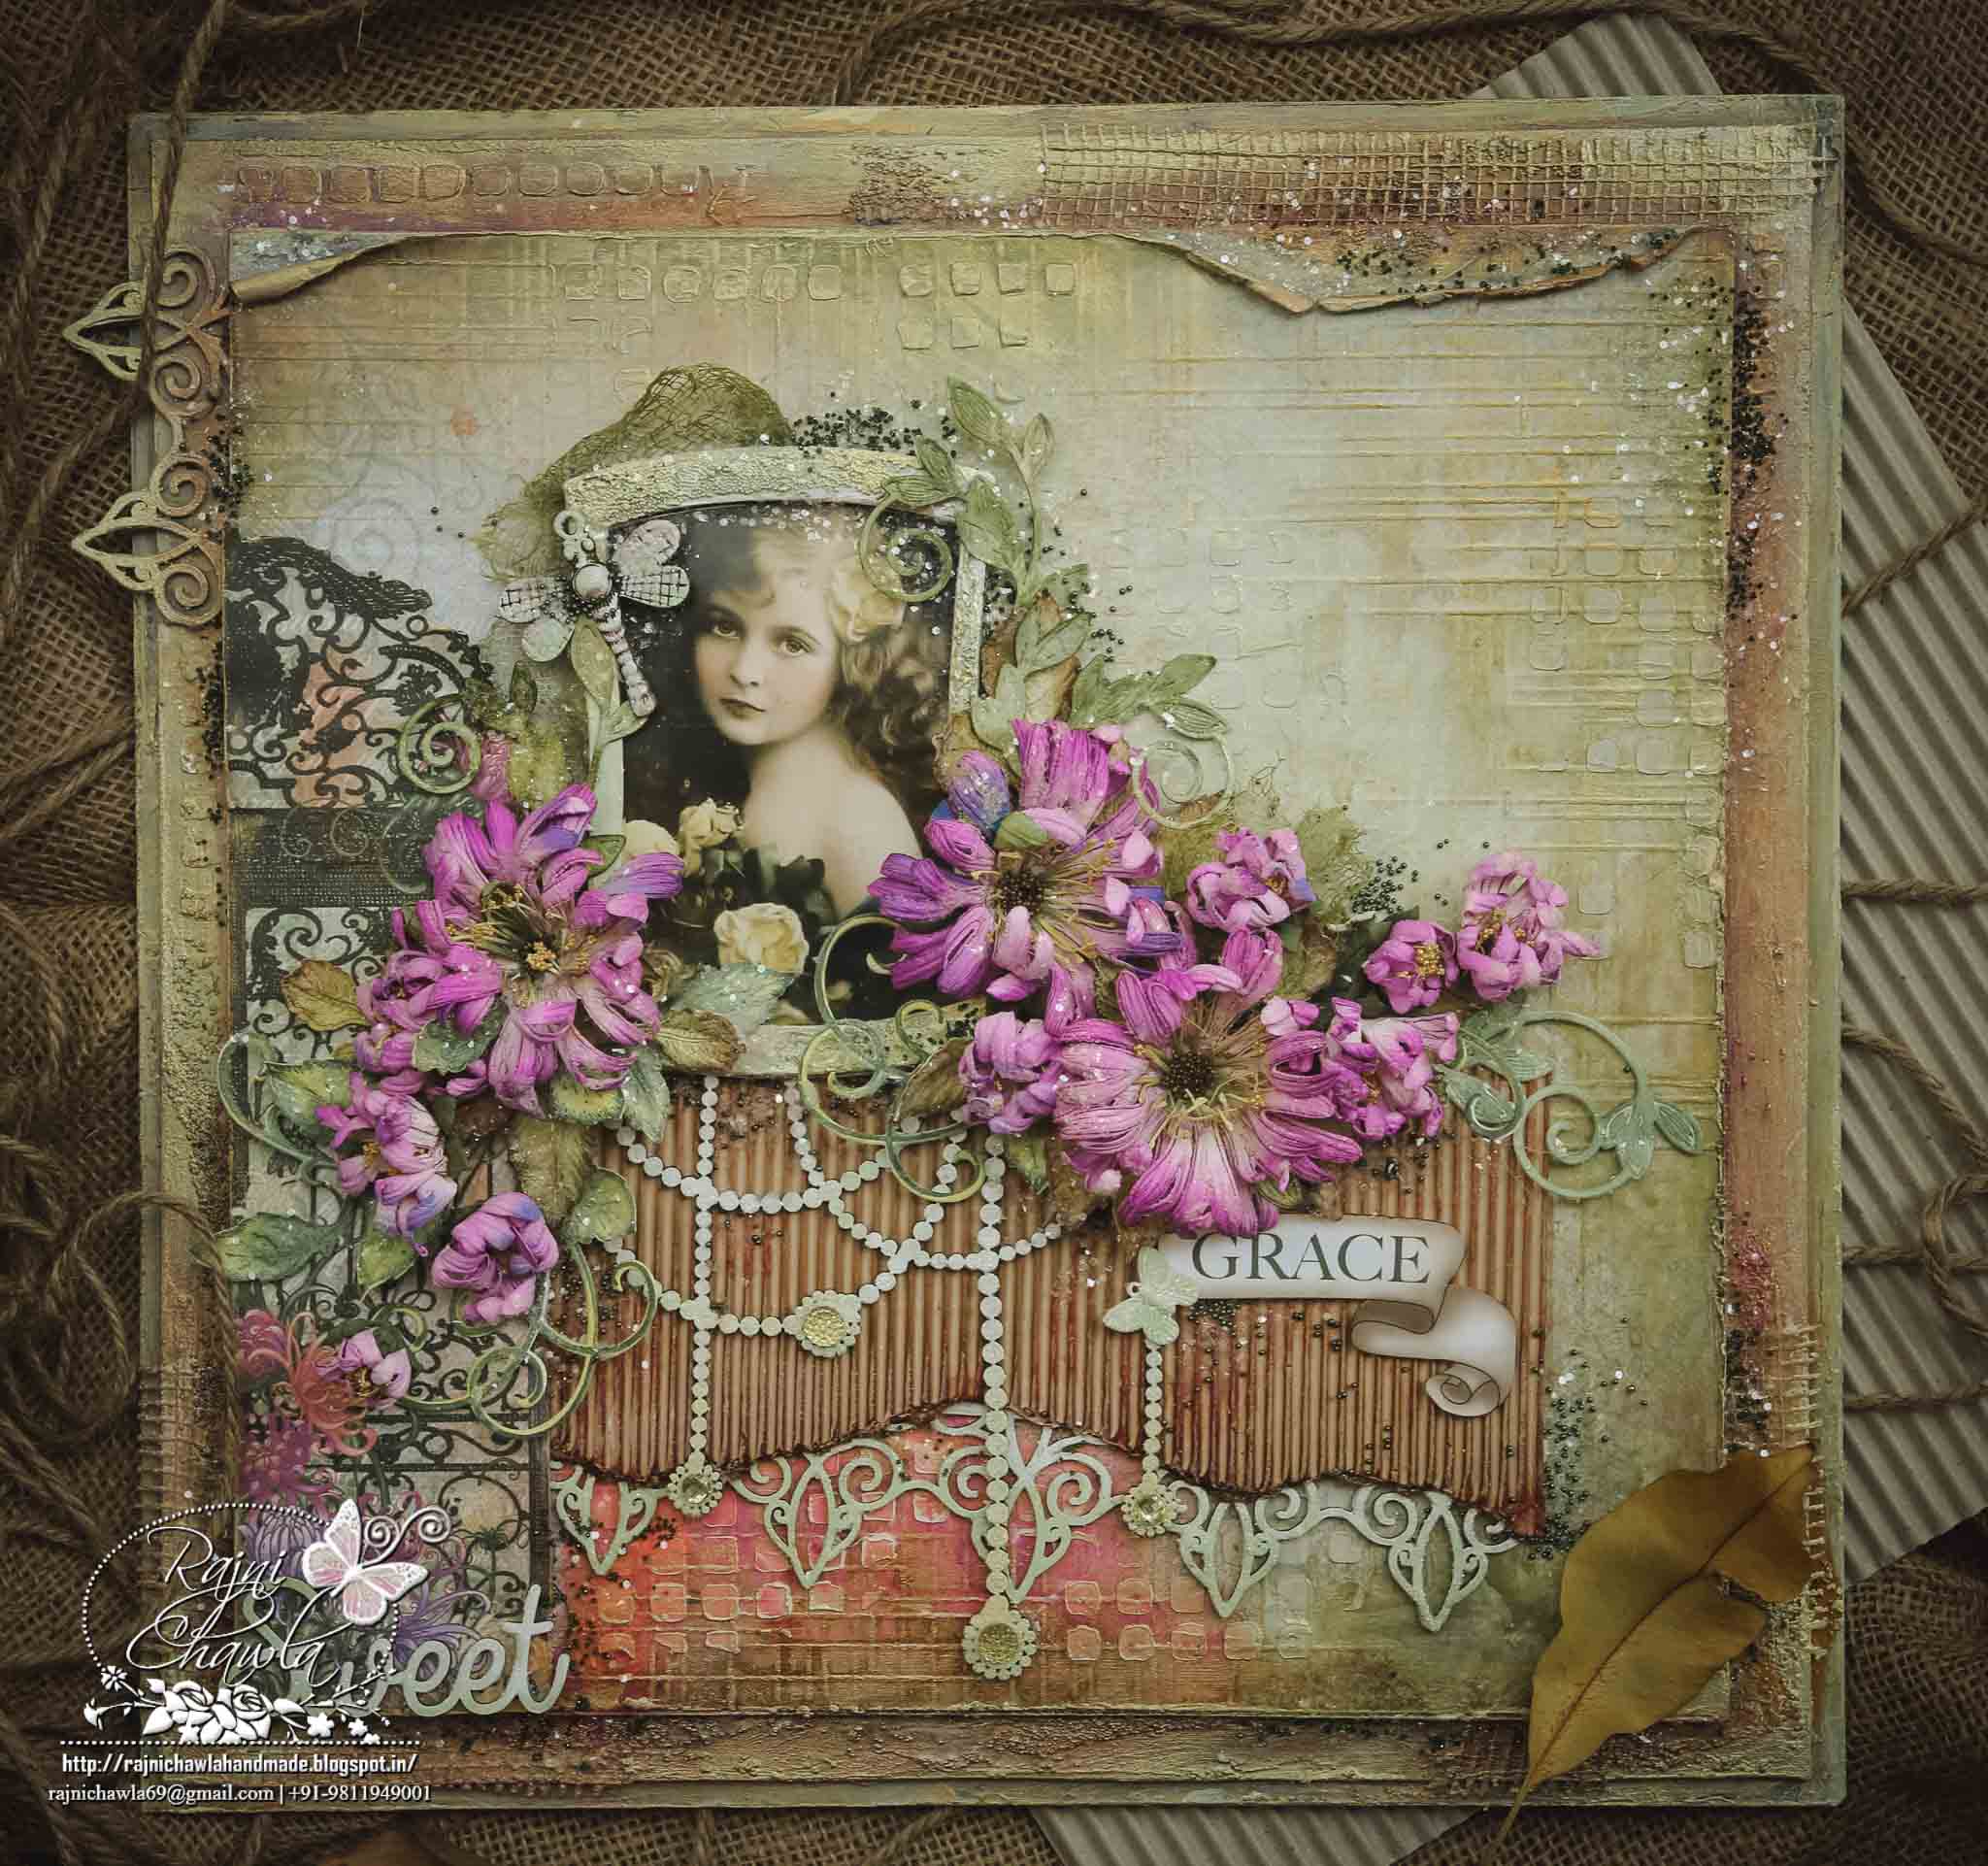
It's all about inspiration. For me, there are lots of things that inspire me like different photos, youtube video, quotes, life experiences, nature and many more. They just inspire me to create and create. As cheesy as it sounds, I get my ideas of what I create from dreams and from the research I do. I got a chipboard sentiment in my DT package the one I got from Dusty Attic but was not finding perfect inspiration for my creations. The sentiment says, ‘The Ultimate Photo’. Now for this, I really needed some Ultimate Click. One day, when scrolling down my timeline I got a comment from Emma Lou and accidentally I clicked on to her profile picture... Aww... such a nice click.. .just PERFECTTT ,I shouted. I scrolled down a little and got another. I really don't know if I did right or wrong by using her personal pictures for this project of mine. All I can say is I couldn't resist making one of my role models as the model of my project. Emma, initially I wanted to blur out your photographs but I'll be frank, your smile just enhances my project even more. Think of it like an embellishment that I have used. Hope you don't mind. :)
Heartfelt Creation Supplies Used :
HC Tropical Hibiscus Stamp
HC Tropical Hibiscus die
Under the Sea Paper Collection
HC Bella Rose Leaves
HC Bella Rose Die
HC Botanical Rose Cling Stamp
HC Botanical Wings Die
Spring Bling Prills -12 pack
Color box Fluid Ink Harvest
Color box Fluid Ink Red Barn
Color box Fluid Ink Warm Red
Color box Fluid Ink Lime Pastel
Color box Fluid Ink Olive Pastel
Other supplies used:
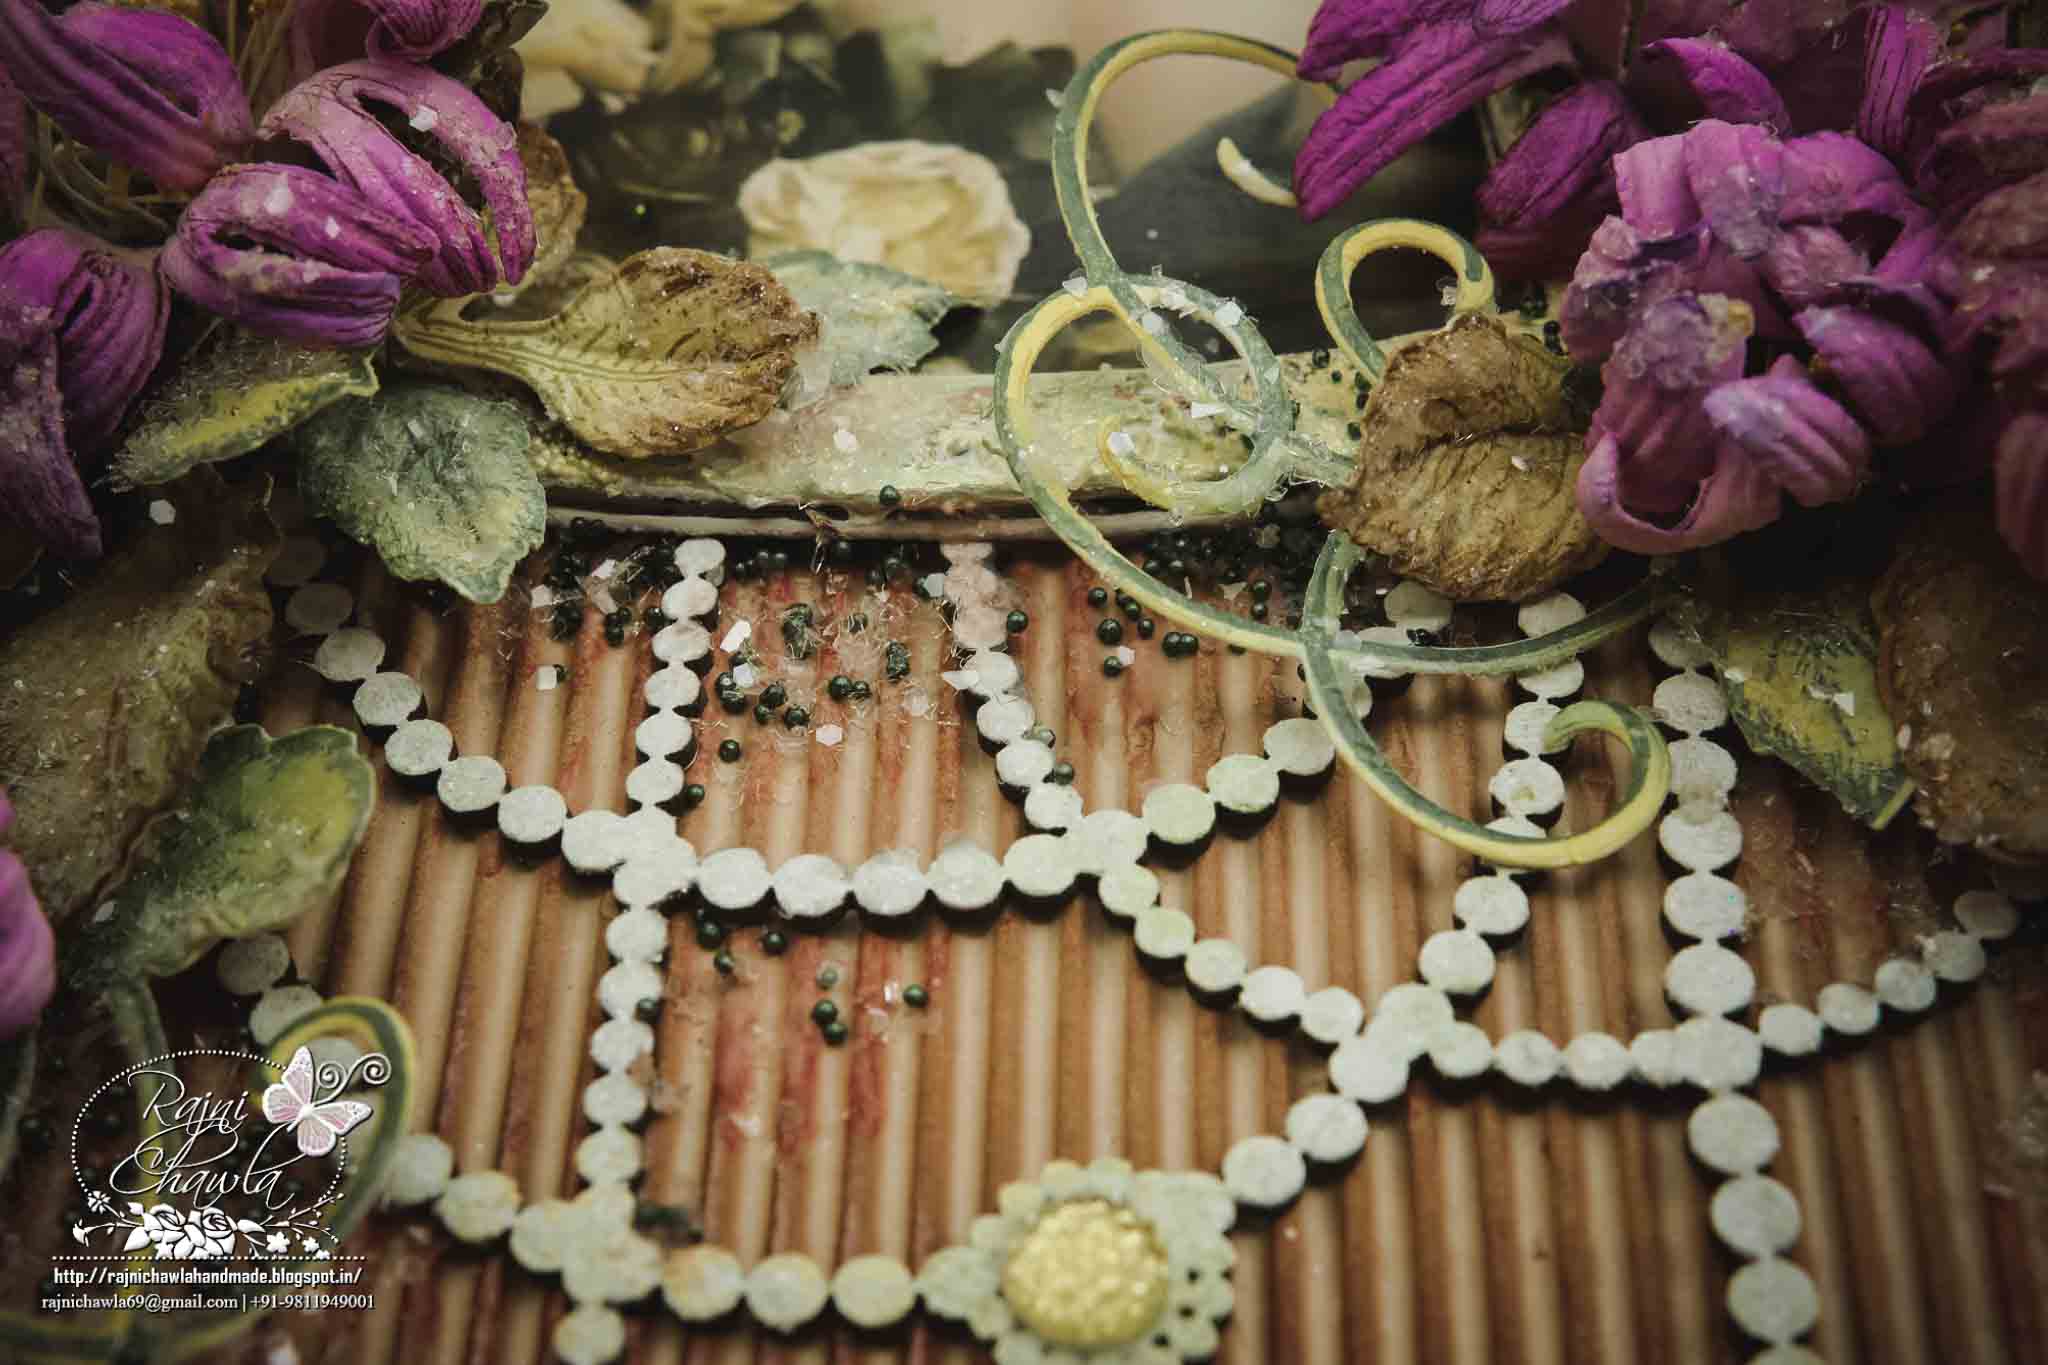
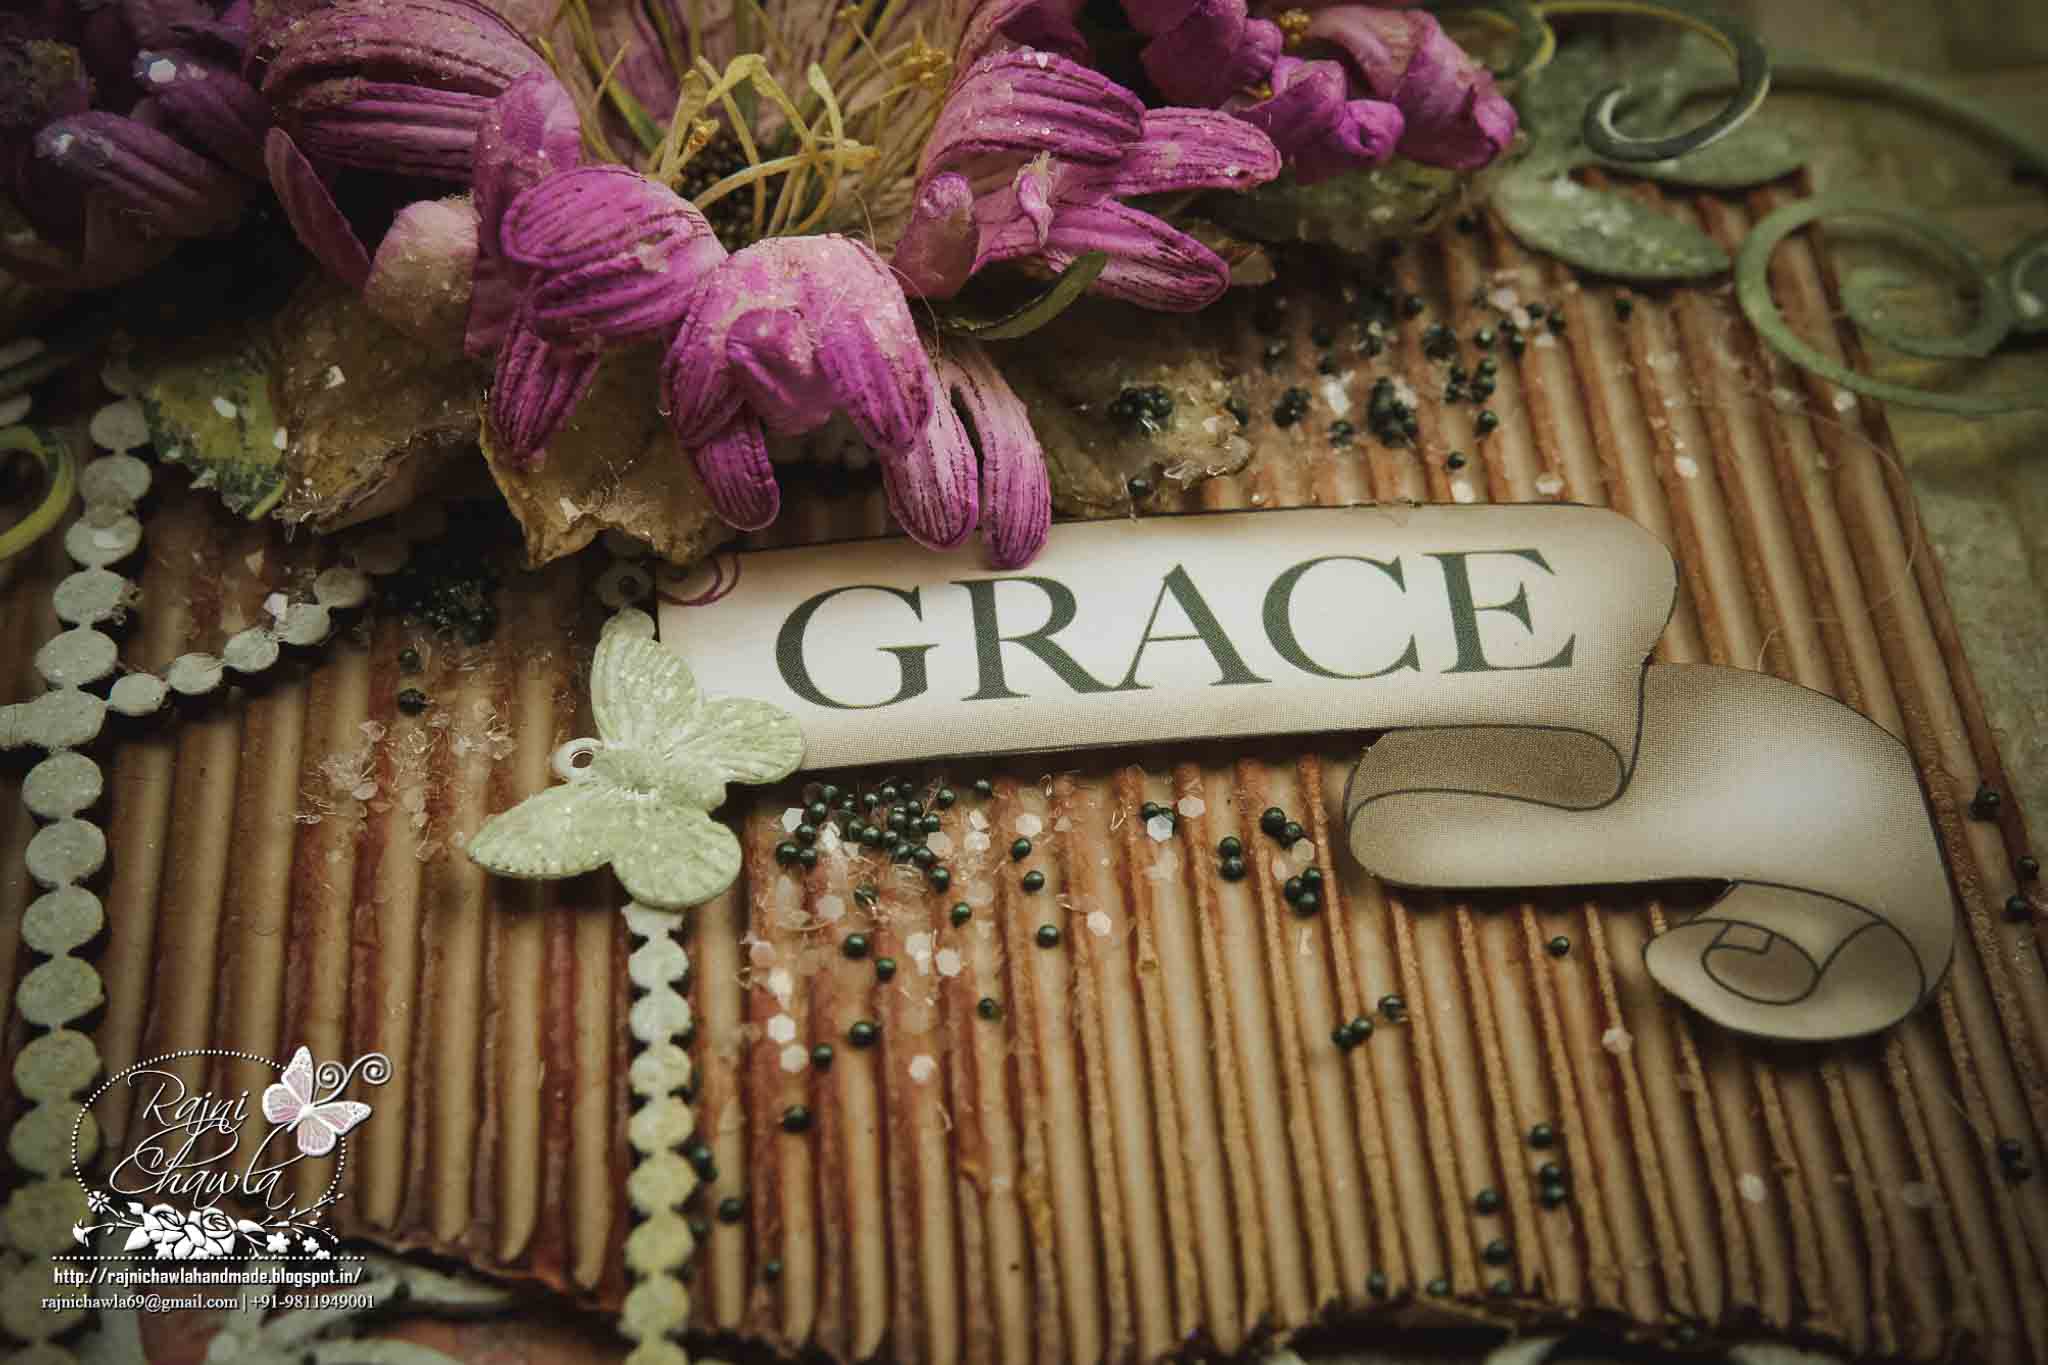
White Gesso, texture paste, rock candy glitter, dusty attic chipboard, Black chipboard, Glittered heat embossing powder, stencil, any glue that dries clear, diamond dust, sprays in shades of blue, green and orange, metal charm, glossy accent, clear crackle paint.
Here are few detailed pictures...
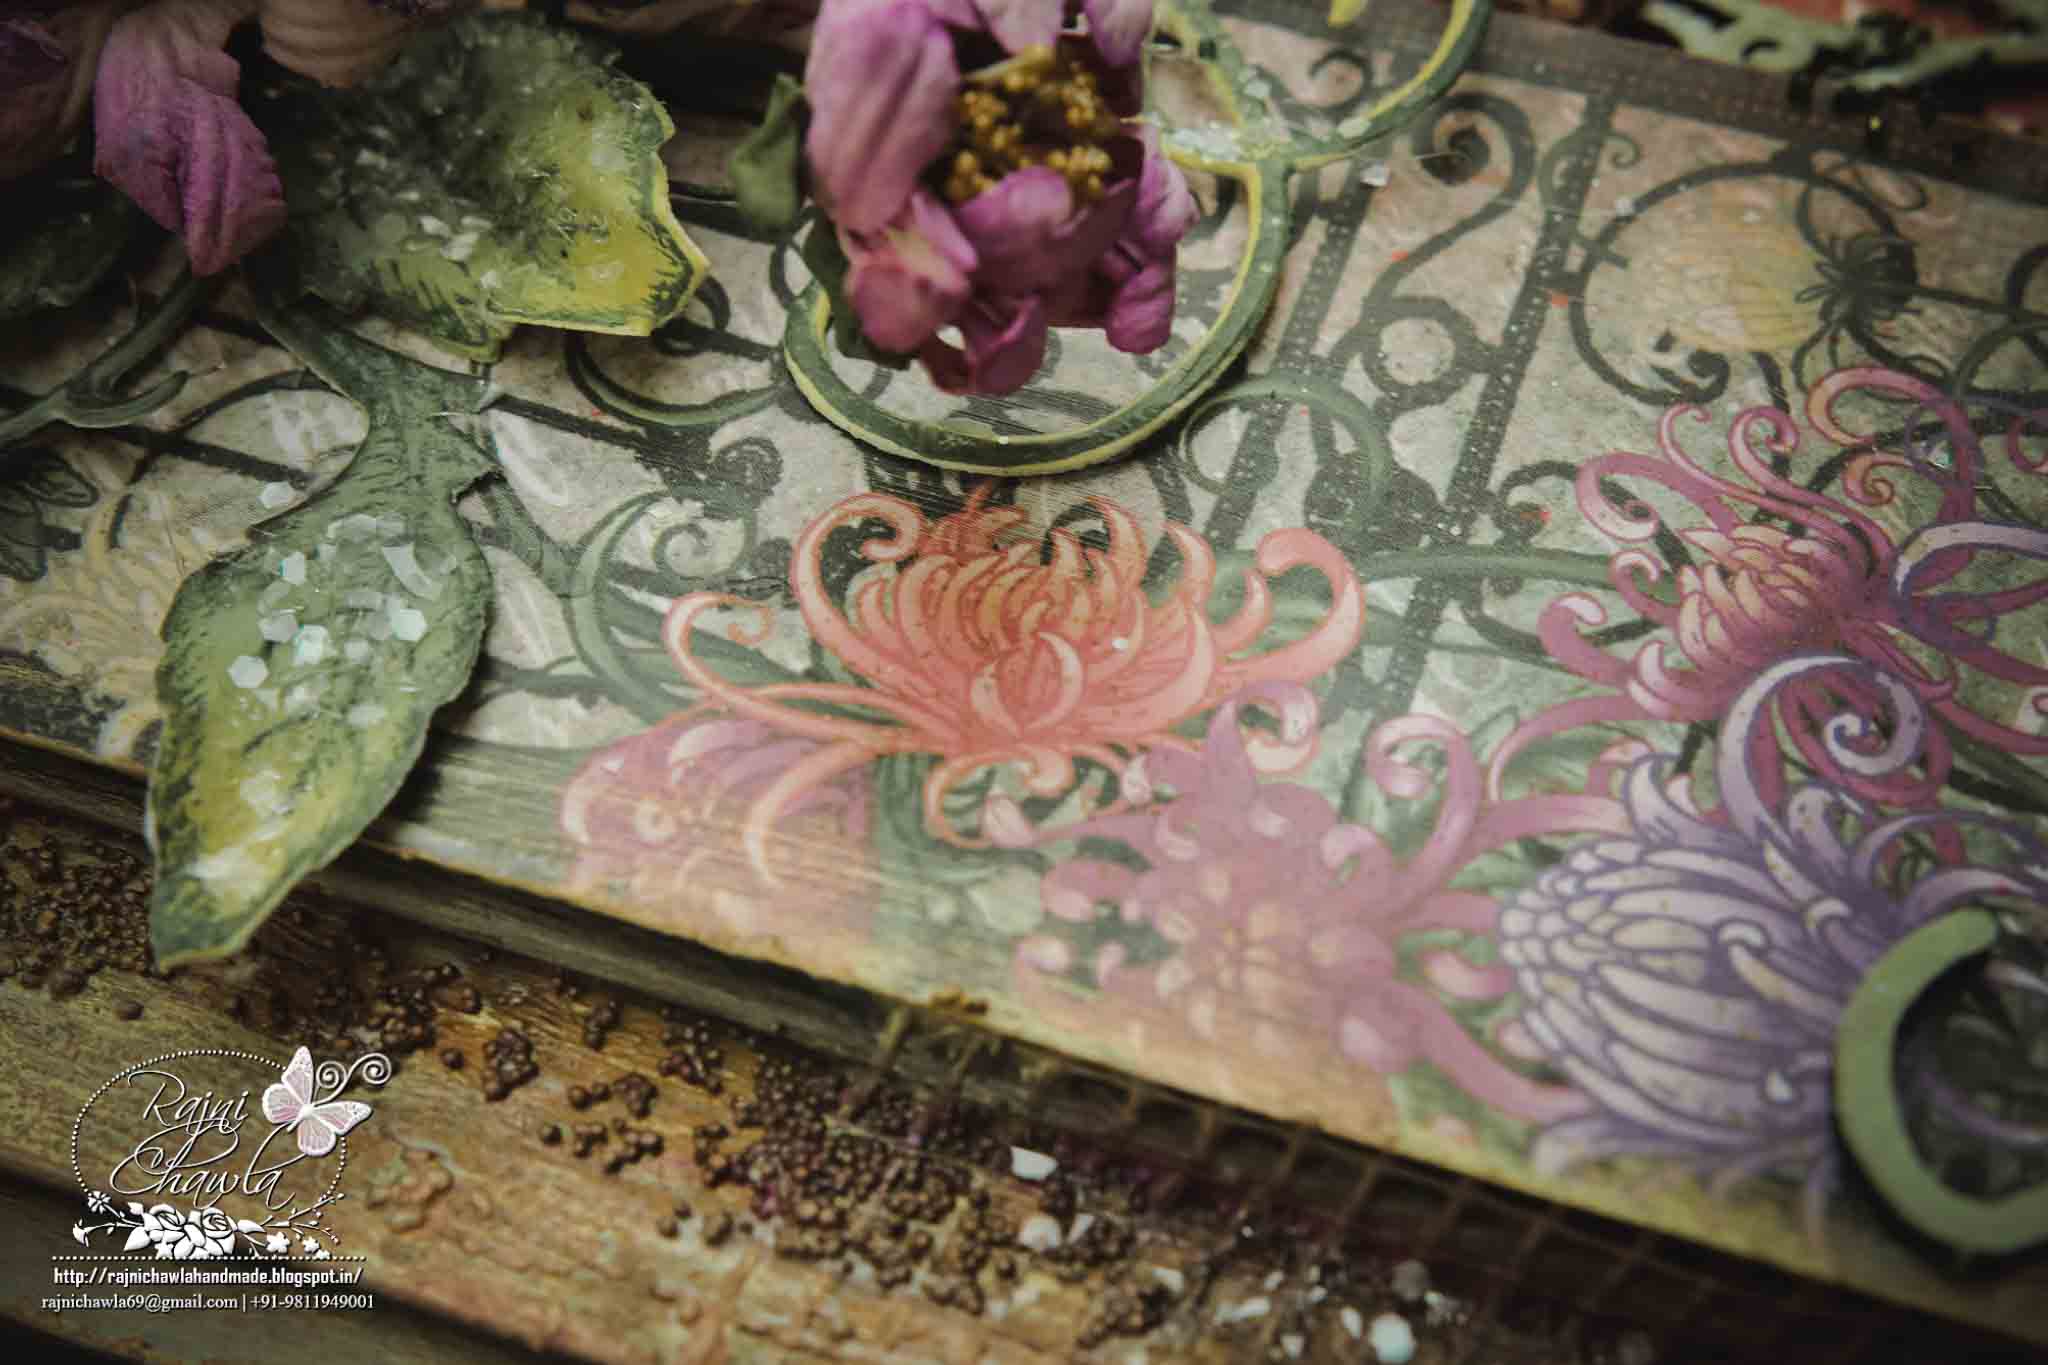
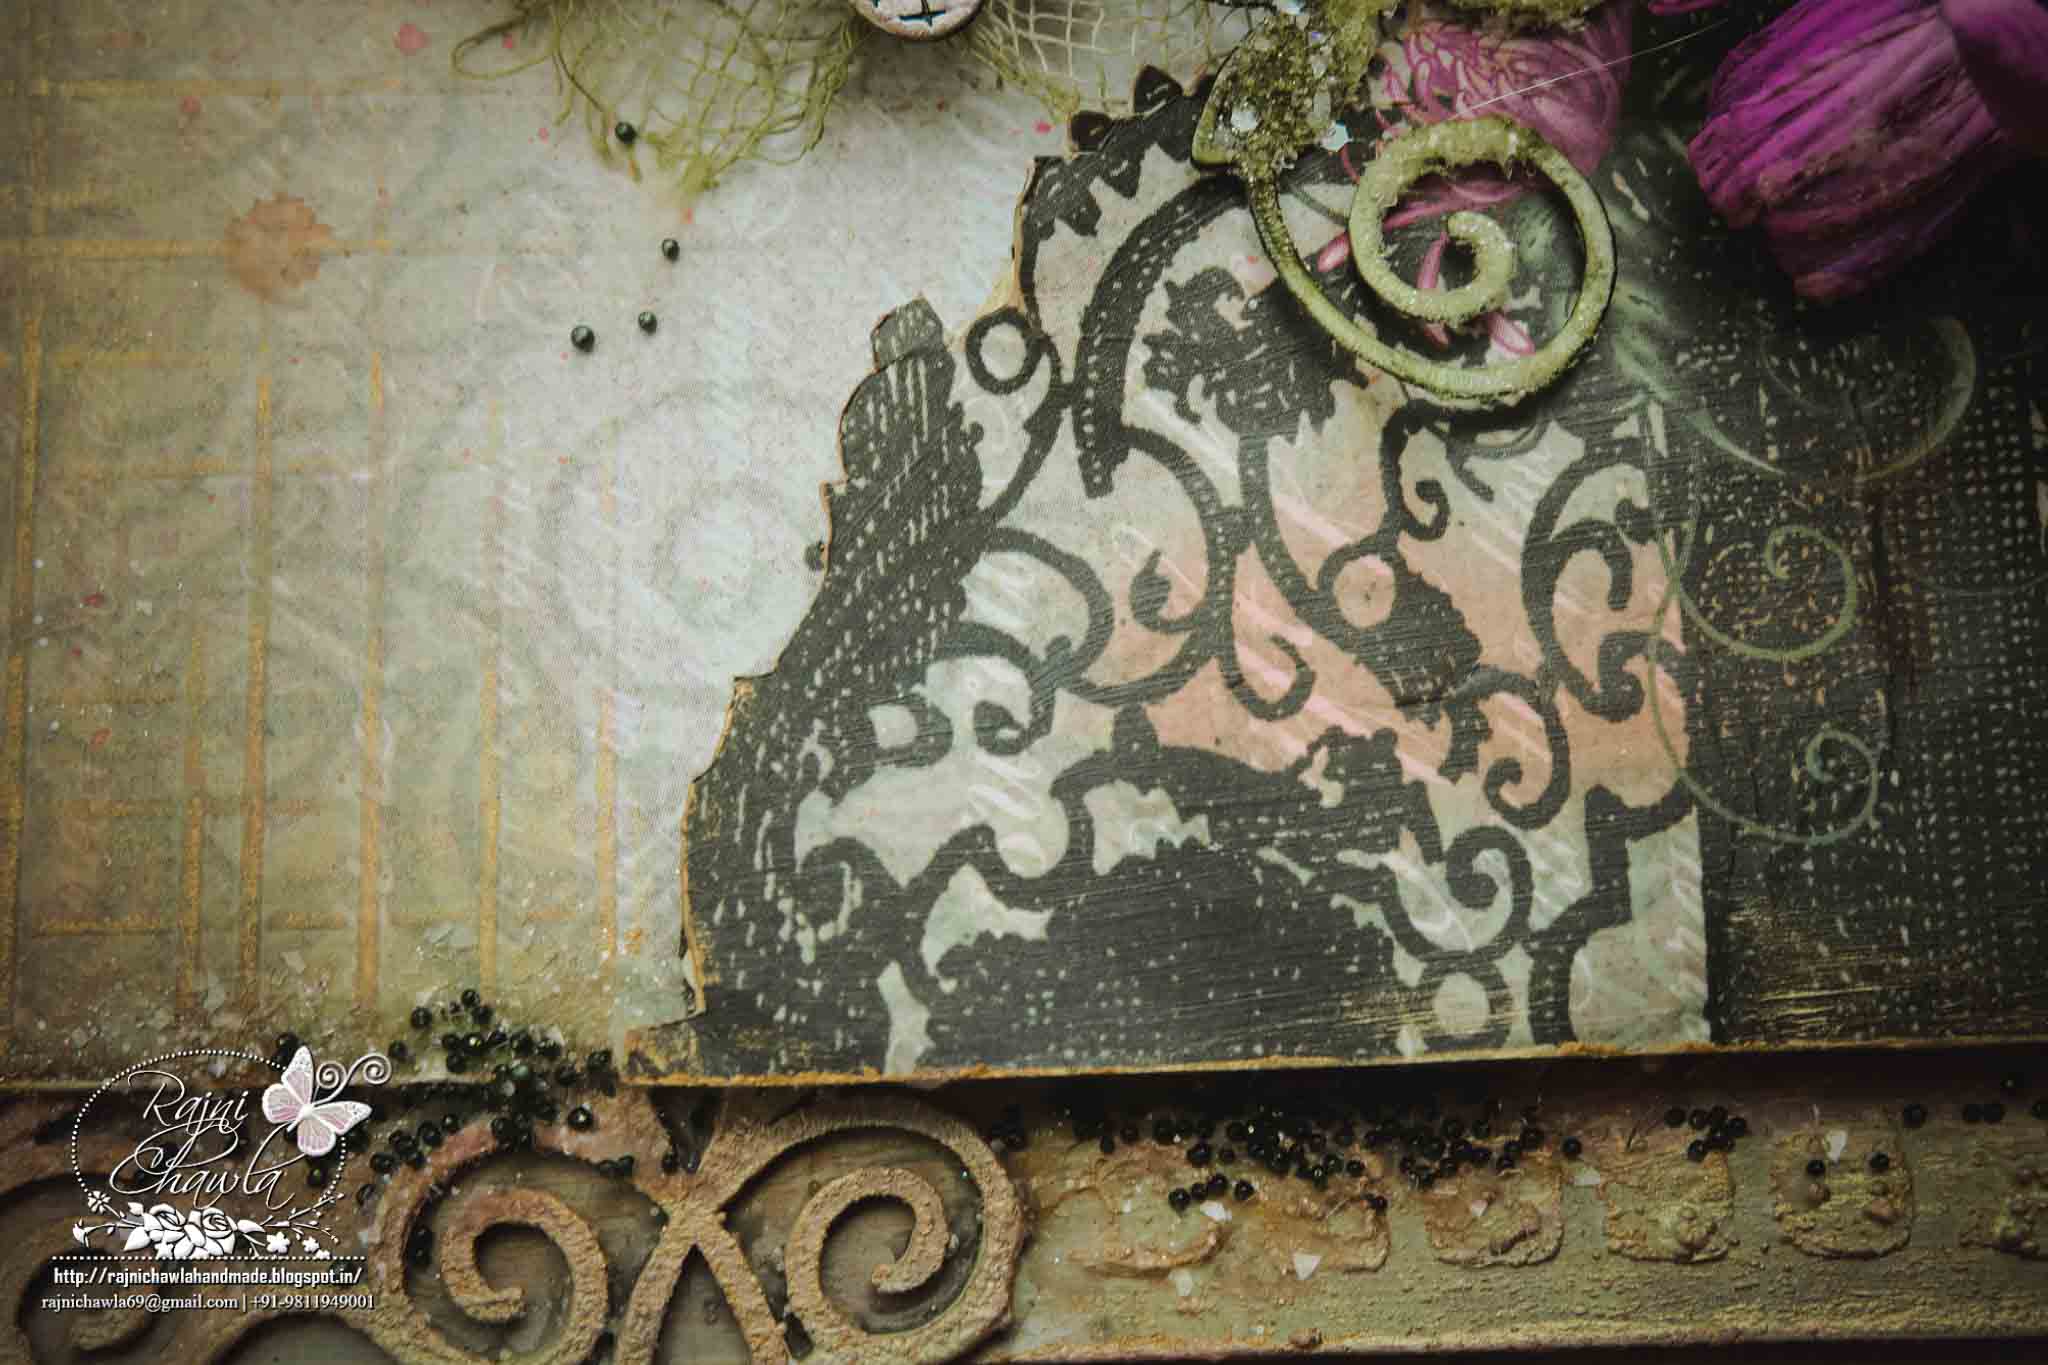
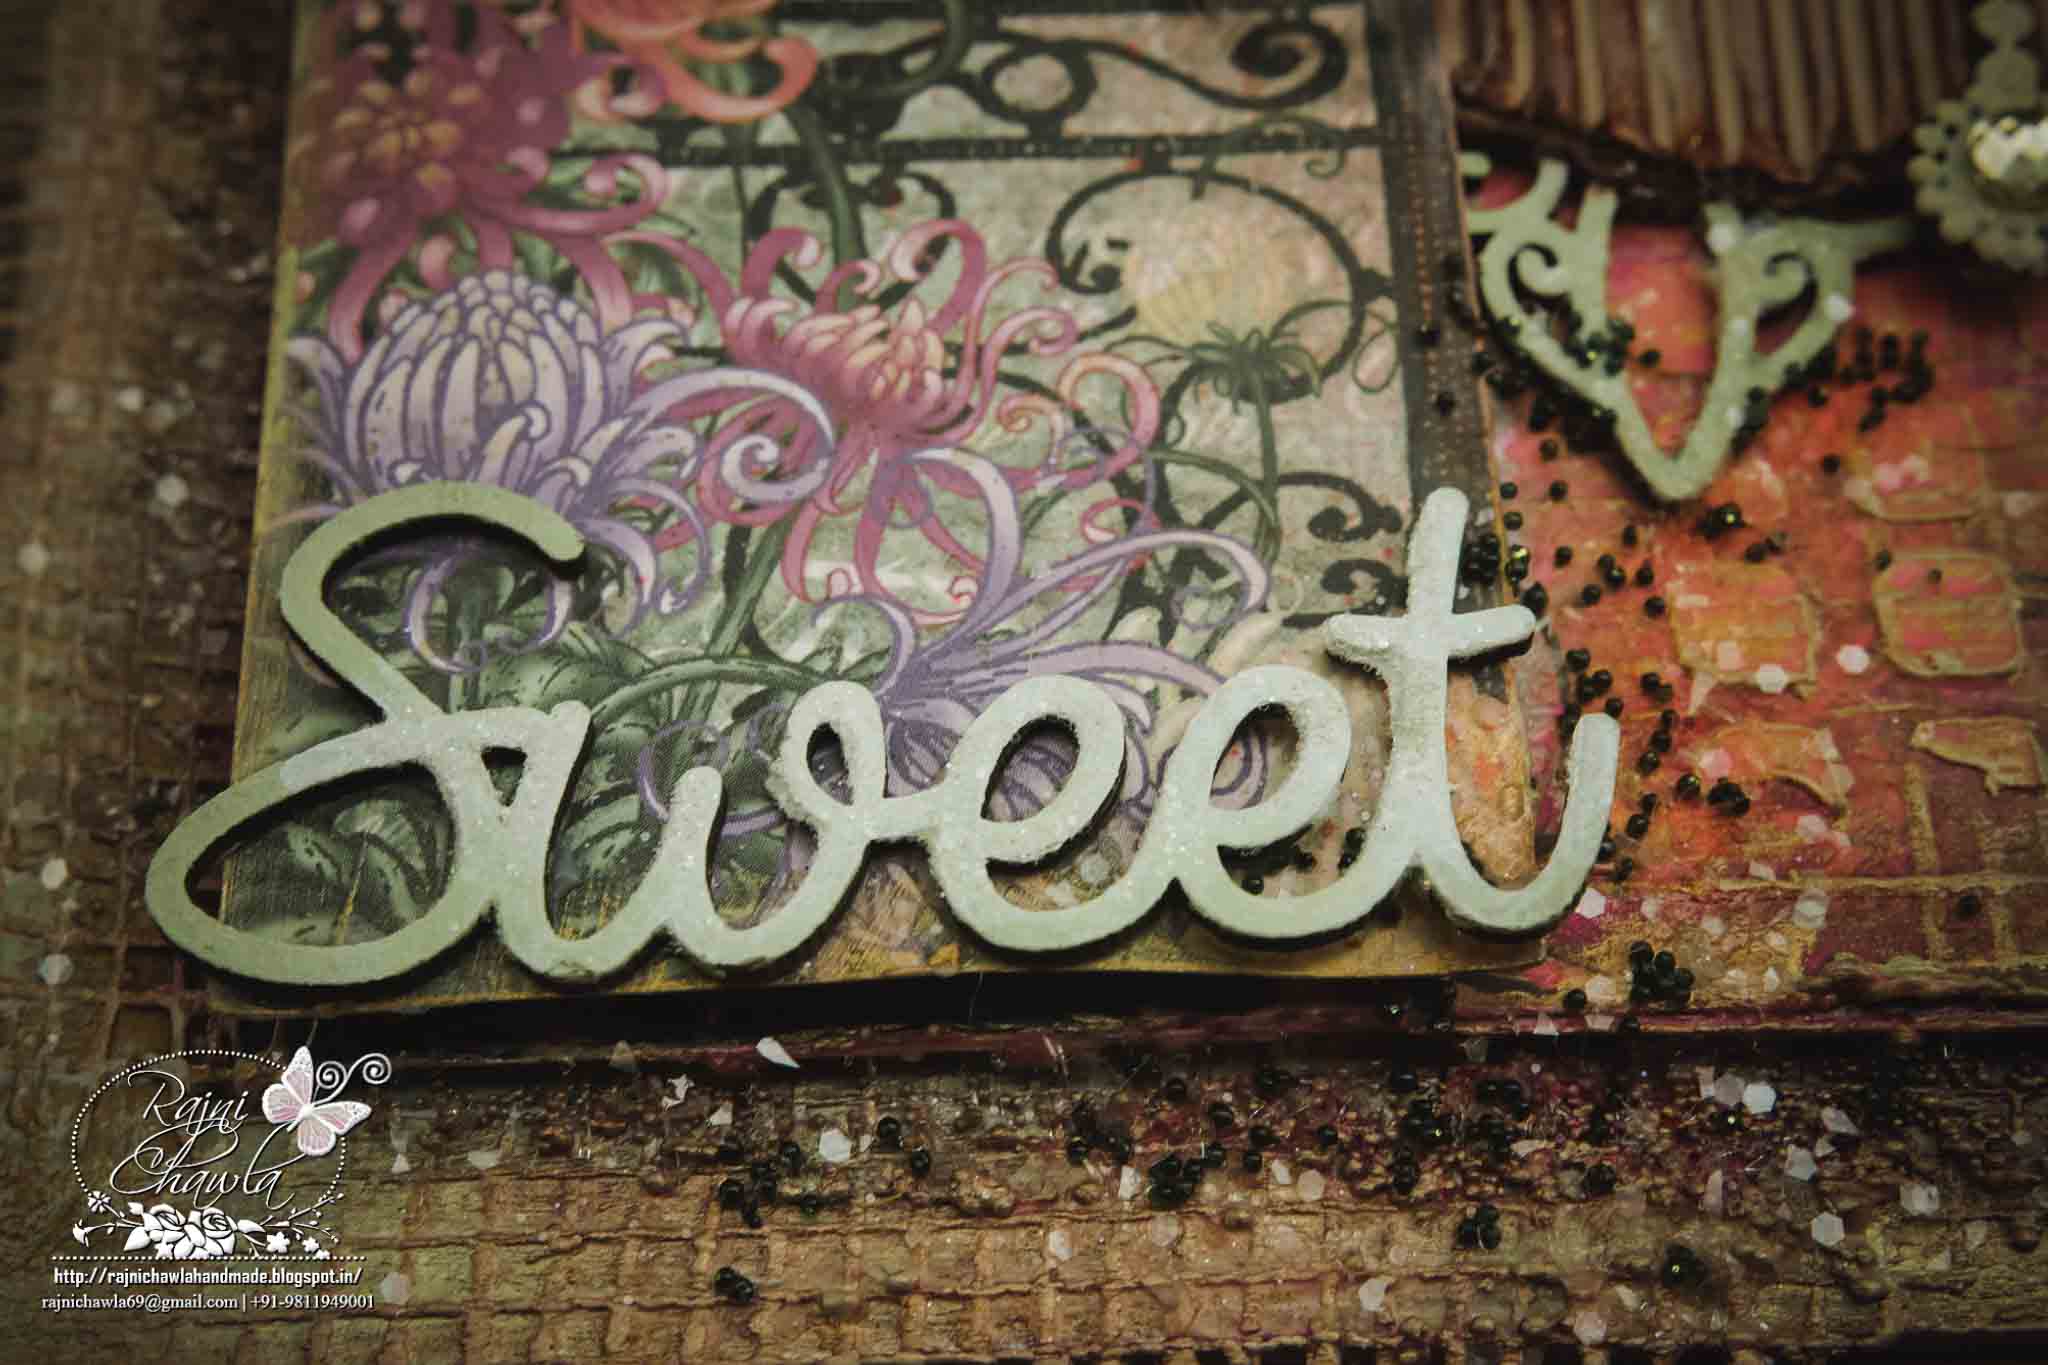
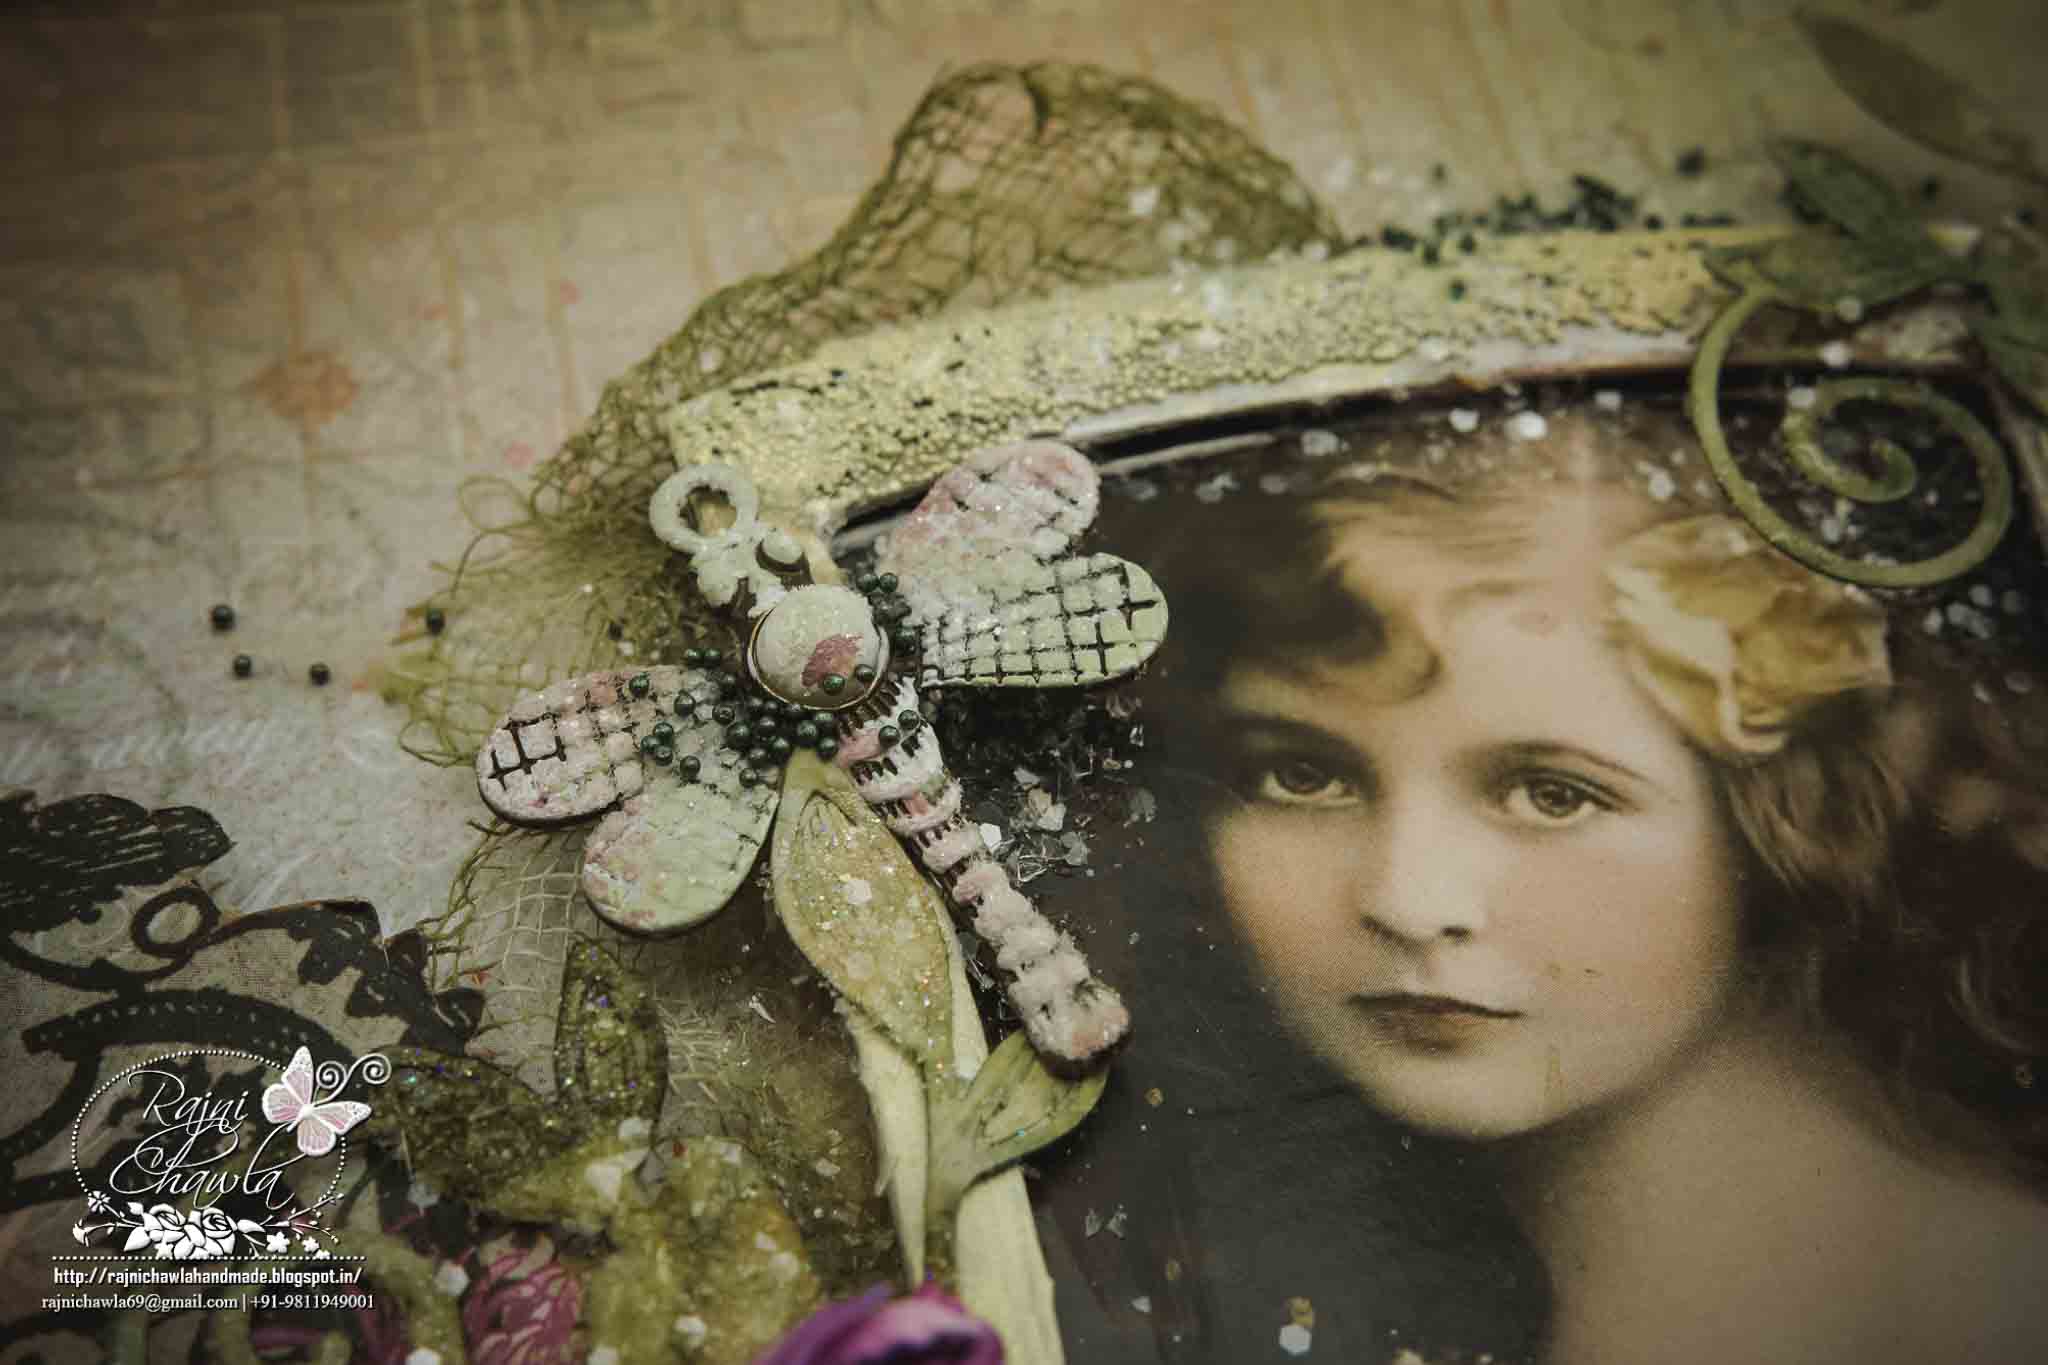
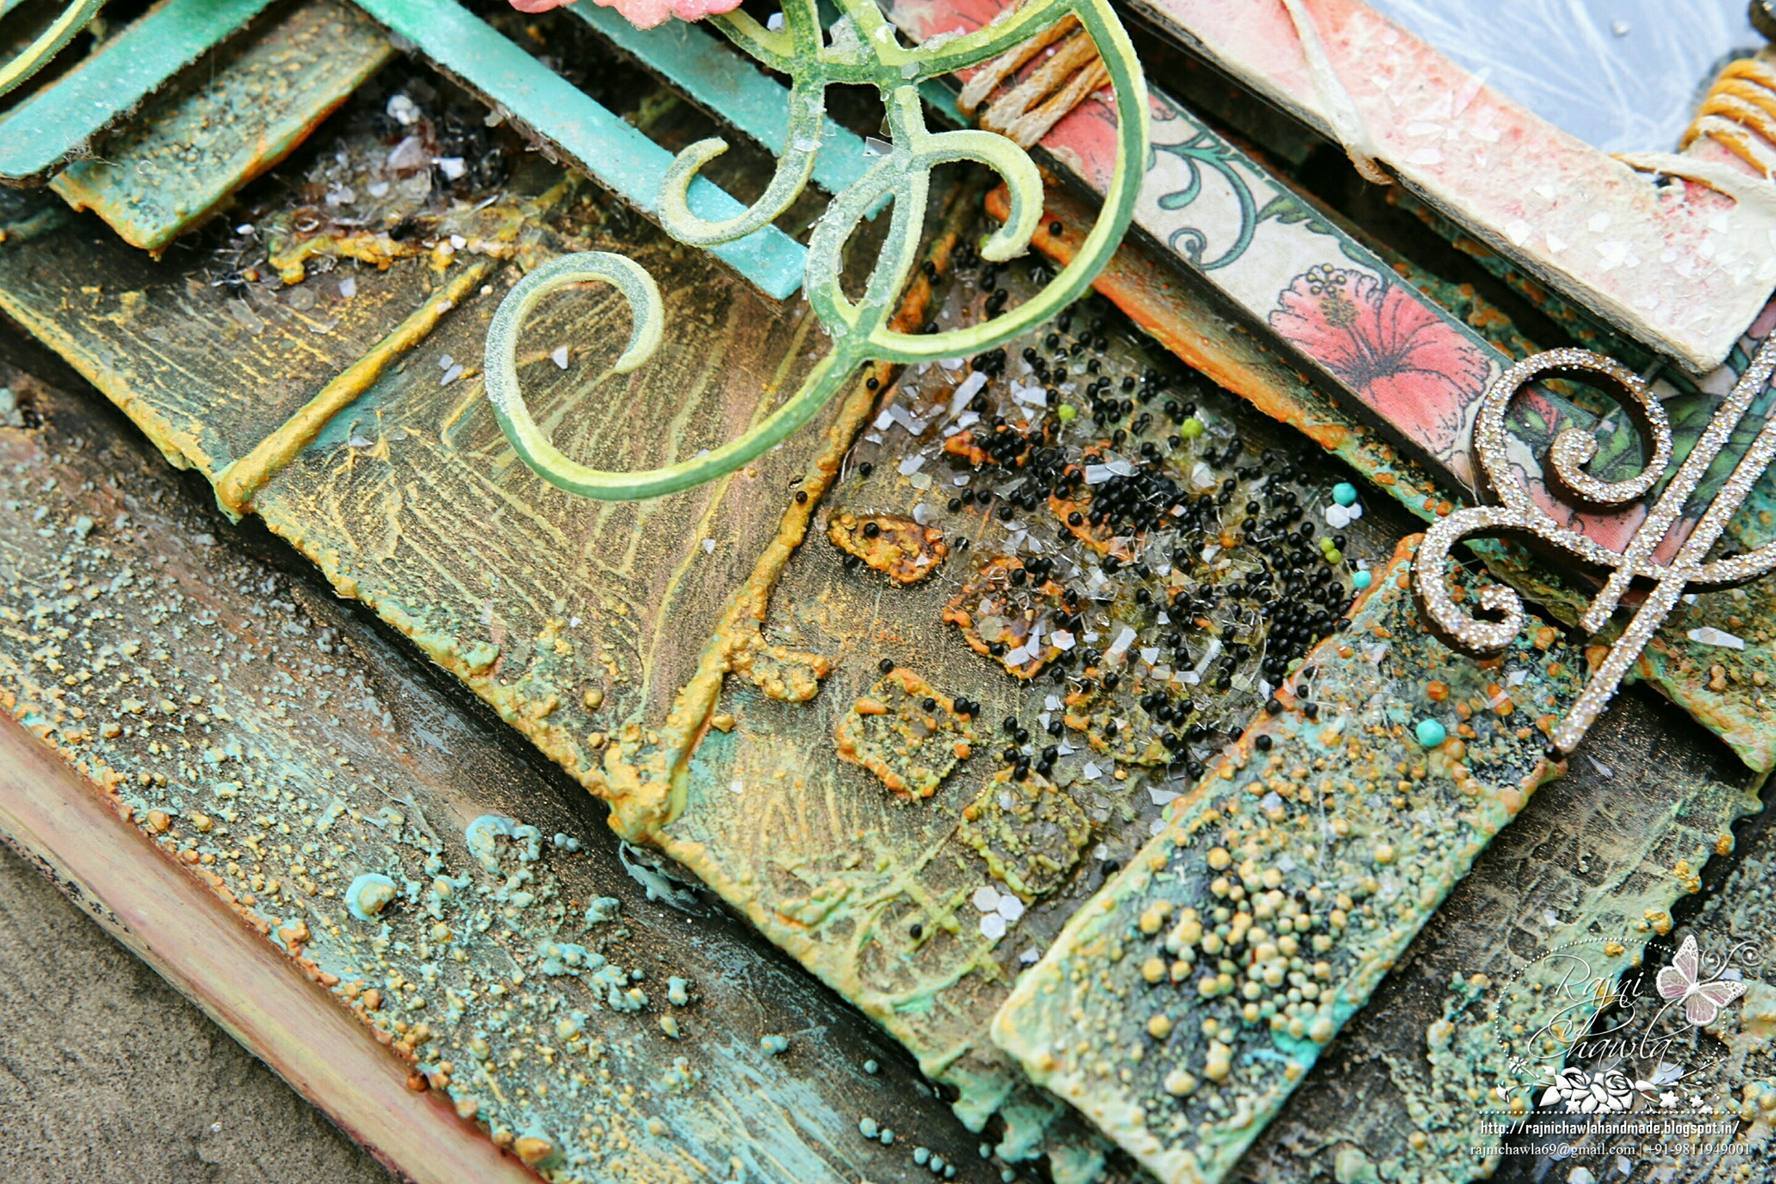
My heart aches if I throw a single inch of a paper...especially pattern papers that I use. After a bad postmortem, all the bits stay safe in a box for further use. They smile every time when I add new to my stash. Here in this project, I used the bits of small pieces to create embellishments for my project. Though I also used many more things....but I m satisfied I used at least a little of it.
Check this picture....Both the frames had many joints. But I covered all by rolling twines few times around it. The width of the strip was little smaller than the frame...but now beautifully painted with different shades of paints matching to the backgrounds.
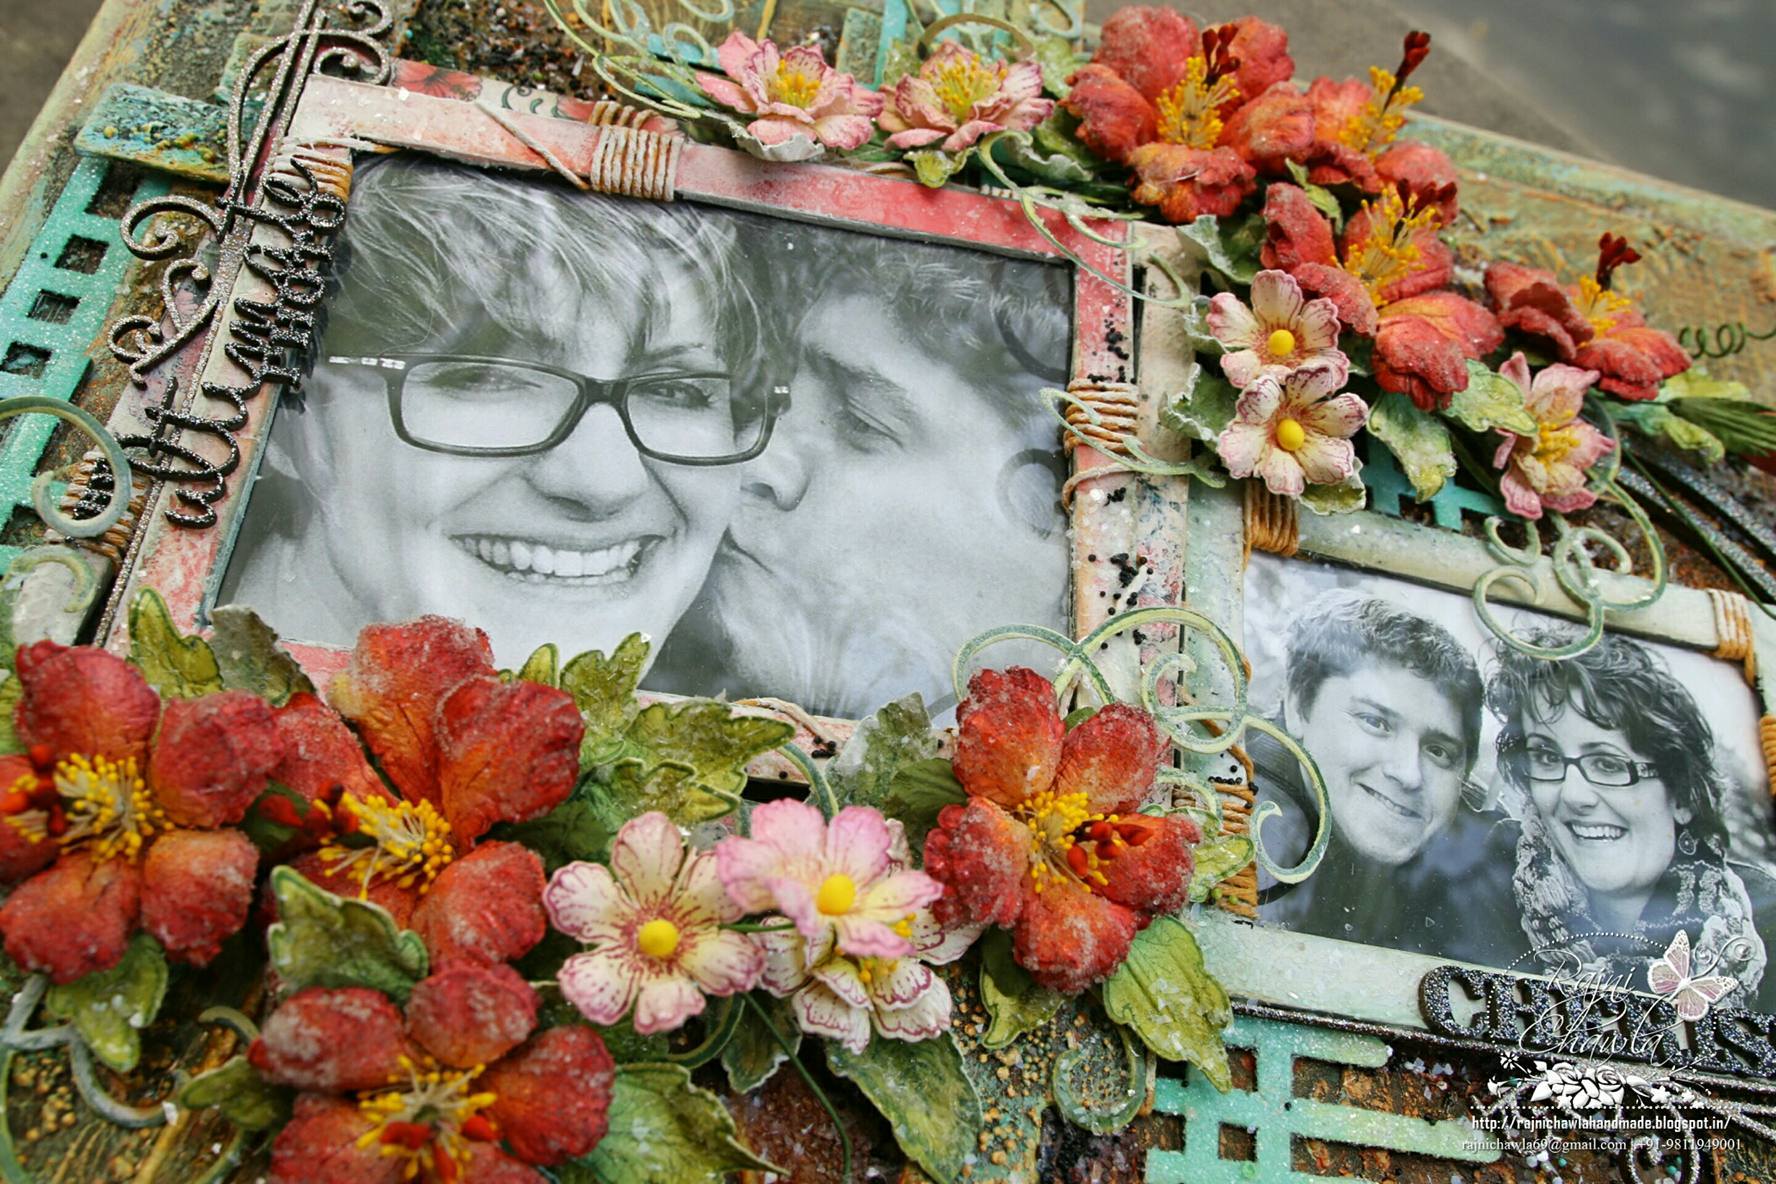

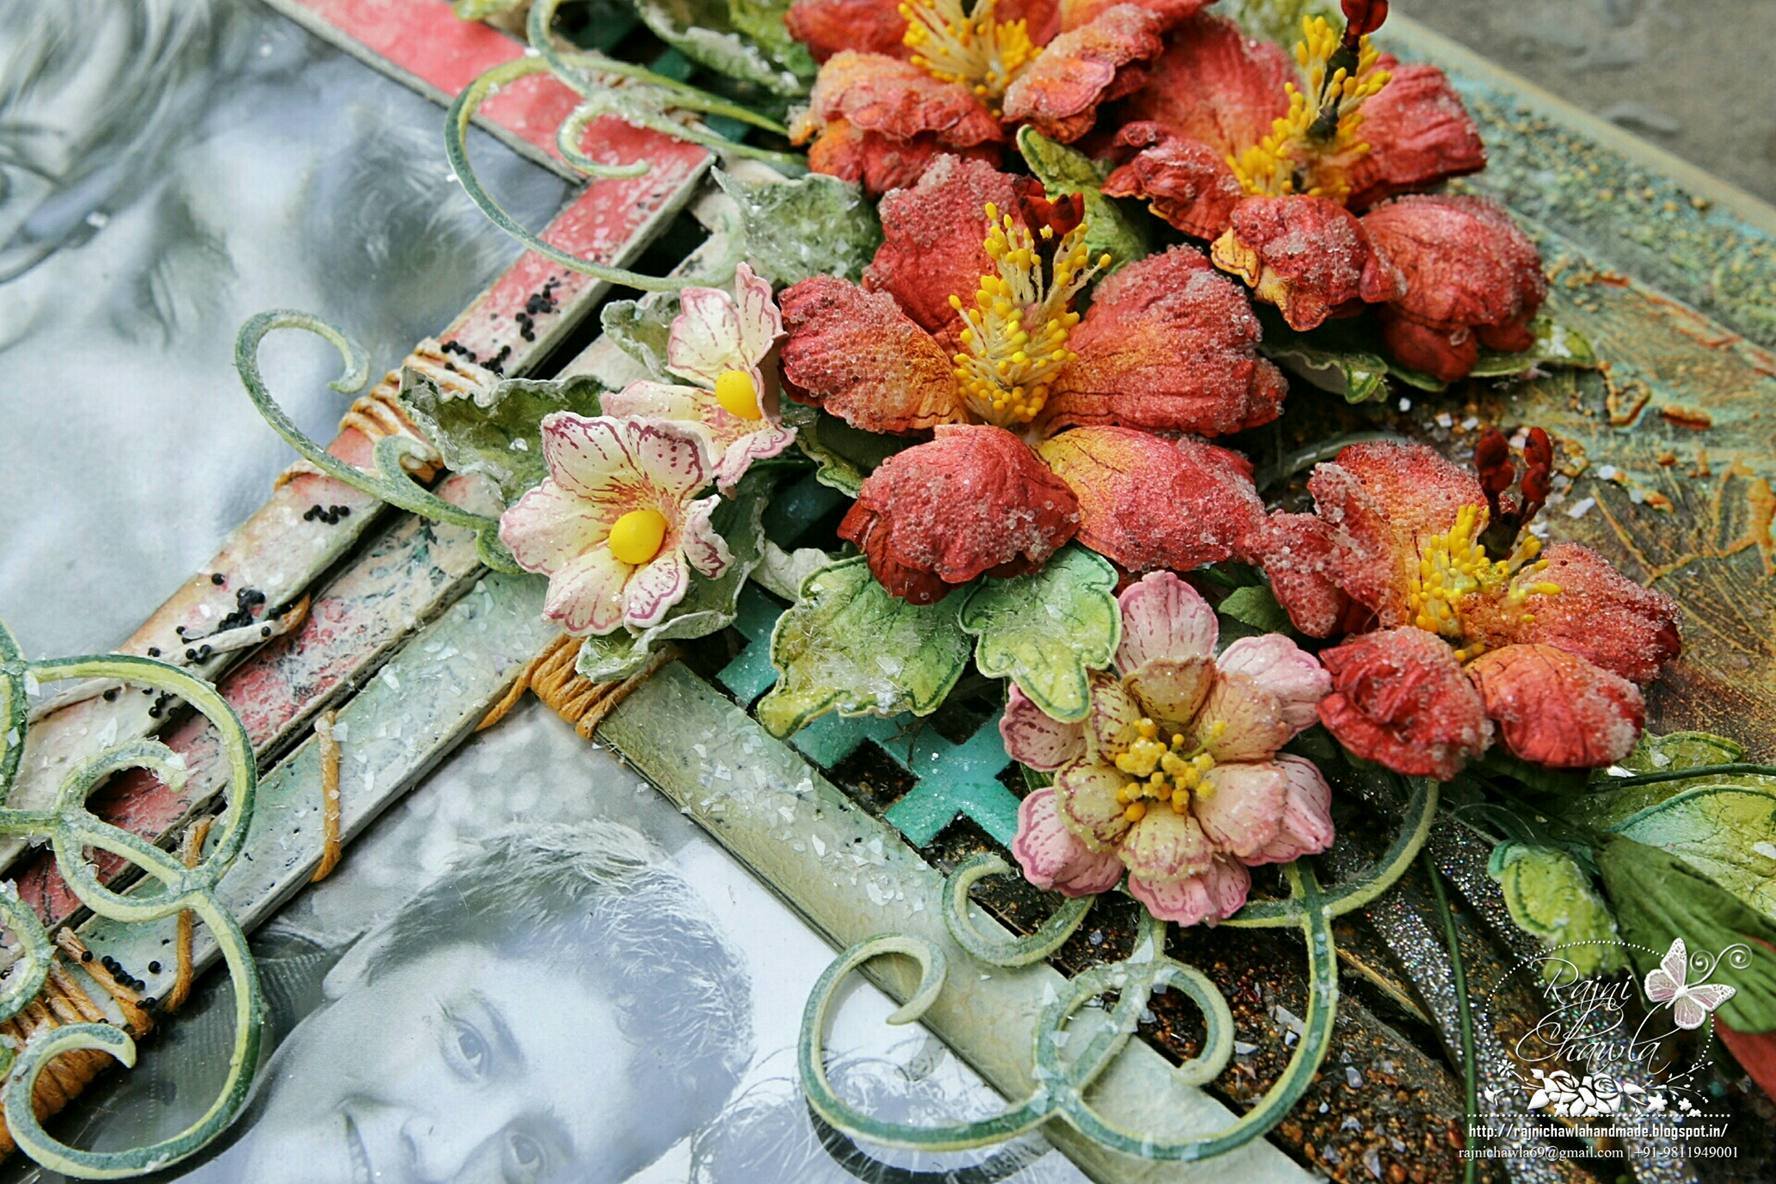
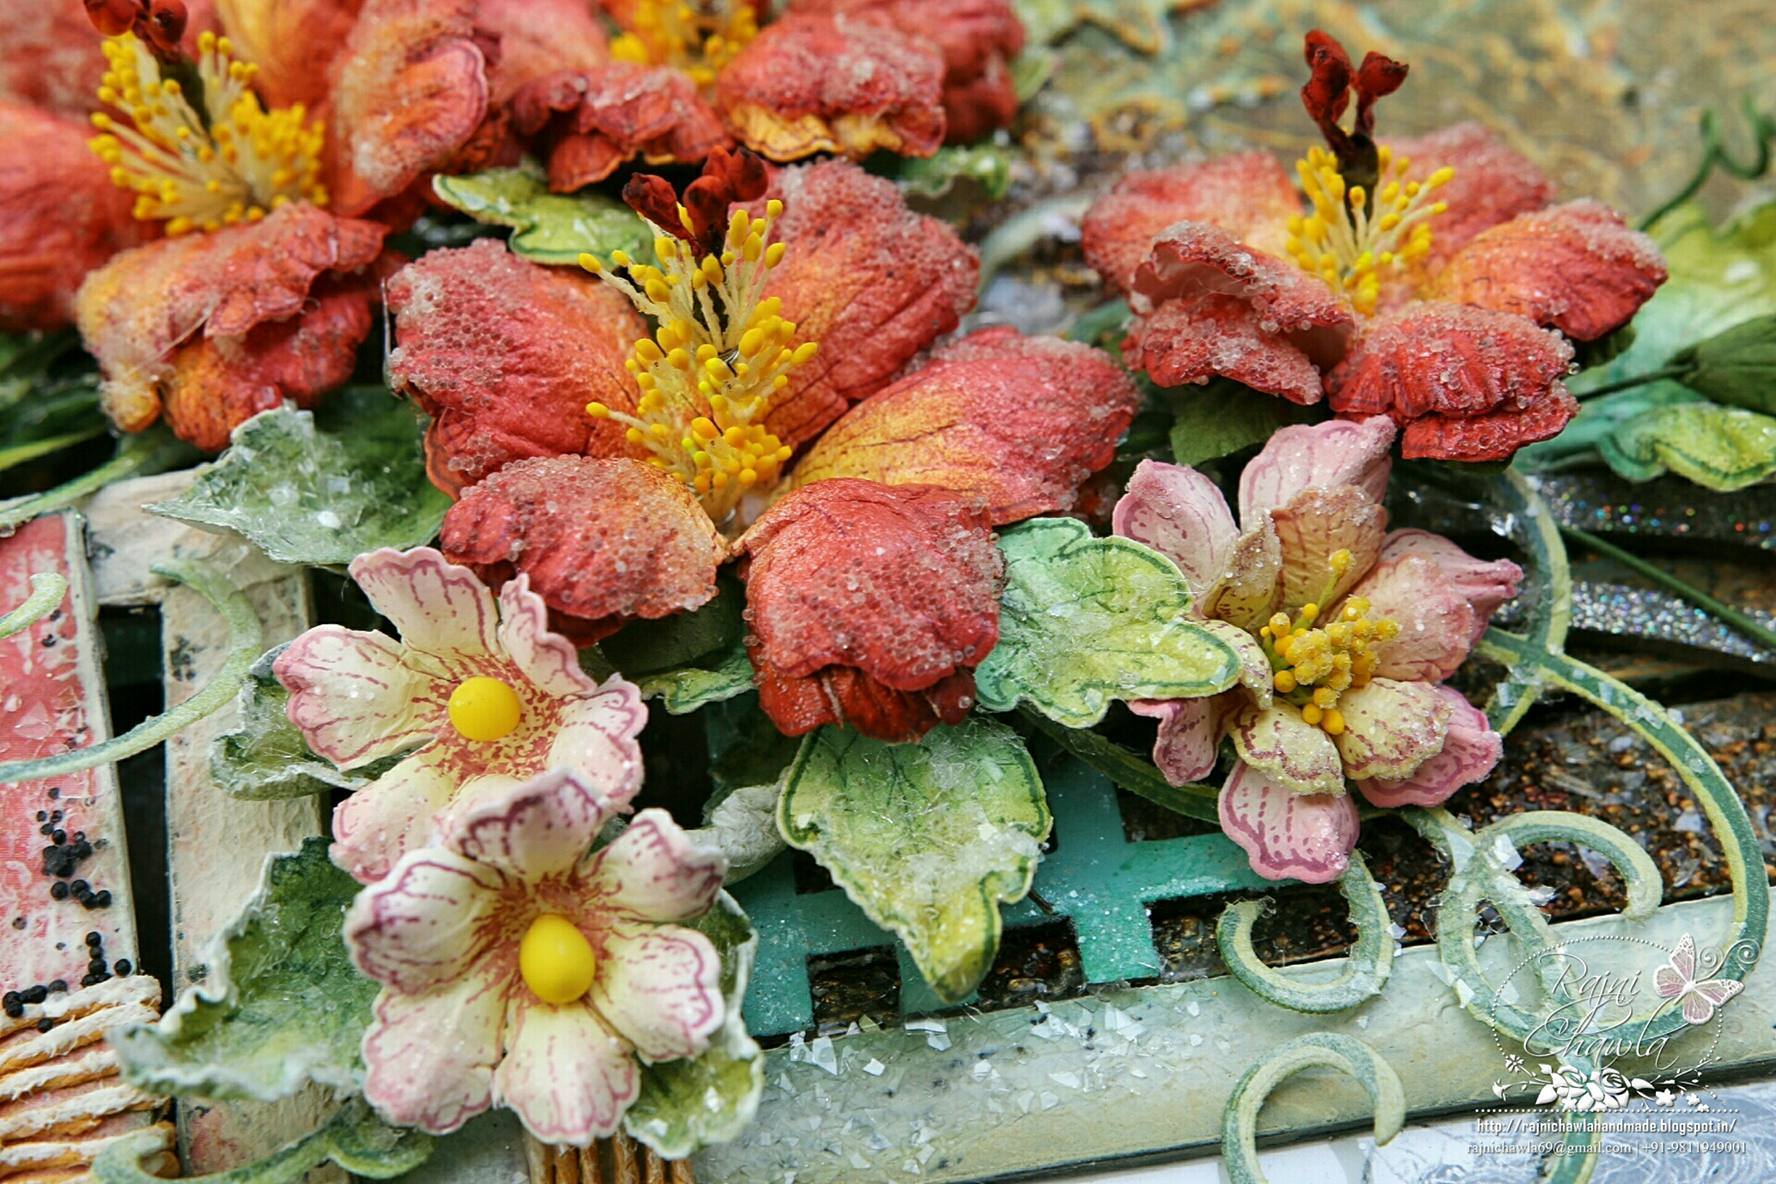
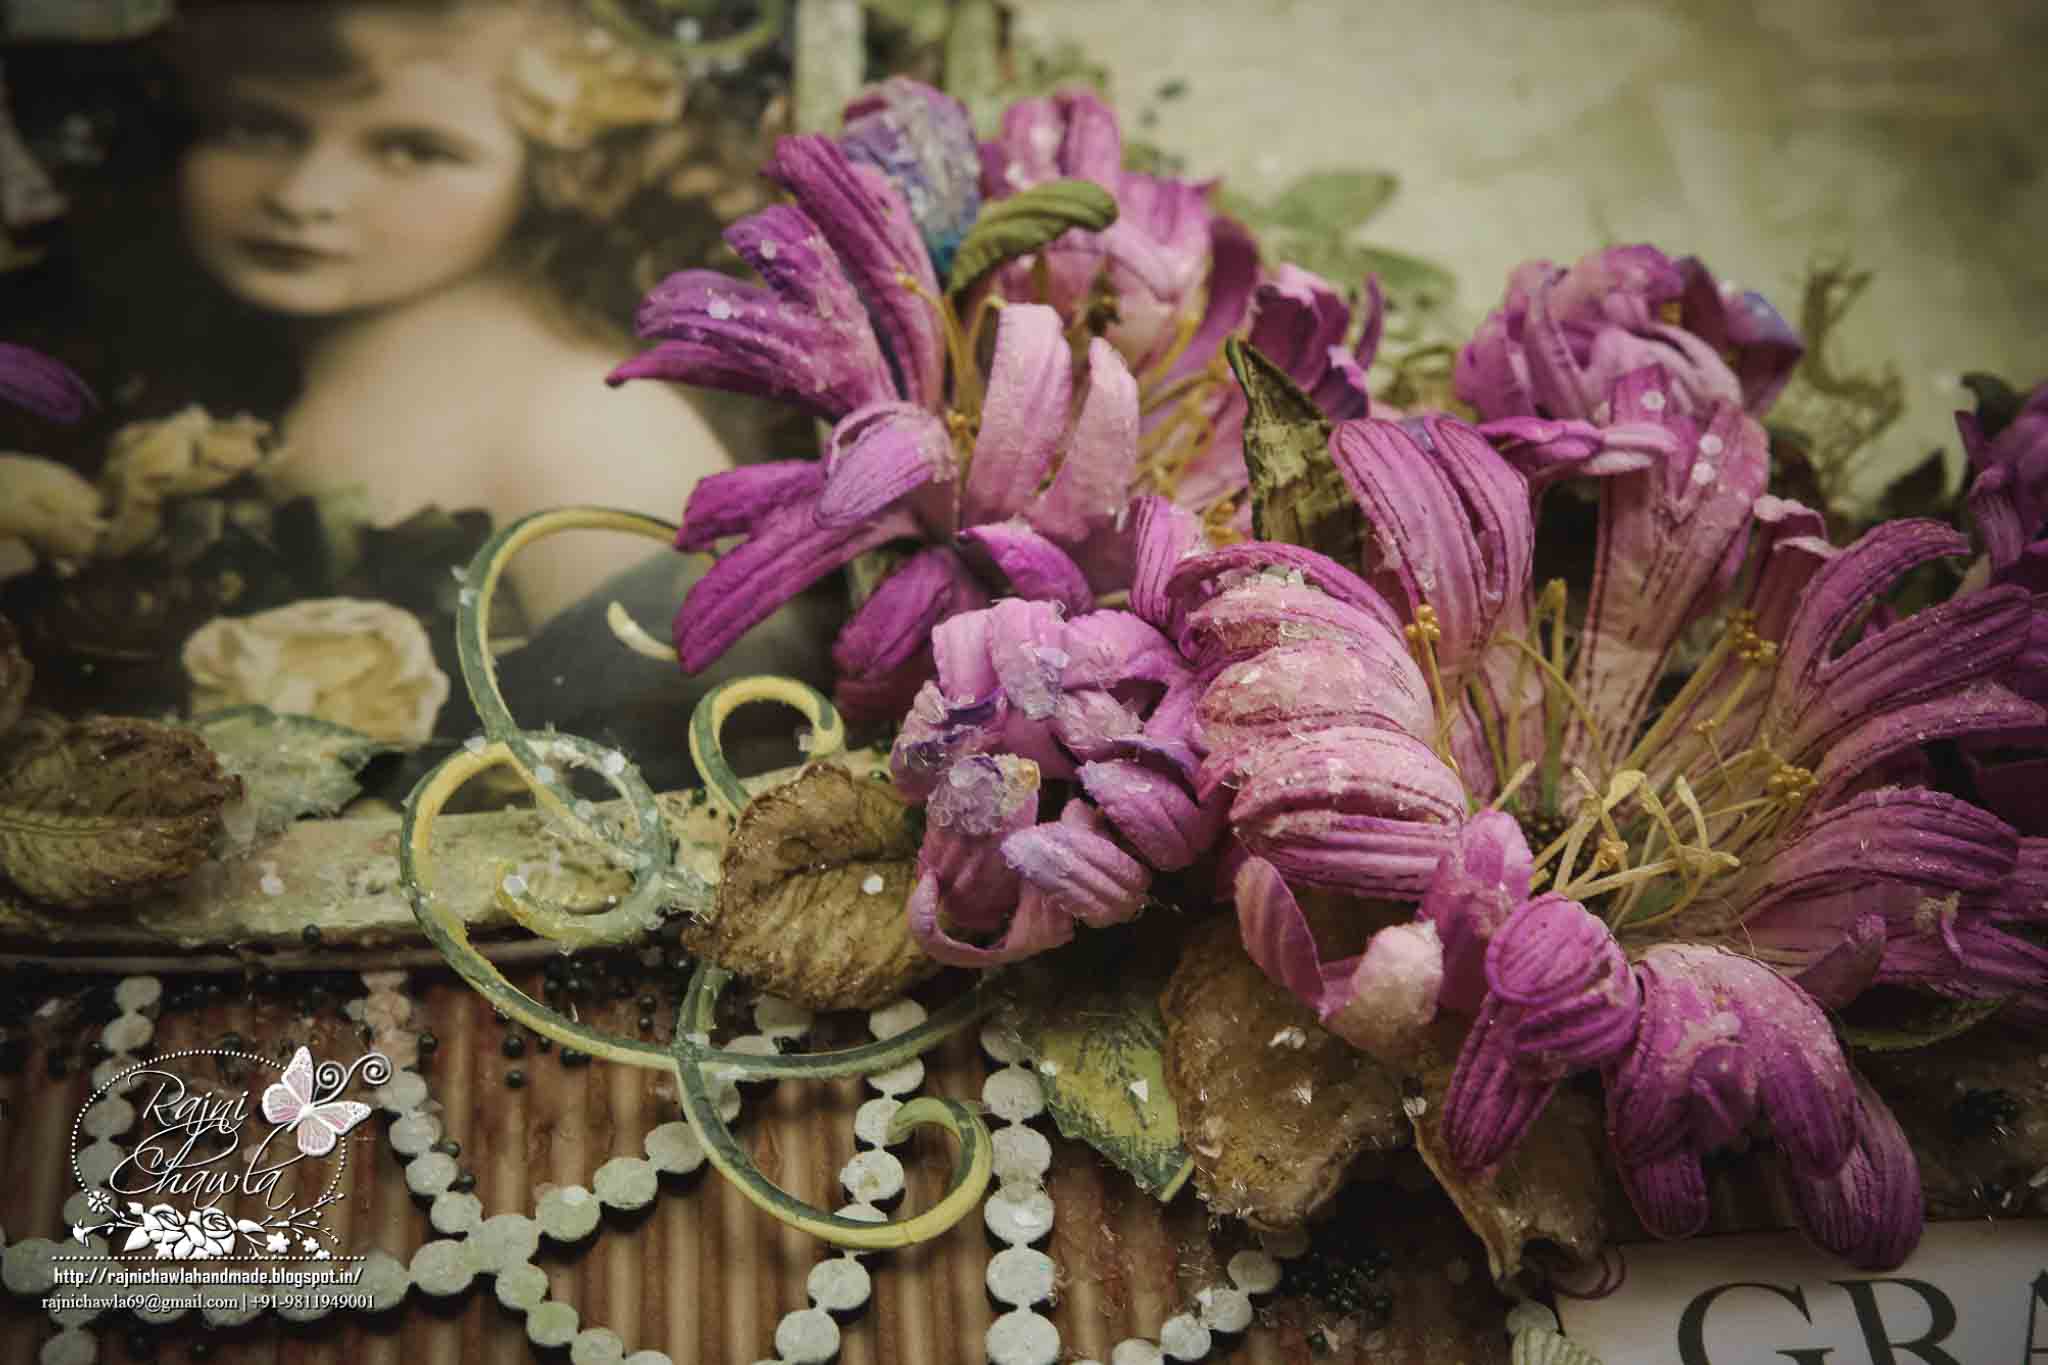
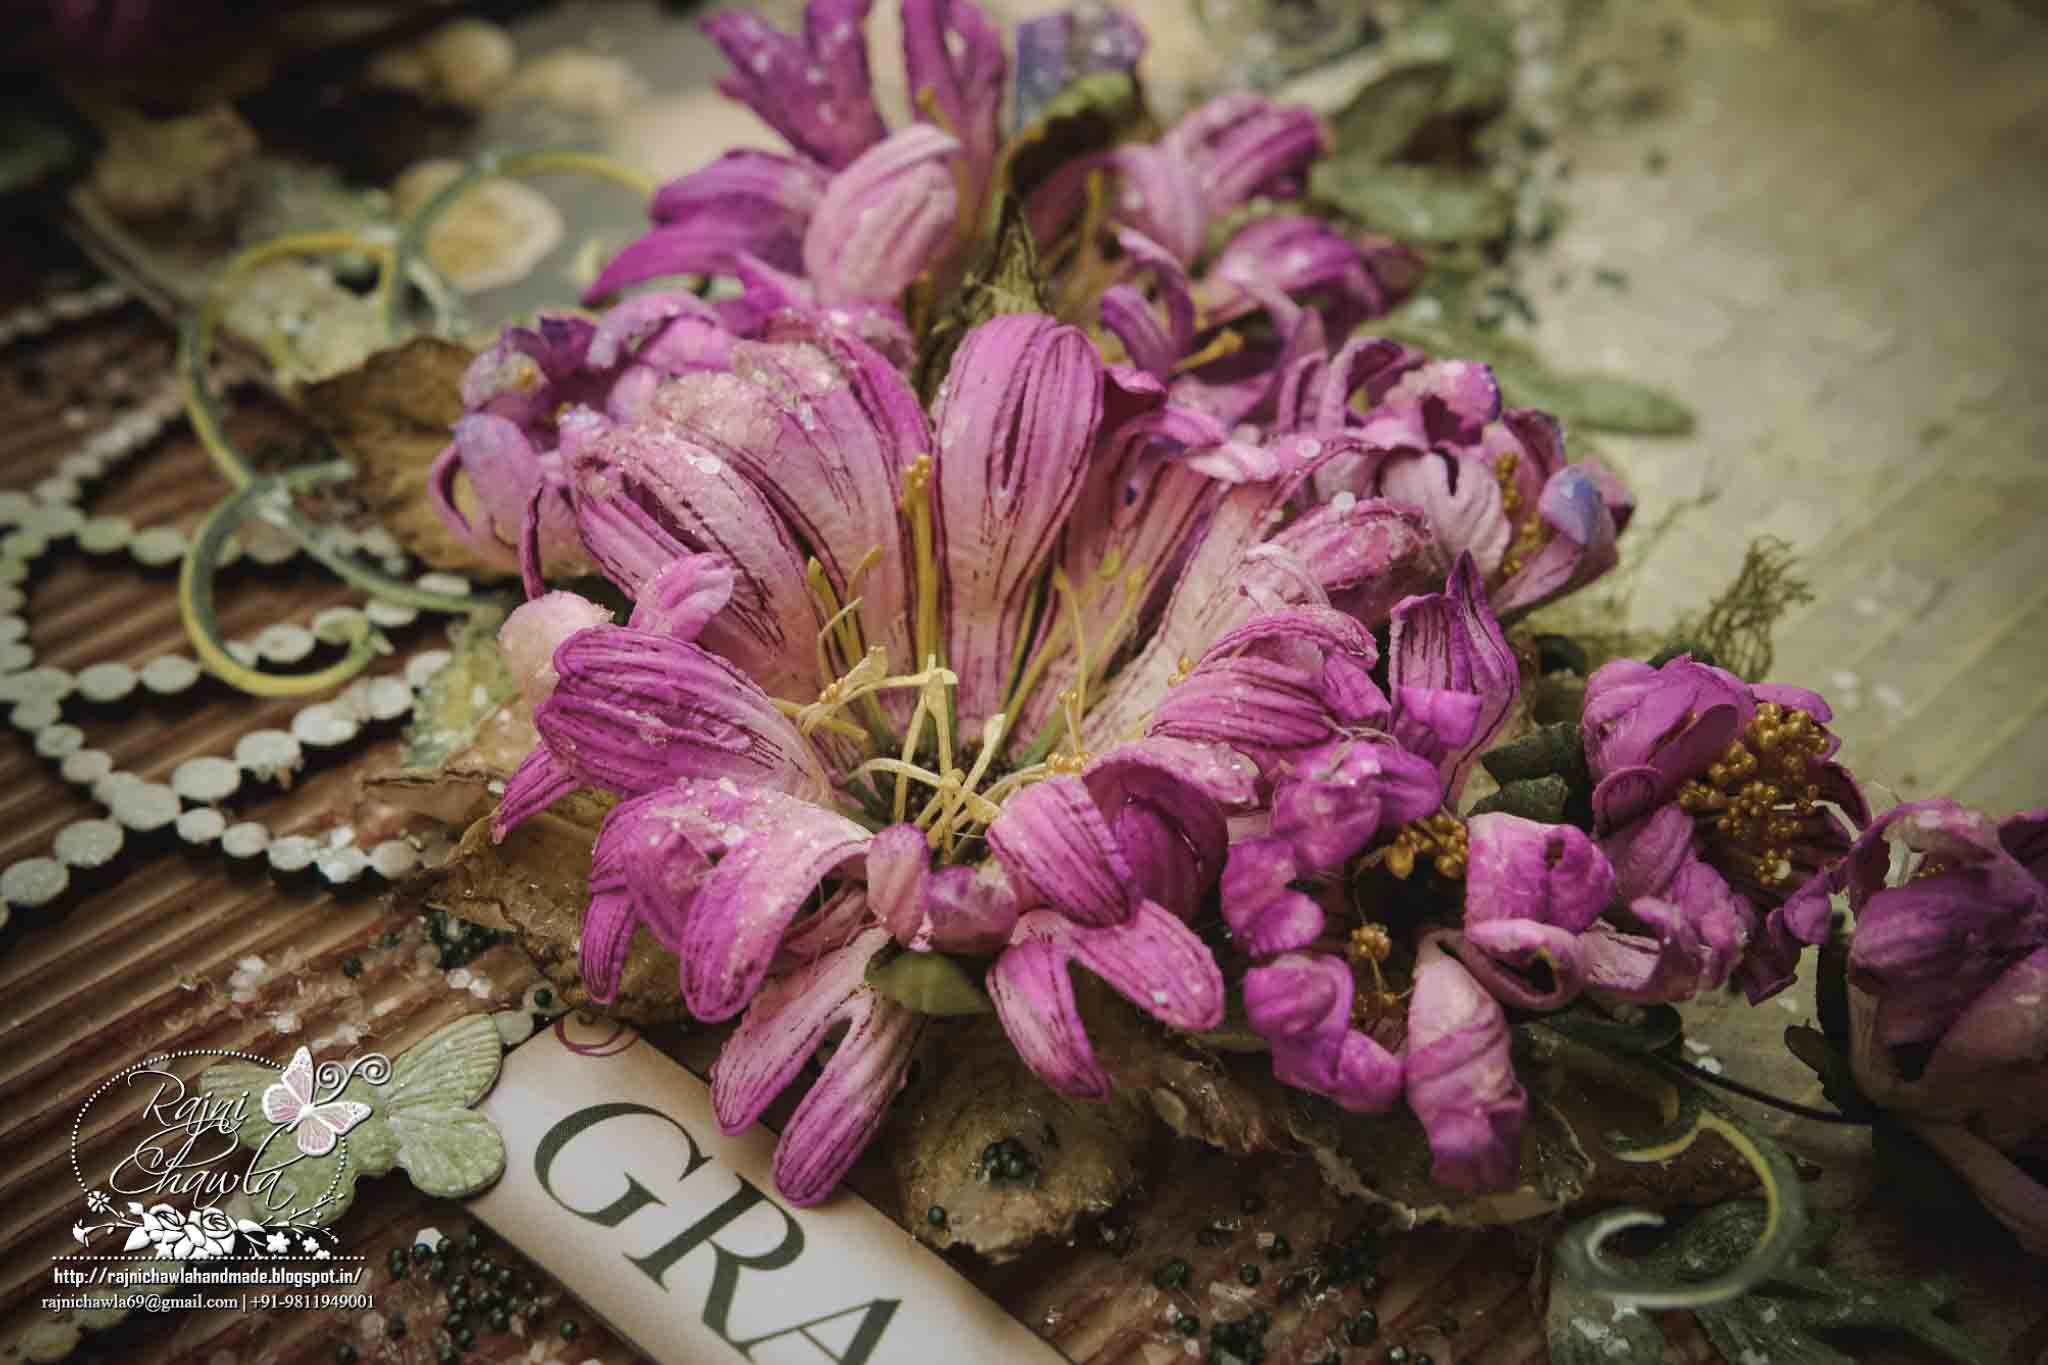
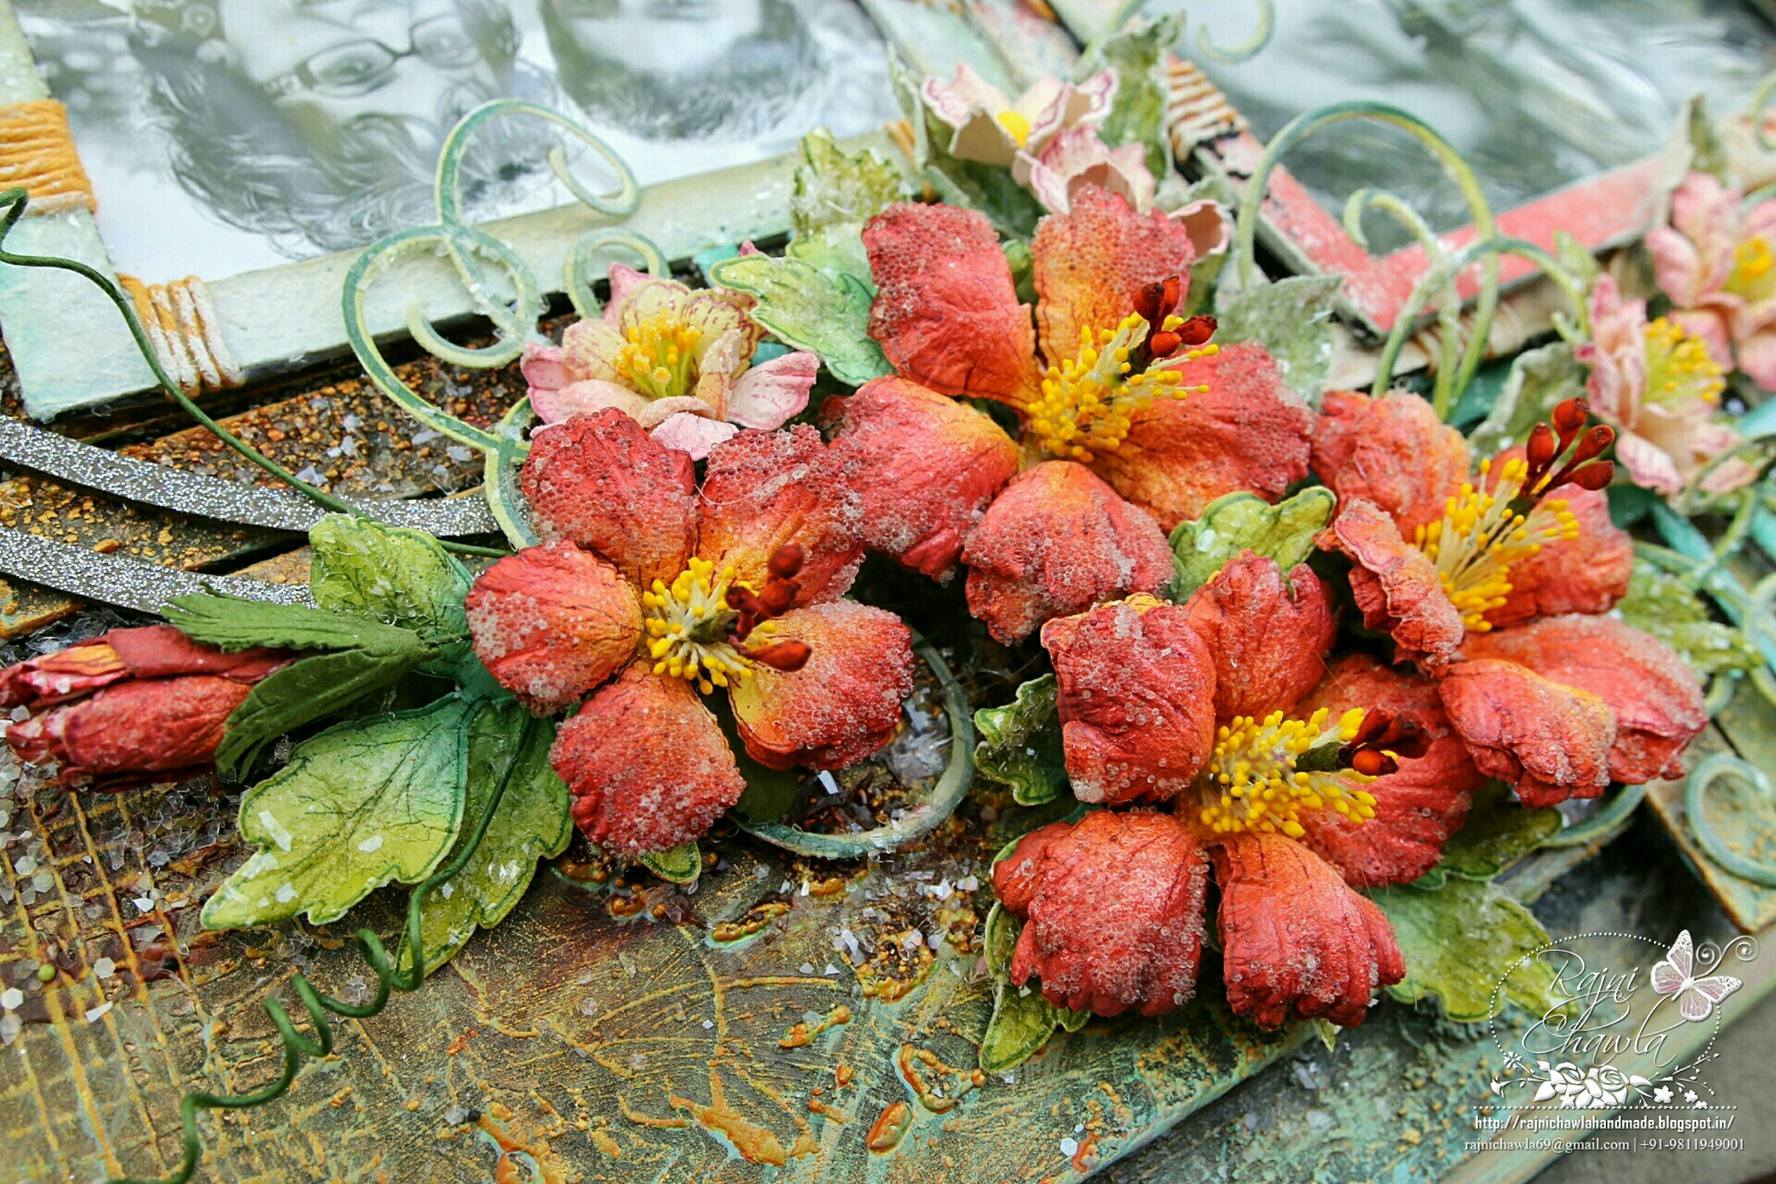
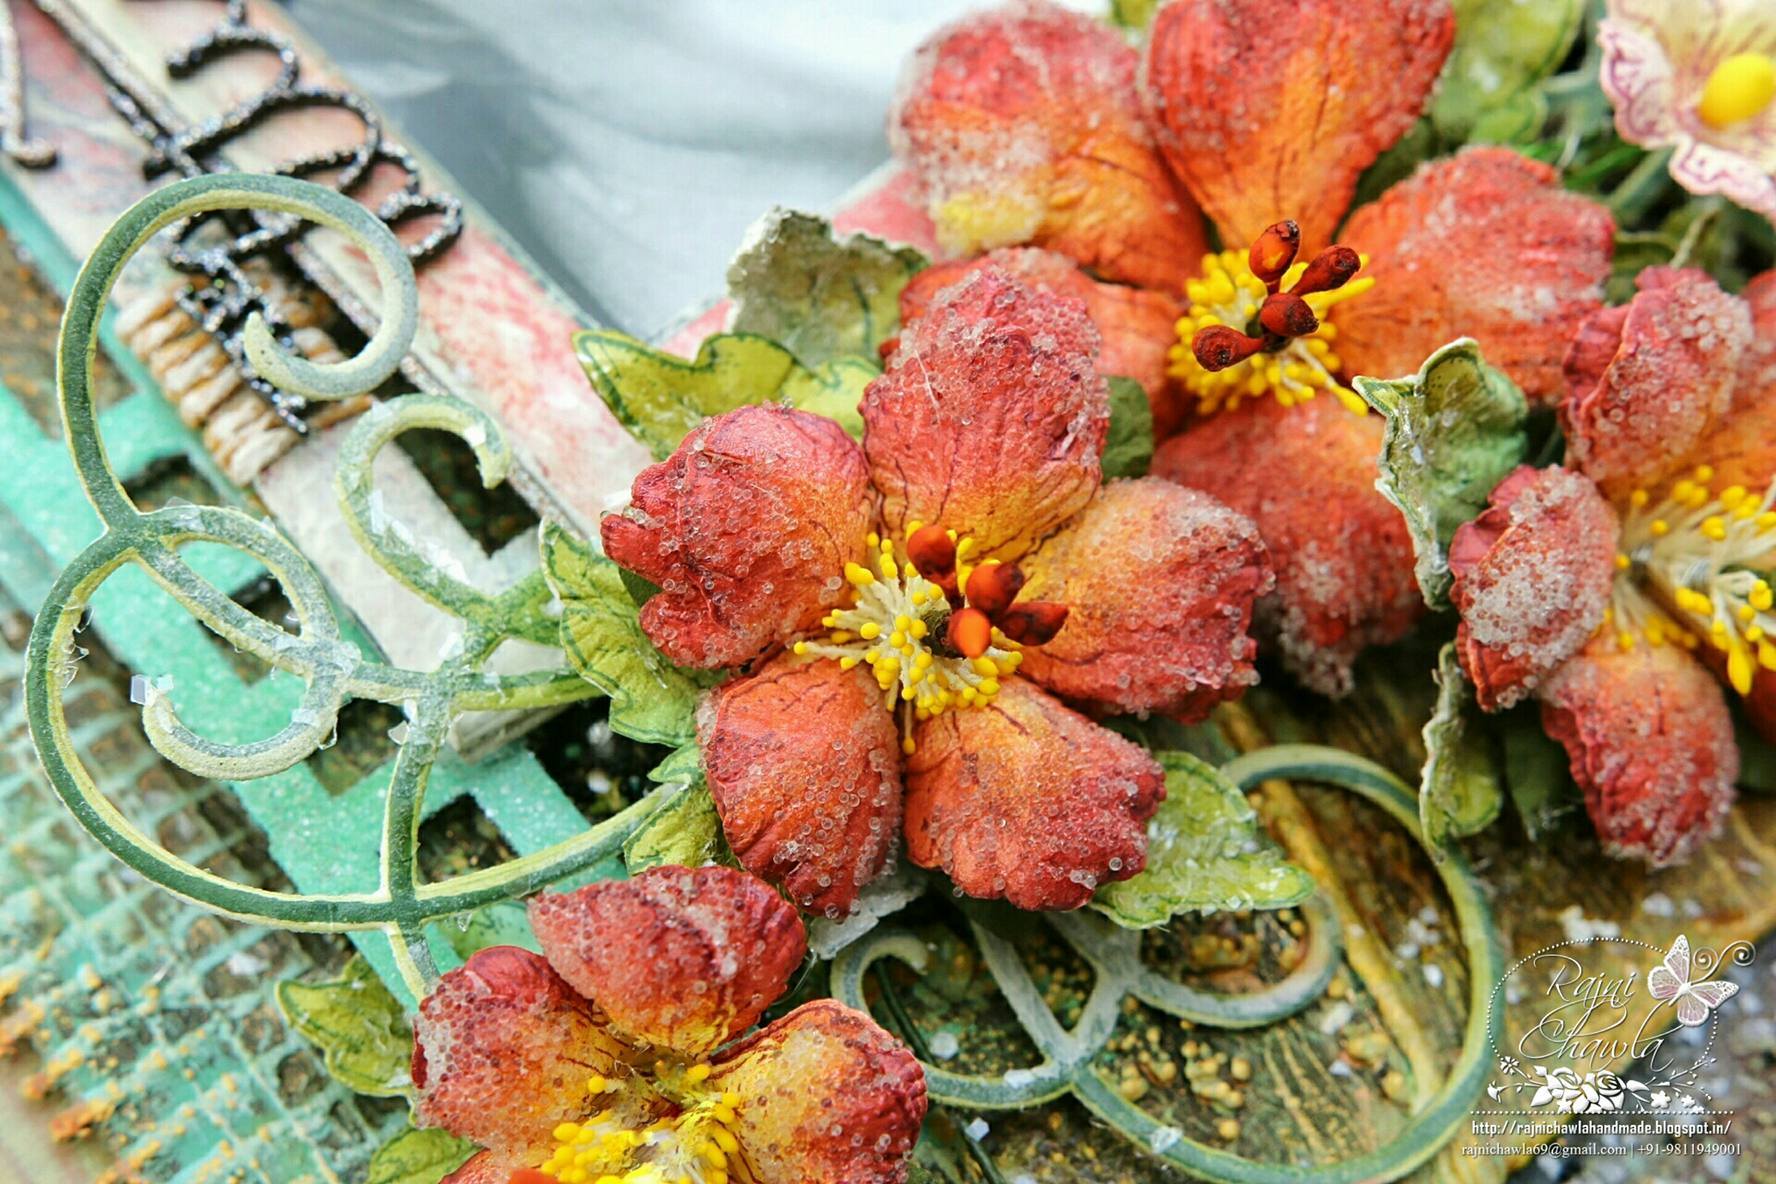
Trust me it looked much prettier when seen in person...More shabby,more trendy, Red hot hibiscus popping out from here and there....just fabulous!!
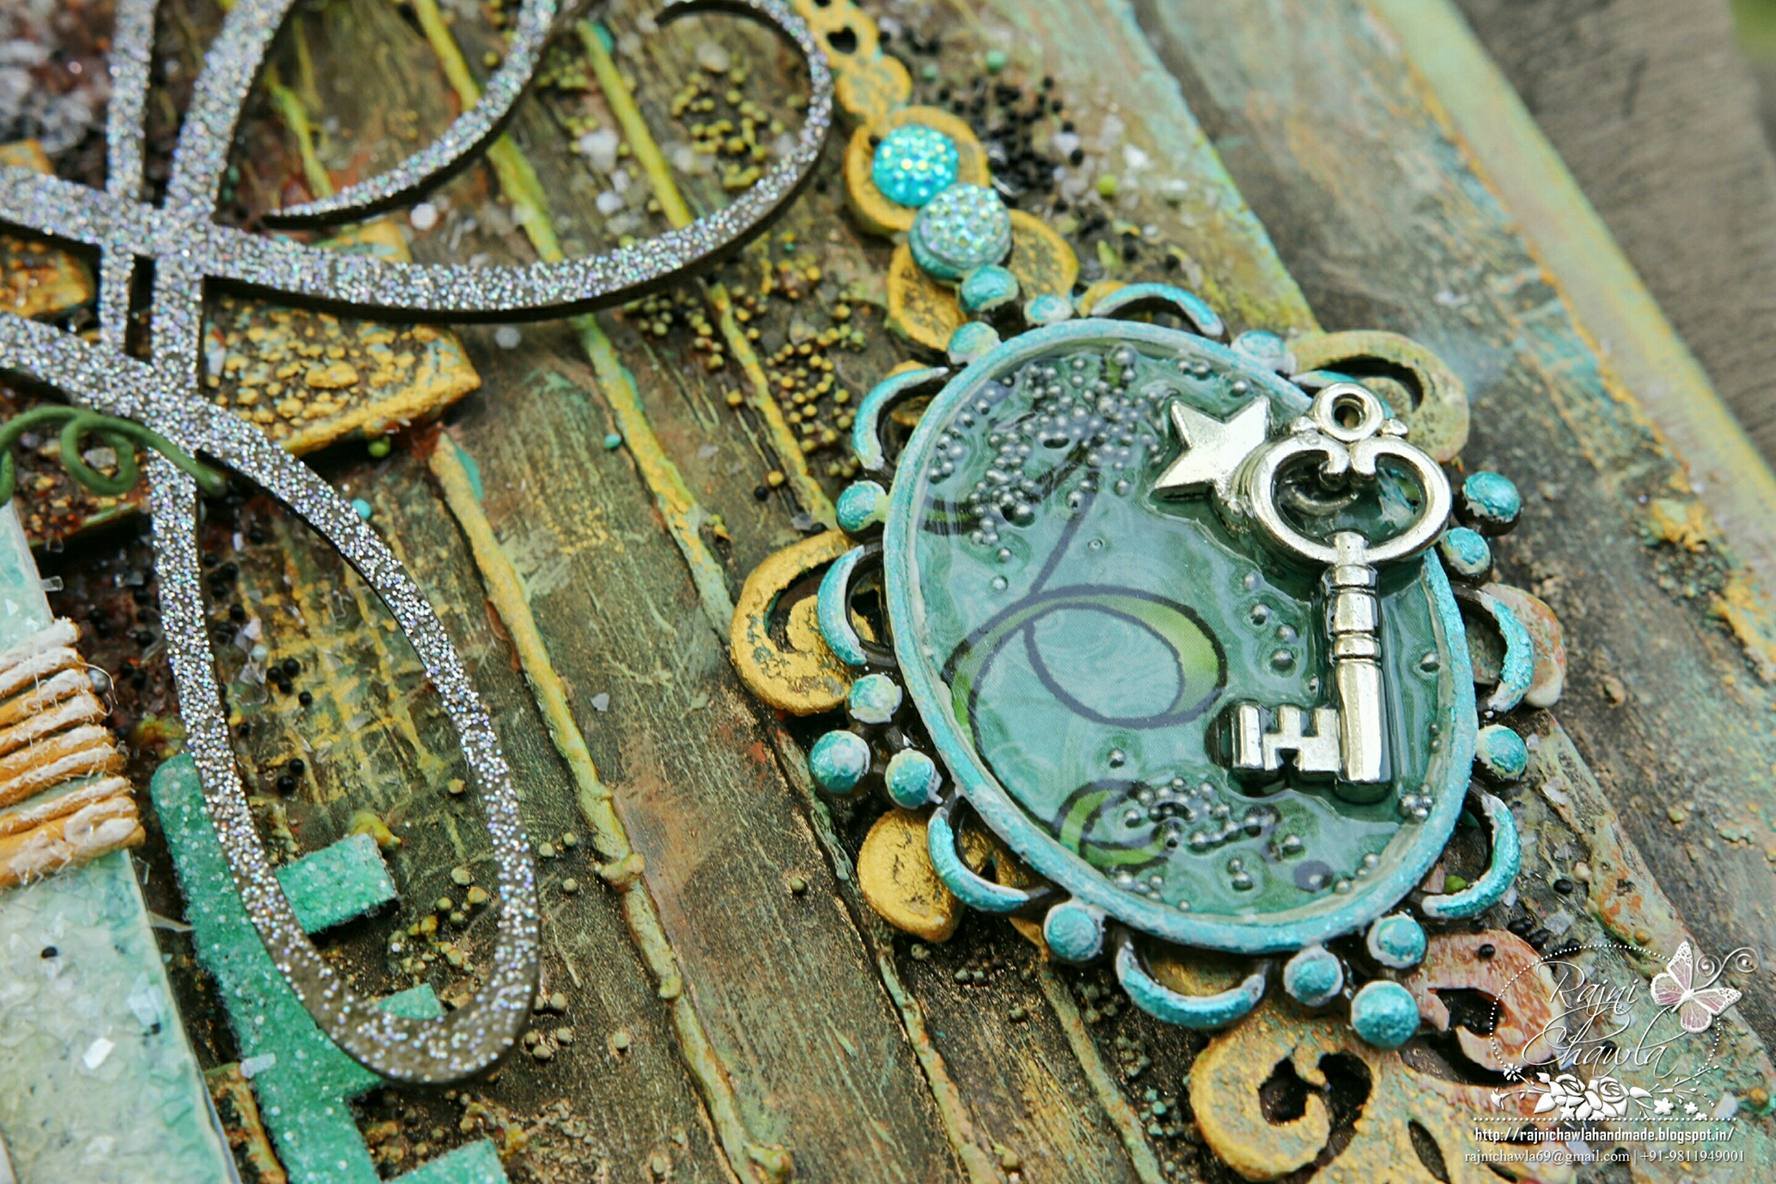
Metal Charm!!
Who can say I used scraps here.
No, No....nothing is scrap if you are in crafting....you just need to shake your head a little to find some ideas. Dusty Attic paints and Dusty Attic chipboards have become another favorite of mine this year. Lucky me that I got such a good collection in my DT package.
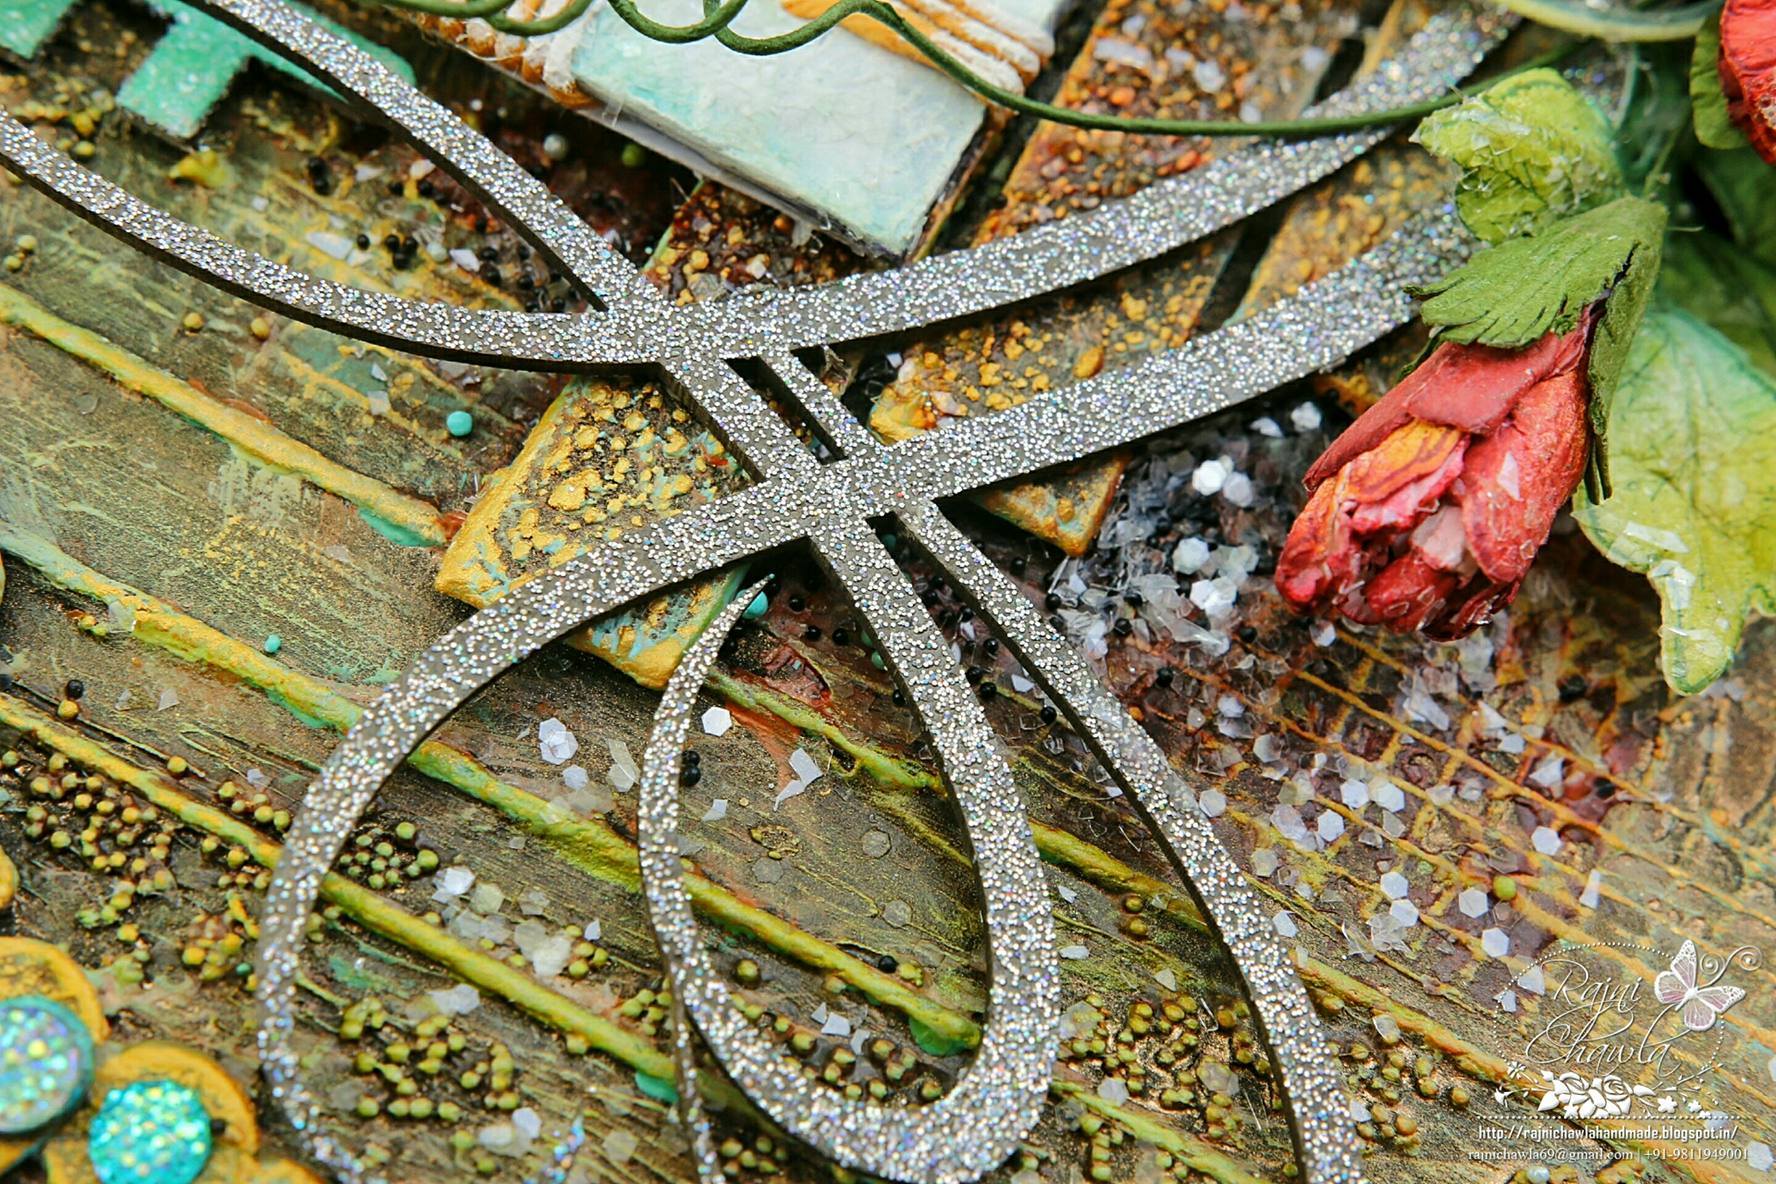
Gorgeous textures...Just loving them all!!
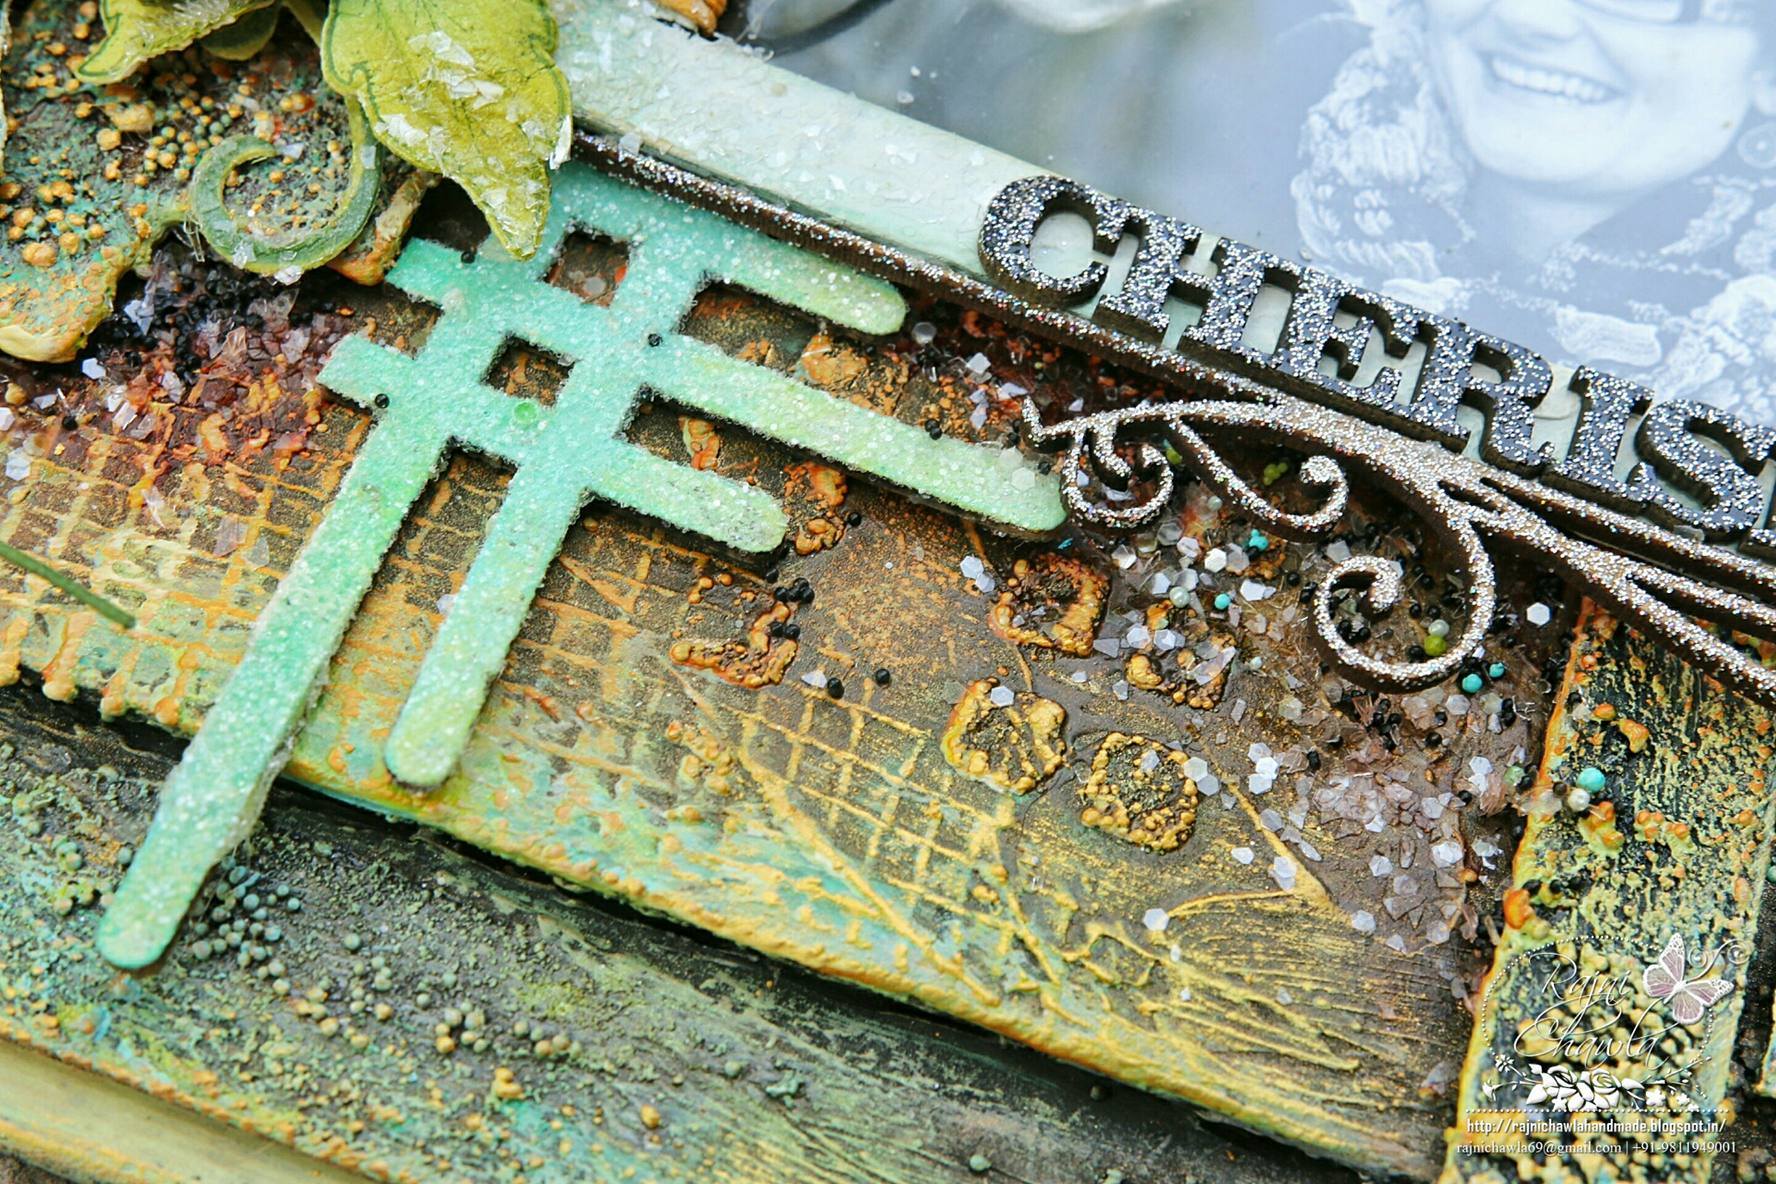
Here comes the main title of my project -"The Ultimate Photo"
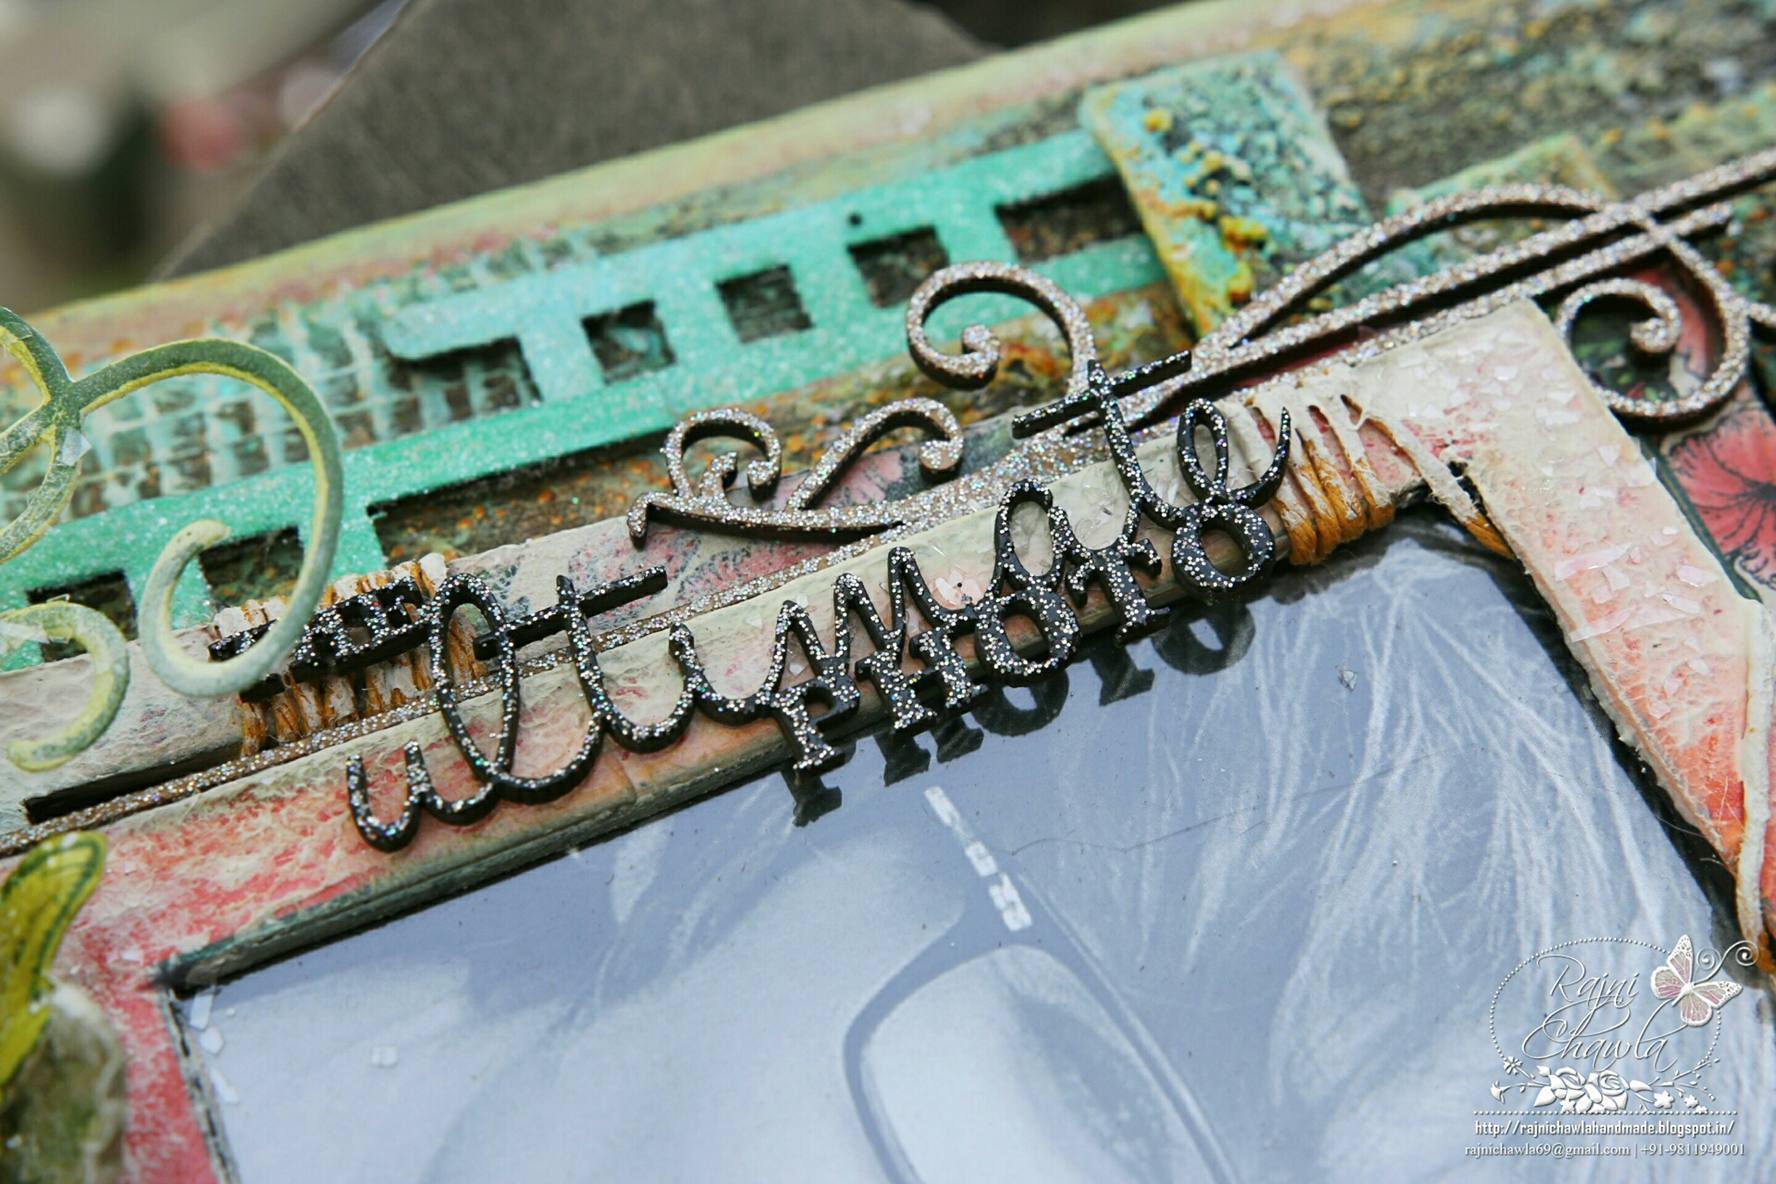
Isn't it a perfect click....an ultimate photo!!
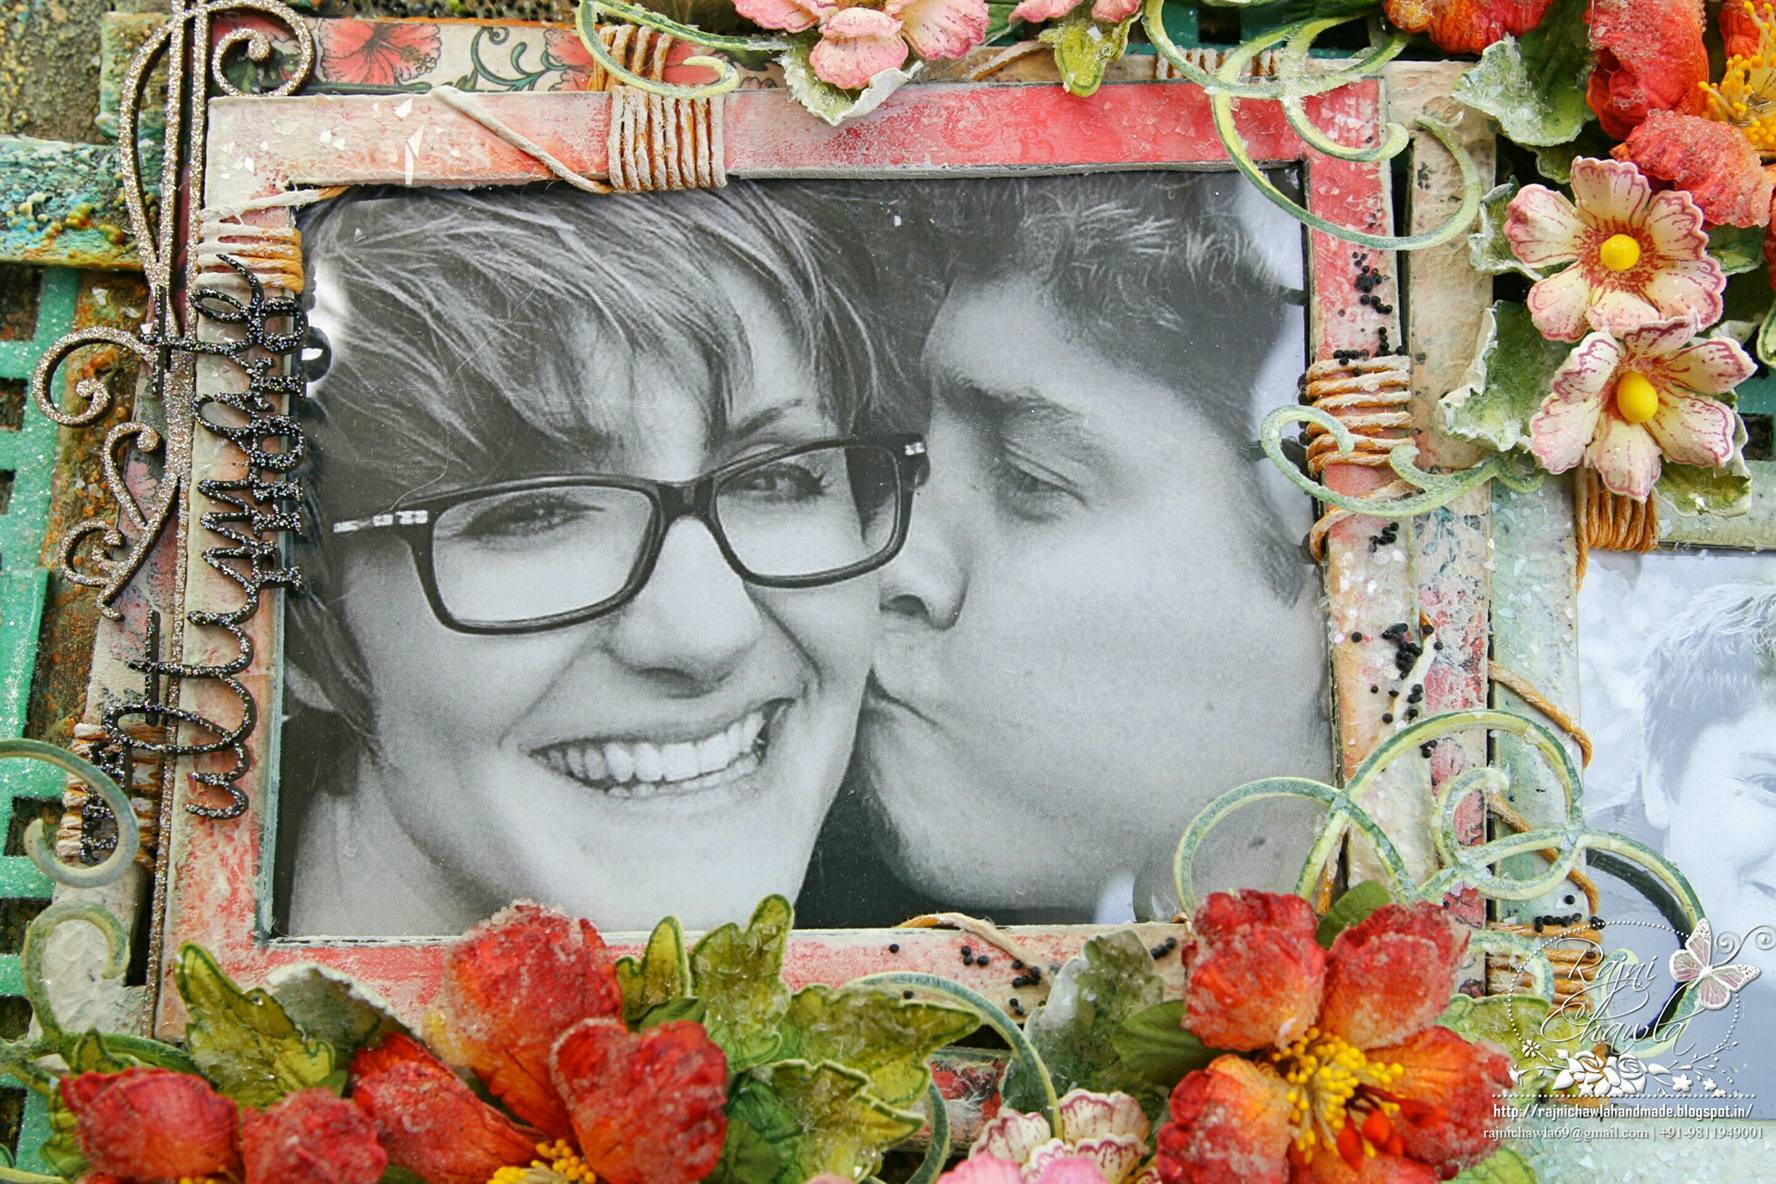
Your smile is no less than any embellishment Emma. Thank you so much for allowing me to share this project without hiding your pictures. The project is full of love and blessings from my side for the beautiful couple.