Showing posts with label spellbinder dies. Show all posts

Tuesday, June 14, 2016

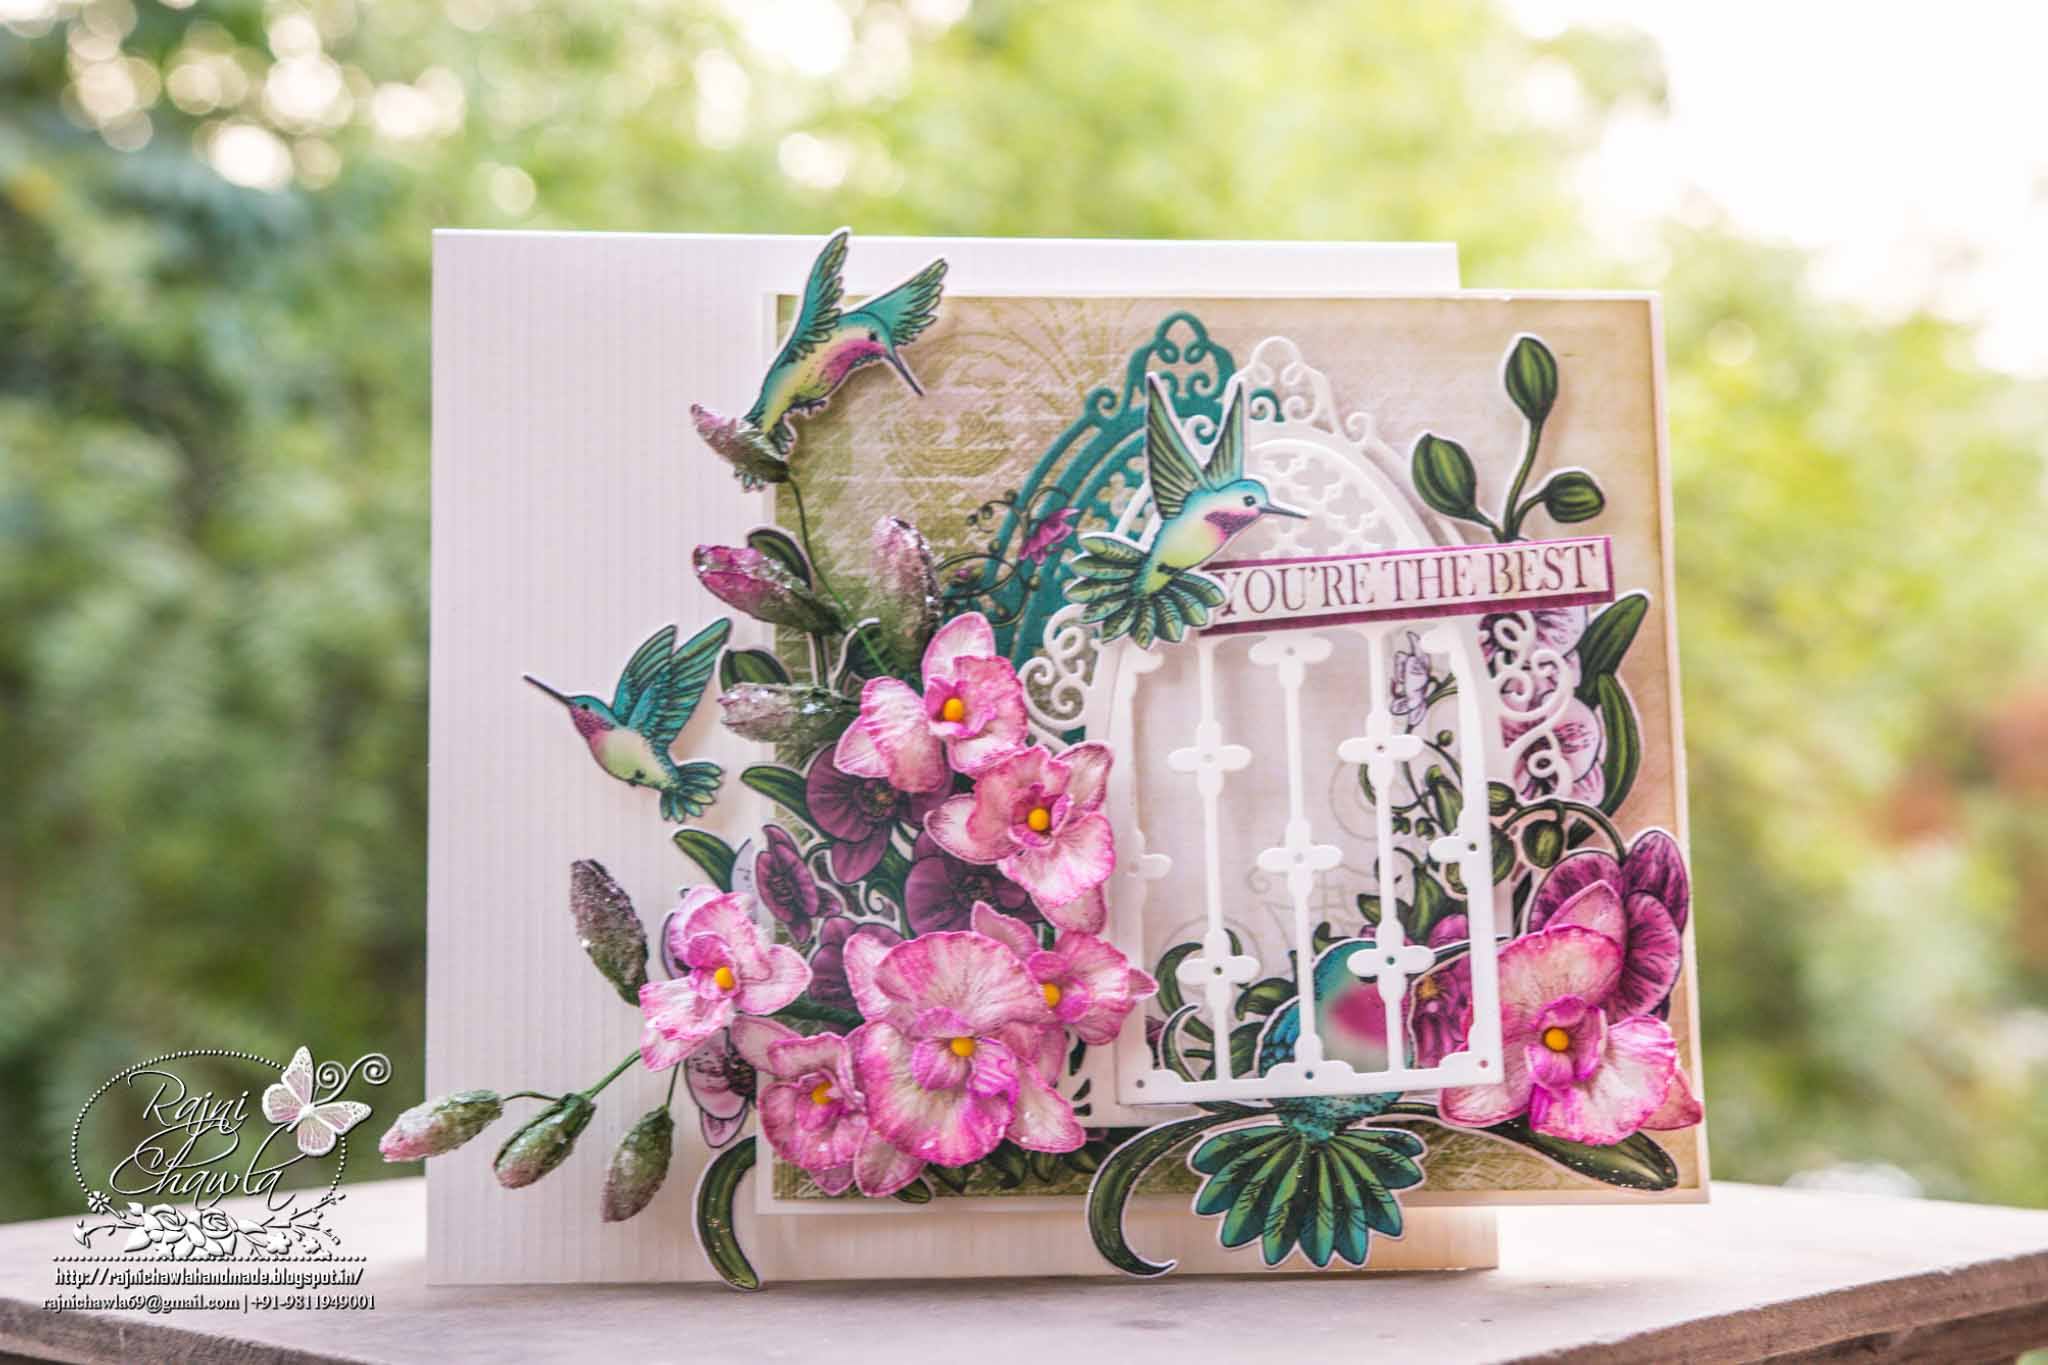
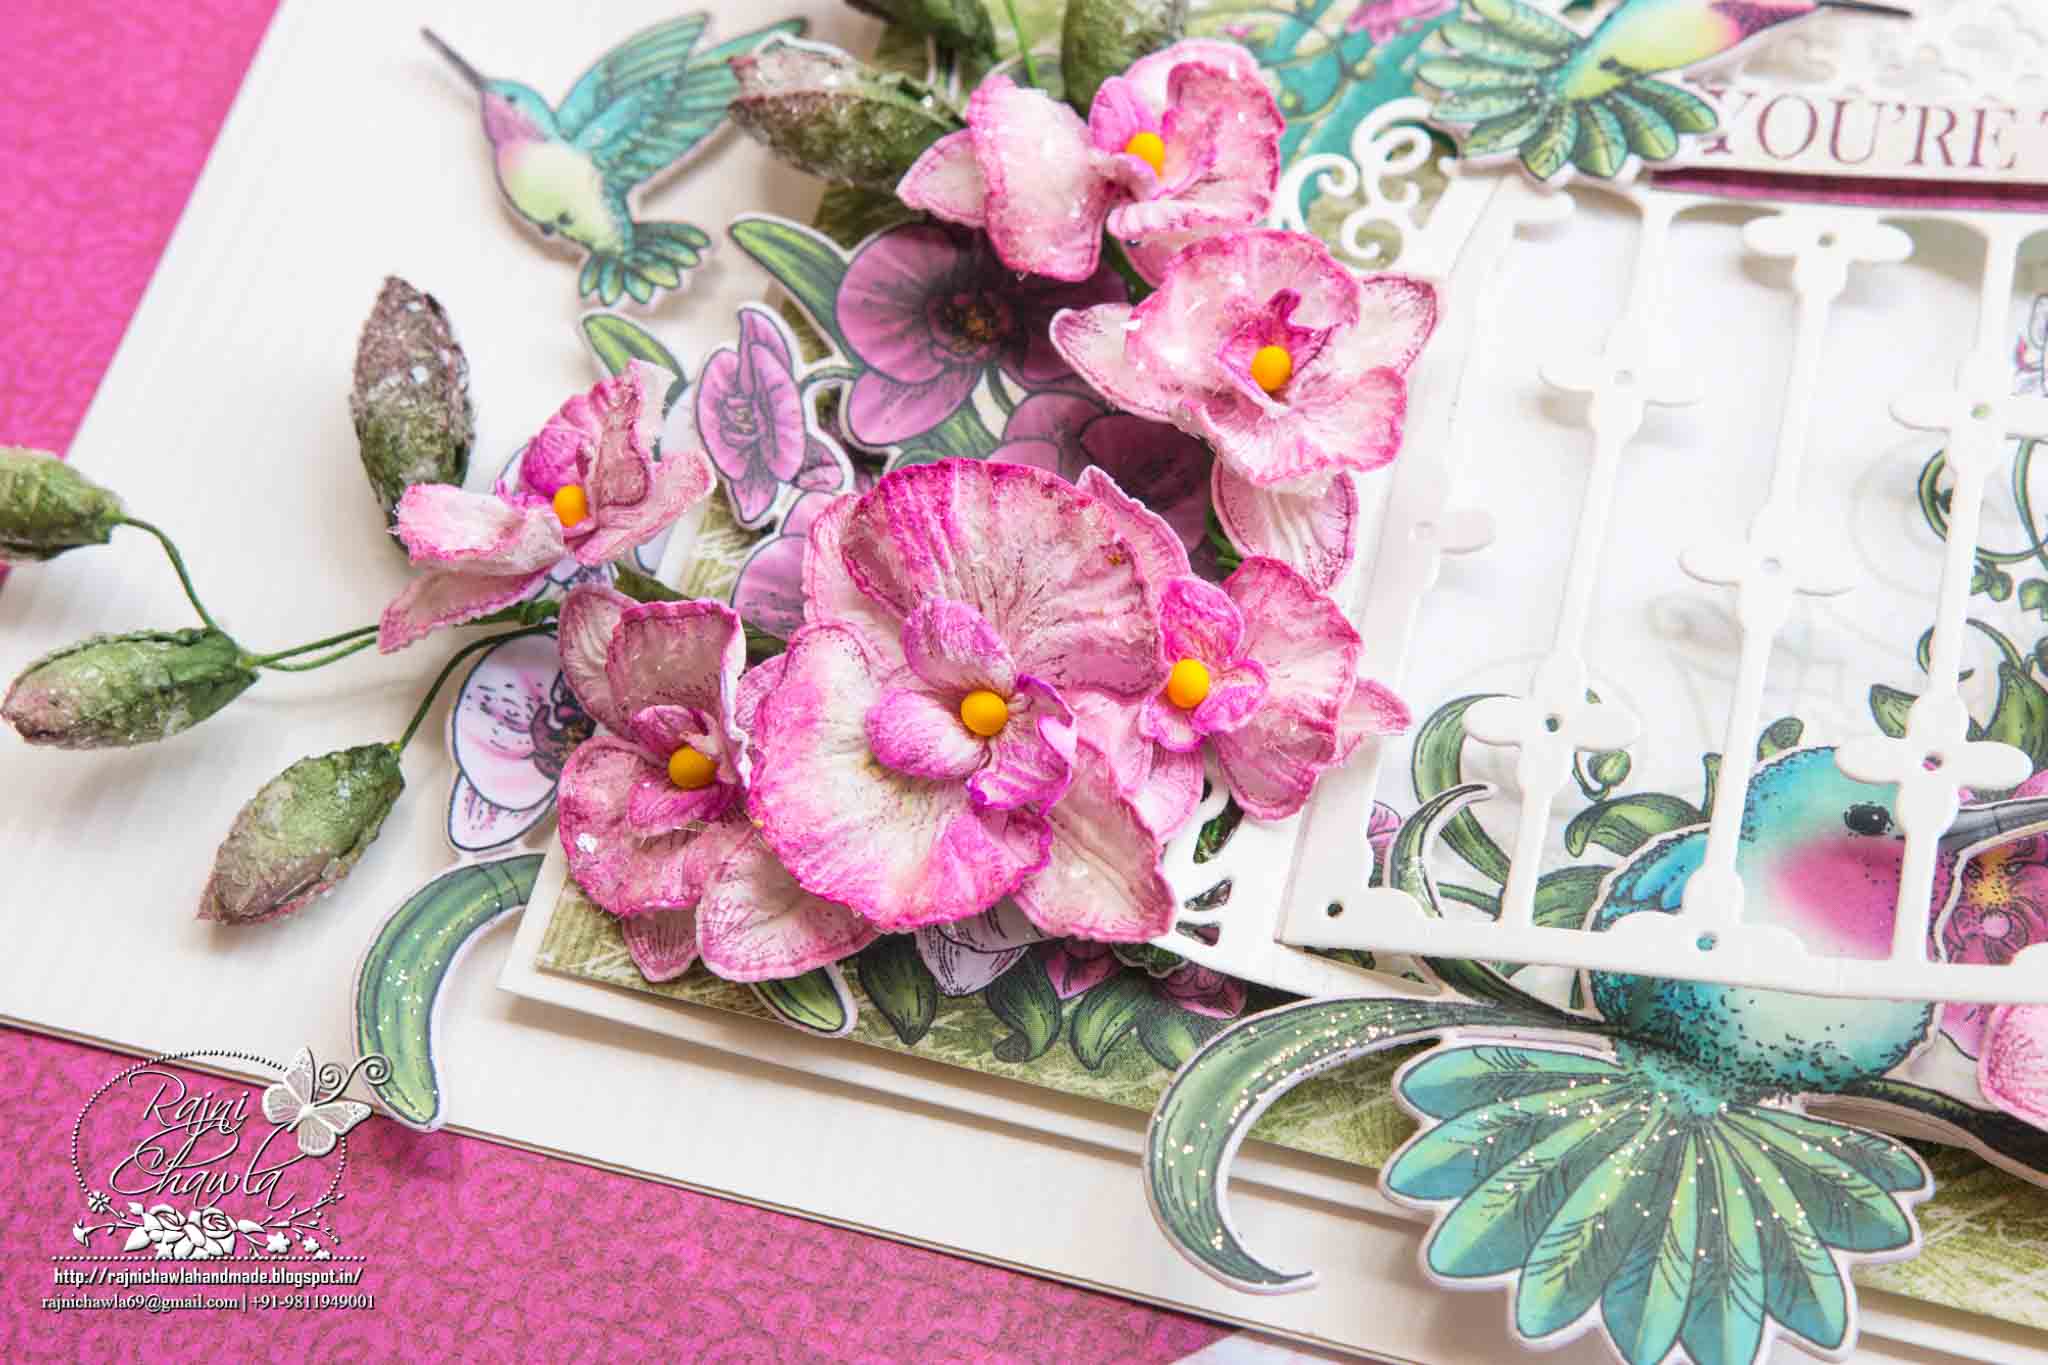
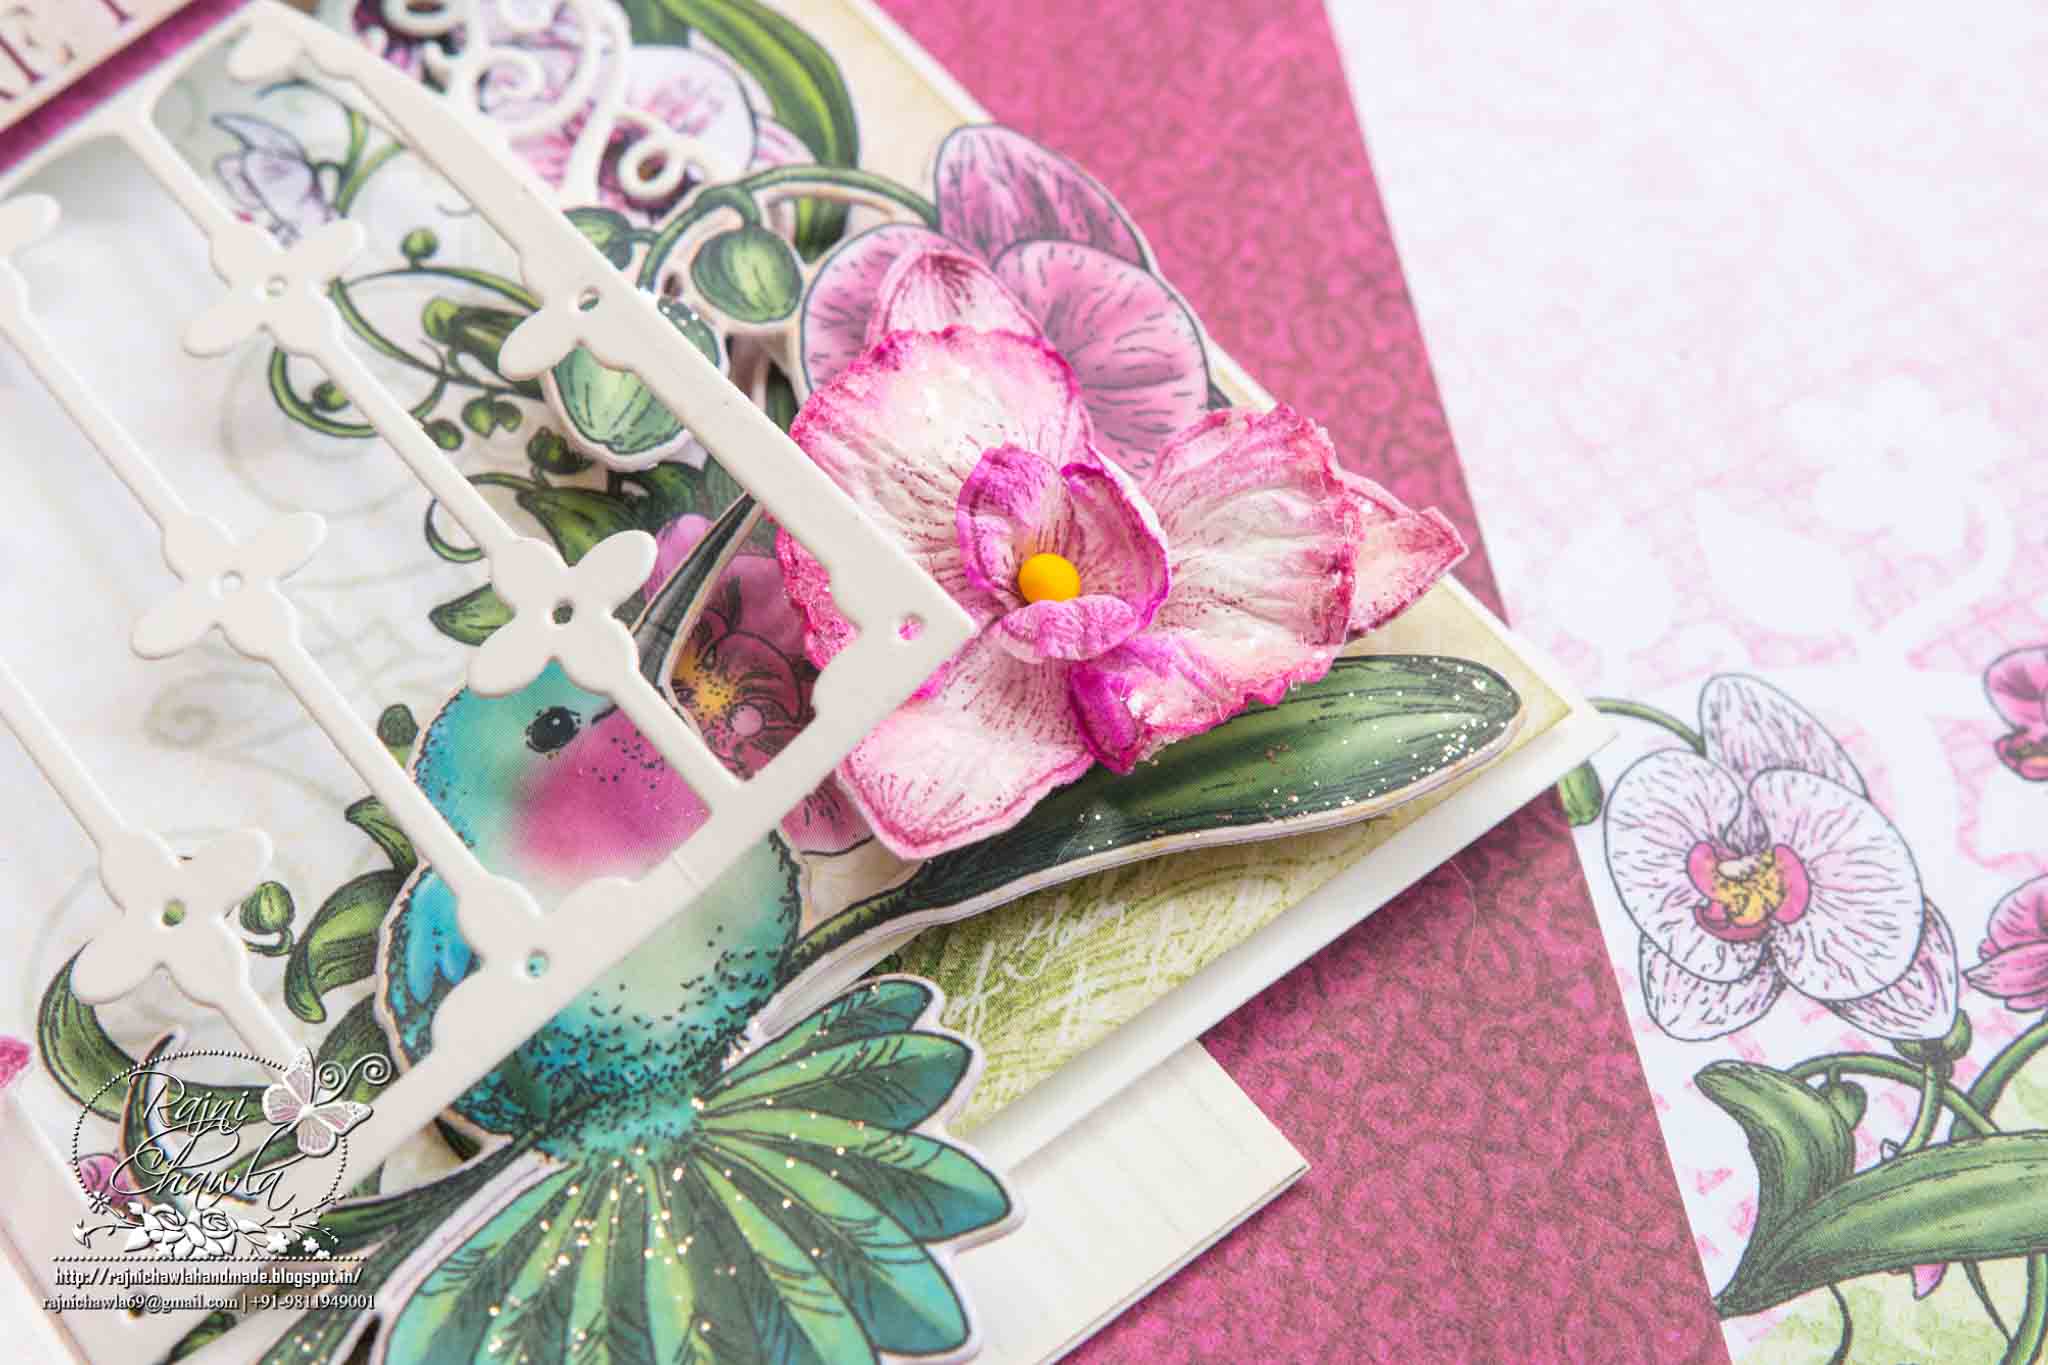
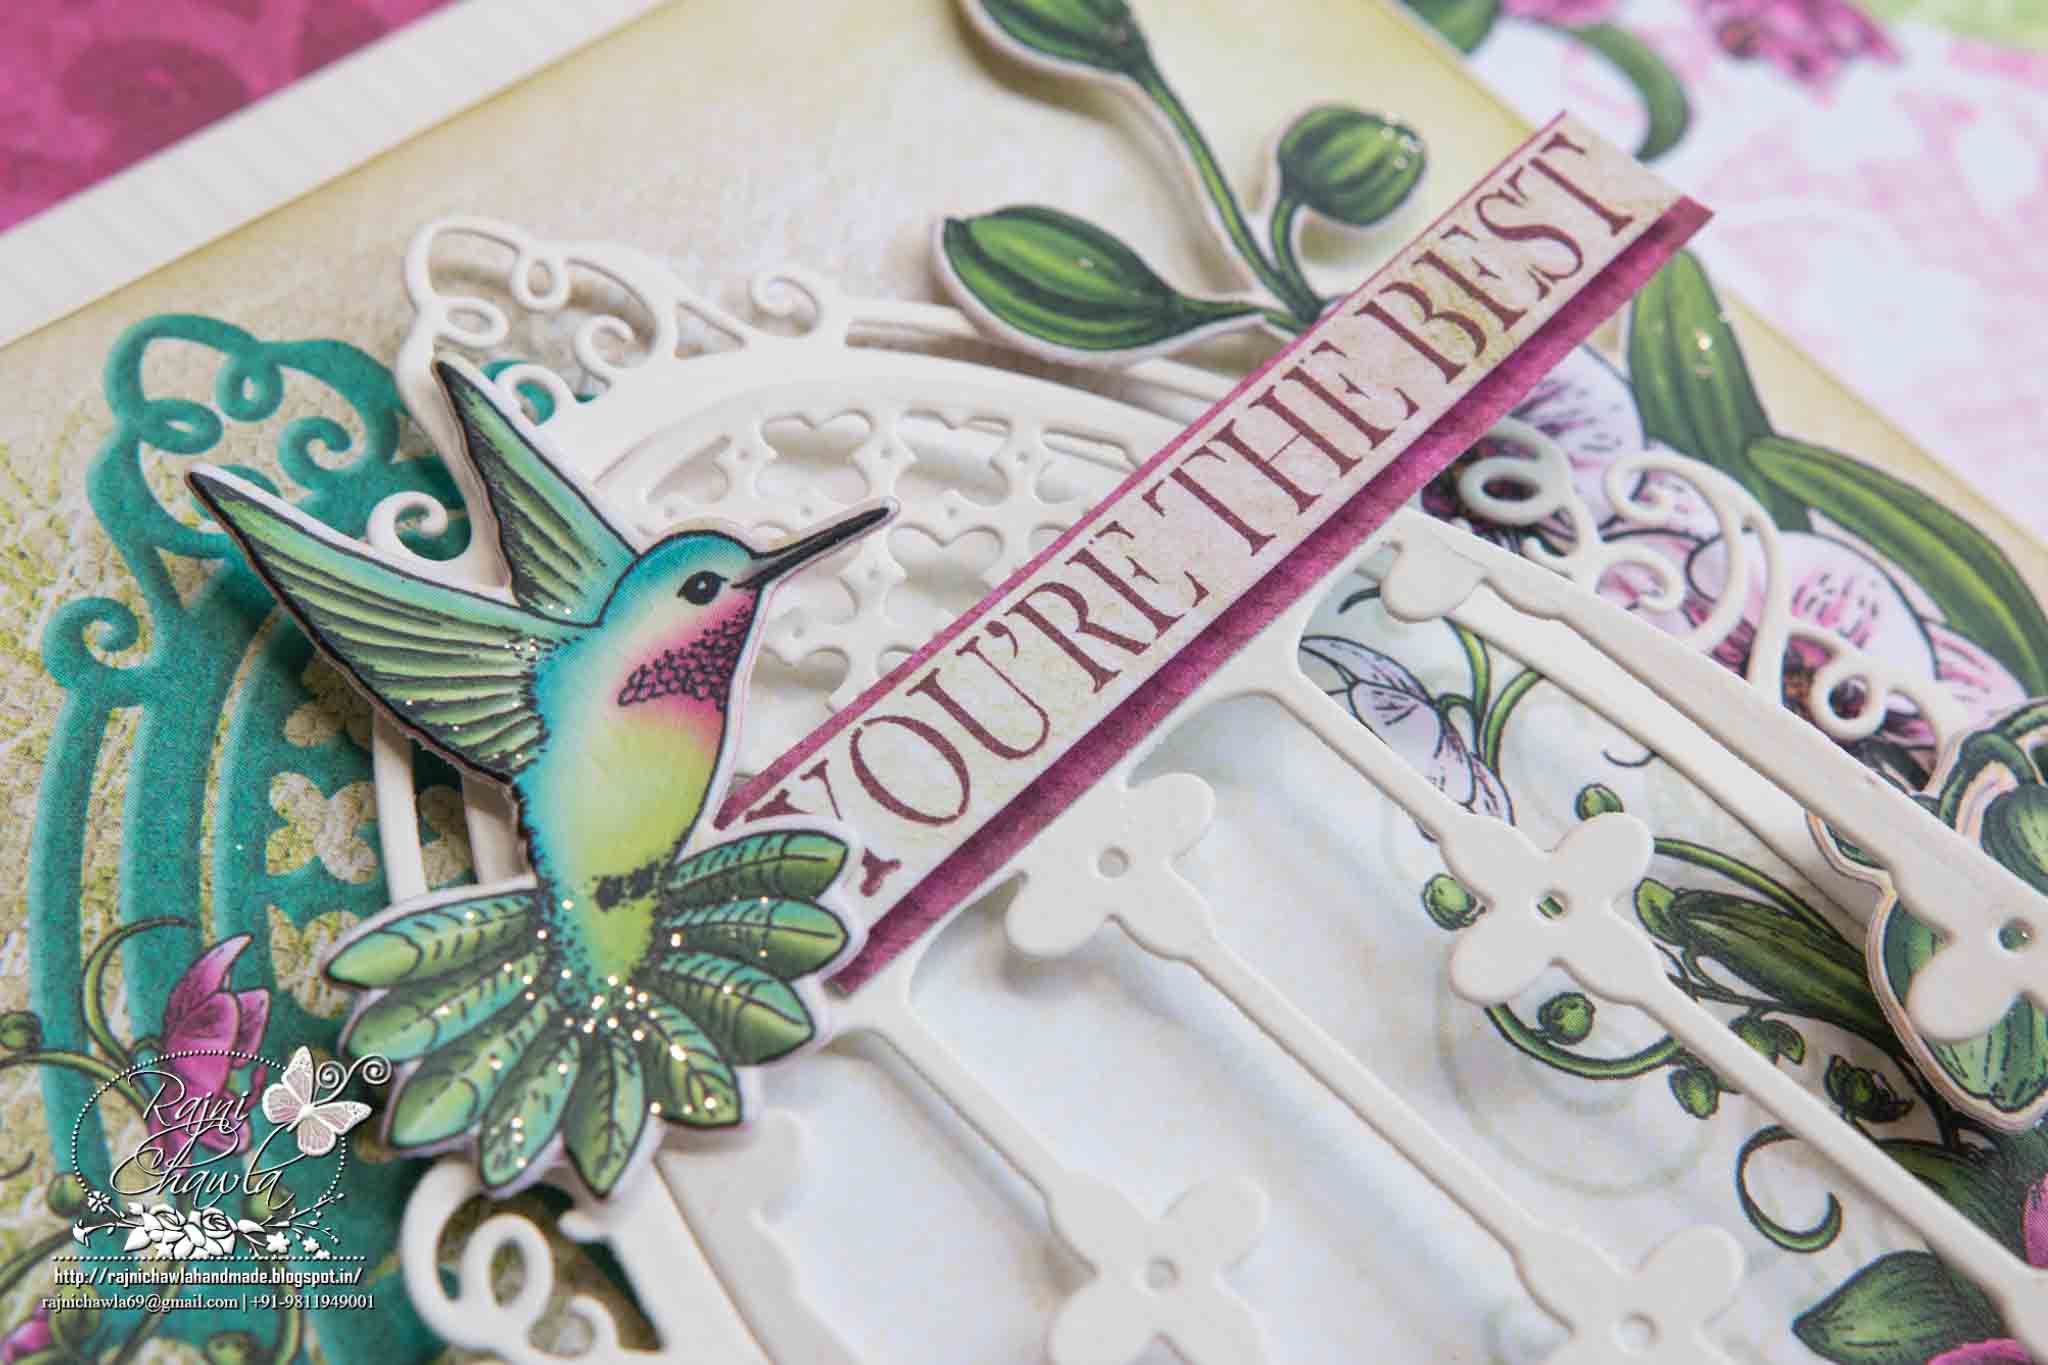
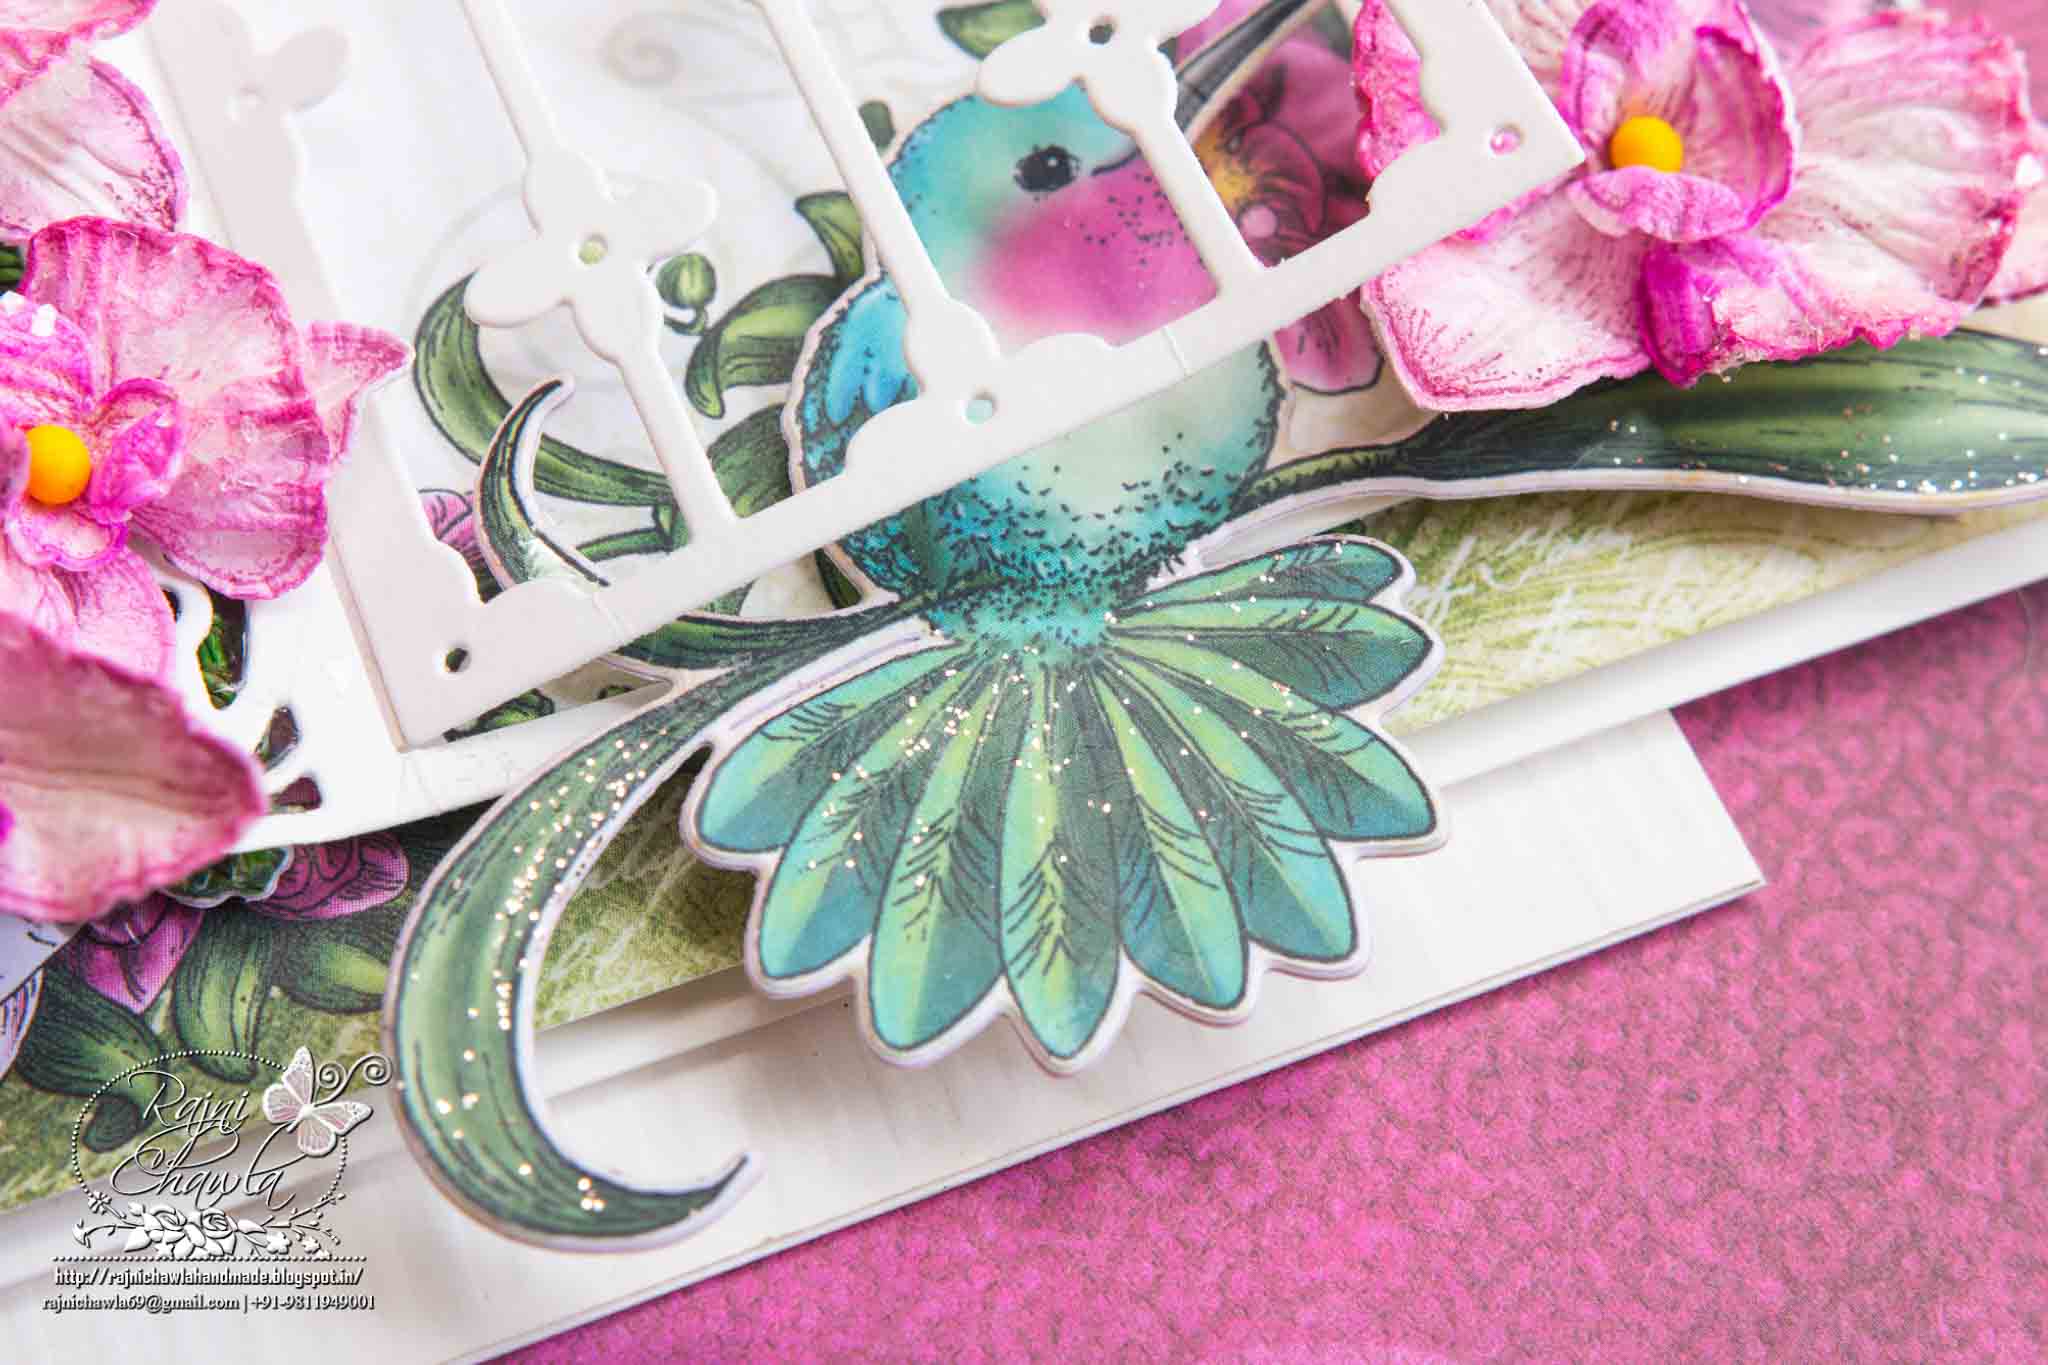
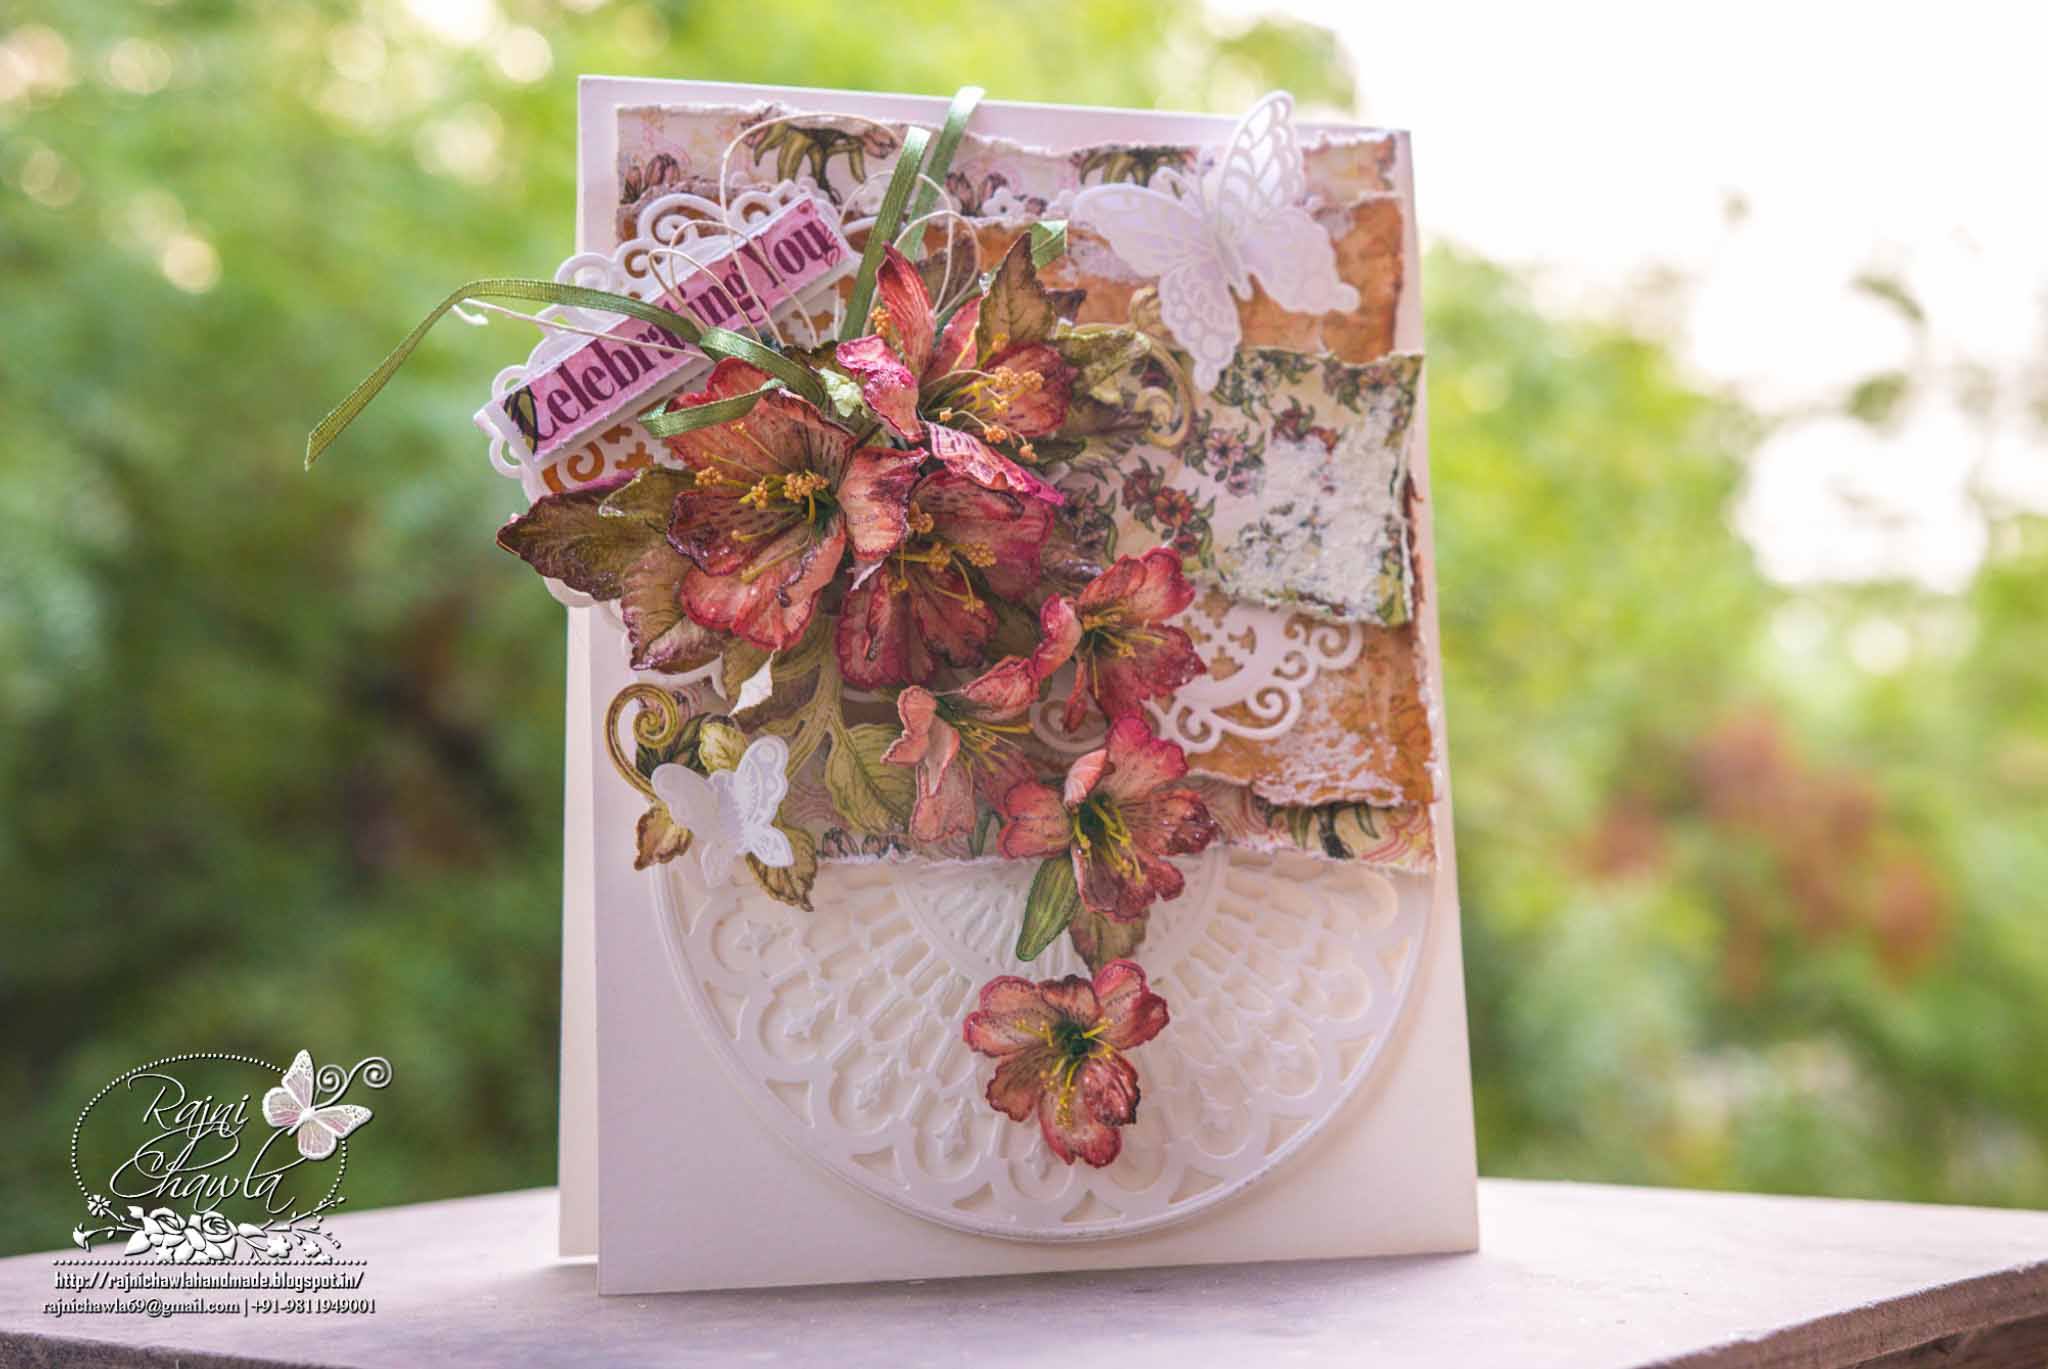
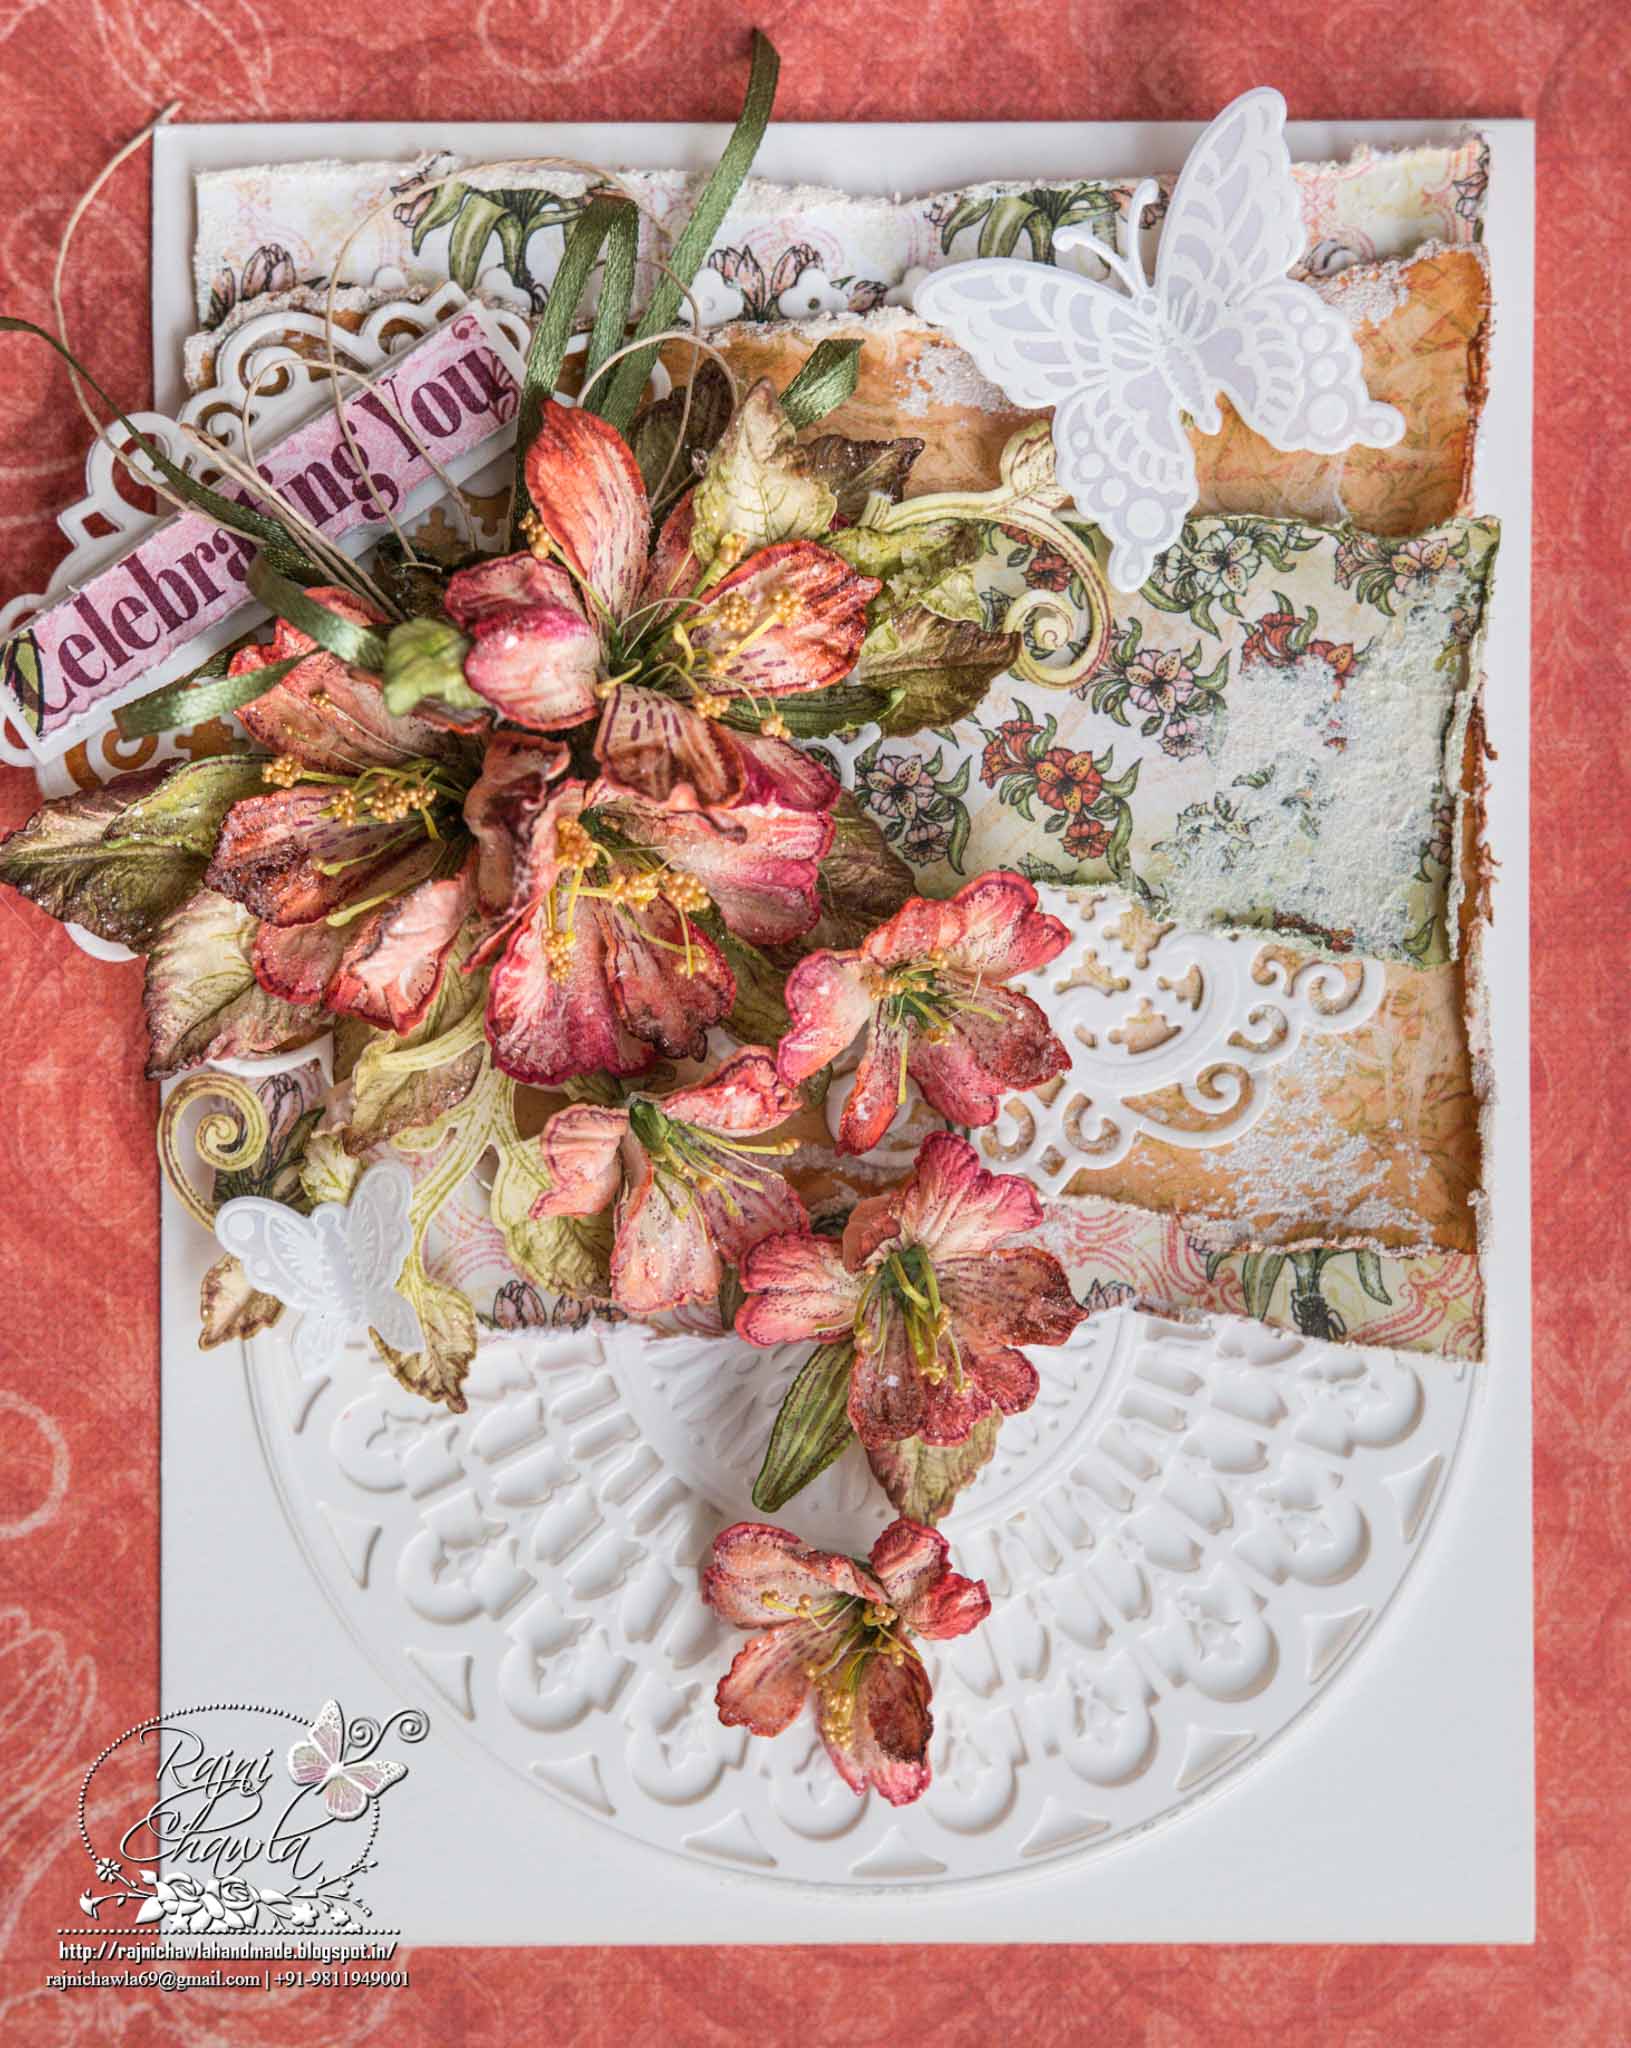
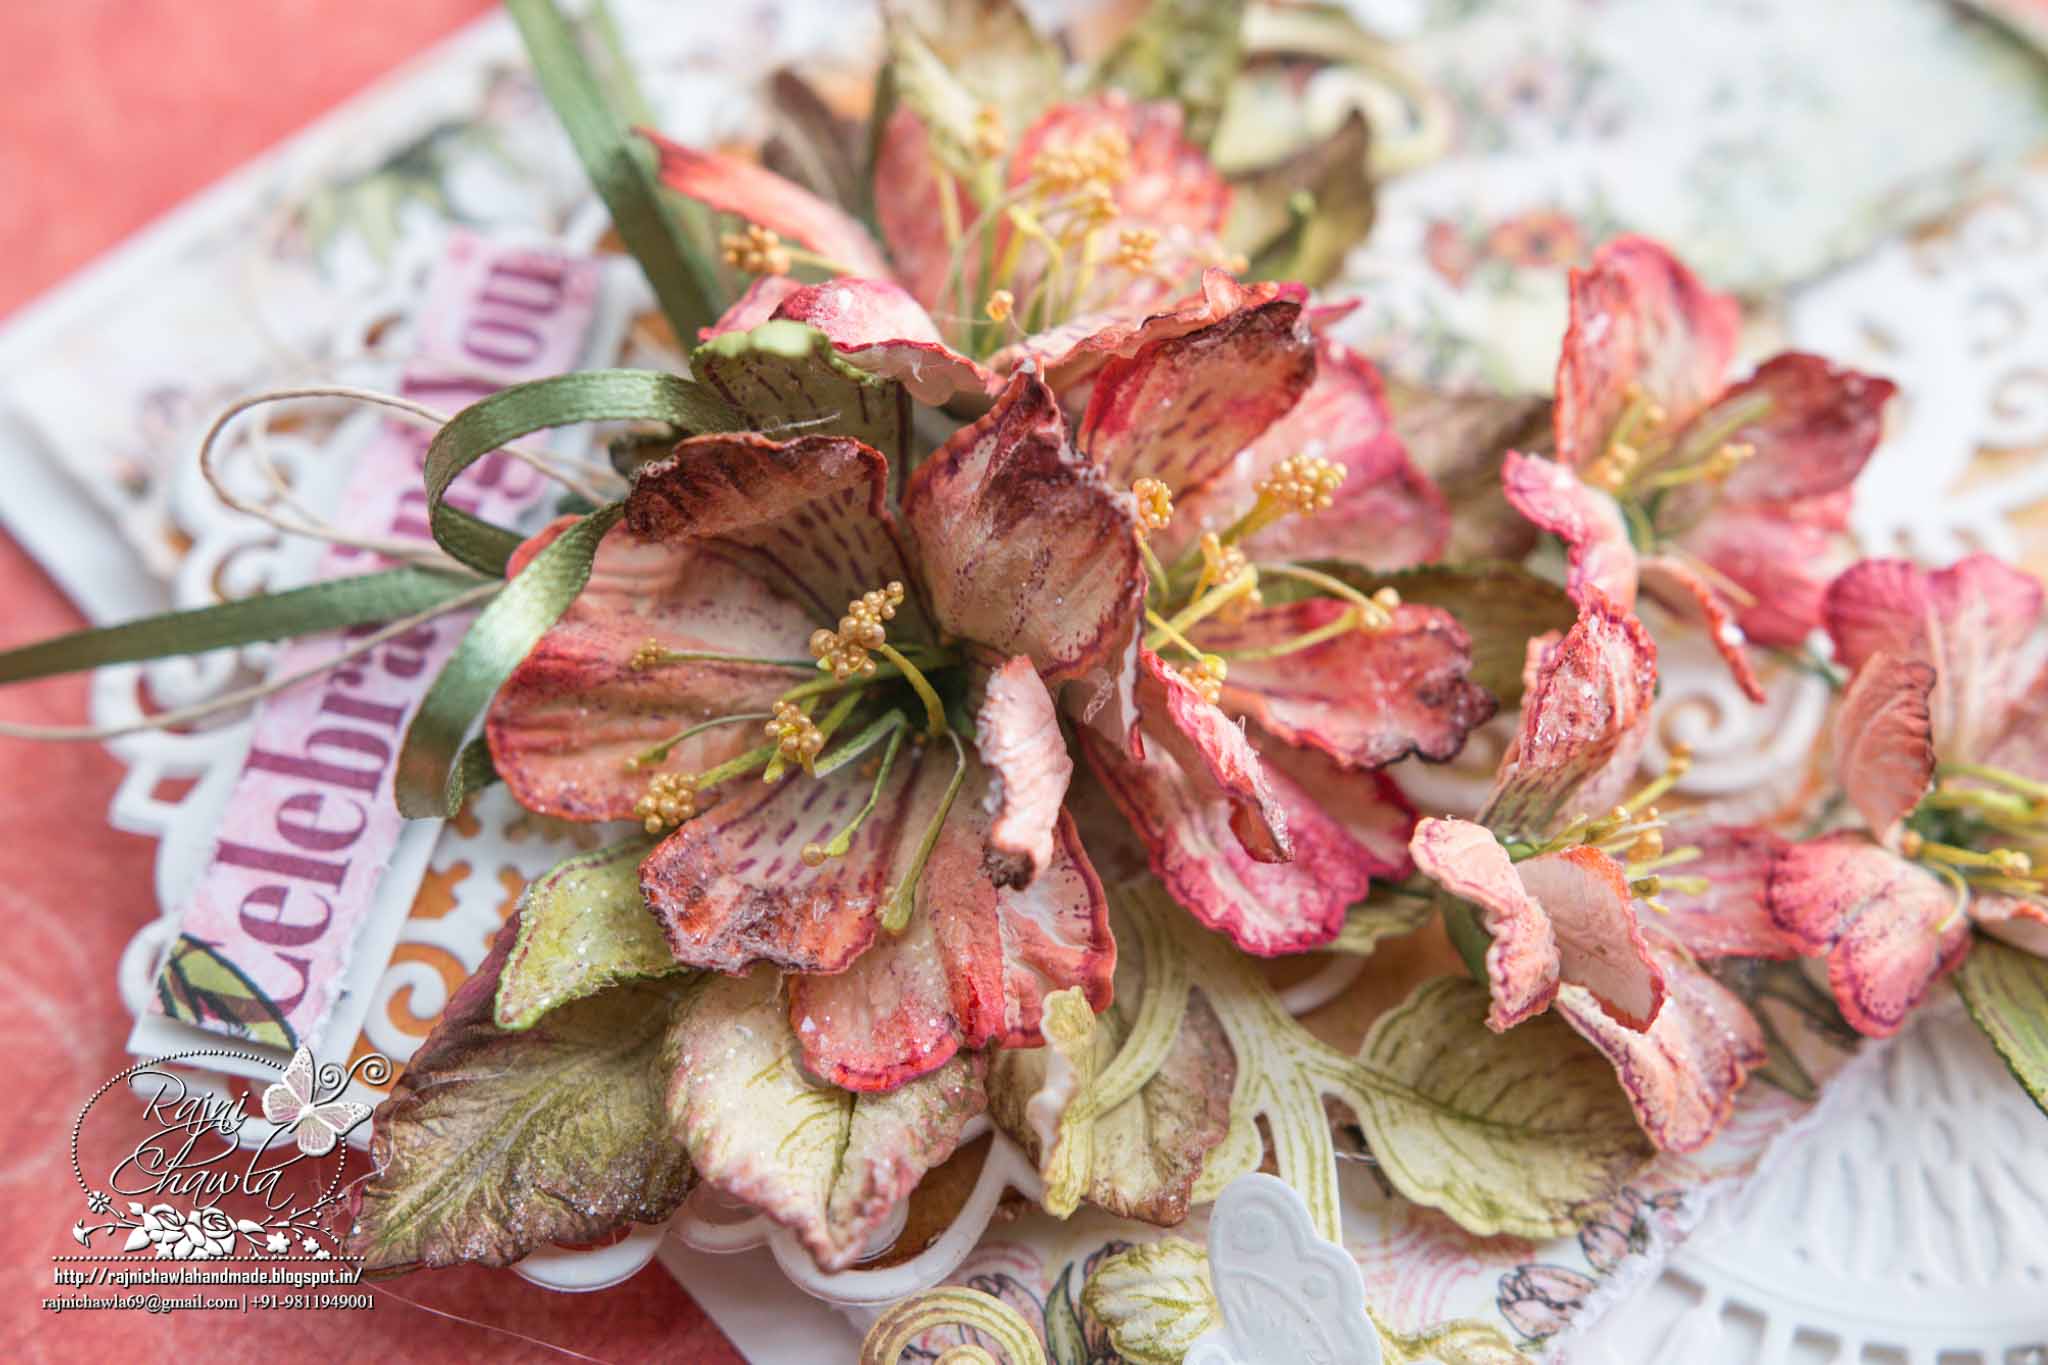
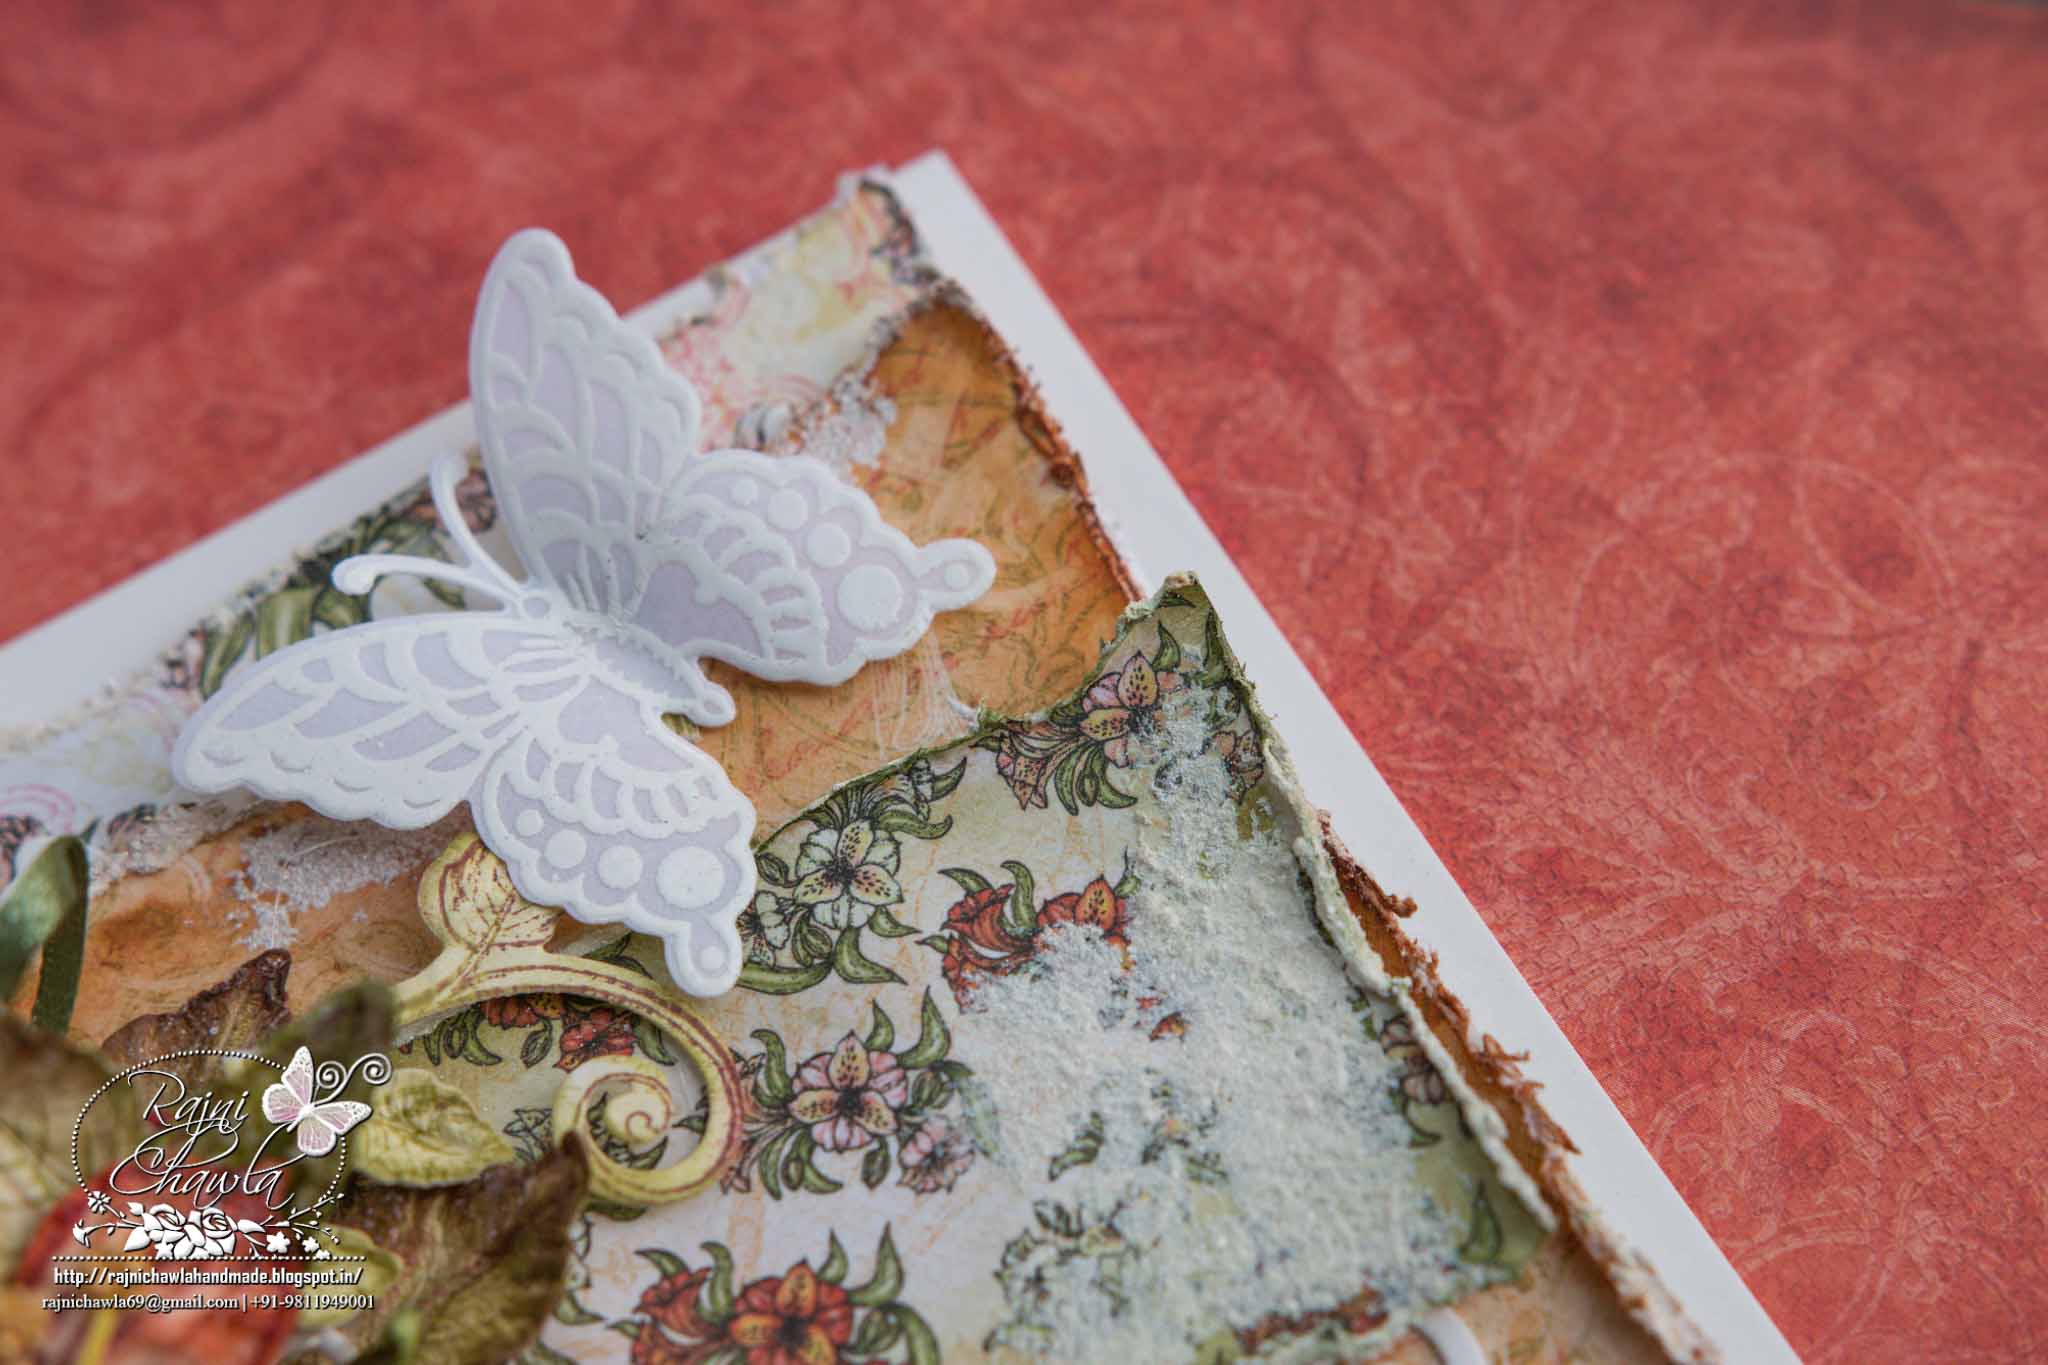
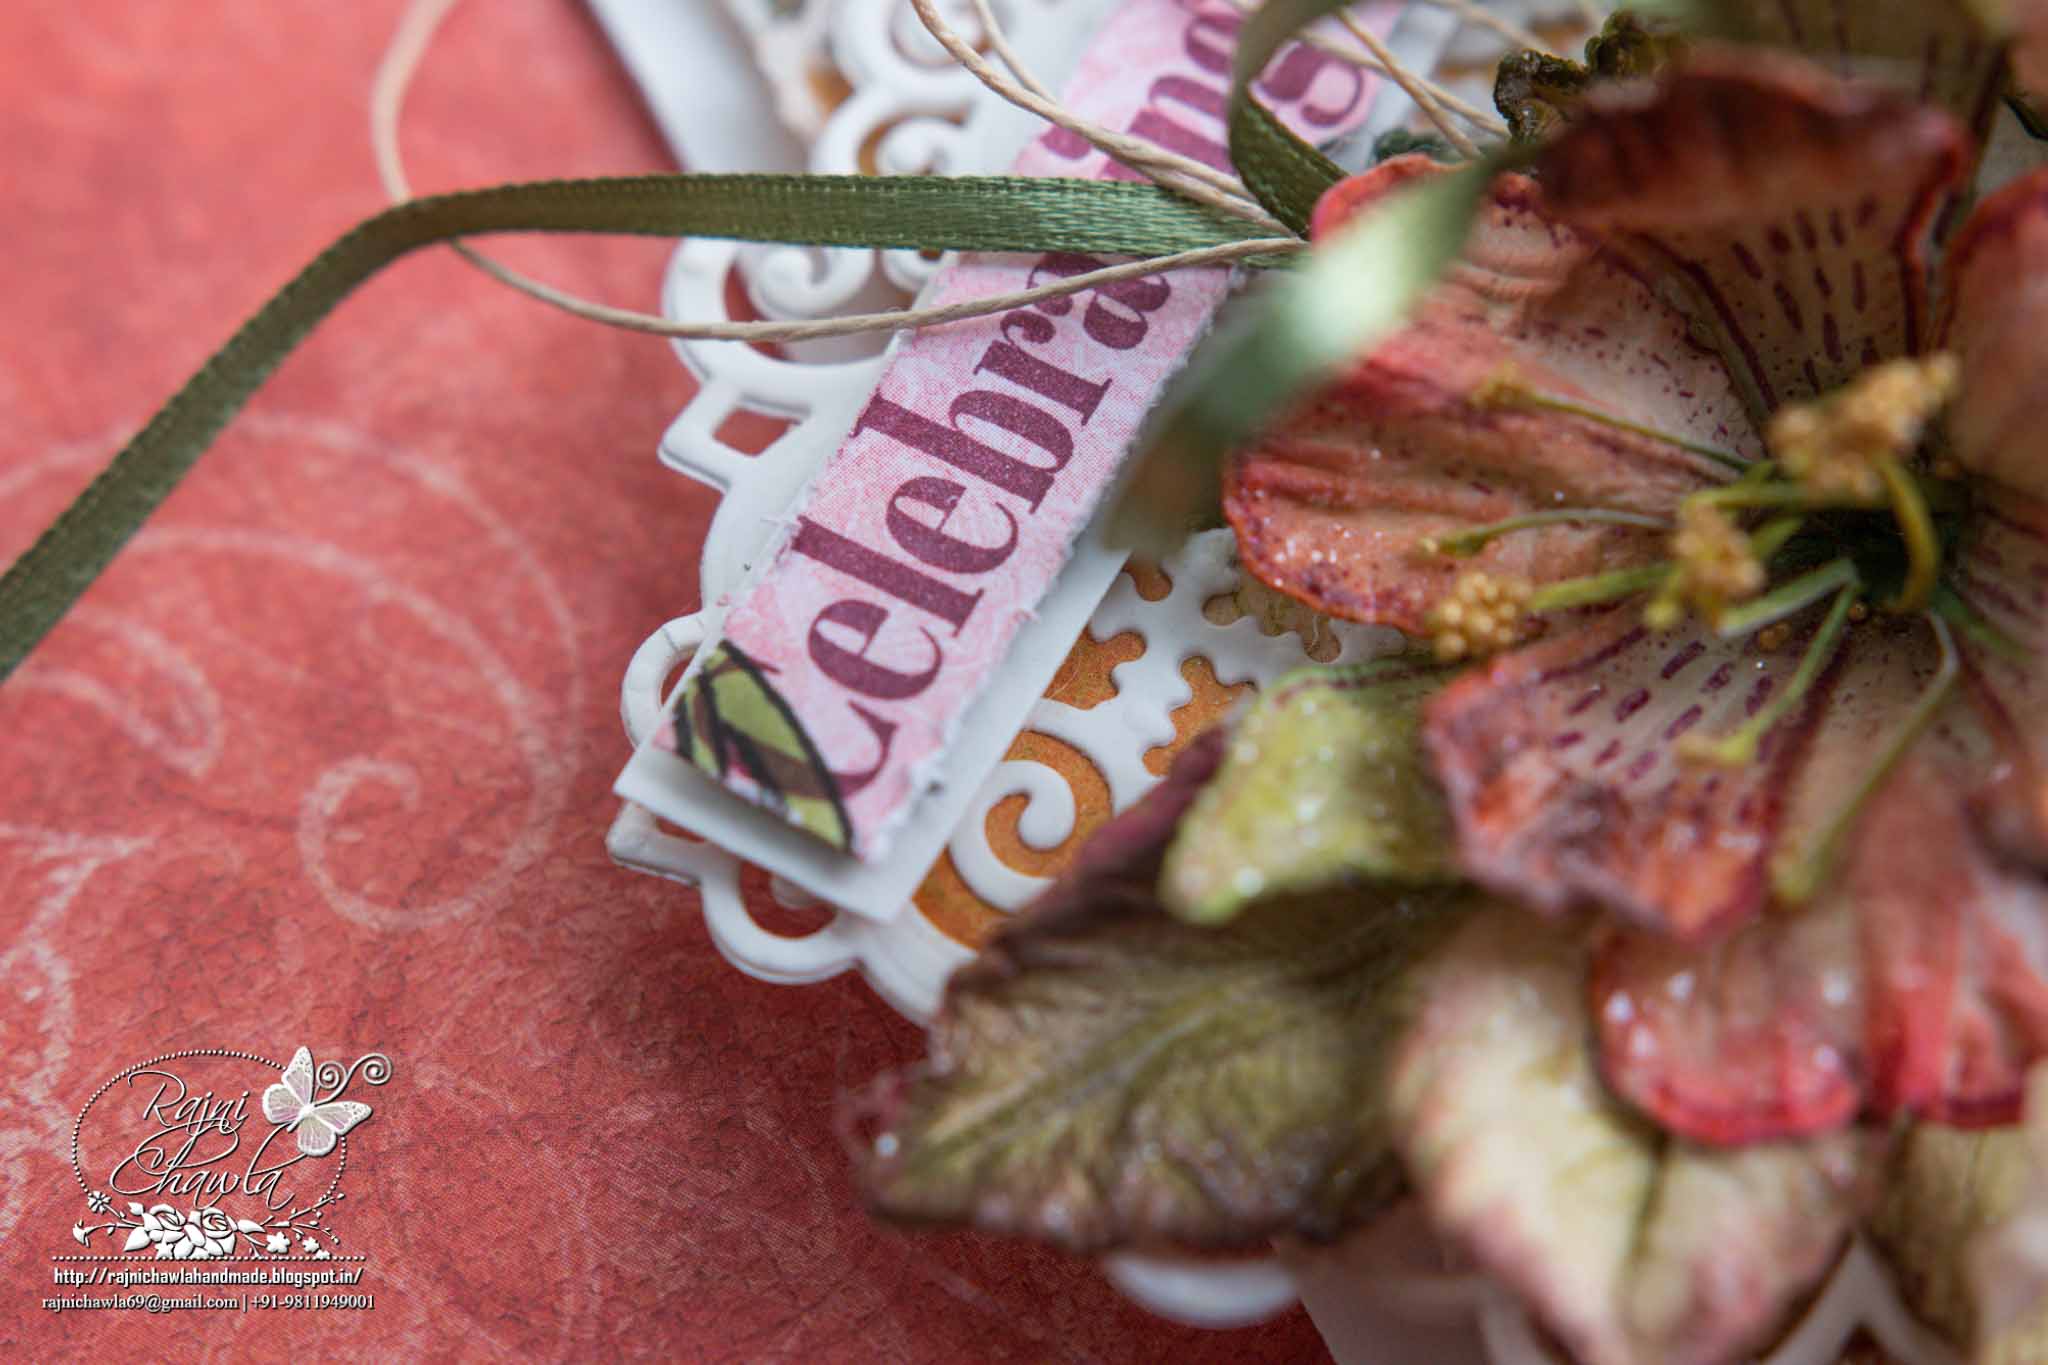
Celebrating Pink Orchids and Hummingbird

Posted by Rajni Chawla


Other Products used:
Spellbinder's Classic Circle Die, Spellbinder's Reflective Moments, Black cardstock, Smooth white cardstock., Zig Clean Clear Brush Markers,Fussy cutting scissors, Black Archival ink

Instructions:
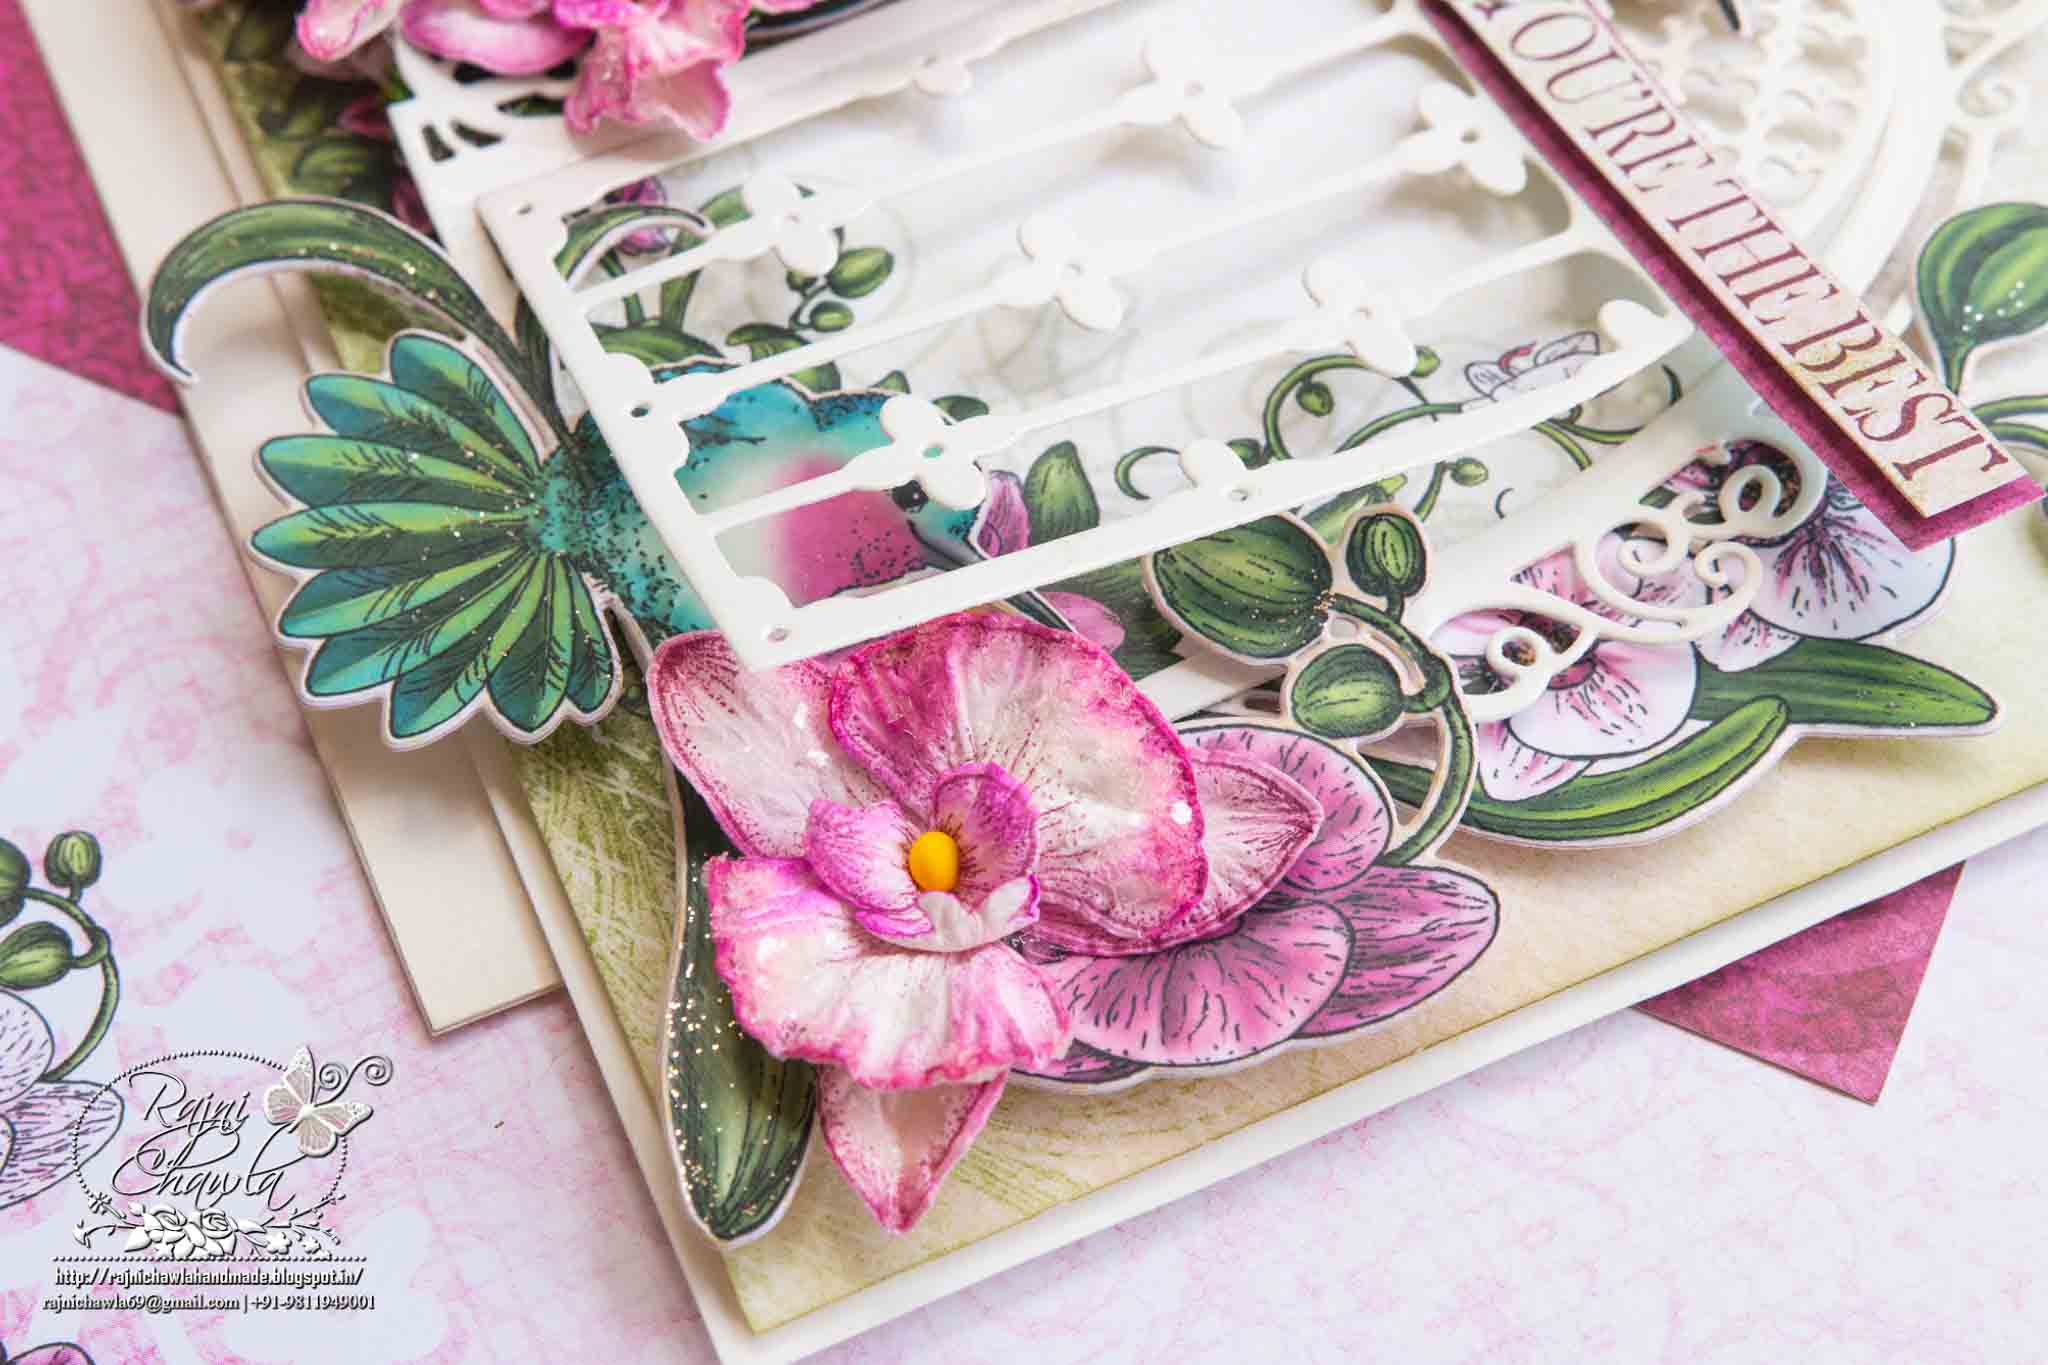
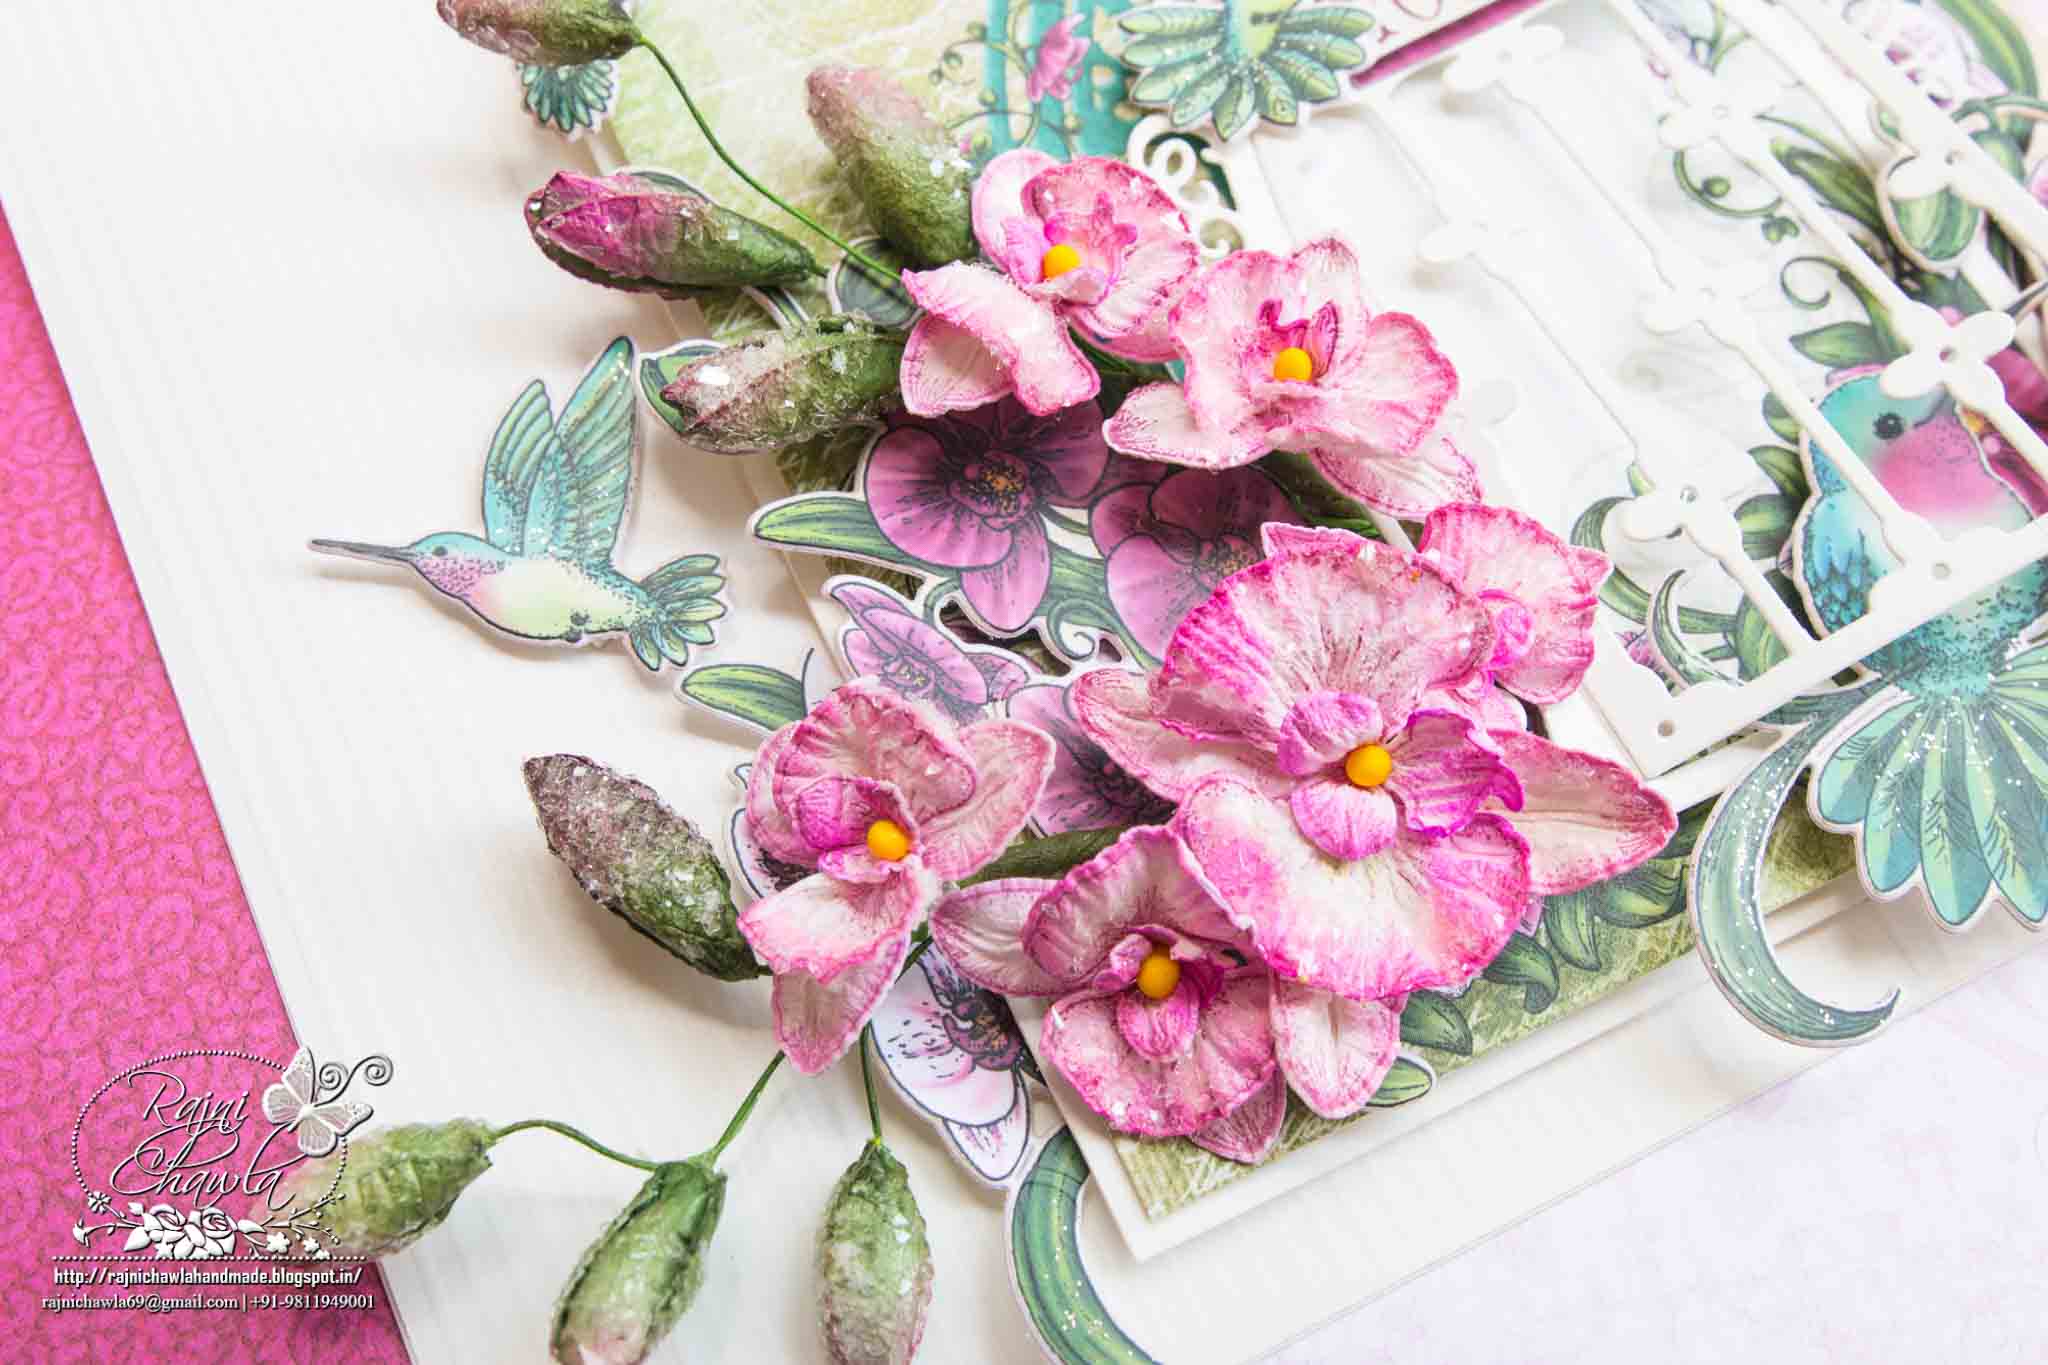
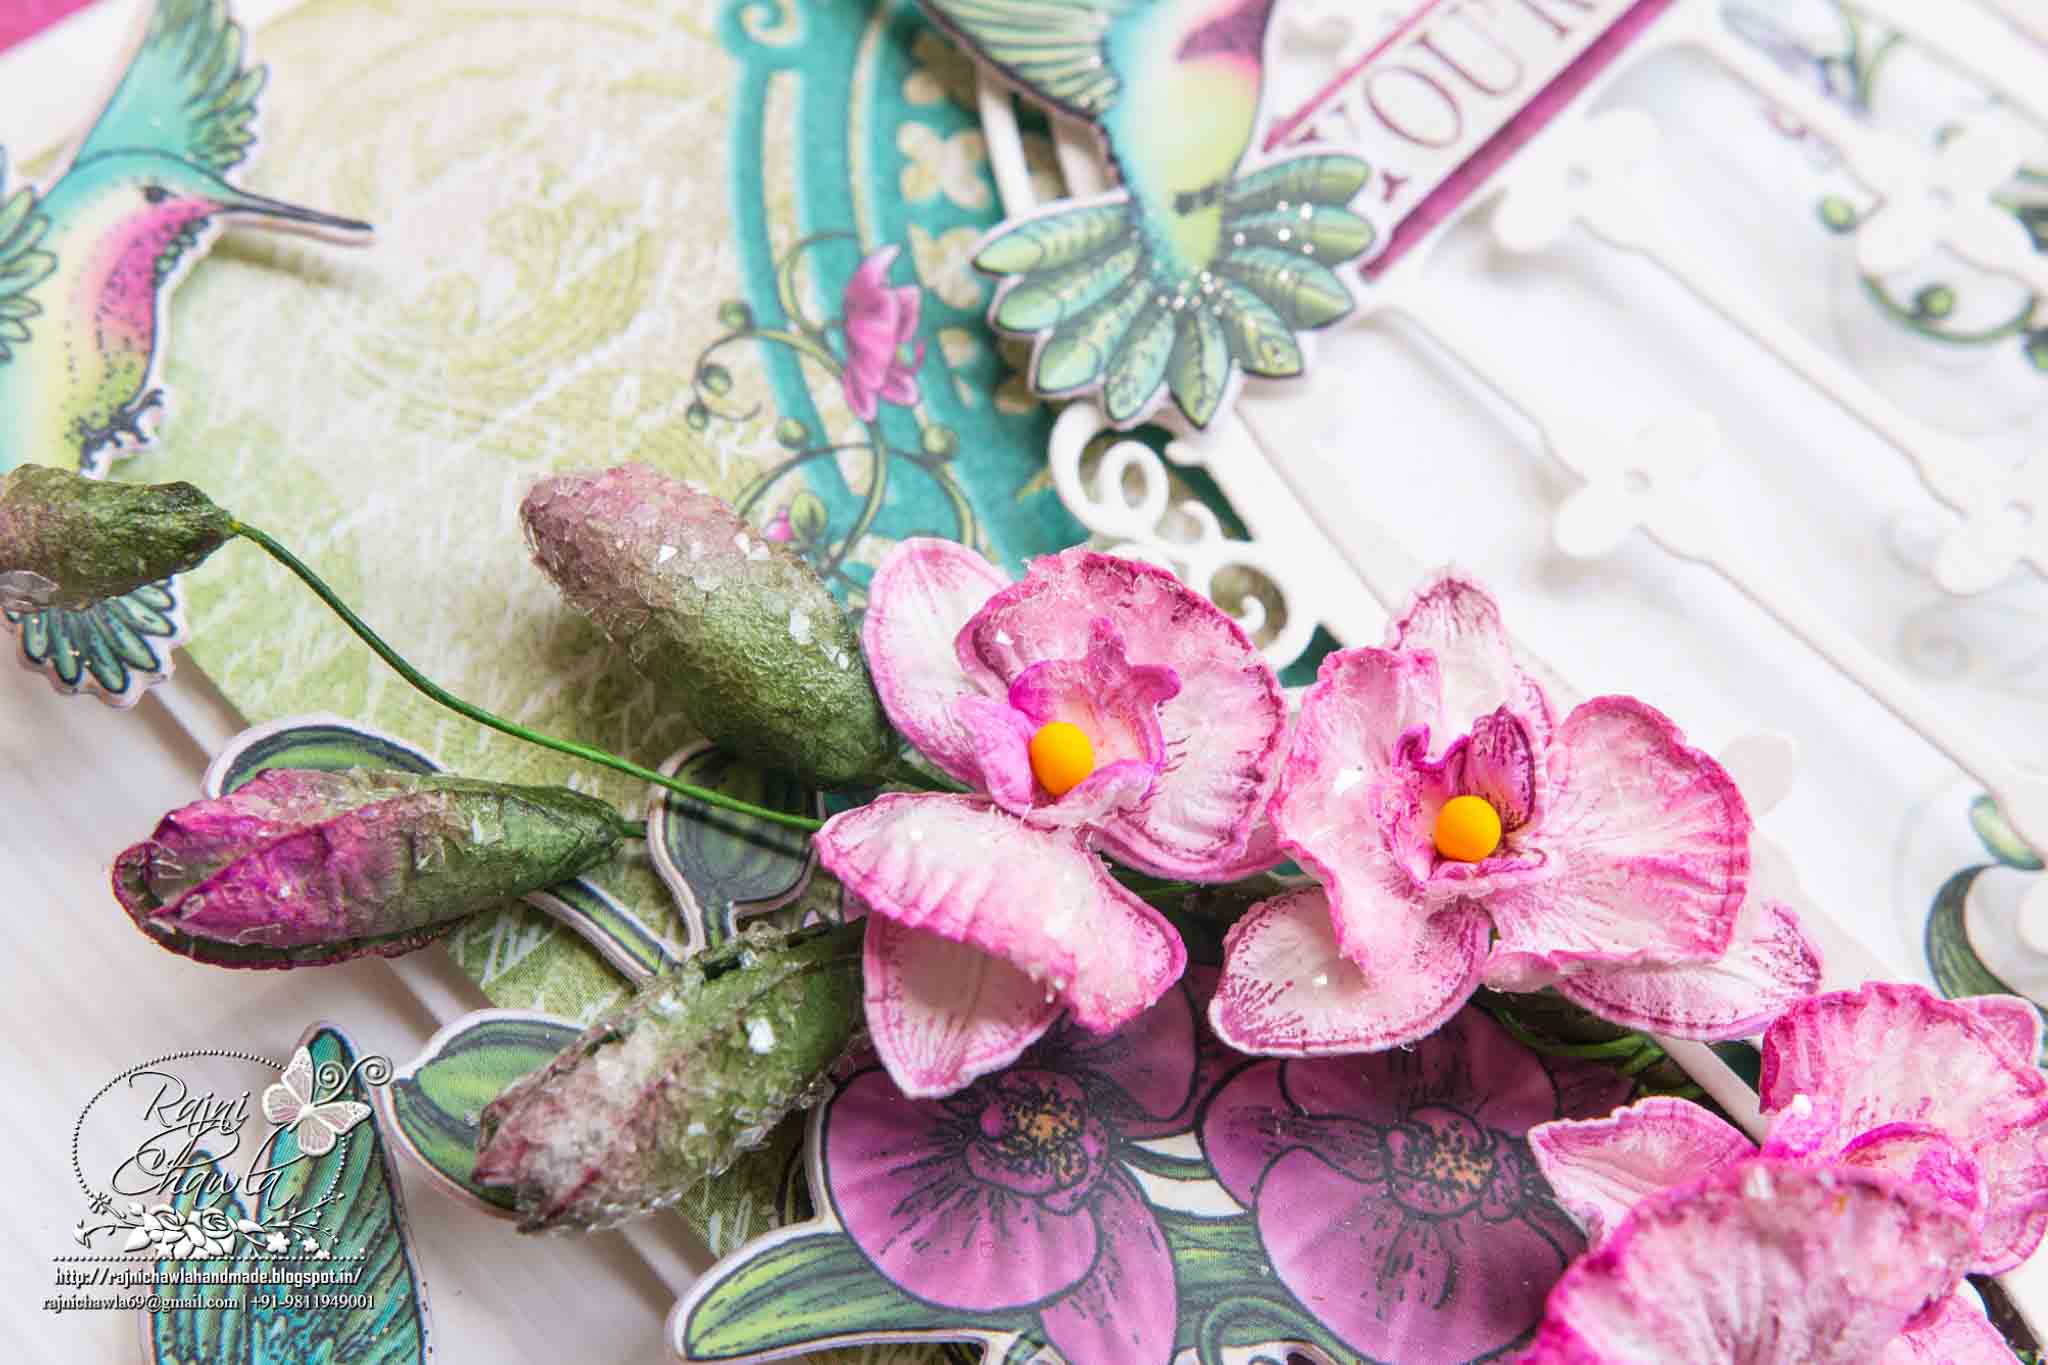
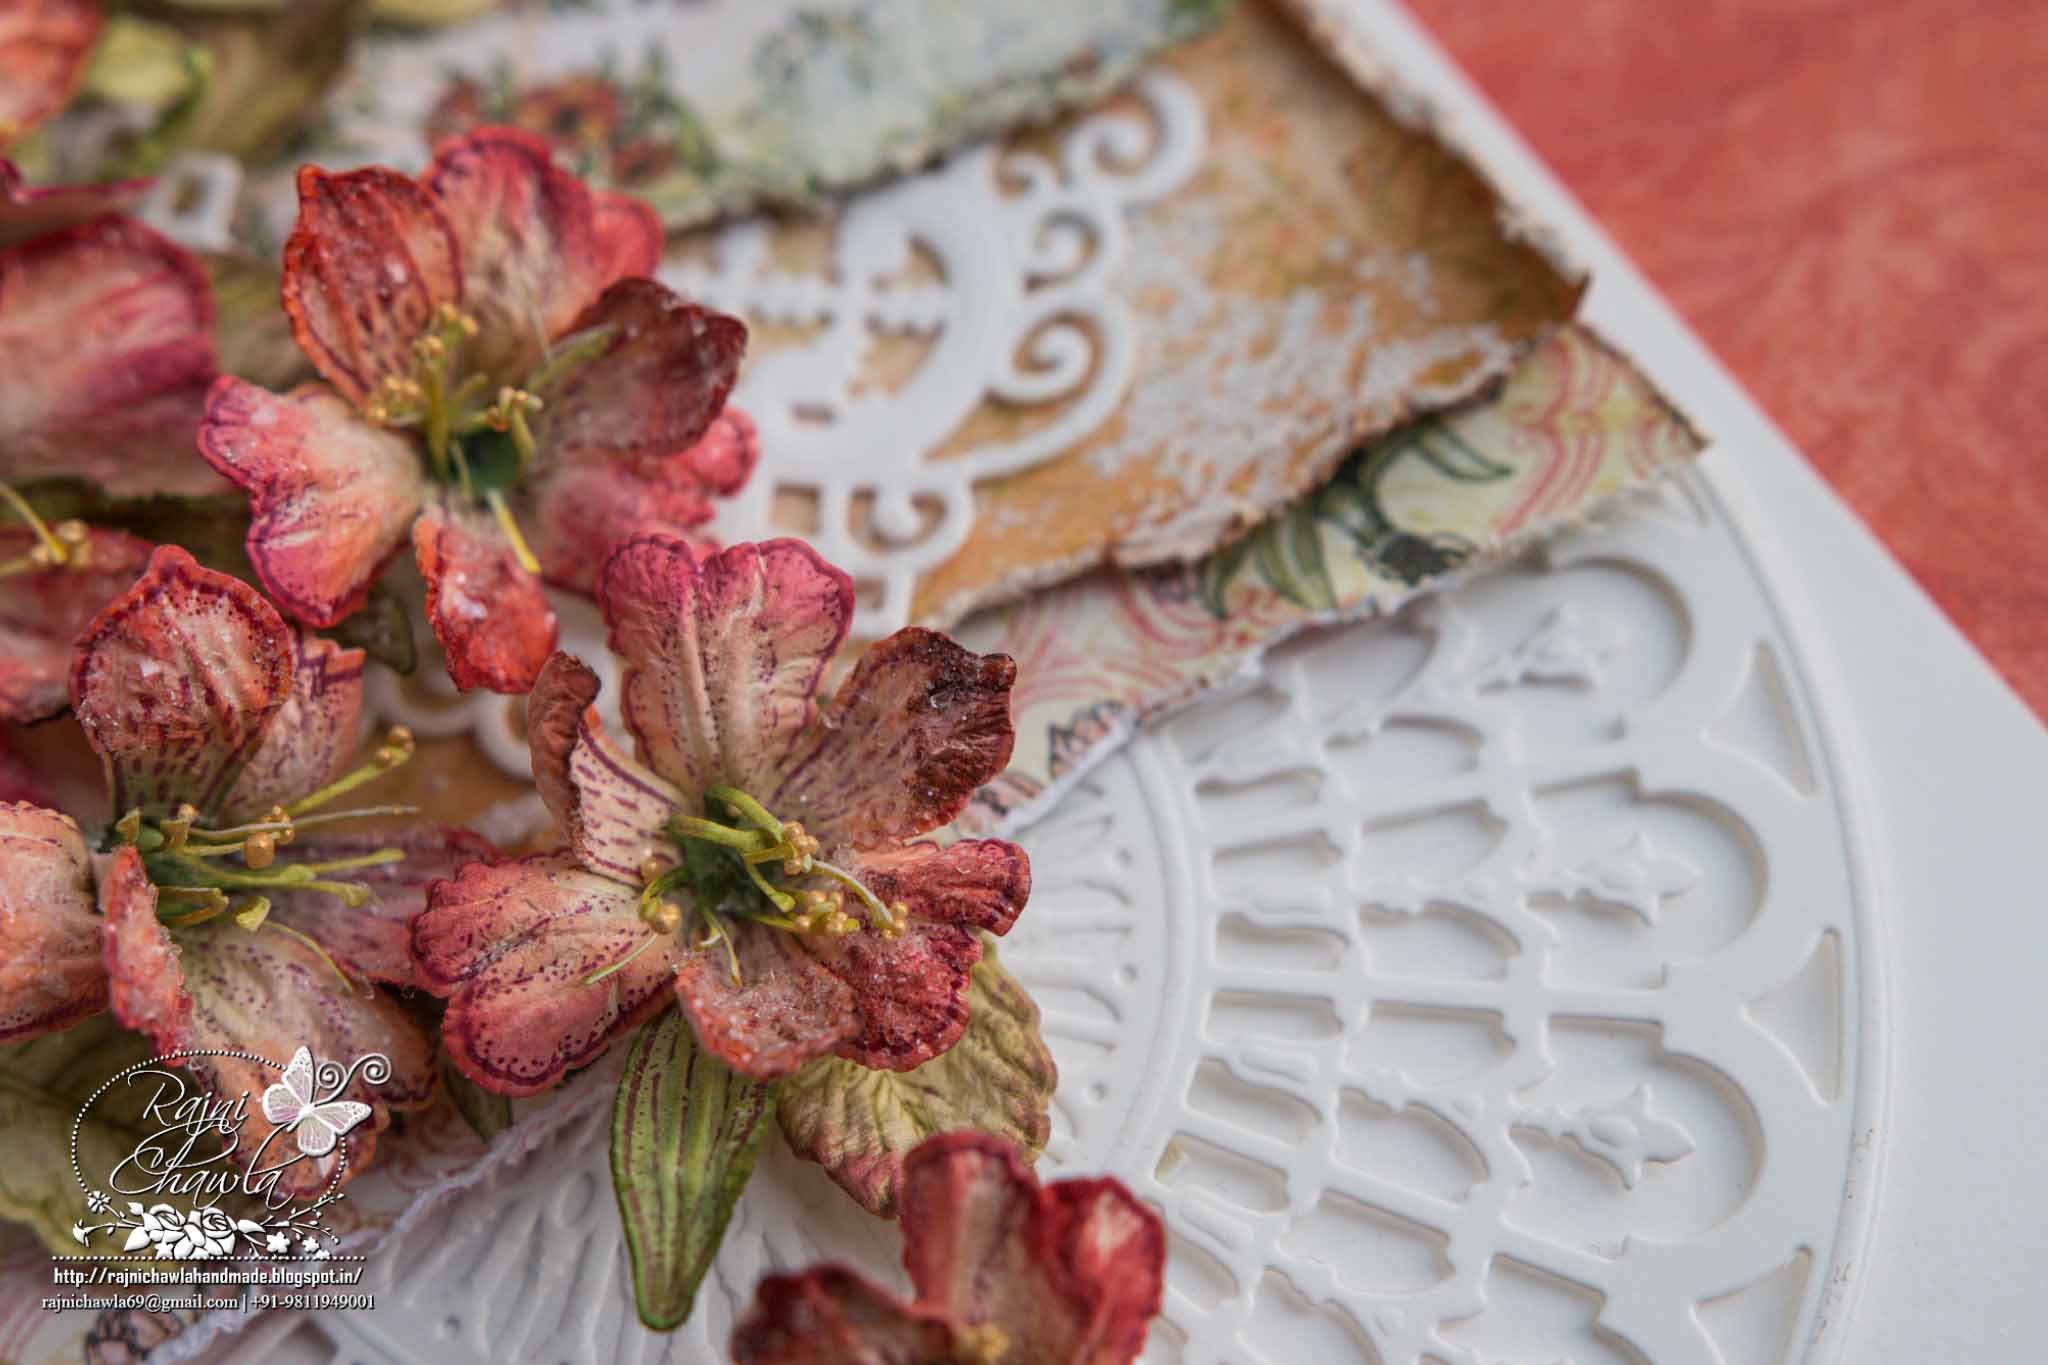
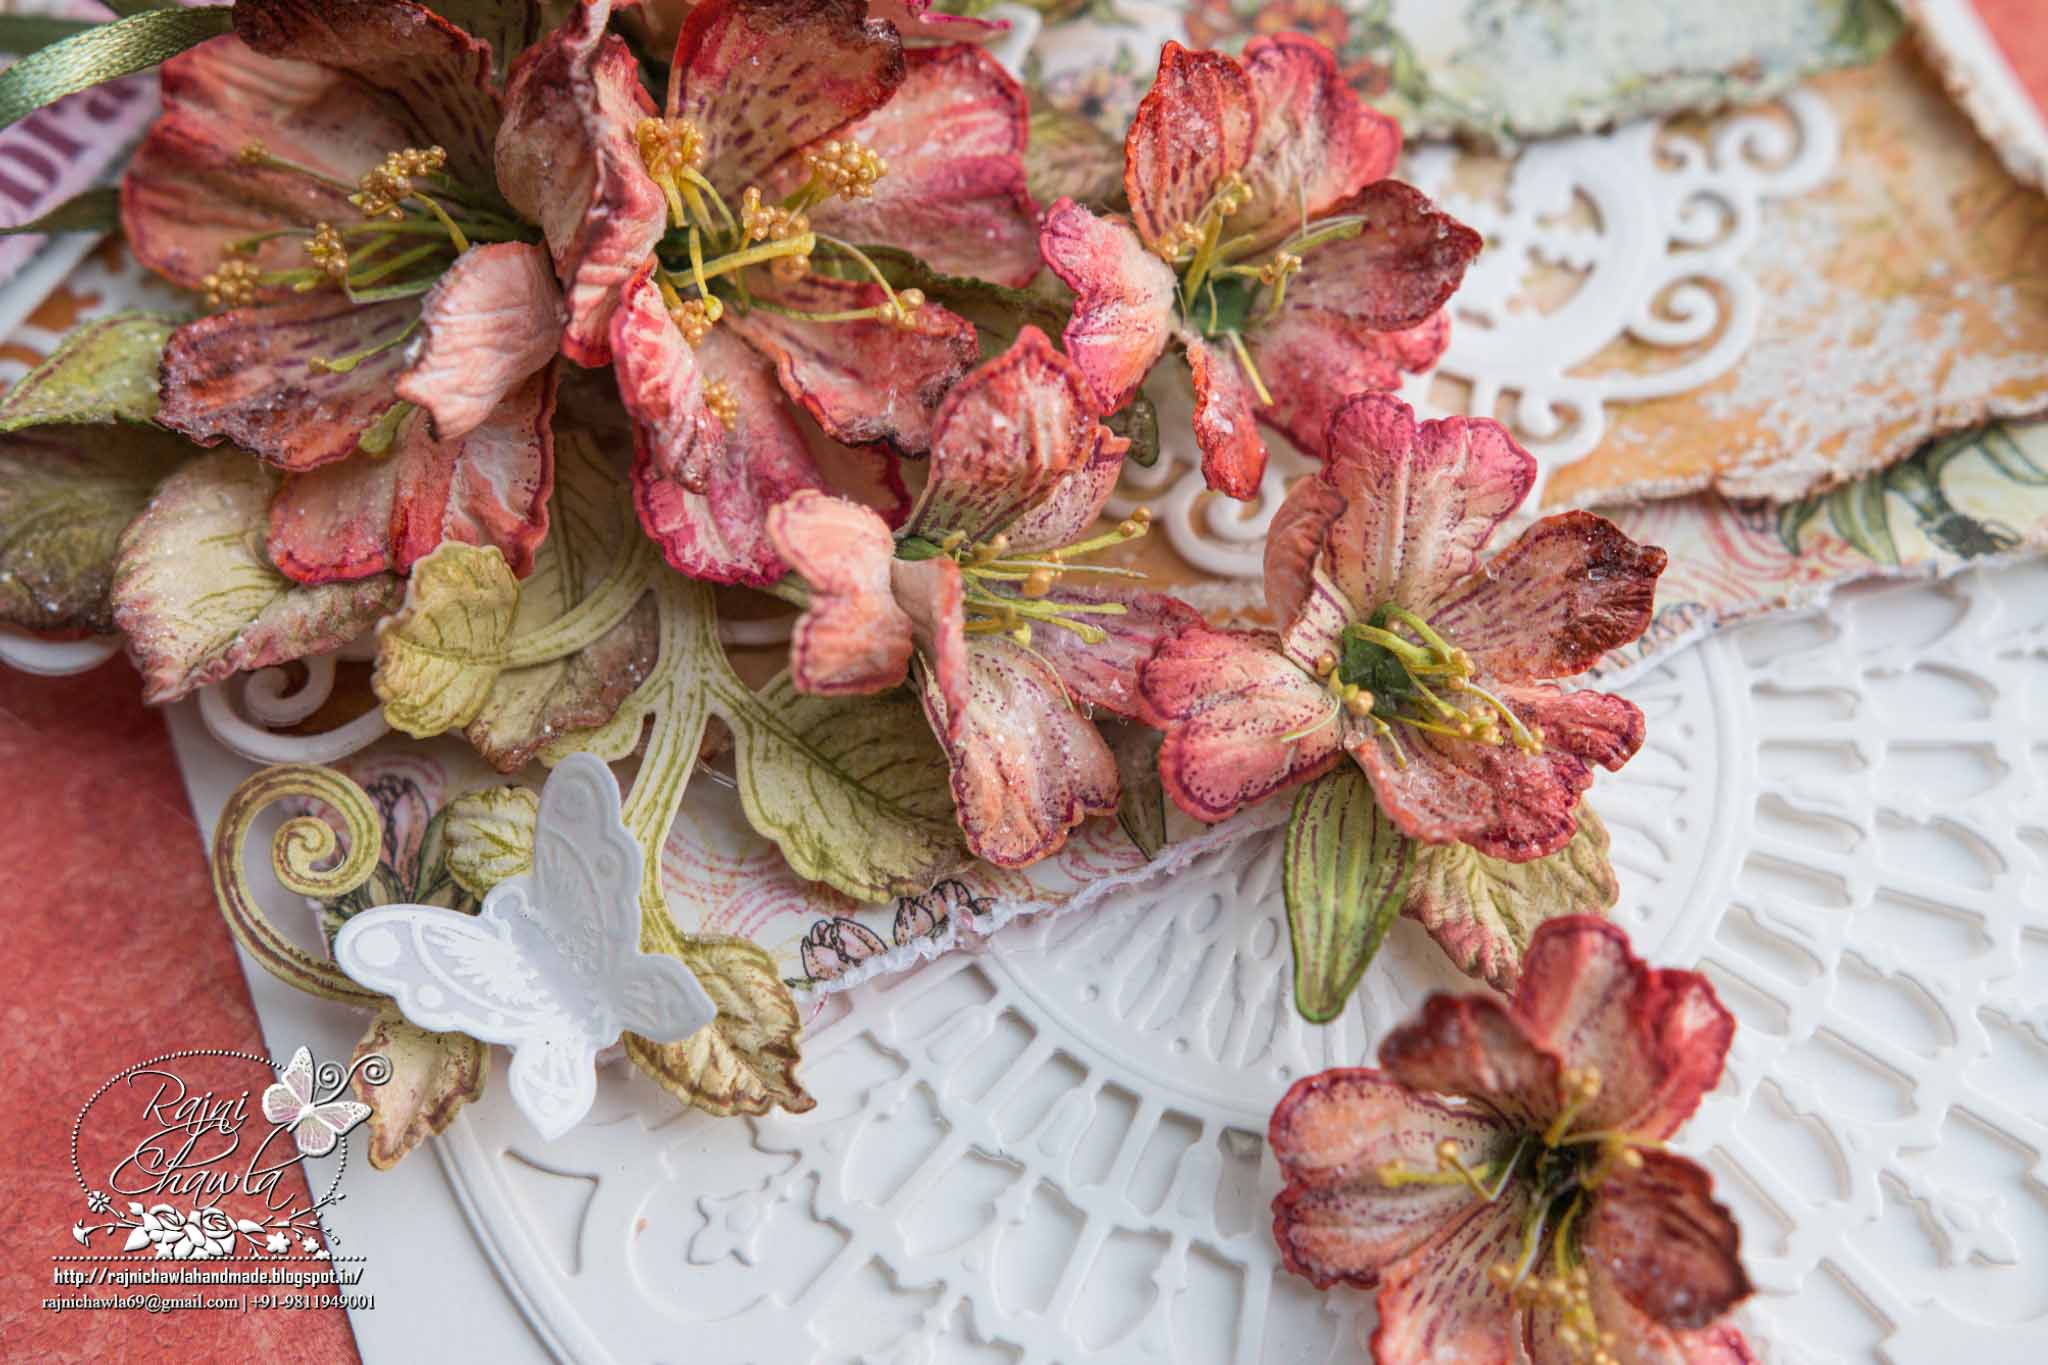
For flowers shaping and coloring, follow Emma's video (Insert the video). Make a spray of flowers by twisting flowers and buds together keeping the buds on top. For the circular window, nest outer 2 dies from Classic Circle die and cut one white frame. Again nest outer first and third die from the same and cut designer paper. Layer both the frames together using foam dots and stick acetate sheet. Mat a designer paper on the back creating a beautiful scene. For the bigger window, take one white die cut from Reflective Moment die and mat it with designer paper from the same collection and add acetate sheet on the back. Also, cut few embellishments from the same collection. For the Humming bird, stamp the image from Botanical Bouquet Cling stamp set multiple times using black archival ink. Color different layers using Zig markers and layer the image by adding dimensions using glue dots. Now assemble all the elements together as shown in the card. Complete the card by adding the sentiment from You Inspire Me Cling stamp set.


Tuesday, June 07, 2016

Pink Botanic Orchid Window Card

Posted by Rajni Chawla

Hello, friends...

It's mid of the year already ,also, it's second Wednesday of June and once again Heartfelt Creations is back with its new release.  I know, I know you are again getting tempted to their new release Botanical Orchids Collection. Showy, elegant and graceful, the divine orchid flower is one that is most certainly recognizable for its unique shape and known for taking center stage all on its own! Heartfelt Creations presents to you their newest collection…The Botanic Orchid. Overflowing with stunning floral images enveloped in soothing moss like greens, soft sky blues, creamy whites and flowery pinks, alongside rich burgundies and vibrant teals this collection is sure to appeal to any flower enthusiast. Intricate illustrations and die cuts of orchid blossoms and bouquets, accompanied by delightful hummingbirds and scripted sentiments will have you creating your very own botanical experience with hand shaped orchid flowers bringing a realistic touch to all of your paper creations! Preprinted sentiments along with those in the stamp collection are ideal for covering a wide range of occasions including weddings, friendship, sickness, encouragement and sympathies. As one of the oldest flower species in the world, this unusual blossom native to rainforests and jungles has also taken on beautiful meanings relating to each specific orchid color including innocence, grace, joy, respect, admiration, health, happiness and passion, making this the perfect flower to convey a silent but special message for friends and loved ones on any paper creation!

Products From Heartfelt Creations:

Other products used: 
Smooth white card stock, scoring board, wired pollens, green floral tape, glue gun, cutting machine, clear rock candy glitter. Archival ink Plum

Instructions:
For flowers: Stamp, color and die cut the flower images using Botanical Orchid stamp and its coordinating die. For shaping follow the video by Emma Lou here.  Create a spray of flowers by using 2--3 buds on the top. Cut a window panel and the window from smooth white card stock by placing all the three window dies together. Make a very thin hinge from regular card stock and attach the window to the panel on left side. Match a designer paper and mat it on the backside of the window panel. Cut the Humming birds and Botanical Orchid Bouquet from the designer paper. Now choose 6 X 6 inches designer panel and distress all the edges with peeled paint. Layer the panel with white card stock using glue dots. Assemble all the elements as shown on the front panel. Create a side open card of 7” X 6” with a front all scored at 1/8th of an inch and adhere the front panel little on the right side of the card. Finish the card by adding a sentiment from You Inspire Me Cling Stamp set. Add a little glitter to enhance all the embellishments.

Here are the pictures:

13288699_10208313953823195_848259554_o


Heartfelt Stuff (19)


Heartfelt Stuff (21)


Heartfelt Stuff (22)


Heartfelt Stuff (23)


Heartfelt Stuff (20)


Heartfelt Stuff (26)


Heartfelt Stuff (25)


Heartfelt Stuff (27)

Wednesday, June 01, 2016

Victorian Plum Lilies: Card using Sunrise Liliy Collection

Posted by Rajni Chawla

Its Wednesday again and I m here back again with another weekly inspiration for Hearfelt Creation products. Today I m sharing a quick card with beautiful victorian Plum Lilies that I made few days back using Sunrise Lily Collection. 

Heartfelt Creation products :

Other Products Used: Smooth white cardstock, Archival ink Plum, Vellum Sheet, Spellbinder’s Victorian Arch Die, twine, ribbon, heat gun, Tim Holtz's distress tool, Versa mark ink.
Instructions:
For flowers: Stamp, colour, cut and shape the flowers by following Emma Lou’s video ( insert the link). To create the front panel of the card, hand cut the designer paper as shown and distress all the edges using distress tool. Layer all the papers together using foam tapes. Adhere the die cuts as shown and create a small lily bouquet. For butterflies, stamp the image using Versamark on vellum sheet and heat emboss the images using white heat embossing powder. Cut the images using Butterfly Medley Die. Tie a small bow and add the sentiment to finish the card.


13288618_10208314177268781_168448043_o


untitled-7


untitled-11


untitled-9


untitled-8


untitled-10


untitled-15

Tuesday, May 24, 2016

White and Teal Sea Life: Card using Under the Sea Collection

Posted by Rajni Chawla


Good morning all,

It's third Wednesday of the month and that means time to share new inspiration and the next month release for Heartfelt Creations. Today. Don't forget to check the amazing creations by my team members at Heartfelt Creations Blog. Also, you can check the new release Botanical Orchid Collection Here.   I'm sharing White and Teal Sea Life in my card using Heartfelt Creation Under the Sea Collection.

Products from Heartfelt Creation:

Under The Sea Die:    HCDI 799
Under the Sea Cling Stamp Set:   HCPC 3739
Heartfelt Wishes Cling Stamp Set:   HCPC 3740
Coral Reef Collage Cling Stamp Set:   HCPC 3738
Tropical Hibiscus Cling Stamp Set : HCPC 3736
Tropical Hibiscus Die HCDI :   796
Bella Rose Leaves Cling Stamp Set :  HCPC 3390
Bella Rose Die HCDI :   712
Rain Drops and Roses Die :  HCDI 743
Crystal Ultrafine Transparent Glitter
Memento Ink pad: Cottage Ivy
Designers Dry Clear Adhesive
Bright Ideas Prills: ANC 852
Deluxe Flower Shaping Kit
Double Dots DDOTS


Other Products Used:

Ranger white heat embossing powder, Scoreboard, Smooth white Card Stock,
Spellbinders Classic circle die, Mermaid Lagoon Distress Ink, Spellbinders Victorian Arch die, Versamark Ink, Heat tool, Clear UTEE, Glitters, Zig Markers And Koi Brush.

Instructions:


For flowers stamp the Tropical Hibiscus Cling stamp with Versa mark on vellum sheet and heat emboss it using white heat embossing powder. Die cut the flowers using Tropical Hibiscus Die and shape the flowers as shown by Emma Lou in the video here. The front panel measures 7” X 5” . Distress one corner with Mermaid Lagoon Distress Ink and stamp the image as shown with blue Archival Ink. Score panel at1/8th of an inch. For shells, stamp the images in shades of blue archival ink fussy cut. Dab Versa mark on images and put clear UTEE. Heat set them and shape them when little warm. For fish , stamp the image with black Archival and paint using Zig Clear Brush Markers. Die cut it using Under the Sea die. For the top of the card, layer the dies shown using foam dots and assemble the arrangement using shaped flowers. The sentiment is stamped using blue Archival using Heartfelt Wishes Cling Stamp set. I have used the masking technique to create sentiment in one line.


Here are the pictures for all details:


Hope you liked my card and got inspired. Thanks for dropping. I would love to read your lovely comments. That really boosts my confidence. 


Tuesday, May 03, 2016

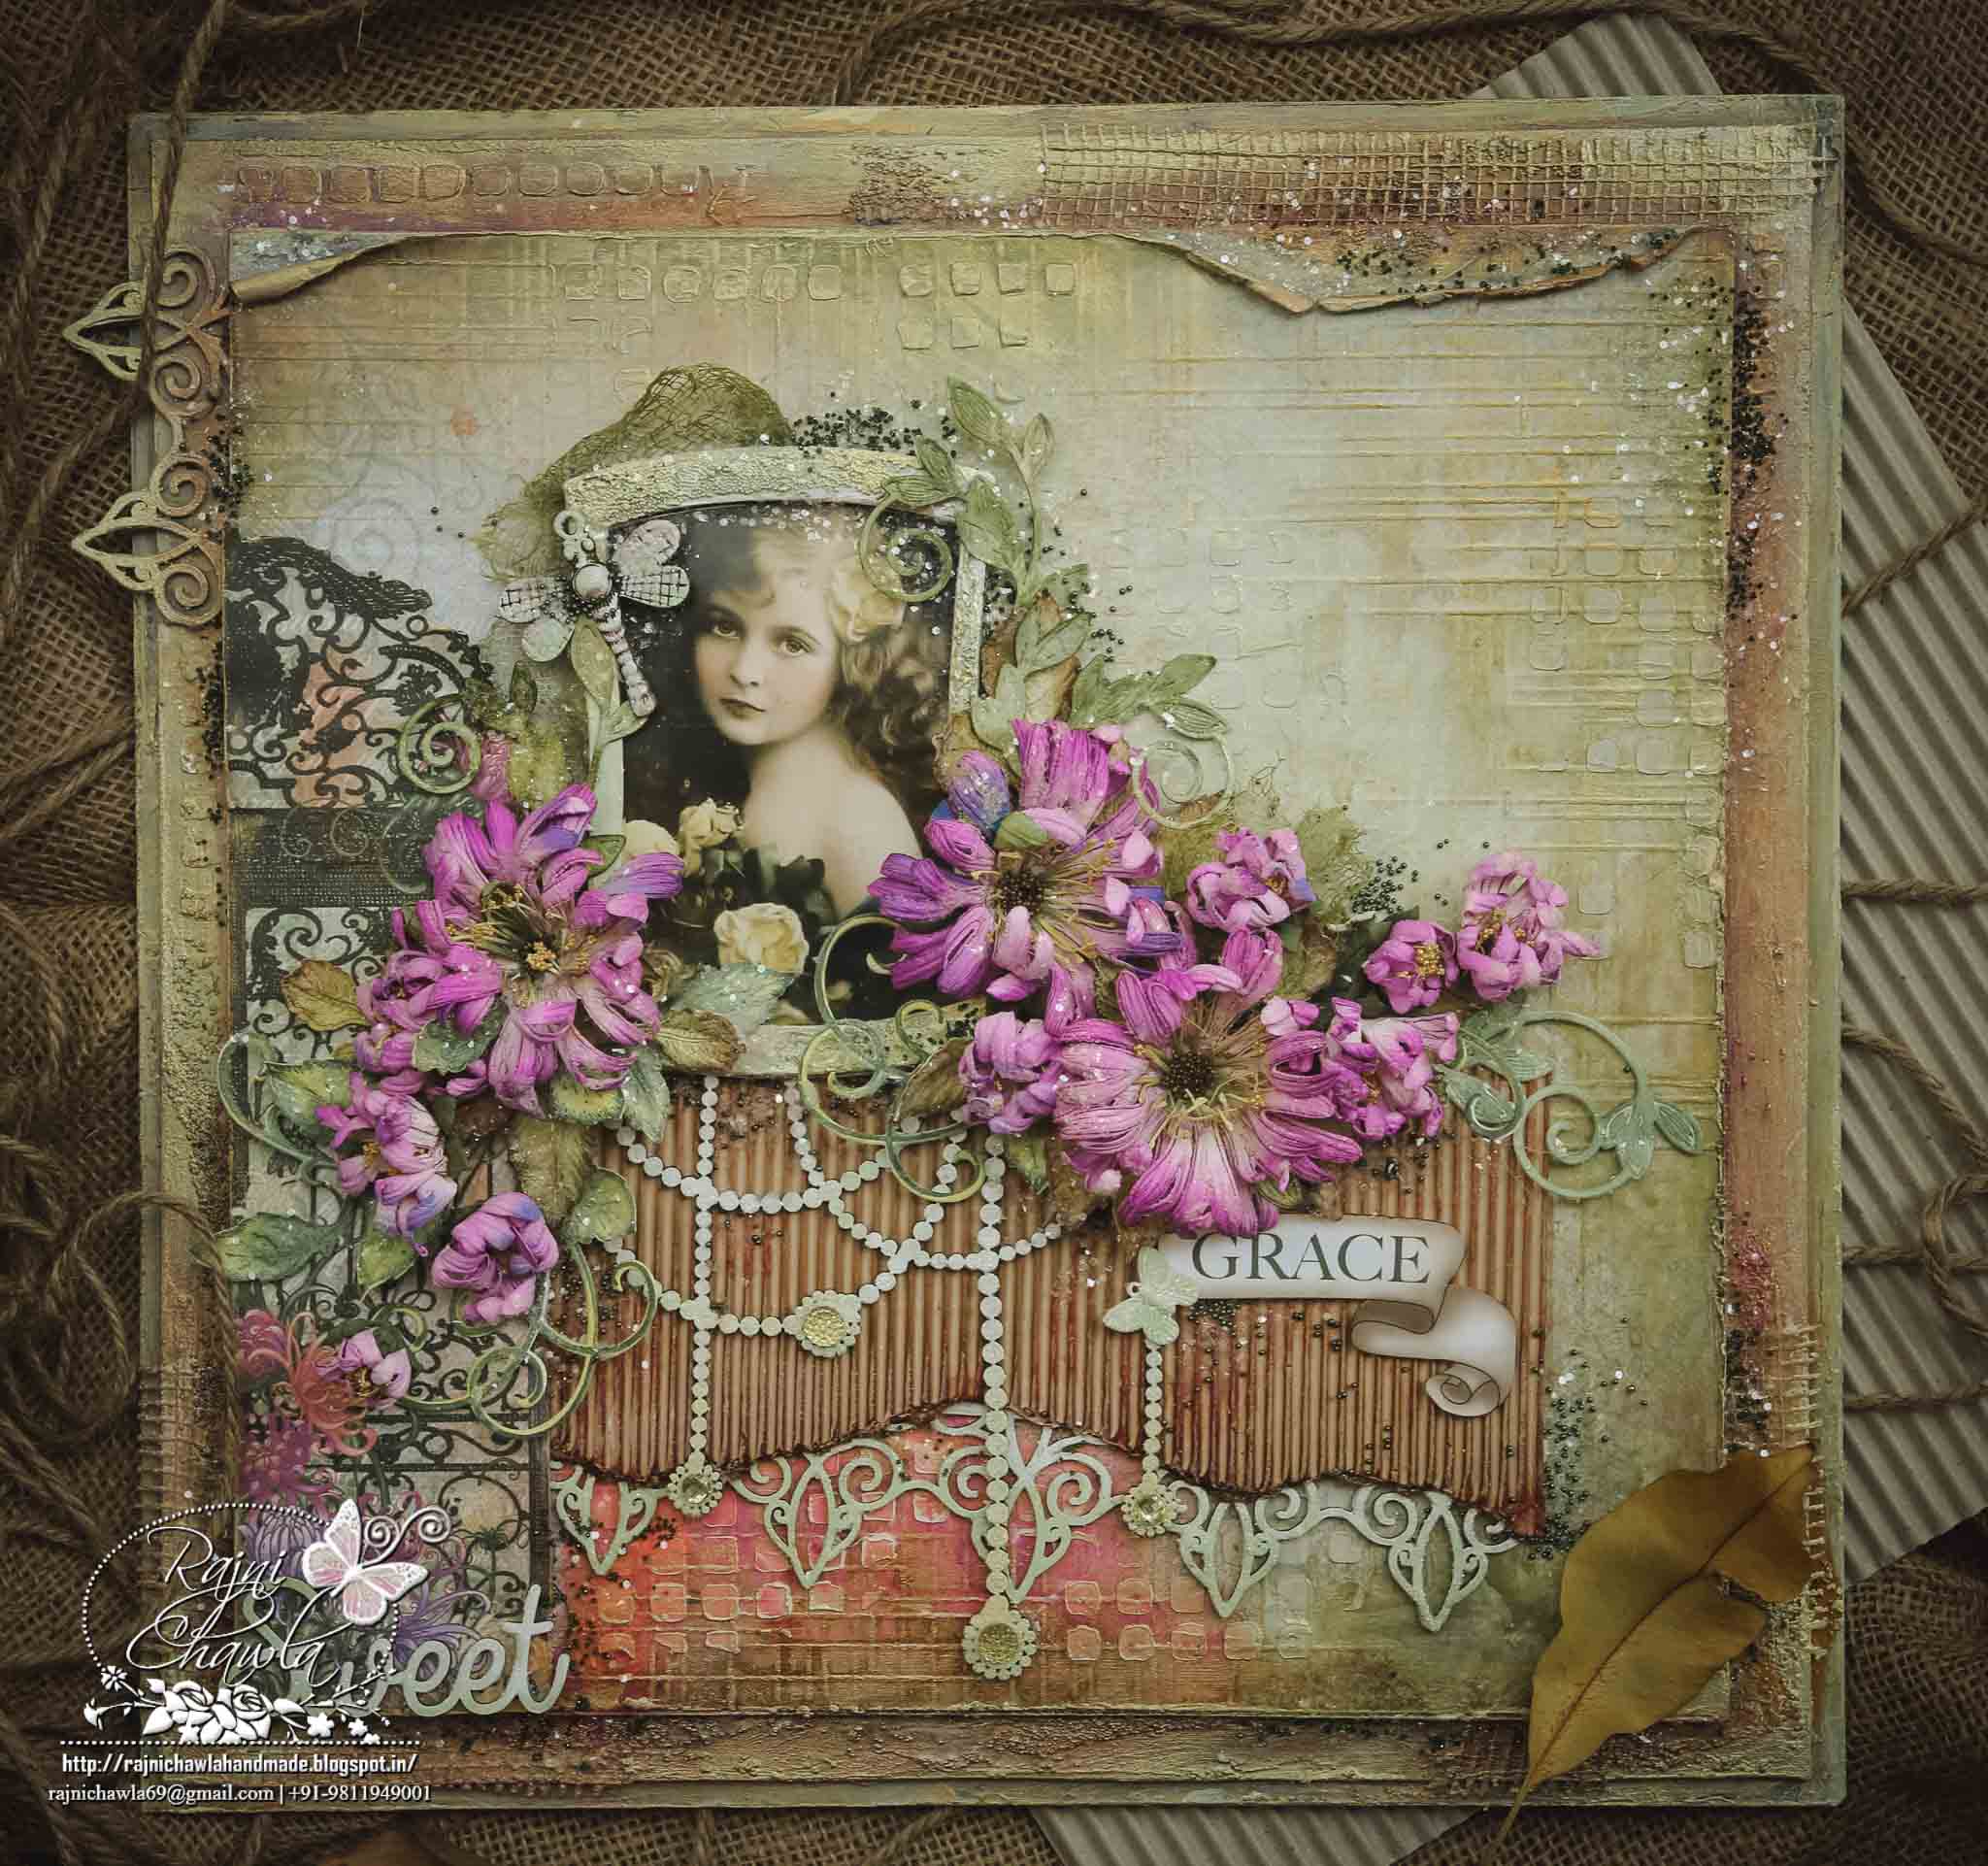
Grace: Layout using HC Enchanting Mum Collection

Posted by Rajni Chawla

Good morning friends!!

I am so thrilled and excited to see myself on Heartfelt Creation's board. It's a dream team. God has given me a wonderful opportunity to enjoy this beautiful world of crafting and to meet few more talented crafters across the globe. I know it's going to be a fun learning time with HC family. Today, I am on board with my very first project as a Heartfelt Creations Design Team!
Though I was bit nervous while creating this project as I entered my craft room after many days due to my ill health, but I have surely tried my level best to inspire you.

Full View of the layout: 

HFC 30th April-14


HFC 30th April-13

Heartfelt Creation Products Used: 


Other products:

Archival inks Library Green, Clear Rock Candy Glitters, Stickles, Heavy Gesso, Silk Glaze, Micro beads, Dusty Attic Chipboards, Texture Paste, Prima Stencils, Heavy Chipboard, Dry Mech, Spellbinder’s Wonky Rectangles, mists /sprays and Acrylic paints, fussy cutting scissors.

Instructions for Flowers and leaves:
 Follow Emma Lou’s video below for shaping Enchanting Mum Flowers.


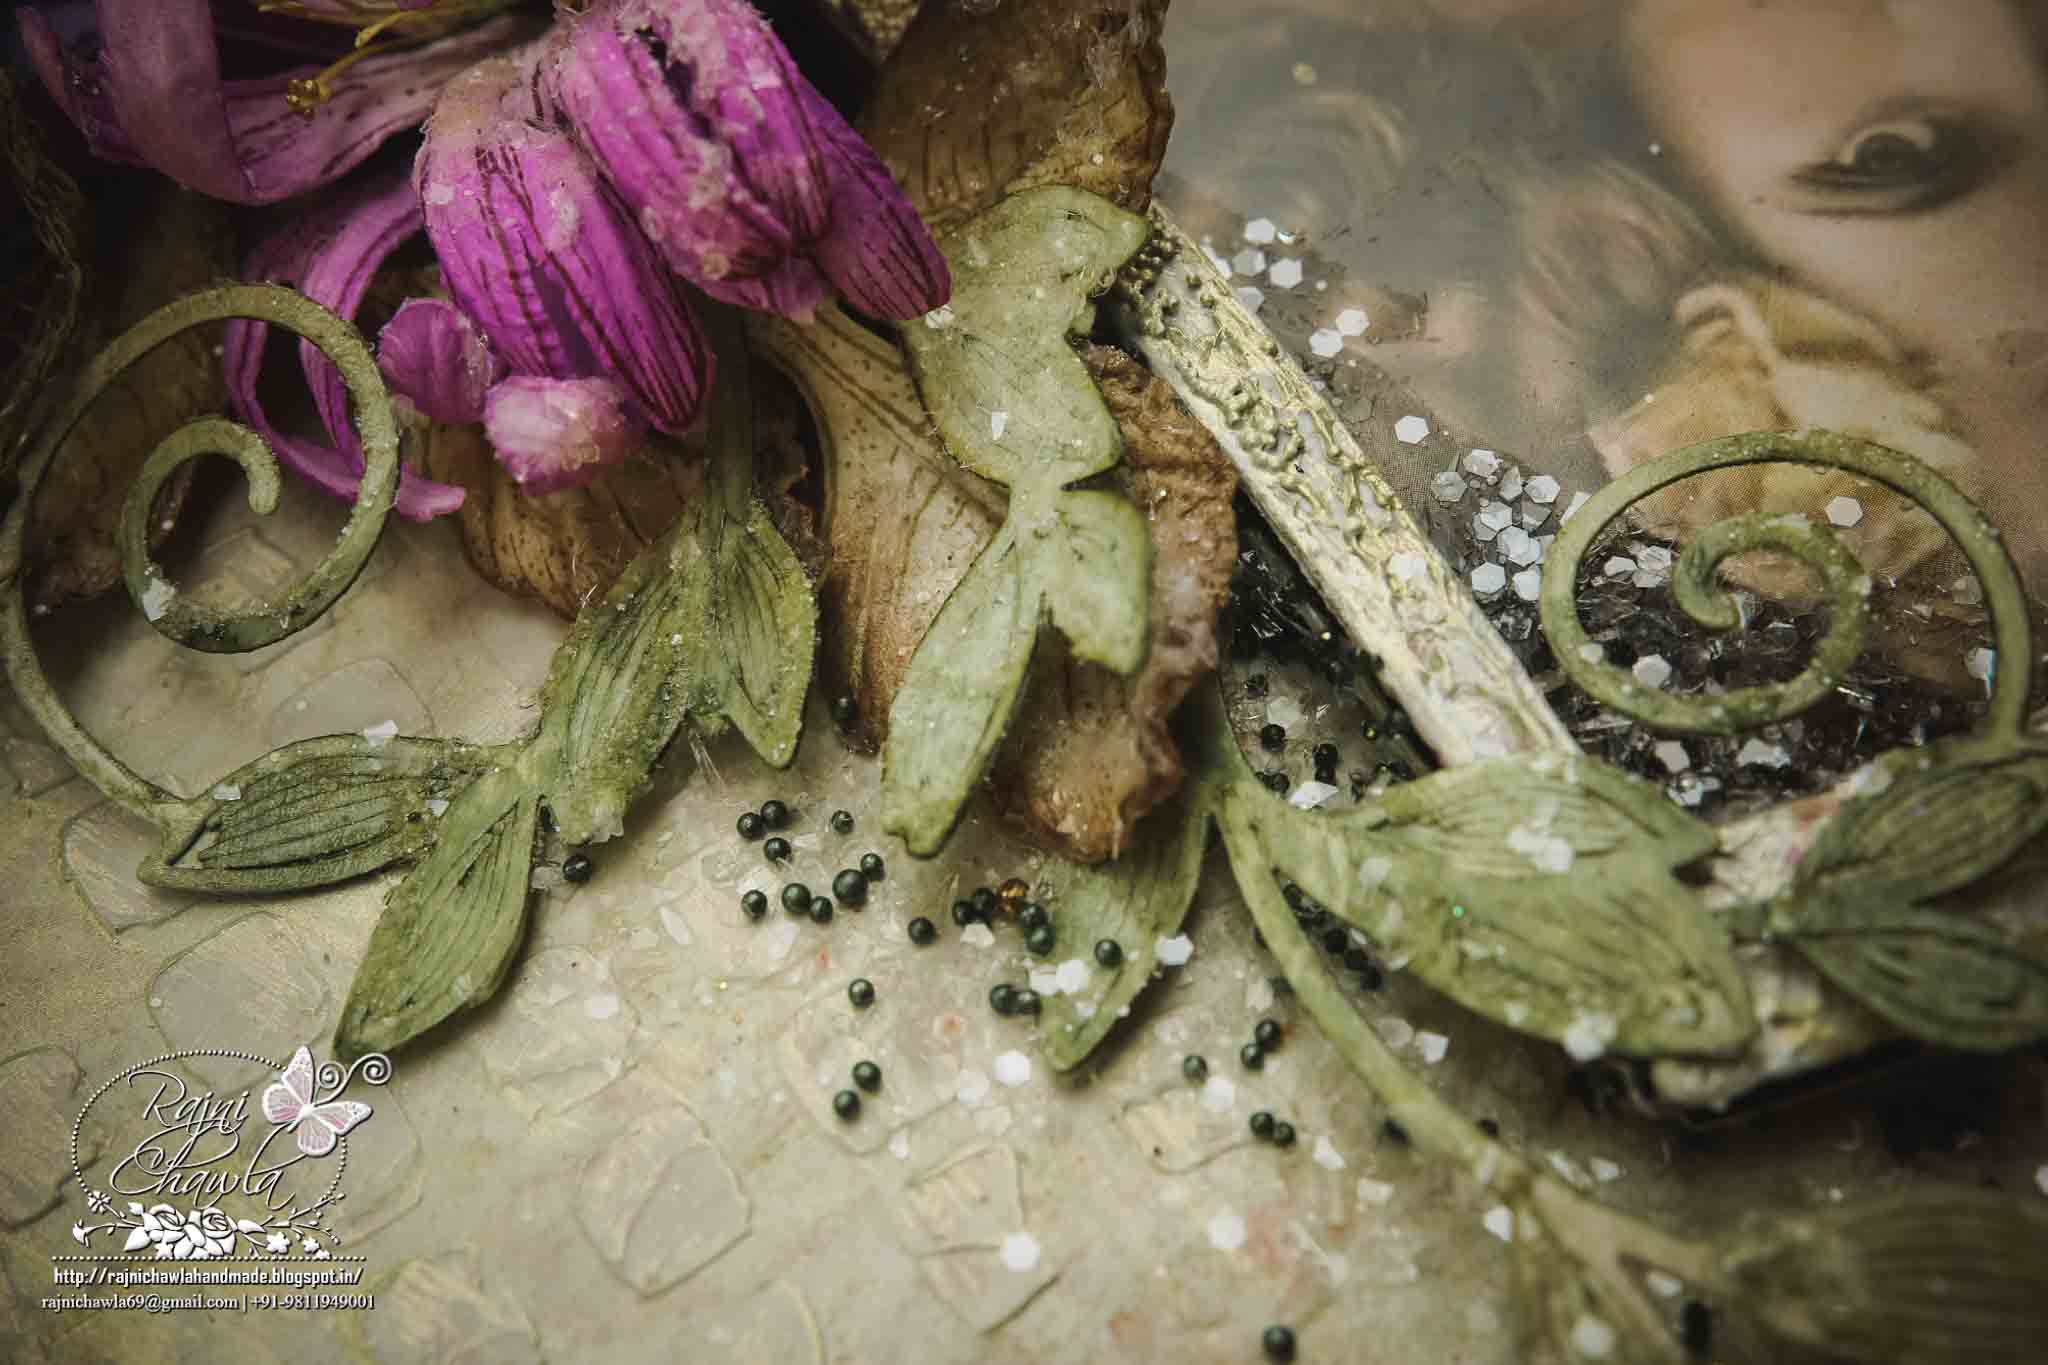
The flower centres are made using stamens of Sunrise Lily die. Paint the stamens with ColorBox Fluid Chalk Ink Pad – Harvest and Lime Pastel and split them in half. Add Prills using - Art Institute Glue that Dries Clear. Leaves are all stamped with Library Green Archival Ink and painted with ColorBox Fluid Chalk Ink Pad - Lime Pastel. Leaves and flowers are shaped using Deluxe Flower Shaping Kit.

Instructions for Vintage Girl Frame:
 The vintage girl image is downloaded from Pinterest. Nest outer two dies of Spellbinder’s Wonky Rectangles with heavy cardstock and make a frame for the vintage girl image. Give a light coating of texture paste on the frame and sprinkle micro beads and leave it for drying. Once dried apply matching shades of acrylic paint and paint the frame.

Instructions for Layout:
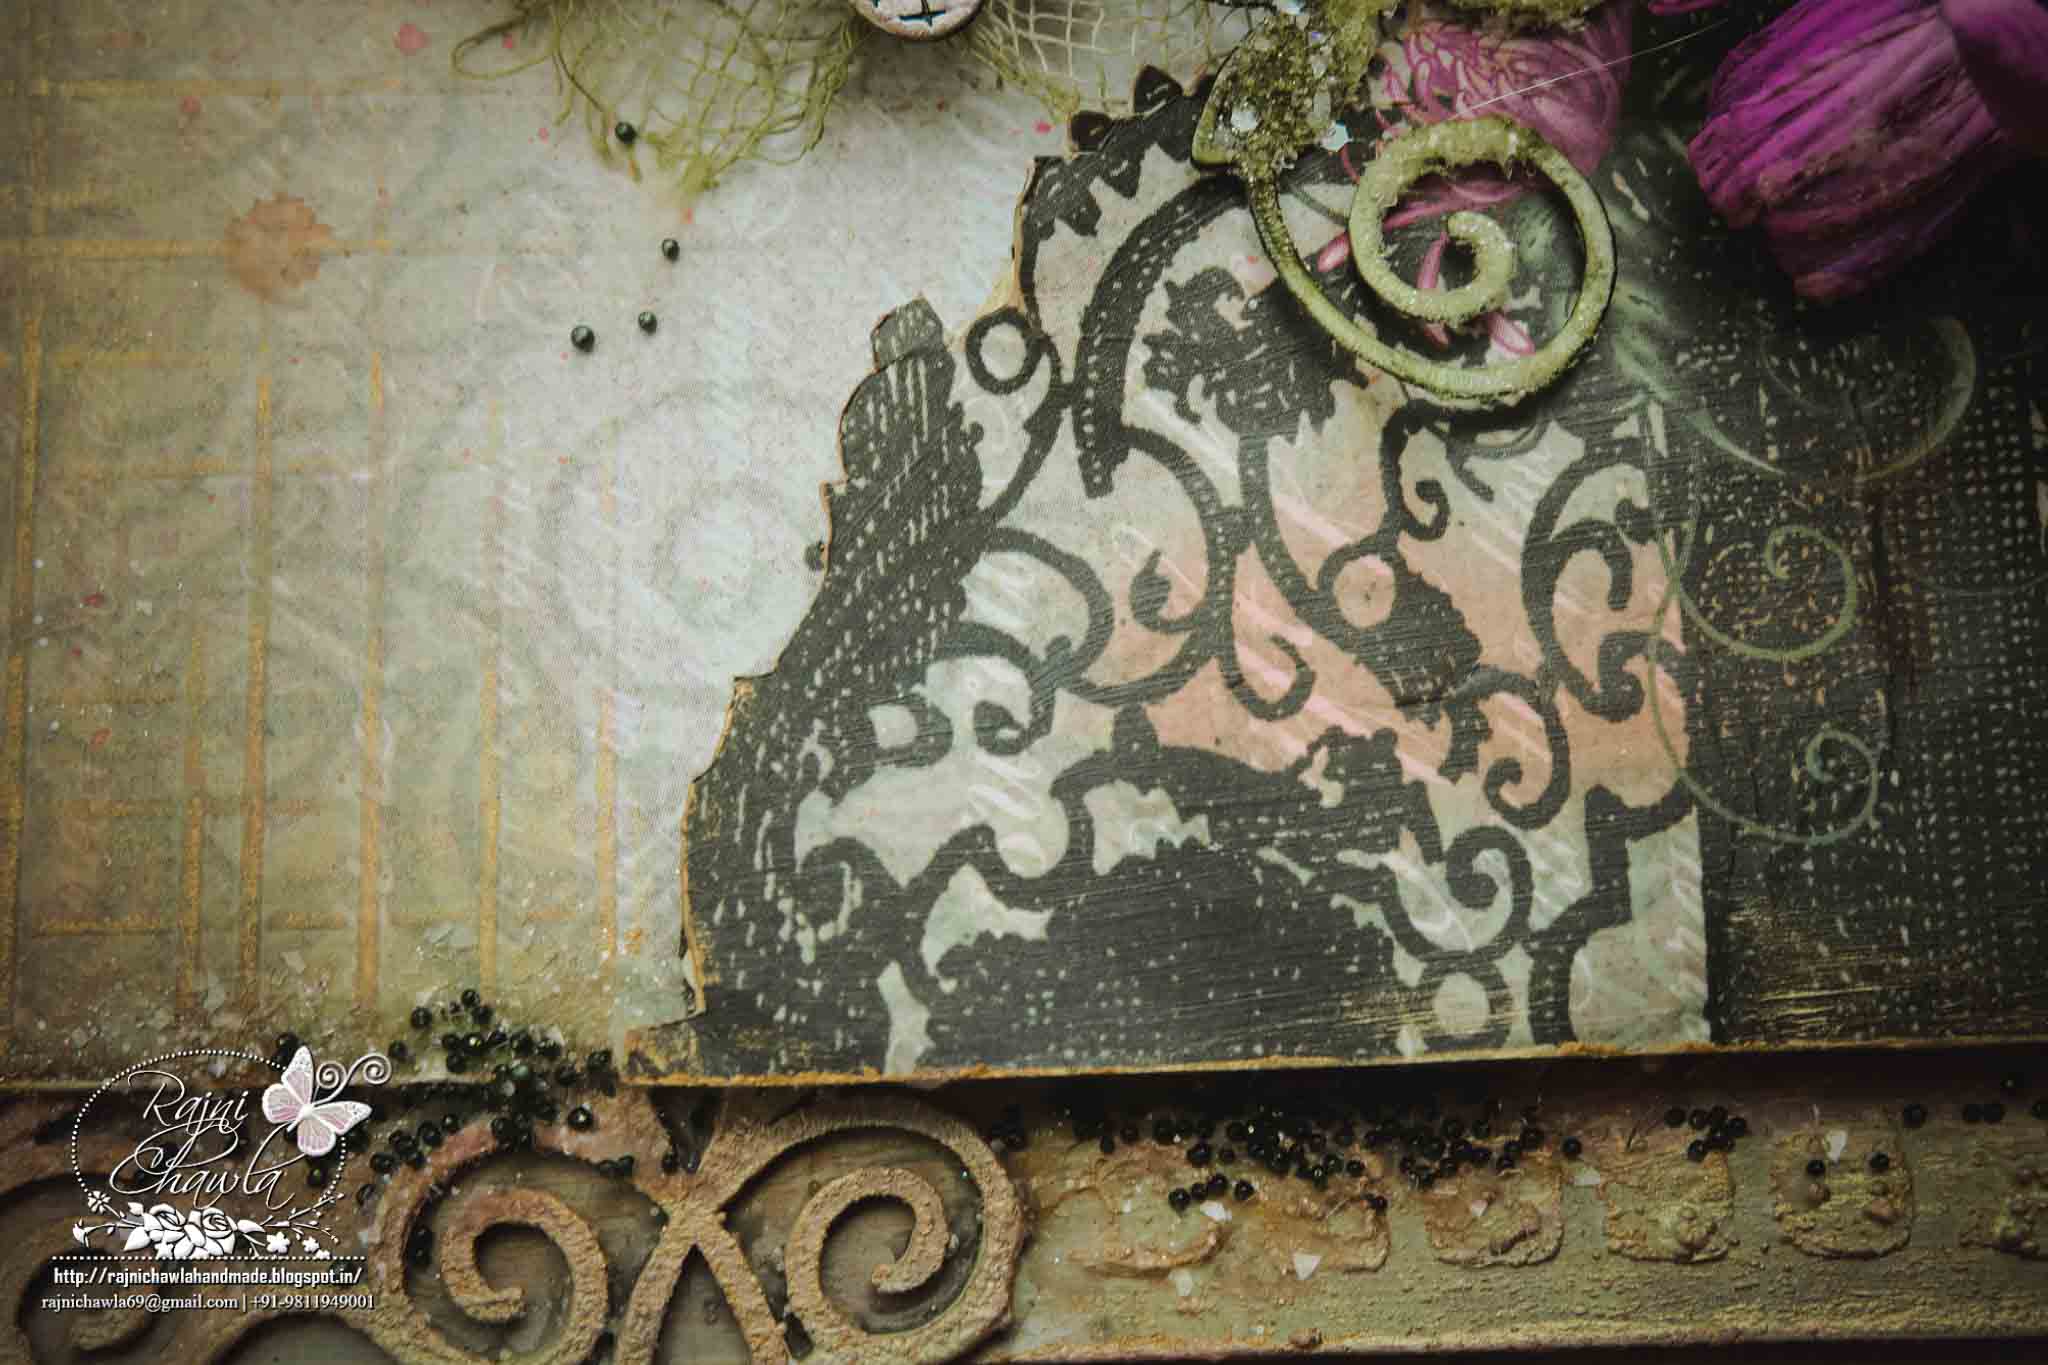
Fussy cut the floral gate using fussy cutting scissors. Score rest of the designer paper using score pal randomly and apply a coat of diluted White Gesso. Stick the designer paper to heavy chipboard and also, layer the fussy cut floral gate.  Apply texture paste randomly using stencils and leave it to dry. To speed up the process you can use the heat gun. Once dry spray with shades of pinks and greens. Build few layers of colors drying in-between the layers. Once satisfied with the background highlight all the details with silk glaze.  Dusty Attic chipboards are all painted with dusty in colors acrylic paints and dusted with clear rock candy glitter using Art Institute Glue. Assemble the layout by creating different layers with chipboards, corrugated sheet and cheese cloth and also add dimensions using glue dots.

Here are the detailed pictures...

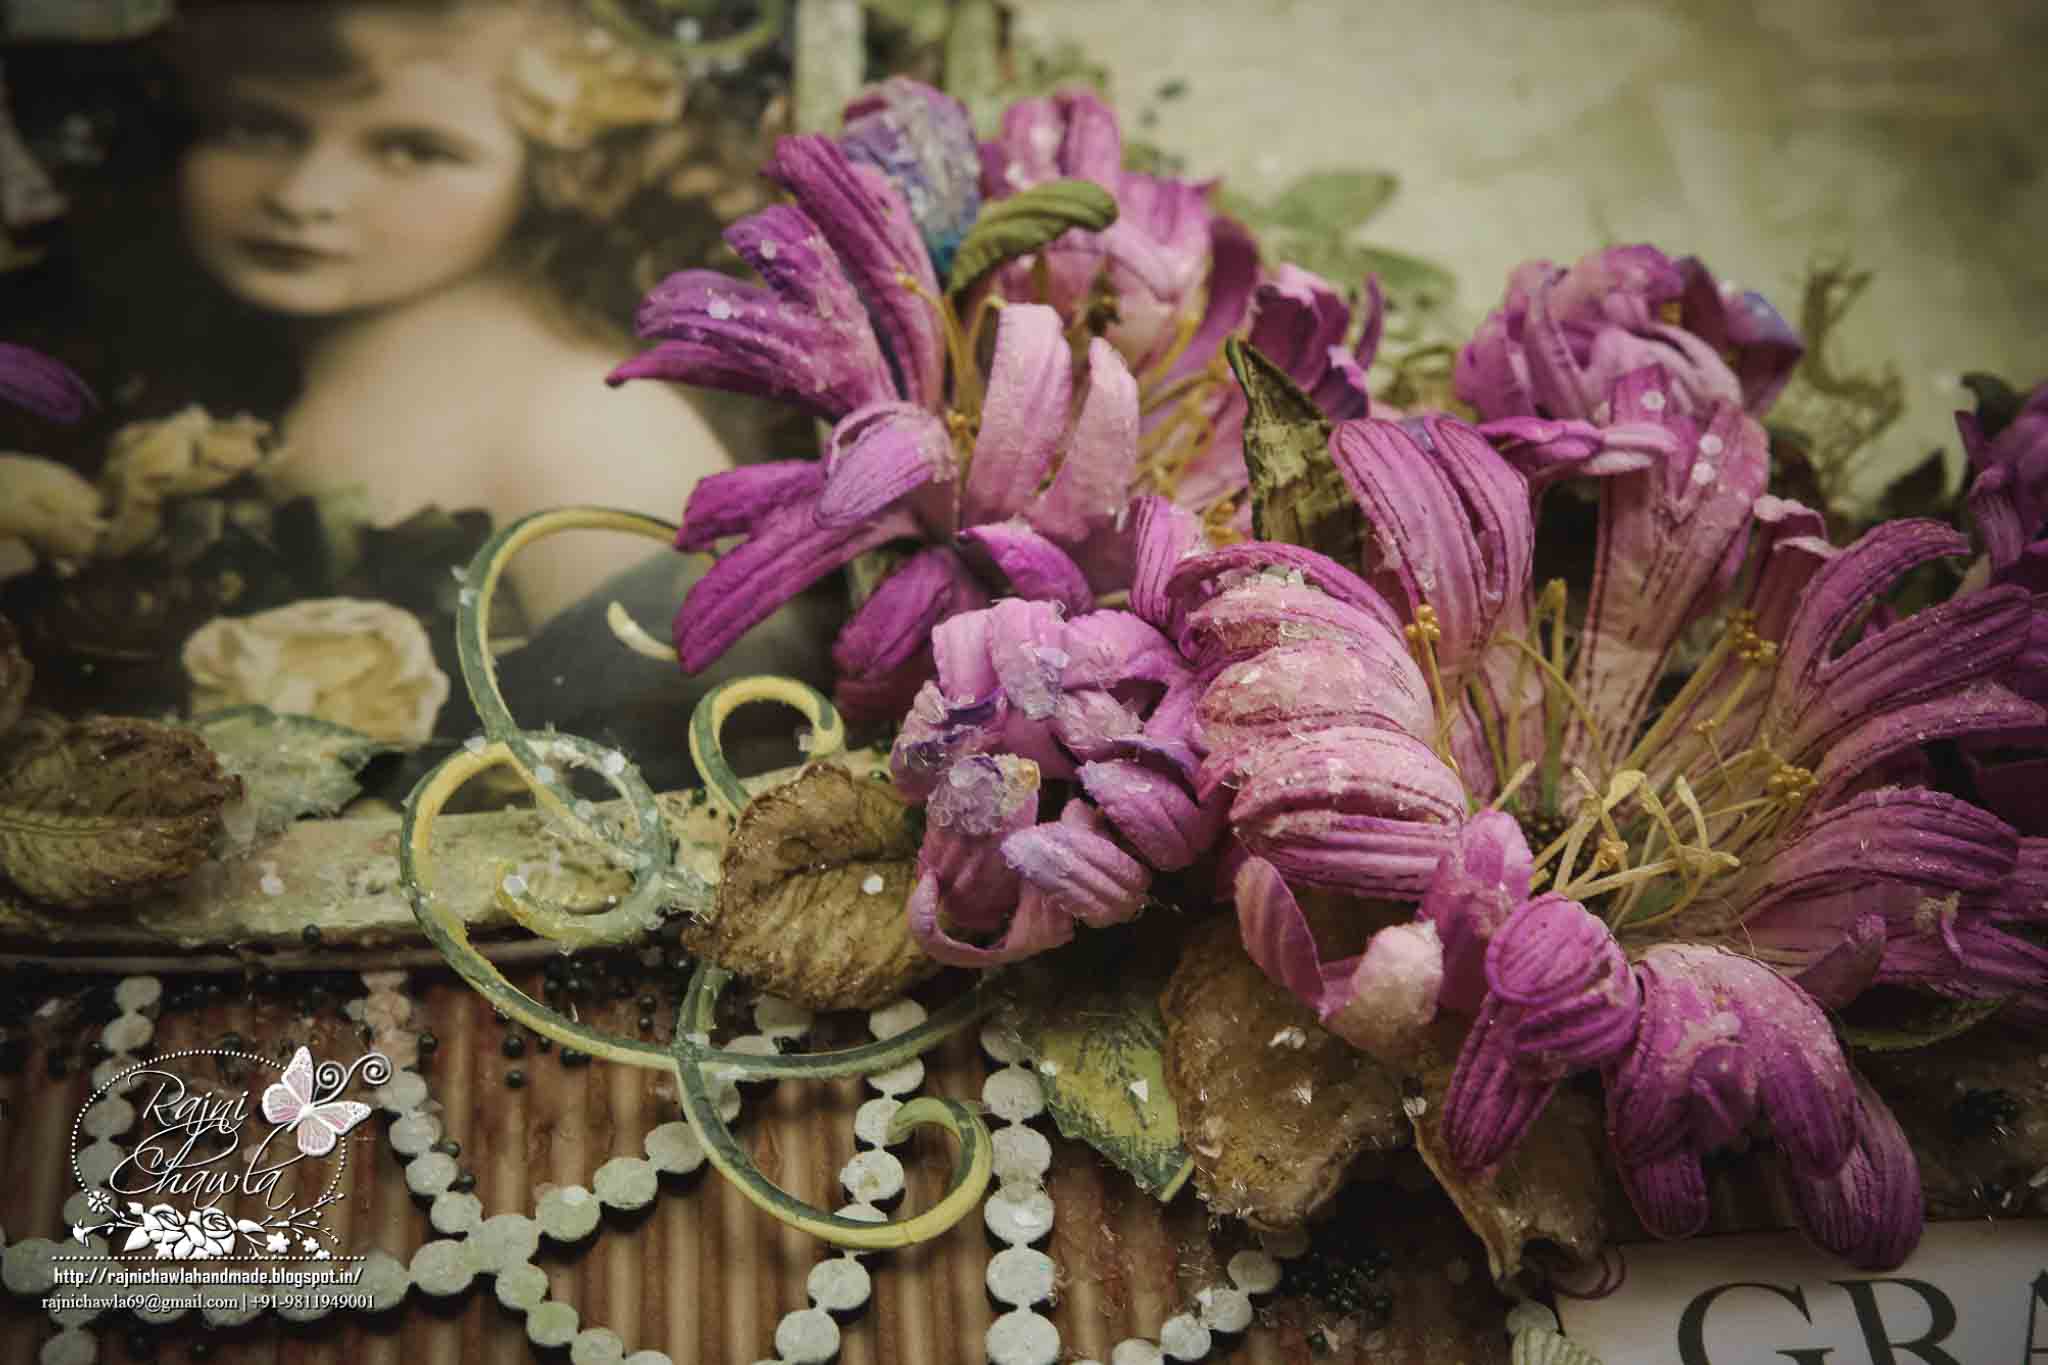
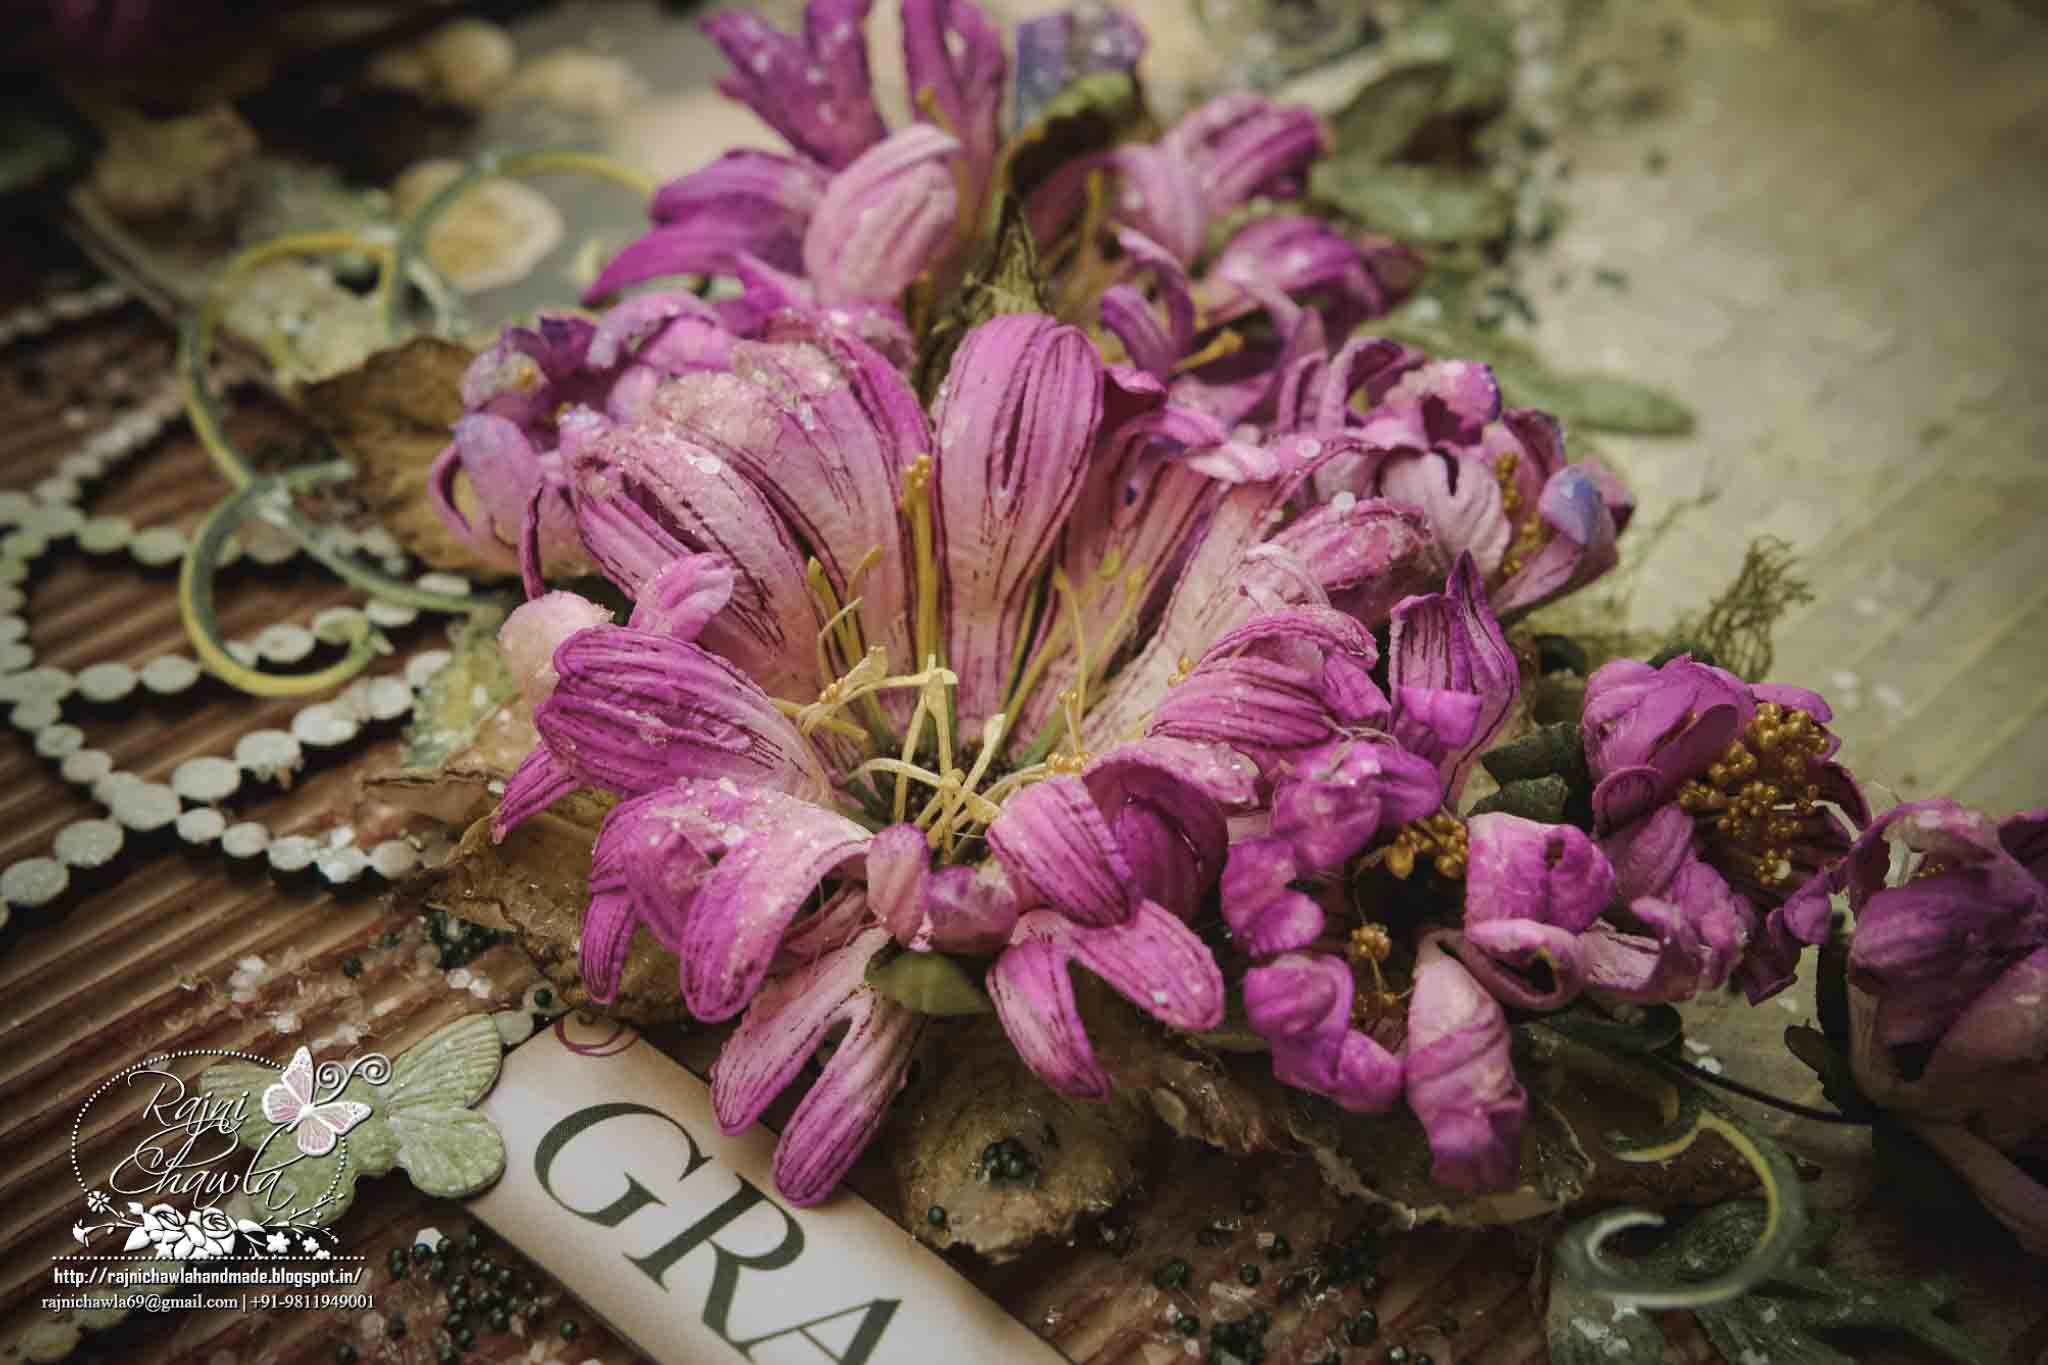
Beautiful Mums flowers!!

HFC 30th April-1


HFC 30th April-9


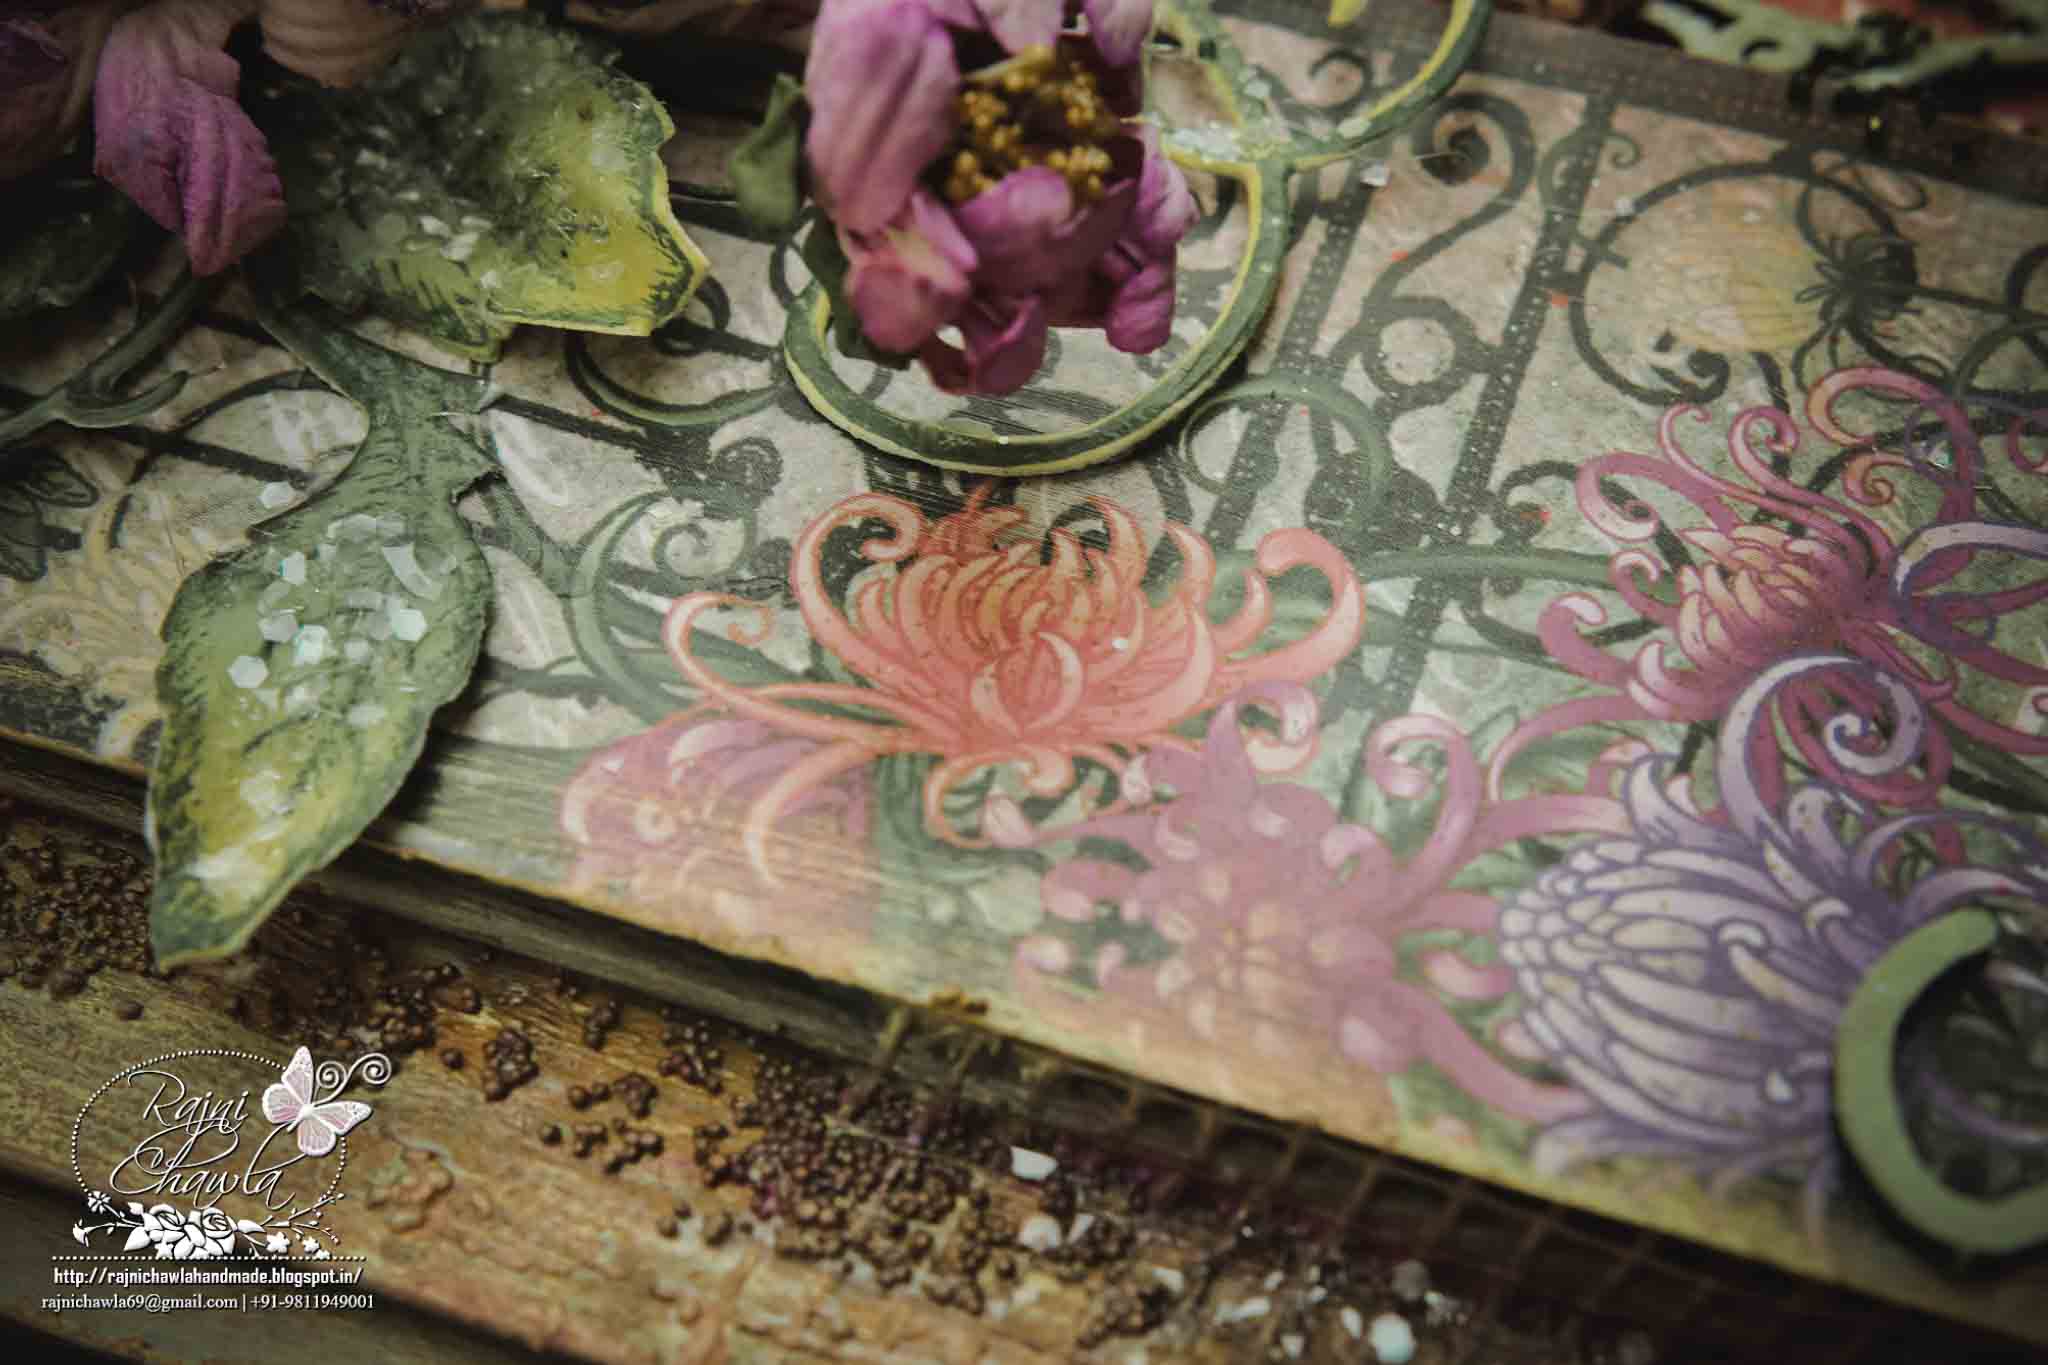
Gorgeous designer paper from Enchanting Mums Collection...

HFC 30th April-12


HFC 30th April-11


HFC 30th April-10


Dusty Attic chipboards...

HFC 30th April-5


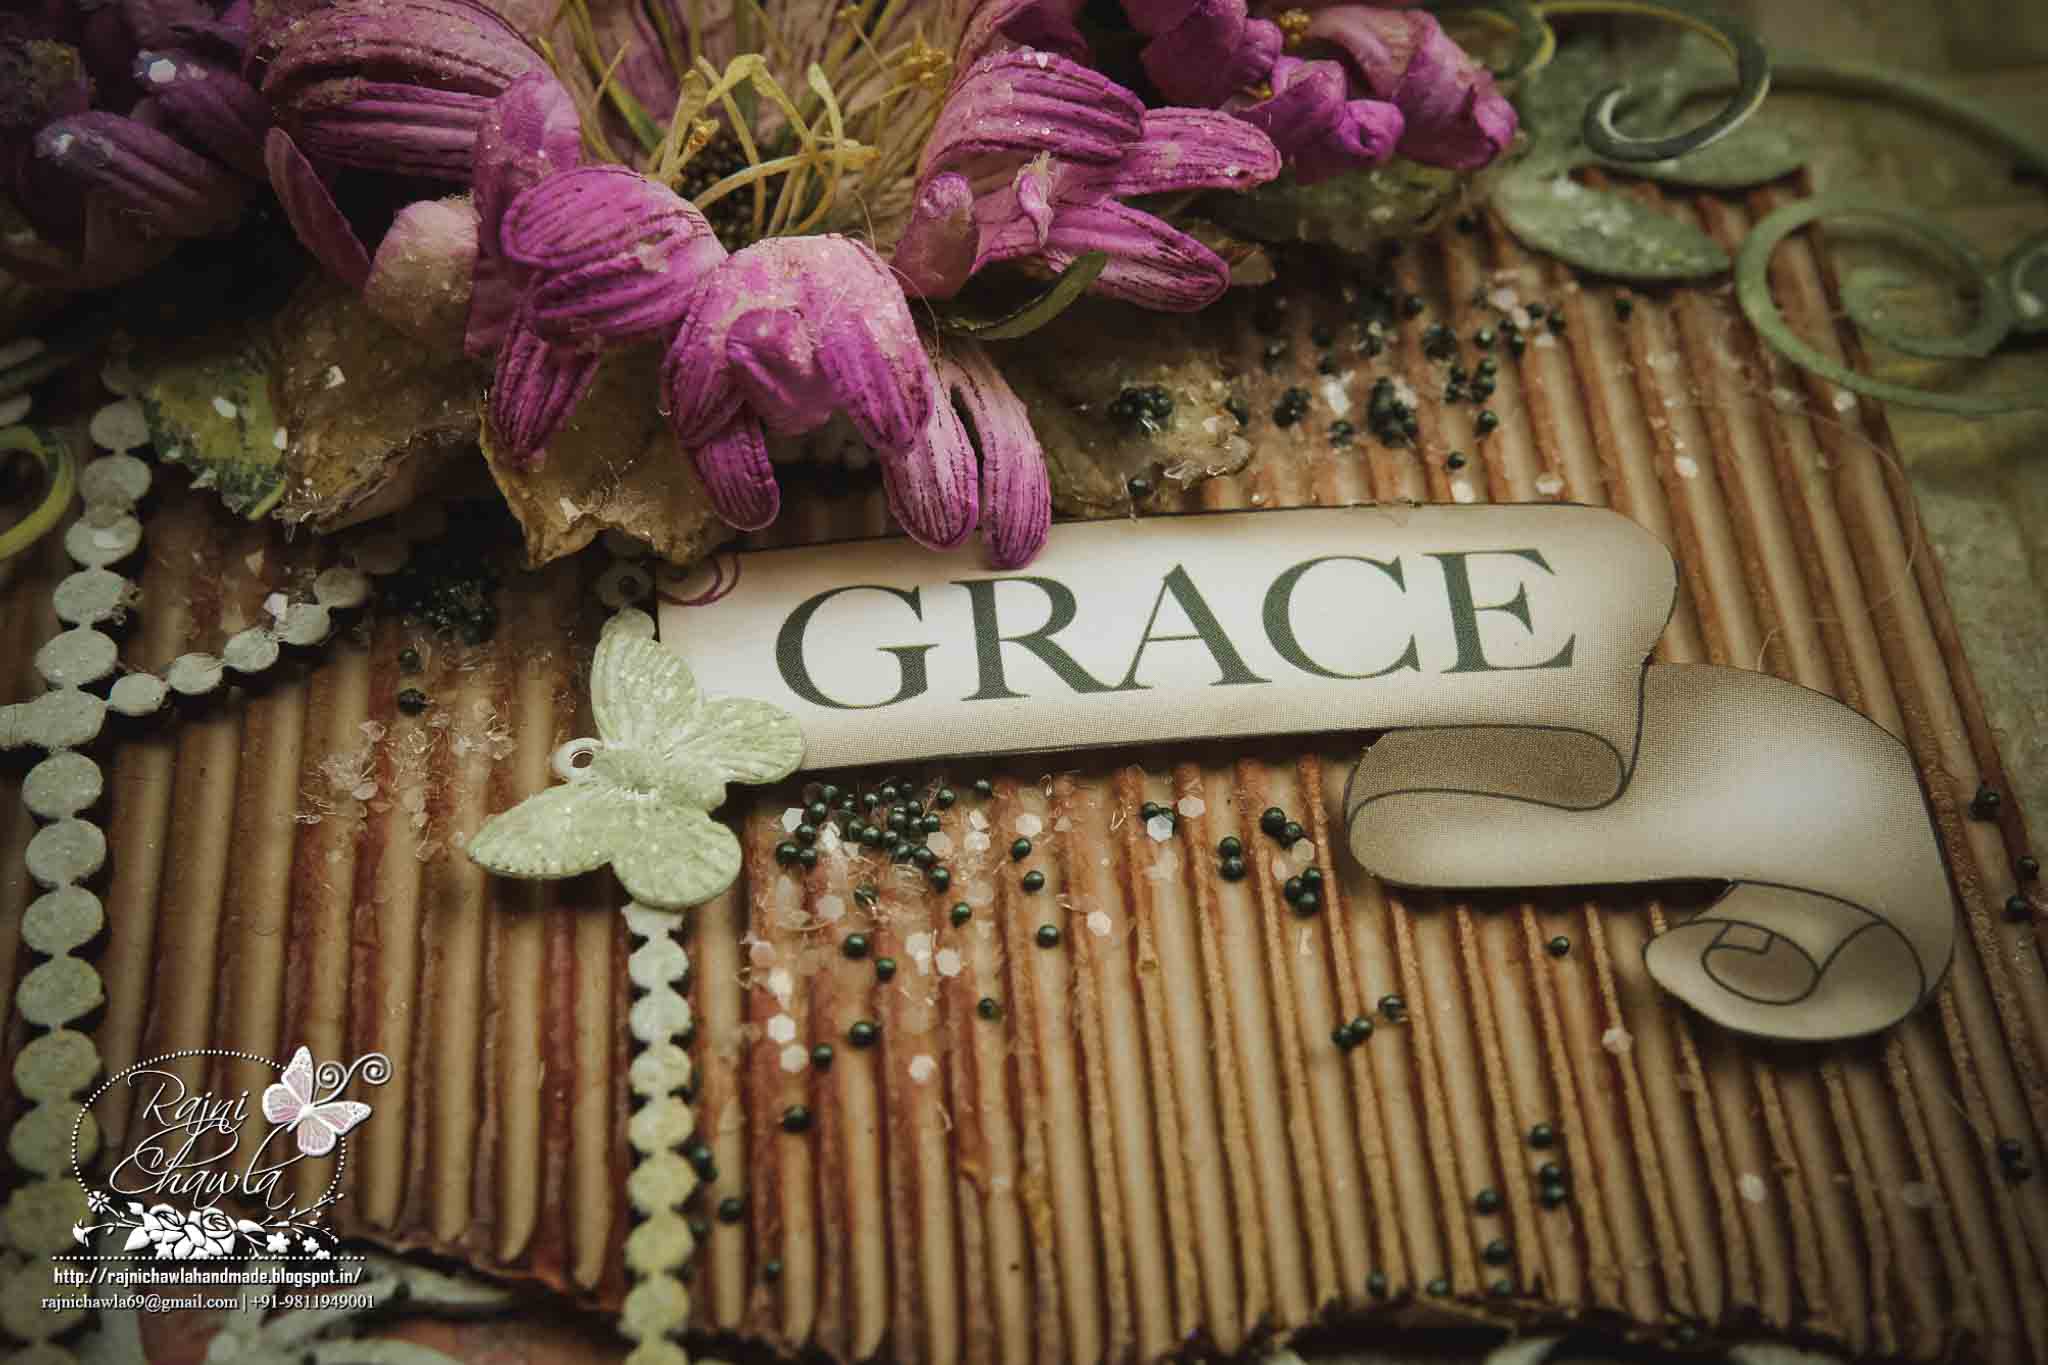
Banner fussy-cut from designer paper itself.

HFC 30th April-6


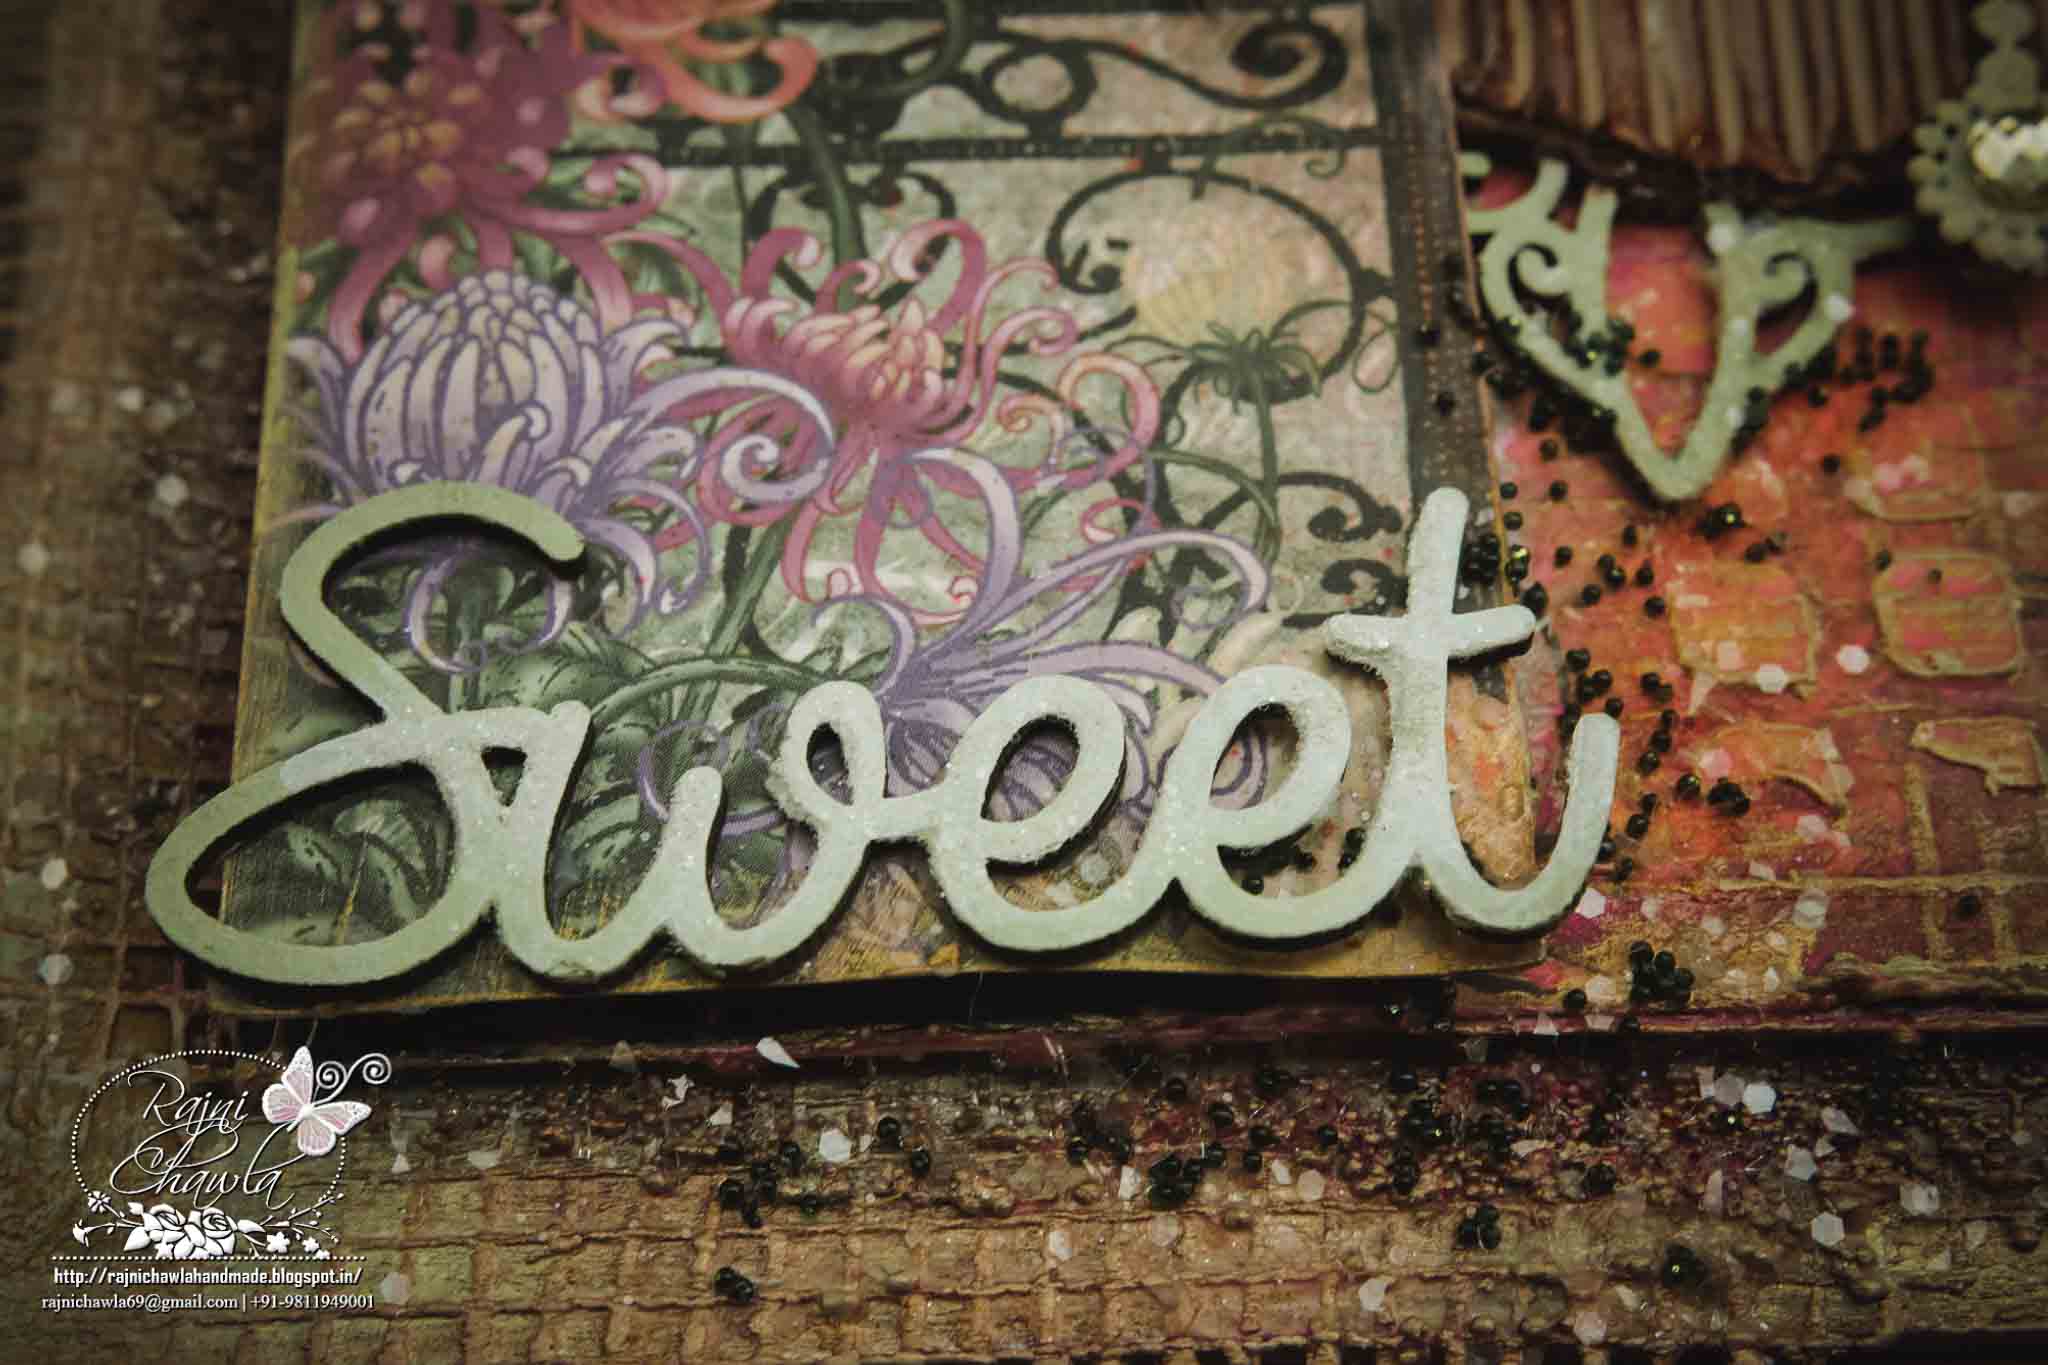
Sweet....another chipboard from Dusty Attic!!

HFC 30th April-4


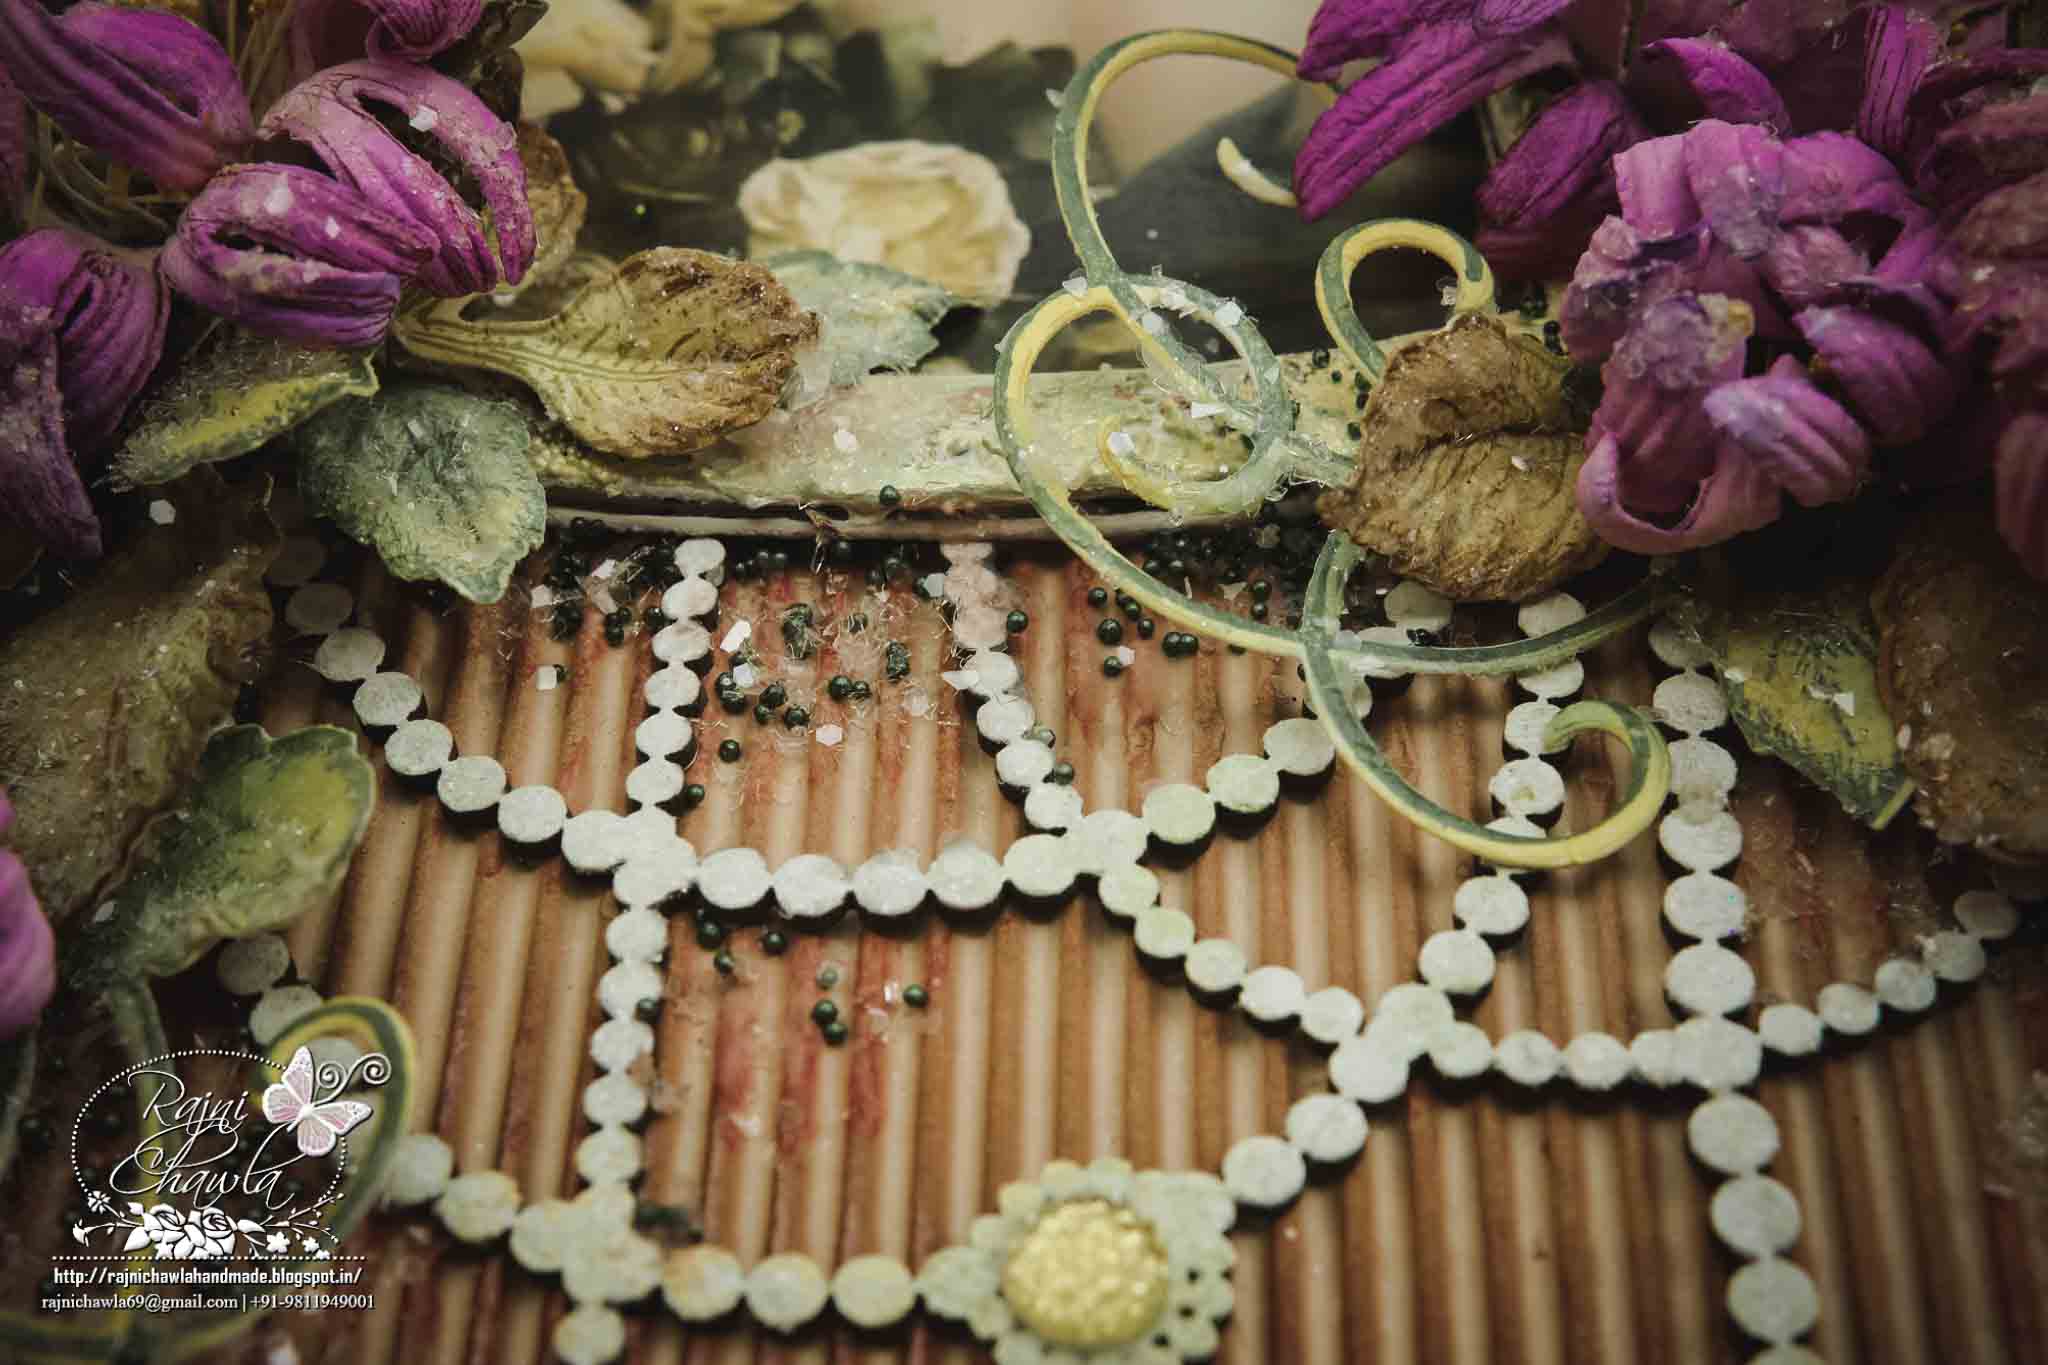
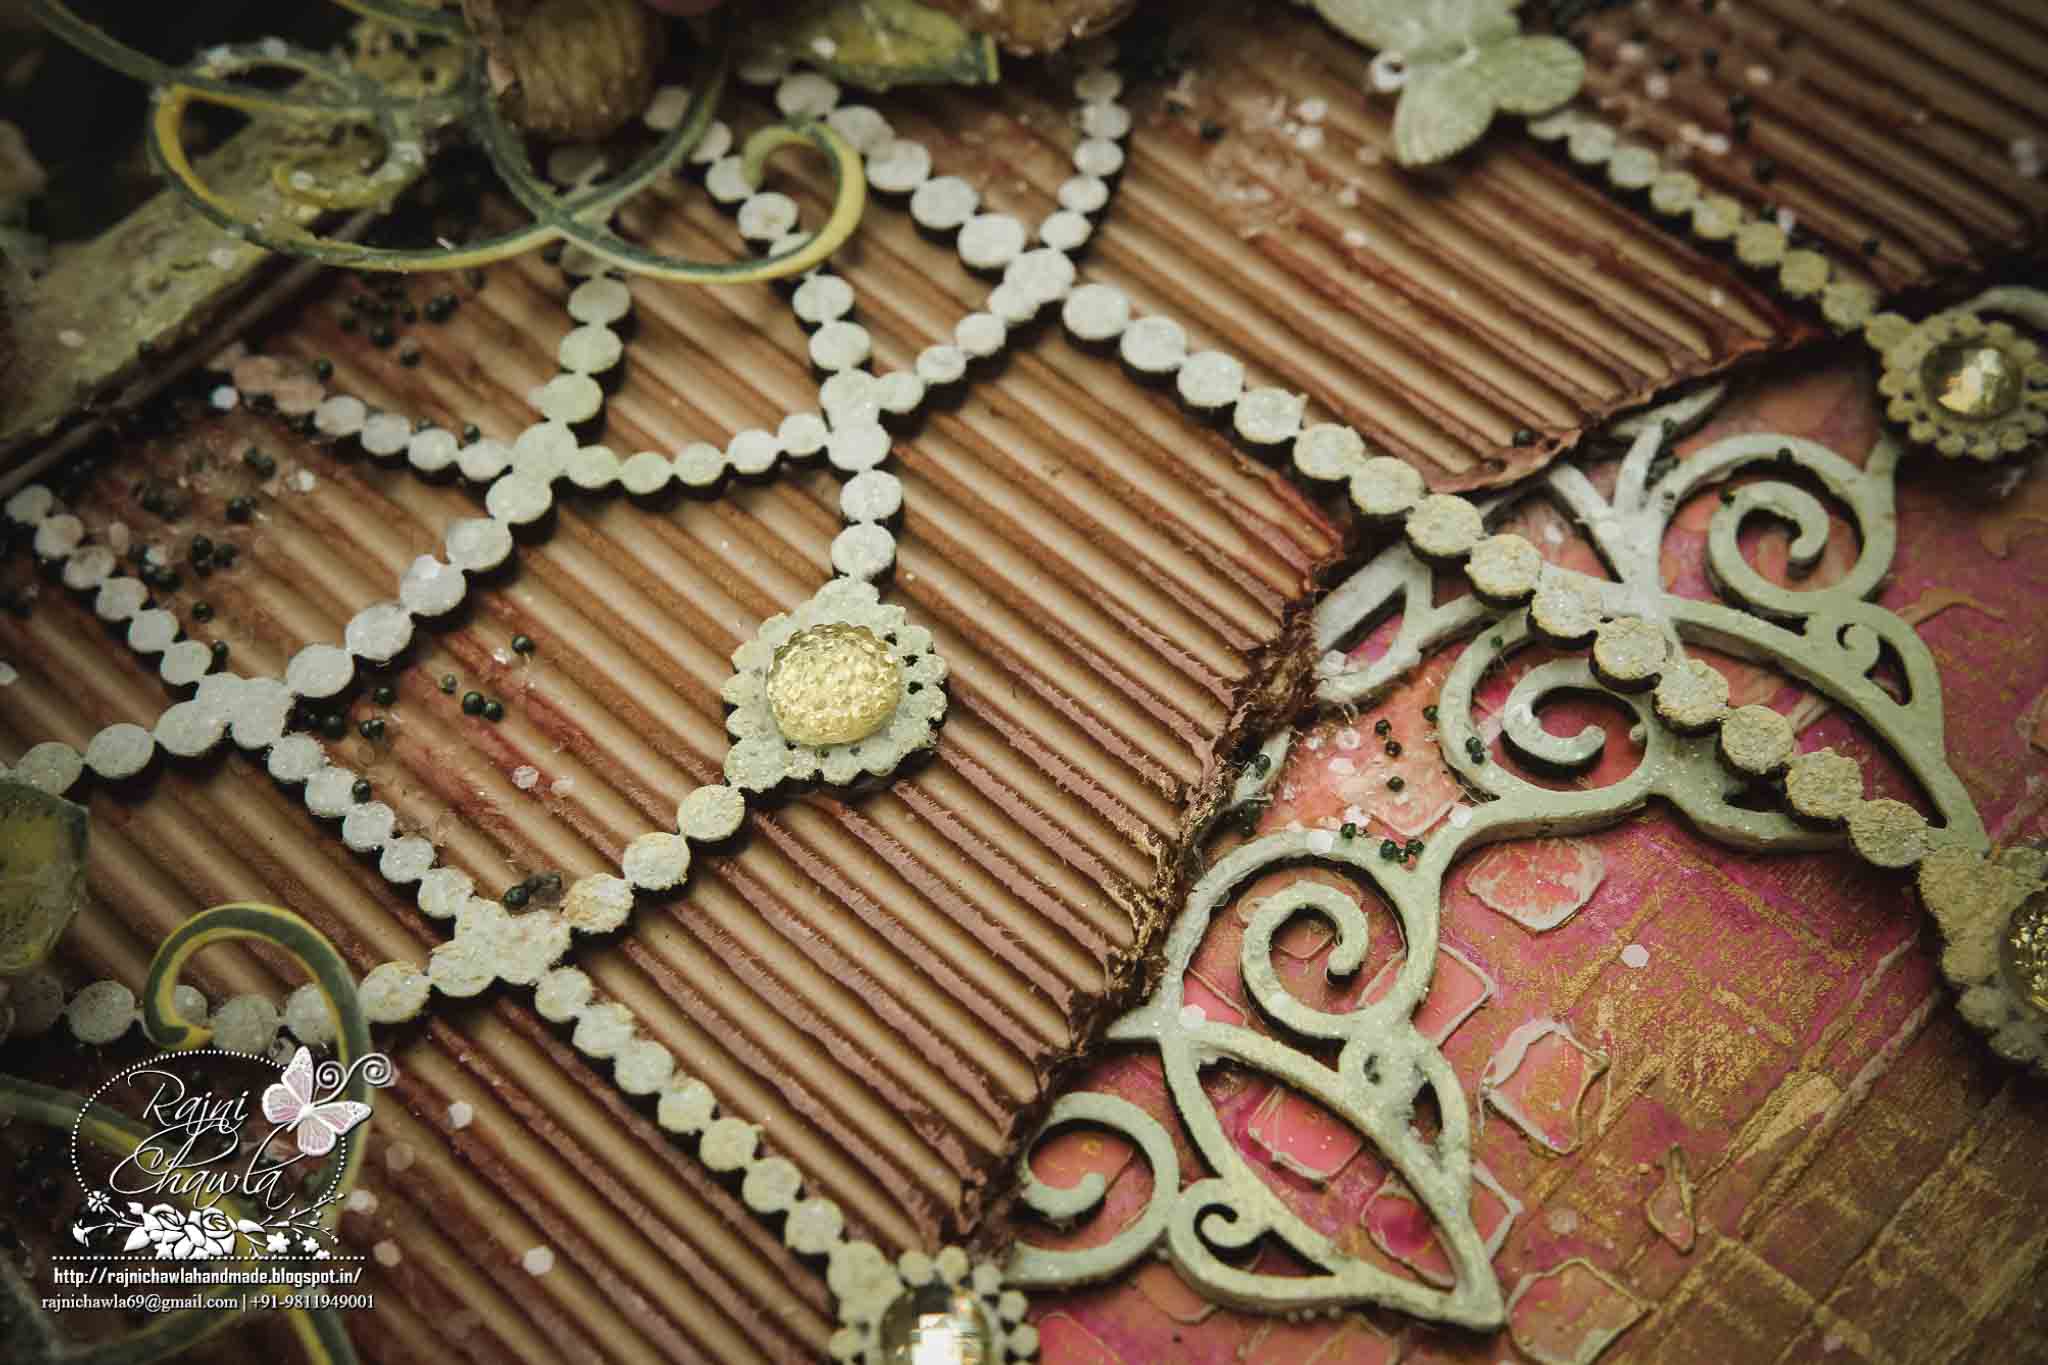
Chipboards beautifully layered between corrugated sheet. 
HFC 30th April-8


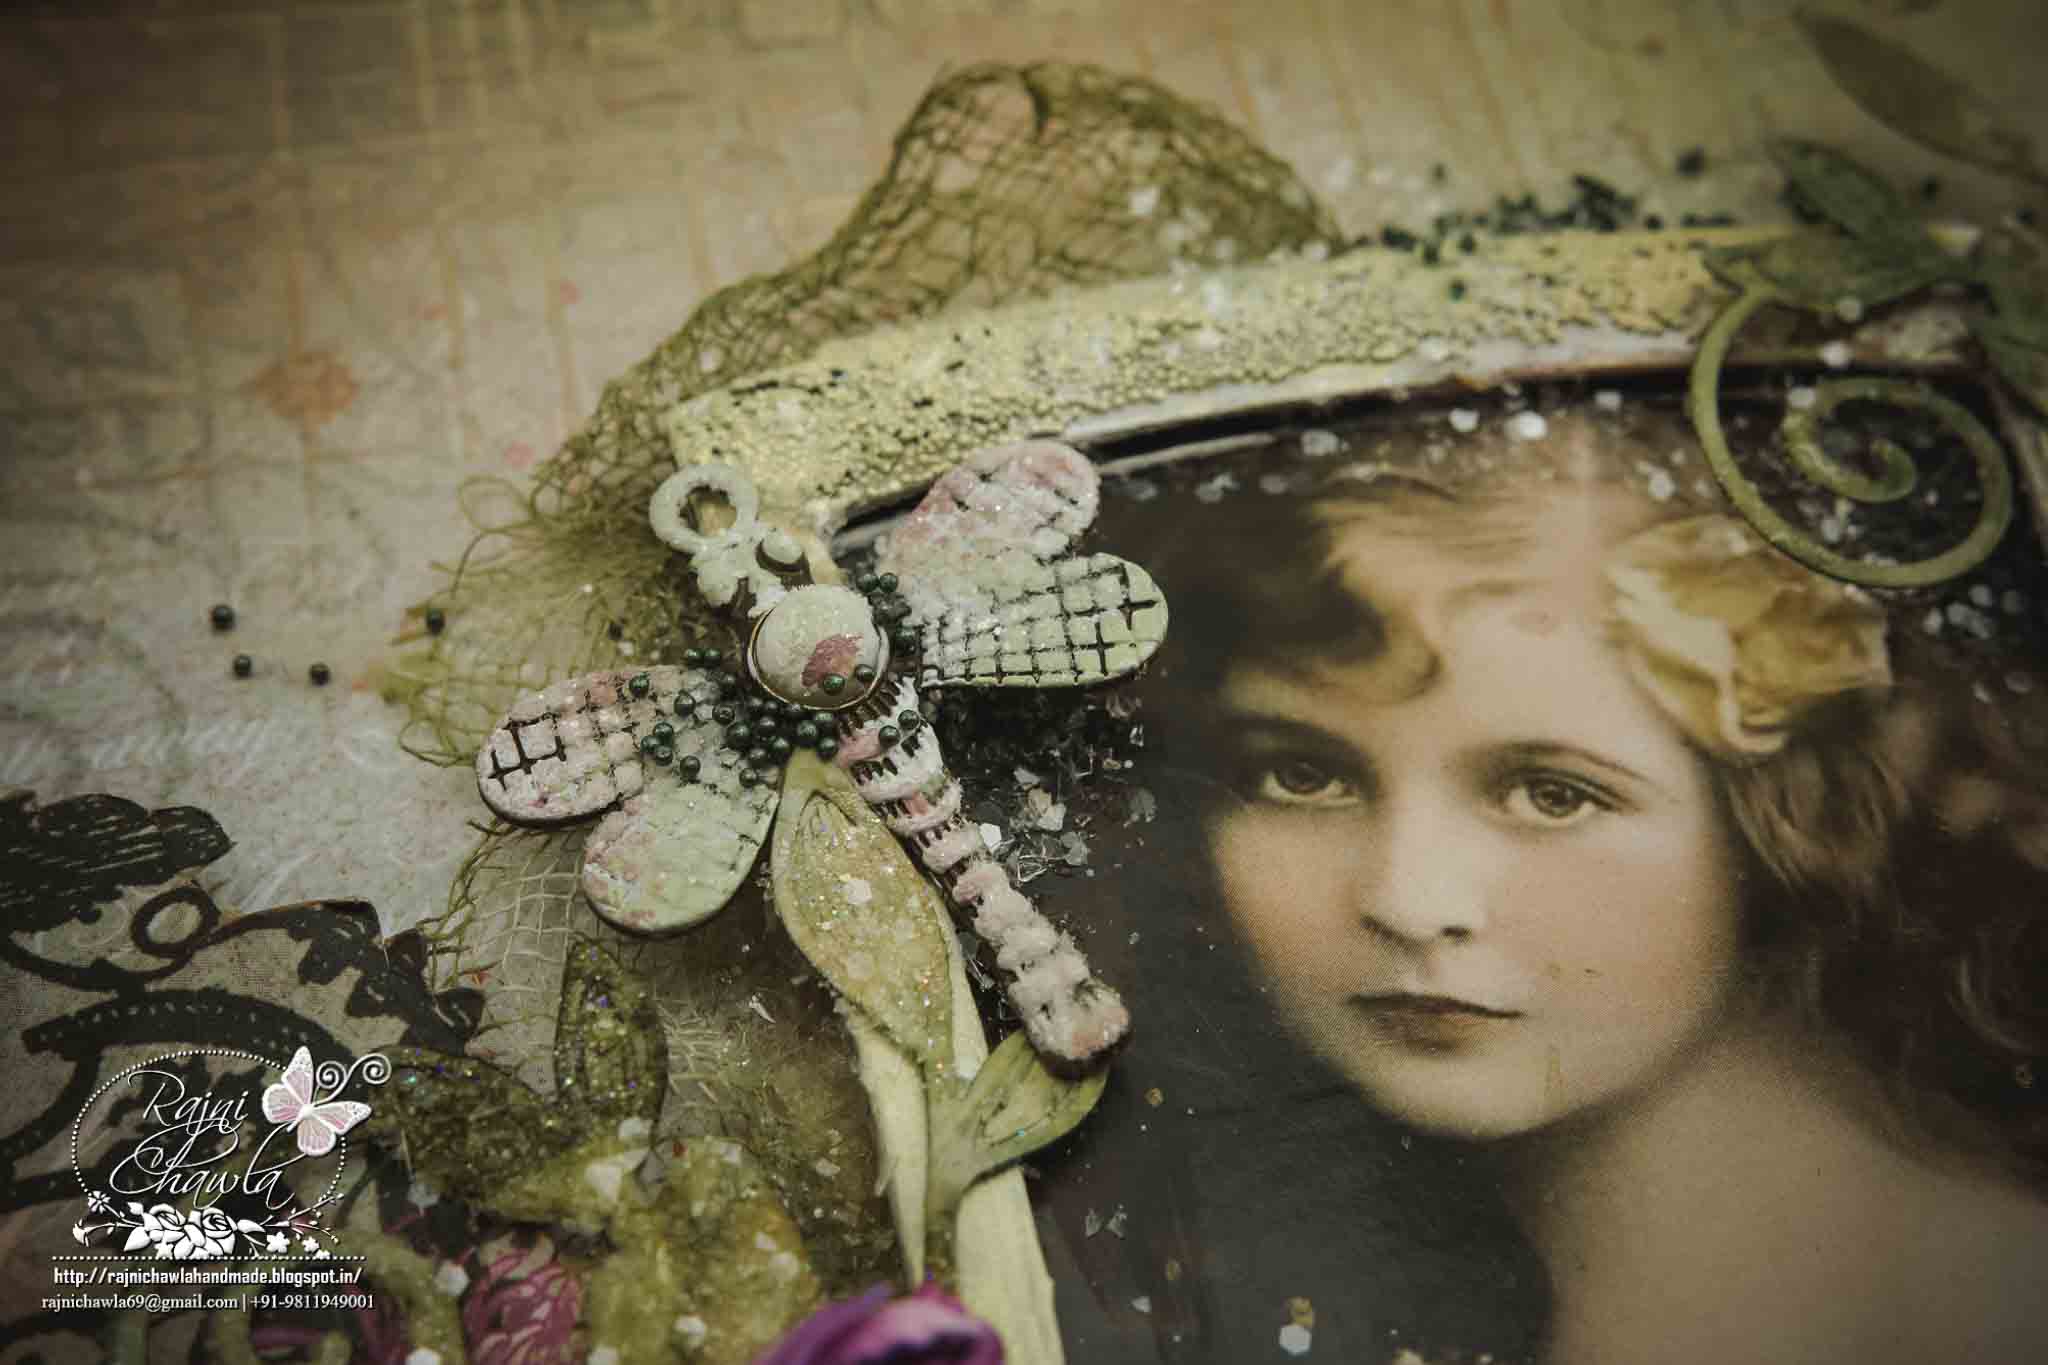
Frame created with Spellbinder's Wonky Rectangles textured with mix media texture paste.

HFC 30th April-3

Hope I was able to do justice with this collection and I was able to inspire you with this creation of mine.
If you are an Indian crafter and looking for craft supplies at best prices contact Meetu Aggarwal (www.krafterscart.in) or Priya Sivaraj ( www.thecraftshop.in).

  Thanks for stopping by!!


Happy crafting!!

Thursday, March 10, 2016

Mixed Media Tag With Heartfelt Creation Supplies

Posted by Rajni Chawla

Hello all..
A very warm welcome again !!

If I am stressed, I make poor decisions, I get sick more easily, and I spread my stress to those around me. And if I m not wrong ,it is same for all. Fortunately, I am an artist and for me there are numerous ways to create some motivational tags and journal pages to get my stress back under controll, I read to myself whenever I'm feeling stressed. My craft, my passion  is the way in which I apply paint to a project, how I think about a new composition or how I structure and write small sentences in a small story. To keep myself motivated I keep surrounding myself with small art pieces which have some inspirational messages that make me understand that soon everything will be fine. Northing is better if I am able to create them by my own. I keep creating small art pieces and display them in my craft area which really helps me moving in today's stressfull life. 

The tag that I am sharing today has become one of my favourite creation that always keeps me motivated to share more. 
"Be an opener of doors"
According to me it means to consider others and try to help them when you can, because we all need help sometimes.
I love this message and always feel more loved if I am able to help someone. Few days back when I saw one of my fellow crafter destashing the Floral Doorway and Latch Stamp by Heartfelt Creations on fb, I immediately booked it for me as Heartfelt Creations Floral Key Collection was my very very first buy of this brand and missed ordering this particular stamp and its Designer papers. I bought rest of the whole collection at that time but was not even known to its proper usage.  I had something in my mind already and this stamp really gave me a kick to try it immediately.  Here is my output. 


I used some dry mech, a leaf spray from Dusty Attics, metal chain, texture paste and deeply scored cardstock [you can use corrugated sheet if you have ] to create all textures. I used the die-cuts from Heartfelt Creation Layered Elegant Swirls to extend a little platform to work on. 

door 


The door latch is stamped couple of times and  fussy-cut in different layers, painted with Gathered Twigs, Scattered Straw and Vintage Photo Distress Inks. 


The flowers from the stamped image are also fussy-cut and layered. these are painted using Peeled Paint, Spiced Marmalade and Squeezed Lemon Distress inks. For the background I used different shades of coffee by making different consistancies of coffee and water. more water less intense is the colour and less water more intense is the shade. Few shades of acrylic paints and silk glazefrom Colourarte were perfect for highlighting. 


Then comes the little decoration part which I did with Mica flakes, micro beads and glitters. Here are few more close-ups to show all details. 


Hope you found inspiration while viewing it the way I found while creating it :]

If you are new and hunting for various craft supplies at best prices in India,you can contact Meetu Aggarwal  or check her website Here  and Priya Sivaraj or check her website Here 

Hope I m able to inspire you with my creations. If you like my work and want me to see reach my goals as a Dt with Heartfelt Creations, do leave some love n vote for me. Your votes are important for me. You can check all my three creations that I submitted for semifinals in the photograph below:


For more detailed pictures of Desk Calendar cum Mini Album....Click HERE
For more detailed pictures of Flip Fold photo Booklet .....Click HERE
For more detailed pictures of card Let Love Blooms.....Click HERE

And, to vote click HERE 


Thanks for dropping by. 
Happy Crafting !!