Showing posts with label Heartfelt Creations. Show all posts

Thursday, August 11, 2016

Emma Lou's Birthday Blog Hop

Posted by Rajni Chawla

Hello, all...

Welcome to Emma Lou's birthday Blog Hop!!

Yes, it's Emma Lou's birthday today and she is turning 30. All the present and past Design Team members decided to give her a surprise and tried making it more special and memorable. We are having a big blog hop going on our blogs and also welcome you all to join us along. Come, hop along and be a part of our celebration to wish her a very happy birthday. You can find the complete list of participants of the hop in the end of this post. Remember to leave a comment on as many of our blogs as you can as to win and shop from Heartfelt Creations.
Big thanks to Linda Bontrager, Richard and Liz Walker for helping and making it happen.

Isn't it exciting :)

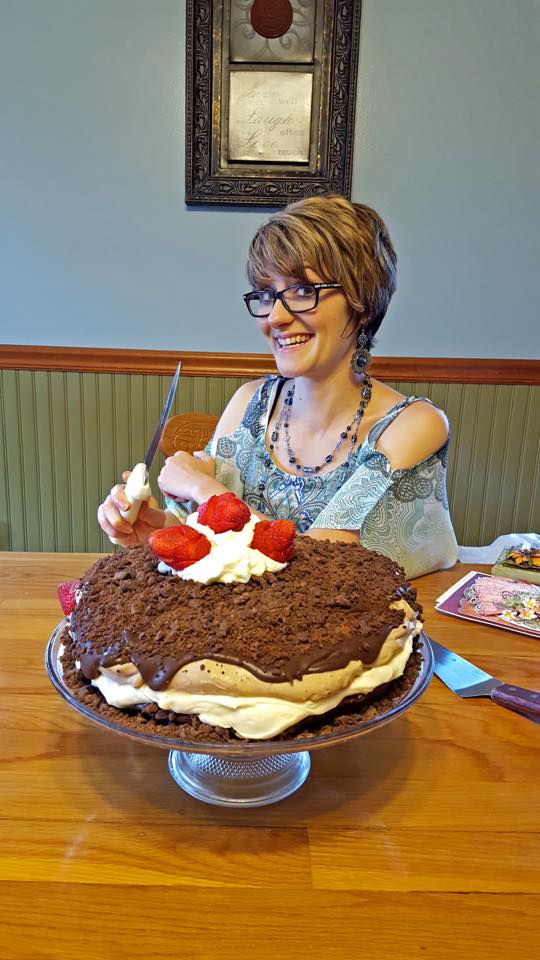
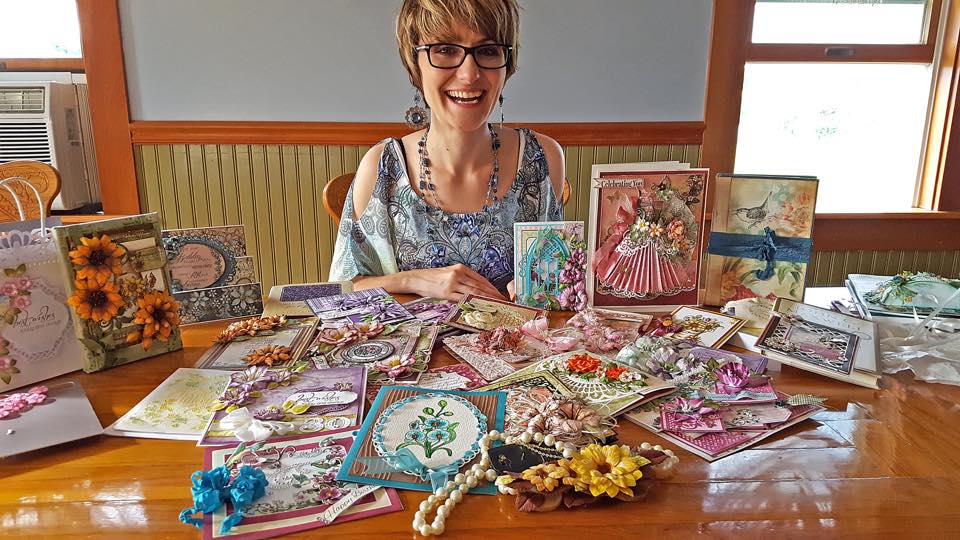
Here are the pictures of Emma having blast with all her birthday cards and gifts from the team and her birthday cake. 
 So Yummy!!

13872655_1164006360339268_5227751801565905627_n


13887015_1164005763672661_6044652883504139429_n

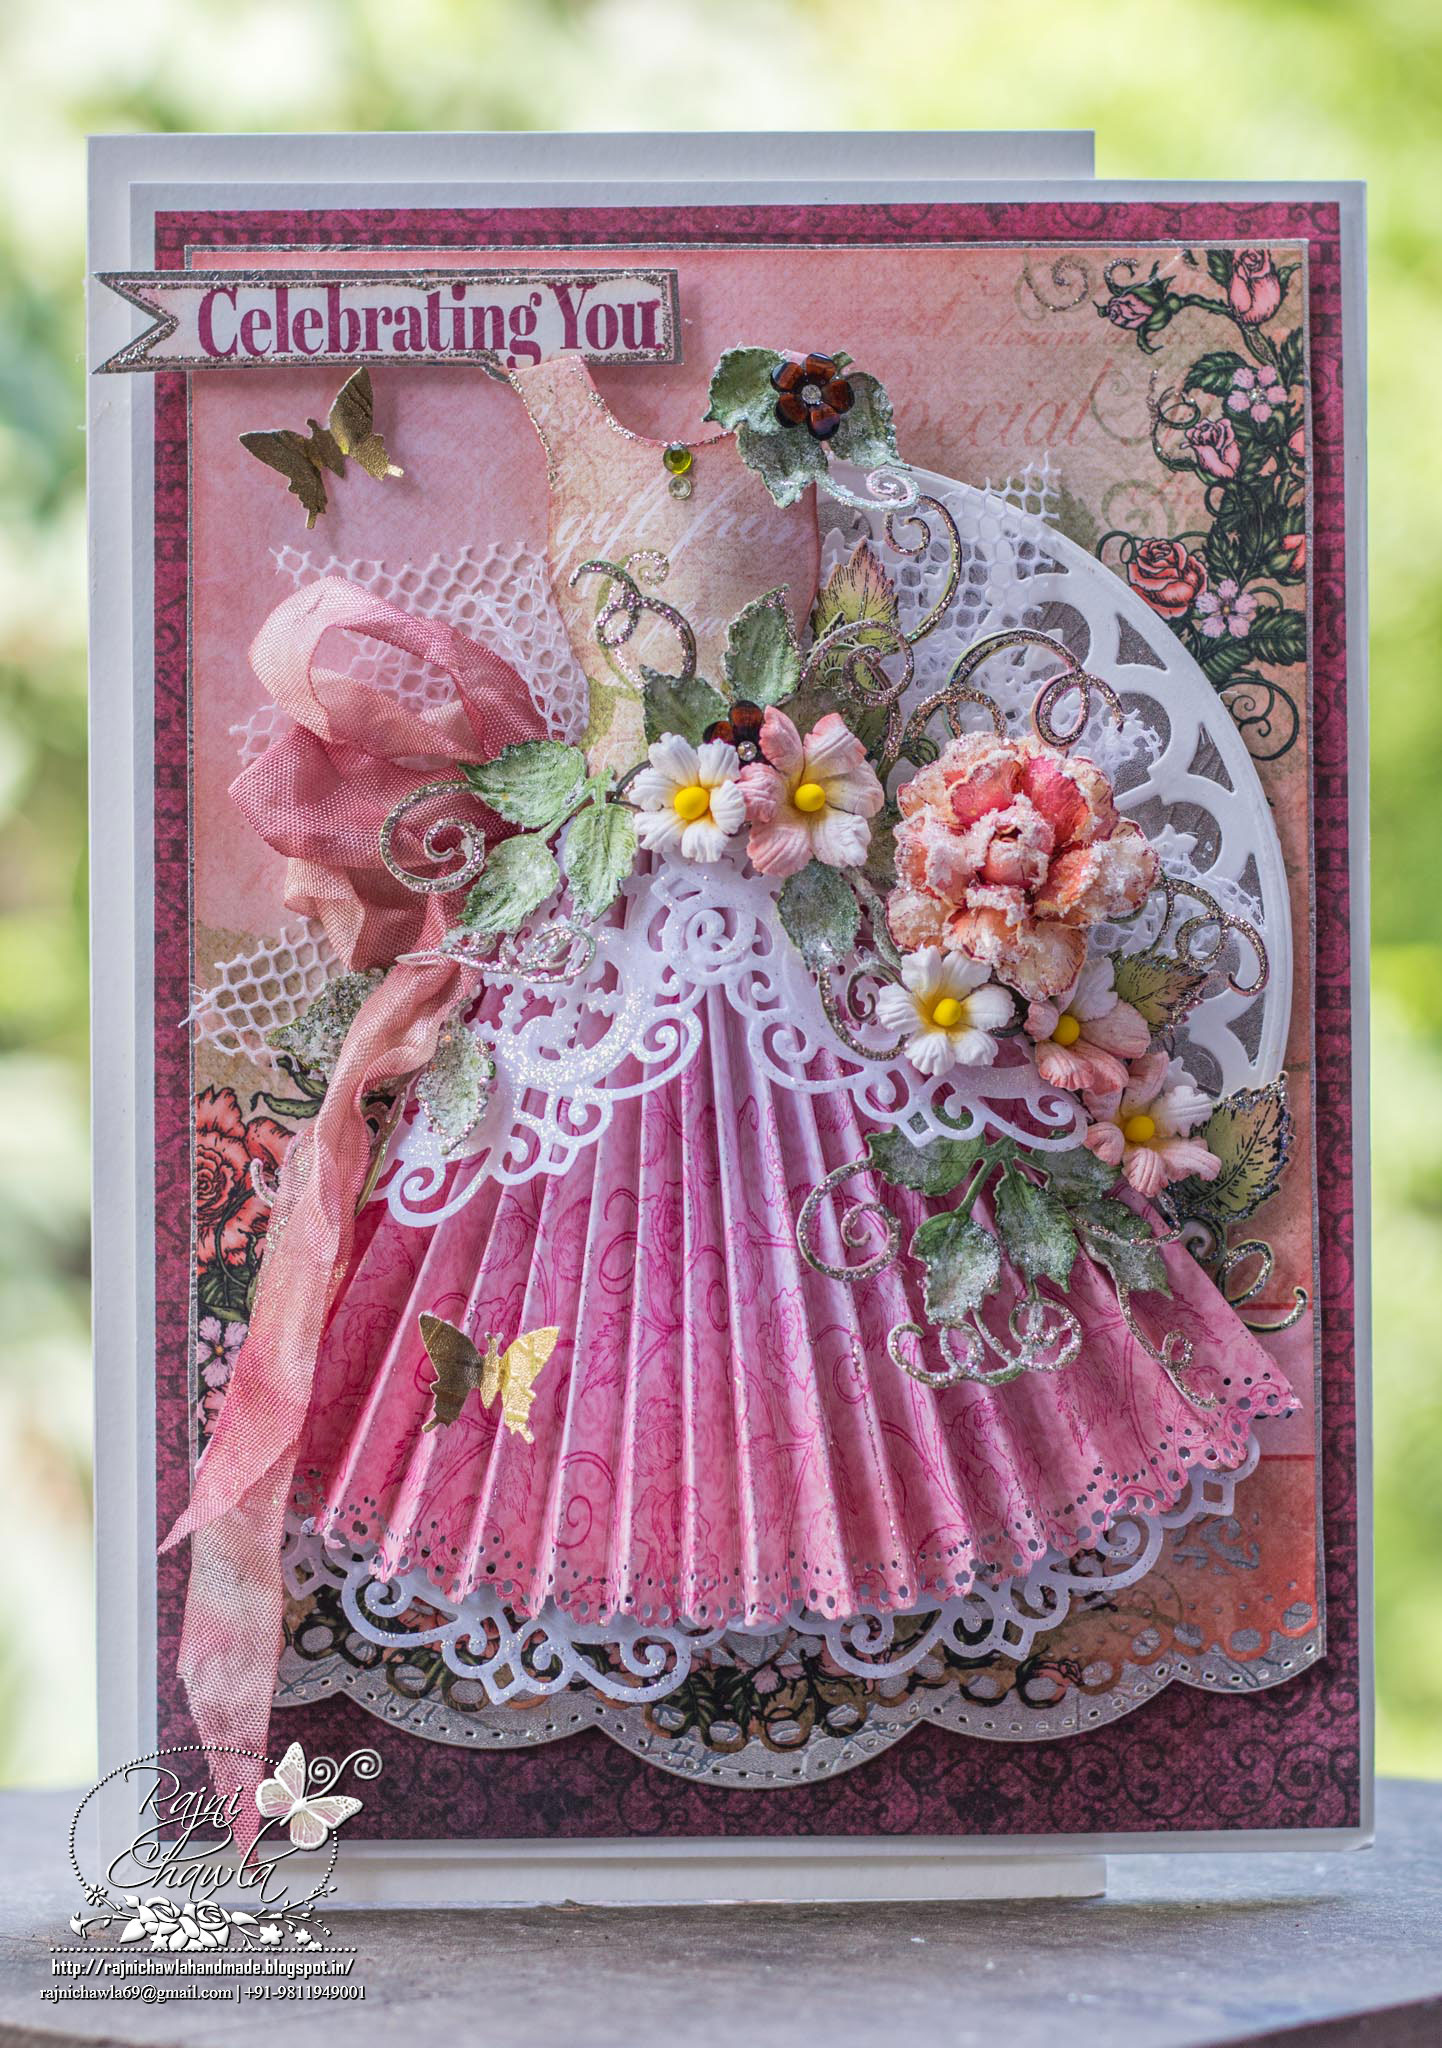
Wishing you a day as special in every way as you are. Happy Birthday dear. May you continue to love life and never stop dreaming. May beauty and happiness surrounds you not only on this special day but always!! Words are not enough to express my feelings how happy and excited I was while creating this card for your birthday. You've put a smile on my face many times, I hopeI was able to give one in return on your big day. You are sweet, cute kind and a big inspiration to many. Stay same and blessed...always!!


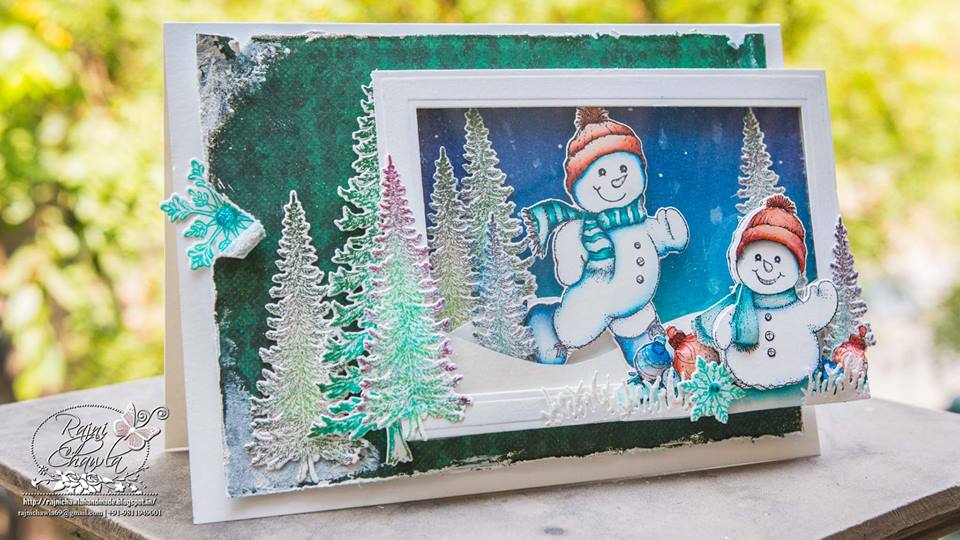
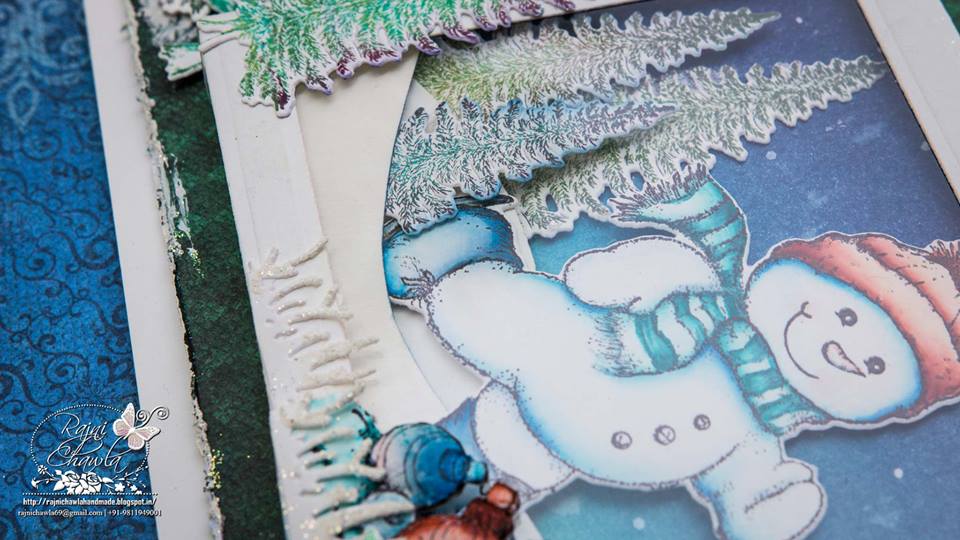
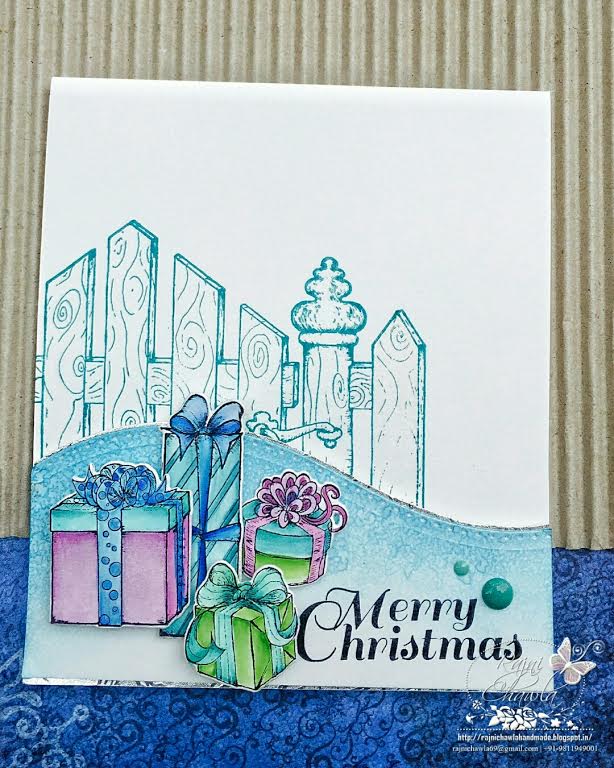
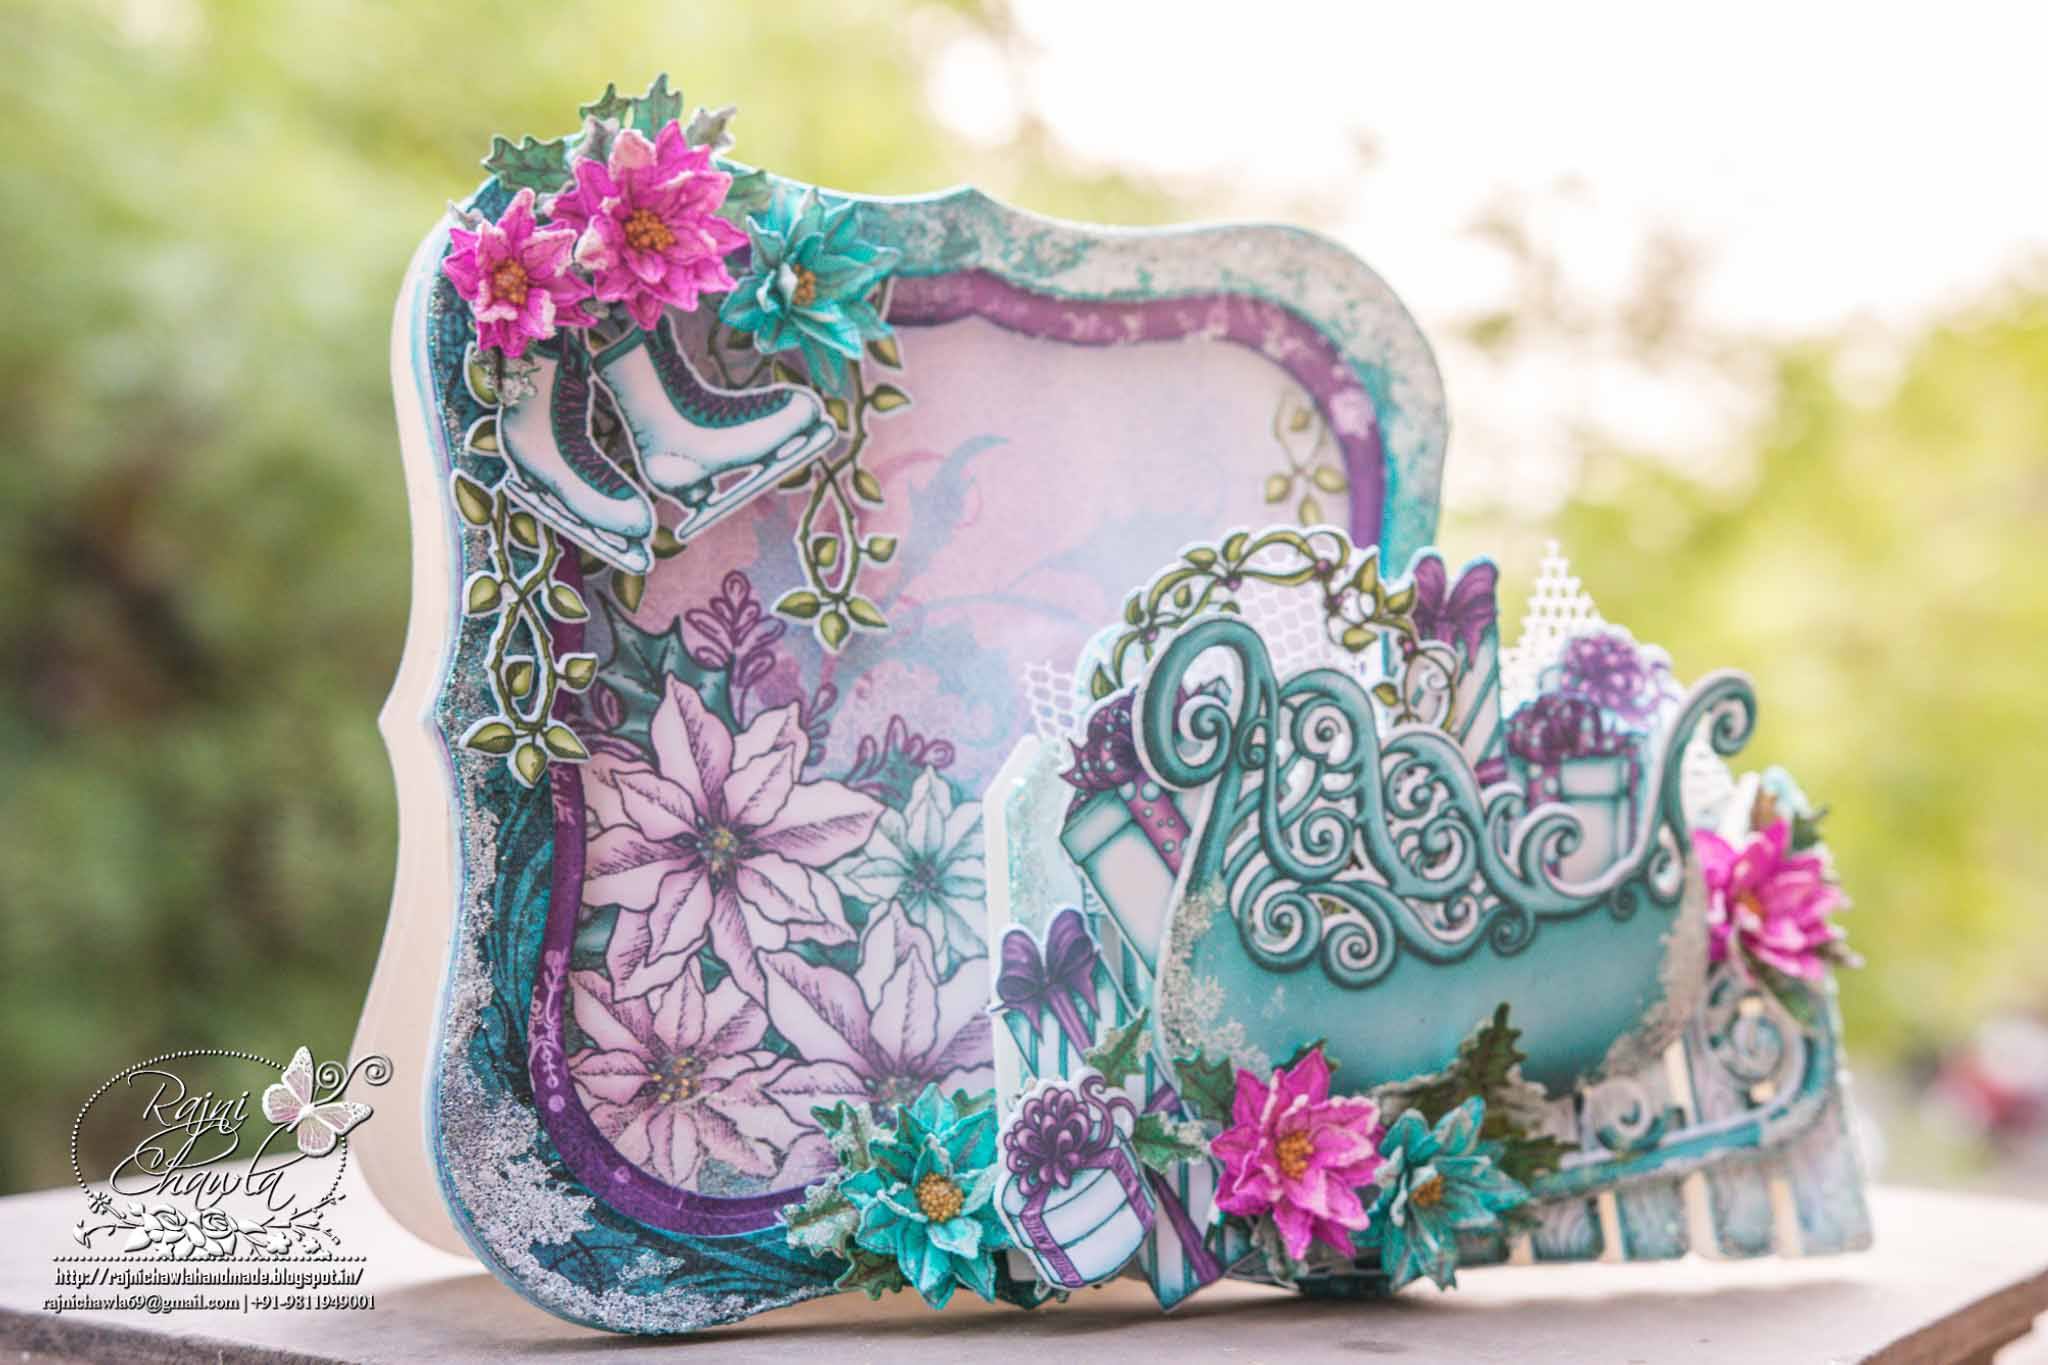
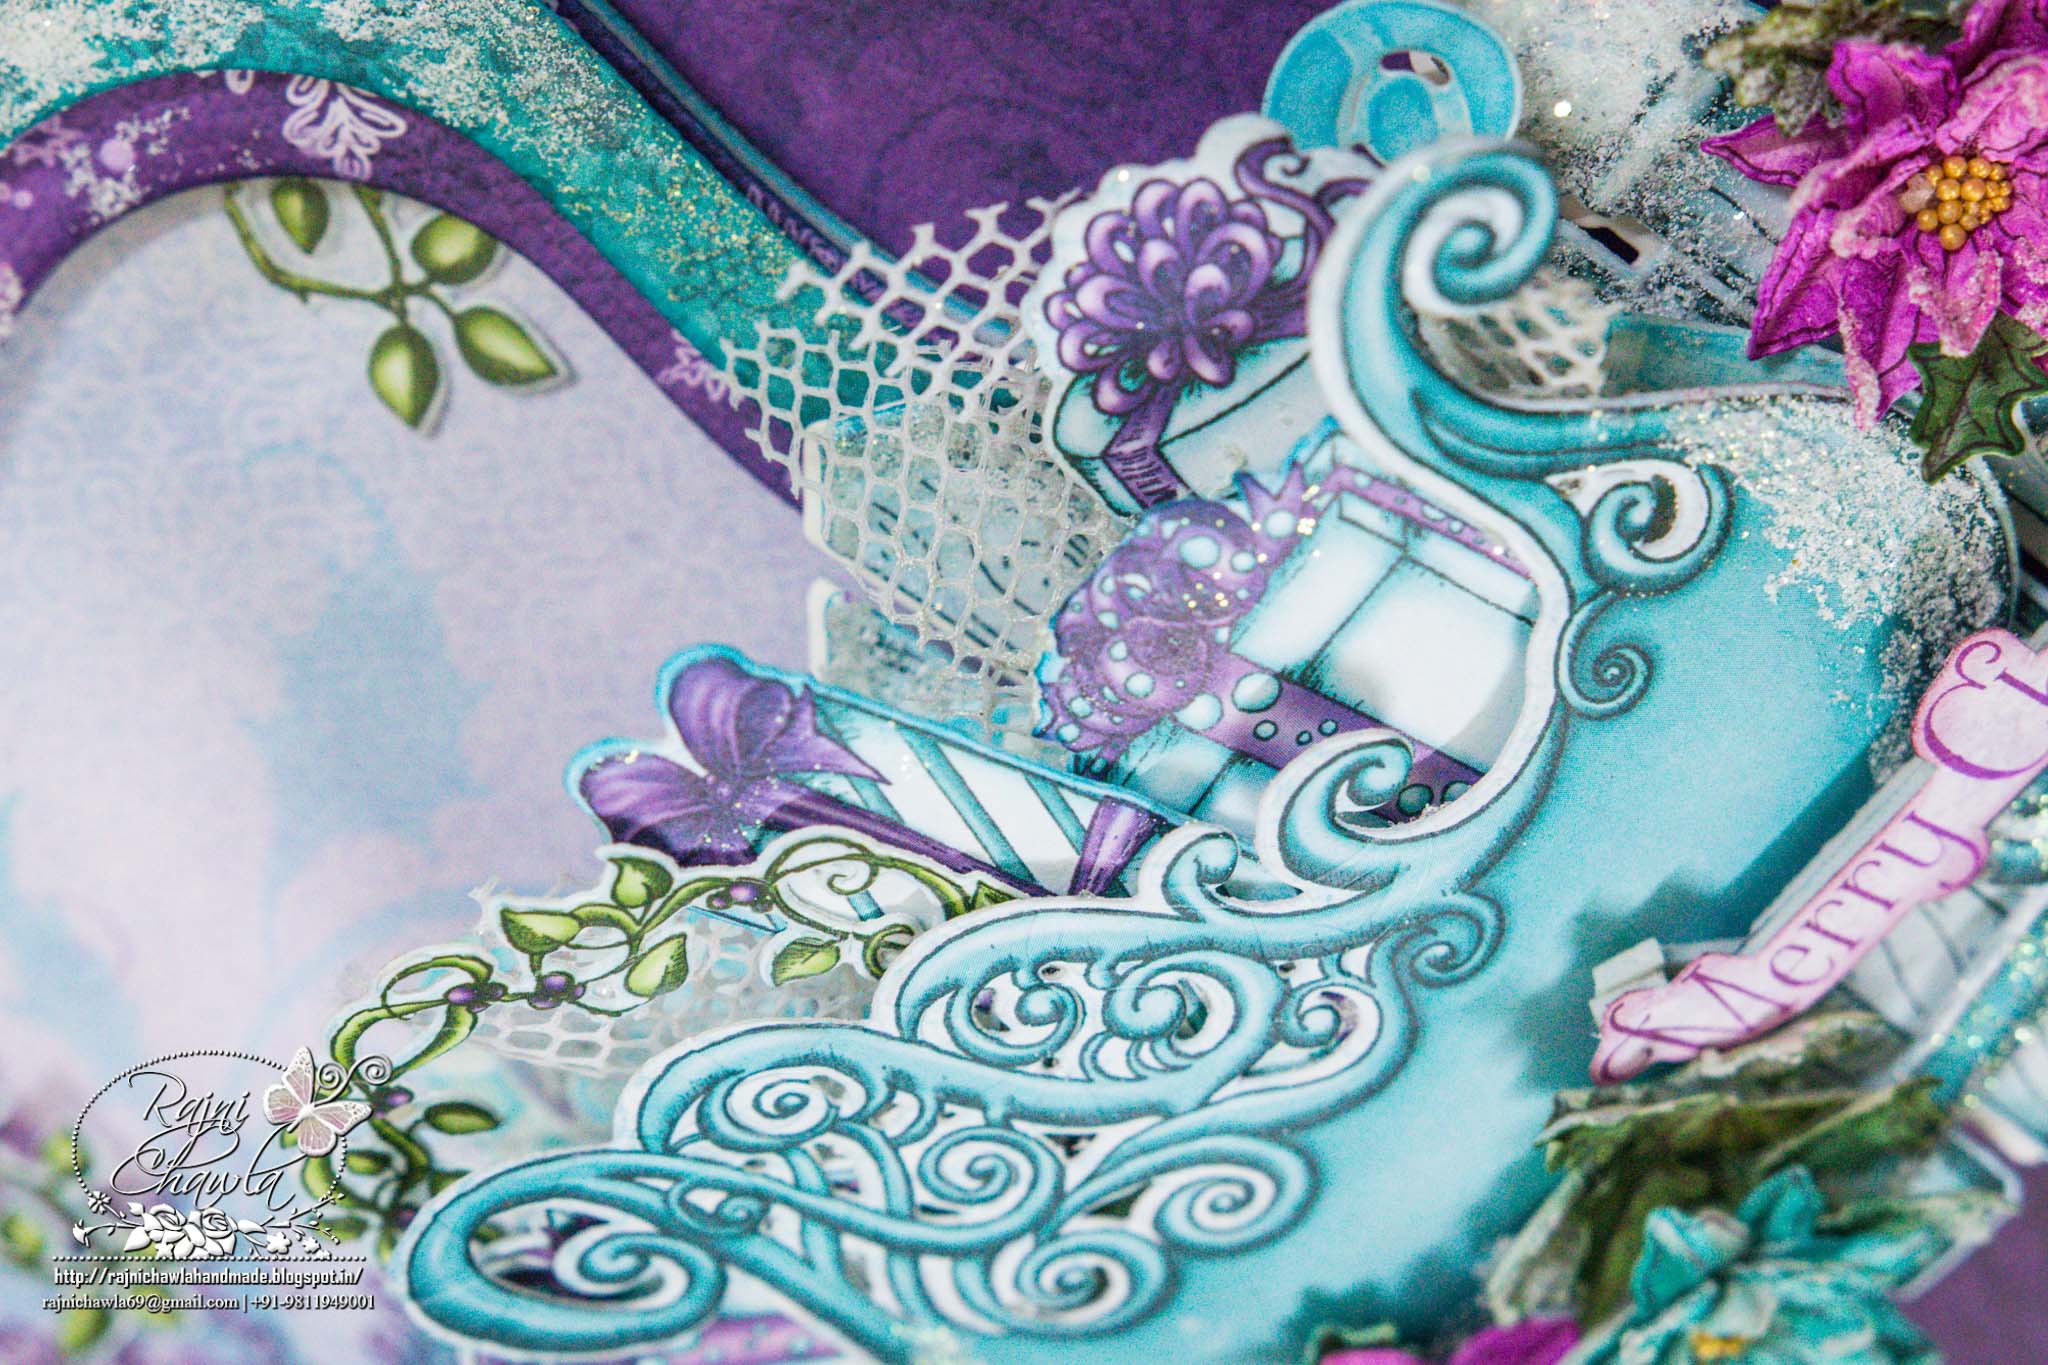
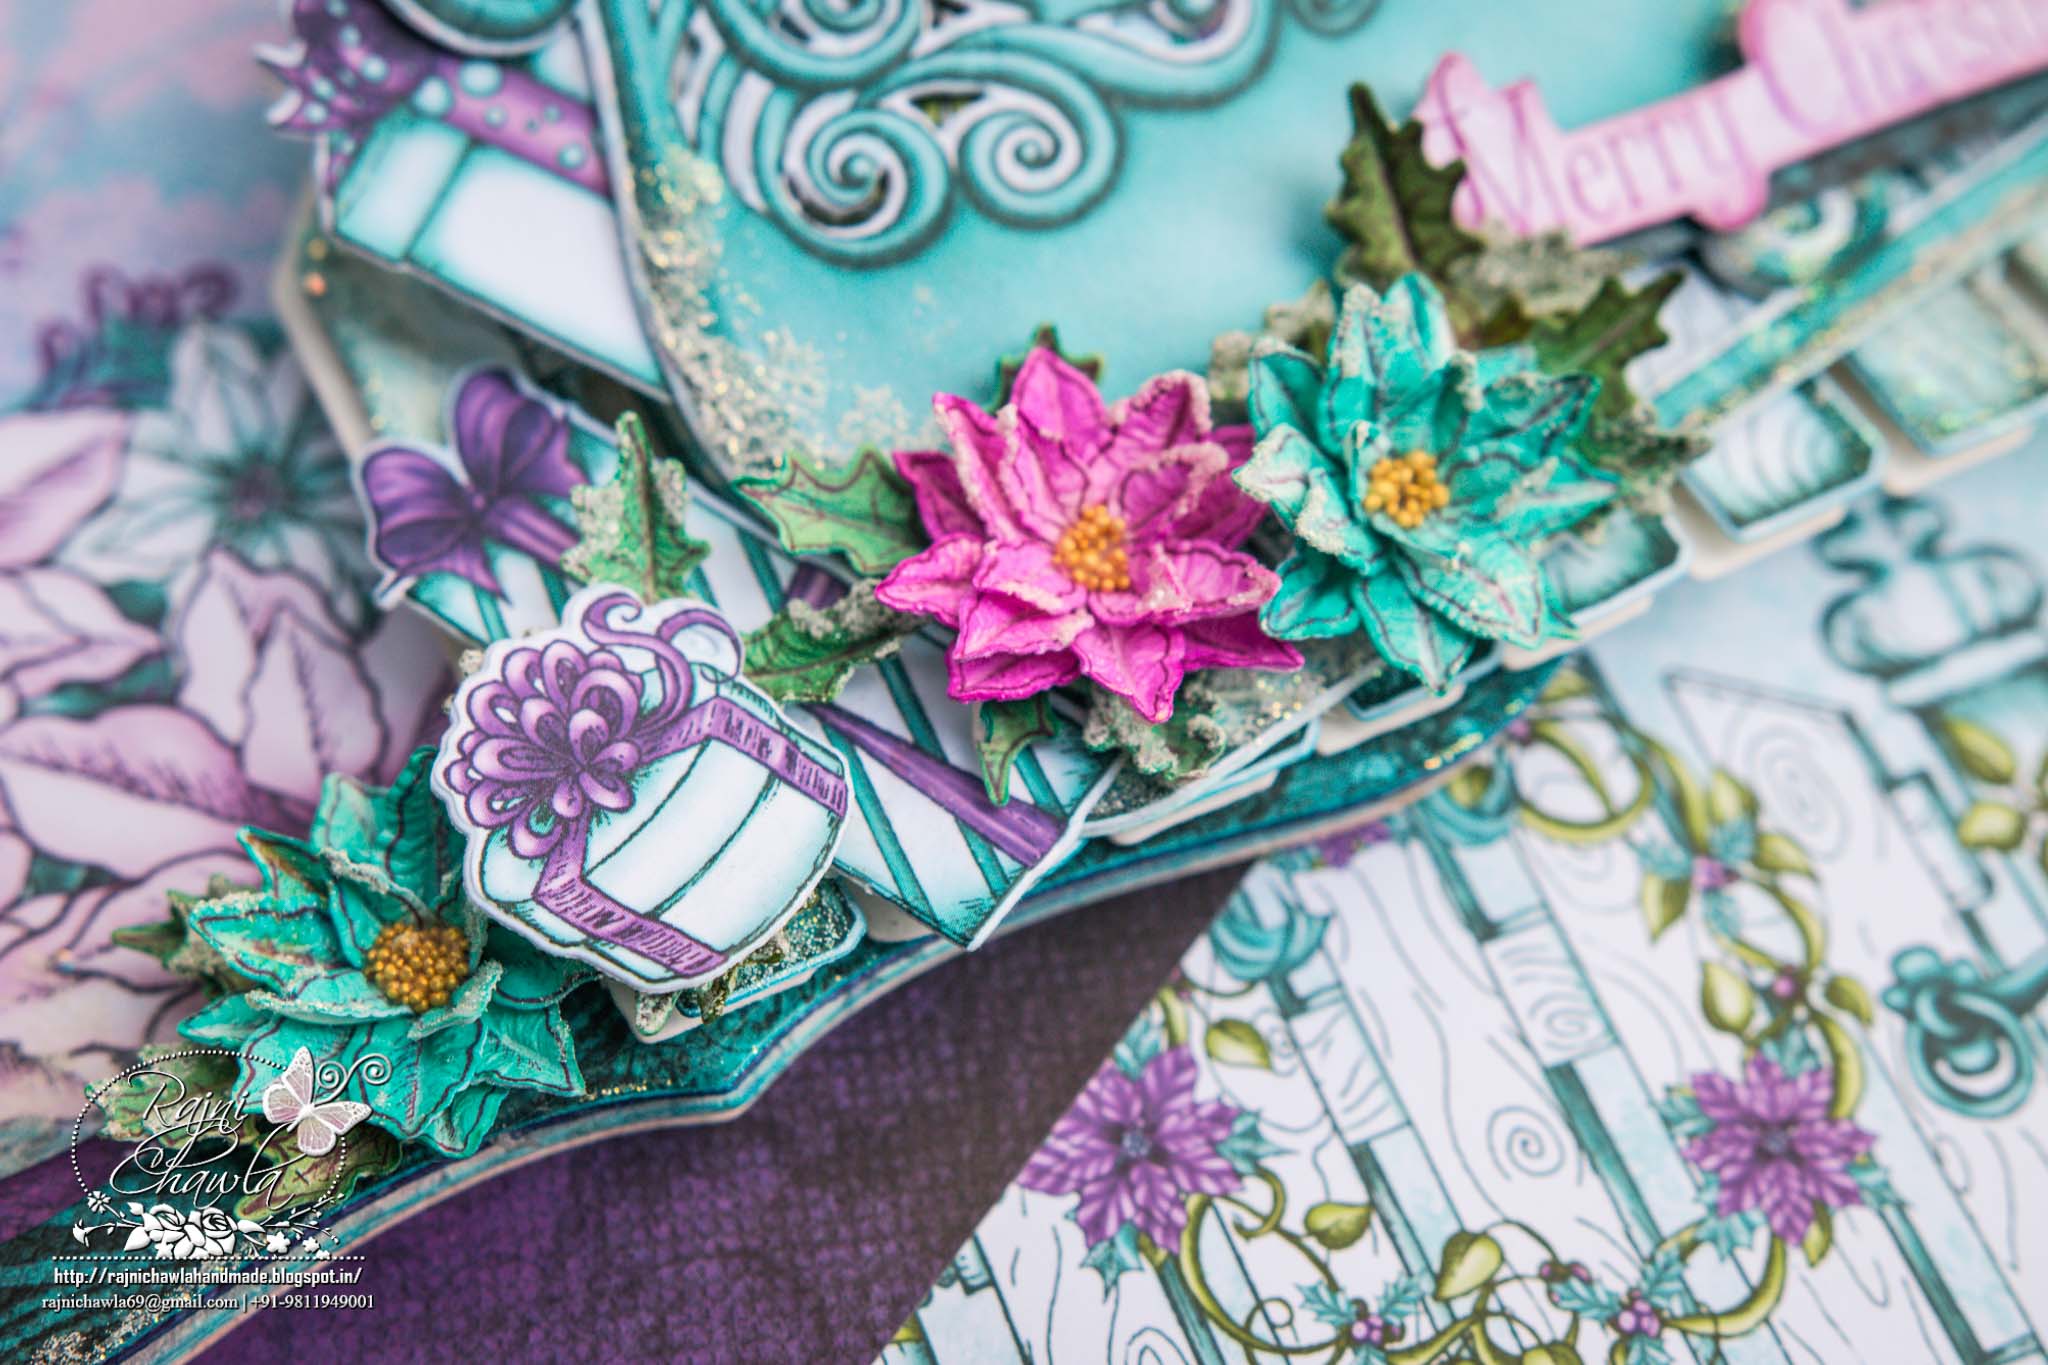
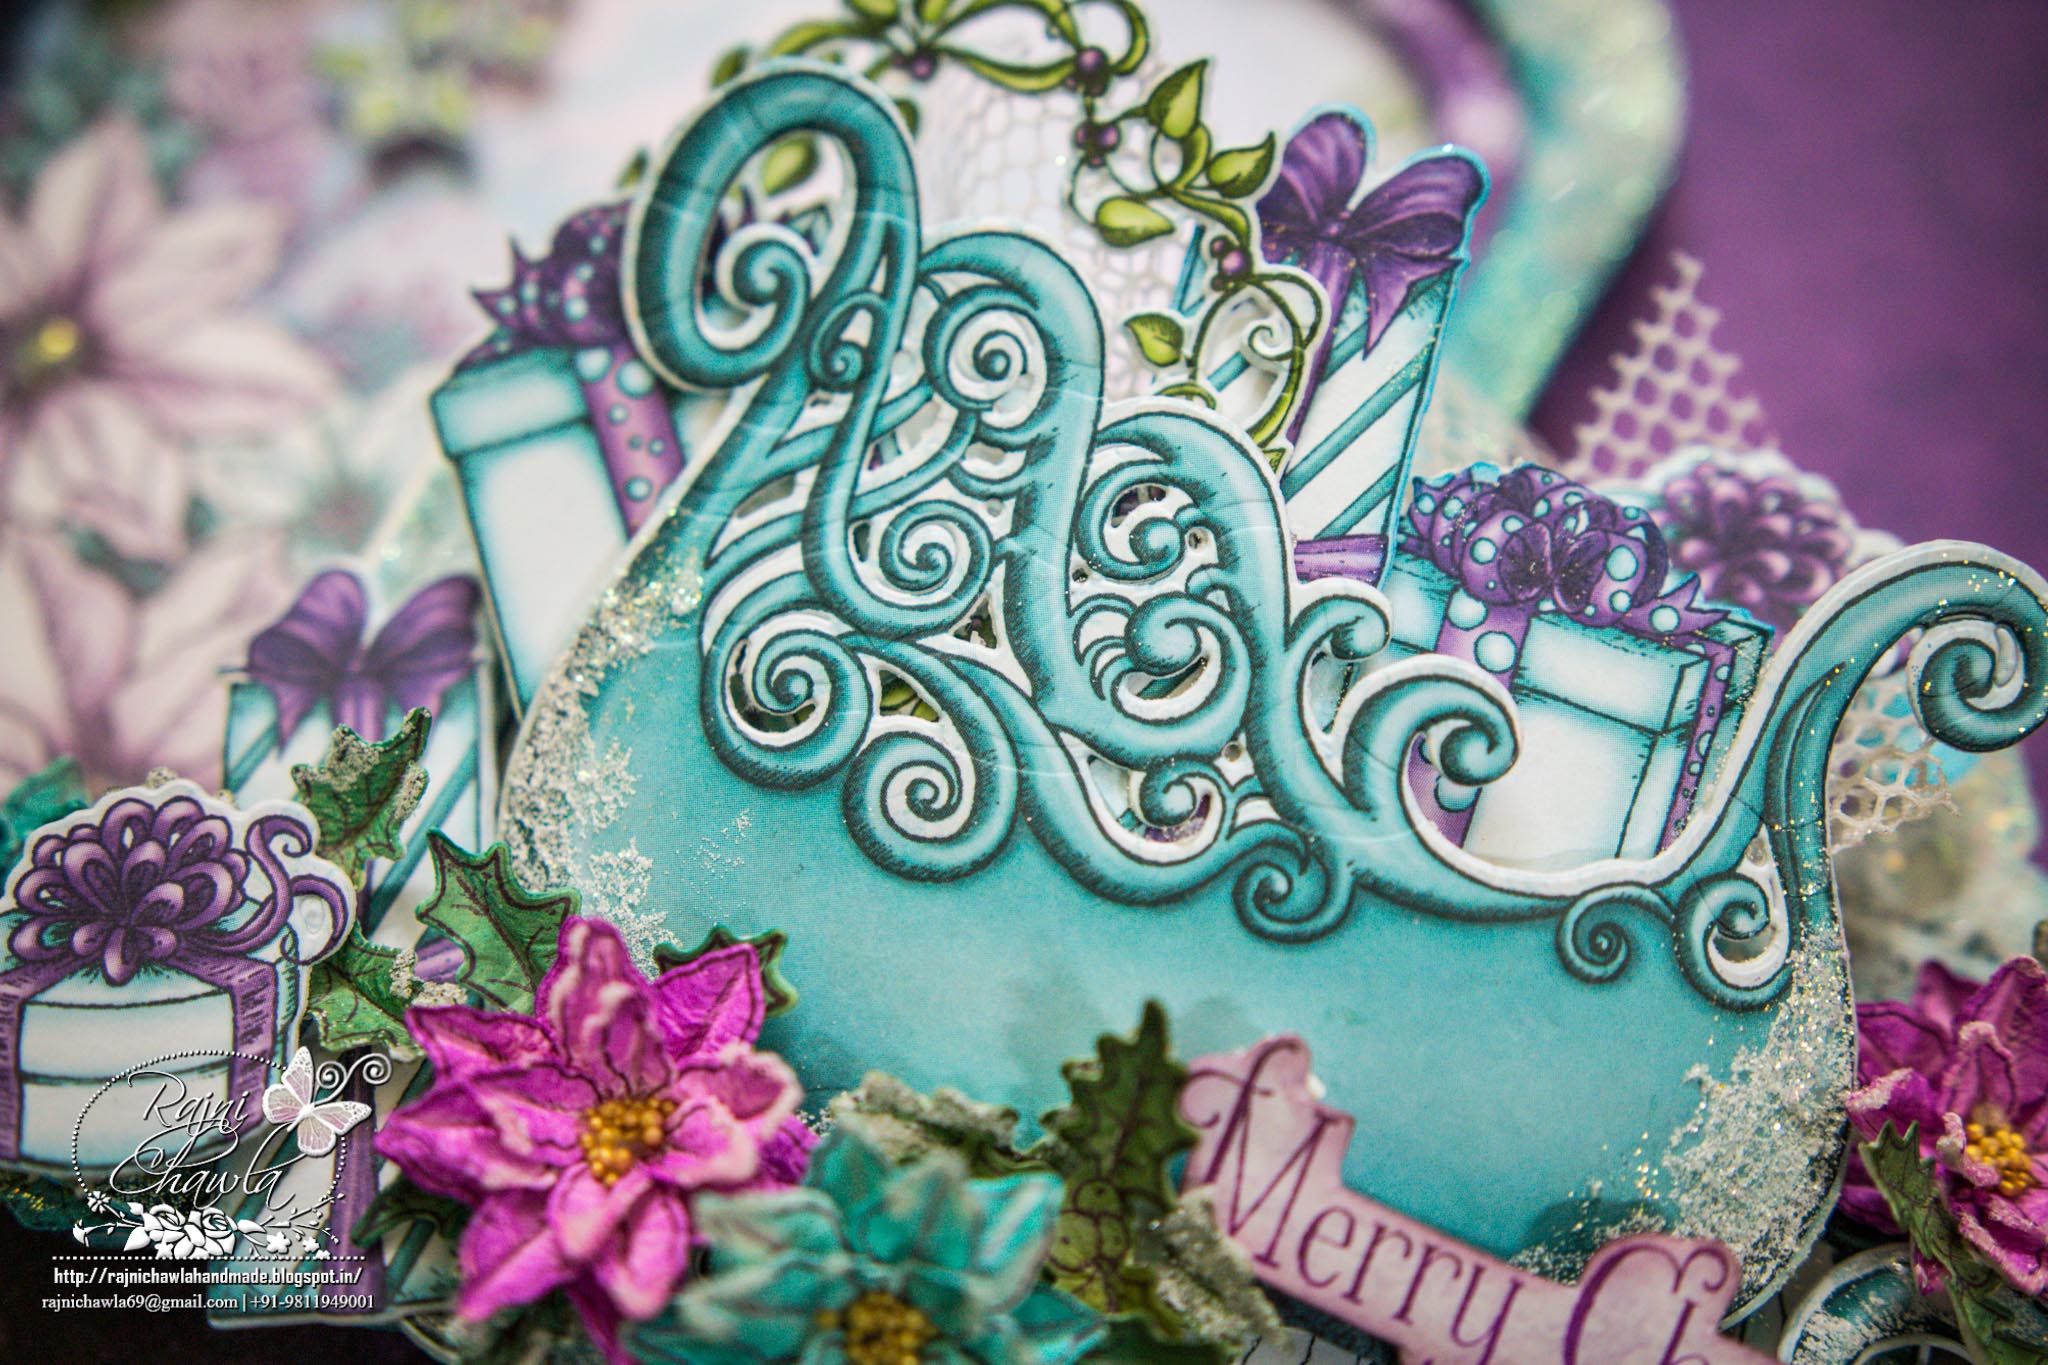
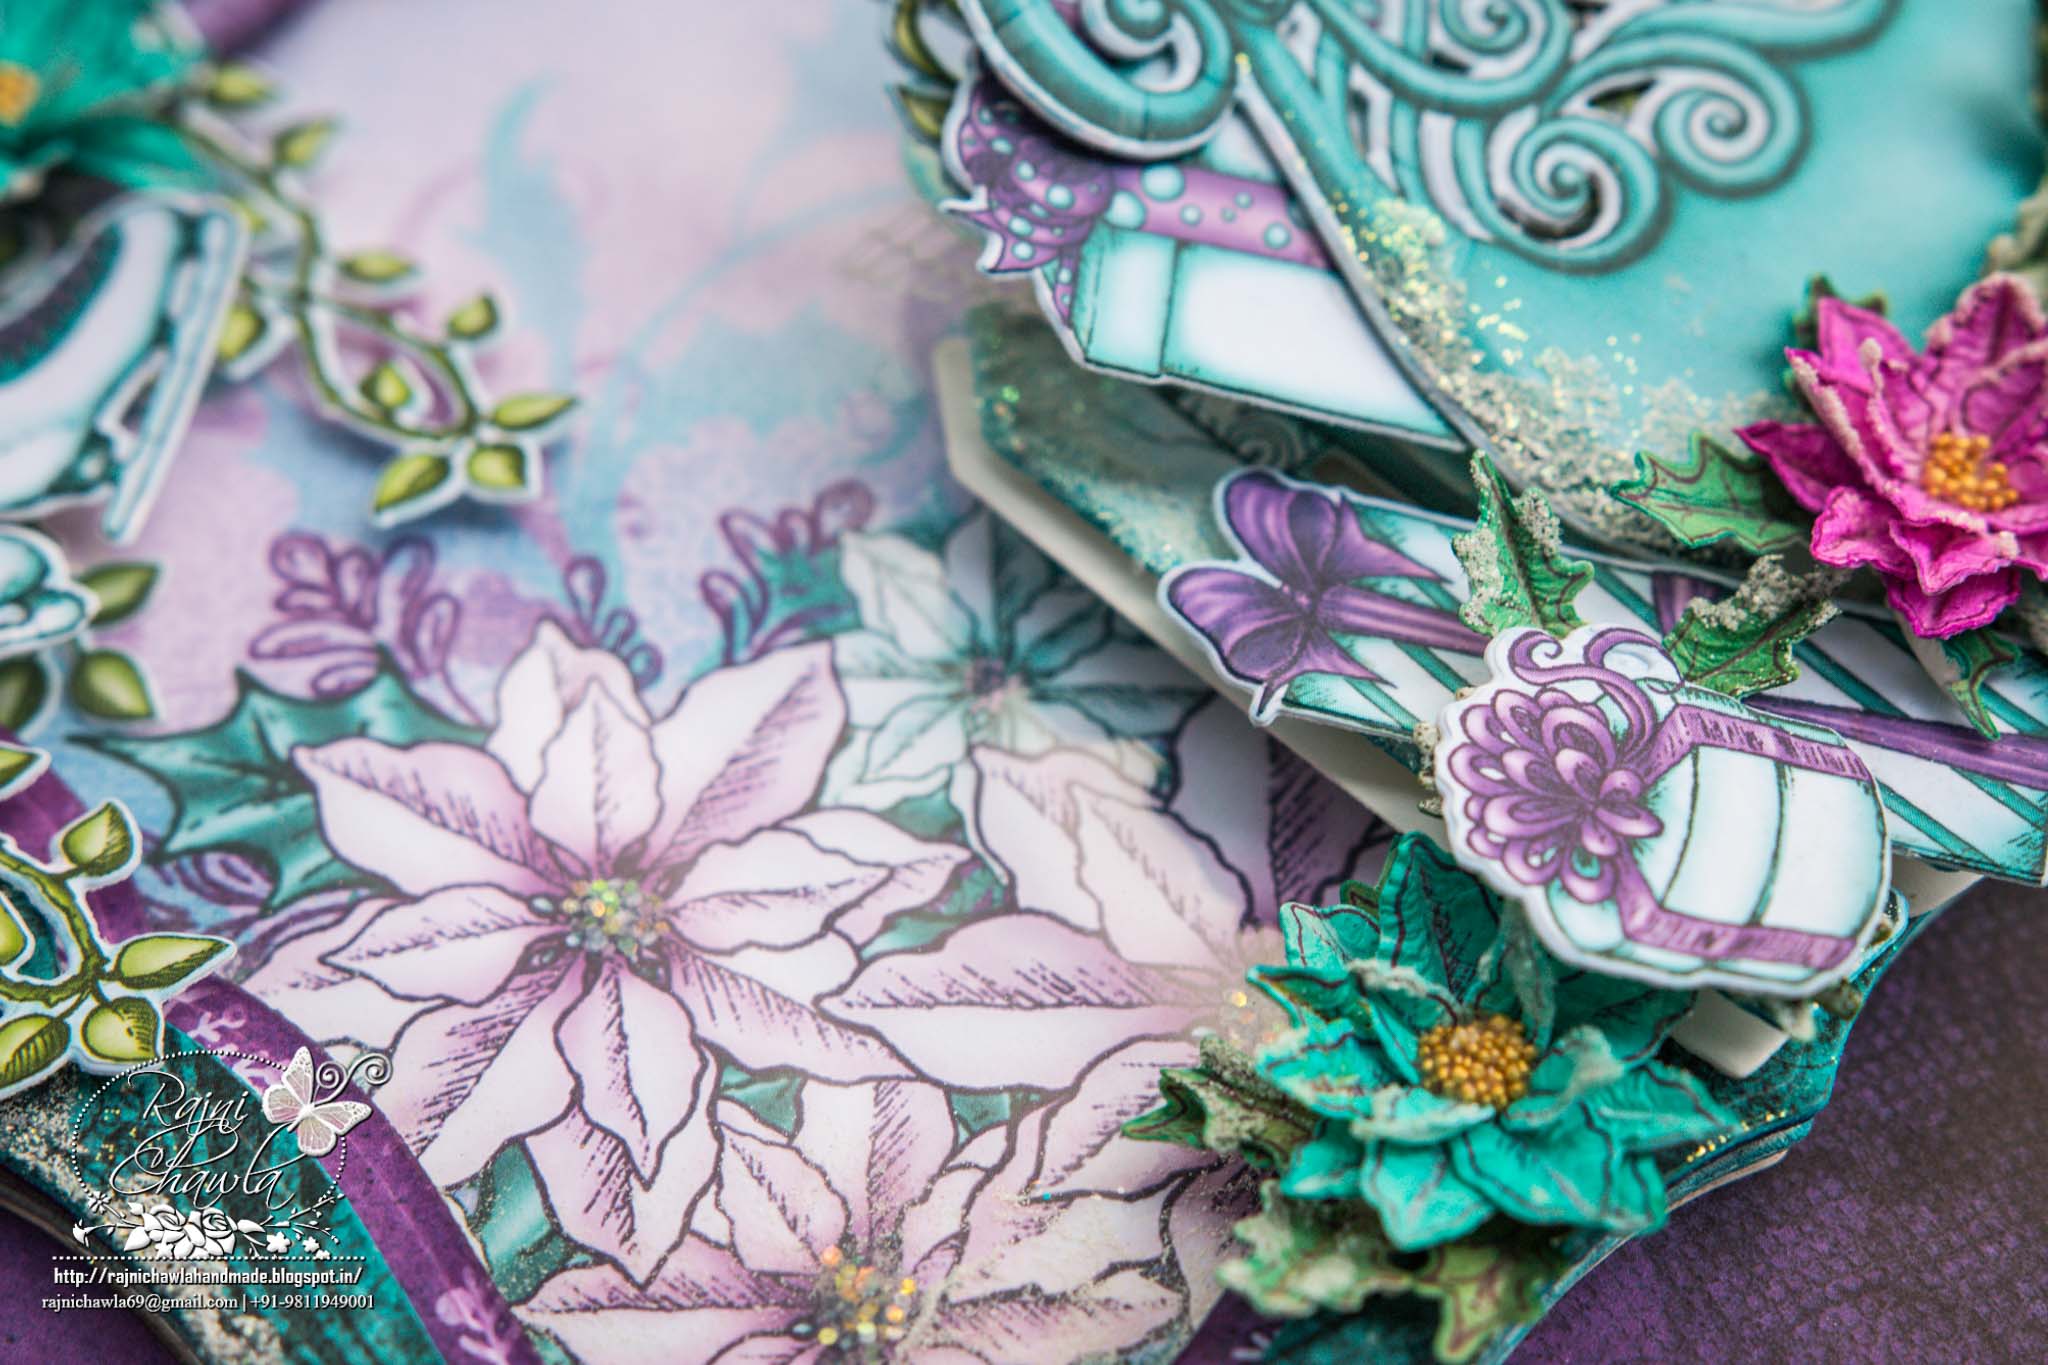
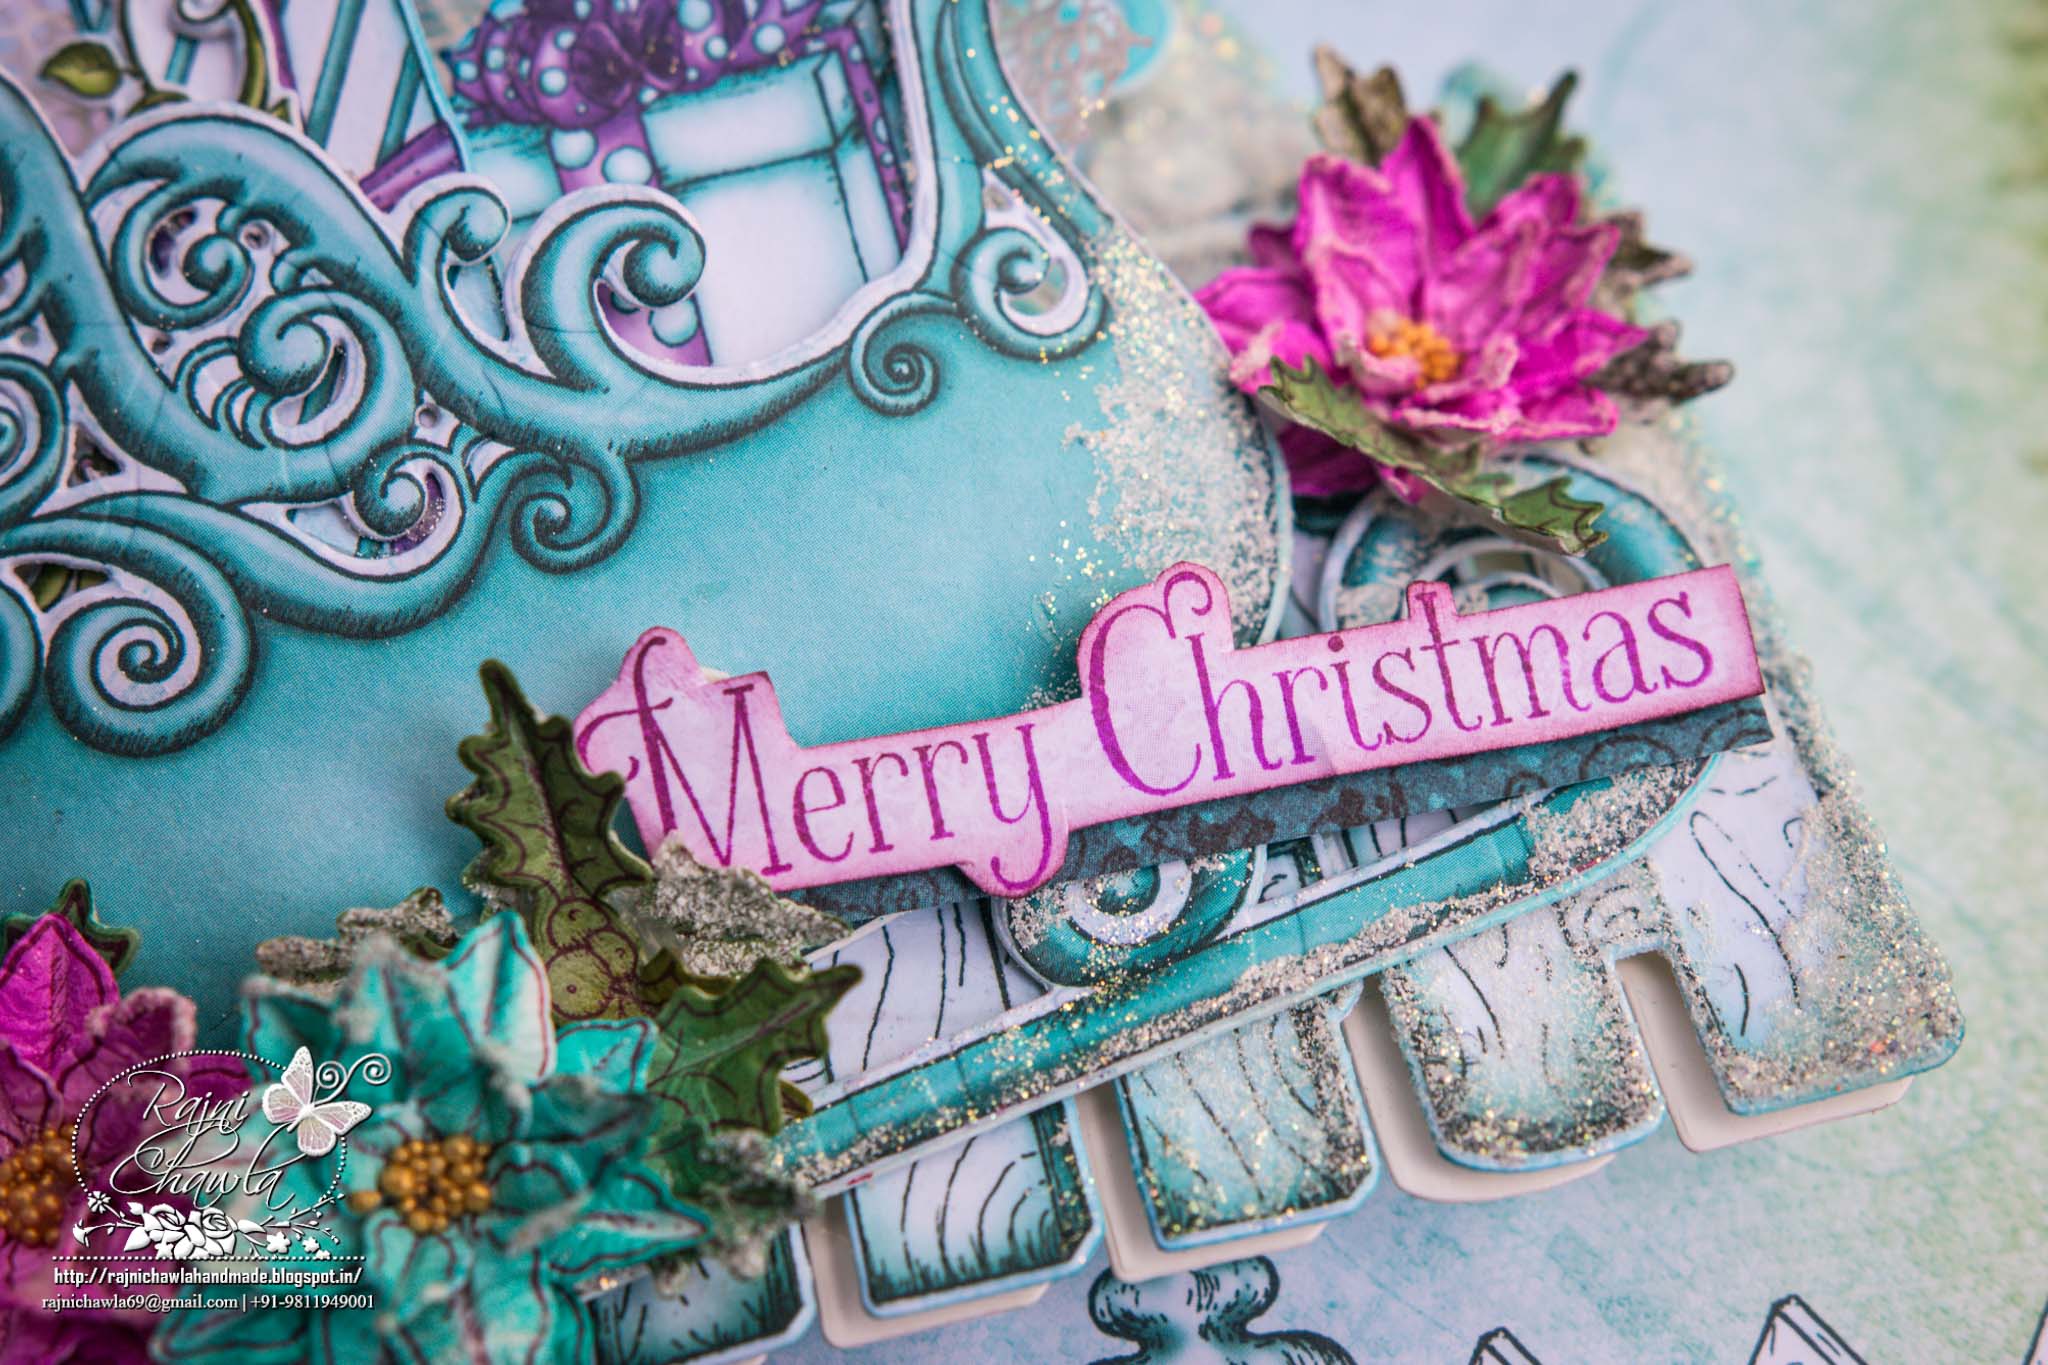
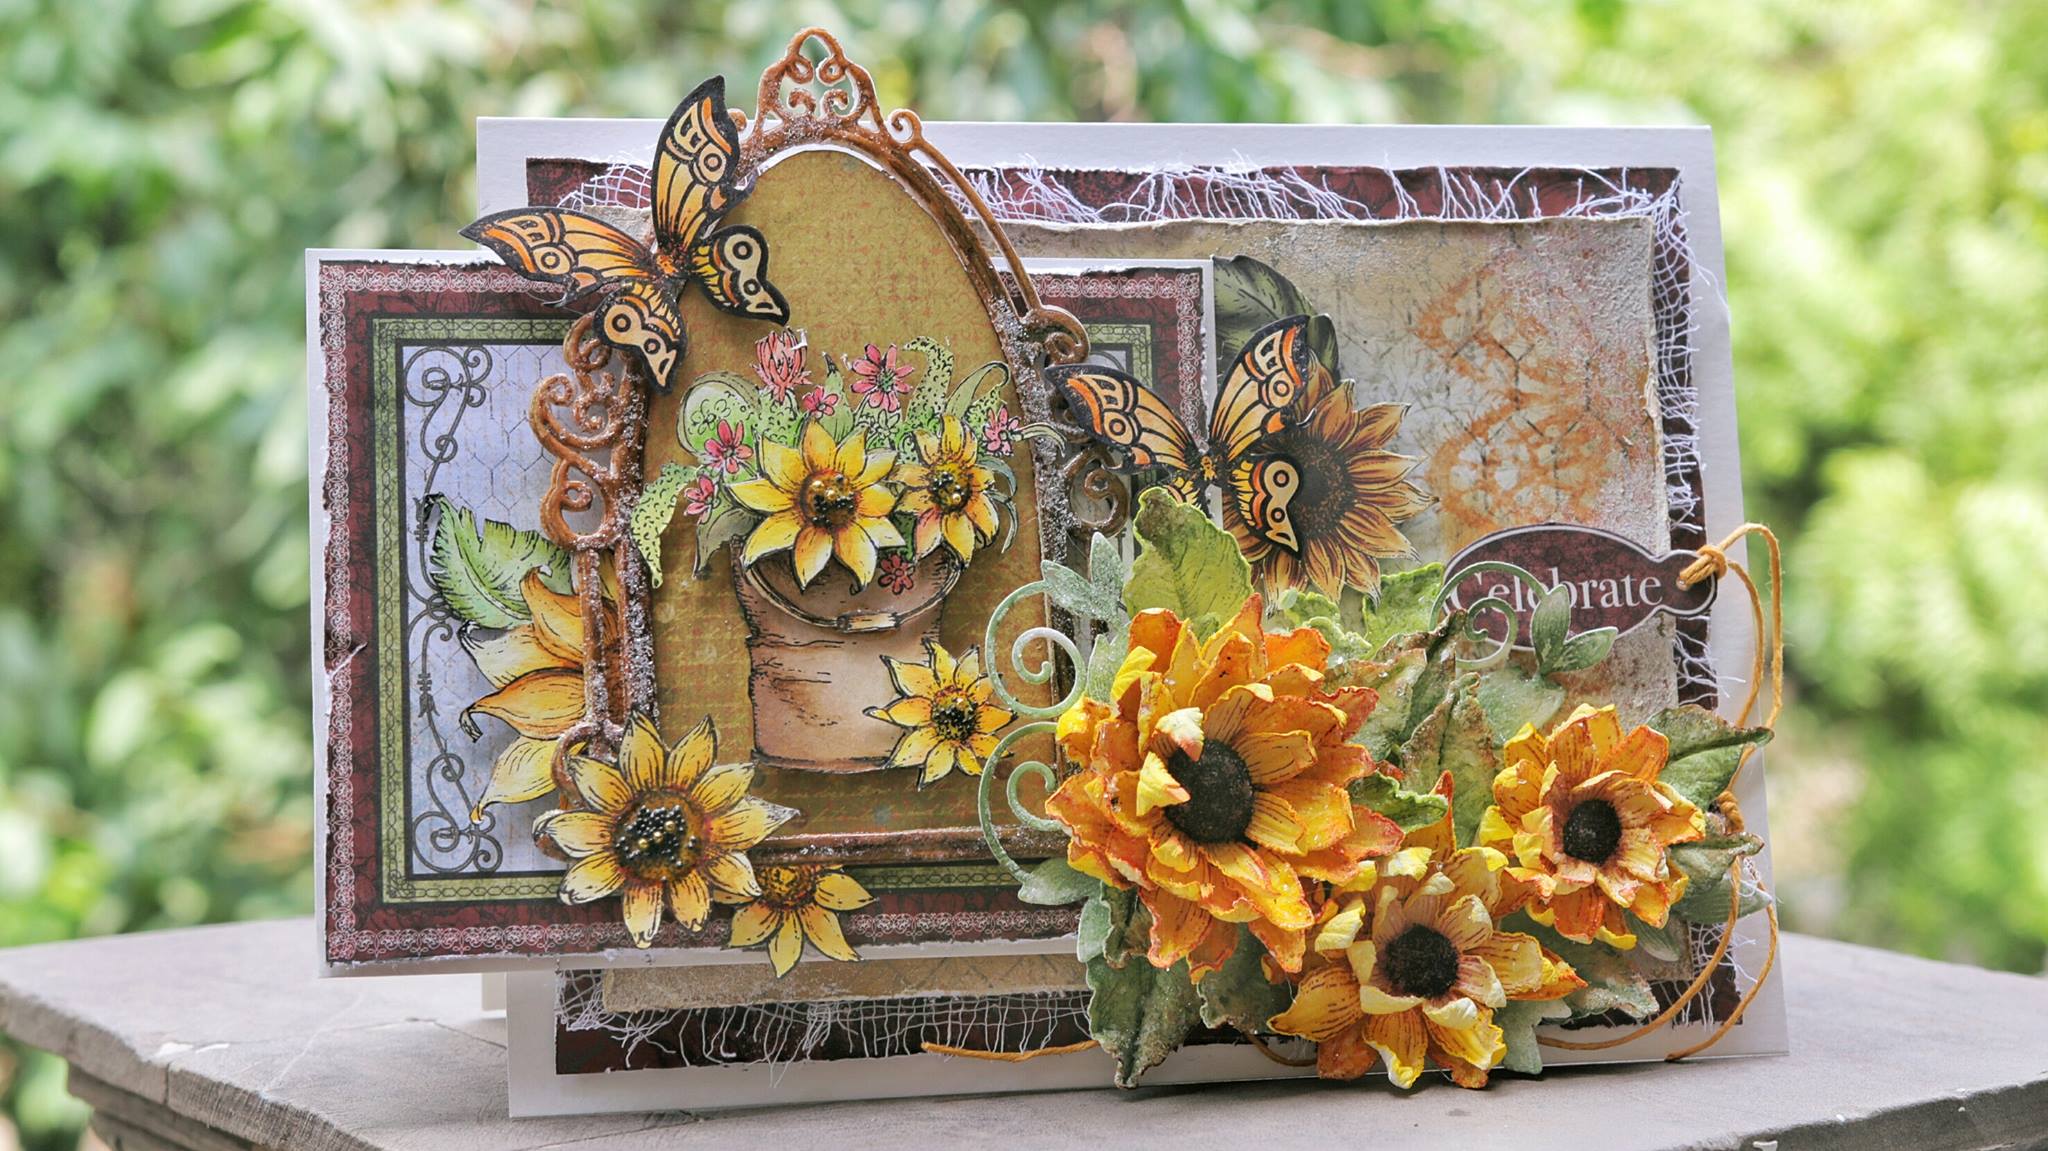
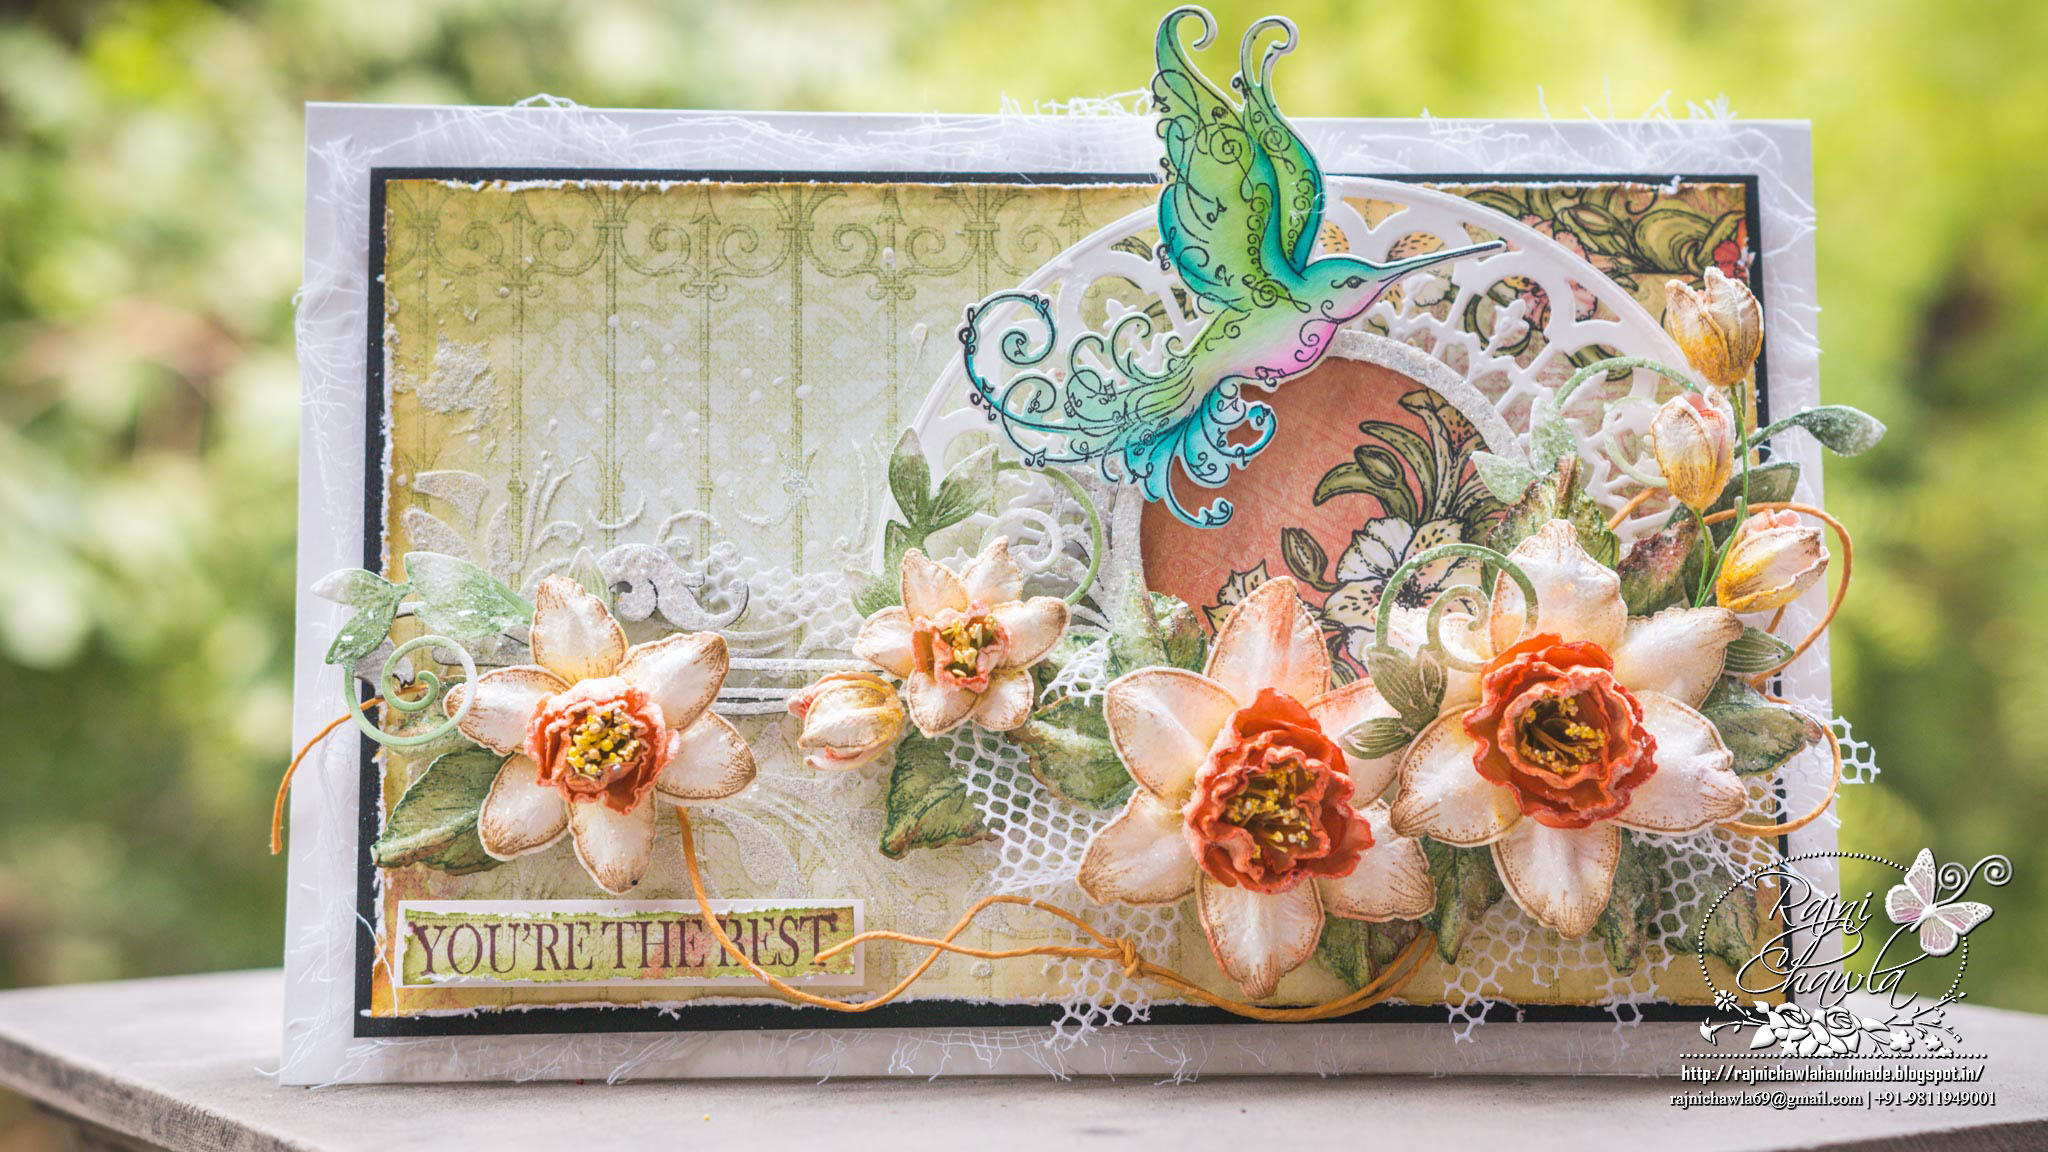
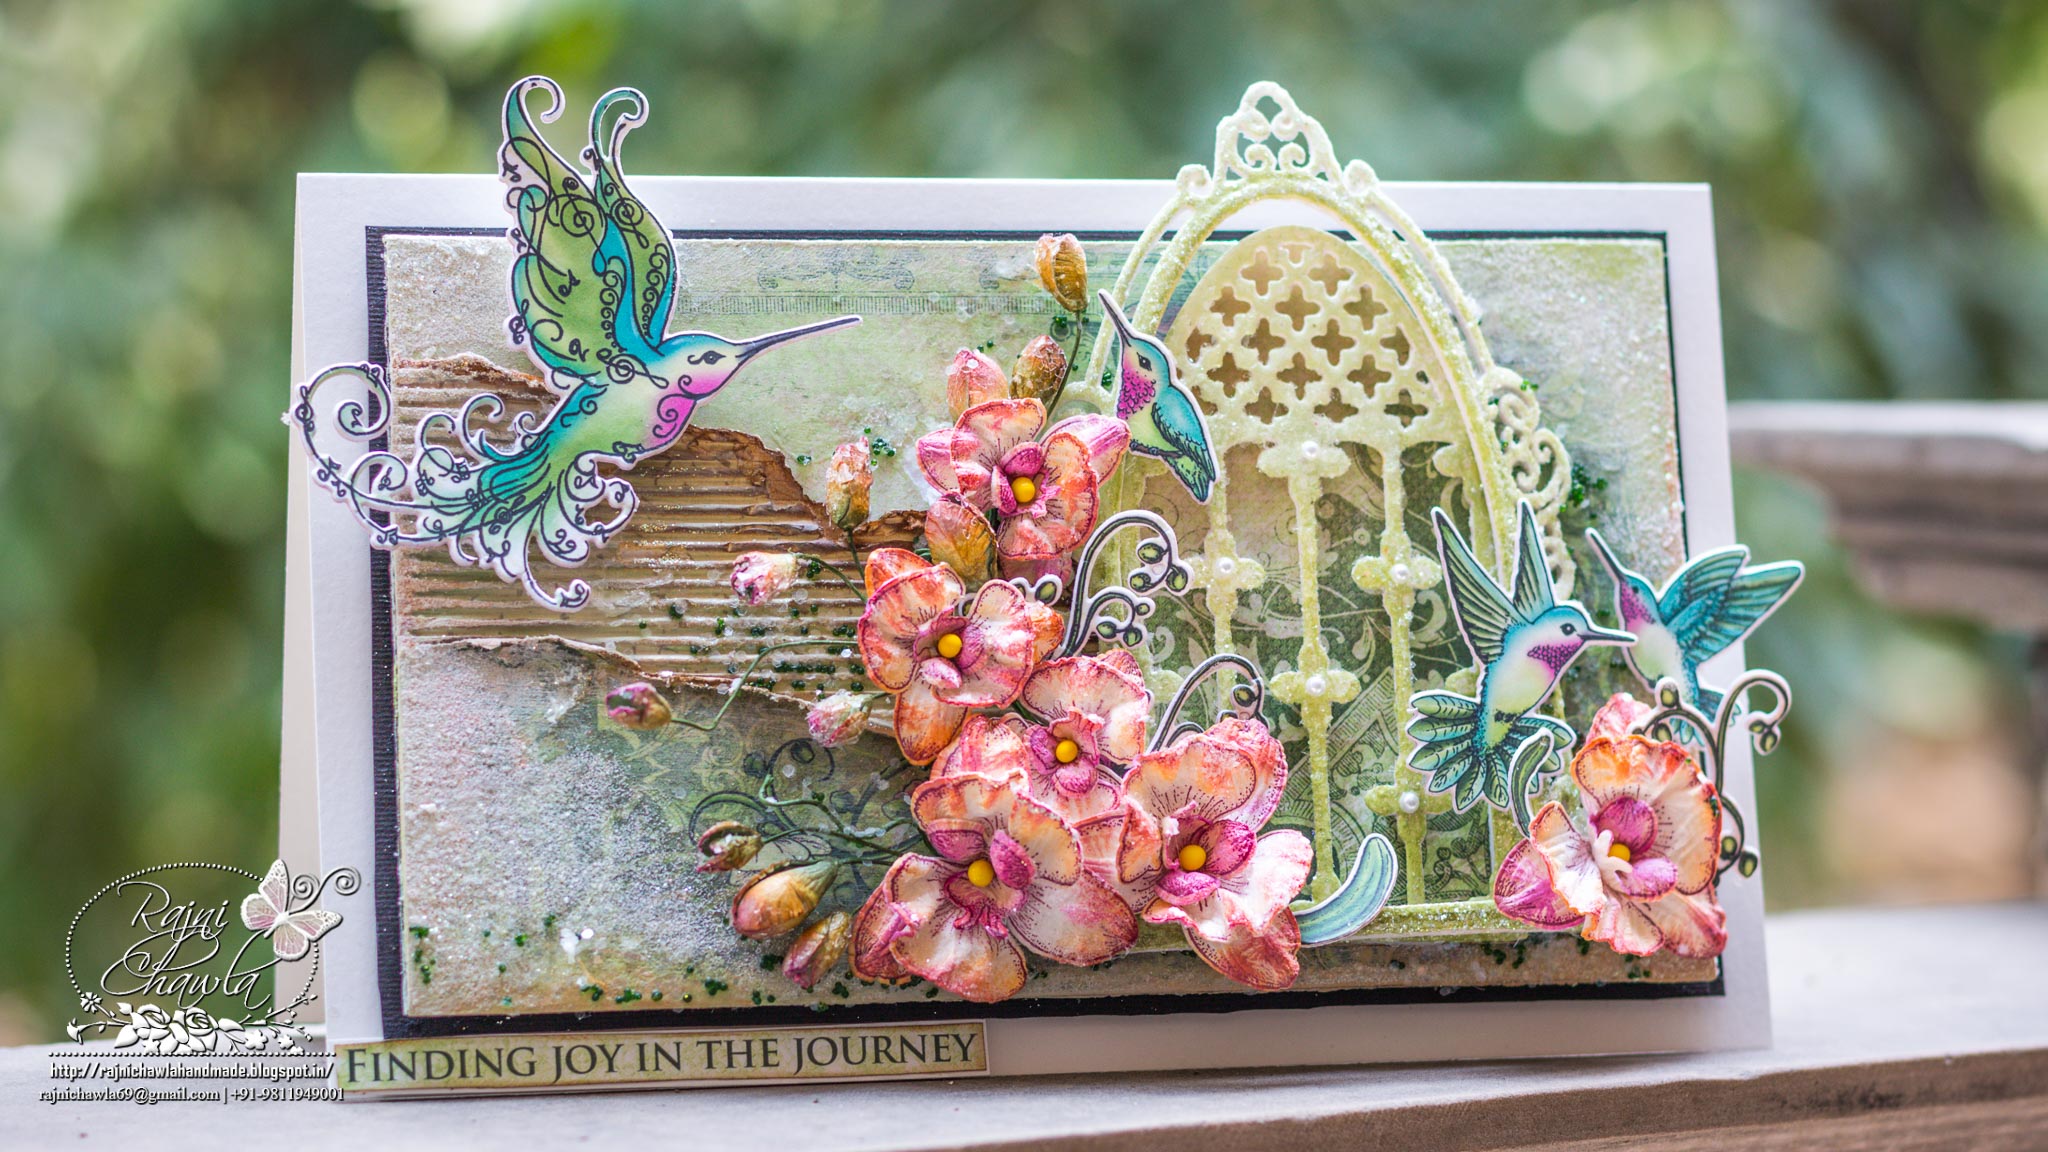
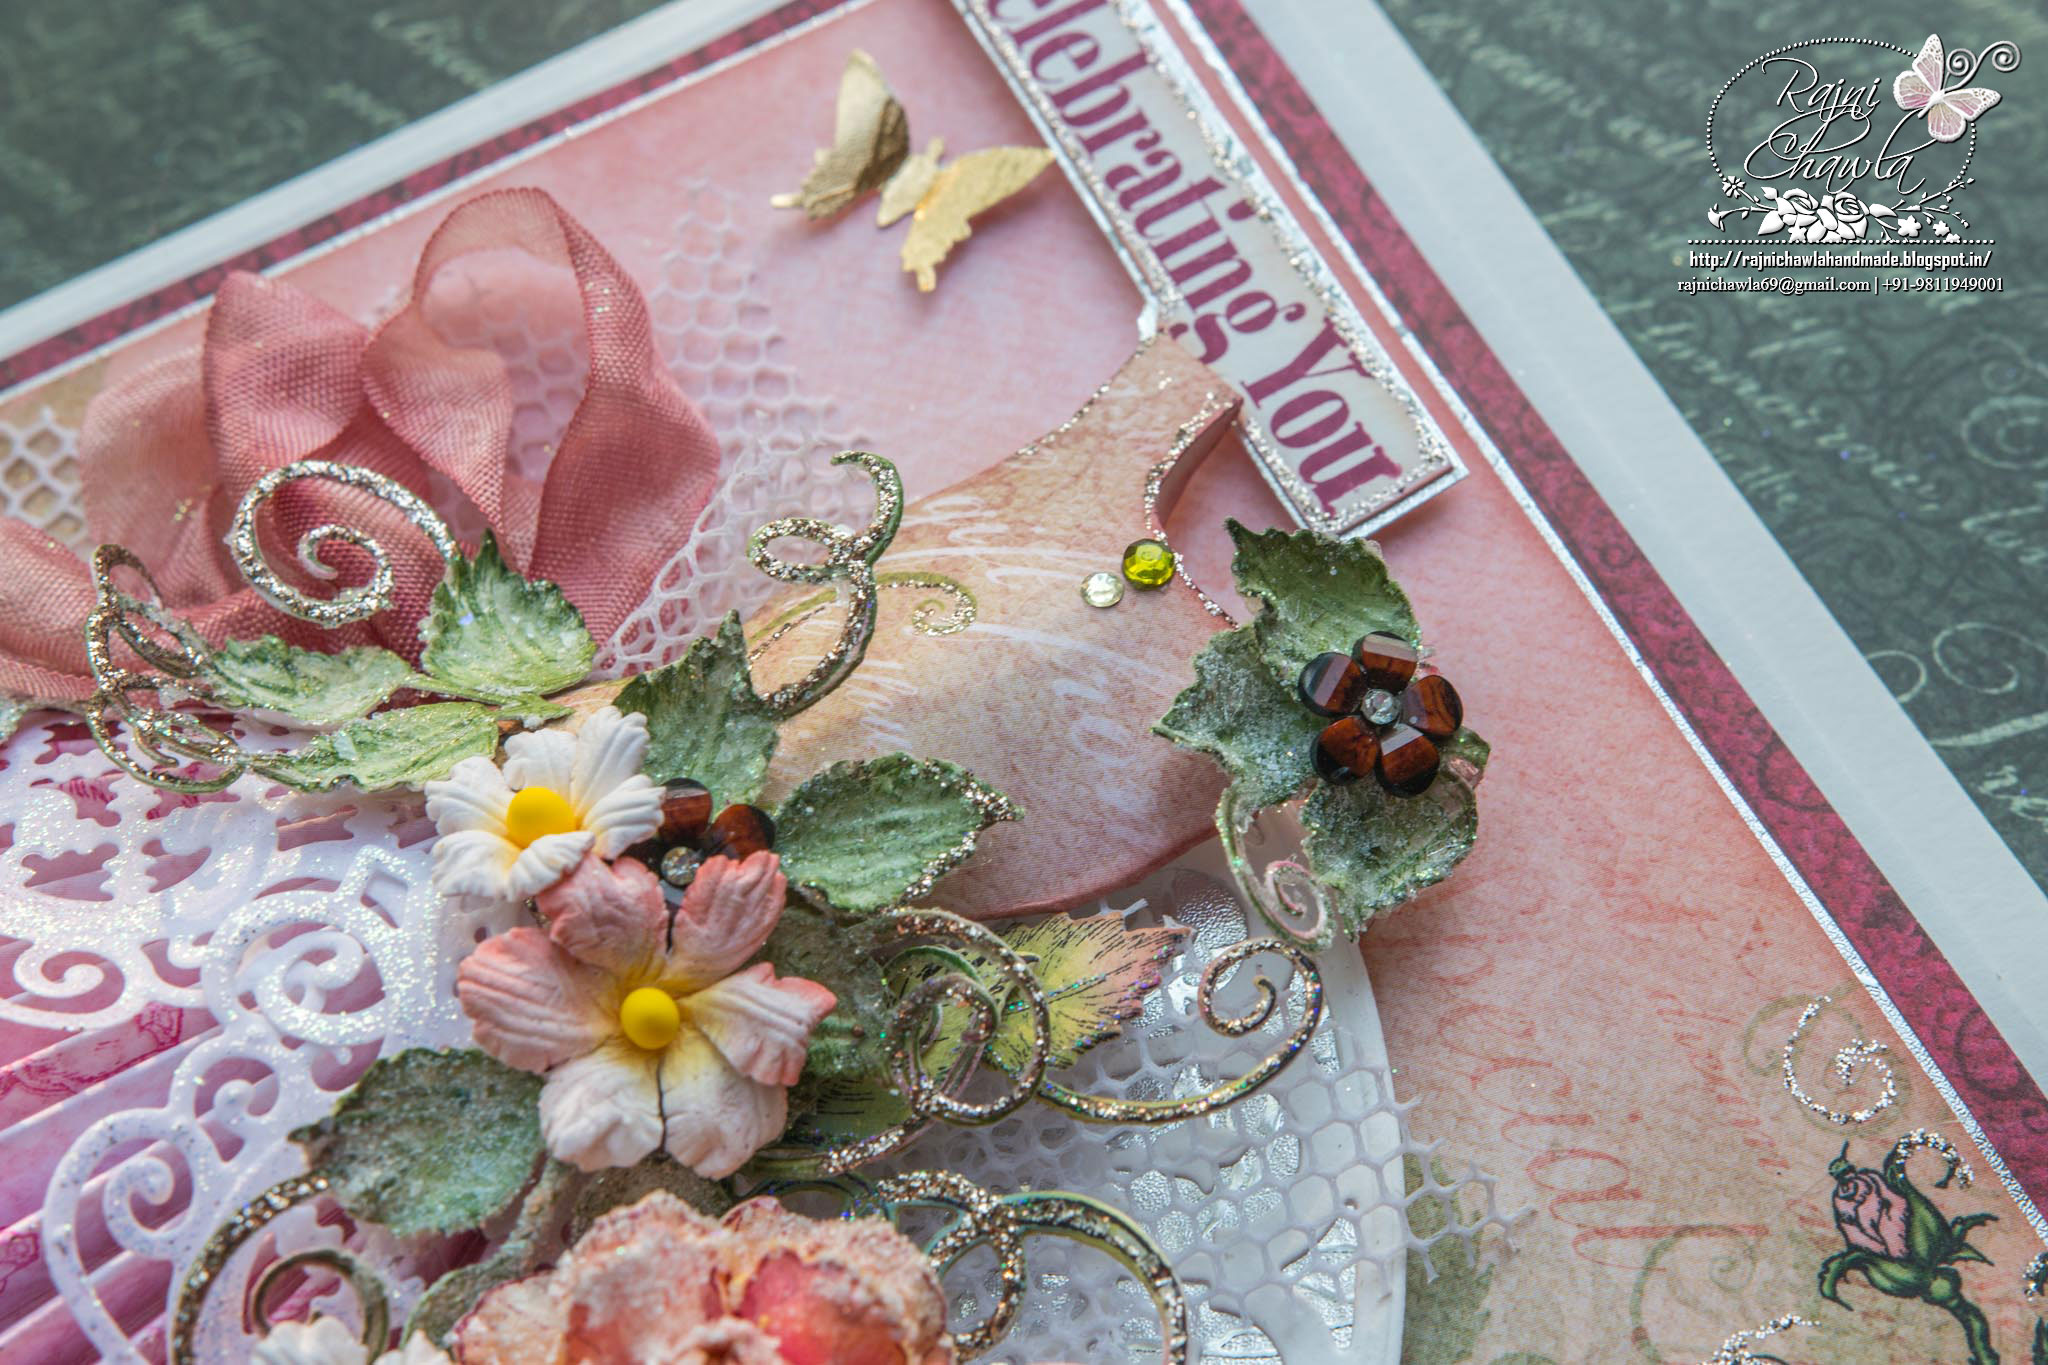
Here is the card that I made especially for her on her birthday. I really enjoyed making it. My card is also a peek to Heartfelt Creation's upcoming release. Again ...its a must have for all flower lovers. Gorgeous papers, beautifully carved stamps and excellent cut of its coordinating dies.


Ema B'day Card (8)

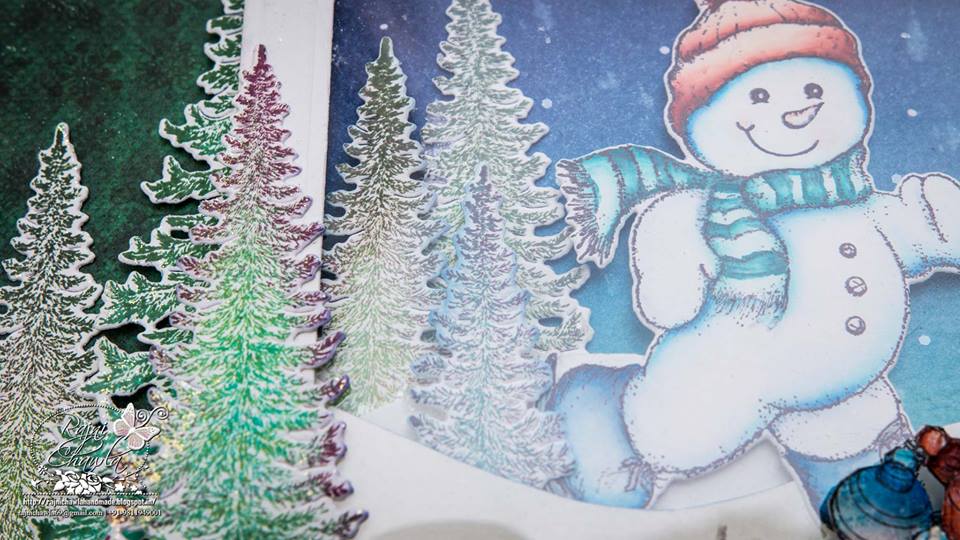
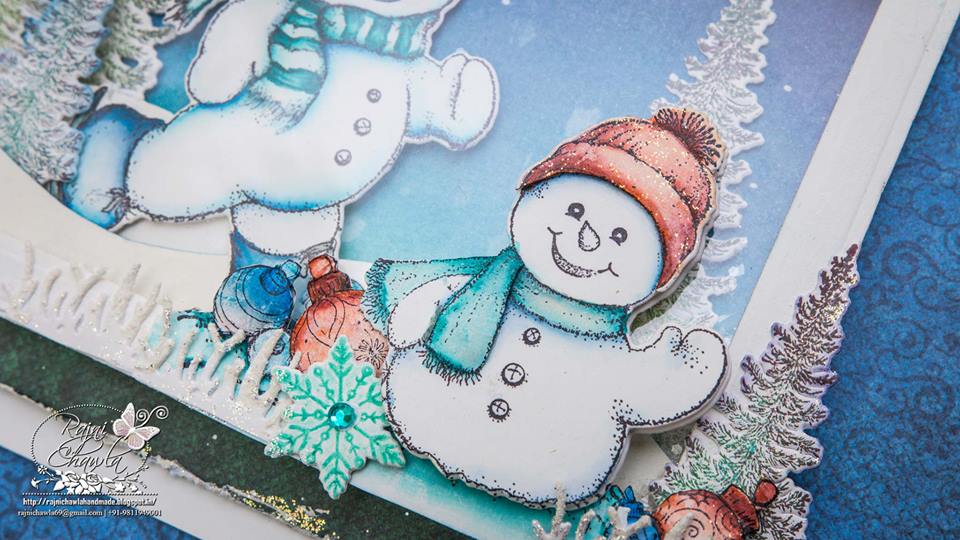
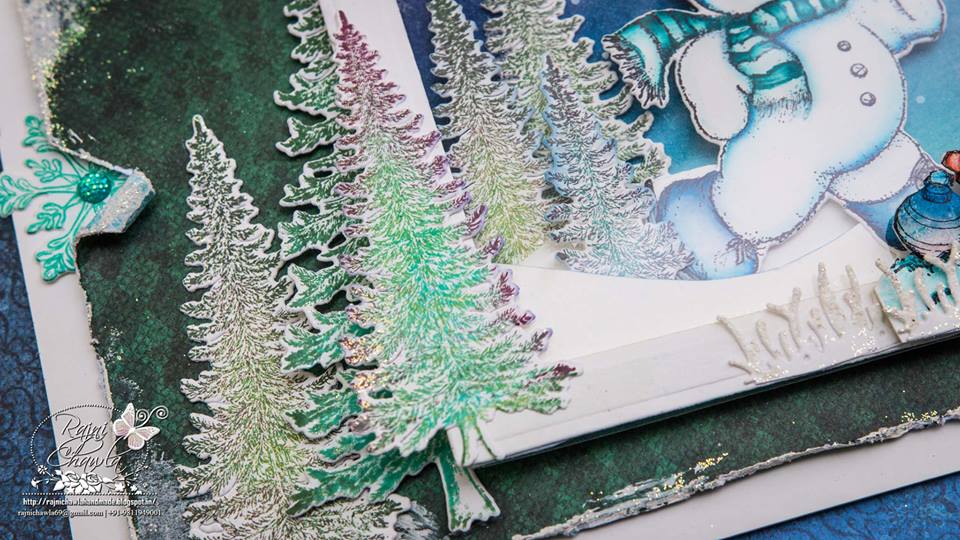
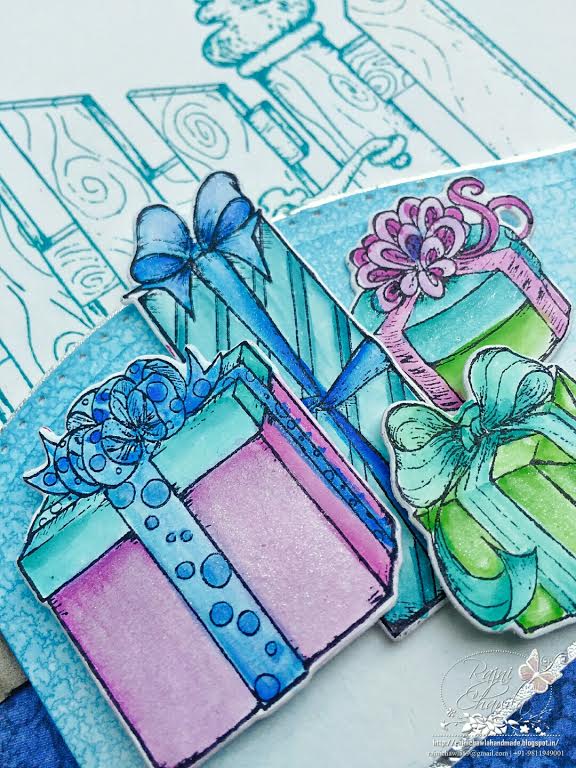
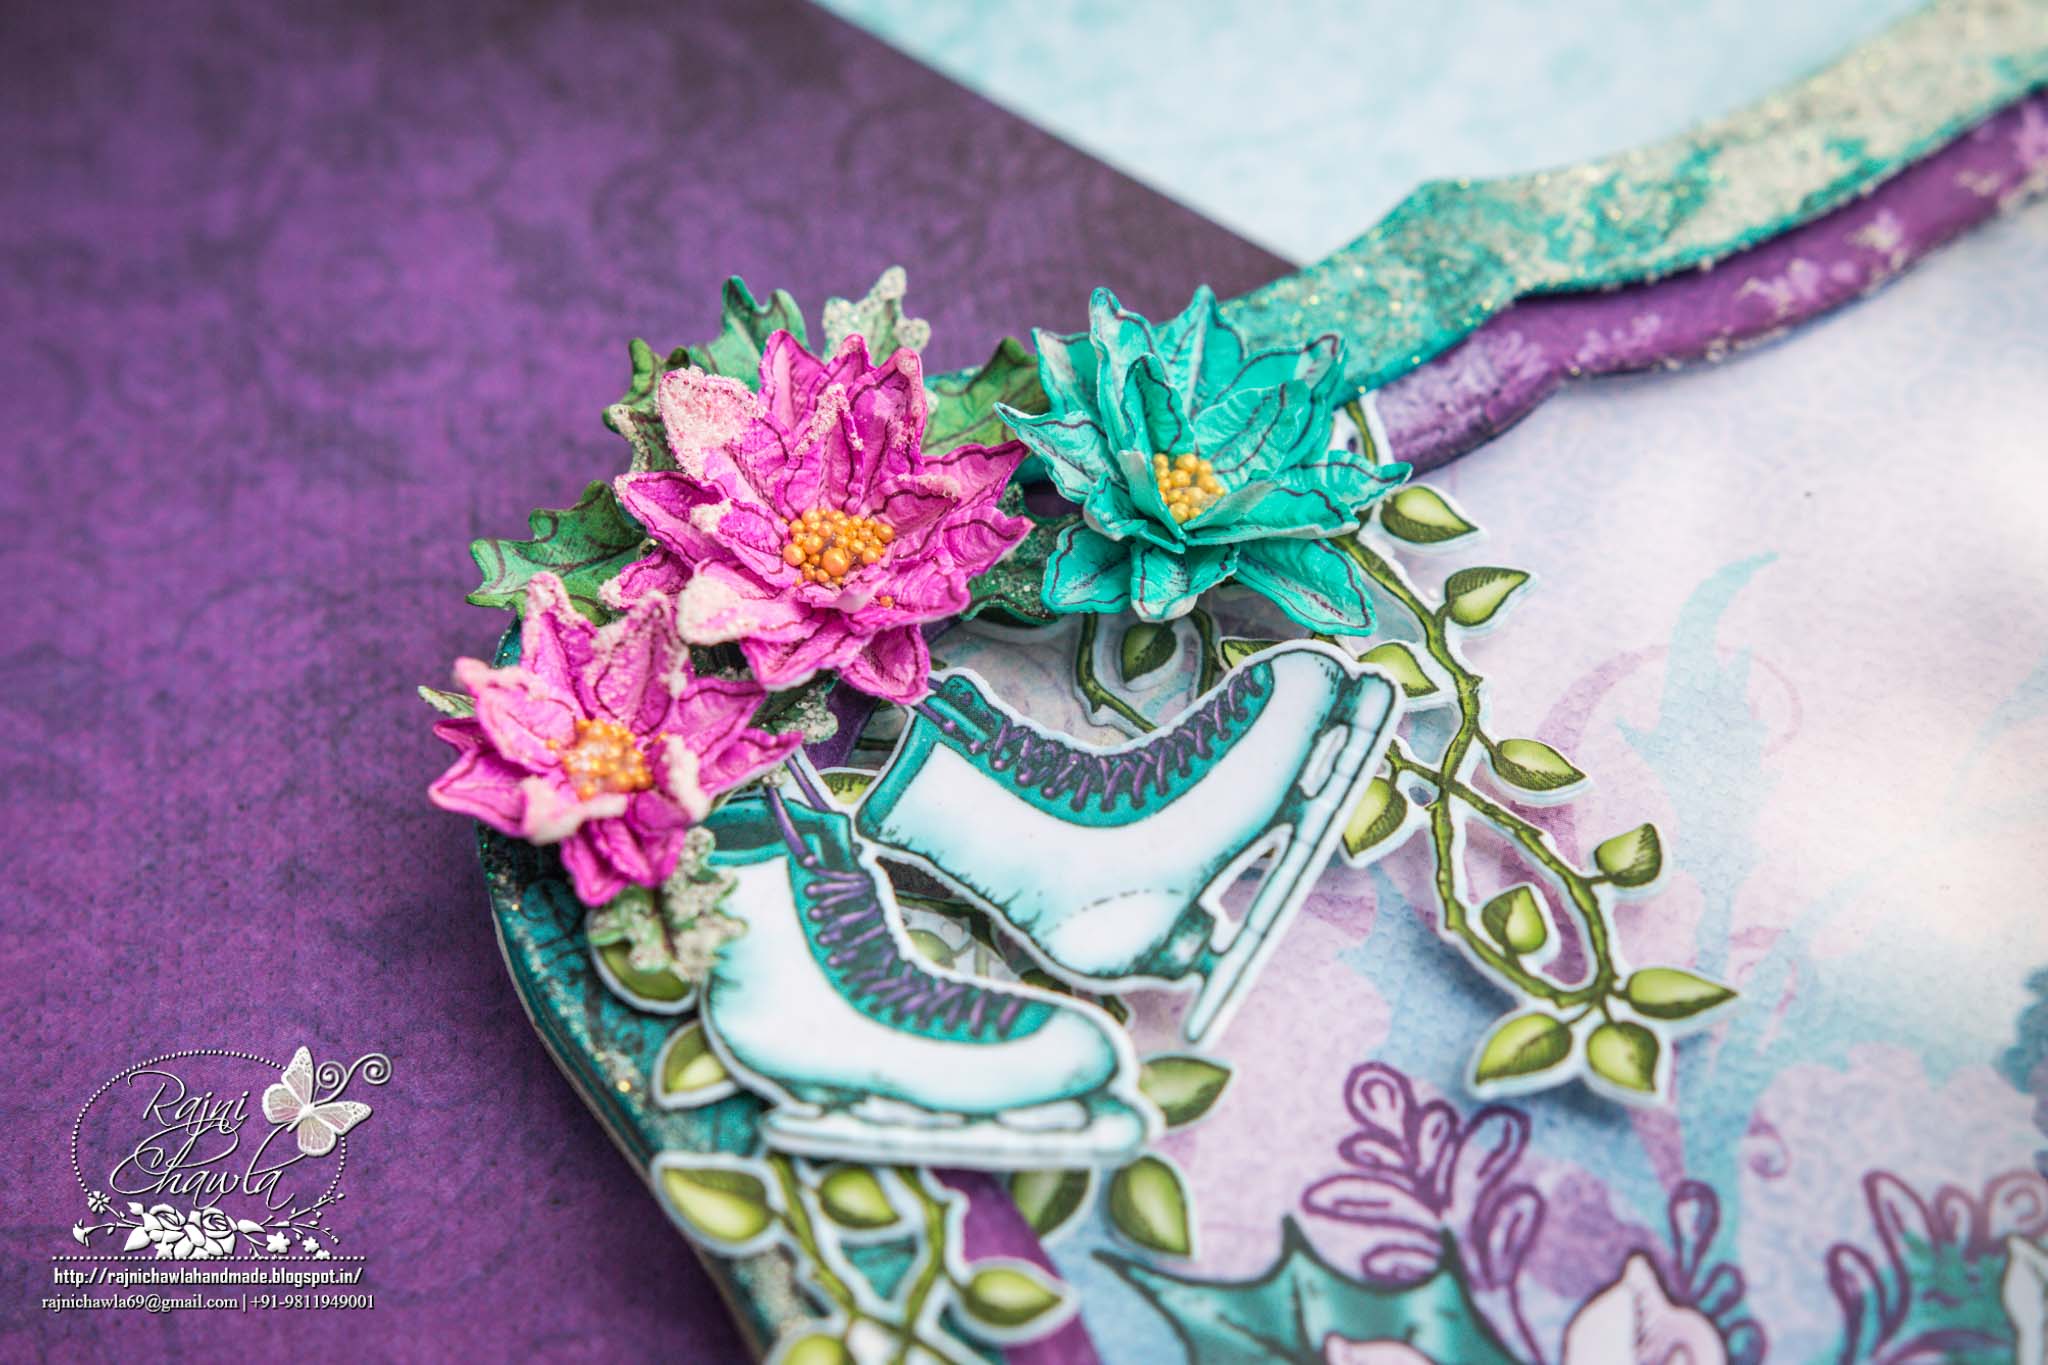
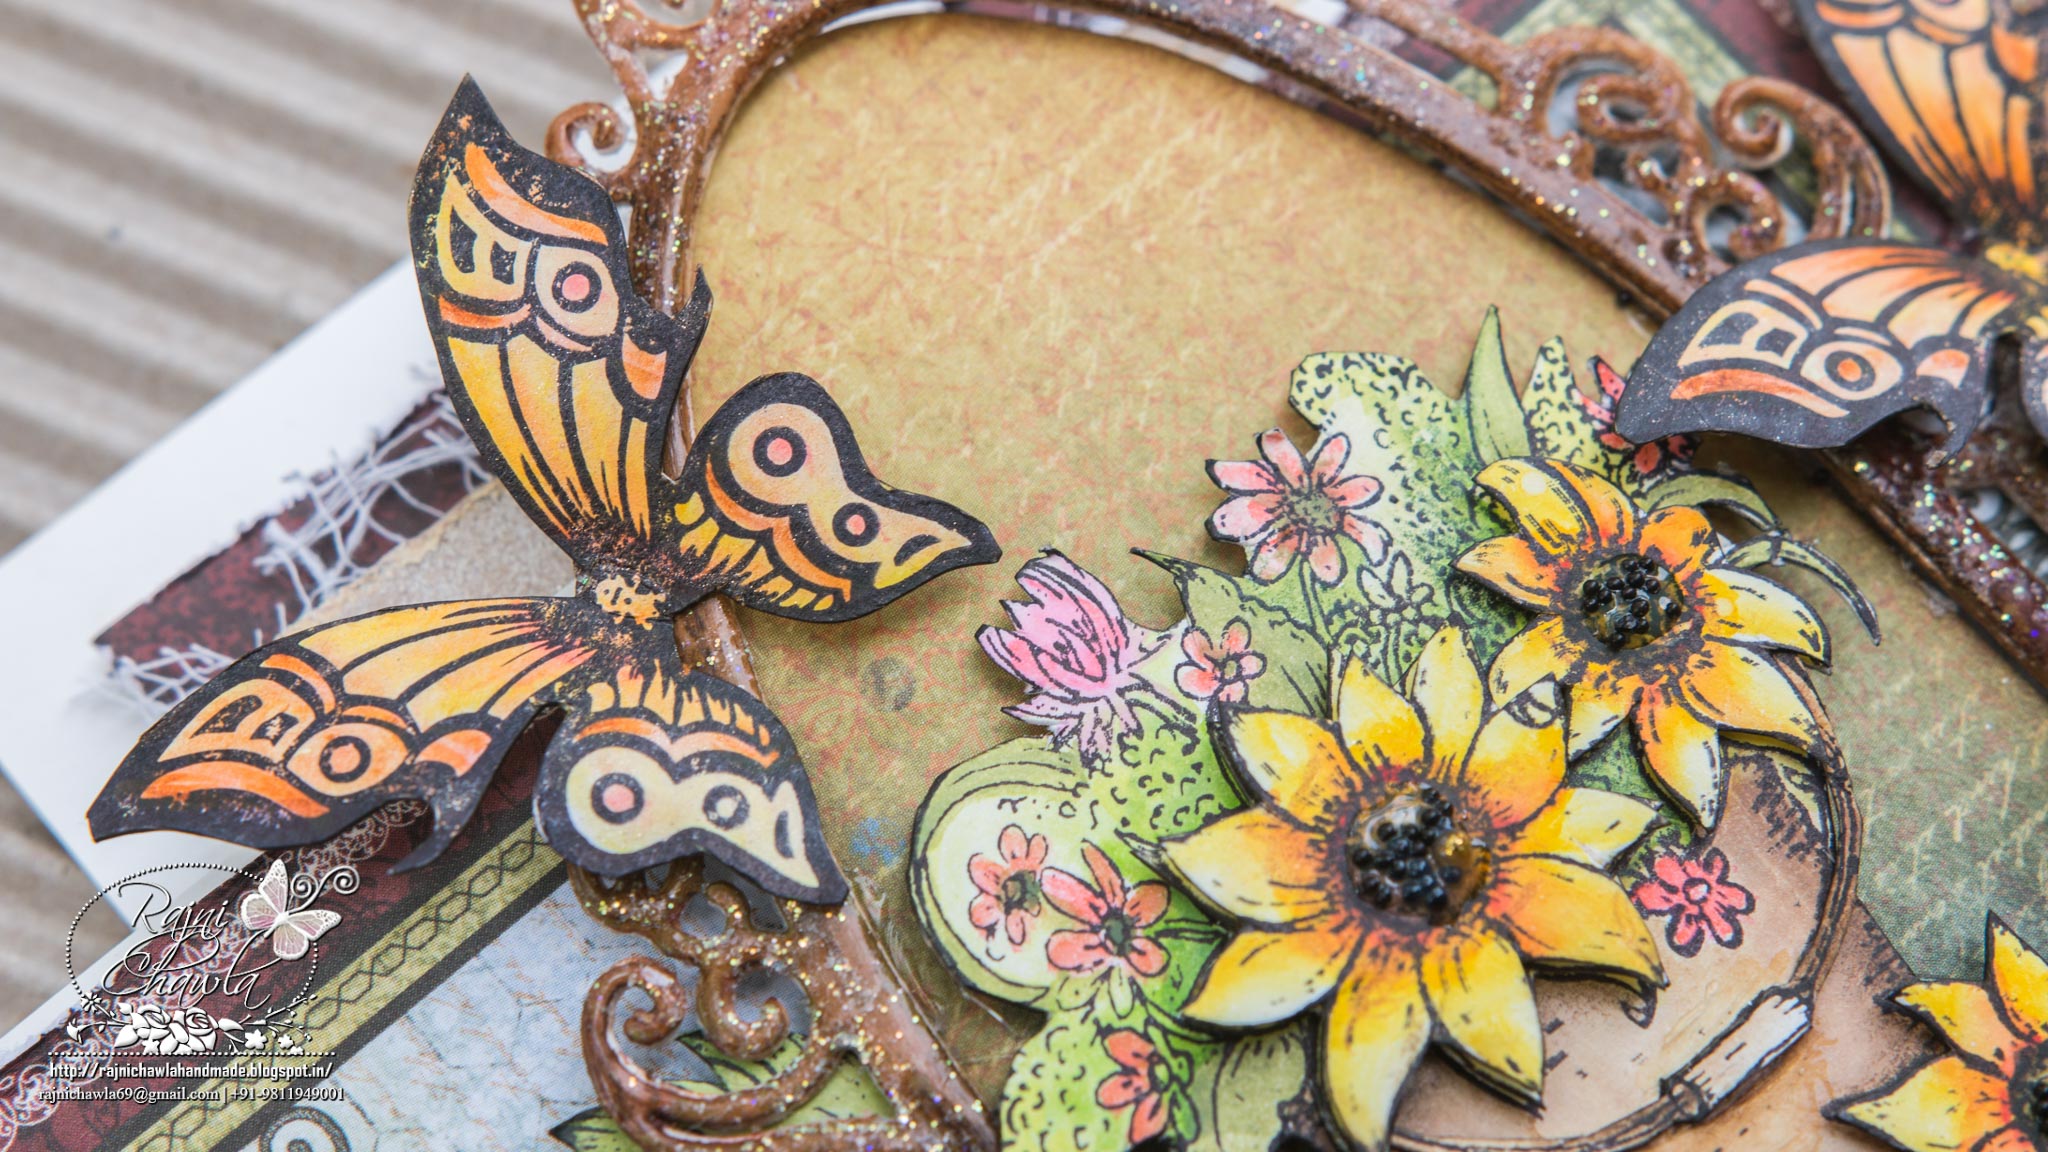
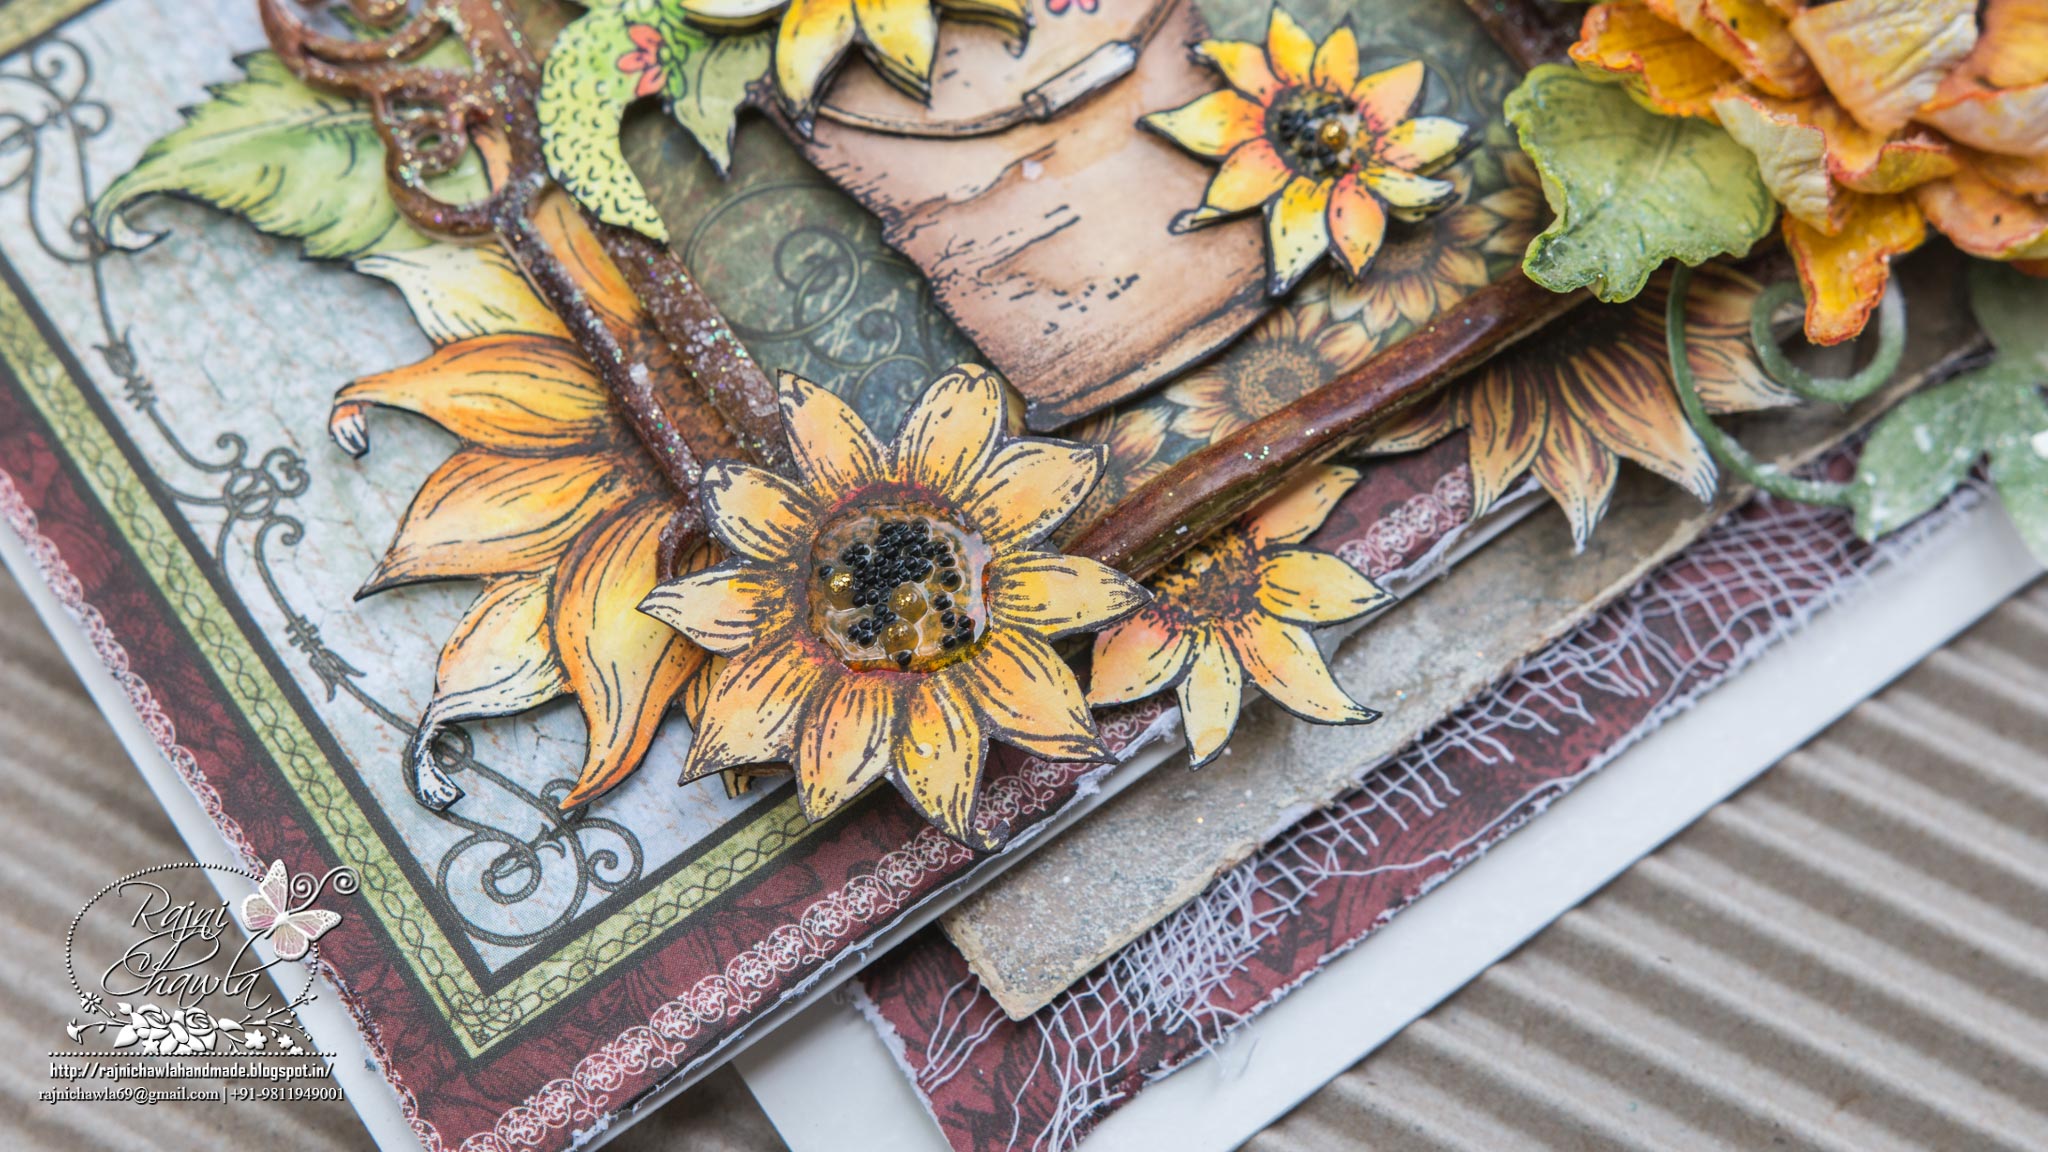
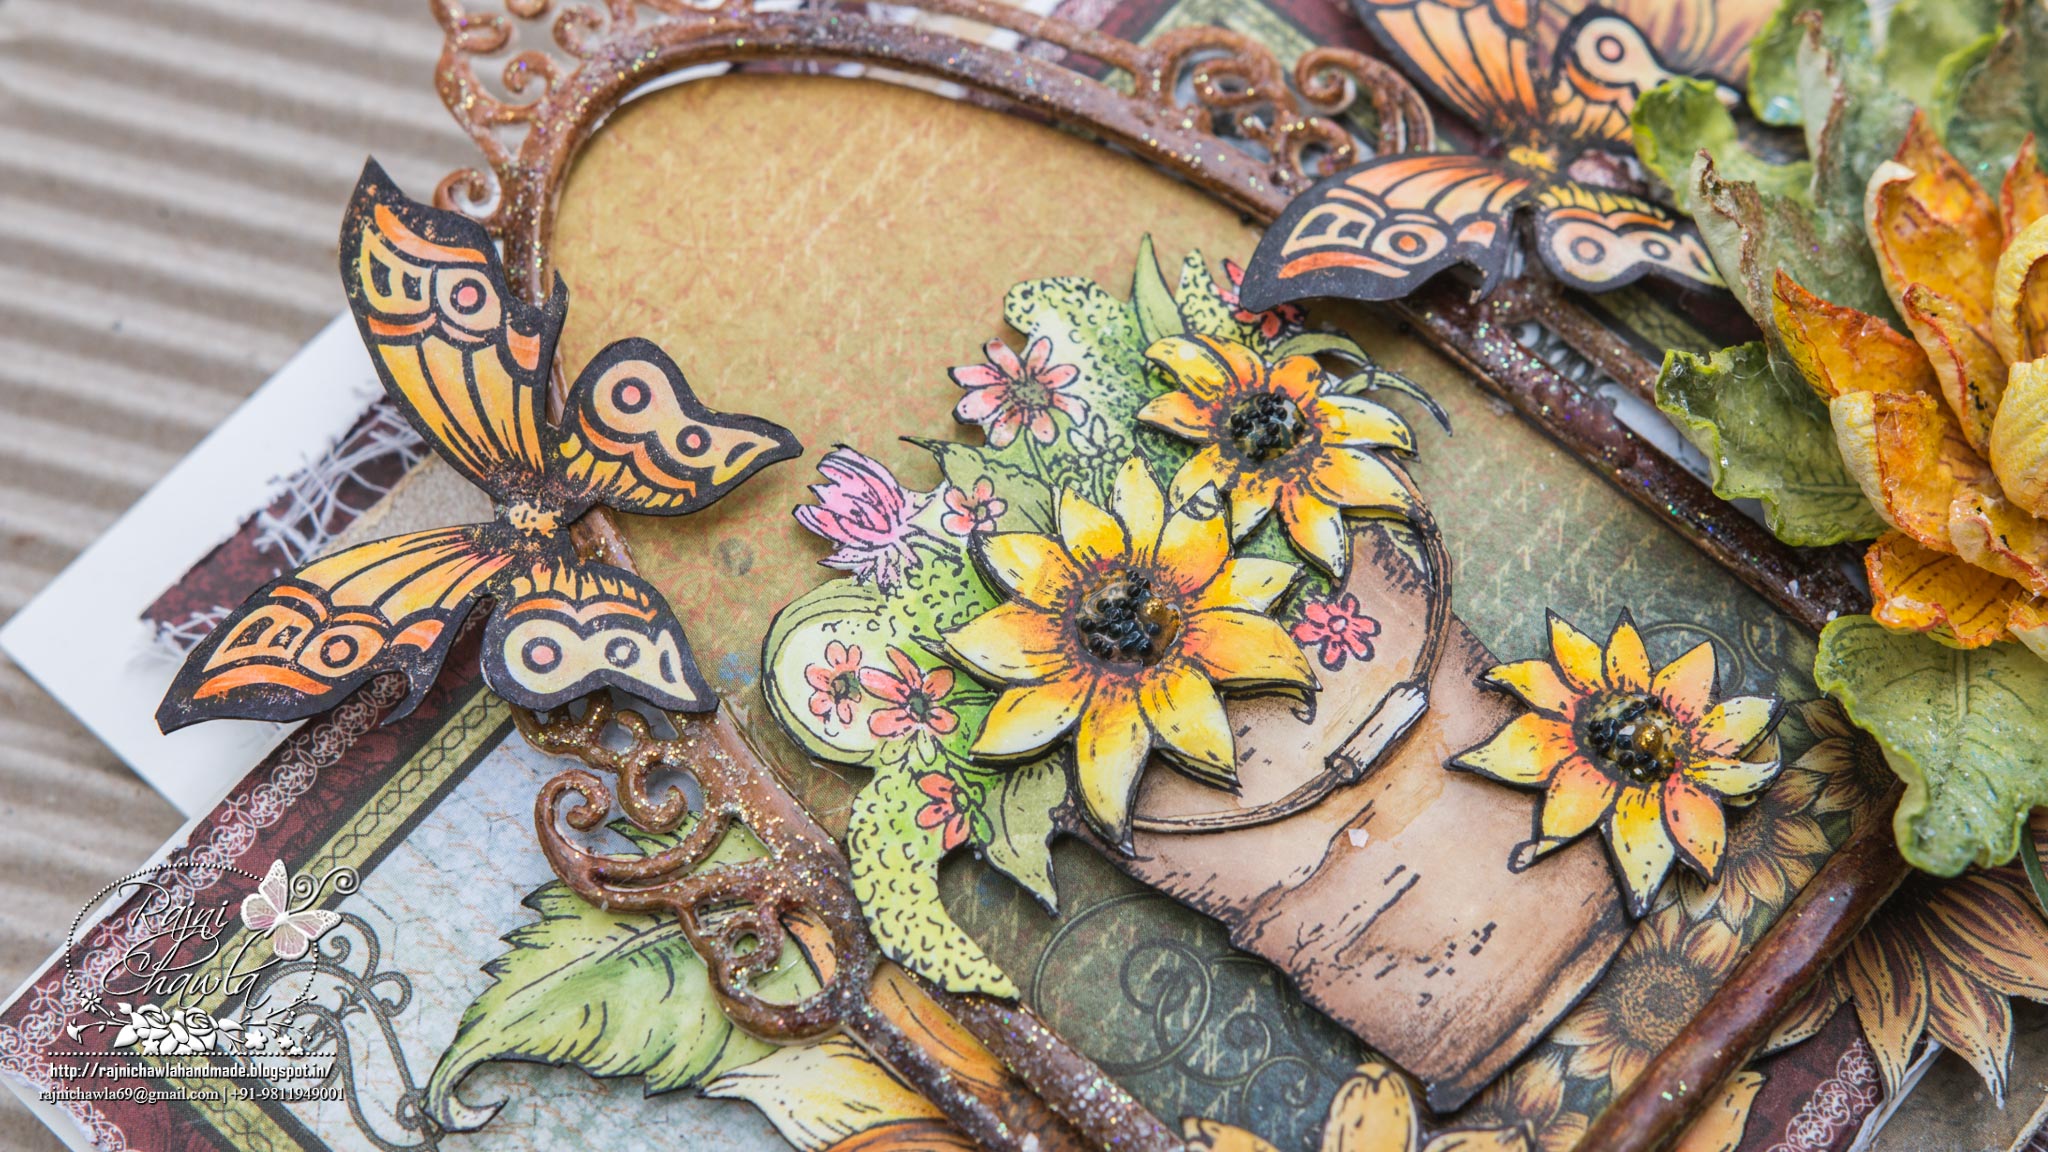
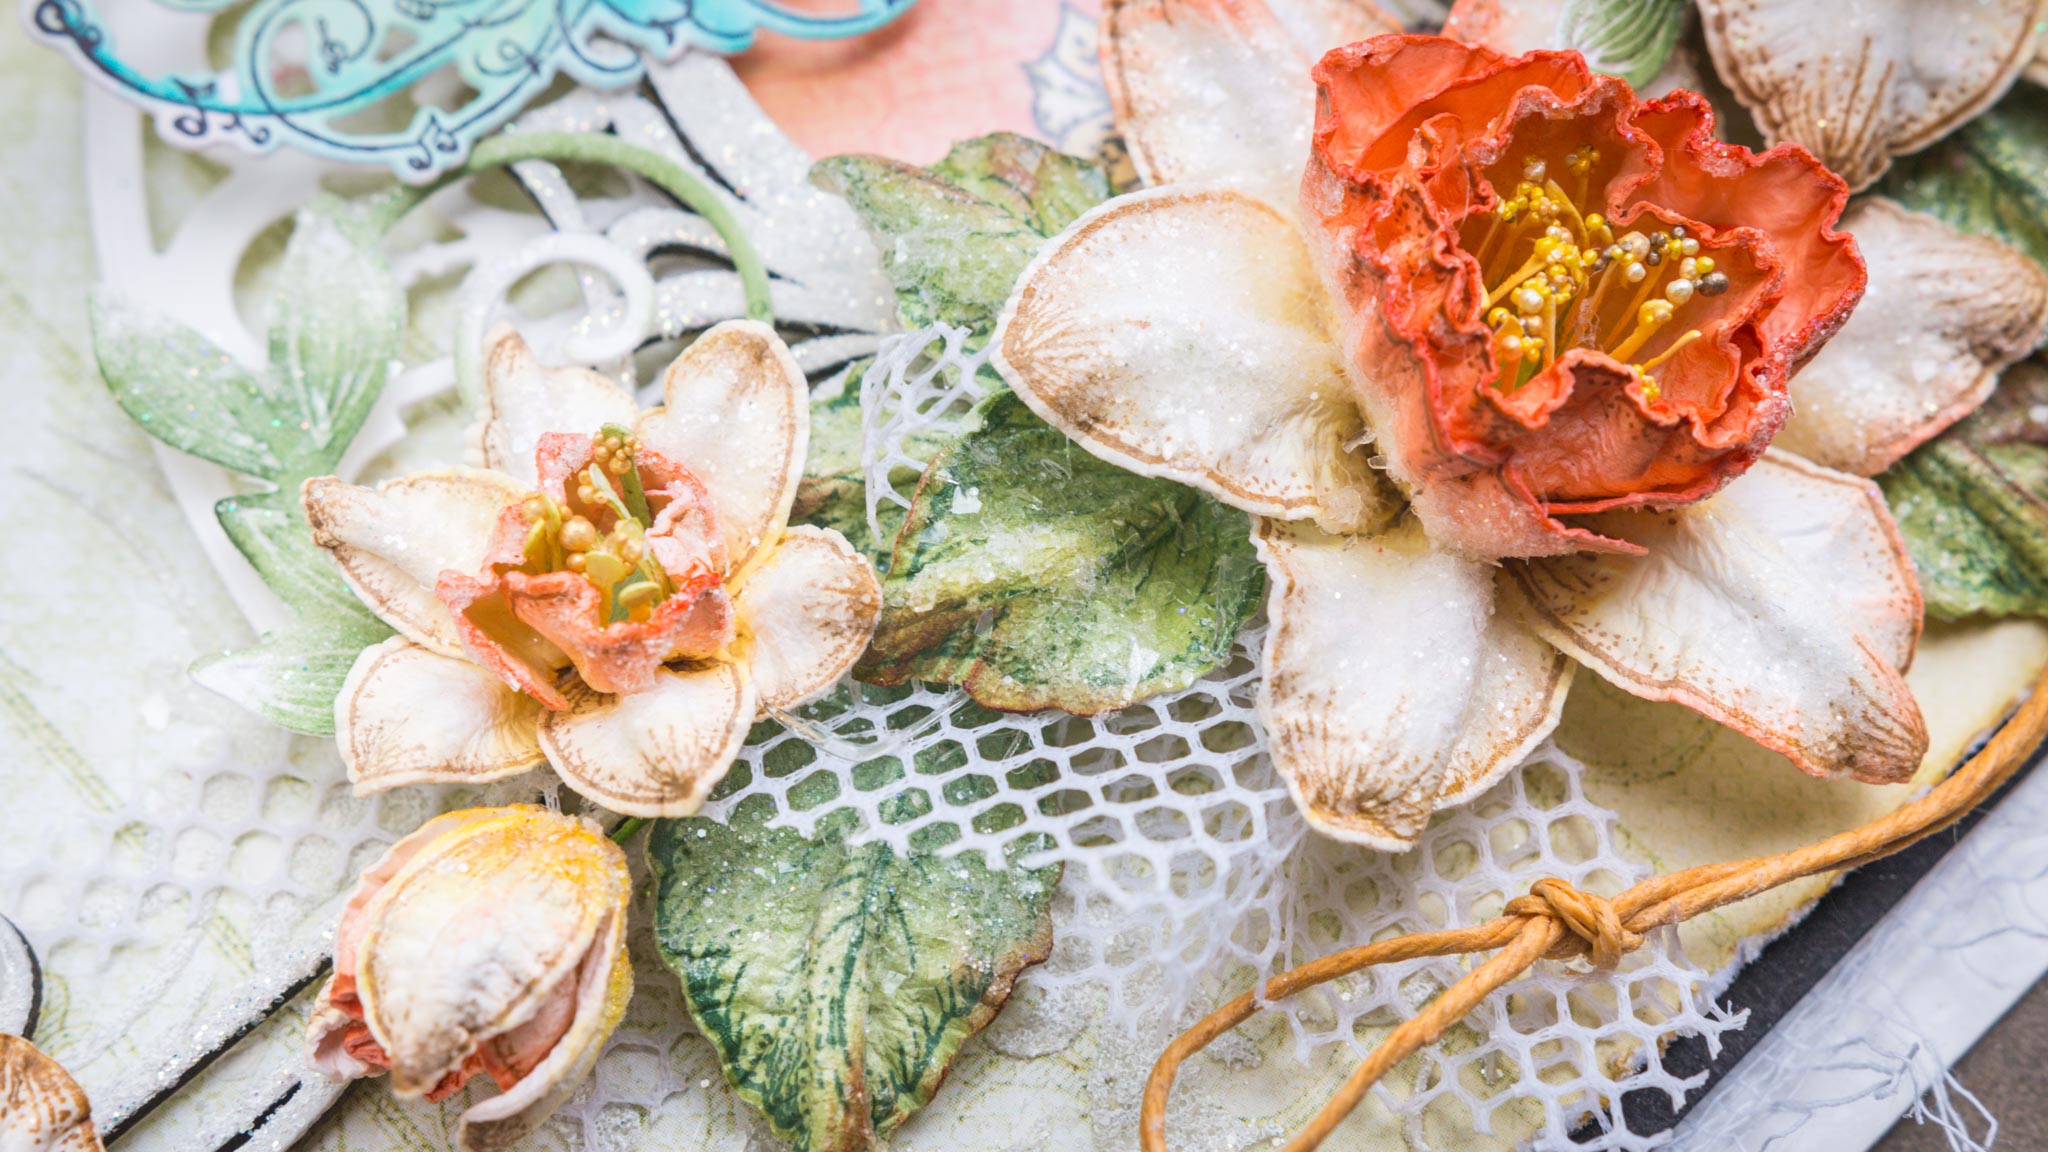
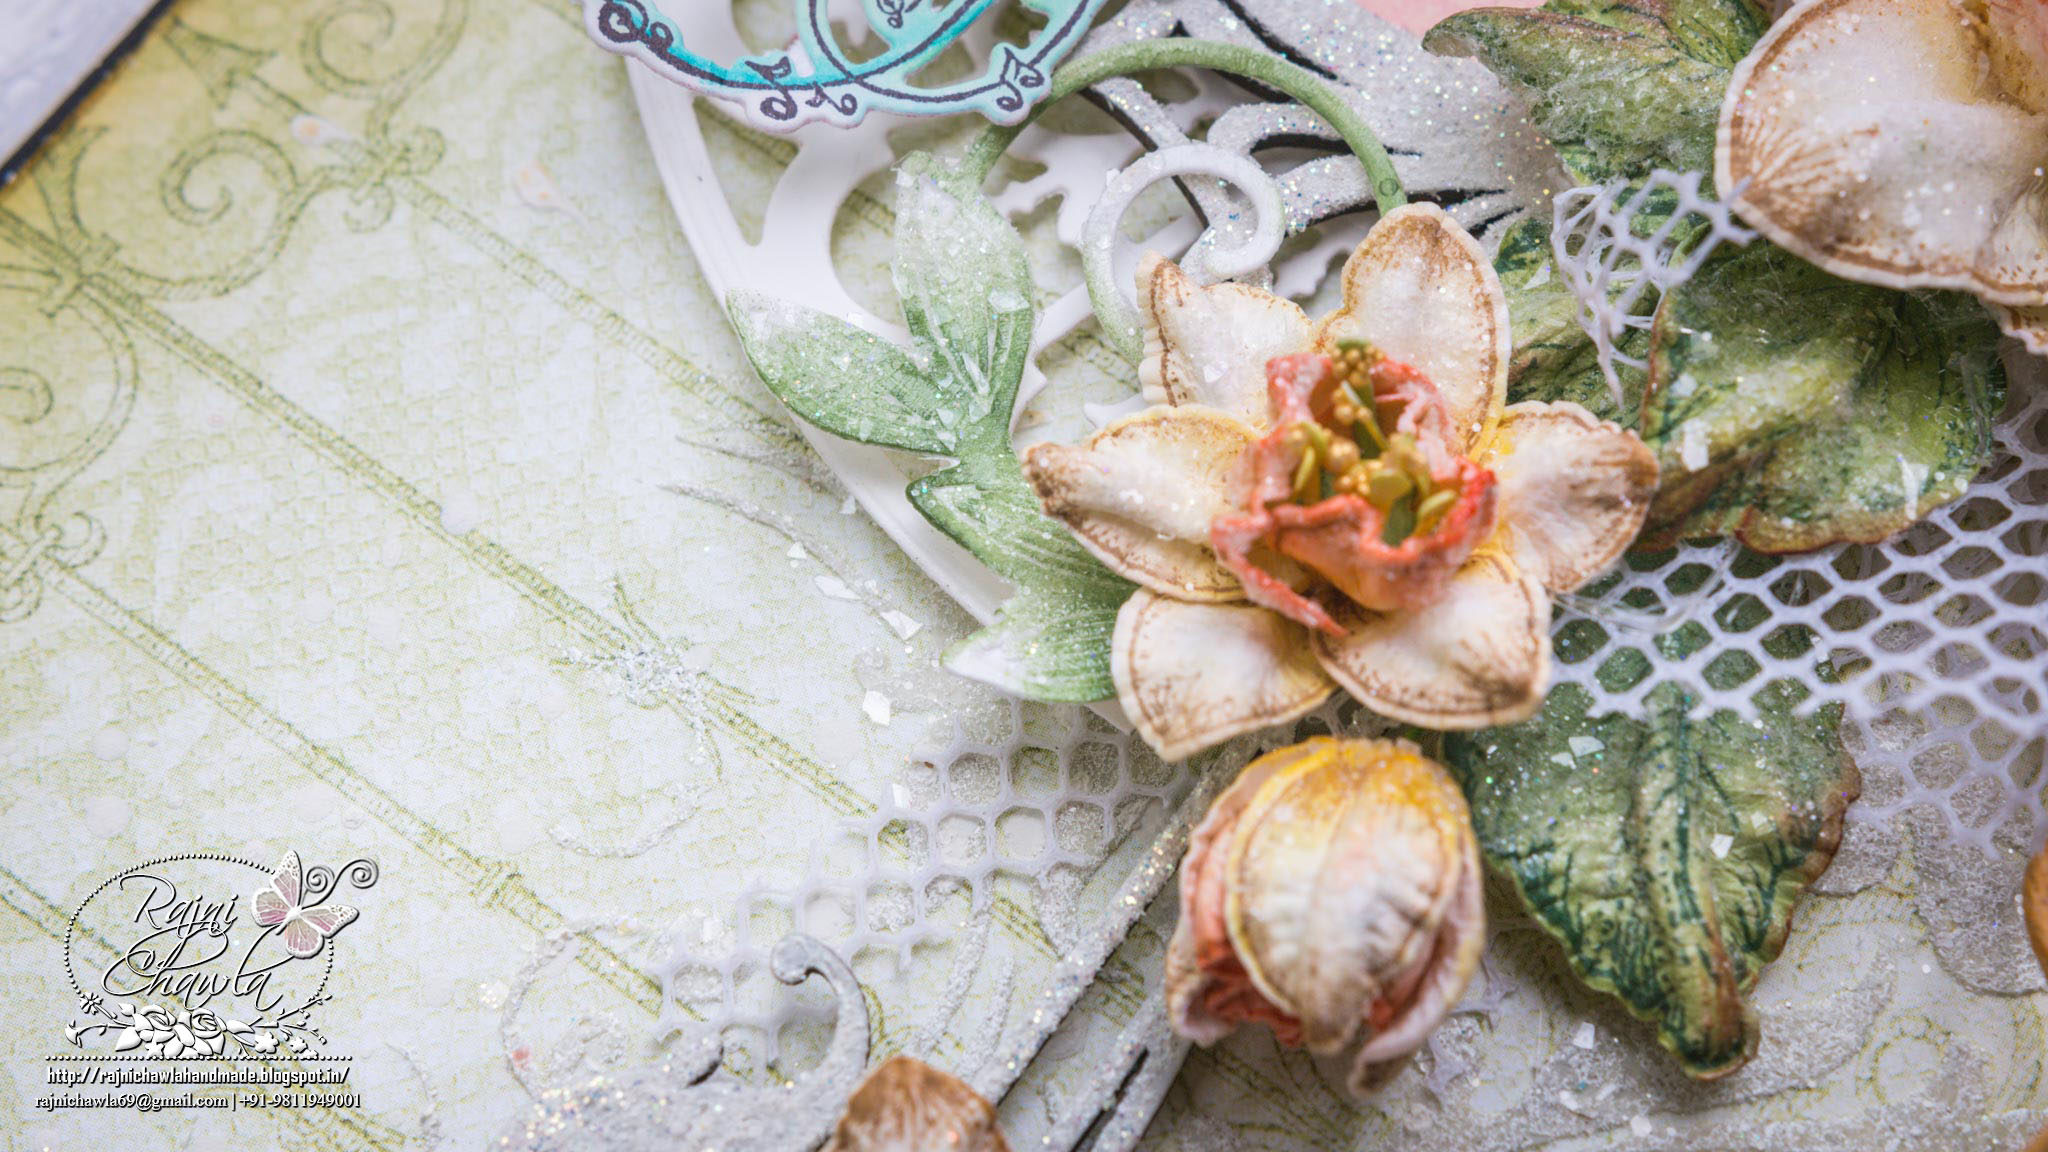
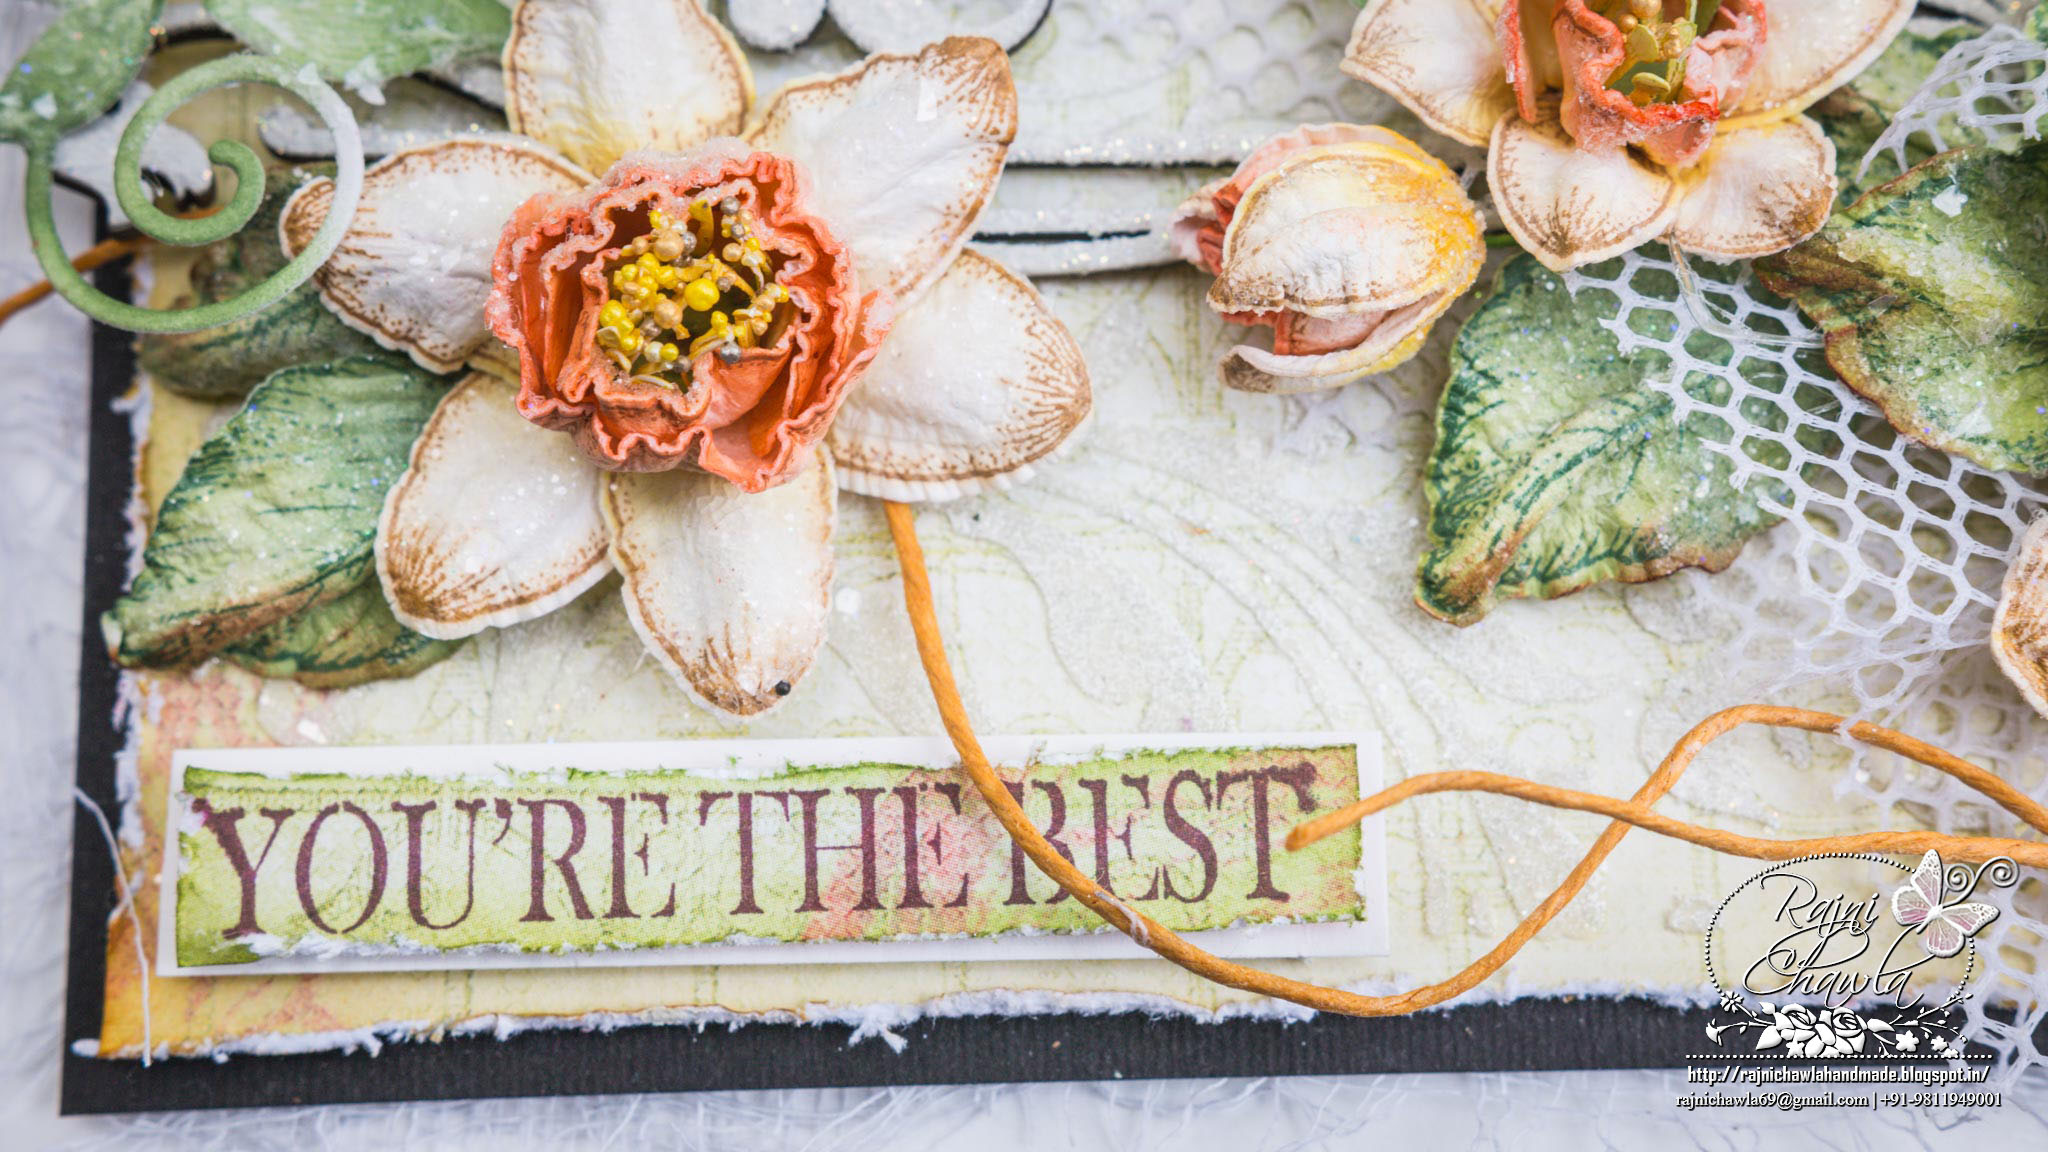
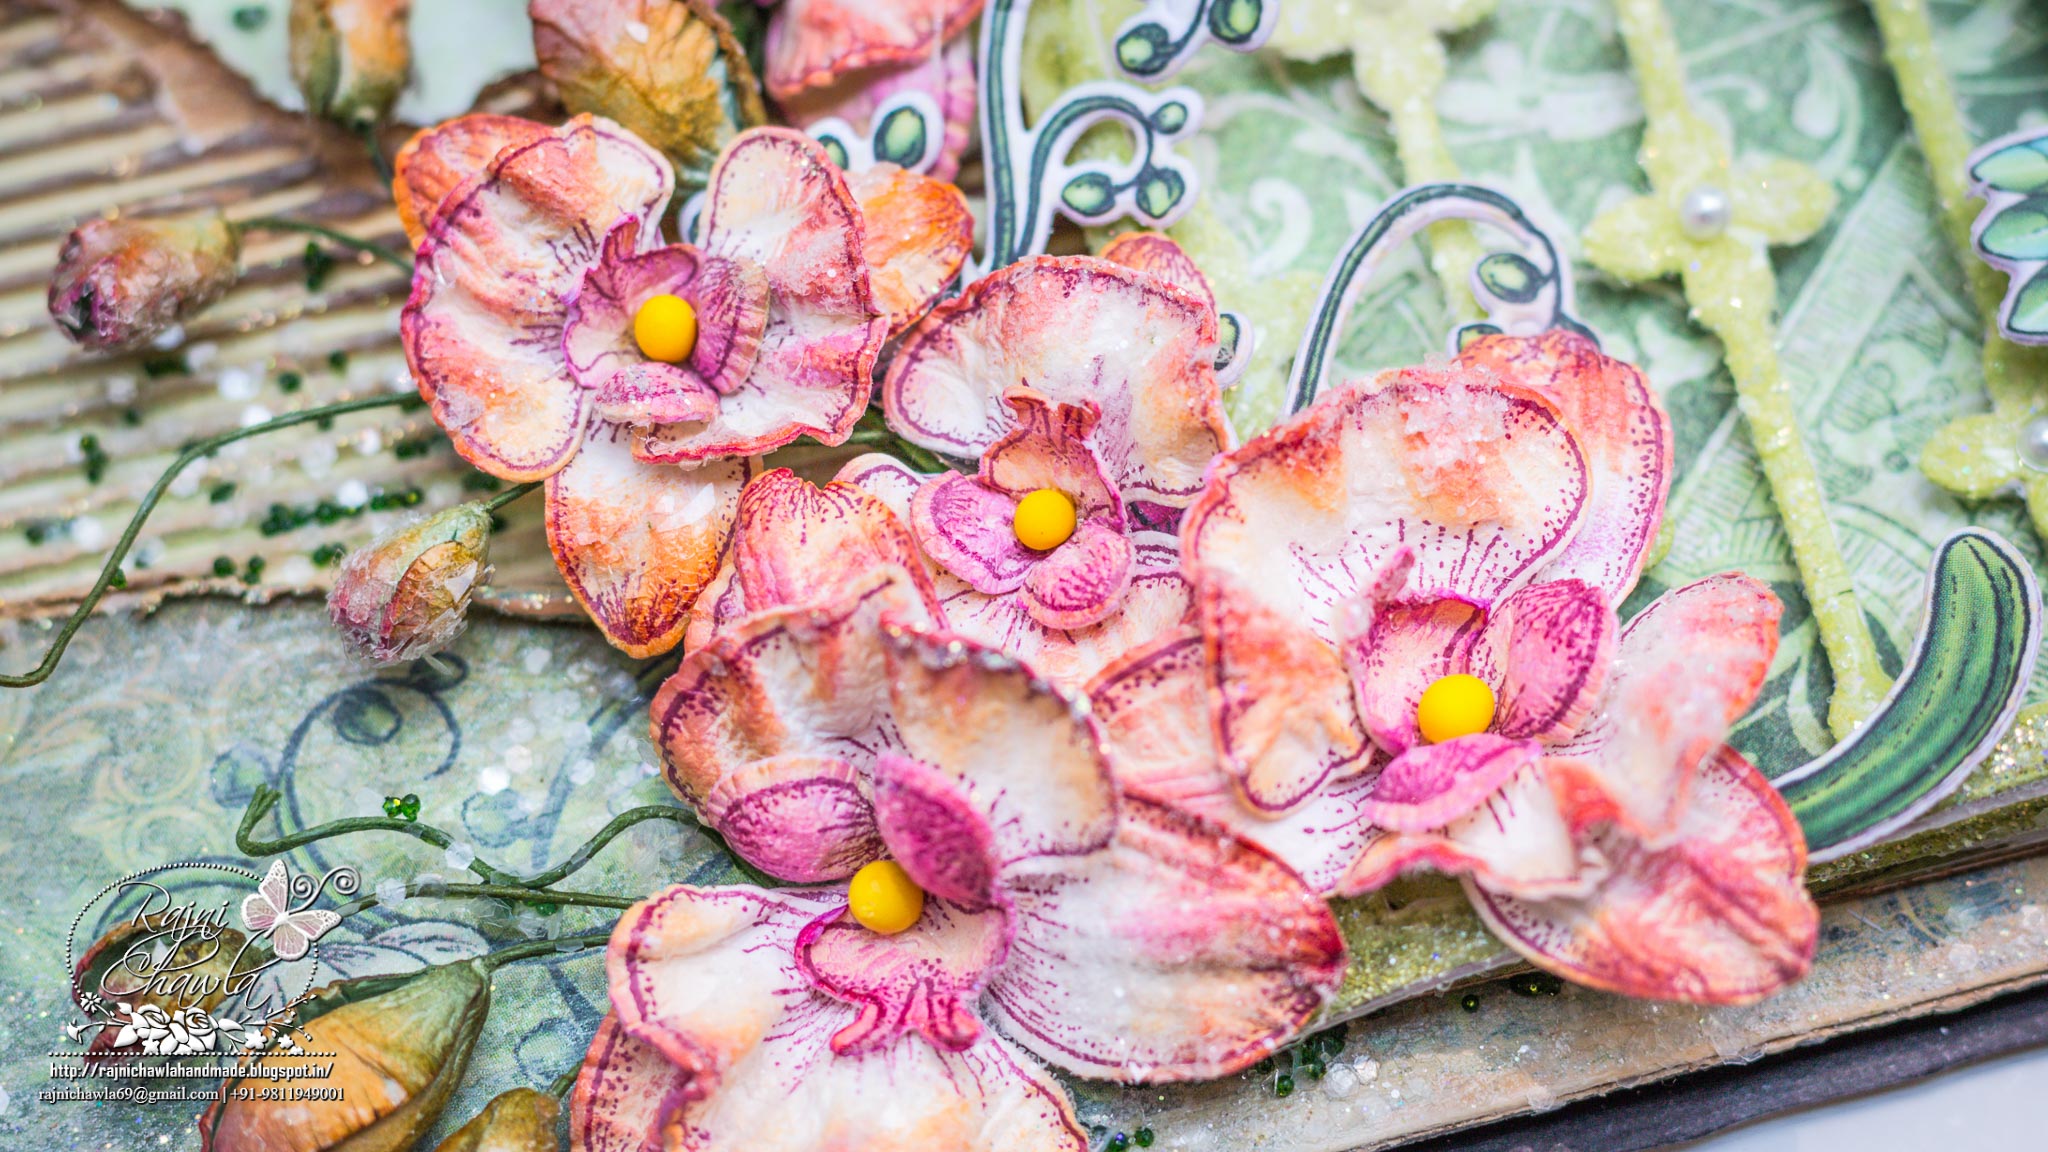
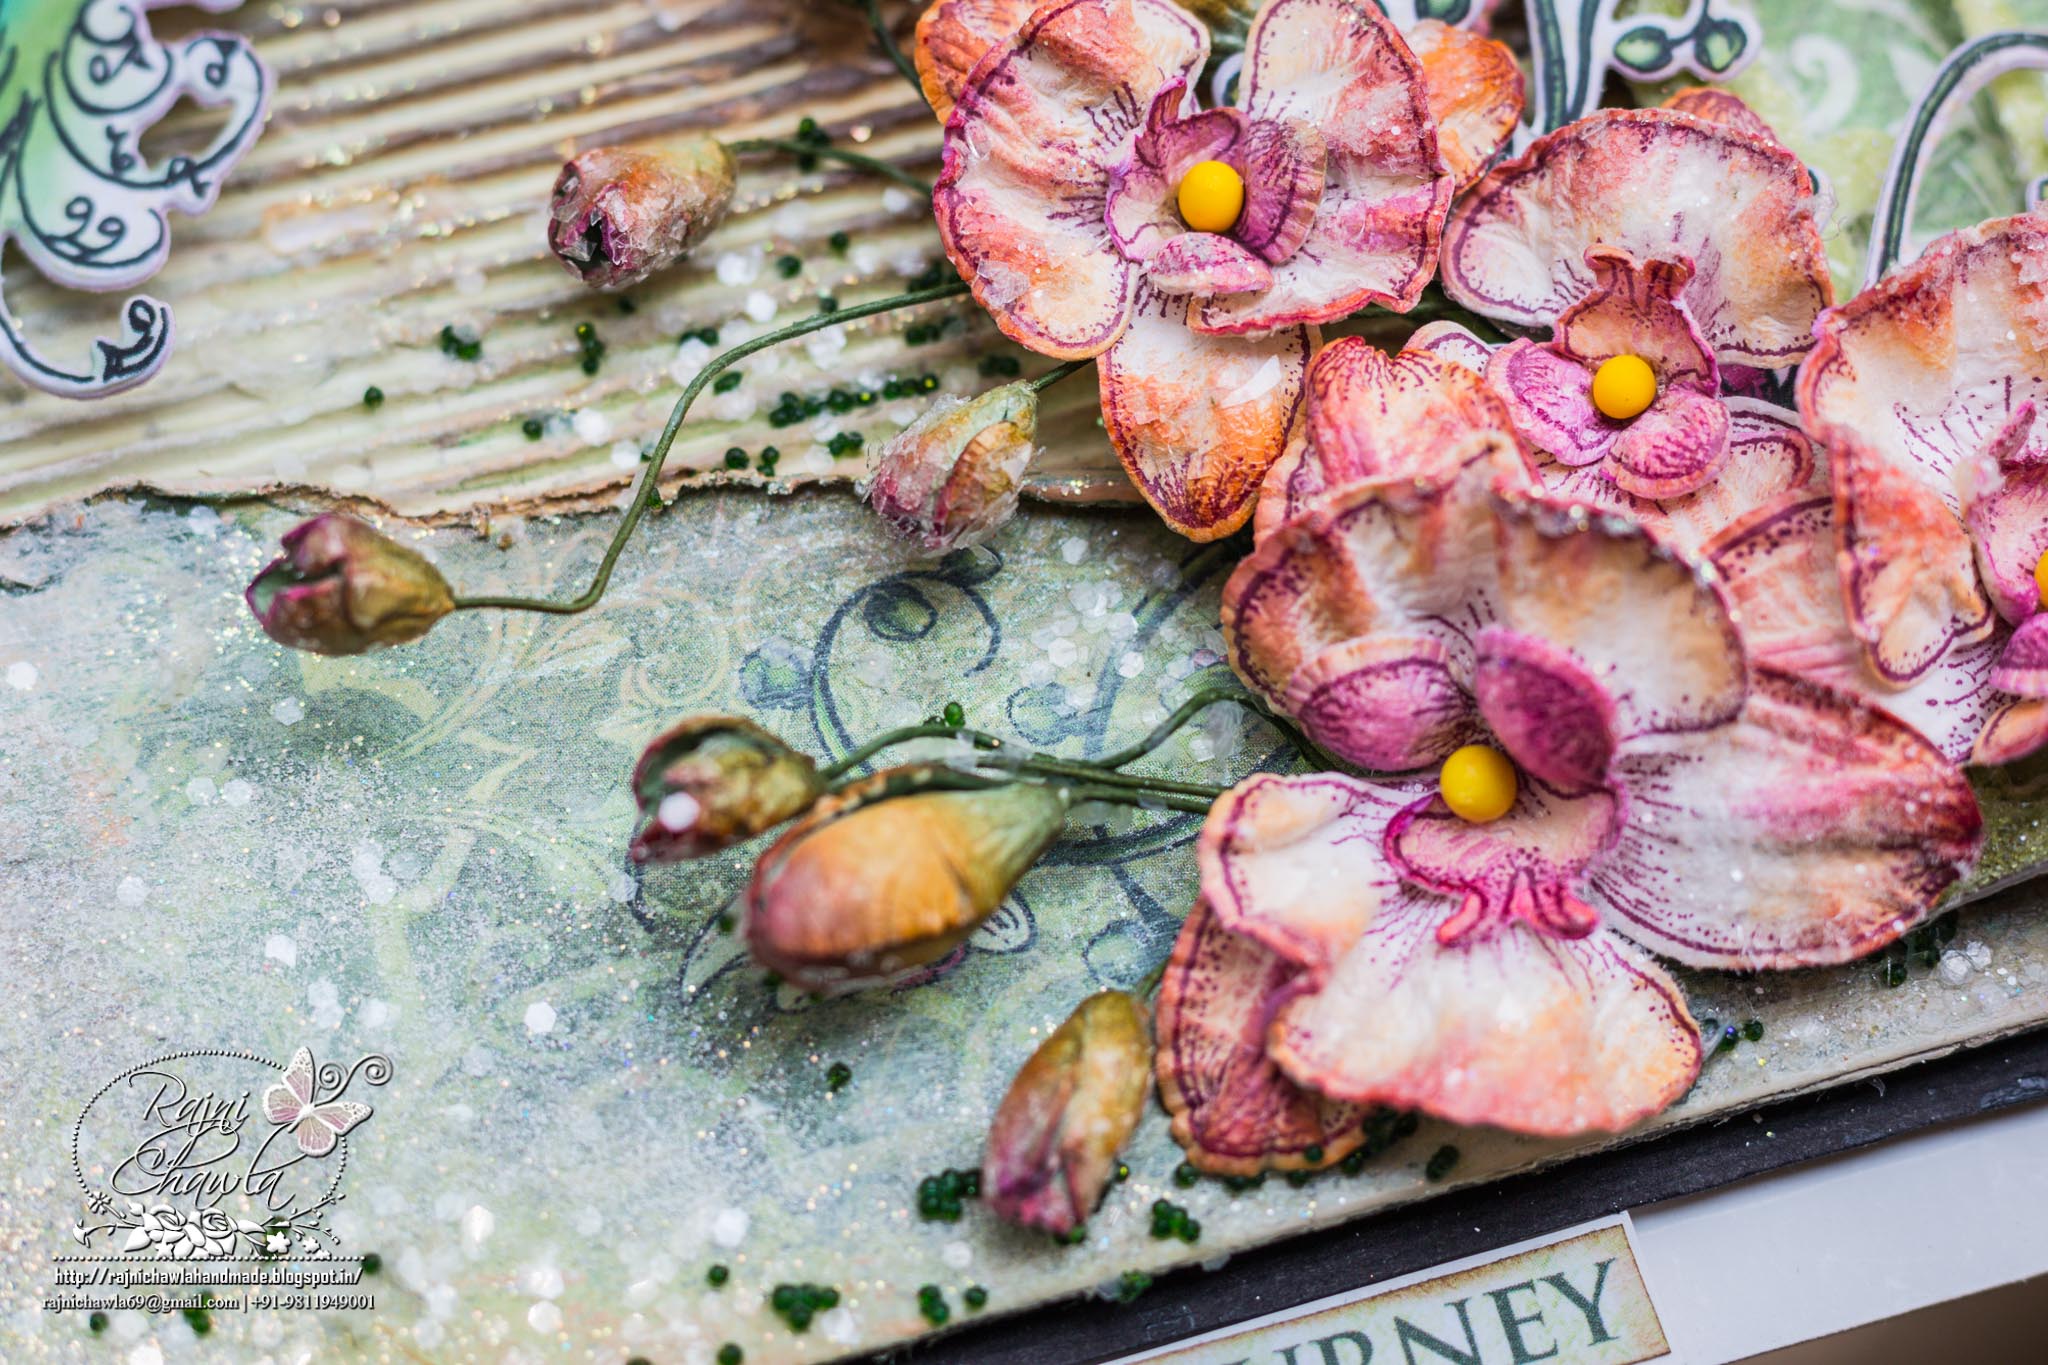
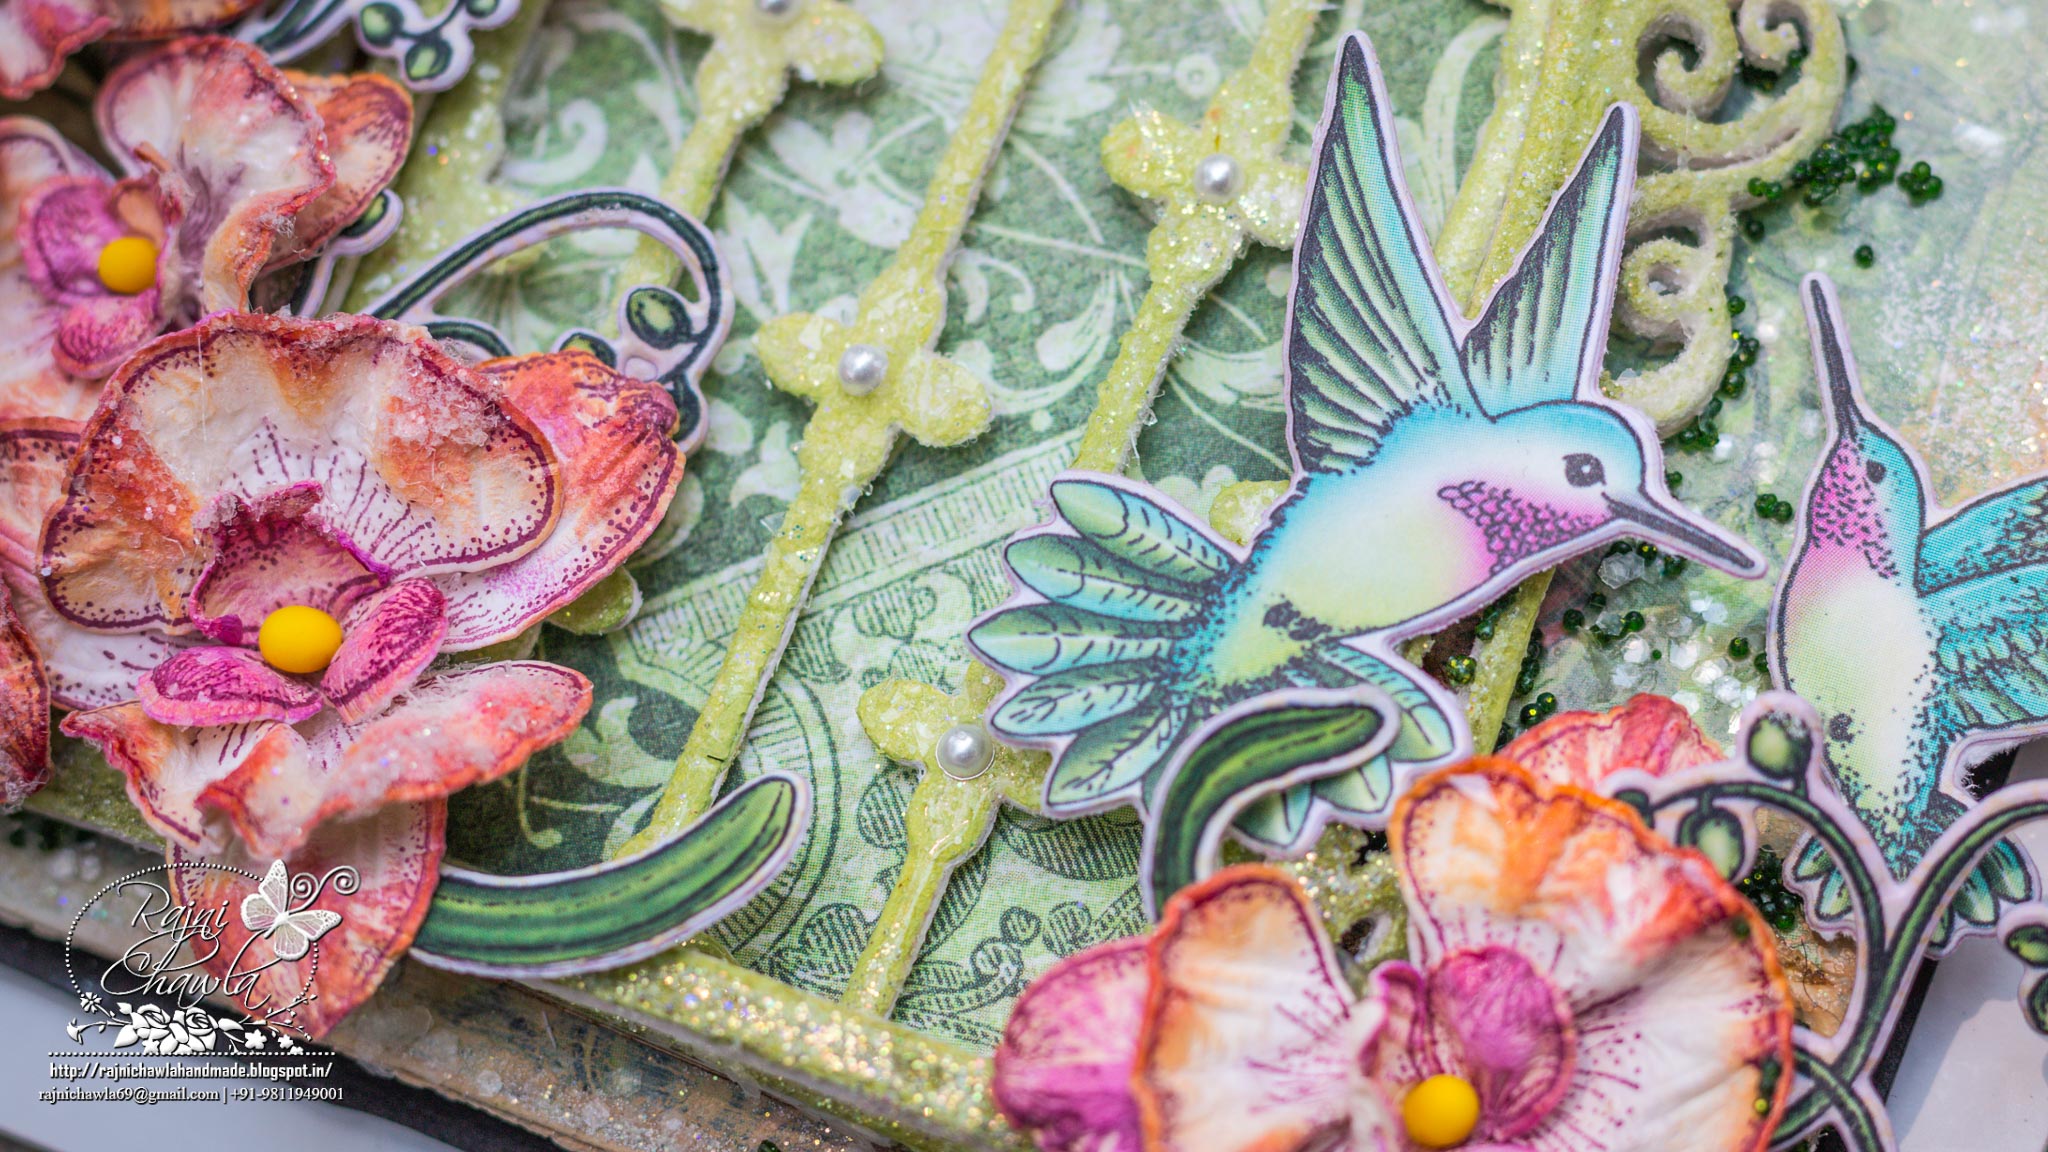
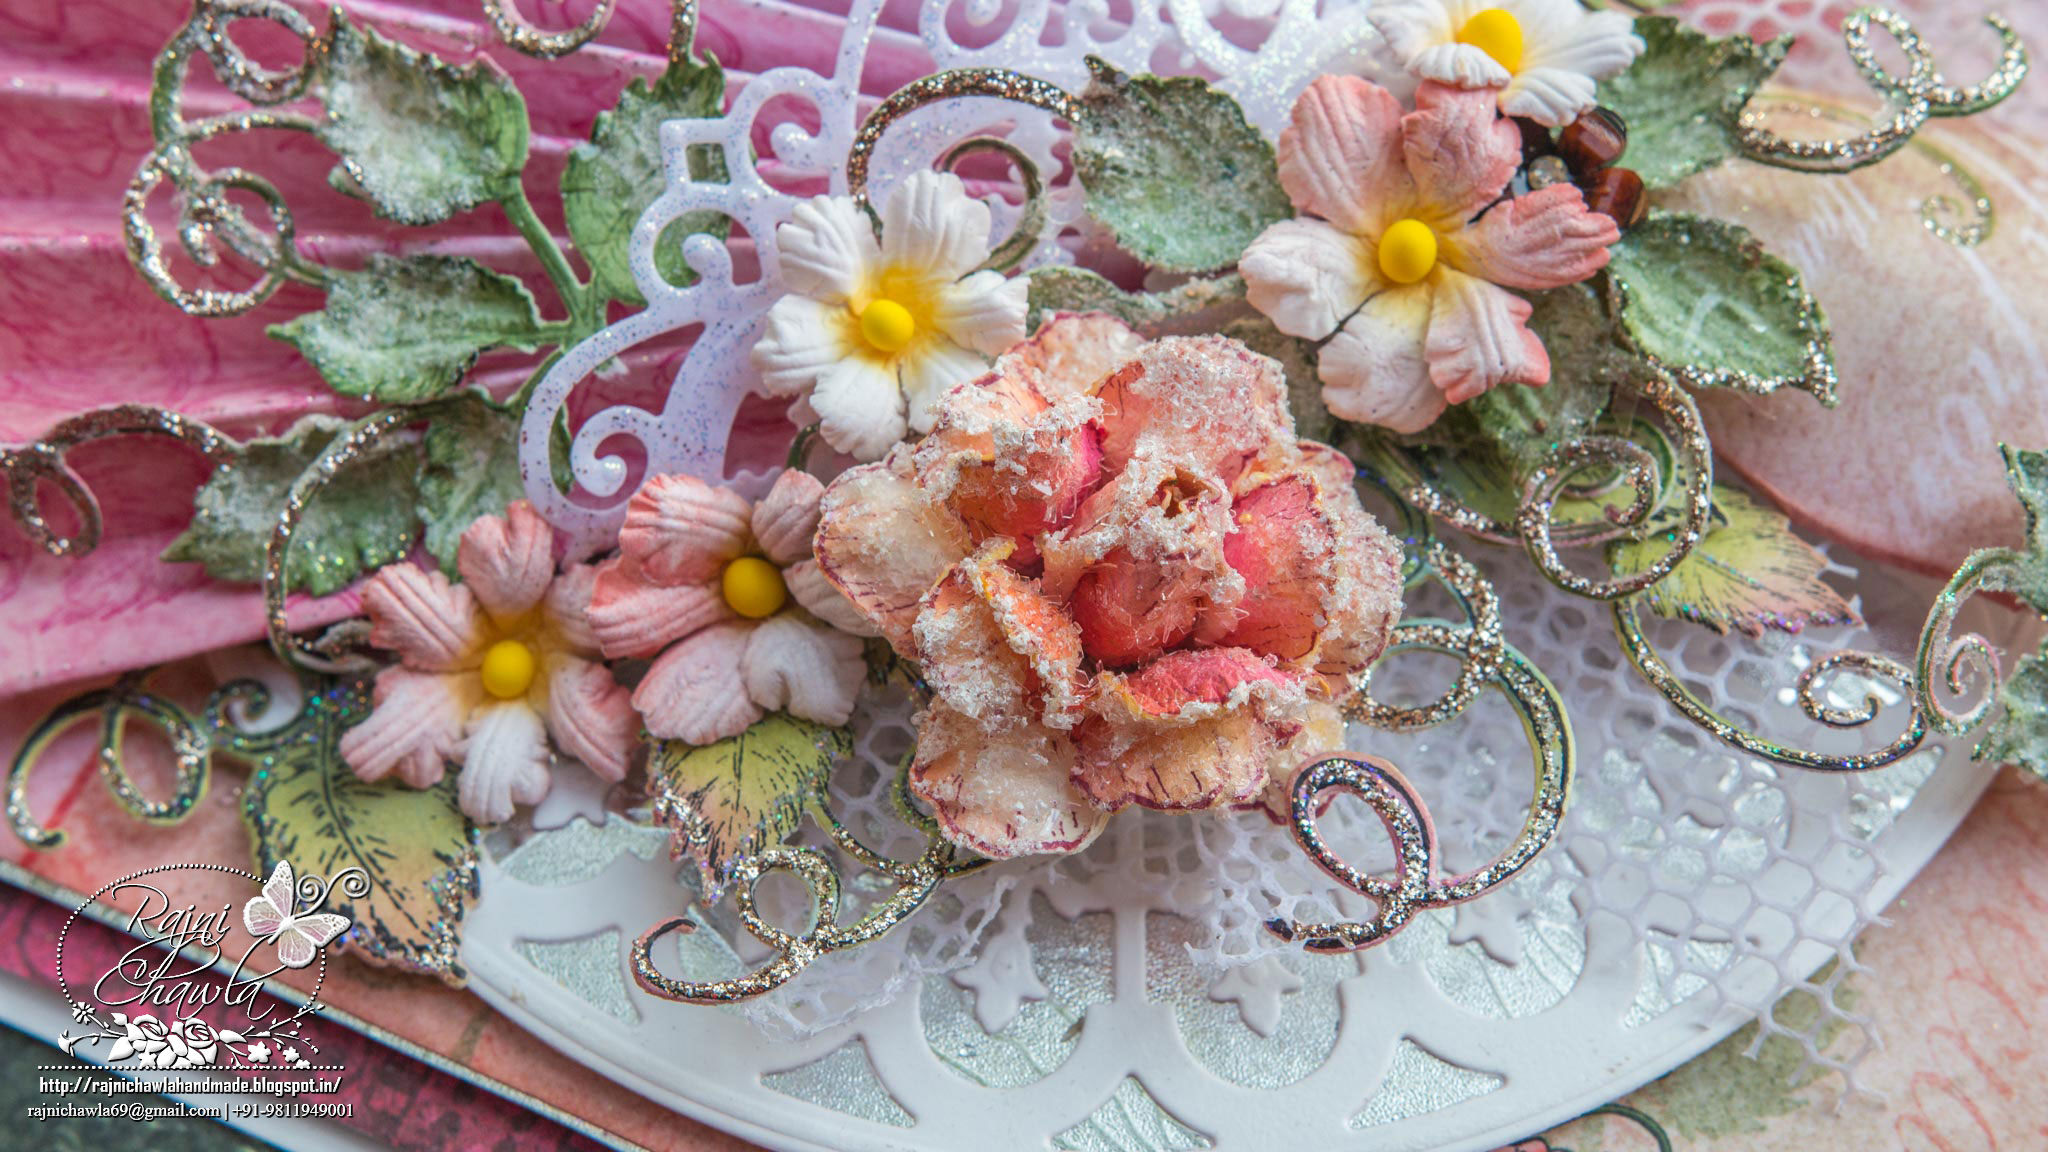
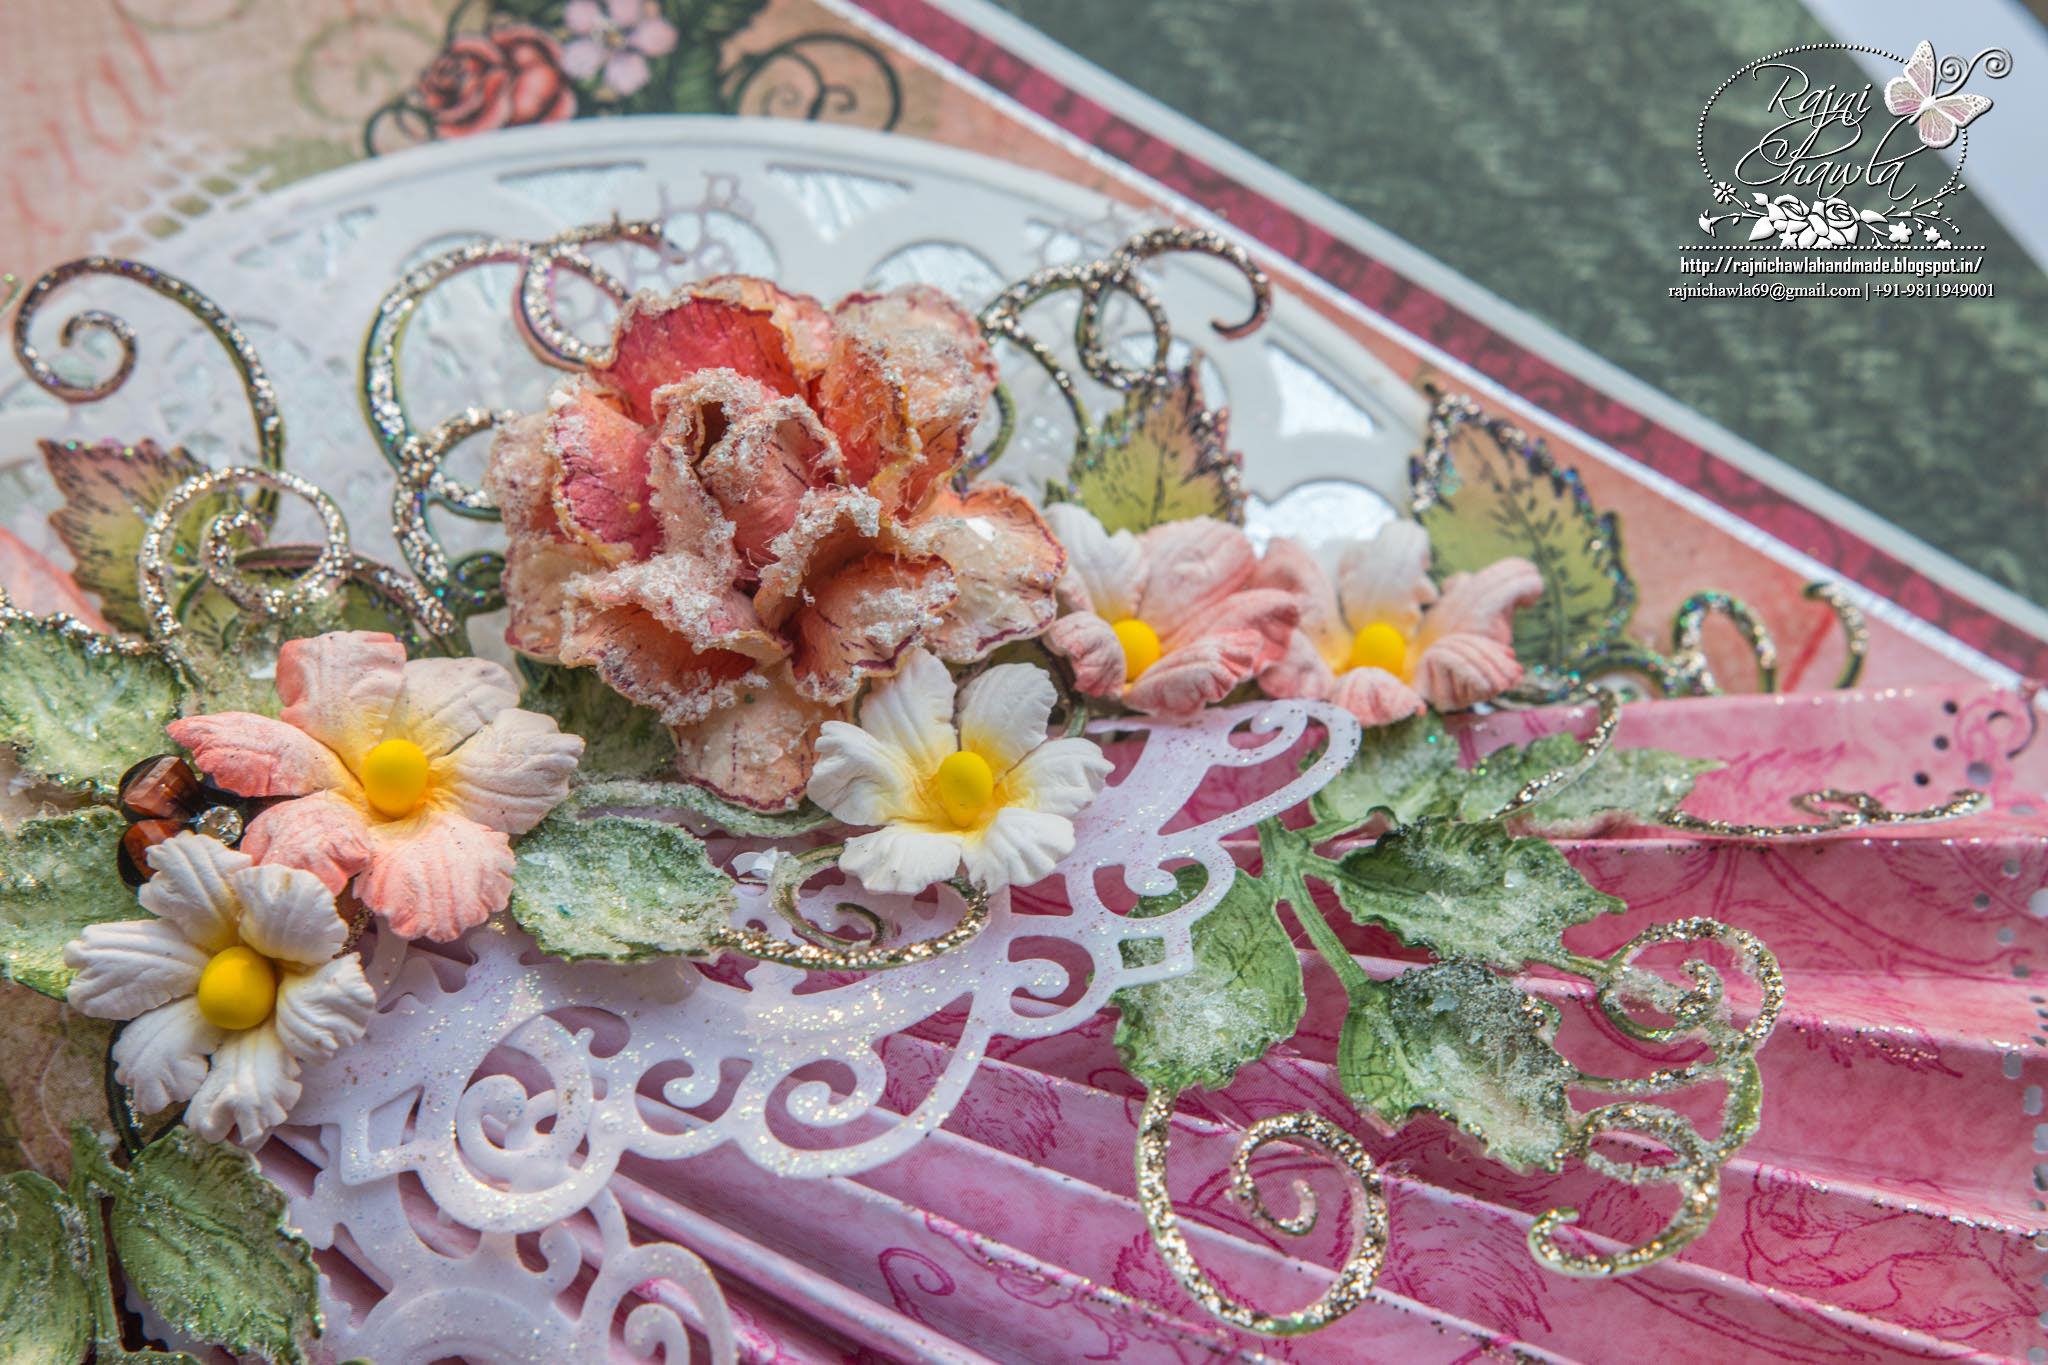
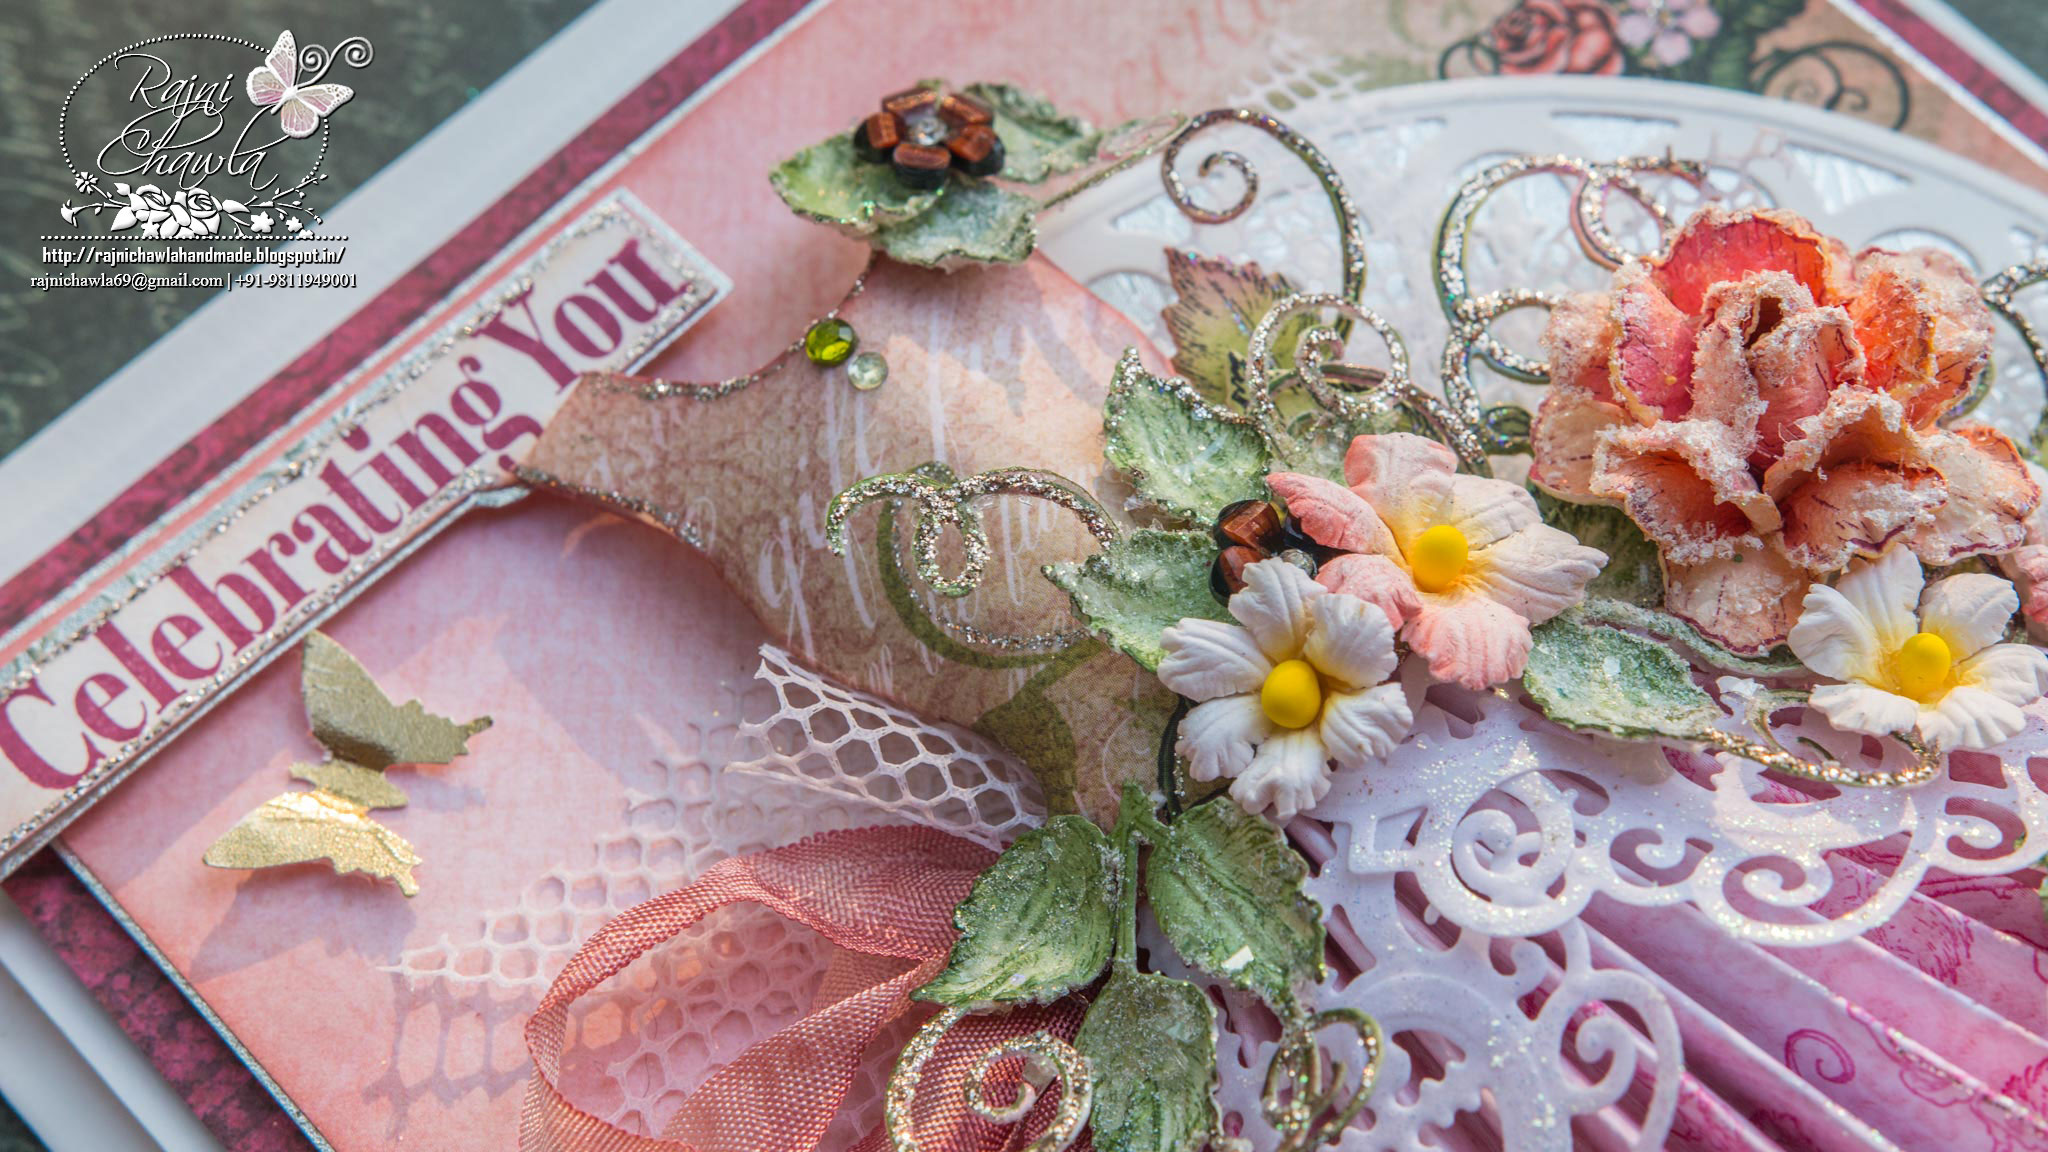
Few close ups now...
Since the card was specially designed for someone more special, I added some extra glitter to wish her sparkly wishes. Believe me, it looks more gorgeous if seen personally.

Ema B'day Card (7)


Ema B'day Card (6)


Ema B'day Card (4)


Ema B'day Card (1)

On with the Blog Hop now..

The hop will last until midnight EST Tuesday 16th August  One commenter will be randomly chosen from a randomly chosen blog, so be sure to visit everyone on the hop and leave a comment. The winner will be announced on Fb on Wednesday 17th August. The winner receives a $25 gift certificate to shop at Heartfelt Creations. To claim they will need to email at  passionforsparkle@gmail.com with "Winner of Emma Lou’s Birthday Blog Hop" in the subject line.The winner of the blog hop will have 72 hours to claim their prize otherwise another name will be a draw.
Here is the blog hop line-up to follow...
Rajni Chawla ( you are here)

Tuesday, August 09, 2016

Snowmen Framed Shaker Card

Posted by Rajni Chawla

A very good morning all...

Thanks for dropping by my blog again. Can't imagine, half the year has already gone. Today is the second Wednesday of August and Heartfelt Creations is again back with another stunning Christmas release. Today I have a snowy shaker card to share today.

Bring out the softer side of old man winter in all of your projects with the new “Snow Kissed” Collection by Heartfelt Creations. An exquisite blending of classic winter scenes depicting gentle snowfalls, candle lit windows, countryside sleigh rides mixed with a sprinkling of fun-filled images of frosty snowmen delivers the perfect compilation of winter themed imagery for all of your holiday and chilly season creations.  This newest collection features three cling stamp sets revealing illustrations of towering pine trees and frosty snowmen ideal for creating spectacular winter scenes, a large gift tag perfect for adding that special handmade touch to all of your beautifully wrapped gifts, as well as a wide variety of snowflakes which when paired with the coordinating dies will allow you to build one of a kind dimensional flakes as realistic and individual as those in a gentle snowfall.  The charming paper collection showcases beautiful hues of cozy blues and rich pine greens accented with deep burgundies creating exquisite backdrops to showcase patterns of elegant snowflakes, windswept swirls, playful polka dots and beautiful brocades resembling those found on a cozy handmade quilt.  And, this unique collection brings with it a special surprise…a small gift box die ready to be cut, assembled and embellished, making packaging smaller gifts quick and easy during the busiest time of the year!  So, grab your quilt, cozy on up in your craft room and join us as we bring just a kiss of snow to your craft table….we promise no shoveling required!


13434098_10208418863885881_1393828863_n


13414039_10208418862565848_821259958_n


13444008_10208418862605849_764706029_n


13434124_10208418862645850_1921988492_n


13414666_10208418862885856_283954481_n


13414038_10208418862765853_1323570290_n

Products from Heartfelt Creations:

Other Products used:
Smooth white card stock, Vintage Photo, Stormy Sky and Salty Ocean Distress ink, Library Green, Plum, Garden Petina and black Archival Inks, Zig Clean Clear Markers, Clear Glitter. Acetate Sheet, Tacky tape, Spellbinder's A2 Basic Matting A.
Instructions:
Create a top folding card base measuring 6 1/2" by 7 !/2' using smooth white card stock. Cut designer paper 1/4 th inch shorter than the card base. Distress the edges with distressing tool and ink a little with Vintage Photo Distress ink. Then mat it on the card top. Sprinkle little clear glitter on the edges using the adhesive that dries clear. The trees are from Snow Kissed Spruce Stamp Set and stamped with Plum Archival ink and Library Green Archival inks. Die cut them using its coordinating die. Snowflakes are stamped with Garden Petina Archival ink. Stamp the images from Frolicking Frosty Spruce using black Archival multiple times and paint with Zig Clean Clear Markers. Die cut the images using its coordinating die. Few parts are further fussy cut for layering also. Layer the image using glue dots. The snowman inside the shaker card is one layer only. For shaker front, cut the frame from white cardstock using outer 2 dies of Spellbinder's A2 Basic Matting A Die. Cut a piece using the outer first die of the same die set and create a background using Stormy Sky and Salty Ocean Distress ink. The mountain and valley look is created with hand cut white cardstock by layering both pieces with glue dots. Stick an acetate sheet with red tacky tape from the back of the frame and add all elements. Also, add clear glitter. Now close the shaker card by layering the frame using foam tapes on all the four sides. Place the shaker card on the card frame and layer all the rest elements as shown. Add more glitters for the extra interests. 

Tuesday, August 02, 2016

Merry Christmas Packages

Posted by Rajni Chawla

Good Morning all..

Happy Wednesday again!!
A have a quick CAS card to share today. We all make a bunch of cards every season and that all need a good time. So let's be little simple and easy peasy today.Do stop by the Heartfelt Creations blog for more inspirations by my co-designers.

2ac6057a-5e38-46ce-91a2-17a6d499ee2c


5843827a-7761-43cf-bb56-cf0a7f0274bf


5843827a-7761-43cf-bb56-cf0a7f0274bf

Products from Heartfelt Creations
HCPC-3748 Gift Wrapped Presents Cling Stamp Set
HCD1-7104 Ornate Sleigh and Presents Die
HCPC-3746 Festive Gate Cling Stamp Set
Color Box chalk Ink Deep Lagoon

Other Products used: Zig Clean Clear Markers, Wink of Stella glitter pen, Archival ink black, smooth white cardstock, A2 Curved Border die. Distress Ink Salty Ocean.

Instructions: Make a top fold card base of 6 " by 5 " using white cardstock of 12 " by 5 ". Stamp the Festive Gate Stamp on the left side of the card using Colorbox Deep Lagoon ink. Also,die cut a piece of same cardstock 2' ' by 5 " using Spellbinder's A2 Curved Border Die. Mat the same with silver mirror sheet.On a separate piece of paper stamp the images from Gift Wrapped Presents Cling Stamp Set using black archival ink. Paint the images using zig clean clear brush markers and die cut using Ornate Sleigh and Presents Die. The embellishments and the gate stamp are lightly highlighted with the clear wink of Stella pen. Once all the elements are ready, simply assemble the card as shown and add a sentiment.

Tuesday, July 12, 2016

Debuting Celebrate the Season Collection

Posted by Rajni Chawla

Good Morning all...

Can't believe, half the year has already passed and its turn to design something for Chrismas. Let's celebrate Chrismas in July...How this sounds??
Yes..it's second Wednesday and Heartfelt Creation has stunning based on holidays and Chrismas.

The time has come to once again “Celebrate the Season” with Heartfelt Creations!  Non-traditional in color, this new holiday-themed collection showcases an assortment of exceptional winter hues…shades of teals, pinks, greens and violets resembling the northern lights, whites as crisp as freshly fallen snow and ice blues mimicking frozen ponds beneath the blades of gently gliding ice skates.  Four fanciful cling stamp sets filled with old fashioned themed illustrations of ornate sleighs, wooden gates, gifts, skates, mittens, and simple wreaths filled with poinsettias and greenery, along with an assortment of charming sentiments will bring feelings of nostalgia from Christmas past to all of your crafty creations while being paired with the contemporary color palette of Christmas present.  Three coordinating sets of dies will have you creating your very own dimensional embellishments perfect for holiday cards, the layouts, and altered art pieces.  Join us as we “Celebrate the Season” and get an early start to all of our holiday themed creating.
Here is my very very first take on Chrismas card. Yes...I never tried making Chrismas themed cards and this is my very first take. Hope you like it.

Skates and Sleigh Frame Card 


13320994_10208313953783194_294761972_o


Merry Christmas With WM (12)


Merry Christmas With WM (5)


Merry Christmas With WM (13)


Merry Christmas With WM (7)


Merry Christmas With WM (9)


Merry Christmas With WM (8)


Merry Christmas With WM (6)


Products from Heartfelt Creations:

HCD1-7104 Ornate Sleigh and Presents Die
HCD1-7105 Festive Gate Die
HCD1-7106 Celebrate the Season Die
HCDP1-268 Celebrate the Season Paper Collection
HCPC-3745 Ornate Sleigh Cling Stamp Set
HCPC-3747 Celebrate the Season Cling Stamp Set
ANC818 Go Man Go Prills
TSMP504 Memento Dye Ink Pad - Lulu Lavender
TSMP604 Memento Dye Ink Pad - Summer Sky
DDOTS Double Dots 3D Foam Circles
741 Shell White Microfine Transparent Glitter
HCST1-401 Deluxe Flower Shaping Kit
Designer Dries Clear Adhesive

Other Products used: Acetate sheet, Smooth white cardstock, scoring board, Spellbinder's grand die Label 1, white net

Instructions: For the frame, cut one frame each by nesting first 2 largest dies of grand label 1 and first and third die of the same. Also, cut a mat from the same paper collection using largest label 1. Layer both the frames together and stick acetate sheet at the back, Decorate the frame with clear glitter randomly. Cut embellishments from the designer paper using their coordinating dies. Cut an extra gate and an extra Sleigh from white cardstock. Give 3-dimensional effect to the sleigh by adding extra foams and white net. Fill the sleigh with all the gift cut outs. For flowers Do check out Emma's video.  Now assemble all the elements together as shown and give little extra effects of snow using snow paste. Once your front panel is ready , create the card base from the largest grand dies label 1 keeping the die half an inch lower to the card fold. Adhere the front panel on the card base and finish the card with a sentiment.


Tuesday, July 05, 2016

Sunflowers and Butterflies Window

Posted by Rajni Chawla

Good morning all...

This new day has greeted us again with new n fresh Sunshine, with no rules and unconditional opportunities. Do not dilute the power of this new day with the hardship of yesterday. Greet this day the way it has greeted you, with open arms and endless possibility.

I am back again with Heartfelt Creation's weekly inspiration with its Classic Sunflower Collection and Botanic Window Die. Two almost same cards....one made by me and other by my daughter Srishti. she has a beautiful and neat hand. Teaching her side by side when I m crafting, is really great fun. we both paint together, discuss n plan what to do next...So much of laughter, music and my furbabies dozing under my chair...
Awww...I love it all!!


untitled-2


13579791_10208610632999989_1544991826_o


13588877_10208610656320572_305064777_o

Can you guess which one she made?? She's too smart in copying  hun!!

Here are few more detailed pictures...

untitled-14


untitled-9


untitled-11


Products From Heartfelt Creations:

Other Products Used: Smooth white cardstock, Black Archival Inks, Zig Clean Clear Markers, Water Color Pencils, Fussy Cutting Scissors, Twine, Glitters or sparkles, Glossy Accent, Black Micro Beads
Instructions: For 3D Sunflowers, I have used a paper that is a local buy. Stamp the images multiple times with Black Archival ink, Colored them with ColorBox Harvest and highlighted with ColorBox Pumpkin Spice. Now shape the flowers following Emma Lou's Video. For leaves, I have used Open Leaf Stamp set. Stamp the images using Archival Library Green and color them using Archival Fern Green. Cut them through the die cutting machine using is Classic Leaf Die. Leaves are shaped and dusted with clear glitter. Stamp the image from Sunflower Bouquet Cling Stamp Set multiple times and paint it using Zig Clean Clear Markers and water color pencils and fussy cut. The image is layered using foam dots. For the window, cut Botanic Window die Twice and glue them together. Color it using Vintage Photo Distress inks and put glossy accent. Dust it with clear glitter when wet. Make a top fold card measuring 5 1/2" by 7 1/2".and mat it with designer paper from the same collection using foam dots. Add a layer of gauge under the top layer for extra interest. Cut and mat a card frame from same designer paper and layer it on the left side of ready card base. Assemble all the elements as shown and add a sentiment and hand painted butterflies.

Be sure to visit Heartfelt Creations Blog for more Inspiration.

Thanks for visiting! 

Tuesday, June 28, 2016

Peach Daffodils

Posted by Rajni Chawla

Good morning all...

Happy Wednesday!!

"What we do see depends mainly on what we look for. ... In the same field the farmer will notice the crop, the geologists the fossils, botanists the flowers, artists the coloring, sportsmen the cover for the game. Though we may all look at the same things, it does not all follow that we should see them." --John Lubbock
And, I must have flowers, always, and always!!

I m again back with the weekly post for Heartfelt Creations Botanic Orchid Collection.... this time, with gorgeous Peach Daffodils for my latest project. The collection is so versatile that you can make a variety of flowers.Be sure to take a moment to see all the amazing work done by the whole design team on the Heartfelt Creations Blog today!  HUGS to all my fellow crafters for sharing such wonderful sharings every week.

Products from Heartfelt Creations:


Other Products Used: Smooth white card stock, white gesso, dusty attic chipboard, glitters and sparkles, black cardstock, Archival inks black and Library Green, Zig Clean Clear Brush Markers, Cheese cloth, Twine, white net, Spellbinder’s Victorian Arch Die, Tim Holts stencils- Flourish and modeling paste.

Instructions: For the card base, I used 9" by 8 " smooth white cardstock. Score at 4 1/2'" on the 9" side and create a top-fold card of 4 1/2" by 8 ". Create a black mat 1/2" smaller to the card base. You will need another mat, 1/8" smaller to black, this time from the designer paper. Since my flowers were in the shades of orange, I preferred choosing the same from Sunrise Lily Paper Collection. Distress the edges on all four sides using scissors or distress tool. Give a washed coat of gesso randomly, little stenciling using modeling paste and dust the entire piece with sparkles/ glitters. Mat all the layers using foam dots. For flowers follow Emma Lou’s video. Leaves are stamped using Open leaf stamp set and die cut using its coordinating die, colored using color box inks ( Pumpkin Spice and Lipstick Red)  and then shaped using Deluxe Flower Shaping Kit. The hummingbird is from Regal Hummingbird Cling Stamp Set, painted using Zig Clean Clear Markers and die-cut using its coordinating die. The chip board from Dusty Attics is painted using white paint and sprinkled with clear glitter. I matted a designer paper from the same collection in the open space of chipboard. Layer the white die cut on right side of the ready card base and arrange all the elements as shown. I added small tules of white net and a bow using matching twine to add an extra interest. The Sentiment is from - You Inspire Me Stamp Set.

Here are the detailed pictures of the card...

HFC 25th June_With WM (1)


HFC 25th June_With WM (4)


HFC 25th June_Without WM (9)


HFC 25th June_With WM (8)


HFC 25th June_With WM (6)


HFC 25th June_With WM (3)

Tuesday, June 21, 2016

Frosted Orchid Window

Posted by Rajni Chawla

Good morning all...

Thanks for dropping by. Its Heartfelt Wednesday again and Heartfelt Creation's Blog is up again with beautiful inspirations by all team members with its June release. I m too enjoying working with Botanic Orchid Collection . Here are the details of my latest card using the same.


Botanic Orchid_18th June_With WM (1)


Botanic Orchid_18th June_With WM (2)


Botanic Orchid_18th June_With WM (9)


Botanic Orchid_18th June_With WM (7)


Botanic Orchid_18th June_With WM (5)


Botanic Orchid_18th June_With WM (4)


Products from Heartfelt Creations:


Other products used: White smooth card stock, black cardstock, Archival ink Plum, Cutting machine, sparkles and glitters, white gesso.
Instructions: For the flowers, stamp the Botanical Orchid stamp set multiple times with archival ink , Plum and die cut using Botanical Orchid die. To shape the flowers, follow Emma's Video.  Make a small spray of Orchids keeping buds and small flowers on top. For the window, cut 2 die cuts each of outer window and inside panel. Stick them together using glue that dries clear to add little more strength. Now paint both the pieces with shades of green acrylic colors of your choice. Dust them with clear glitter when wet and heat set. For card base create a top-fold card of 4 1/2 " by 8 ". Hand tear the designer paper and corrugated sheet as shown. to tone down the colors of designer paper give a light coat of white gesso and dust the card with clear glitter. Humming birds are from the designer paper itself which are die cut using their coordinating dies and glued using dimensional tapes. Assemble the card as shown and finish it with the sentiment and pearls on the window.